Disclosure: This post may contain affiliate links. I may earn a small commission for my endorsement, recommendation, testimonial, and/or link to any products or services from this website.
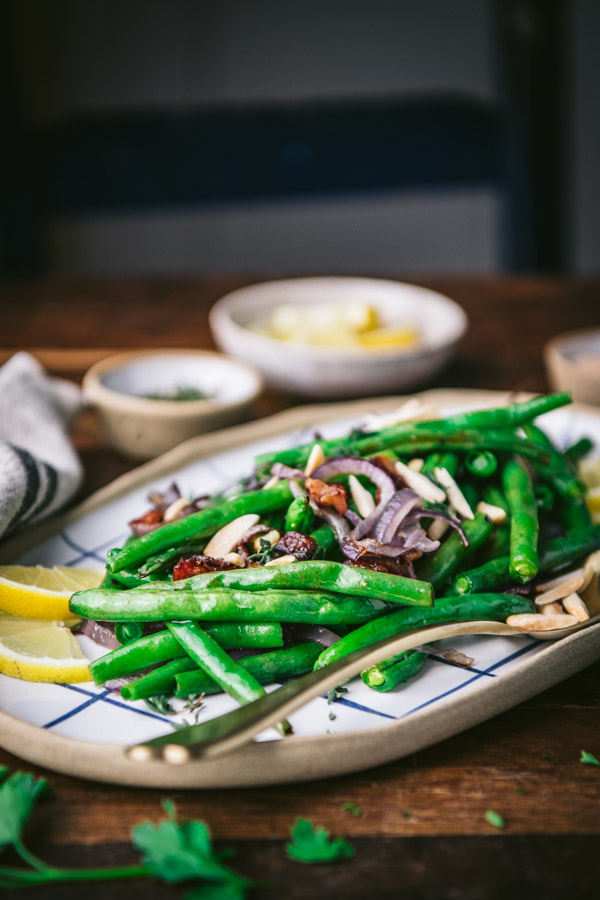
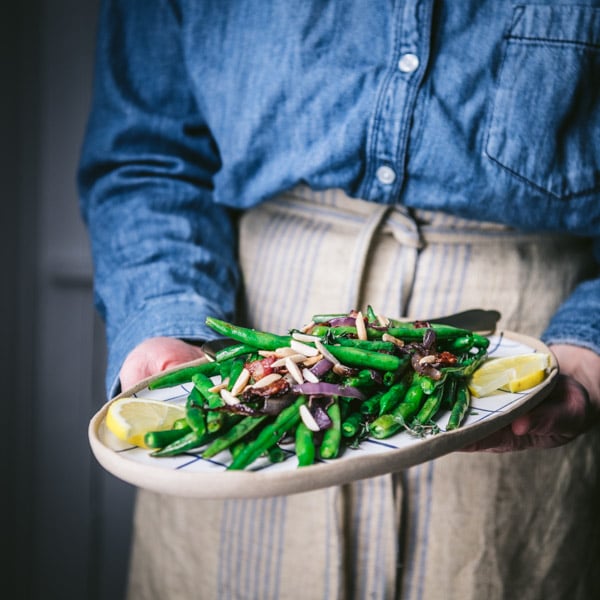
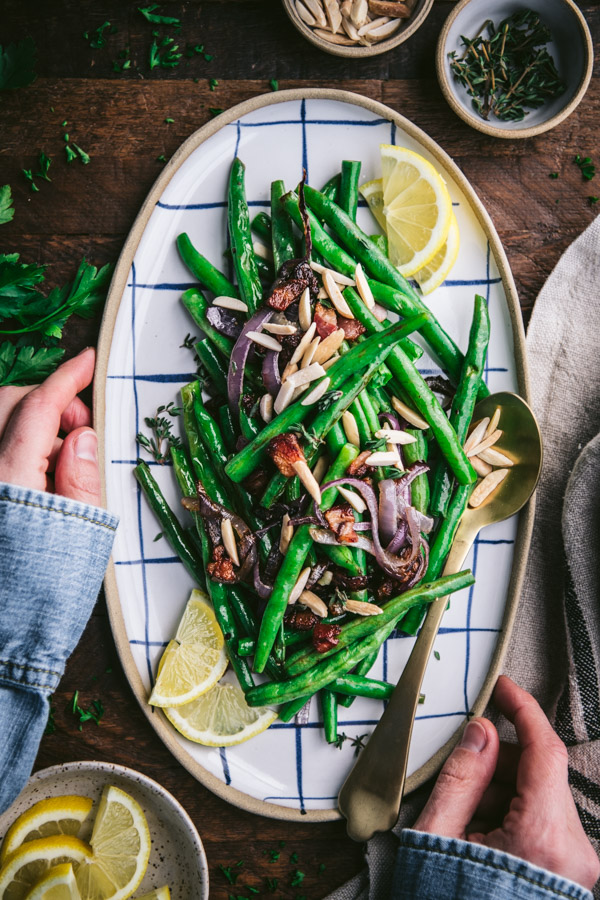
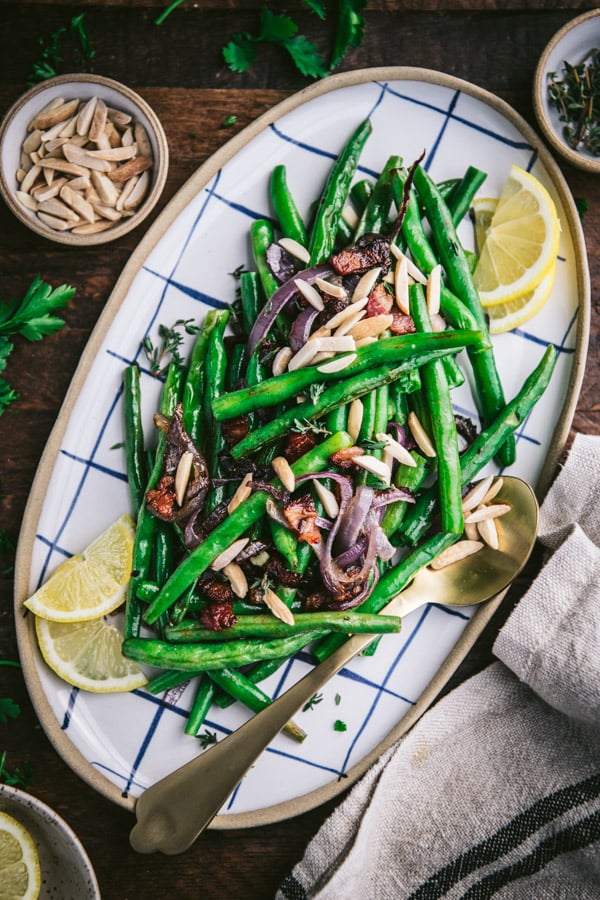
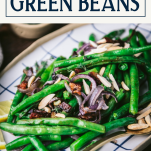
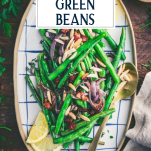
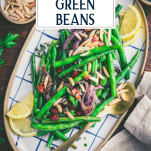
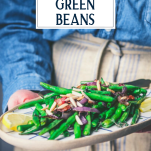
Oven-roasting is the best way to make fresh green beans taste amazing! These crispy roasted green beans pack a flavorful bite, thanks to smoky bacon, zesty red onion, savory garlic, and bright lemon juice. Finish the dish with crunchy almonds and fresh herbs for an easy side dish that pairs nicely with chicken, steak, fish, and almost any other meat-based entrée!
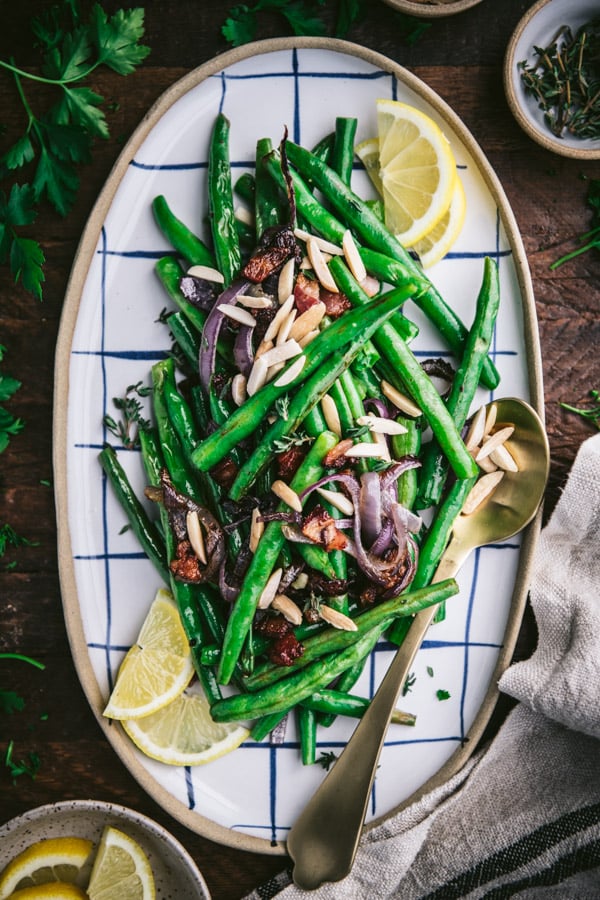
Crispy Roasted Green Beans
These oven roasted green beans look and taste impressive, thanks to the layers of flavors and textures from simple ingredients like garlic, herbs, lemon juice, bacon, red onion, and almonds. The easy side dish bakes entirely on one sheet pan, so it’s a quick, hands-off option that allows you to focus on the main course. In the end, you’ll have a tray of string beans that are crisp-tender, and perfect for serving with grilled chicken, beef, shrimp, and salmon.
How to Make Green Beans Taste Better
If you want to make green beans taste better, then roasting them in the oven with plenty of bacon is the key to success! Baking the vegetables at a high temperature brings out the string beans’ natural sweetness and creates a flavorful char on the outside, so you get crispy green beans with a tender inside. Add some garlic, thyme, red onion, almonds, and freshly-squeezed lemon juice to take this easy side dish over the top. It just might become your all-time favorite green bean recipe!
Ingredients
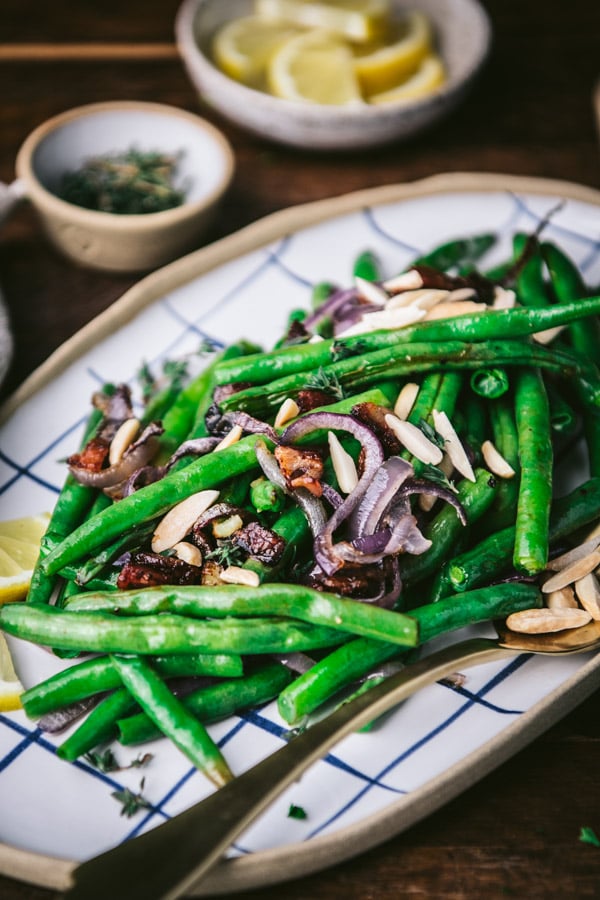
This is a quick overview of the ingredients that you’ll need for oven-roasted green beans. As always, specific measurements and complete cooking instructions are included in the printable recipe box at the bottom of the post.
- Green beans: washed and trimmed fresh green beans work best in this recipe.
- Red onion: for a sweet, zesty and colorful touch.
- Olive oil: the healthy fat that prevents the green beans from sticking to the pan, helps them brown in the oven, and makes them nice and crispy.
- Bacon: a crispy, salty, smoky addition that contrasts nicely with the fresh vegetables.
- Garlic, lemon juice, kosher salt, black pepper, and fresh thyme: for extra flavor.
- Almonds: slivered and toasted for just the right amount of crunch on top!
Can you roast canned or frozen green beans?
Yes, technically you can roast canned or frozen green beans, too. The fresh green beans are my preference, though. Canned or frozen green beans have a very different texture — they are softer and more watery than fresh green beans, so they won’t get crispy and charred in the oven. If using frozen green beans, I recommend thawing them under cold water and then drying them really well before roasting.
How to Roast Green Beans
The only time-consuming part of this recipe is trimming the green beans! Once everything is prepped, the easy side dish is totally hands-off and allows you to focus on the rest of your meal.
- Brush a large rimmed baking sheet with olive oil.
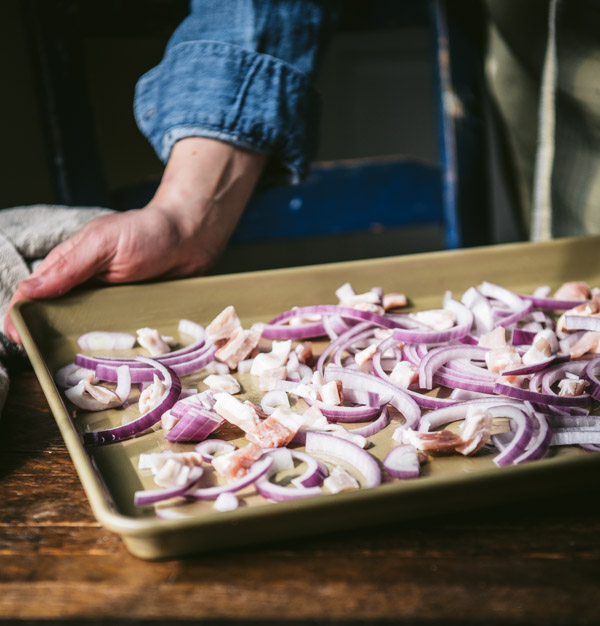
- Spread the bacon and onion in a single layer on the prepared baking sheet.
- Roast in a 425°F oven for 8-10 minutes, until the bacon is almost crisp and the onion is starting to soften.
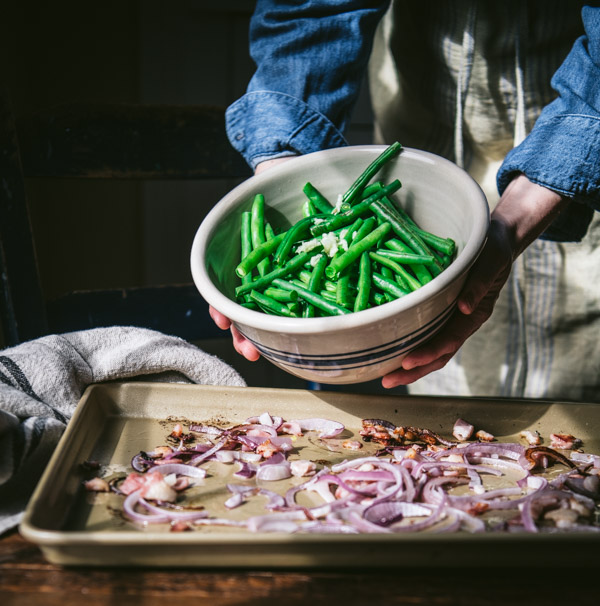
- Add the green beans and garlic to the pan, drizzle with additional olive oil, and season with salt and pepper. Toss everything together so that the ingredients are nicely coated in oil and bacon drippings.
- Roast for 8-10 more minutes, until the bacon is crispy, the onions are soft and caramelized, and the green beans are crisp-tender.
- Taste and season with additional salt and pepper, if necessary.
- Squeeze lemon juice over top, sprinkle with fresh thyme, and garnish with toasted almonds.
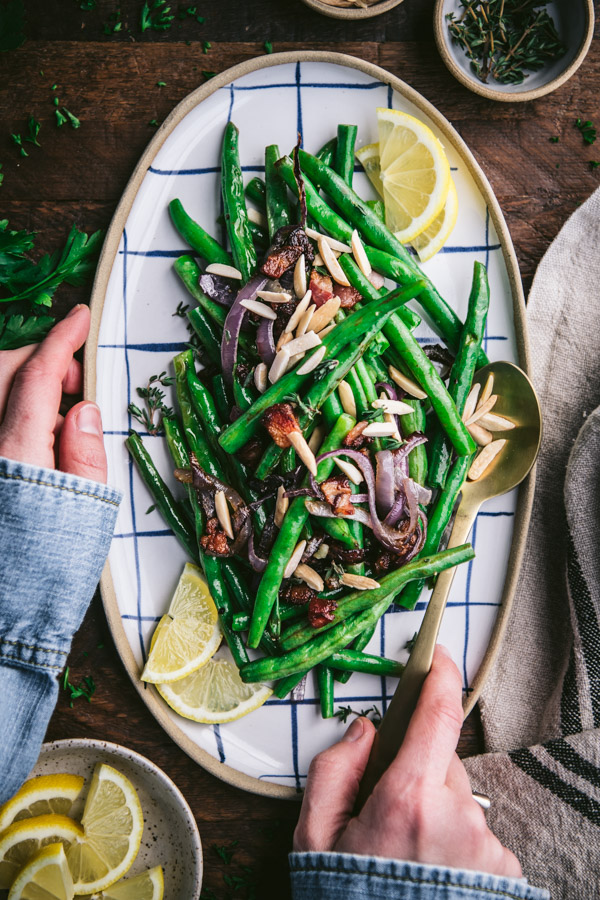
What to Serve with Oven Roasted Green Beans
These easy roasted green beans with bacon and onions are the perfect addition to almost any dinner entrée. Pair the vegetables with one of these delicious meals:
- Fried Chicken or Fried Chicken Tenders
- Grilled Chicken Breast, Grilled Chicken Thighs, or BBQ Chicken
- Pecan-Crusted Chicken
- Fried Chicken Cutlets and Country Gravy
- Chicken Fried Steak with Gravy
- French Fried Onion Chicken
- Crispy Roast Chicken
- Sloppy Joes
- Grilled New York Strip Steak or Grilled Flank Steak
- Cast Iron Skillet Filet Mignon
- Dutch Oven Pot Roast
- Slow Cooker Brisket
- Beef Barbecue
- Cider Braised Pork Shoulder
- Dr. Pepper Pulled Pork
- Oven-Fried Breaded Pork Chops
- Crock Pot Ranch Pork Chops
- Fried Catfish or Oven-Fried Fish
- Grilled Pork Tenderloin
- Grilled Pork Chops or Smothered Pork Chops and Gravy
- Blackened Salmon or Perfect 15-Minute Grilled Salmon
- Grilled Shrimp, Fried Shrimp or Shrimp Pasta Salad
Don’t forget to round out the meal with some cornbread or biscuits, too!
Prep Ahead
Trim green beans and prep all of the ingredients in advance, then store them in a Ziploc bag or bowl until you’re ready to add them to the pan for roasting.
Storage
Roasted green beans will keep in an airtight container in the refrigerator for 3-4 days. You can reheat them in the microwave or in a skillet for a few minutes to warm them through before serving. The reheated green beans will not be quite as crispy as the freshly-roasted vegetables, but they will still be tasty!
I do not recommend freezing the baked green beans, since the vegetables will be watery and mushy when thawed and the bacon will not be crisp.
Recipe Variations
- If you prefer your green beans softer rather than crisp-tender, roast them at 425°F for 20-30 minutes (add them to the pan at the same time that you add the bacon and onion).
- Use ⅛ teaspoon of garlic powder in lieu of the fresh garlic cloves.
- Instead of the red onion, use a sweet Vidalia onion. You can also omit the onion altogether if you prefer.
- Omit the almonds for a nut-free dish, or substitute with chopped, toasted macadamia nuts, pecans, walnuts, pine nuts, or pumpkin seeds. You can also garnish the baked green beans with grated Parmesan cheese instead of the nuts.
- Substitute other fresh herbs for the thyme. Good options include chives, rosemary, oregano, basil, or parsley.
Tips for the Best Roasted Green Beans Recipe
- Make sure that the green beans are very dry when you add them to the pan. You don’t want them to “steam” in the oven with too much liquid.
- Spread out the bacon and veggies as much as possible in a single layer so that everything browns nicely and becomes crispy, rather than soggy and steamed.
- To quickly toast the slivered almonds, place them on a microwave-safe plate and microwave on high in 30-second intervals until golden brown and fragrant. This usually takes a total of about 1 ½ minutes. I like to sprinkle a little bit of kosher salt on the nuts while they’re still hot, too!
- Cooking for a larger family? Double the ingredients and prepare 2 pounds of green beans. You’ll likely need two large baking sheets to spread out all of the ingredients in a single layer. The rest of the cooking instructions remain the same.
More Green Bean Recipes to Try
- Southern Style Green Beans
- Amish Sauteed Green Beans with Brown Butter
- Arkansas Green Beans with Bacon
- Easy Green Bean Casserole

Roasted Green Beans
Ingredients
- 2 tablespoons olive oil, divided
- 3 slices thick-cut bacon, chopped
- ½ of a large red onion, sliced
- 1 lb. fresh green beans, trimmed
- 1 clove garlic, minced or pressed
- 1 teaspoon freshly squeezed lemon juice
- 1 teaspoon fresh thyme leaves
- Kosher salt and ground black pepper, to taste
- Optional garnish: toasted slivered almonds
Instructions
- Preheat oven to 425°F. Brush 1 tablespoon of olive oil in a thin layer on a rimmed baking sheet.
- Add the onion and bacon to the pan. Bake for 8-10 minutes, until the bacon is almost crisp and the onion is starting to soften and caramelize.
- Remove the baking sheet from the oven. Add the green beans and garlic to the pan with the bacon and onion. Drizzle with the remaining 1 tablespoon of olive oil; season with salt and pepper to taste. Toss to make sure that everything is well coated in olive oil and bacon drippings.
- Return the pan to the oven and roast just until the green beans are crisp-tender and the bacon is crispy, about 8-10 minutes.
- Squeeze lemon juice over the green beans, sprinkle with thyme, and season with additional salt and pepper, if necessary. Garnish with toasted almonds.
Notes
- If you prefer your green beans softer rather than crisp-tender, roast them at 425°F for 20-30 minutes (add them to the pan at the same time that you add the bacon and onion).
- Use ⅛ teaspoon of garlic powder in lieu of the fresh garlic cloves.
- Instead of the red onion, use a sweet Vidalia onion. You can also omit the onion altogether if you prefer.
- Omit the almonds for a nut-free dish, or substitute with chopped, toasted macadamia nuts, pecans, walnuts, pine nuts, or pumpkin seeds. You can also garnish the baked green beans with grated Parmesan cheese instead of the nuts.
- Substitute other fresh herbs for the thyme. Good options include chives, rosemary, oregano, basil, or parsley.
- Make sure that the green beans are very dry when you add them to the pan. You don’t want them to “steam” in the oven with too much liquid.
- Spread out the bacon and veggies as much as possible in a single layer so that everything browns nicely and becomes crispy, rather than soggy and steamed.
- To quickly toast the slivered almonds, place them on a microwave-safe plate and microwave on high in 30-second intervals until golden brown and fragrant. This usually takes a total of about 1 ½ minutes. I like to sprinkle a little bit of kosher salt on the nuts while they’re still hot, too!
- Cooking for a larger family? Double the ingredients and prepare 2 pounds of green beans. You’ll likely need two large baking sheets to spread out all of the ingredients in a single layer. The rest of the cooking instructions remain the same.
Nutrition
This recipe was originally published in June, 2021. The photos were updated in June, 2022.






Hi, Brenna! It kind of depends. I find that if you use regular bacon (rather than thick-cut), and spread the ingredients out on the baking sheet really well in a single layer (so that they’re not piled high on top of each other), the bacon should get nice and crispy within the shorter 15 minute cooking time. If you’re making a full 2 lbs. of green beans and not cutting the ingredients in half, you might need to divide everything between two pans.
That said, if you want to be really sure that your bacon is crisp, you can start it on the pan about 5 minutes sooner than the green beans. That little bit of head-start should help to ensure crispy bacon even when you’re cooking the beans for a shorter period. Hope that all makes sense! 🙂
Great advice – definitely all makes sense! I’ll probably put the bacon in 5 minutes before to ensure it crisps up. Love your recipes and waking up to your weekly emails every Sunday morning. Thanks so much!
Wonderful! Thanks, Brenna!