Disclosure: This post may contain affiliate links. I may earn a small commission for my endorsement, recommendation, testimonial, and/or link to any products or services from this website.
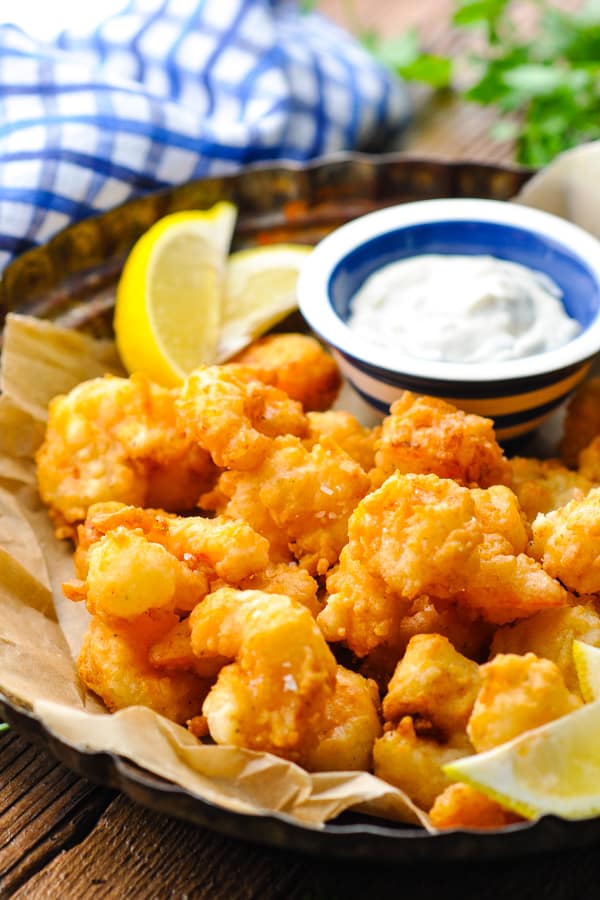
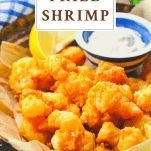
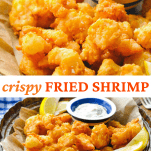
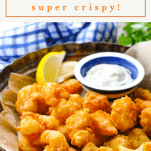
The best fried shrimp is dipped in buttermilk, dredged in a light and crispy seasoned flour coating, and fried to golden brown perfection. Prepare this easy dinner or party appetizer on your stovetop in just minutes! The crispy fried shrimp recipe is perfect alongside hoe cakes, hush puppies, cornbread, and biscuits, as well collard greens, coleslaw, and baked potato wedges.
How to Fry Shrimp | 1-Minute Video
Crispy Fried Shrimp Recipe
My boys love a good family fish fry, so I know that I’ll be greeted with smiling faces any time I pull out my cast iron skillet and whip up this crispy Southern fried shrimp recipe! Paired with a basket of hush puppies and a side of coleslaw, it’s even better than the local seafood restaurant.
The tender, plump shrimp are coated in a simple seasoned flour with a hint of Old Bay. The coating becomes crisp, light, and golden brown in the skillet, creating a perfect contrast to the sweet, fleshy shrimp. With one bite, you’ll soon see why these popular little morsels are a family favorite!
Which shrimp to use for a Southern Fried Shrimp recipe?
For most shrimp recipes, I prefer the largest size available (either “colossal” or “jumbo”). When making fried shrimp, however, I find that medium shrimp (41-50 count per pound) work best. The coating-to-shrimp ratio is just better with the smaller shrimp, they cook faster so that the breading doesn’t get too dark, and they’re easy to pop in your mouth (like “popcorn shrimp”)!
How to Peel and Devein Shrimp
You’ll need to start with raw, peeled, and deveined shrimp. I typically purchase frozen shrimp that are already deveined (for a shortcut), and then thaw the shrimp in the fridge overnight before peeling and using in this recipe.
To peel raw shrimp, start underneath, where the legs are attached. Pull each side of the shell back, starting at the front and ending at the tail. If necessary, you can devein shrimp at home by making a cut along the top of the raw shrimp with a sharp paring knife. The cut should go from the front of the shrimp to the tail, just deep enough to pull out the dark intestine. I do this under cold running water to help wash out the vein.
Key Ingredients for the Crispiest Buttermilk Fried Shrimp Recipe
There are two key ingredients for the lightest, crispiest fried shrimp: self-rising flour and buttermilk. If these two items aren’t already staples in your kitchen, they should be! This recipe shows you how to fry shrimp with flour and no egg, a technique that I adapted slightly from Paula Deen’s fried shrimp recipe.
Self-Rising Flour
Self-rising flour is simply a combination of all-purpose flour, baking powder, and salt. I buy self-rising flour at the store and keep it in my pantry, but you can also make your own self-rising flour at home by following these instructions. The leavening in the self-rising flour helps the coating “puff up” when it’s fried, giving the shrimp that crispy, light-as-air texture.
Buttermilk adds a nice, subtle tang to the dish and helps to tenderize the shrimp. It also helps the seasoned flour adhere to the shrimp, eliminating the need for a thick egg coating. If you don’t have access to a thick, rich, full-fat buttermilk (which is literally the liquid left behind after churning butter), you can make your own buttermilk by placing 1 tablespoon of white vinegar or lemon juice in a liquid measuring cup and adding enough milk to measure 1 cup. Stir, then let stand for 5 minutes.
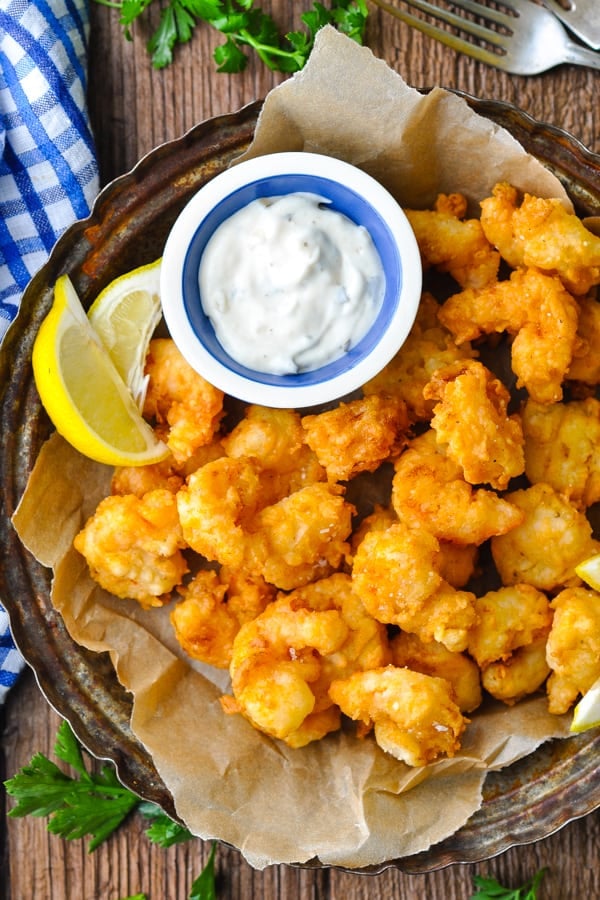
Ingredients
This is just a quick overview of the simple ingredients that you’ll need for a batch of crispy fried shrimp. As always, specific measurements and complete step-by-step cooking instructions are included in the printable recipe box at the bottom of the post.
- Shrimp: use medium shrimp (41-50 count per pound) so that they cook quickly and the breading doesn’t get too dark. They’re perfectly bite-sized, too!
- Self-rising flour: the leavening agent in the self-rising flour gives the breading a light, puffy, crispy texture on the shrimp.
- Salt and pepper: to enhance the other flavors in the dish. Don’t forget to season the fried shrimp with some extra salt while it’s still warm!
- Old Bay seasoning: this classic seafood seasoning gives the breading on the shrimp a subtle zesty flavor.
- Buttermilk: for a bit of tang that also tenderizes the shrimp and helps the breading adhere. See my notes above to make your own buttermilk if you don’t have any on hand.
- Oil for frying: I recommend peanut oil, but vegetable oil will also work well.
How to Make Fried Shrimp
Shrimp are one of the easiest foods to fry because they cook quickly — literally about 2 minutes per batch — and you don’t need a huge vat of oil for frying. They’re so much smaller than something like chicken, so you can get away with a lot less oil in the pan.
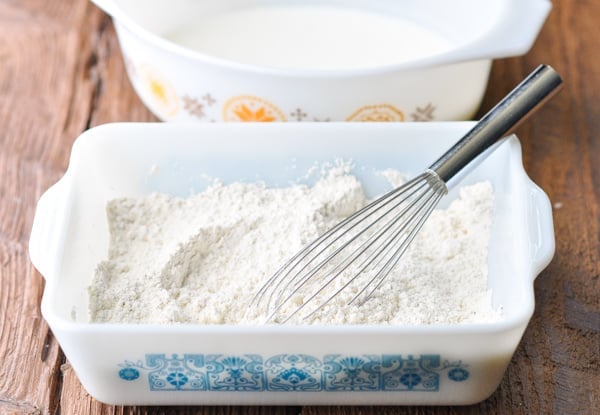
- Prepare Coating. In a shallow bowl, whisk together the self-rising flour, salt, Old Bay, and pepper. Place the buttermilk in a separate shallow dish.
- Heat Oil. Heat the oil in a Dutch oven or cast iron skillet over medium-high heat until it reaches 375°F. It can take awhile for the oil to come to temperature, so get started on your shrimp while the oil preheats.
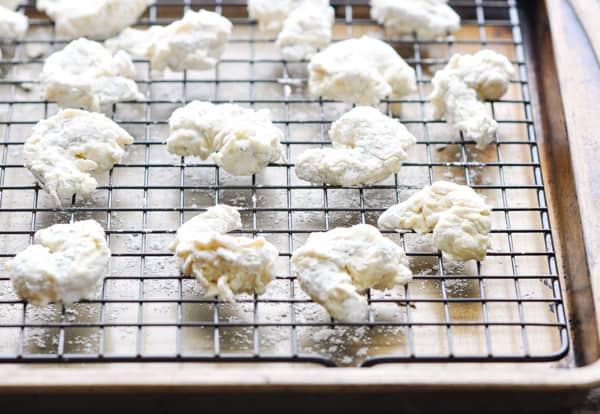
- Coat Shrimp. While the oil heats, pat the shrimp dry. Dredge them in the flour mixture first, then coat with buttermilk, and dredge in the flour mixture again. Shake the shrimp after each coating to get off any excess flour or batter.
- Fry. Working in batches so that you don’t overcrowd the pan, fry the shrimp for about 2 minutes (or until they’re a nice golden brown color). Drain on paper towels, season with additional salt, and then keep warm in a 200°F oven while you finish frying the remaining shrimp.
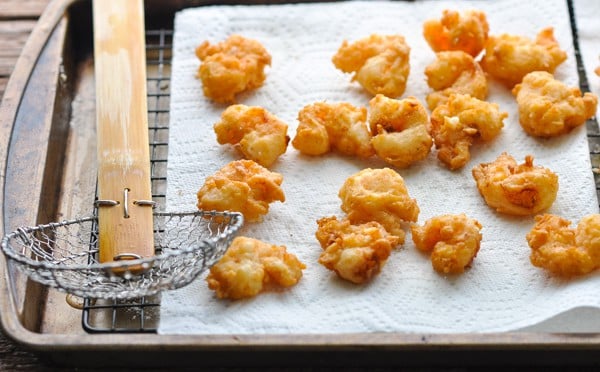
Temperature for Frying Shrimp
Use either peanut oil or vegetable oil to fry the shrimp. I typically use peanut oil because it’s affordable, it has a high smoke point, and it will not flavor your seafood. Before frying the shrimp, heat the oil to a temperature of 375°F. Once the shrimp go into the oil, the temperature of the oil may come down slightly. Adjust the heat as necessary to keep the oil within a temperature range of 350°F to 375°F. I prefer to use a deep-fry thermometer to keep an eye on the oil’s temperature. If it drops too low, the shrimp will absorb too much oil and have a greasy, unpleasant taste. Too high, and the coating will burn or become too dark before the shrimp inside is cooked through.
If you don’t have a deep-fry thermometer, that’s fine! Instead, when the oil is hot (but not smoking), add a drop of water to the pan — if it sizzles, the oil is hot enough for the shrimp. As I noted above, you want to maintain a fairly steady temperature as the shrimp cooks, so don’t overcrowd the pan with too many pieces at once (which will bring down the temperature). If the oil is really flying and it seems to be too hot, you can turn down the temperature slightly.
How Long to Fry Shrimp
At a temperature of 375°F, the shrimp will be done in about 2 minutes. If the temp dips a little and is closer to 350°F, you may need to leave the shrimp in slightly longer (closer to 3 minutes). Just keep an eye on them and pull them out when they’re a nice golden brown color.
If you use larger shrimp in this recipe, you’ll need to increase the cooking time.
What goes well with fried shrimp?
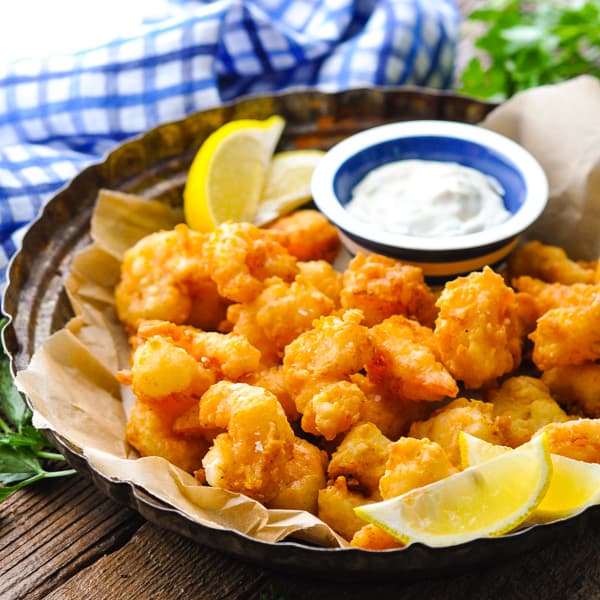
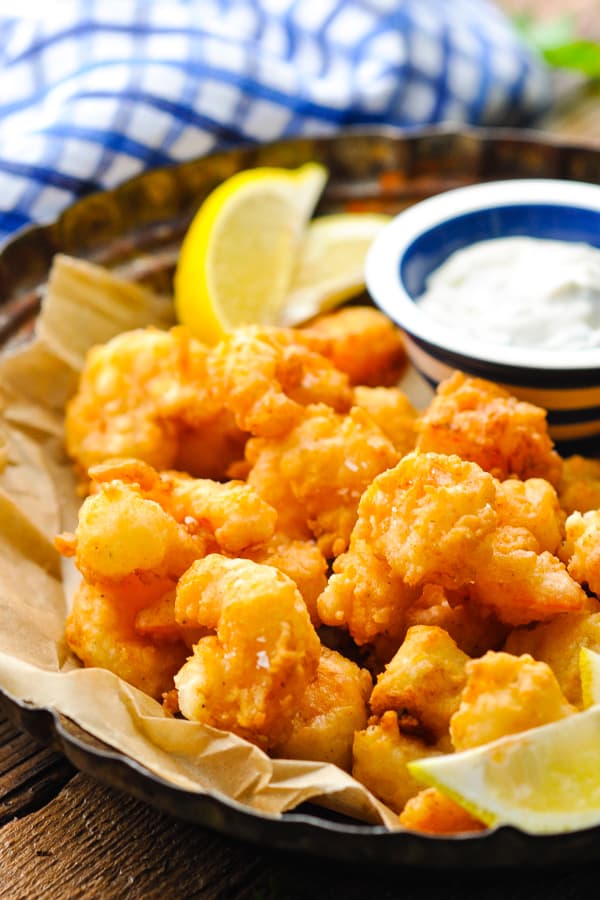
Garnish a basket of fried shrimp with lemon wedges or parsley and serve with a few simple and delicious sides. The shrimp are a nice appetizer to serve when hosting a gathering, but they’re also a great dinner entrée on their own. Make fried shrimp po boys by serving them on a roll with remoulade sauce, add them to fried shrimp tacos, or serve them on their own with your favorite side dishes!
What to Dip Fried Shrimp In
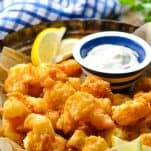
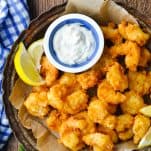
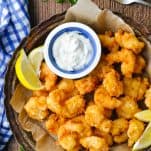
Serve the fried shrimp with tartar sauce (shown here), remoulade sauce, ketchup, cocktail sauce, or honey mustard for dipping.
Favorite Fried Shrimp Sides
Here are a few easy options that go well with crispy fried shrimp:
- Hush Puppies
- Coleslaw or Vinegar Coleslaw
- Hoe Cakes
- Baked Potato Wedges or Baked Potatoes
- Skillet Cornbread, Bakery-Style Corn Muffins, Honey Cornbread, Old-Fashioned Corn Sticks, Sweet Cornbread Muffins, or Jiffy Cornbread with Creamed Corn
- Creamy Baked Mac and Cheese, Crock Pot Mac and Cheese, Stovetop Shells and Cheese, or No-Boil Easy Mac and Cheese
- Southern Buttermilk Biscuits, Flaky Biscuits, 3-Ingredient Buttermilk Biscuits, Sweet Potato Biscuits, Cheese Biscuits, Easy Drop Biscuits
- Pumpkin Bread or Pumpkin Muffins
- 3-Ingredient Sour Cream Muffins
- Honey Beer Bread
- Wedge Salad, Classic Caesar Salad, House Salad with Candied Pecans, or a Green Salad with Red Wine Vinaigrette
- Easy Potato Salad
- Arkansas Green Beans with Bacon or Southern-Style Green Beans
- Broccoli Cauliflower Salad
- Fried Apples or Baked Apple Slices
- Southern Succotash
- Southern Collard Greens
- Fried Okra
- Broccoli and Cheese
- Easy Pasta Salad
- Homemade Baked Beans with Bacon
- Charleston Red Rice
- Okra and Tomatoes
- Southern Squash Casserole
- Cheese Grits
- Fried Cabbage with Apples and Onion, Braised Red Cabbage, or Roasted Cabbage
Can I fry already cooked shrimp?
Yes, you can — but it’s not recommended. Overcooked shrimp are tough and chewy, so if you’re starting with already cooked shrimp, it’s much more likely that you’ll end up with overcooked shrimp and an undesirable texture. The medium shrimp cook perfectly in the same time that it takes for the coating to turn golden brown and crispy, so the best fried shrimp recipe starts with raw shrimp.
Storage Tips
- Leftover fried shrimp will keep in an airtight container in the refrigerator for 3-4 days. They’re best served immediately; however, and tend to lose some of their crispy texture as they sit in the fridge.
- You can freeze the fried shrimp for up to 3 months; however, the texture of the shrimp will not be as good when thawed.
- To Reheat: Preheat the oven to 350°F. Place the shrimp on a wire rack on top of a baking sheet. Warm in the oven just until heated through (5-10 minutes), being careful not to overcook them.
Recipe Variations
- Add other seasoning to the flour mixture. For instance, try paprika, garlic powder, onion powder, celery salt, cajun seasoning, or cayenne pepper for spice.
- If using larger shrimp, increase the cooking time slightly.
- To serve a smaller family, cut all of the ingredients in half and fry just 1 pound of shrimp.
- Instead of a skillet or Dutch oven, use a deep fryer to cook the shrimp. You’ll need more oil to fill the deep fryer, but it’s nice when you can set the temperature and not worry about it!
- Add some cornmeal to the flour mixture for a slightly different flavor and texture.
- I typically use peanut oil for frying, but vegetable oil or canola oil will also work well.
Tips for the Best Fried Shrimp Recipe
- Season the shrimp before frying by adding the seasoning to the self-rising flour mixture. We also recommend seasoning with additional salt and pepper (if necessary), as soon as the shrimp comes out of the oil and is still warm.
- Shake off the excess buttermilk and flour each time you dredge the shrimp to make sure that you just have a light coating on each piece.
- Maintain a consistent oil temperature between 350°F and 375°F for crispy, golden brown shrimp. You may need to adjust the heat to keep the oil within this range.
- Use a spider strainer to place the shrimp in the oil and to remove them at the end of cooking.
- Fry the shrimp in batches so that you don’t overcrowd the pan, and gently stir or move them around, as necessary, to prevent them from sticking together.
More Shrimp Recipes to Try
- Honey Garlic Shrimp {in 15 minutes!}
- Frogmore Stew
- Garlic Butter Shrimp with Old Bay
- New Orleans Style BBQ Shrimp
- Mexican Shrimp
- Cajun Shrimp Pasta
- Easy Shrimp Scampi
- Shrimp Soup with Corn and Bacon
- Baked Italian Shrimp {20-Minute Dinner!}
- Sheet Pan Low Country Boil
- Southern Shrimp and Grits
- Easy Shrimp Creole
- Baked Shrimp with Tomatoes and Feta
- Marinated Grilled Shrimp
- Crockpot Gumbo with Chicken, Sausage, and Shrimp
Crispy Fried Shrimp Recipe
Ingredients
- 2 cups self-rising flour
- Salt
- 1 teaspoon Old Bay seasoning
- ½ teaspoon black pepper
- 2 cups buttermilk
- 4 cups peanut oil or vegetable oil, for frying
- 2 pounds medium shrimp, peeled and deveined
- Optional, for serving: tartar sauce (or other dipping sauce); lemon wedges; fresh parsley
Instructions
- In a shallow bowl, whisk together flour, 1 tablespoon salt, Old Bay seasoning, and black pepper.
- Place the buttermilk in a separate shallow bowl.
- Pour the oil into a medium Dutch oven or cast iron skillet and warm over medium-high heat until it reaches 375 degrees F.
- Meanwhile, pat the shrimp dry and dredge them in the flour mixture first, then coat with buttermilk, and dredge in the flour mixture again. Shake the shrimp after each coating to get off any excess flour or batter.
- Working in batches, fry shrimp until golden brown (about 2-3 minutes). Use a slotted spoon to transfer the shrimp to a paper towel-lined tray. Season with additional salt, to taste. You may need to increase the heat to keep the oil at a steady temperature between 350 degrees F and 375 degrees F as the shrimp fry.
- Keep the fried shrimp warm in a 200 degree F oven while you fry the remaining batches.
Video
Notes
- Nutrition information is merely an estimate. Exact nutrition will vary, depending on the amount of coating that adheres to each piece of shrimp and on how much oil is absorbed by the shrimp during the cooking process.
- Season the shrimp before frying by adding the seasoning to the self-rising flour mixture. We also recommend seasoning with additional salt and pepper (if necessary), as soon as the shrimp comes out of the oil and is still warm.
- Shake off the excess buttermilk and flour each time you dredge the shrimp to make sure that you just have a light coating on each piece.
- Maintain a consistent oil temperature between 350°F and 375°F for crispy, golden brown shrimp. You may need to adjust the heat to keep the oil within this range.
- Use a spider strainer to place the shrimp in the oil and to remove them at the end of cooking.
- Fry the shrimp in batches so that you don’t overcrowd the pan, and gently stir or move them around, as necessary, to prevent them from sticking together.
- Add other seasoning to the flour mixture. For instance, try paprika, garlic powder, onion powder, celery salt, cajun seasoning, or cayenne pepper for spice.
- If using larger shrimp, increase the cooking time slightly.
- To serve a smaller family, cut all of the ingredients in half and fry just 1 pound of shrimp.
- Instead of a skillet or Dutch oven, use a deep fryer to cook the shrimp. You’ll need more oil to fill the deep fryer, but it’s nice when you can set the temperature and not worry about it!
- Add some cornmeal to the flour mixture for a slightly different flavor and texture.
- I typically use peanut oil for frying, but vegetable oil or canola oil will also work well.
- Recipe slightly adapted from Paula Deen.
Nutrition
Disclosure: This post may contain affiliate links. I may earn a small commission for my endorsement, recommendation, testimonial, and/or link to any products or services from this website. As an Amazon Associate I earn from qualifying purchases.



Easily the best shrimp I have ever made in my entire life. Thank you.
Yay! So glad that you enjoyed it, V! It’s one of our favorite meals, too. 🙂
Blair, I was just wondering if you’ve ever done a beer batter for your fried shrimp. My mother used to cook them that way and they were amazing. I do it now, but as I’m sure you already know, nobody does it like momma! Have a great week.
Hi, Aleshia! No, I haven’t! I should definitely try that, though. My kids love this recipe so much that I just always return to it. Beer-battered shrimp would be great too, though. If you have a recipe you love, definitely send it my way!
Our family loves this treat (I rarely ever fry foods).
We dip them in either Hoisin-Mayonnaise (2 tablespoons Hoisin sauce to 1 tablespoon mayonnaise) or Kewpie brand “Sesame-Mayonnaise” sauce.
That’s great, Bunny! Those dips both sound tasty. Love the Asian spin. Thanks for your note!
Best shrimp I’ve eaten. Better than a restaurant. Won’t be ordering shrimp out anytime soon. Thanks for sharing!
Yay! Thank you, Kelly!
Thanks so much for these tips. They turned so great!!
You’re welcome, Audrey! We’re happy to hear the recipe was a success!