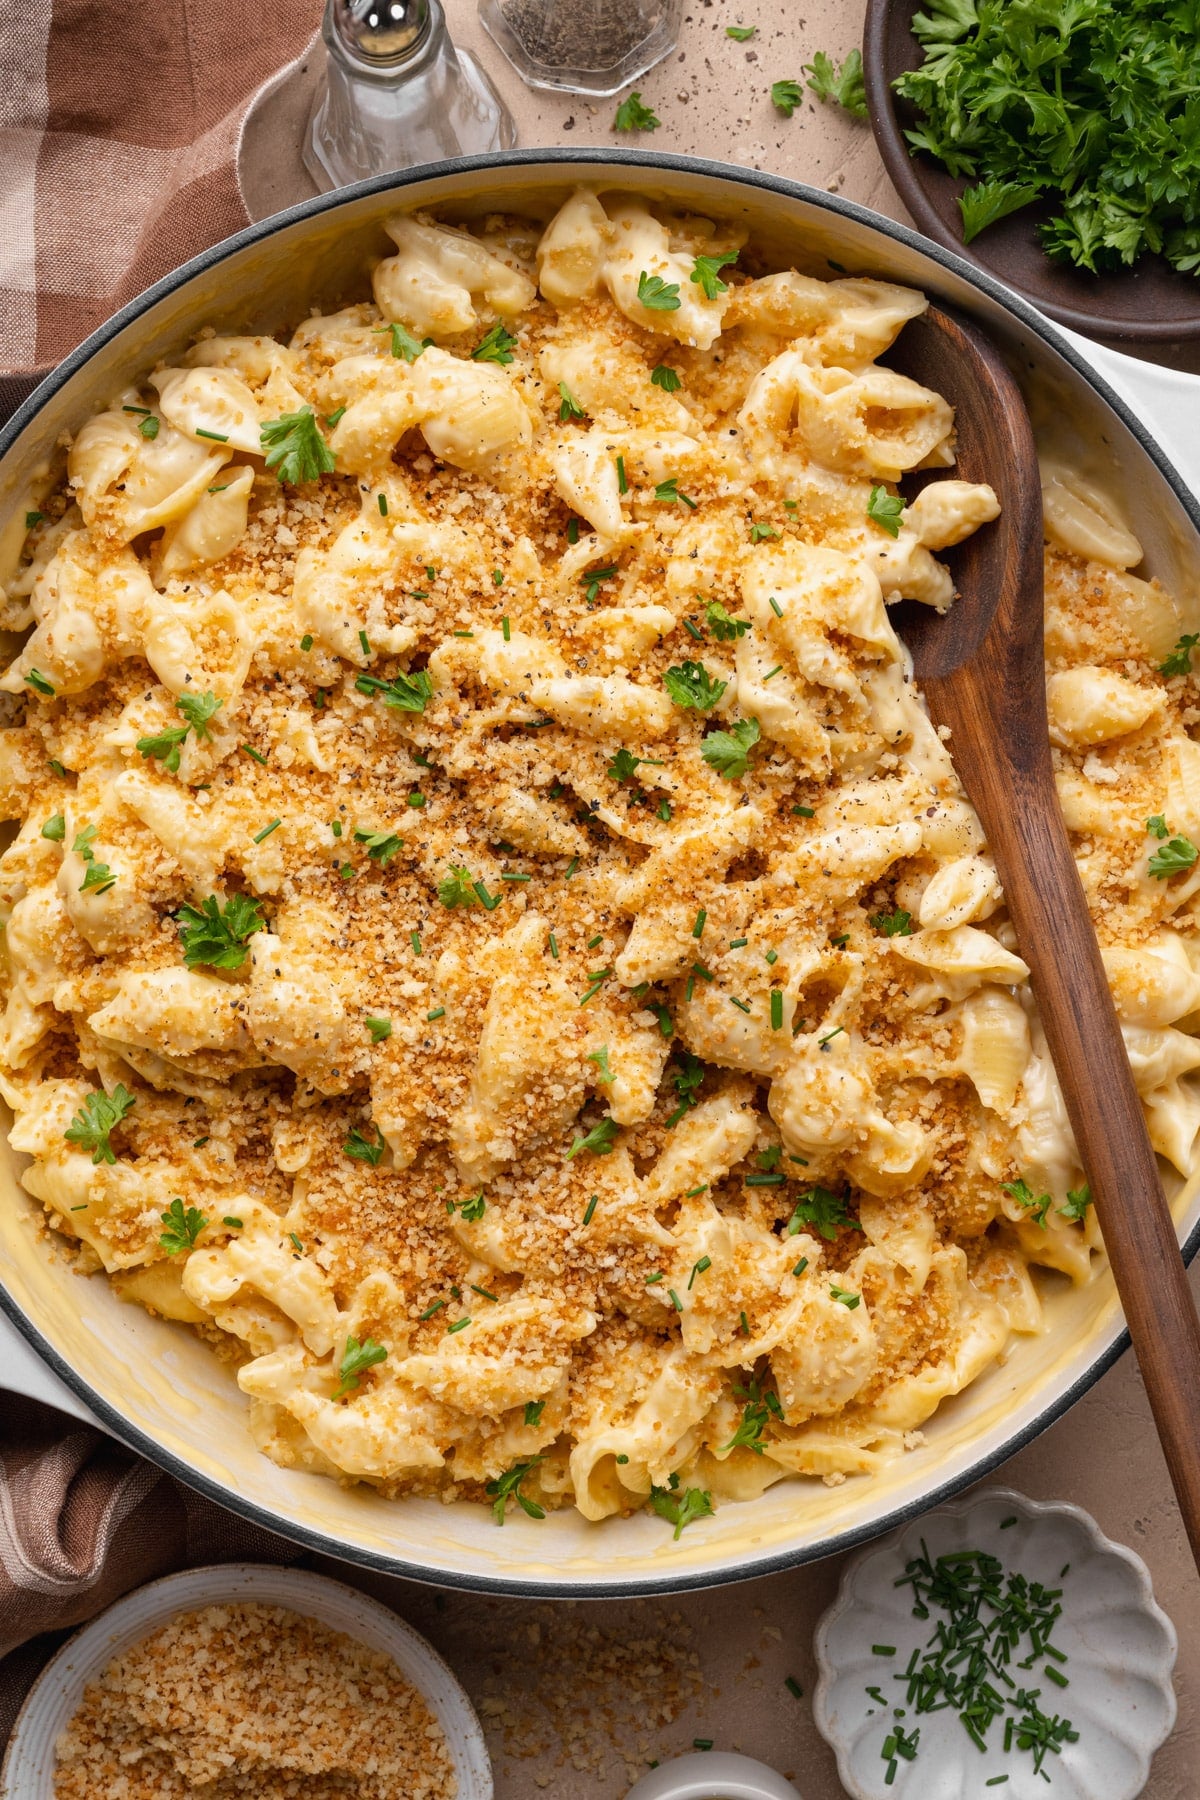
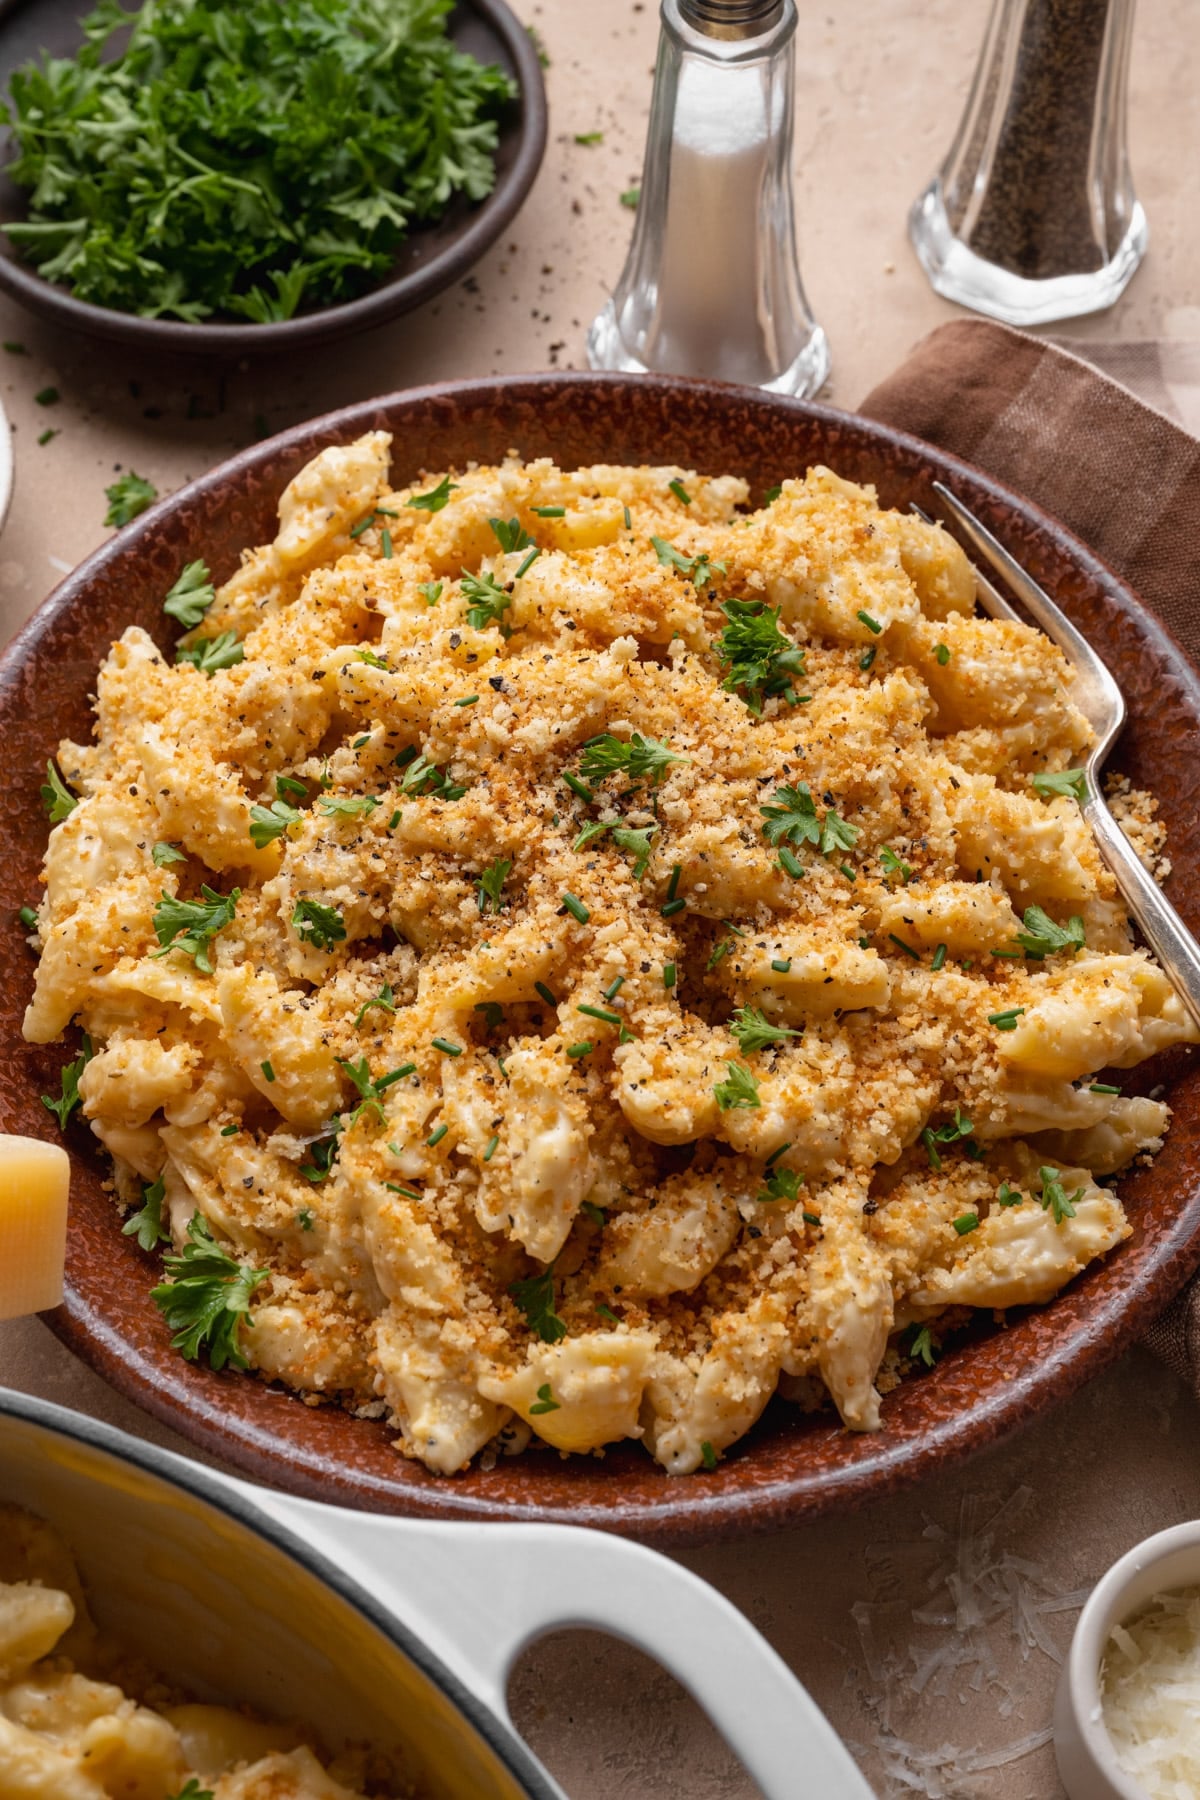
Homemade shells and cheese beats the boxed kind by a mile, and it only takes about 30 minutes on the stovetop. Three cheeses go into the sauce, and buttery toasted breadcrumbs on top give you that baked mac and cheese crunch without ever turning on the oven!
Other Ways to Make Mac and Cheese:
Before You Get Started
A cheese sauce can go from silky to gritty in about ten seconds, but that’s easy to avoid. Keep these tips in mind and you’ll get it right the first time:
- Add the cheese off of the heat. Melted cheese separates over a hot burner and the sauce turns gritty. Pull the pan off, then whisk the cheese in a handful at a time.
- Grate the cheese yourself. Bagged shreds are coated with starch so they don’t clump in the bag, and that coating keeps them from melting smoothly into the sauce.
- Salt the pasta water well. This is the only chance to season the shells themselves. Use about a tablespoon for a big pot of water.
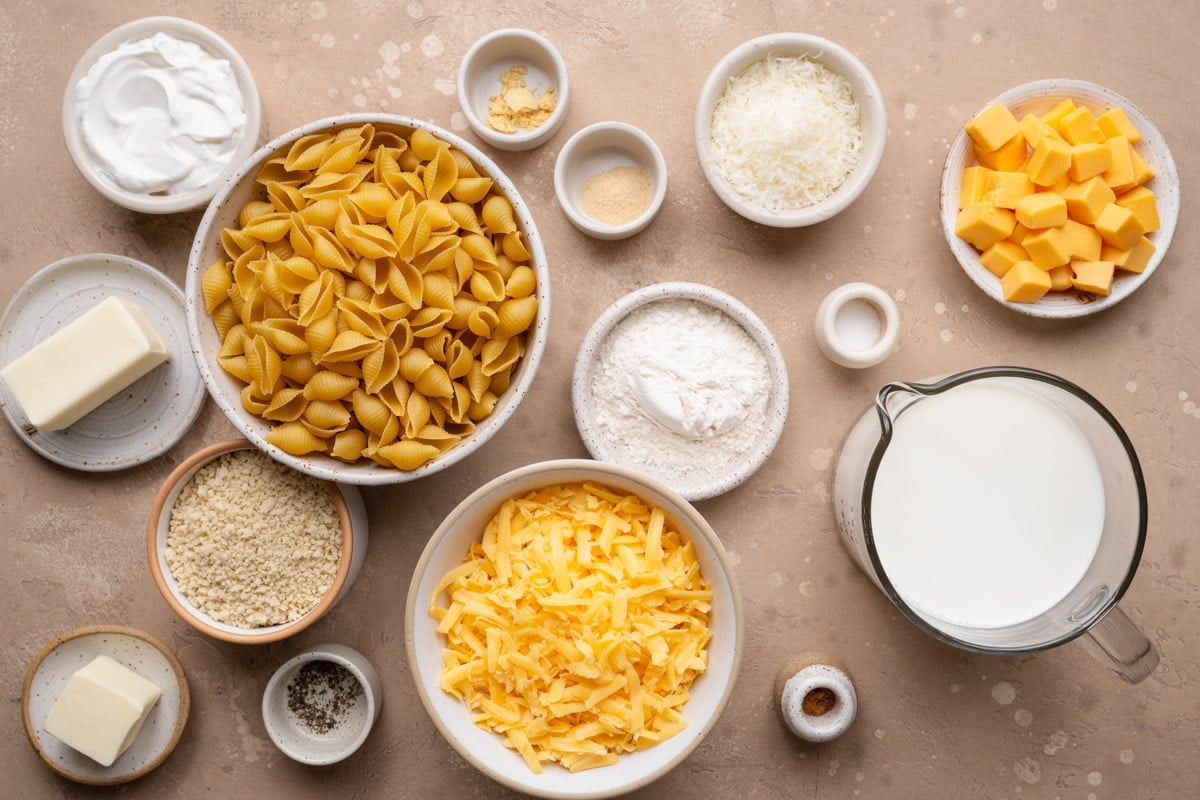
How to Make Homemade Shells and Cheese
Get the water heating before you do anything else. The shells take about as long to cook as the sauce takes to make, so if the water is already going, everything finishes at the same time and nothing sits around getting cold. This one goes straight from the pot to the plate, no oven needed!
Step 1: Boil the Shells
Cook 16 ounces of medium shell pasta in a large pot of well-salted boiling water according to the package directions, then drain.
Don’t rinse them. The starch clinging to the outside helps the sauce grab on.
Drain the shells when they’re tender but still a little firm. They soften a bit more once they’re sitting in the hot sauce, so pasta that’s fully soft going in will turn mushy in the bowl.
Step 2: Toast the Breadcrumbs
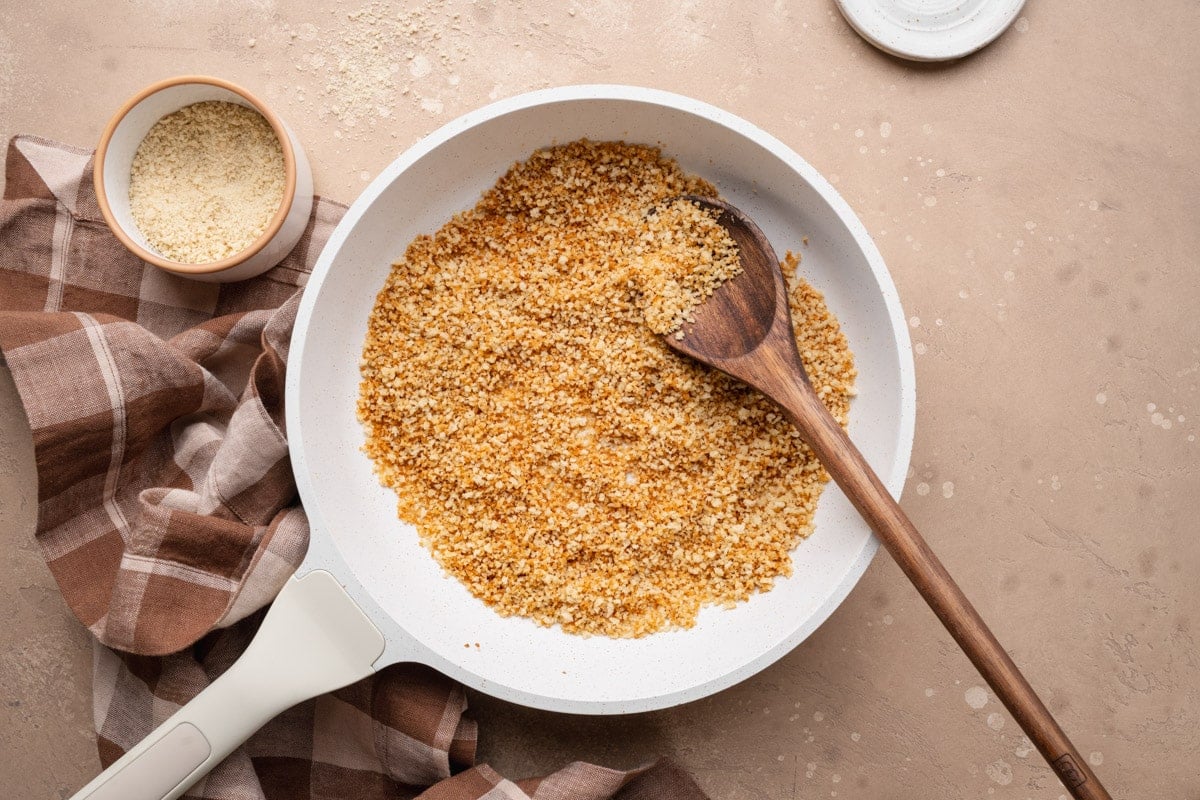
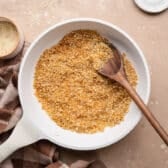
Melt 2 tablespoons of butter in a small skillet over medium-high heat, add 1 cup of panko, and stir constantly for about 4 minutes until the crumbs are golden brown. Set them aside off the heat.
Stir the whole time. Panko goes from pale to burnt fast, and the crumbs at the edge of the pan color first.
Step 3: Make the Roux
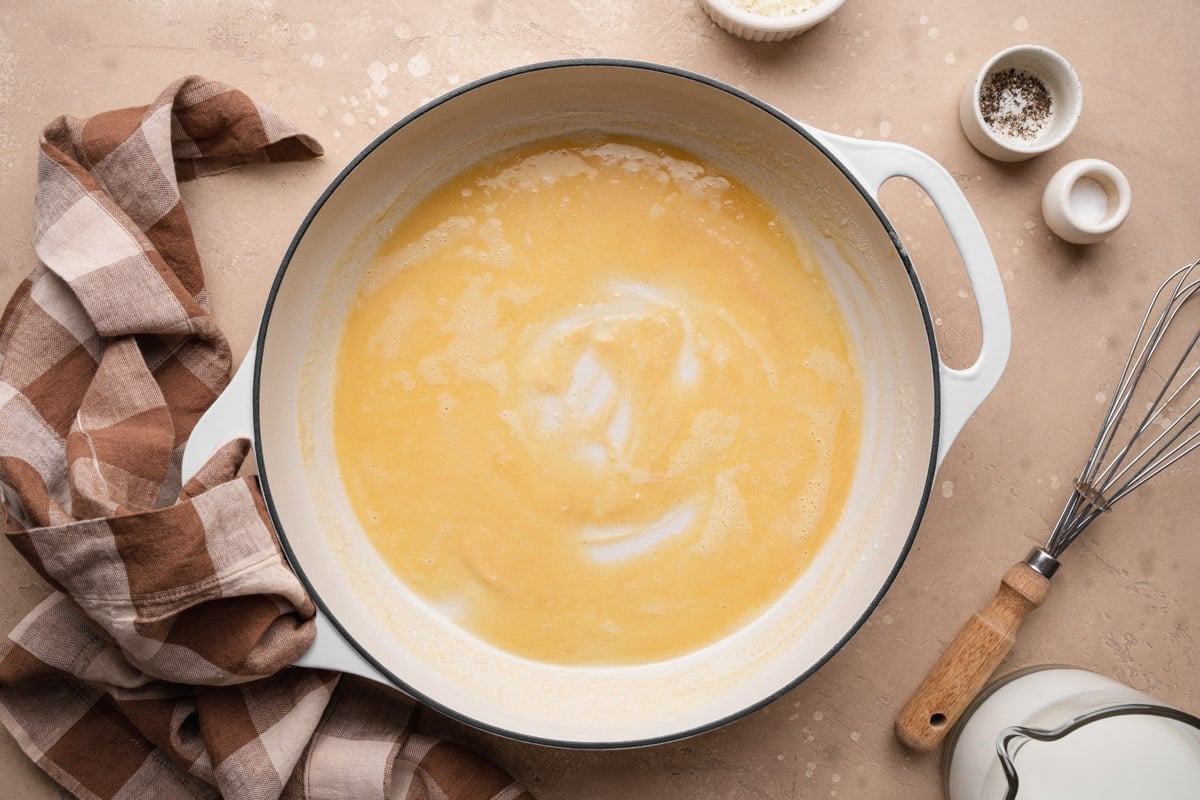
In a large skillet or Dutch oven, melt the remaining ¼ cup of butter over medium-high heat. Whisk in ¼ cup of flour and keep stirring for about 2 minutes, until the paste turns light golden and smells a little nutty.
This step cooks out the raw flour taste. If you rush it, the finished sauce tastes pasty underneath all that cheese.
Step 4: Whisk in the Milk
Gradually whisk in 2 cups of whole milk along with the salt and pepper, pouring in a slow stream so the roux loosens without lumping.
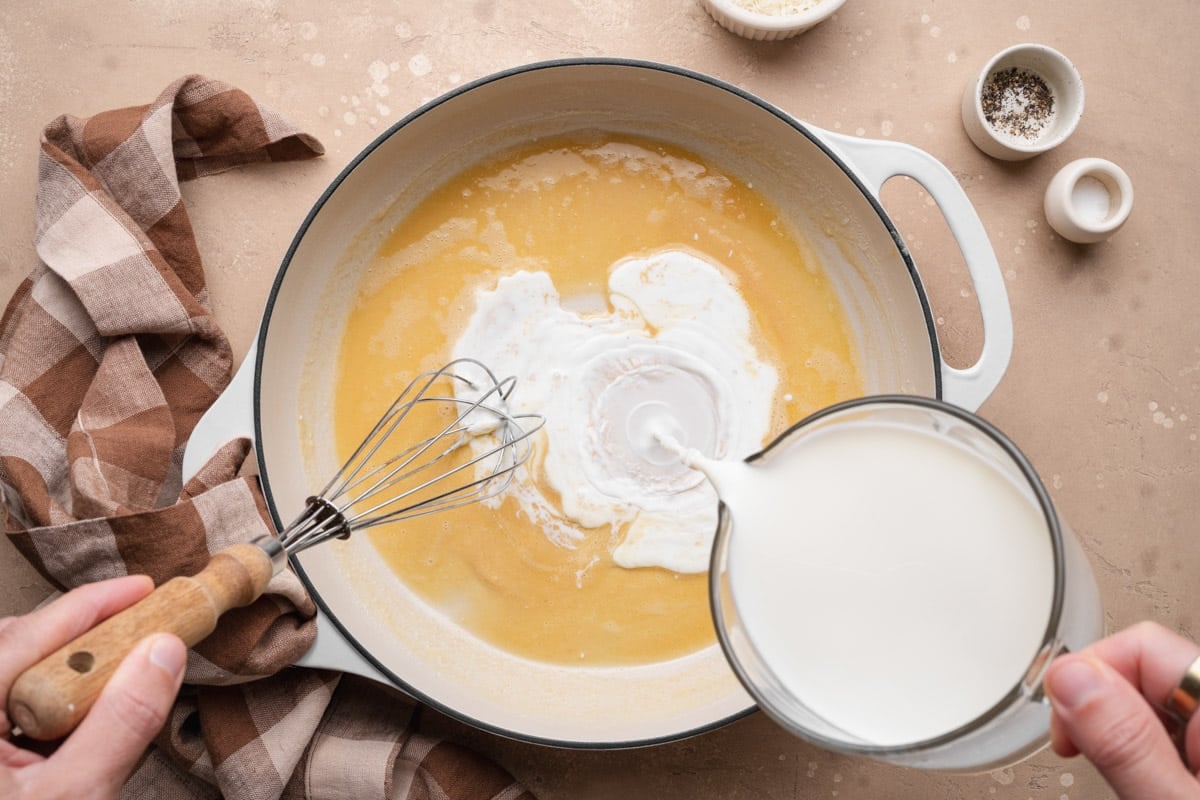
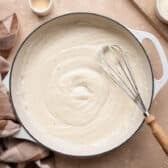
Reduce the heat to medium and whisk continually for 4 to 5 minutes, until the mixture bubbles and thickens.
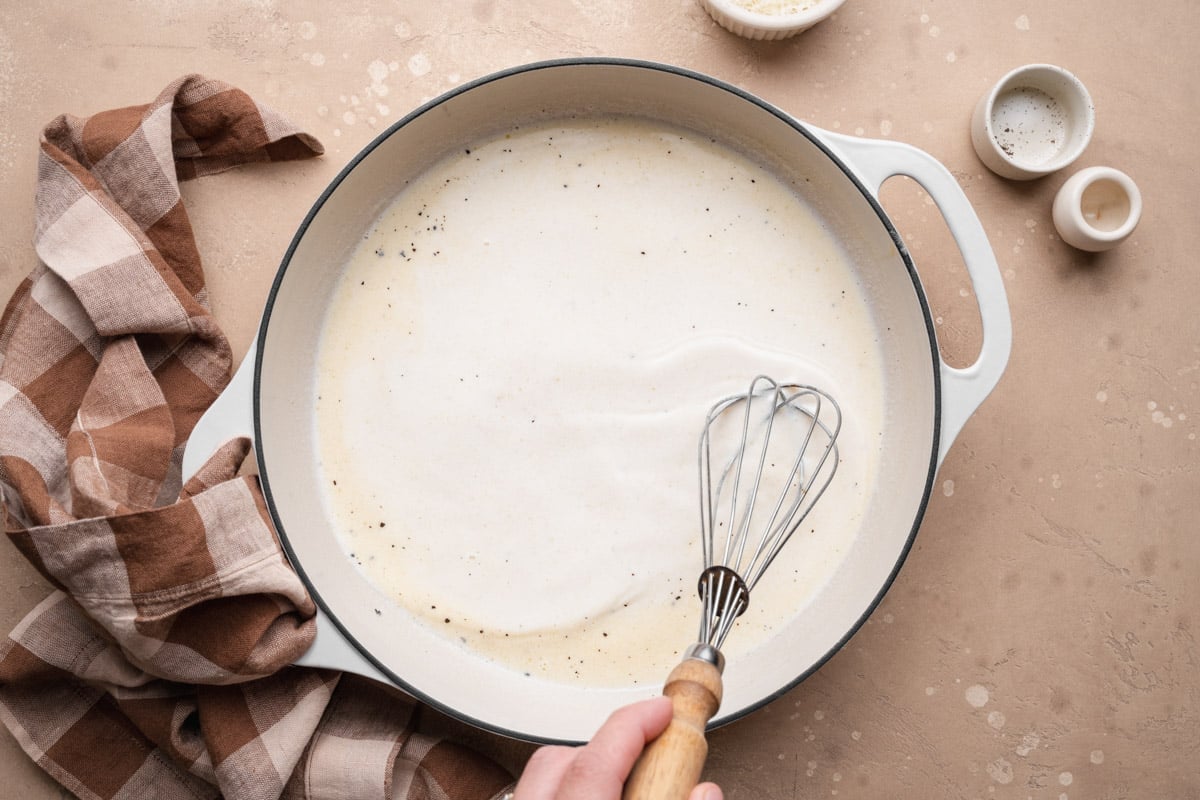
Don’t worry if it looks thin at first. It tightens up as it heats, and it’s ready when it coats the back of a spoon.
⇢ Use whole milk or half-and-half: Skim and 1% won’t give the sauce the richness it needs. Some copycat versions of the boxed product use evaporated milk instead, which makes an even thicker, glossier sauce.
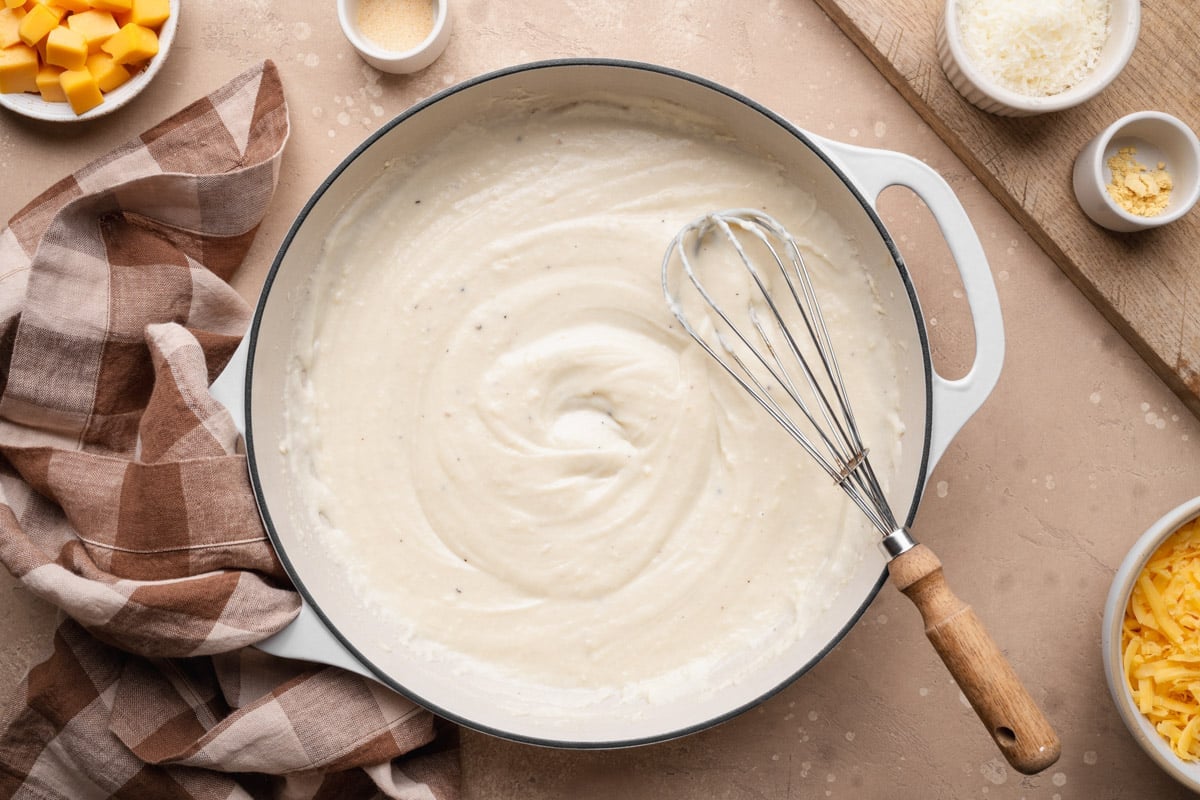
Step 5: Stir in the Cheese Off the Heat
Take the pan off the burner completely. Gradually whisk in the cheddar, Velveeta, Parmesan, sour cream, ground mustard, garlic powder, and nutmeg, adding the cheese a handful at a time and letting each addition melt before the next goes in.
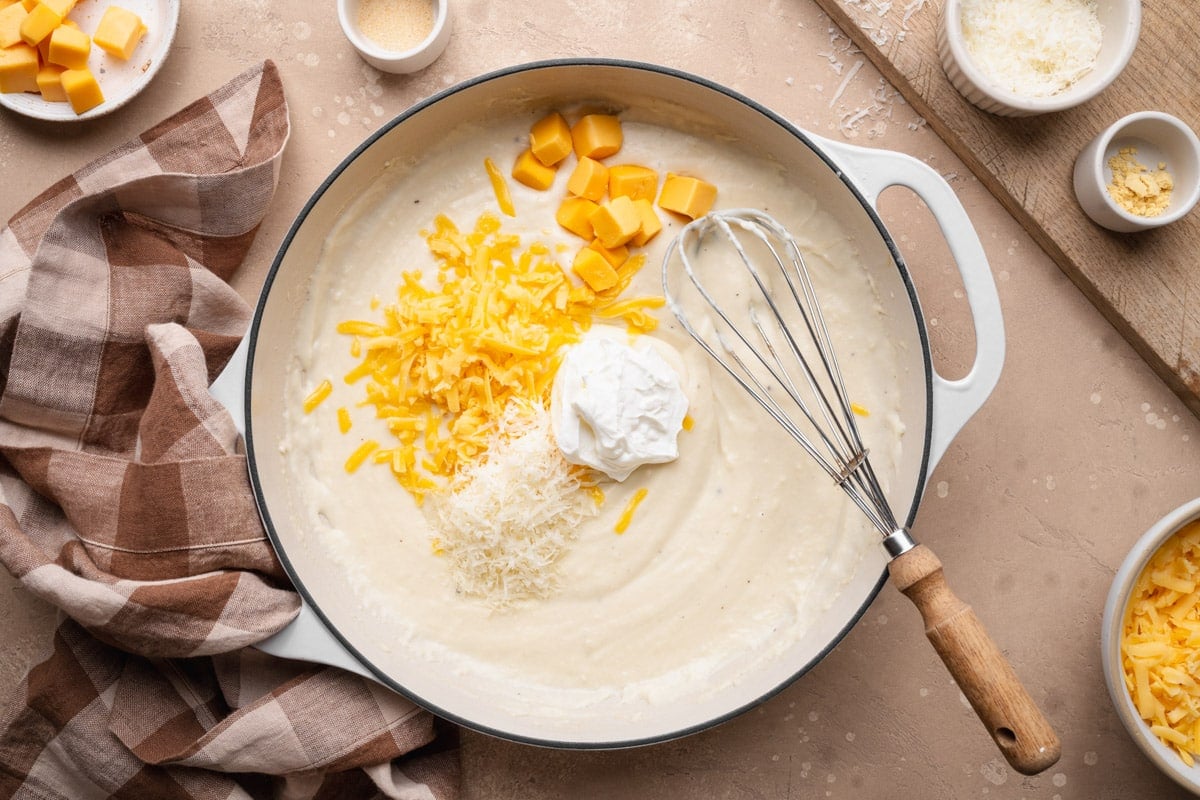
Taste and add more salt and pepper if it needs it.
The residual heat in the pan is plenty to melt everything. If you leave it over the flame, the cheese gets too hot and the fat separates out, which is what gives a sauce that grainy, oily texture.
⇢ The Velveeta wrapper has measuring marks: There are lines every 2 ounces, just like a stick of butter, so you can slice off 4 ounces without pulling out a scale.
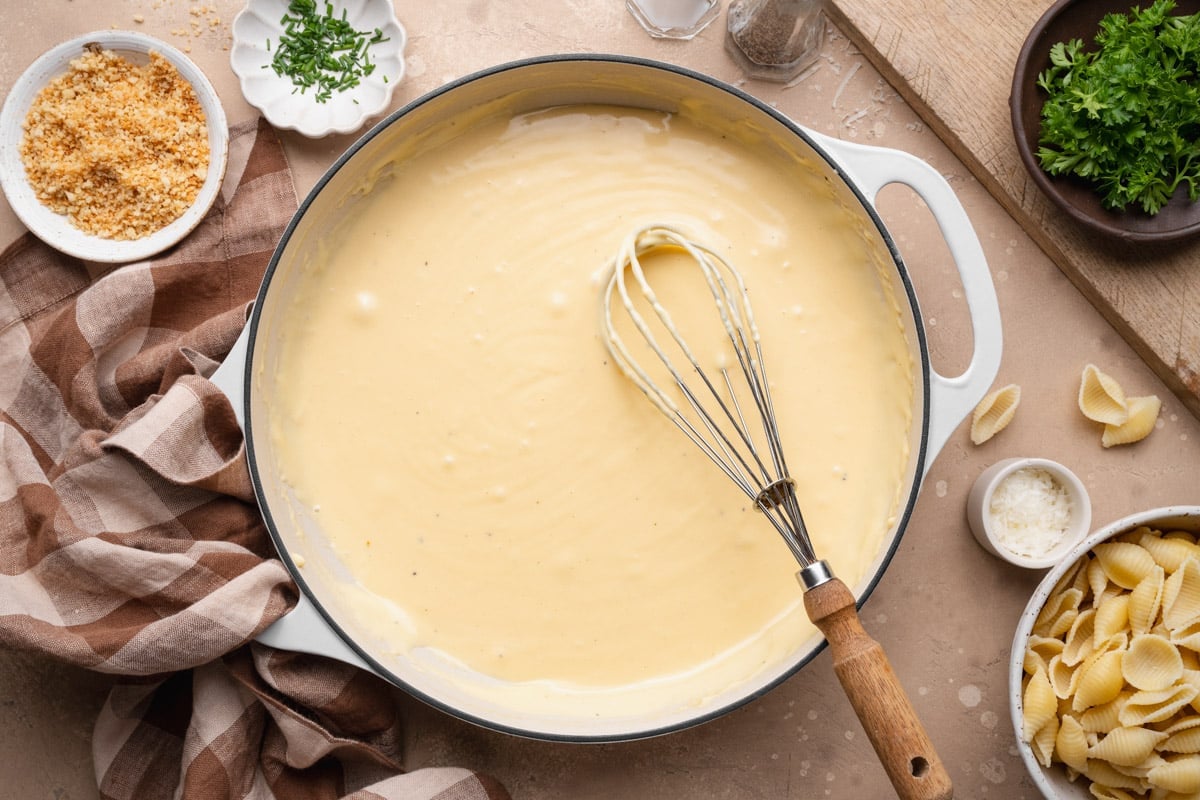
Step 6: Toss and Serve
Add the drained shells to the sauce and stir until every piece is coated.
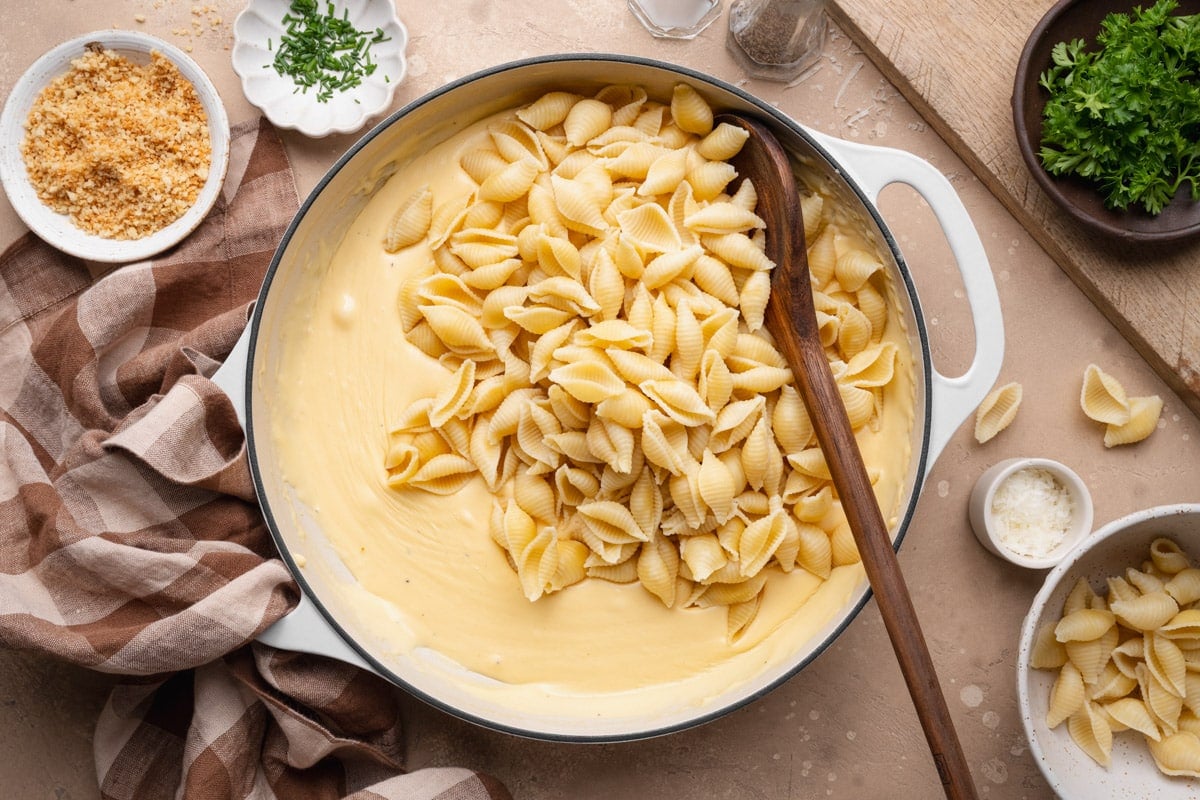
Sprinkle the toasted breadcrumbs over the top, add fresh herbs if you like, and serve right away while the sauce is at its creamiest.
Try it another way
If you’ve got a box of medium shells and want something heartier next time, my Creamy Beef and Shells uses the same pasta in a one-pot beef and tomato sauce.
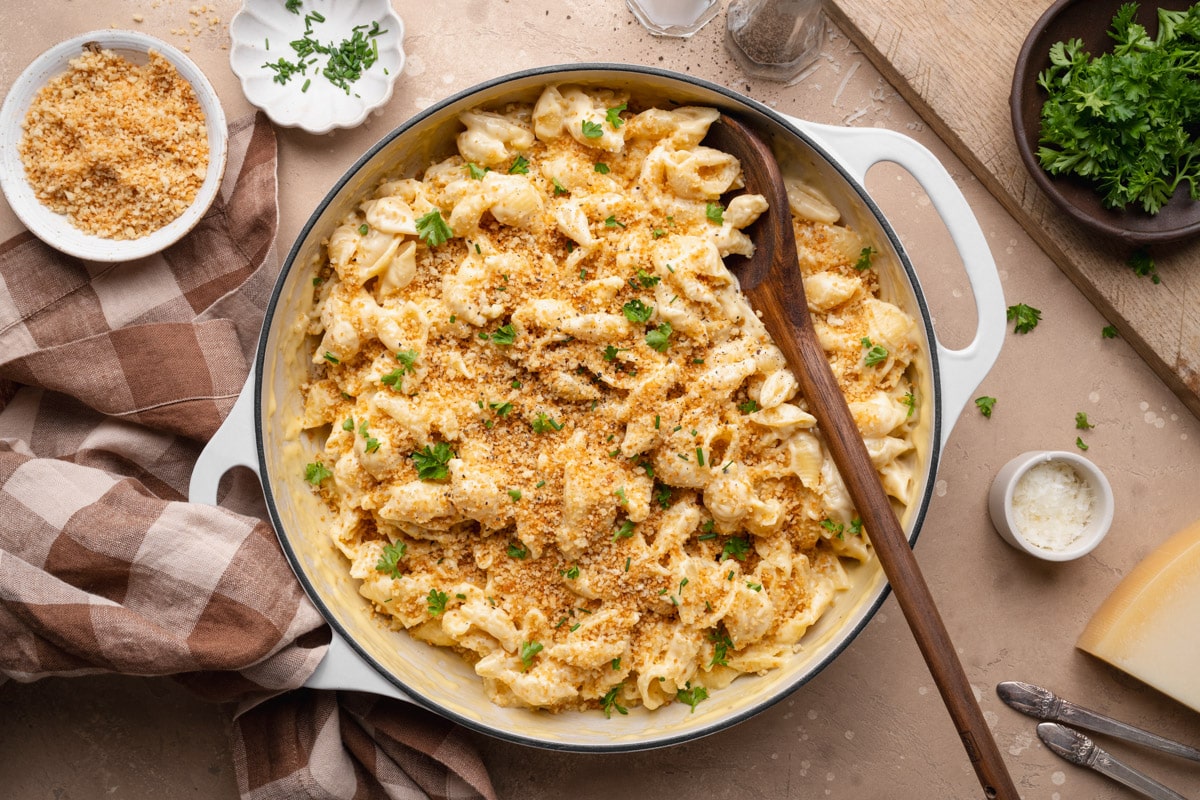
Making It a Full Meal
Shells and cheese is filling enough on its own, but a little protein and a vegetable turn it into dinner. The combination I’d start with is about 2 cups of diced ham or shredded rotisserie chicken plus 1 cup of a cooked vegetable, stirred in at the very end with the pasta. Any more than that and the sauce starts to feel stretched thin.
⇢ Proteins: diced ham, shredded rotisserie chicken, crumbled bacon, browned ground beef or leftover taco meat, or chopped hot dogs for the kids.
⇢ Vegetables: frozen peas, steamed broccoli or cauliflower florets, sautéed carrots and corn, fresh spinach, or drained diced tomatoes.
Fresh herbs are great, too! A handful of chopped chives, parsley, thyme, or basil over the top cuts through all that richness and makes the whole bowl look and taste a lot more finished.
Personally, we love to add leftover ham from a holiday meal (just like my mom always did)! It uses up any extras, but feels like an entirely different dinner.
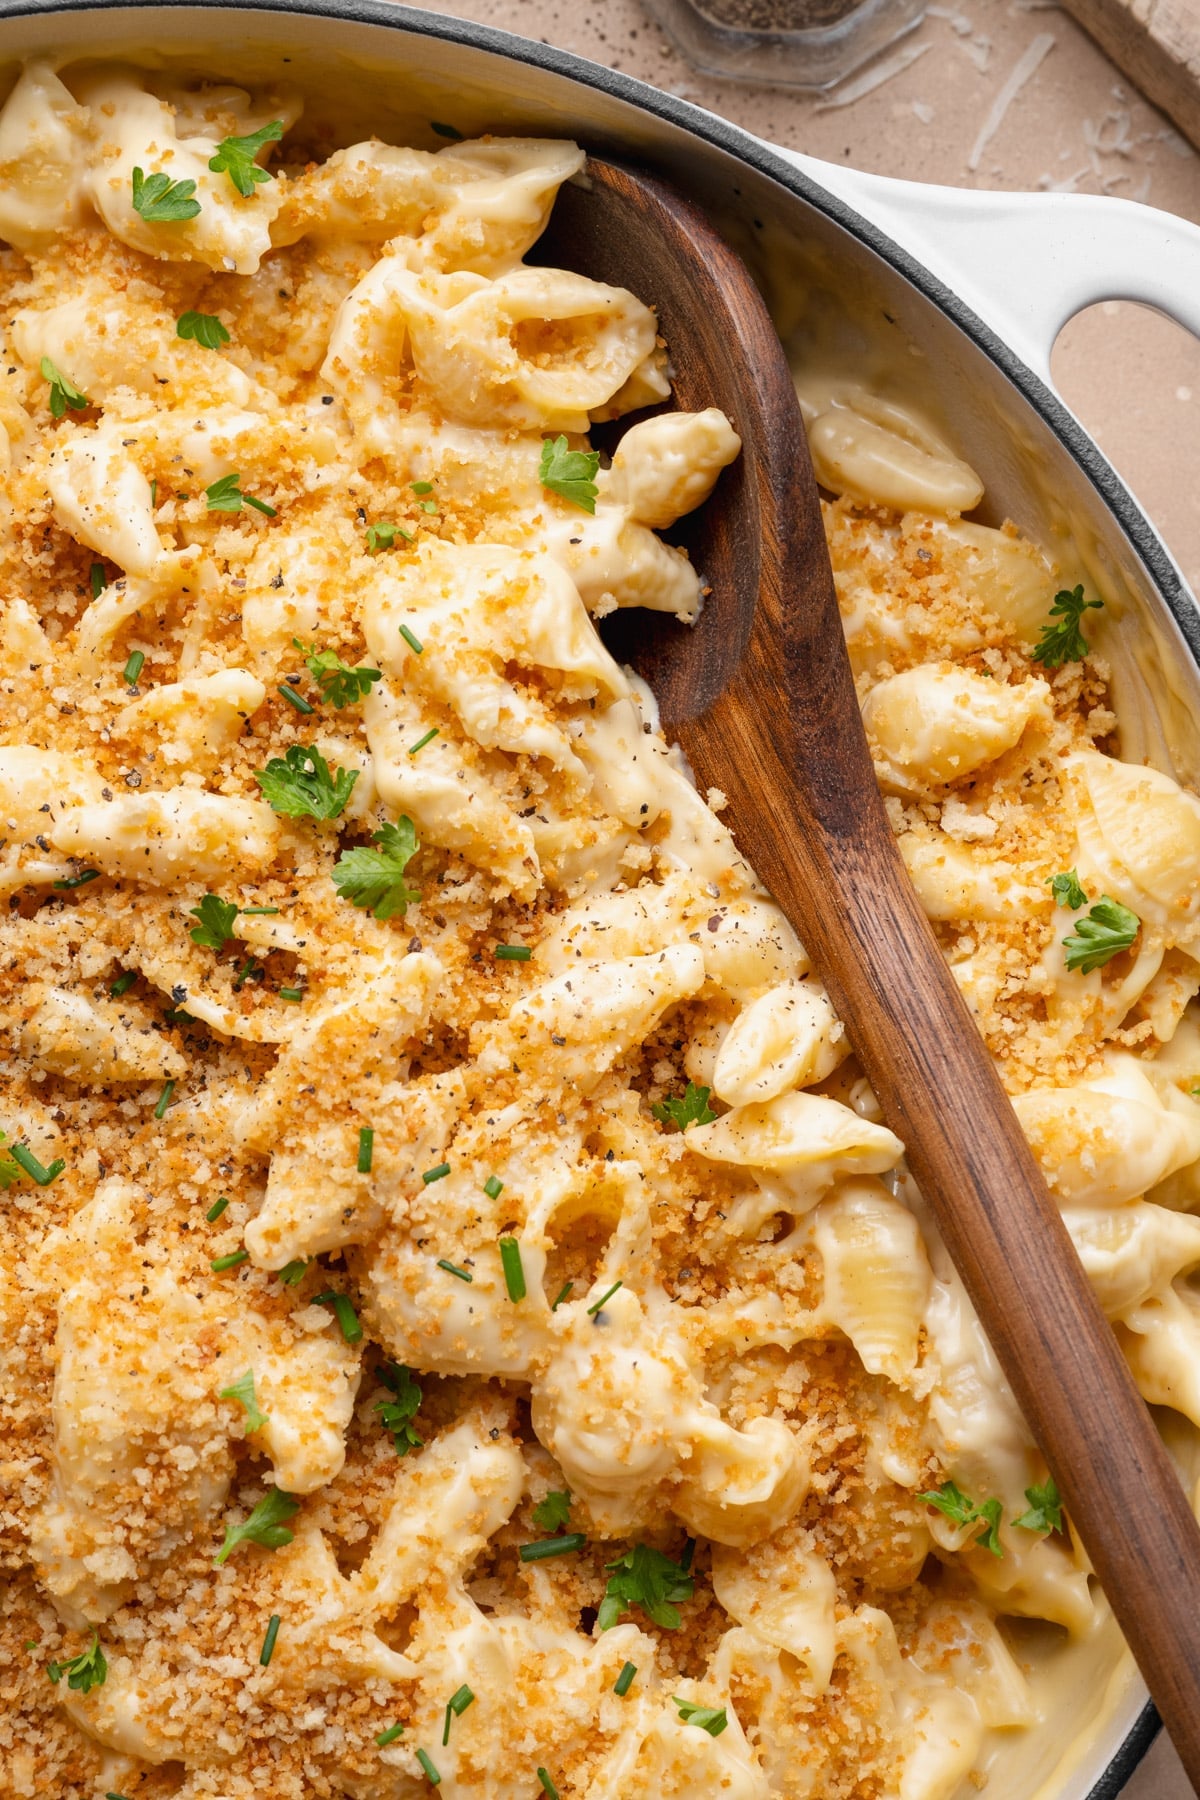
What to Serve With It
Because this works as either a main or a side, it depends on the night. Served as a meatless dinner, all it really needs is something green alongside to balance out the cheese. Served as a side, it’s right at home next to anything fried, smoky, or glazed, which also makes it an easy addition to a holiday table.
Storage
To store: Leftovers keep in an airtight container in the refrigerator for 3 to 4 days. This dish is genuinely best the minute it’s made, so I don’t recommend assembling it ahead of time.
To reheat: Put the shells in a saucepan with a splash of milk and a small pat of butter. Warm over low heat, stirring regularly, just until heated through. The pasta absorbs sauce as it sits in the fridge, so that extra liquid is what brings it back to creamy instead of pasty.
To freeze: I’d skip it. Cream-based sauces tend to separate when they thaw, and the texture never fully recovers.
Frequently Asked Questions
Why did my cheese sauce turn out grainy, and can I fix it?
Usually the sauce got too hot after the cheese went in, which causes the fat to separate out from the solids. The fix is worth trying before you start over: pull the pan off the heat, add a splash of warm milk, and whisk steadily for a minute or two. That often pulls it back together.
If it’s still gritty, a tablespoon of cream cheese whisked in off the heat should smooth it out and nobody will be the wiser.
Can I make this without the Velveeta?
Yes, though you’ll want to compensate for what it was doing. Velveeta is there for its smooth, creamy melt, so swapping it straight out for more cheddar can leave you with a sauce that’s more likely to break.
Use 4 ounces of cream cheese in its place, or bump the cheddar up to 8 ounces total and add 2 extra tablespoons of sour cream. A reader made it without the Velveeta and reported it still turned out great, so it’s a flexible swap.
Can I bake it for a browned top?
You can, with a couple of adjustments. Add an extra ½ cup of milk to the sauce before you toss in the pasta, since the oven pulls moisture out and a sauce that’s perfect on the stovetop will be dry after baking. Transfer everything to a greased 9×13-inch dish. Don’t toast the breadcrumbs in the skillet. Instead, toss them with melted butter and sprinkle over the top. Bake at 350°F for about 20 minutes, until bubbling around the edges and golden brown on top.
If you want a truly baked mac and cheese rather than a stovetop version with a browned top, my Southern Baked Macaroni and Cheese is the one to try, with egg in the custard so the dish sets as it bakes.
More Cheesy Pasta Recipes

Did you make this recipe?
If you enjoyed this recipe, please leave a comment with a 5-star review at the bottom of the post. Thank you!

Homemade Shells and Cheese
Ingredients
- 16 ounces medium shell pasta
- ¼ cup salted butter plus 2 tablespoons, divided
- 1 cup panko breadcrumbs
- ¼ cup all-purpose flour
- 2 cups whole milk or half-and-half
- ½ teaspoon kosher salt, plus more to taste
- Dash ground black pepper
- 6 ounces (about 1 ½ cups) extra sharp cheddar cheese, grated
- 4 ounces Velveeta cheese, cubed
- 2 ounces (about ½ cup) Parmesan cheese, hand-grated
- ½ cup sour cream, at room temperature
- ¼ teaspoon ground mustard
- ¼ teaspoon garlic powder
- Dash of ground nutmeg
- Optional garnish: chopped fresh parsley, thyme, chives or basil
Instructions
- Cook the pasta: Boil the shells in a large pot of well-salted water according to the package directions. Drain, but don't rinse.
- Toast the breadcrumbs: In a small skillet, melt 2 tablespoons of the butter over medium-high heat. Add the panko and cook, stirring constantly, until toasted and golden brown, about 4 minutes. Remove from the heat and set aside.

- Make the roux: In a large skillet or Dutch oven, melt the remaining ¼ cup butter over medium-high heat. Whisk in the flour and cook, stirring, until the mixture is light golden, about 2 minutes.
- Add the milk: Gradually whisk in the milk, salt, and pepper. Reduce the heat to medium and whisk continually until the mixture bubbles and thickens enough to coat a spoon, 4 to 5 minutes.
- Melt in the cheese: Remove the pan from the heat. Gradually whisk in the cheddar, Velveeta, Parmesan, sour cream, ground mustard, garlic powder, and nutmeg, adding the cheese a handful at a time, until melted and smooth. Taste and season with additional salt and pepper if desired.
- Toss and serve: Add the cooked pasta and stir to coat. Sprinkle with the toasted breadcrumbs, garnish with fresh herbs, and serve immediately.



Notes
- Keep the sauce smooth: Always add the cheese with the pan off the heat. Cheese that gets too hot separates, and the sauce turns grainy.
- Grate your own cheese: Pre-shredded cheddar and canned Parmesan are coated with starch that keeps them from melting cleanly.
- Measuring the Velveeta: The wrapper is marked every 2 ounces, just like a stick of butter, so you can slice off 4 ounces without weighing it.
- Milk matters: Whole milk or half-and-half gives the sauce its richness. Skim and 1% will leave it thin.
- How much to make: Plan on about 1 ½ cups per person as a main dish or ¾ cup as a side. The recipe halves easily for 4 people or quarters for 2.
- Make it a meal: Stir in about 2 cups of diced ham or shredded chicken plus 1 cup of cooked vegetables at the end, along with the pasta.
- Storage: Leftovers keep in an airtight container in the refrigerator for 3 to 4 days. Reheat gently in a saucepan with a splash of milk and a pat of butter, stirring until smooth. This dish doesn’t freeze well, since the cream-based sauce separates as it thaws.
- Other pasta shapes: Elbows, rotini, cavatappi, or farfalle all work if you don’t have shells on hand.
Nutrition
Originally published in September, 2021, this post was updated in October, 2026.












This looks yummy! Will definitely try it at some point, but would really appreciate it if you could tell me how you measure out the 4 oz. of Velveeta Cheese? Thanks so much! 🙂
Sure, Tess! The wrapper on the Velveeta has markings for every 2 ounces that show you where to slice. 🙂 It’s similar to a cream cheese wrapper or the wrapper on a stick of butter. You can also use a kitchen scale to weigh it out, but you don’t really need to! Hope you enjoy!
Thank you so much! I sure don’t know how I could’ve missed seeing that on the wrapper all these years! Silly me! 🙂
No problem! Hope you like the dish! 🙂
Well… I needed to use up some canned green beans, shredded carrots, & a bit of onion… and I’ve been craving comfort food since we’ve gotten a 20° cold snap. I completely bastardized this recipe, halved it, and it was STILL delicious!
I cooked the medium shells in Better Than Bouillon Ham broth & reserved the liquid. I don’t use a ton of water bc I like using the reserved starchy pasta water as a sauce thickener.
Then made the roux & added all spices, plus dried oregano & doubled the dry mustard. Then added in 1/4 c. shaved onion, 3/4 c. shredded raw carrots (I wanted a bit of crunch), and a drained 15oz can of whole green beans that were about to expire (ie: getting mushy). Sounds appetizing, right? LOL
I then added in 1.75 c. Pre-shredded Italian blend cheese & 3/4 c. rustic pre-shredded extra sharp cheddar. Thinned out the sauce with the ham stock pasta water & added the medium shells, reheated gently & served. Pretty tasty – didn’t even taste the mushy green beans, just knew they were adding extra vitamins & fiber. Didn’t add the sour cream, nor the bread crumbs.
I figure if I can make a “kitchen sink mac & cheese” that’s this tasty, the original recipe will be fabulous!!
P.S. This was my first-ever made from scratch mac & cheese, so that indubitably made it easier to mix up the basic mac & cheese recipe bc I don’t have preconceived notions of what a “proper” mac & cheese should be
Left out the Velveeta, too!
Totally sacrilegious, I know…
We’re so glad it still turned out well for you! Thank you for taking the time to leave a review. We’d love to know how it goes if you try it out again or give any of our other recipe as as shot.