Crispy on the outside, juicy on the inside, and seasoned just right! This buttermilk fried chicken tenders recipe comes together with pantry staples in about 30 minutes, whether you fry them in a cast iron skillet or in a deep fryer.
More crispy chicken favorites:
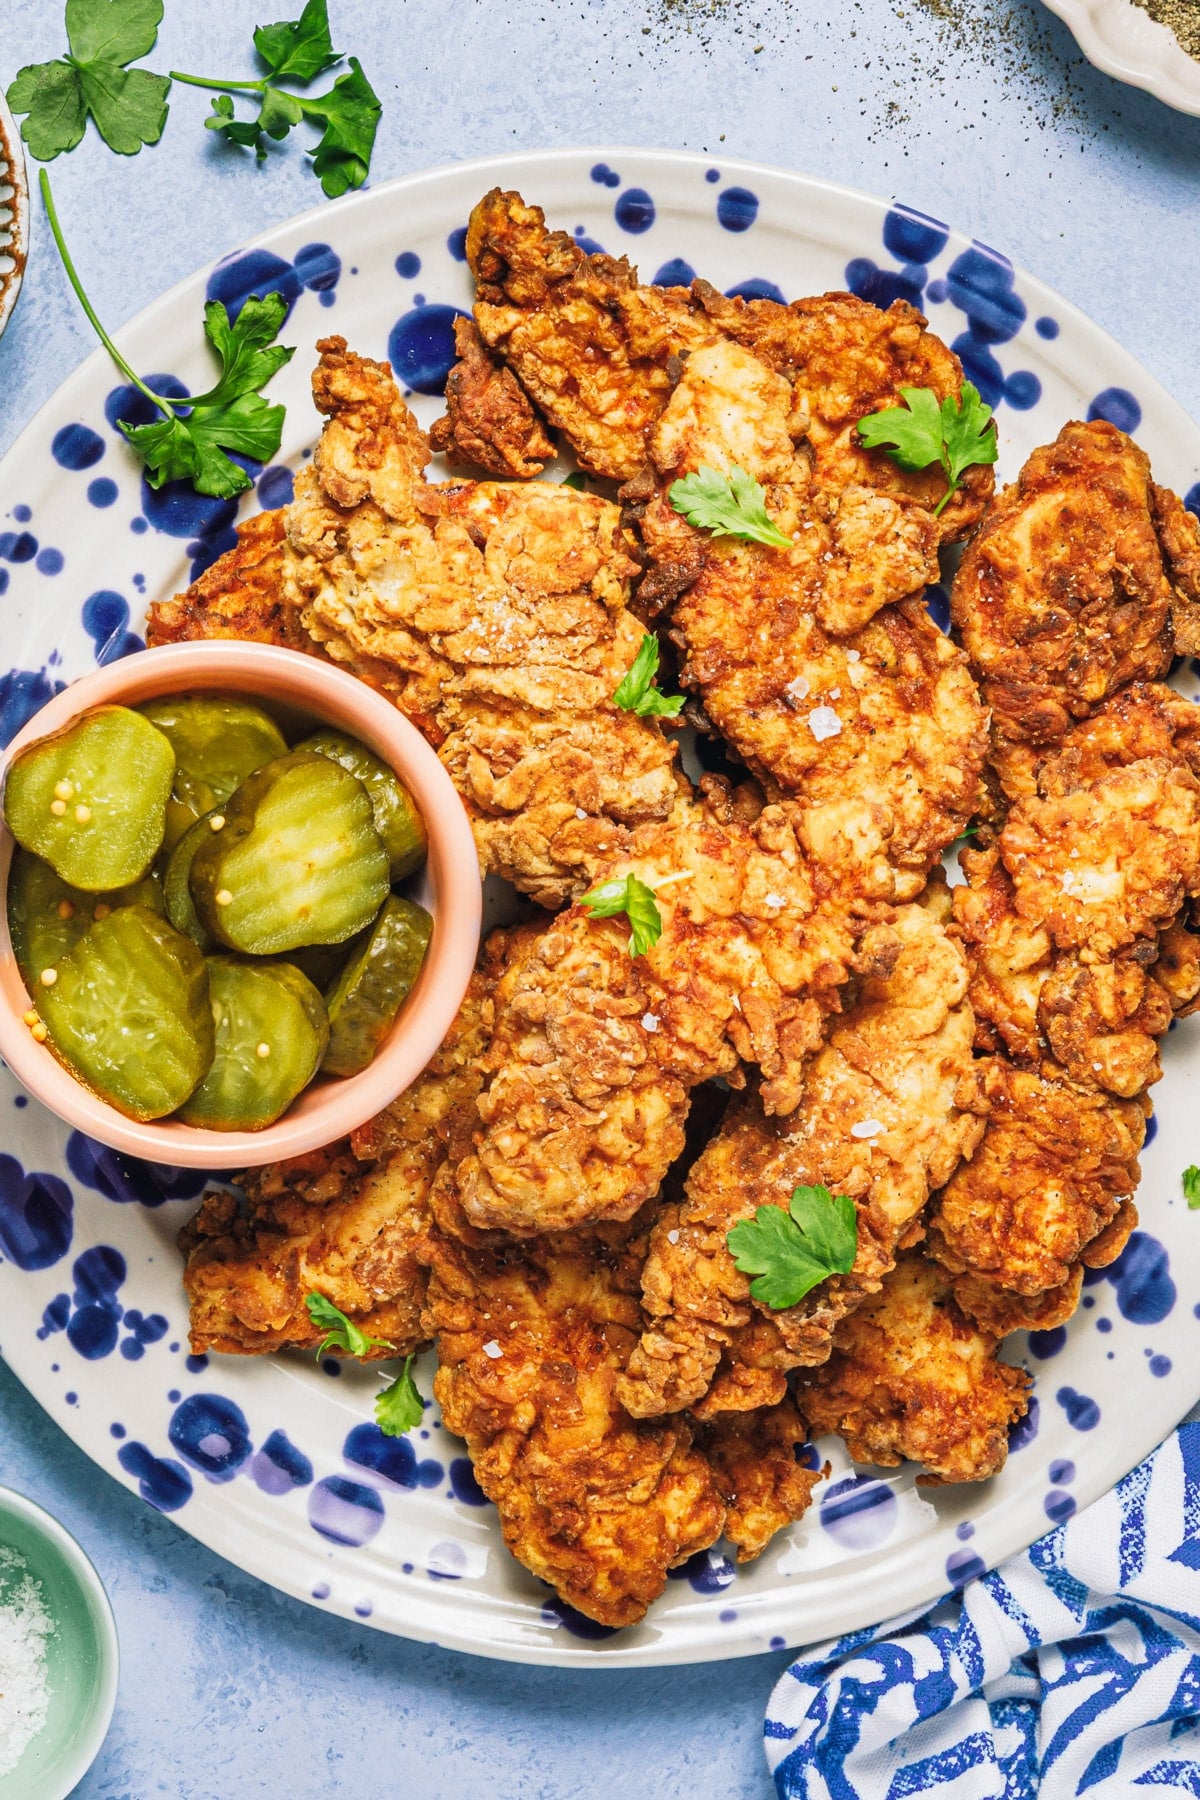
Photography by BEA MORENO.
Before You Get Started
Three things make the biggest difference between crispy tenders and soggy ones. Read these before you heat the oil:
- Keep the oil at a steady 375°F. Too cool and the chicken absorbs grease. Too hot and the coating burns before the meat cooks through.
- Don’t overcrowd the pan. Adding too many pieces at once drops the oil temperature and gives you soggy tenders. Fry in small batches.
- Season the chicken right out of the oil. A pinch of salt sticks best to the hot, freshly fried coating, and it makes a real difference in the final flavor.
⭐️ Looking for More Like This? → See all of my favorite ways to use up a carton of buttermilk in my Buttermilk Recipes collection.
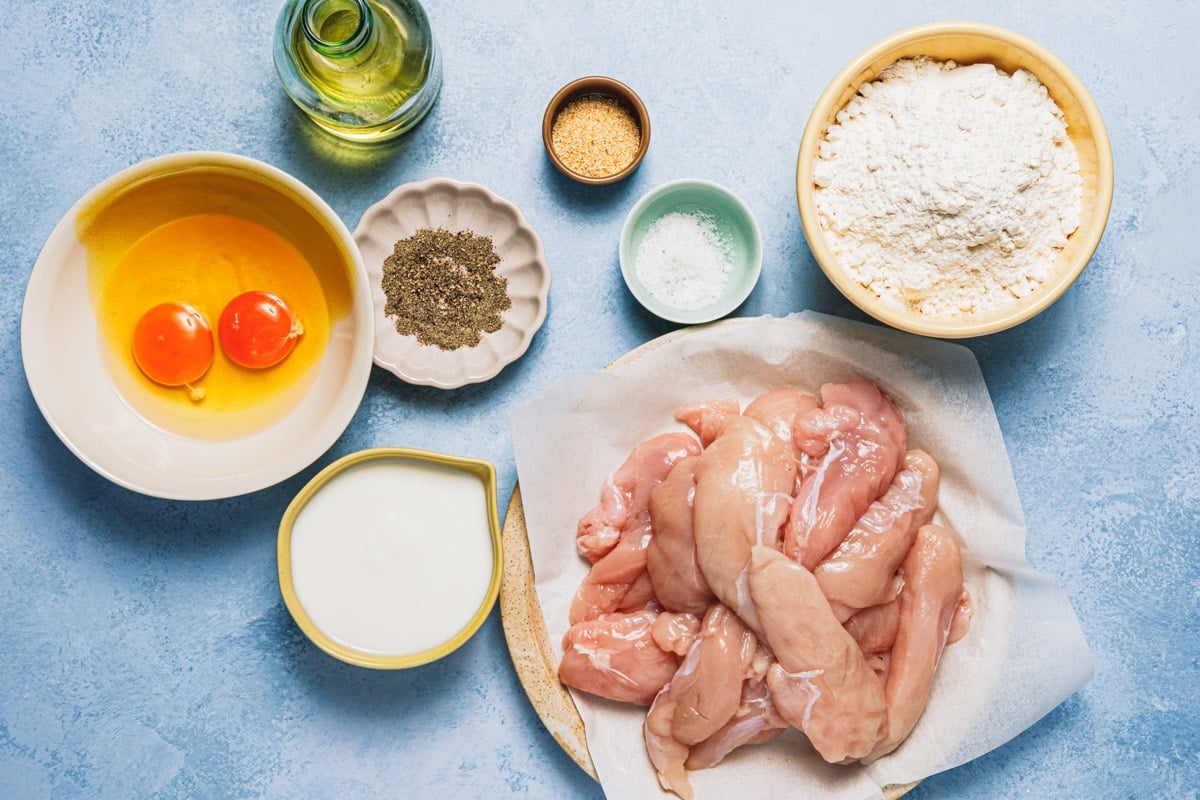
How to Fry Chicken Tenders
This recipe works for either pan fried chicken tenders or deep fried chicken tenders. Full measurements and times are in the recipe card. Here’s the overview, with the tips and timing cues that matter most.
Step 1: Dip
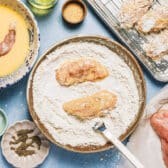
Whisk together the eggs, buttermilk, and garlic salt in a shallow bowl. Working one piece at a time, dip each tender into the mixture and let the excess drip off.
⇢ No buttermilk on hand? Stir 1 tablespoon of white vinegar or lemon juice into a measuring cup, then add enough milk to make 1 cup. Let it stand 5 minutes before using.
Step 2: Dredge
Combine the flour with salt and pepper in a separate shallow bowl. Press each piece of chicken into the seasoned flour, coating all sides.
⇢ Want extra flavor in the breading? Add paprika, garlic powder, onion powder, or a pinch of cayenne to the flour, or season the chicken with my BBQ Rub before dredging.
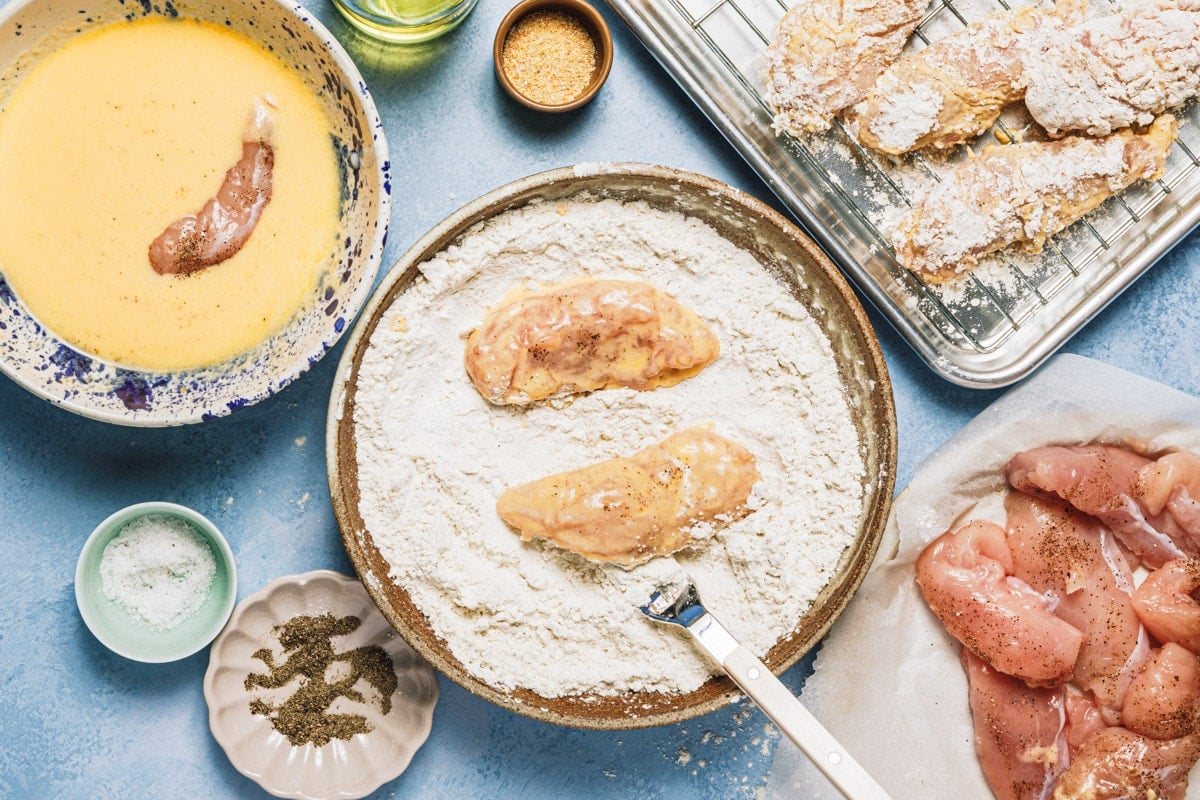
Step 3: Rest
Place the coated chicken on a wire rack and let it sit for a few minutes while you heat the oil.
This short rest helps the coating set and is the single biggest reason the breading stays on during frying.
Step 4: Fry
Heat about 2 inches of oil to 375°F in an electric skillet, cast iron skillet, Dutch oven, or deep-fat fryer.
Fry the chicken a few pieces at a time for about 3 to 4 minutes per side, until the coating is golden brown and crispy and the internal temperature reaches 165°F.
⇢ No thermometer? Drop a tiny bit of water into the oil. If it sizzles immediately, the oil is hot enough.
⇢ Using a deep fryer? Set the temperature to 375°F and cook the tenders for about 6 minutes per batch. No need to flip.
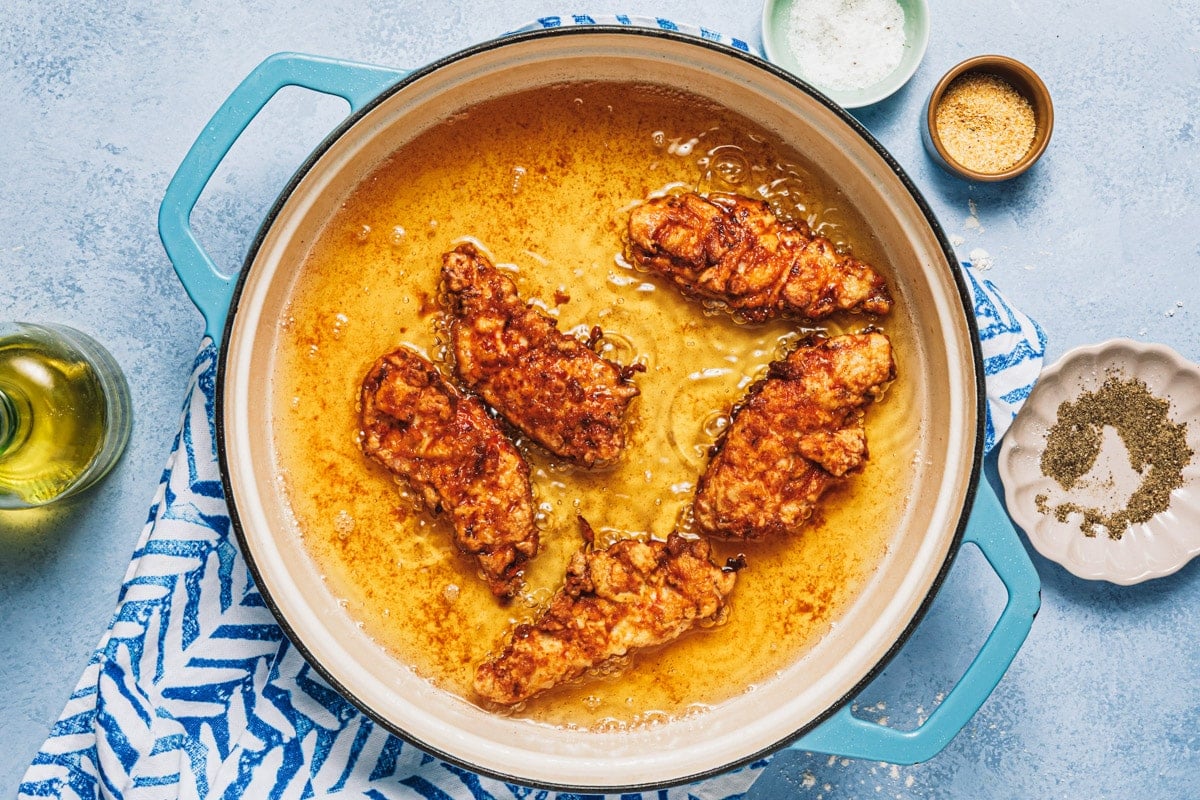
Step 5: Keep Warm
Transfer the cooked chicken to a paper towel-lined plate and season with a little more salt. Move them to a wire rack over a baking sheet and hold in a 200°F oven while you fry the remaining batches.
Garnish with fresh parsley before serving, if you like.
The Best Oil for Frying Chicken Tenders
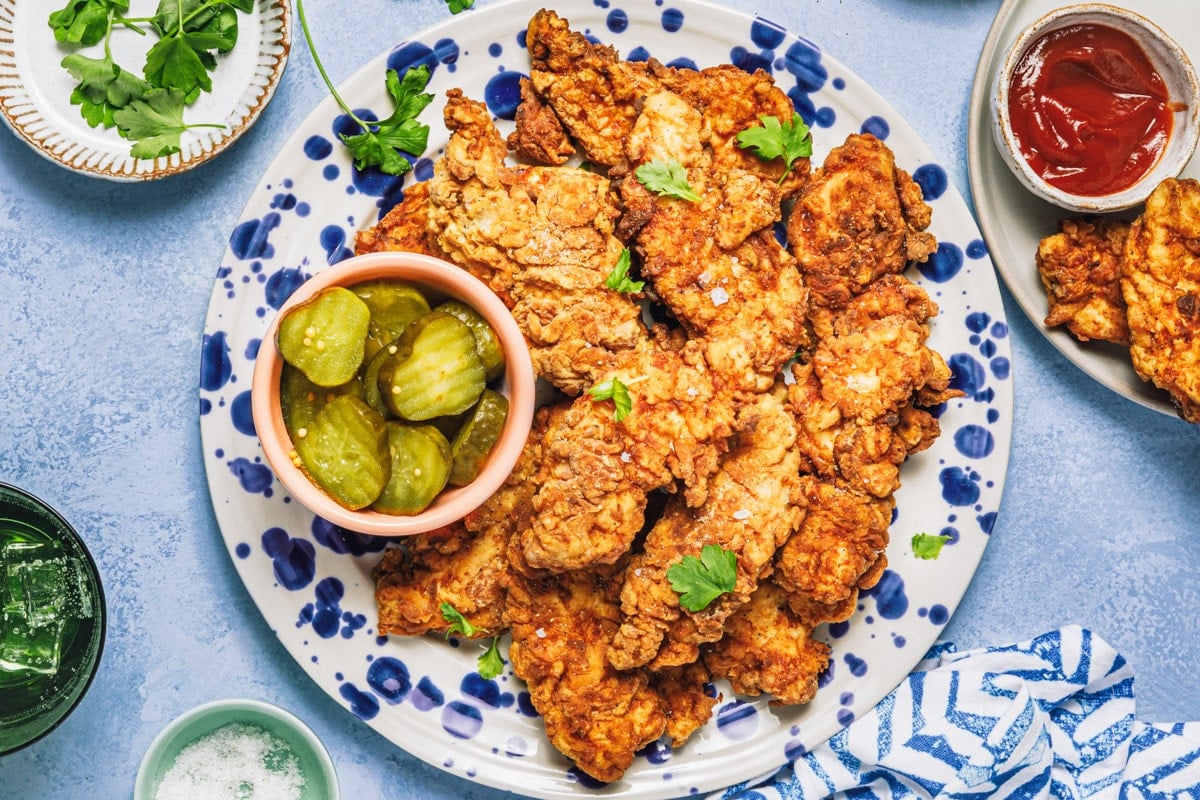
Use peanut oil, vegetable oil, canola oil, or vegetable shortening. Peanut oil is my go-to because it has a high smoke point, it’s affordable, and it won’t add flavor to the meat. As long as you don’t smoke the oil or use it to fry fish, you can strain and refrigerate it and reuse it up to 3 times.
Sides That Round Out the Plate
Fried chicken tenders go with just about every classic Southern side, but I like to serve them with Honey Mustard for dipping and a handful of easy, comforting sides alongside.
Here are some of my favorites:
Storage and Reheating
Fried chicken is at its best when fresh and crispy, but leftovers reheat well if you avoid the microwave.
Store. Refrigerate leftover chicken tenders in an airtight container for 2 to 3 days.
Freeze. Store cooked tenders in the freezer for up to 3 months. You do not need to defrost them before reheating.
Reheat. Place leftover tenders in a single layer on a wire rack over a baking sheet. Bake in a 400°F oven until the breading feels hot and crispy, about 10 minutes for refrigerated tenders or about 20 minutes for frozen tenders (flip halfway through). Never cover hot fried chicken with foil. The trapped steam will soften the coating.
Fried Chicken Tenders FAQs
How do you keep the breading from falling off chicken tenders?
- Don’t move the tenders around in the pan once they’re frying. Let them set for the first minute or two before flipping.
- Pat the chicken dry before dipping. A wet surface gives the buttermilk and flour nothing to grip.
- Let the breaded chicken rest on a wire rack for a few minutes before it hits the oil. This short rest sets the coating and is the single most overlooked step.
Do you dip chicken in egg or flour first?
For these tenders, dip in the buttermilk and egg mixture first, then dredge in the seasoned flour. The wet coating gives the flour something to stick to, and the flour creates the crispy crust. If you dip in flour first, the coating won’t adhere properly and will fall off in the oil.
How long do you fry chicken tenders?
About 3 to 4 minutes per side in 375°F oil, or roughly 6 minutes total in a deep fryer (no flipping needed). The exact time depends on the thickness of your tenders. They are done when the coating is golden brown and the internal temperature reaches 165°F.
Should I use flour or cornstarch for extra crispy tenders?
This recipe uses all-purpose flour, which gives a classic, sturdy fried chicken coating. If you want an even crispier finish, swap about ¼ cup of the flour for cornstarch. The cornstarch creates a lighter, crunchier crust without changing the flavor.
Can I make these in the air fryer?
The air fryer works for a leaner version, though the texture isn’t quite the same as classic fried tenders. Spray the breaded chicken generously with oil, then air fry at 400°F for about 10 to 12 minutes, flipping halfway through, until the coating is golden and the internal temperature reaches 165°F.
For a recipe built for the oven, my Crispy Baked Chicken Tenders are a great option.
More Crispy Chicken Favorites

Did you make this recipe?
If you enjoyed this recipe, please leave a comment with a 5-star review at the bottom of the post. Thank you!
Watch How to Make It

Fried Chicken Tenders
Ingredients
- 2 lbs. chicken tenderloins (or boneless, skinless chicken breasts cut into strips)
- Kosher salt and ground black pepper, to taste
- 2 large eggs
- ¾ cup buttermilk
- 1 teaspoon garlic salt
- 1 ½ cups all-purpose flour
- Oil for deep-fat frying (such as peanut oil or vegetable oil)
Instructions
- Season the chicken lightly with salt and pepper. In a shallow bowl, whisk together the eggs, buttermilk, and garlic salt. In a separate shallow bowl, combine the flour, ¾ teaspoon of salt, and ¼ teaspoon of pepper.

- Working with one piece of chicken at a time, dip the chicken in the egg mixture, then dredge in the flour mixture. Let the coated chicken rest on a wire rack for a few minutes while you heat the oil.
- In an electric skillet, cast iron skillet, Dutch oven, or deep-fat fryer, heat about 2 inches of oil to 375°F. Fry the chicken a few pieces at a time for 3 to 4 minutes on each side, or until crispy and golden brown. The chicken is done when it reaches an internal temperature of 165°F.
- Transfer the chicken to a paper towel-lined plate and season with a little more salt. Keep warm in a 200°F oven while you fry the remaining batches.



Notes
- Best oil choices. Peanut, vegetable, canola, or vegetable shortening. Peanut oil has a high smoke point and won’t flavor the meat.
- Oil temperature is the most important variable. Keep it at a steady 375°F. Too cool and the tenders absorb grease; too hot and the coating burns before the chicken cooks through.
- Don’t overcrowd the pan. Adding too many pieces at once drops the oil temperature. Fry in small batches.
- The wire rack rest matters. Letting the coated chicken sit for a few minutes before frying helps the breading set and stay on during cooking.
- No buttermilk? Stir 1 tablespoon of white vinegar or lemon juice into a measuring cup, then add enough milk to make 1 cup. Let stand 5 minutes before using.
- No thermometer? Drop a tiny bit of water into the hot oil. If it sizzles immediately, the oil is ready.
- Deep fryer timing. Set to 375°F and fry for about 6 minutes per batch. No flipping needed.
- Extra crispy version. Swap about ¼ cup of the flour for cornstarch for a lighter, crunchier crust.
- Storage & Reheating: Refrigerate leftovers in an airtight container for 2 to 3 days, or freeze for up to 3 months. To reheat, bake at 400°F on a wire rack for 10 minutes (refrigerated) or 20 minutes (frozen), flipping halfway. Never cover with foil; the trapped steam softens the coating.
Nutrition
Originally published in July, 2020, this post was updated in June, 2026.













Can’t wait to try. Had your french onion chicken last night for 3rd time as family loves it and it comes out tender and flavorful every time.
Oh, good! I hope that you enjoy the tenders. I need to make the French Onion Chicken again soon — I had forgotten about that gem! 🙂
I never learned to fry chicken this recipe seems to be very easy. My son gave me a deep fryer for Christmas and this will be the first time using it. I can barely wait.
That’s so fun, Mildred! I hope you love the chicken and have fun with the fryer!