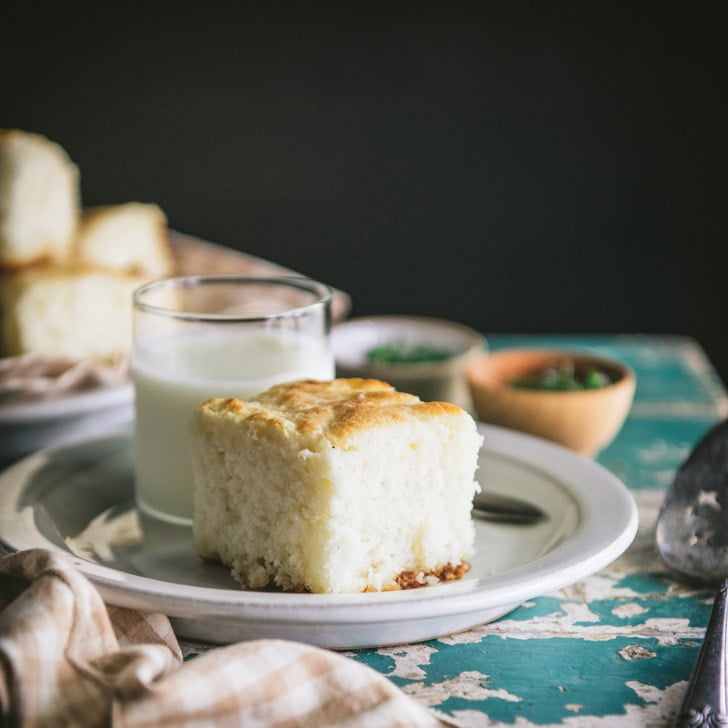
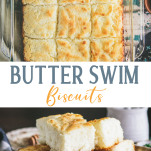
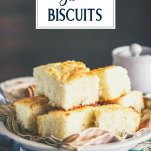
The easiest homemade buttermilk biscuits rise a mile high! With these 4-ingredient butter swim biscuits (or “butter dip biscuits”), there’s no need to roll out the dough or cut out the biscuits. Just melt some butter in a dish, stir together the dough, and bake them in the oven! You’ll have buttery, light, and tender biscuits with just 10 minutes of prep. Serve them for breakfast or brunch with eggs or sausage gravy, or offer them at supper alongside a Dutch oven pot roast, fried chicken, a pot of chili, or a bowl of stew.
Butter Dip Biscuits
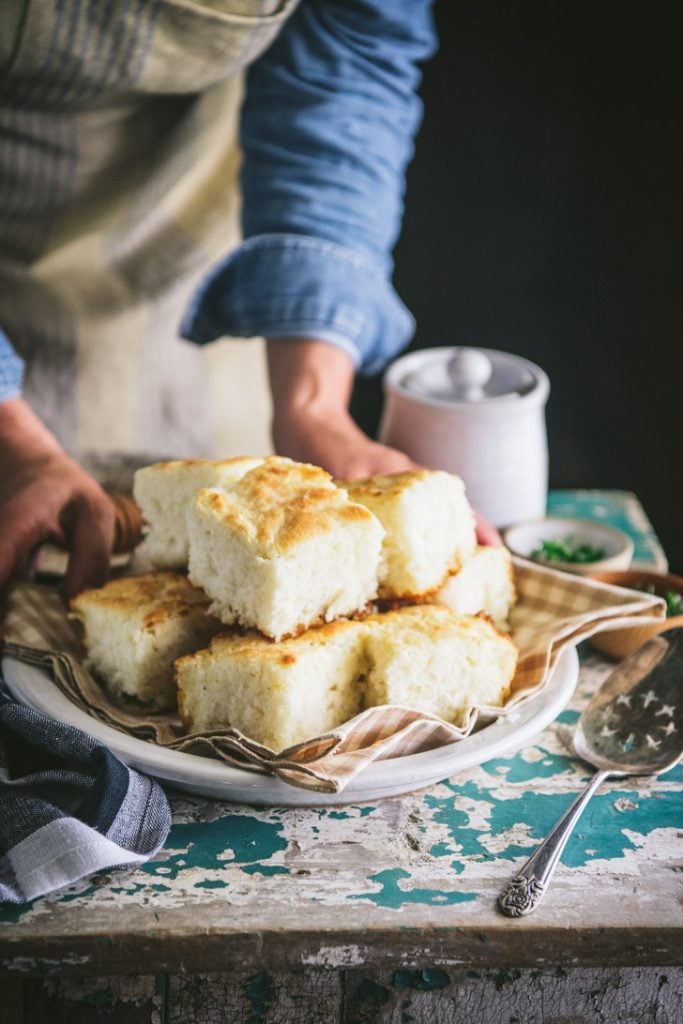
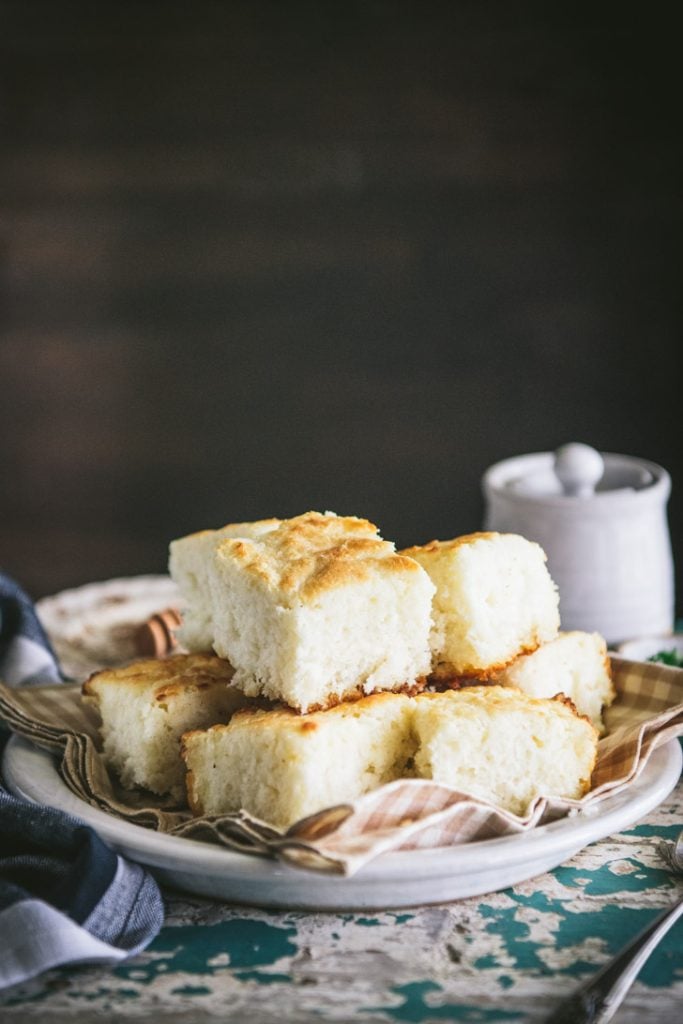
Have you heard of “butter swim biscuits” (or butter dip biscuits)?! These buttery, fluffy, mile-high treats are the magical unicorns of the biscuit world! While they don’t have flaky layers like traditional Southern buttermilk biscuits (since you don’t fold or laminate the dough, and you don’t cut in any cold butter), they’re tall, crisp on the outside, tender on the inside, and incredibly buttery! Best of all, they’re the easiest homemade biscuit recipe that you’ll ever prepare.
What are Butter Swim Biscuits?
This easy butter swim biscuit recipe differs from traditional buttermilk biscuits in a number of ways, making them a great “short-cut” option for busy nights! You get the taste of regular buttermilk biscuits — with a fraction of the effort.
- No cold butter. Traditional Southern buttermilk biscuits get their light, fluffy texture when cold butter expands in a very hot oven, creating pockets of steam. By contrast, these butter dip biscuits are “swimming” in melted butter, and absorb the butter as they bake. There’s no need to keep the butter cold, or cut it into small pea-size pieces. Just microwave a stick of butter in your baking dish, and you’re all set!
- No rolling. Instead of rolling the dough out on a floured surface, you’ll simply press the dough into the pan. It bakes like a cake!
- No cutting. Rather than using a biscuit cutter to punch out individual biscuits, you’ll score the dough while it’s in the dish using a knife or a bench scraper. Then the biscuits will easily break apart after baking. Again, it’s like magic!
Ingredients for this Easy Butter Swim Biscuit Recipe
This is just a quick overview of the ingredients that you’ll need to make a batch of butter swim biscuits using self-rising flour. As always, specific measurements and step-by-step instructions are included in the printable recipe box at the bottom of the post.
- Butter: I like salted butter, but you can use unsalted butter if you have it on hand.
- Self-rising flour: a common pantry staple in most Southern households, self-rising flour is simply flour with the leavening and salt already added. I prefer an extra-fine soft winter wheat flour made by White Lily. This low-protein, low-gluten flour gives Southern biscuits that perfectly crisp-on-the-outside, light-on-the-inside texture.
- Sugar: adds just a hint of sweetness in the background, but doesn’t make your savory biscuits actually taste sweet. Of course, you can omit or reduce the amount of sugar in your biscuits as desired.
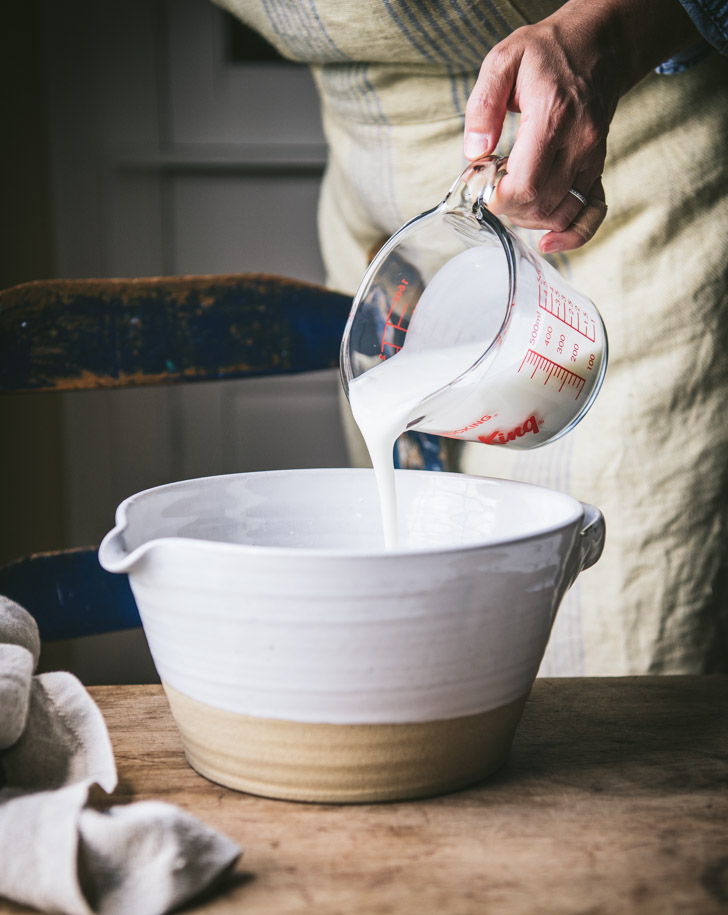
- Buttermilk: for its acidity, as well as its fat and liquid content. In conjunction with the leavening agents in the self-rising flour, the acidity helps the biscuits rise. The buttermilk also gives the biscuits a nice, subtle tanginess and a tender crumb.
What does buttermilk do for biscuits?
Buttermilk is a classic Southern pantry staple that we always keep on hand! From fluffy pancakes to salad dressing, hoe cakes and chocolate cake to fried chicken, it’s an important ingredient in so many of our favorite recipes — including these homemade buttermilk butter swim biscuits! The buttermilk serves a couple of purposes in an old-fashioned biscuit recipe that you can’t achieve with regular milk:
- Flavor: the buttermilk gives the biscuits a nice, subtle tanginess.
- Acidity: the acid in buttermilk helps the biscuits rise, because the acid from the buttermilk reacts with the leavening agents in the self-rising flour.
- Texture: the fat and acid in the buttermilk also yields a fluffy, light, and tender crumb.
Buttermilk Substitutes
Don’t have buttermilk? No problem! In a pinch, you can make butter swim biscuits with regular milk, by making your own buttermilk at home. To do so, pour either 2 tablespoons of freshly squeezed lemon juice or 2 tablespoons of white vinegar into a large measuring cup. Add enough milk to equal 2 cups of liquid. Give it a stir, let it sit for about 5 minutes, and then use 1 ¾ cups of the homemade buttermilk in the recipe as directed.
Butter Swim Biscuits Using All-Purpose Flour
If you don’t have a bag of self-rising flour in your pantry, that’s no problem. You can make 1 cup of self-rising flour by placing 1 cup of all-purpose flour in a bowl. Whisk in 1 teaspoon of baking powder and ¼ teaspoon of salt.
This recipe calls for 2 ½ cups of self-rising flour, so you would need to combine 2 ½ cups of all-purpose flour with 2 ½ teaspoons of baking powder and ½ teaspoon plus ⅛ teaspoon of salt.
How to Make Butter Swim Biscuits
This easy butter swim biscuit recipe comes together in just minutes, and then the oven does the work!
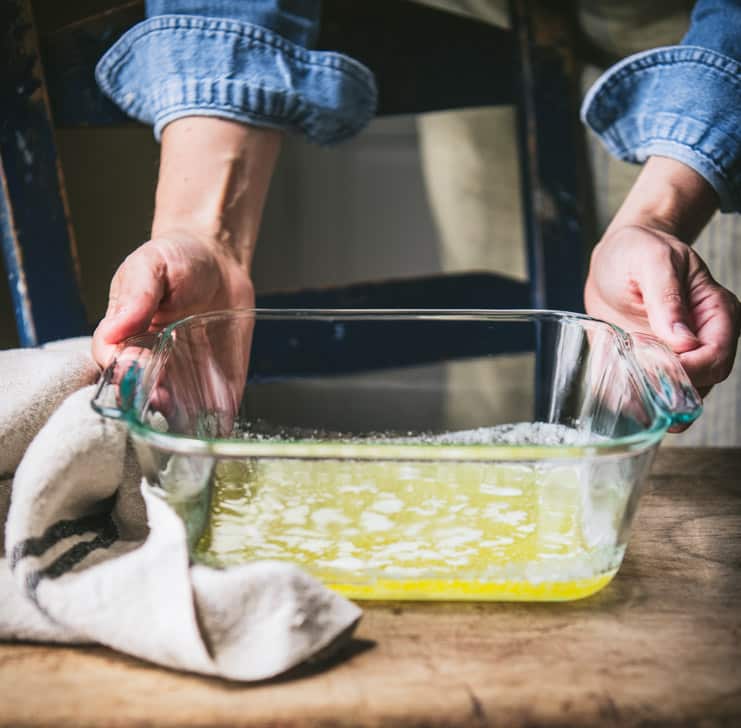
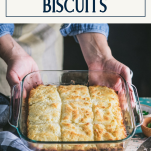
- Melt the butter in a glass or ceramic baking dish in the microwave.
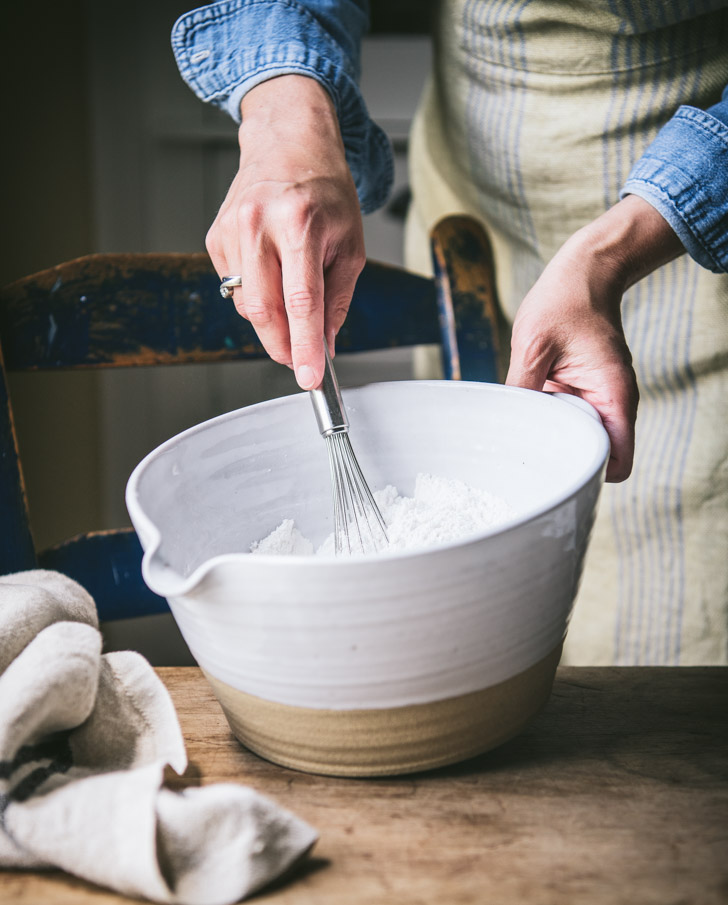
- Whisk together the self-rising flour and sugar in a large mixing bowl.
- Add the buttermilk to the dry ingredients; stir just until combined.
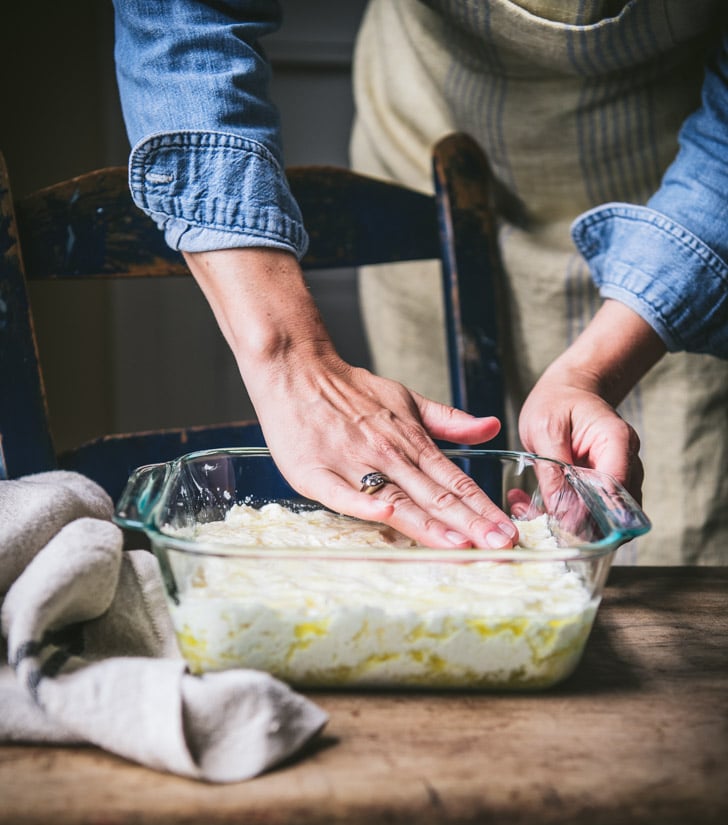
- Gently spread the dough in the dish with the melted butter. You can use your fingers for this step, or try a rubber spatula.
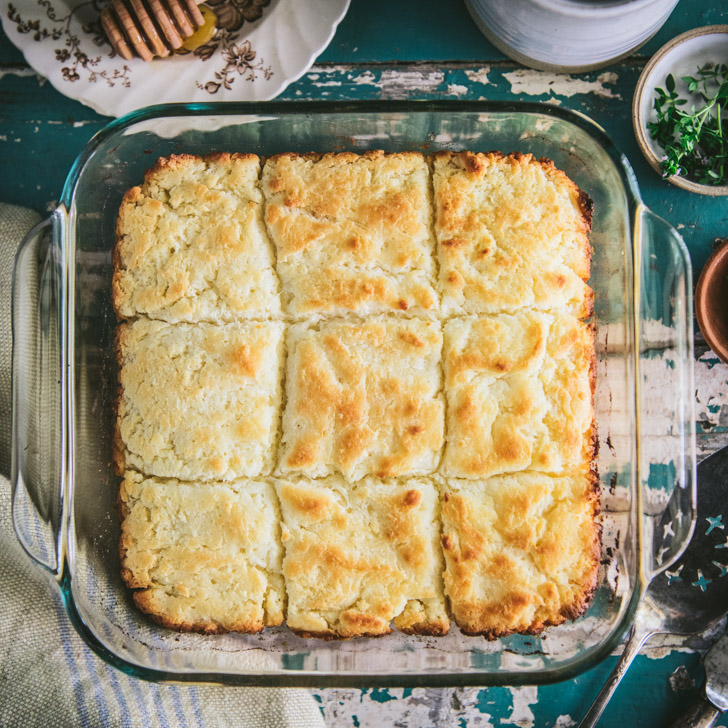
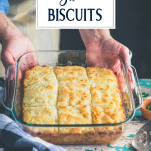
- Cut or score the biscuit dough into 9 squares using a bench scraper or knife.
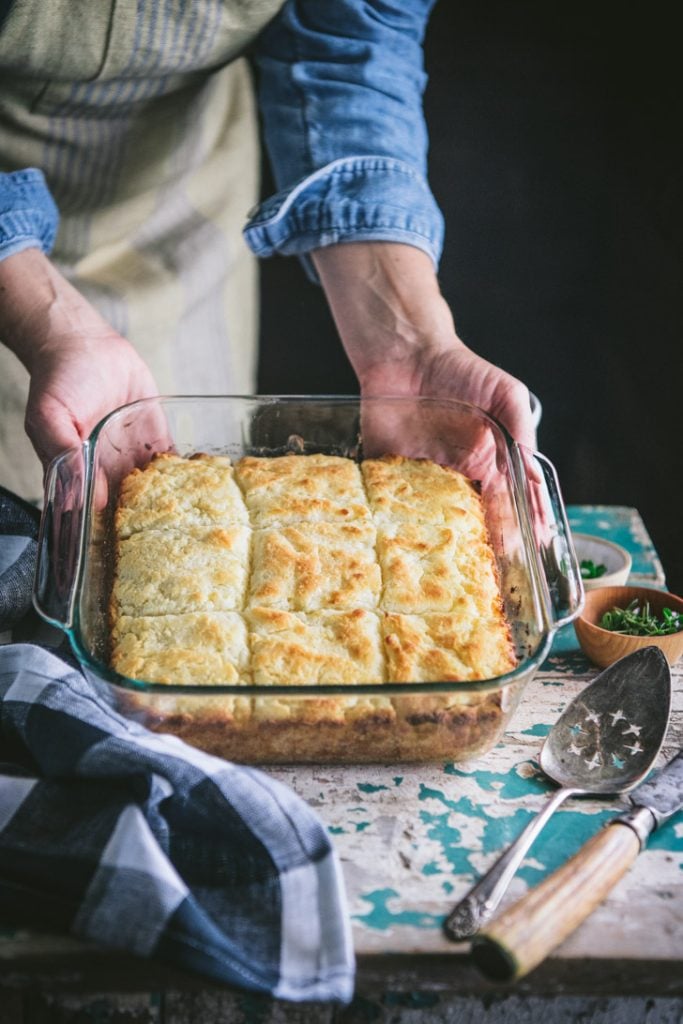
- Bake biscuits in a 450°F oven for 20-25 minutes, until the tops are golden brown.
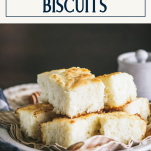
- Let them rest in the pan for at least 10 minutes, then serve.
What to Serve with Butter Swim Biscuits
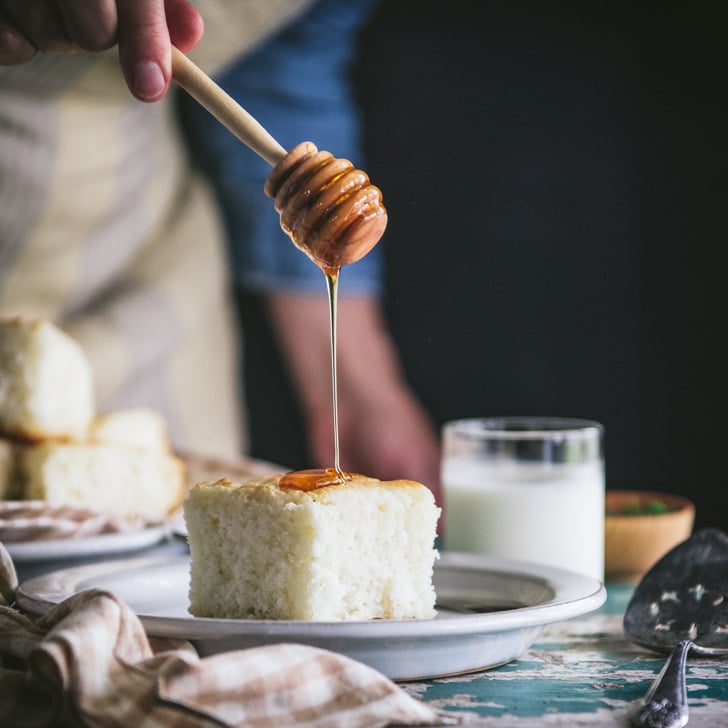
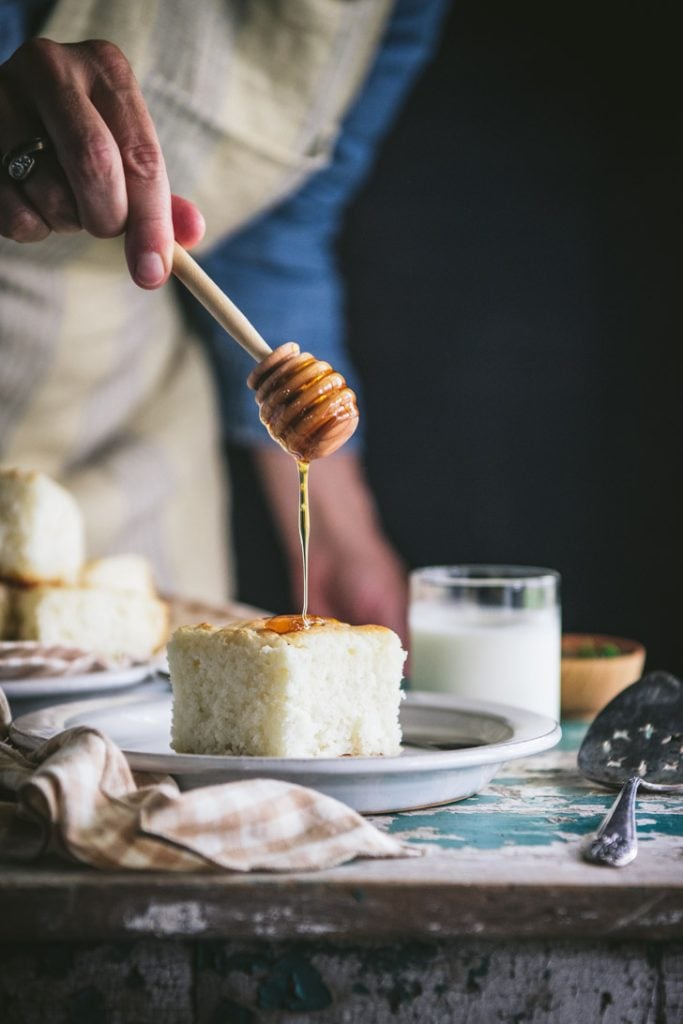
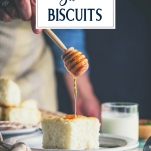
These easy buttermilk butter dip biscuits are suitable for just about any meal, at any time of day. Serve them on their own for breakfast with a drizzle of honey, honey butter, strawberry jam, this blackberry jam recipe, or apple butter. Add eggs on the side (like this ham and egg casserole), use them to make an egg sandwich with sausage, bacon or cheese, or stir up a skillet of sausage gravy. In Virginia, country ham biscuits are a classic snack!
On the dinner table, here are some entrées that go well with the biscuits:
- Crispy Fried Chicken, Oven-Fried Chicken Breast, Fried Chicken Tenders, Baked Parmesan Ranch Chicken Tenders, Cornflake Chicken or Pecan-Crusted Chicken
- Grilled Pork Tenderloin, Oven-Baked Pork Tenderloin, Cider Braised Pulled Pork, Crock Pot Pulled Pork, or BBQ Pork
- Oven BBQ Chicken Breast or Grilled BBQ Chicken Breast
- Egg Salad or Chicken Salad
- Shrimp and Grits
- Crock Pot Ribs or Baked Baby Back Ribs
- Crab Cakes or Crab Imperial
- Shrimp Creole, Fried Oysters, or Crispy Fried Shrimp
- Dutch Oven Pot Roast, Dutch Oven Beef BBQ, Mississippi Pot Roast, Cast Iron Skillet Filet Mignon, Grilled New York Strip Steak, Steak Salad, or Bourbon-Glazed Beef Tenderloin
- Classic Beef Chili, Crock Pot Chili, Slow Cooker White Chicken Chili, “Good Luck” Southern Chili, Easy White Bean Chicken Chili, Pork Chili, or Texas Chili
- Beef Stew, Chicken Stew, or Brunswick Stew
- Southern Fried Catfish
- Frogmore Stew
- Grandmother’s Hamburger Soup, Chicken and Dumpling Soup, Corn Chowder, Tomato Soup, Senate Bean Soup, or Split Pea Soup
- Appalachian Beans and Greens, Ranch Style Beans, Southern Lima Beans, Slow Cooker Cowboy Pork and Beans or Black Eyed Peas with Bacon
- Rosemary Oven Roasted Chicken, Roast Chicken and Vegetables, Dutch Oven Chicken, or Chicken Pot Pie with Puff Pastry
Storage
While they’re best served warm, straight-from-the-oven, you can bake the biscuits up to 3 days ahead of time. Store leftovers in an airtight container or wrapped in plastic wrap at room temperature. You do not need to keep them in the refrigerator, but the fridge is fine if you want to store them for an extra day or so.
Reheat day-old biscuits by placing them on a baking sheet in a 300°F oven for about 10 minutes.
How to Freeze
Allow the biscuits to cool to room temperature, then wrap tightly in an airtight container or Ziploc freezer bag and store in the freezer for up to 3 months. Thaw on the counter overnight or in the microwave for a few seconds.
Tips for the Best Butter Swim Biscuits Recipe
- If you don’t have buttermilk or self-rising flour on hand, see my notes above to make your own buttermilk and your own self-rising flour at home.
- Instead of a glass or ceramic baking dish, you can melt the butter in a microwave-safe bowl, and then transfer it to your dish of choice.
- Use unsalted butter instead of the salted butter if you prefer a less-salty biscuit.
- Don’t overmix the dough. Stir just until all of the ingredients come together and you don’t see any dry pockets of flour. Over-mixing will result in tough, dense biscuits.
- Use your fingers or a rubber spatula to press the dough into the pan with the butter. It’s fine if some of the butter squishes up around the sides and on top of the dough!
- Allow the biscuits to rest for at least 10 minutes after baking. This will give them a chance to absorb any remaining butter in the dish.
More Biscuit Recipes to Try
- Drop Biscuits
- 3-Ingredient Biscuits
- Aunt Bee’s 3 Ingredient Biscuit Recipe
- Grandma’s Sweet Potato Biscuits
- Flaky Biscuits
- Cheese Biscuits
- Southern Buttermilk Biscuits
- Cheddar Bay Biscuits (with cheese and garlic powder)

Did you make this recipe?
If you enjoyed this recipe, please leave a comment with a 5-star review at the bottom of the post. Thank you!
Butter Swim Biscuits
Ingredients
- ½ cup (1 stick) salted butter
- 2 ½ cups self-rising flour
- 2 tablespoons sugar
- 1 ¾ cups whole buttermilk, well shaken
Instructions
- Preheat oven to 450°F.
- Place butter in an 8-inch square glass or ceramic dish. Cover loosely and microwave in 30-second intervals until the butter melts.
- In a large bowl, whisk together the self-rising flour and sugar. Add the buttermilk to the flour mixture and stir just until combined.
- Transfer the dough to the dish with the melted butter. Gently press the dough into an even layer on top of the butter.
- Use a bench scraper or sharp knife to cut the dough into 9 squares.
- Bake for 20-25 minutes, until the tops of the biscuits are golden brown. Let the biscuits rest in the dish for at least 10 minutes, then serve.
Notes
- If you don’t have buttermilk or self-rising flour on hand, see my notes above to make your own buttermilk and your own self-rising flour at home.
- Instead of a glass or ceramic baking dish, you can melt the butter in a microwave-safe bowl, and then transfer it to your dish of choice.
- Use unsalted butter instead of the salted butter if you prefer a less-salty biscuit.
- Don’t overmix the dough. Stir just until all of the ingredients come together and you don’t see any dry pockets of flour. Over-mixing will result in tough, dense biscuits.
- Use your fingers or a rubber spatula to press the dough into the pan with the butter. It’s fine if some of the butter squishes up around the sides and on top of the dough!
- Allow the biscuits to rest for at least 10 minutes after baking. This will give them a chance to absorb any remaining butter in the dish.


Could you make a larger batch? If so what size pan. Thanks
Hi, Kay! Yes, I think you could double all of the ingredients and bake the biscuits in a 13 x 9-inch dish.
I believe I will let this recipe be the first biscuit recipe I try, Blair. So nice, no cutting in of butter or rolling out! I haven’t tried to make homemade biscuits since I was in high school. I was in the class of 1979 so it’s not like it was just last week! 43 years ago, so they tell me. Yipes!
Hope you love them, Marion! 🙂
Iove butter Swin Biscuits Recipe
Thank you, Linda!
Wow, they were delicious
Thank you, Margaret!
I really didn’t understand my partners fascination with biscuits until now. Easy abd delicious.
Yay! So happy you enjoyed them!
22xarj
I love it when I find a fool proof recipe and this is exactly that, thank you for sharing!
Wonderful! Thanks, Pam!