Virginia is known for its fresh Chesapeake Bay oysters, and a quick buttermilk soak plus a seasoned cornmeal dredge is the best way to show them off! The coating fries up golden and crisp in about 3 minutes, while the oyster inside stays plump and briny. Serve them with tartar sauce and a squeeze of lemon.
More crispy seafood favorites:
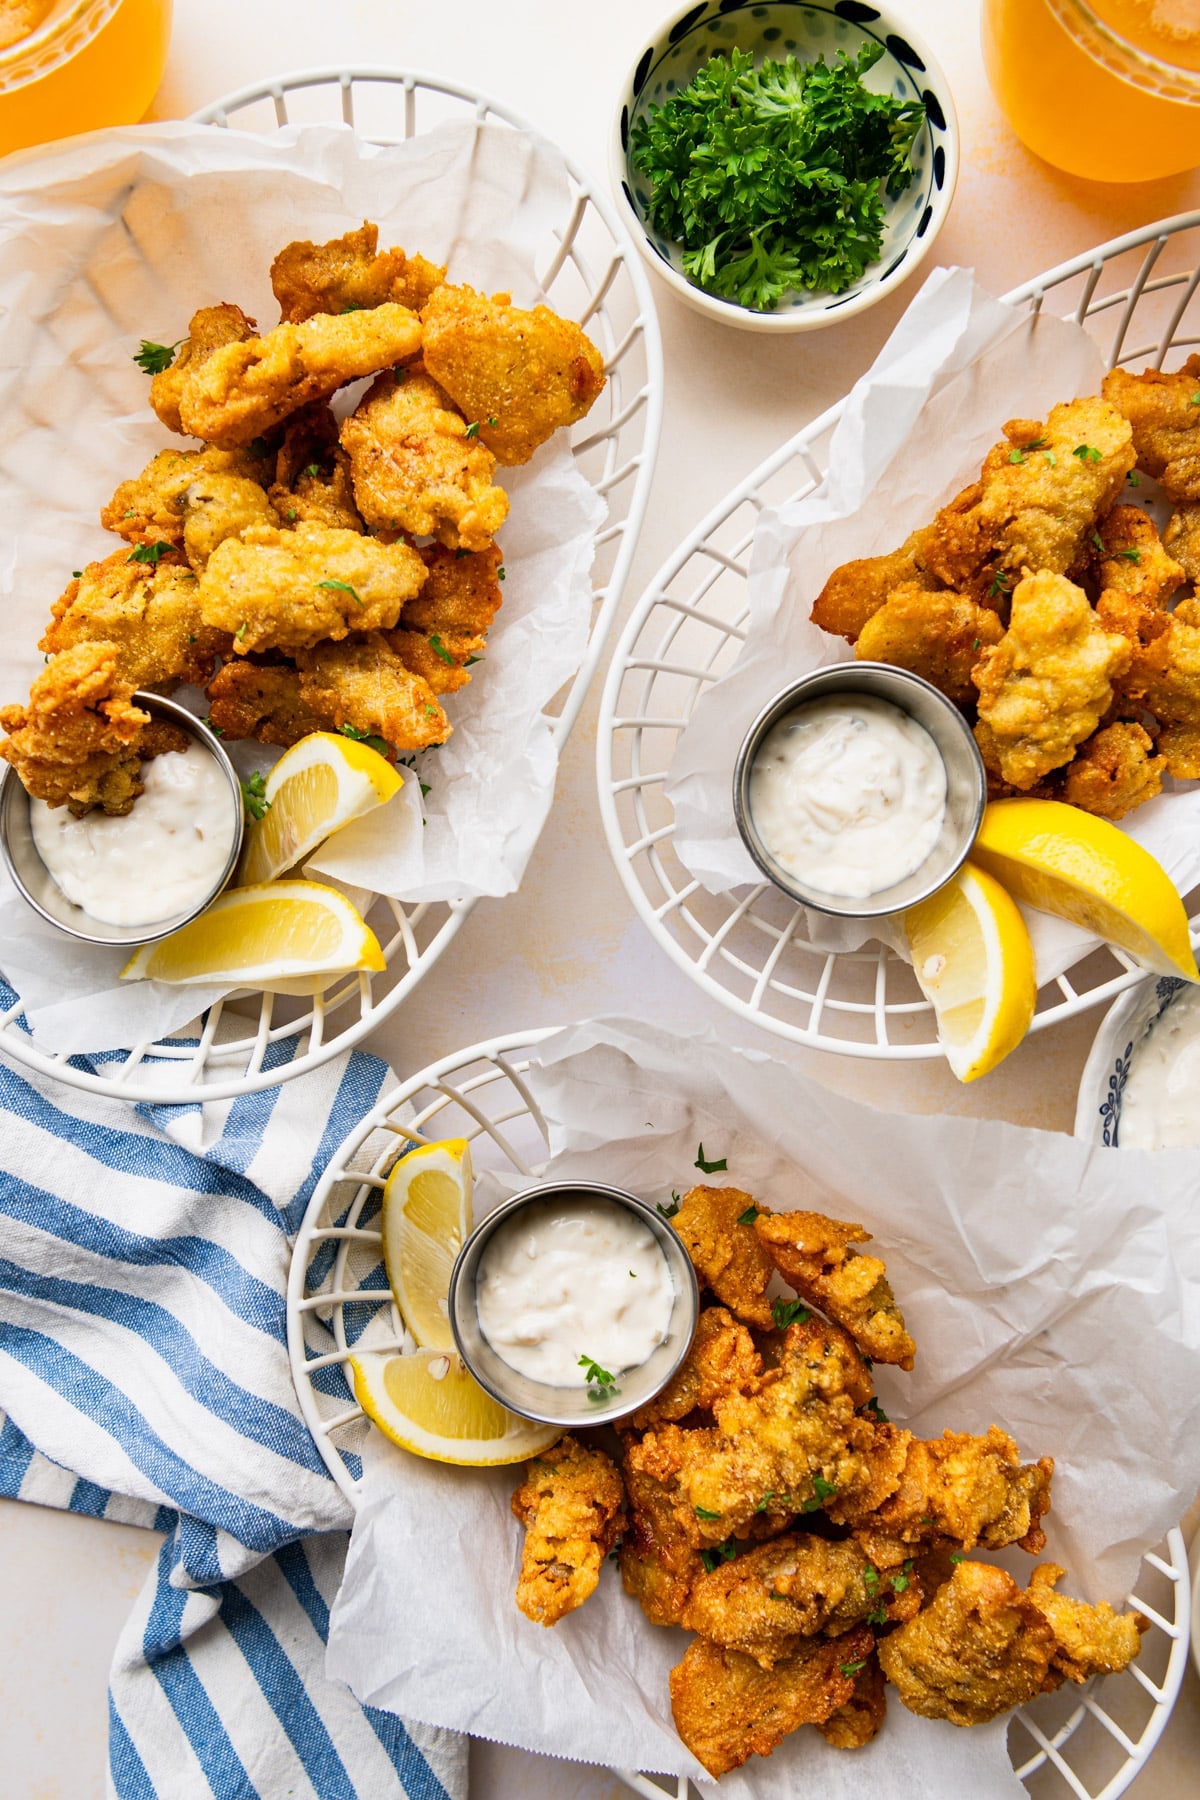
Before You Get Started
Fried oysters are quick, but these three things make the difference between crisp and greasy:
- Hold the oil at 350°F: Any cooler and the coating soaks up grease. Much above 375°F and it browns before the oyster warms through.
- Pat the oysters dry first: Wet oysters shed their coating in the oil. Drain them well and blot with paper towels before they go into the buttermilk.
- Poke each oyster before breading: A small toothpick hole lets steam escape so the oysters don’t pop when they hit the hot oil.
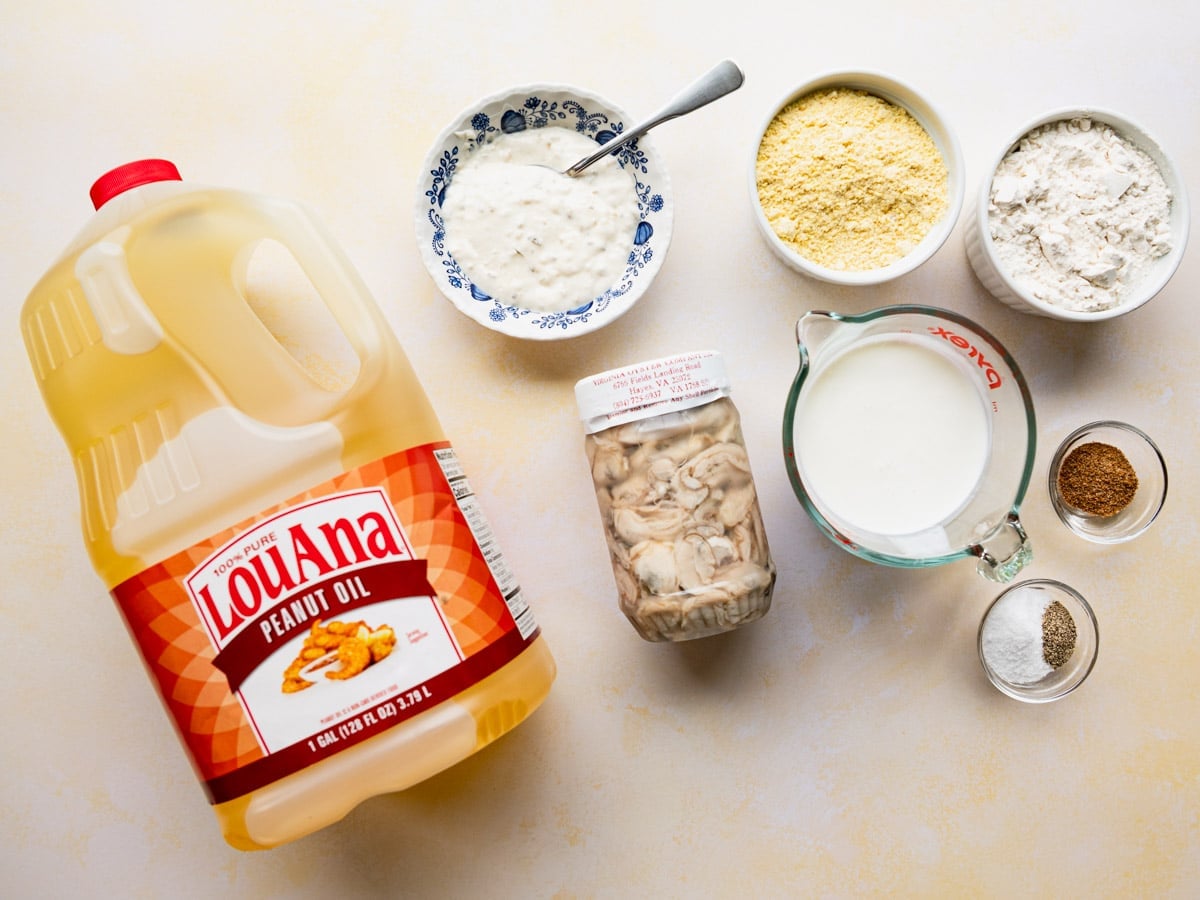
A Quick Word on Buying Oysters
Look for fresh shucked oysters sold by the pint, packed in their own liquor. That’s what you want here, and it’s what you want for my Oyster Stew recipe, too. Virginia has eight distinct oyster regions, and oyster lovers will tell you a Rappahannock River oyster tastes nothing like one from the seaside, so buy local when you can. Traditional oyster season runs through the cooler months, which is when you’ll find the best ones at country markets and roadside stands.
How to Make Fried Oysters
Buy fresh shucked oysters sold by the pint, packed in their own liquor, rather than oysters in the shell. From there it’s about 15 minutes of prep and 2 to 3 minutes in the oil per batch.
Step 1: Drain, Dry, and Poke the Oysters
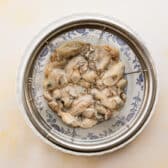
Pour the oysters into a colander, let the liquor drain off, then rinse briefly and pat them dry with paper towels. Get them as dry as you can.
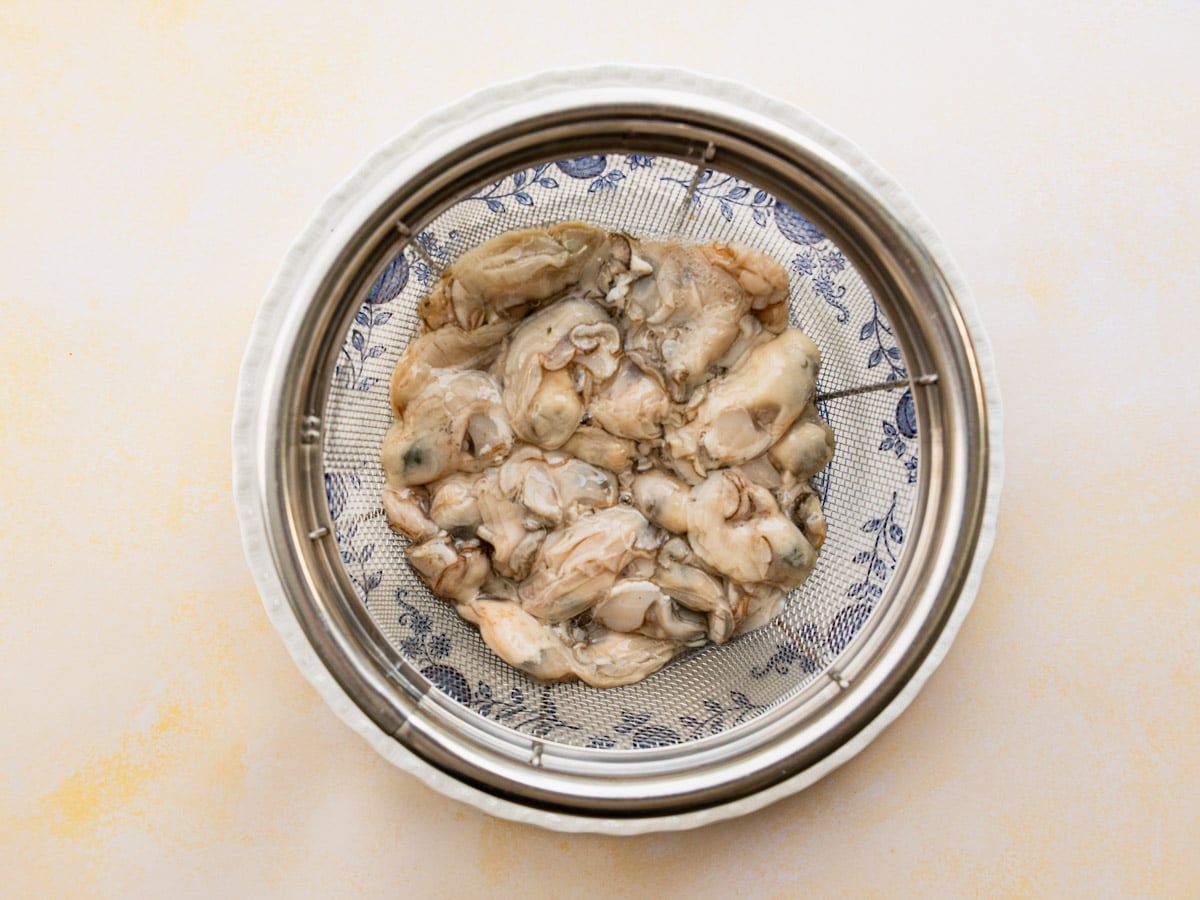
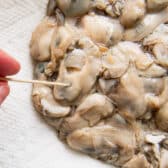
Then take a toothpick and poke a small hole in the large round part of each oyster.
⇢ Buy local if you can: Virginia has eight distinct oyster regions, and oyster lovers will tell you a Rappahannock River oyster tastes nothing like one from the seaside. The cooler months are when you’ll find the best ones!
⇢ Why the toothpick matters: When I was a child, my dad and his friend were deep-frying oysters and the oysters exploded in the fryer, splattering hot oil across the ceiling and walls. Ever since, I poke a hole in every single one before breading. It releases the liquid and pressure that can build inside the oyster when it hits hot oil. It’s the same idea as poking a potato before you bake it. Maybe not strictly necessary, but it certainly doesn’t hurt.
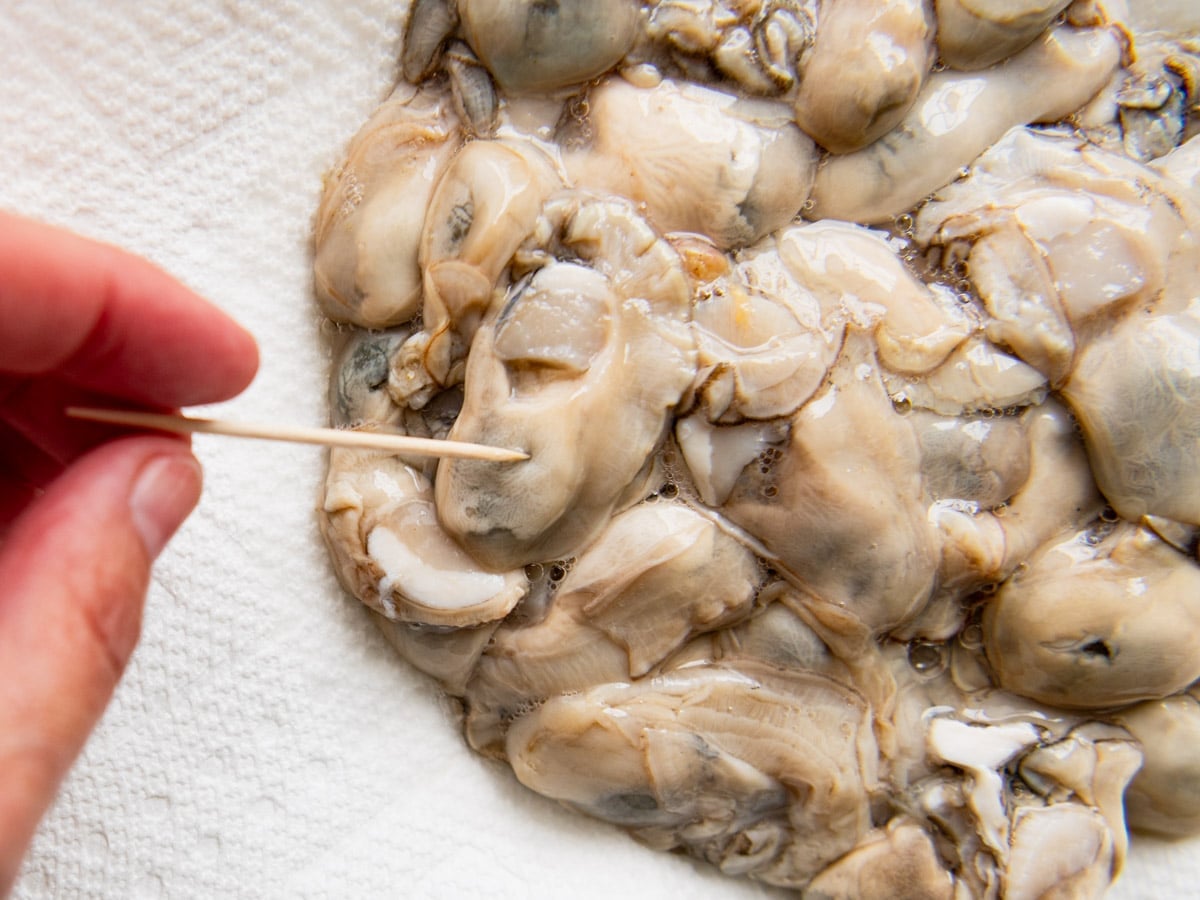
Step 2: Set Up Your Two Dishes
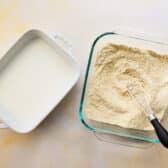
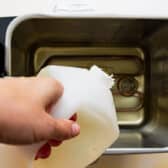
Pour the buttermilk into one shallow dish. In a second shallow dish, whisk together the cornmeal, flour, salt, Old Bay, and black pepper until the seasoning is evenly distributed.
⇢ Pick your coating: Equal parts cornmeal and flour is the classic Southern balance, crisp with a little bite. All cornmeal gives you a grittier, more rustic crunch, while panko or plain breadcrumbs give you a lighter, crispier shell that’s less traditional but very good.
⇢ No buttermilk on hand? Put 1 tablespoon of white vinegar or lemon juice in a measuring cup, add enough milk to reach 1 cup, stir, and let it stand 5 minutes. A dash of hot sauce in there is welcome if you like a little heat.
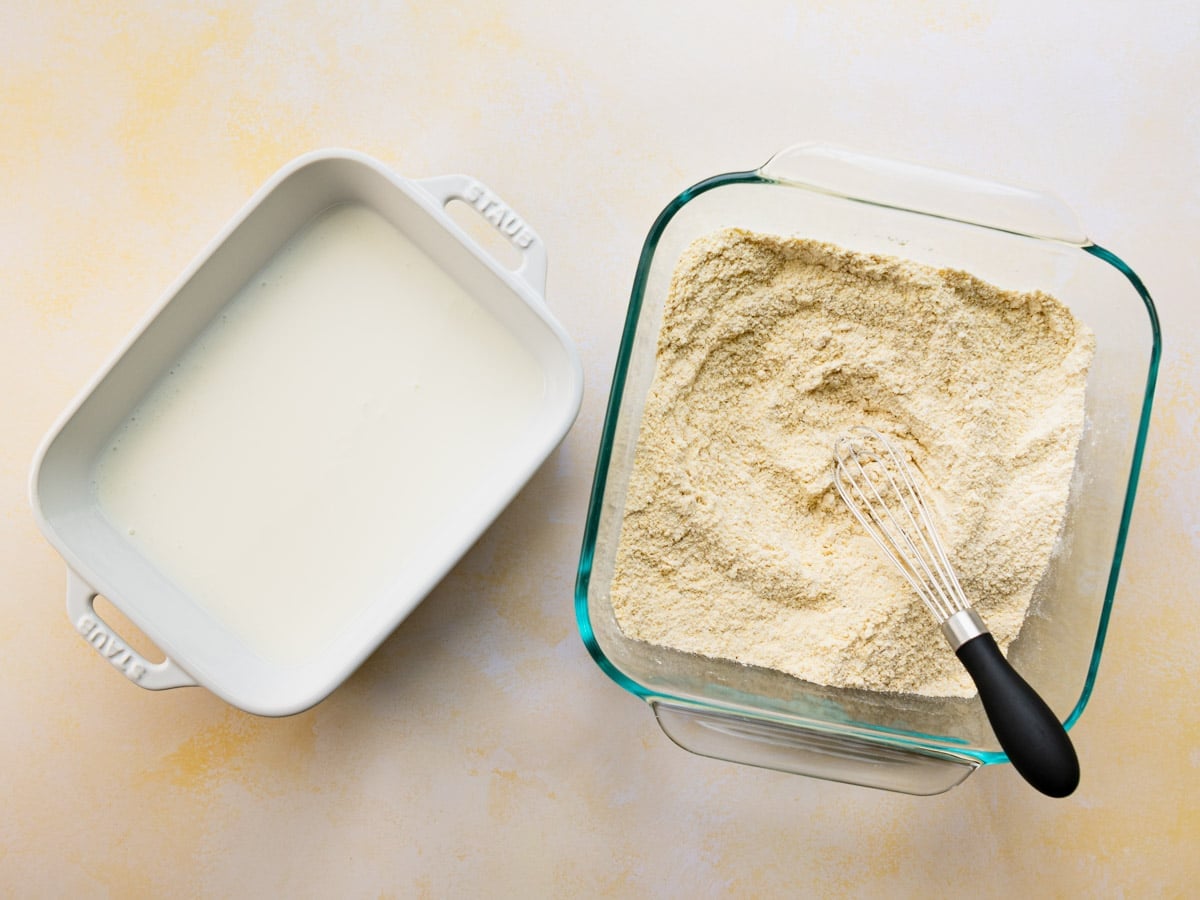
Step 3: Soak the Oysters in Buttermilk
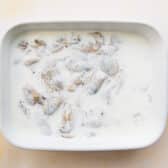
Add the oysters to the buttermilk and let them soak for a few minutes.
The buttermilk adds a subtle tang, and more importantly it gives the cornmeal something to grip, so you don’t need a separate egg wash.
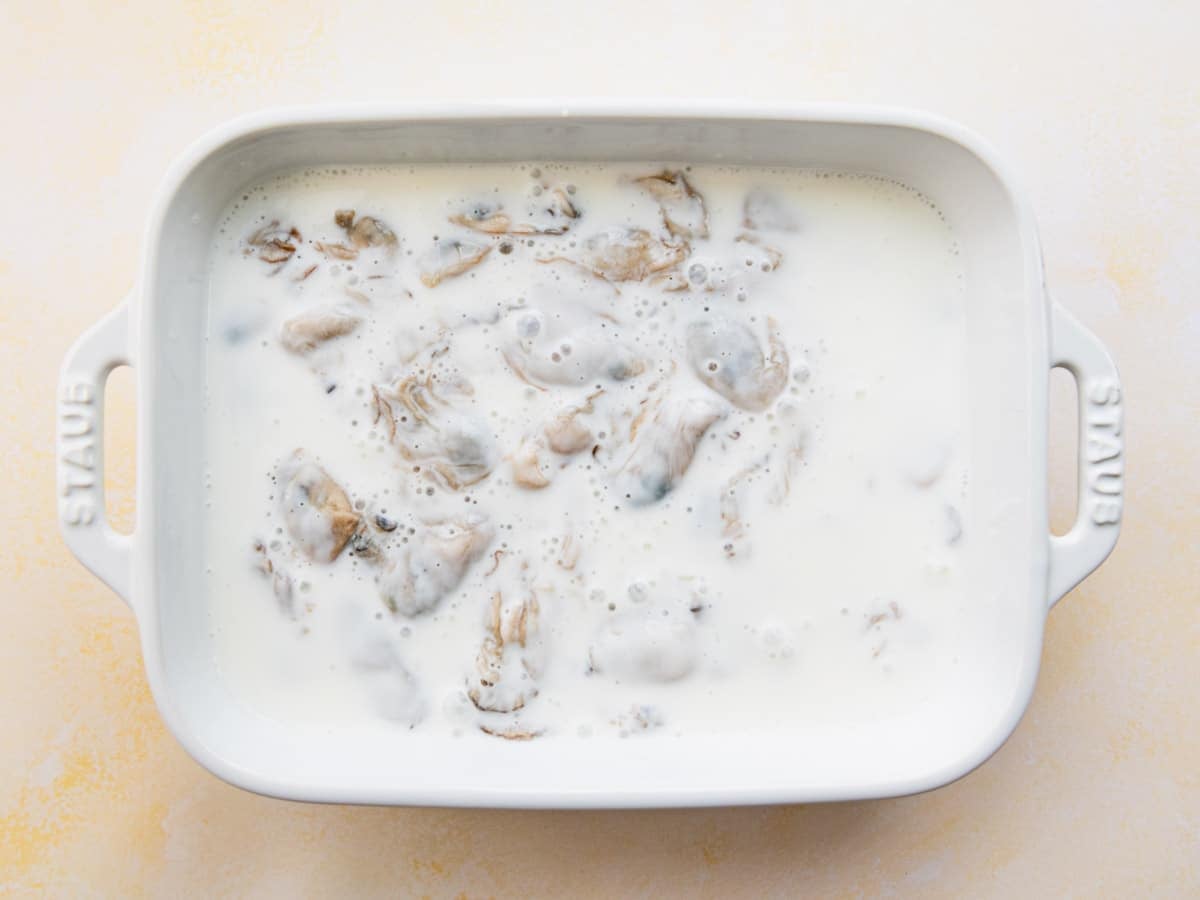
Step 4: Dredge and Let Them Rest
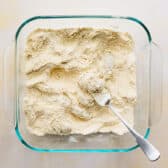
Lift the oysters out one at a time, gently shake off the excess buttermilk, and turn them in the cornmeal mixture to coat all sides.
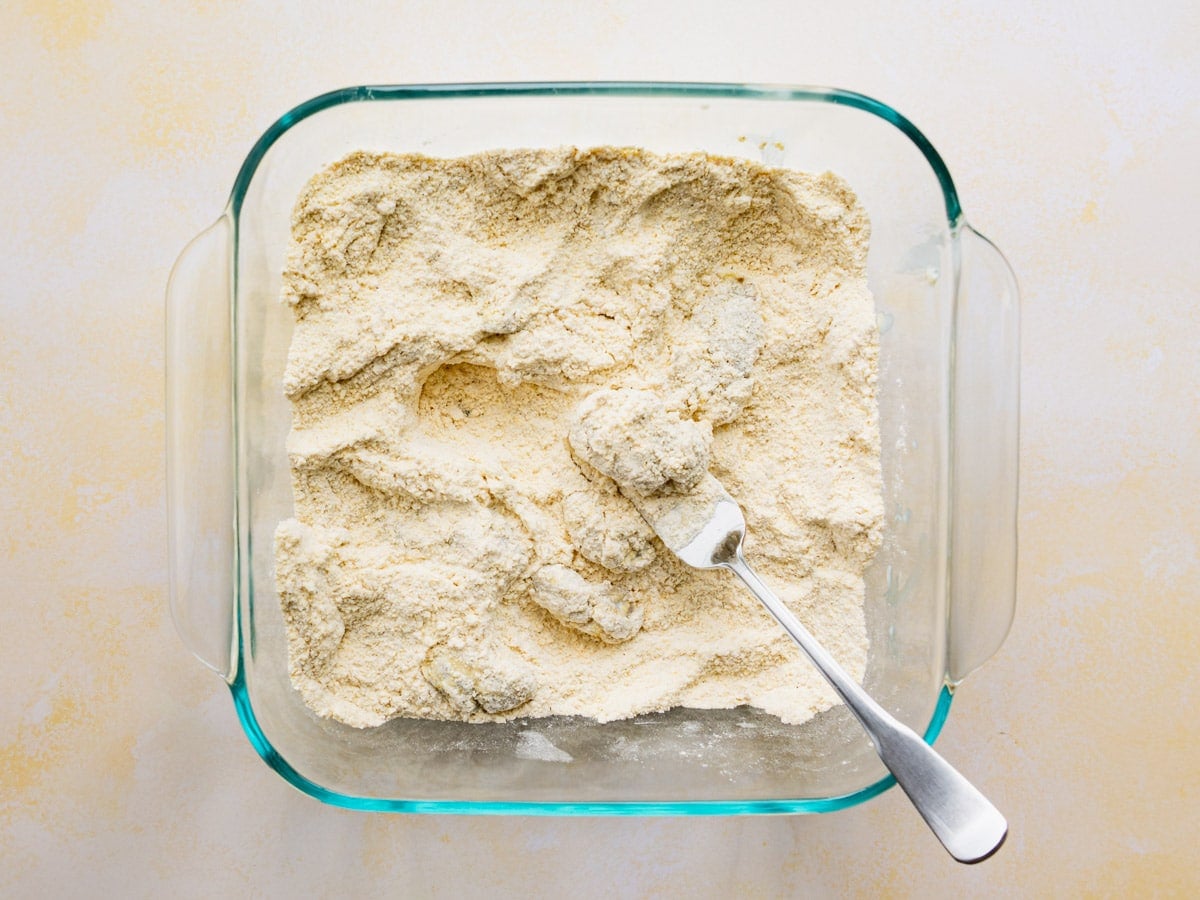
Shake off the loose breading and set them on a wire rack. Letting them sit for a few minutes helps the coating set so it stays put in the oil.
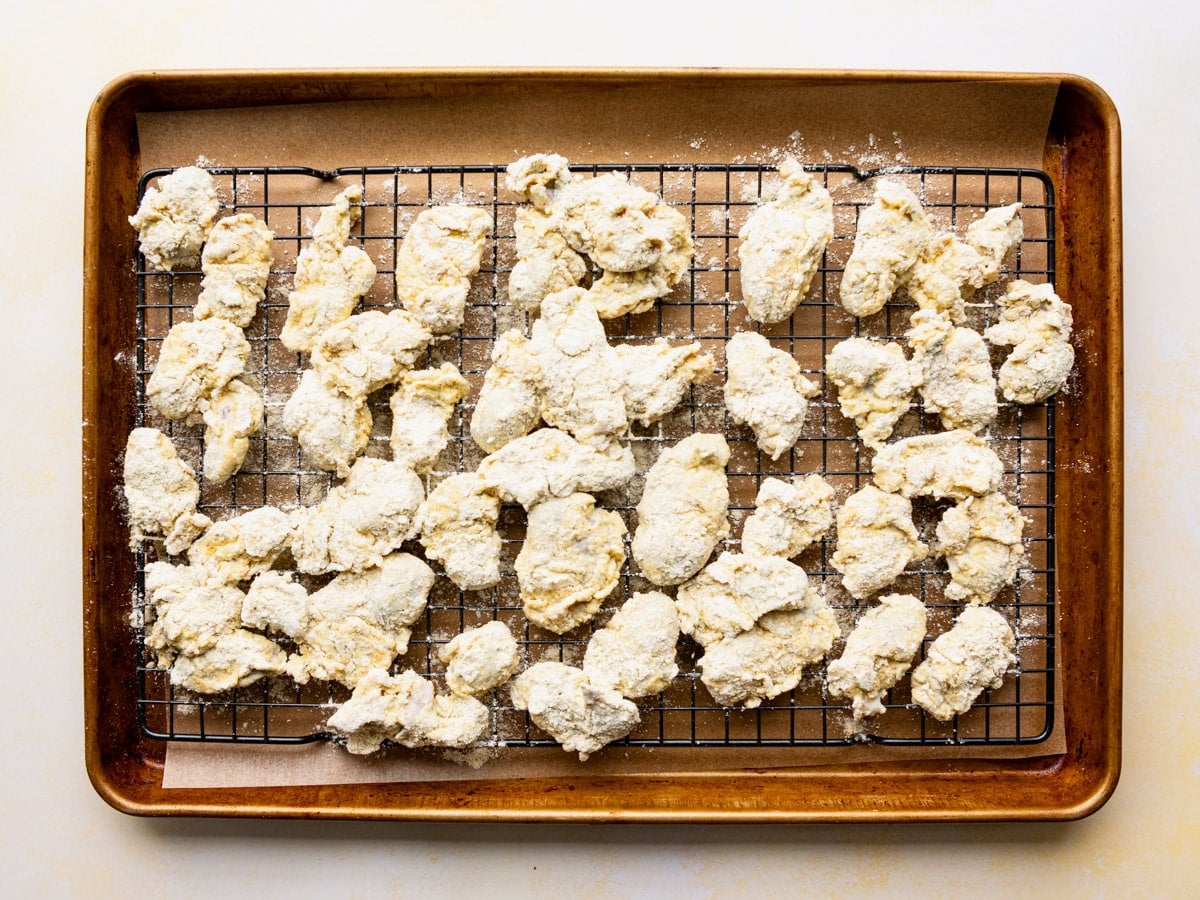
Step 5: Heat the Oil to 350°F
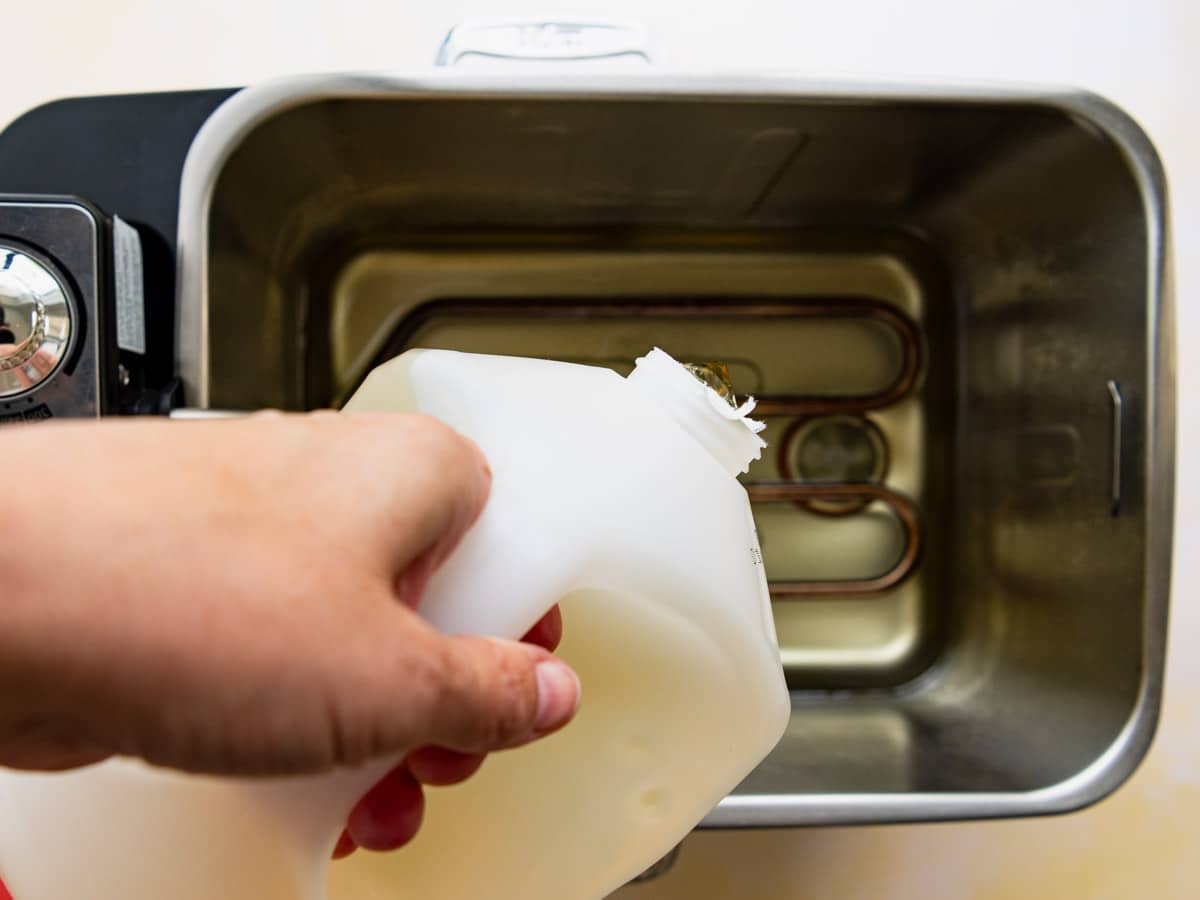
In a deep fryer, a deep cast iron skillet, or a Dutch oven, heat about 2 to 3 inches of oil over medium heat until it reaches 350°F. A deep-fry thermometer is the easiest way to know for sure.
No thermometer? Sprinkle a few drops of water onto the hot oil. If it sizzles right away, you’re ready.
⇢ Oil: Peanut oil is my first choice for its high smoke point and neutral flavor. Vegetable or canola oil will do the same job.
Step 6: Fry in Batches
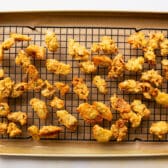
Slide in only as many oysters as will fit without touching, and fry until the coating is deep golden and crisp, about 2 to 3 minutes.
The oil temperature will dip when the oysters go in, so nudge the heat up to keep it between 350°F and 375°F, and let it recover before the next batch. If it drops too low the oysters turn greasy. Too high and the coating darkens before the inside is done.
⇢ Fry in small batches: Crowding the pot drops the oil temperature fast, and the coating turns soft instead of crisp.
⇢ How to tell they’re ready: Go by color, not the clock. The coating turns a deep golden brown and the edges of the oyster start to curl. Oysters go from tender to rubbery in a matter of seconds, so pull them the moment they look right.
Step 7: Drain, Season, and Serve
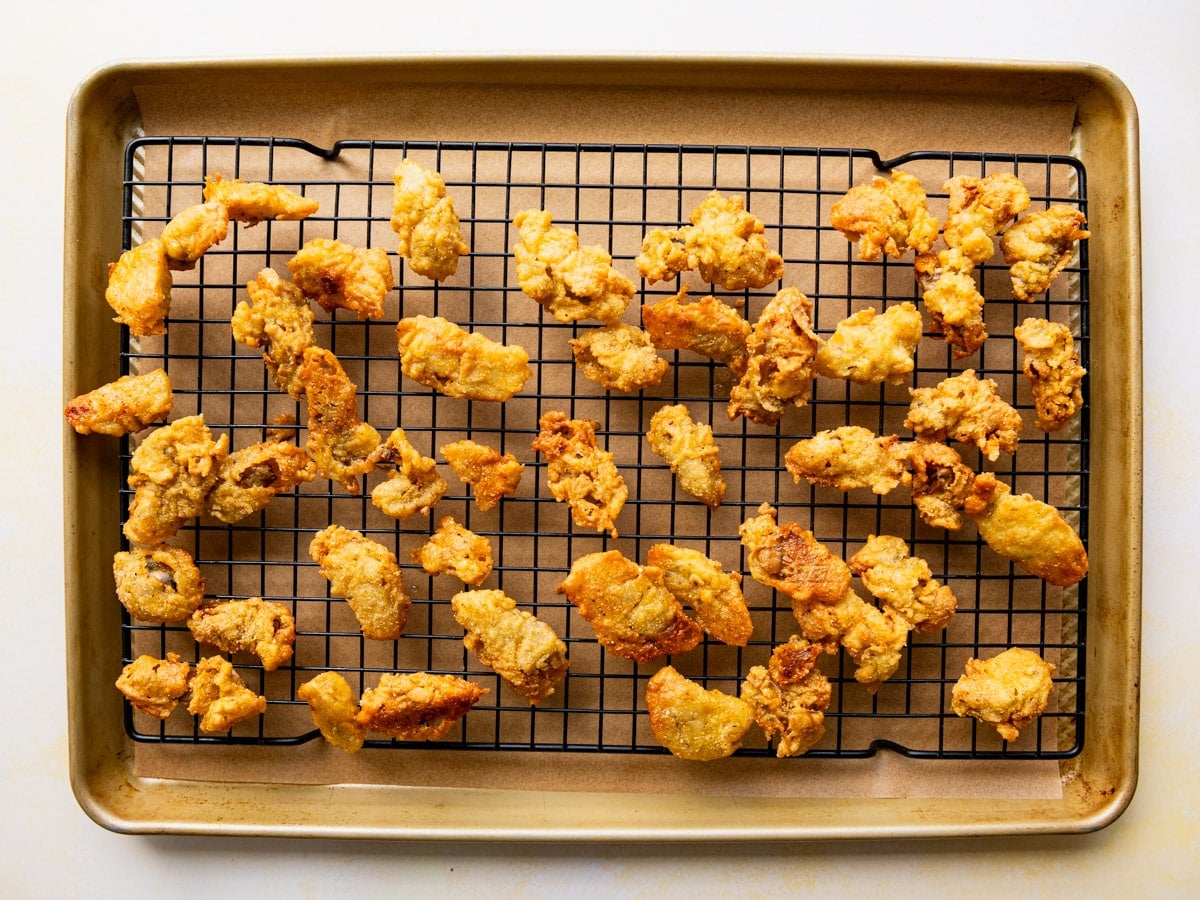
Use a spider or slotted spoon to lift the oysters out and drain them on a wire rack set over paper towels.
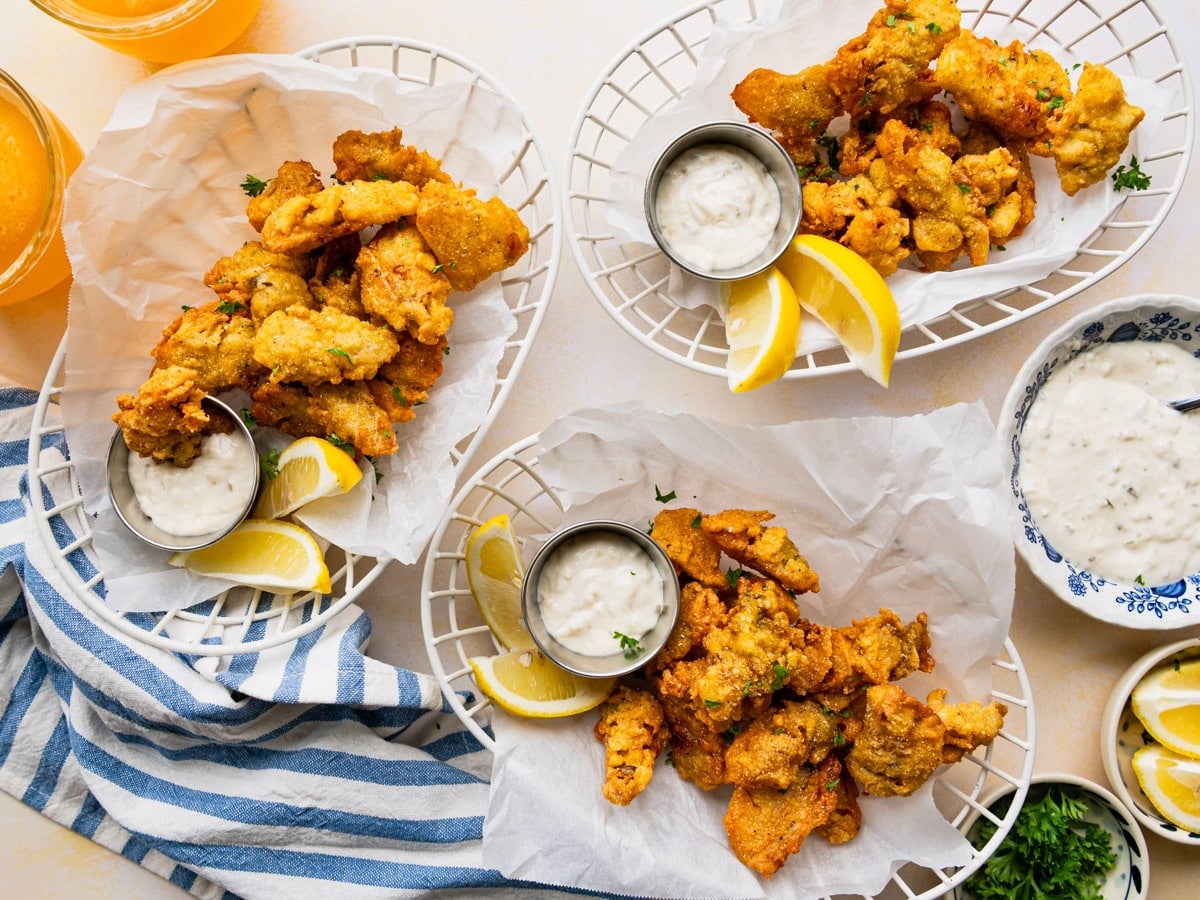
Season with a little extra salt and pepper while they’re still hot, and get them to the table right away. Fried oysters are at their absolute best about two minutes out of the oil.
Turn them into a po’ boy:
Put the hot oysters onto a soft roll with remoulade, shredded lettuce, tomato, and pickles for a New Orleans-style sandwich. My Shrimp Po’ Boy recipe has the full walkthrough if you want a starting point.
Pan-Frying in a Skillet
You don’t need a deep fryer. A cast iron skillet with about 1 inch of oil works well, and it uses far less oil overall.
Keep the temperature in the same 350°F to 375°F range, fry in a single uncrowded layer, and turn the oysters once halfway through so both sides brown evenly. They’ll take about the same total time.
Ways to Serve Them
Pick a Dipping Sauce
Fried oysters want something creamy or sharp alongside. Any of these work well:
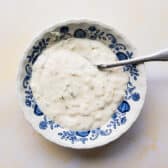
- Tartar sauce, the classic. There’s an easy one in the recipe card below that you can stir together while the oil heats.
- Remoulade, if you want more kick.
- Cocktail sauce, sharp and horseradish-forward, which cuts through the coating.
- Honey mustard, the one kids reach for every time.
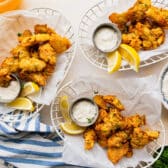
Whichever you pick, put lemon wedges on the platter. A squeeze of lemon does as much for a fried oyster as any sauce will.
Sides for a Fish Fry
Storage
Store leftover fried oysters in an airtight container in the refrigerator for 1 to 2 days. They’re best straight out of the oil and will soften as they sit, so plan to eat them the day you fry them when you can.
Freeze cooked oysters for up to 3 months in an airtight container. The texture won’t be quite what it was, so this is a use-them-up move rather than a make-ahead plan.
Reheat in a 350°F oven on a wire rack set over a baking sheet, just until heated through, 5 to 10 minutes. The rack lets air circulate so the bottoms don’t go soggy. Skip the microwave entirely. Watch them closely, because a reheated oyster overcooks fast.
Leftover raw oysters:
If you bought more than you fried, keep them refrigerated in their liquor and use them within a day or two. Oyster Stew is the easiest way to take advantage of any additional raw oysters.
Frequently Asked Questions
Do you rinse oysters before frying, and do they need to soak?
Give shucked oysters a quick rinse in a colander to wash off any bits of shell or grit, then pat them completely dry. The soak matters more than the rinse. A few minutes in buttermilk seasons the oysters lightly and gives the cornmeal something to cling to. Plain milk works in a pinch, but it’s thinner and won’t grip the coating as well.
How do you keep the breading from falling off fried oysters?
Three things, in order of importance: dry the oysters thoroughly before they go into the buttermilk, since surface moisture is the main culprit. Shake off the excess buttermilk before dredging so the coating doesn’t go gluey. And let the breaded oysters rest on a wire rack for a few minutes before frying so the coating has time to set. Handling them gently once they’re breaded helps, too.
Can you use flour or panko instead of cornmeal?
Yes, and each one gives you a different result. All-purpose flour on its own makes a thinner, more delicate coating. Panko or regular breadcrumbs give you a lighter, crispier shell that holds up well. Cornmeal is the traditional Southern choice for the crunch and the slight sweetness it brings. The half-and-half cornmeal and flour blend in this recipe splits the difference and is the most forgiving option if you’re frying oysters for the first time.
Does cornstarch or baking powder make the coating crispier?
It can. Swapping about a quarter of the flour for cornstarch gives you a lighter, crackly coating that stays crisp a little longer, a trick borrowed from Asian frying methods. A half teaspoon of baking powder in the dredge does something similar by creating tiny air pockets. Neither is necessary here, but both are worth trying if you like a super-crisp shell.
Can you make fried oysters with canned oysters?
You can, though fresh shucked oysters are noticeably better. Canned oysters are already cooked and much softer, so they can fall apart in the dredge and turn rubbery in hot oil. If canned is what you have, drain them well, pat them very dry, handle them gently, and fry for closer to 90 seconds. Skip the toothpick step, since there’s no liquid left inside to release.
More Coastal Southern Favorites

Did you make this recipe?
If you enjoyed this recipe, please leave a comment with a 5-star review at the bottom of the post. Thank you!
Watch How to Make It
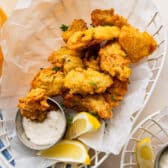
Fried Oysters
Equipment
Ingredients
- 1 pint fresh shucked oysters (about 18 oysters total)
- Peanut oil, for frying
- 1 cup whole buttermilk, well shaken
- 1 cup cornmeal
- 1 cup all-purpose flour
- 1 tablespoon kosher salt
- 1 teaspoon Old Bay seasoning
- ½ teaspoon ground black pepper
Optional Tartar Sauce
- 1 cup mayonnaise
- 1 tablespoon Dijon mustard
- 1 tablespoon minced fresh dill or parsley, optional
- 1 ½ tablespoons freshly-squeezed lemon juice
- Salt and pepper, to taste
Instructions
- Make the tartar sauce: Combine all of the tartar sauce ingredients in a small bowl. Cover and refrigerate until ready to serve.

- Drain and dry the oysters: Pour the oysters into a colander to drain, rinse briefly, and pat dry with paper towels. Get them as dry as possible.
- Poke each oyster: Use a toothpick to poke a small hole in the large round part of each oyster to release steam and pressure during frying.
- Set up the dredging station: Put the buttermilk in a shallow dish. In a separate shallow dish, whisk together the cornmeal, flour, salt, Old Bay seasoning, and pepper.
- Soak the oysters: Add the oysters to the buttermilk and soak for a few minutes.
- Dredge and rest: Remove the oysters from the buttermilk, gently shake off the excess liquid, and dredge in the cornmeal mixture to coat all sides. Shake off the loose breading and transfer to a wire rack to rest while the oil heats.
- Heat the oil: Heat oil in a deep fryer, a deep cast iron skillet, or a Dutch oven over medium heat to a depth of about 2 to 3 inches, until it reaches 350°F. If you don't have a thermometer, sprinkle a few drops of water on the hot oil. If it sizzles, the oil is ready.
- Fry in batches: Working in batches so you don't overcrowd the pan, fry the oysters until deep golden and crisp, about 2 to 3 minutes. Adjust the heat to keep the oil between 350°F and 375°F.
- Drain and serve: Drain on a wire rack or paper towels, season with additional salt and pepper while still warm, and serve hot with tartar sauce.
Notes
- The toothpick trick: Poking a small hole in the round part of each oyster before breading lets steam and liquid escape so the oysters don’t pop in the hot oil. I’ve done it ever since my dad’s oysters exploded in the fryer when I was a kid.
- Dry oysters, better coating: Surface moisture is the number one reason breading falls off. Pat the oysters thoroughly dry before they go into the buttermilk.
- Let the coating set: Resting the breaded oysters on a wire rack for a few minutes before frying helps the cornmeal stay put.
- Oil temperature: Hold the oil between 350°F and 375°F. Too low and the oysters absorb oil and taste greasy. Too high and the coating burns before the oyster is cooked.
- Coating options: Equal parts cornmeal and flour is the classic. Use all cornmeal for a heartier crunch, or panko for a lighter, crispier shell.
- Buttermilk substitute: Put 1 tablespoon of white vinegar or lemon juice in a measuring cup, add enough milk to reach 1 cup, stir, and let stand 5 minutes.
- Seasoning swaps: Cajun or Creole seasoning works in place of Old Bay for a New Orleans version. A blend of garlic powder, paprika, salt, pepper, and cayenne is good, too.
- Doneness cue: Go by color rather than the clock. Deep golden coating and slightly curled edges mean they’re ready. Oysters overcook in seconds.
- Storage: Refrigerate leftovers in an airtight container for 1 to 2 days. Reheat on a wire rack in a 350°F oven for 5 to 10 minutes. Avoid the microwave.
- Serving size: This recipe serves about 2 to 3 people as an entrée, or 4 to 6 as an appetizer. Double or triple everything to feed a crowd.
Nutrition
Originally published in December, 2020, this post was updated in September, 2026.













Great article. Ive been experimenting with Asian recipes, and they use corn starch instead of flour. The first time I used it, I made honey chicken. It’s really crispy without being hard. We couldn’t eat it fast enough. Thank you for sharing your recipe, they look beautiful. If you’re nervous about ruining your entire batch, try dredging just one or two in a small cornstarch mixture. Honestly, yummo.
Thanks so much, Patricia!