Disclosure: This post may contain affiliate links. I may earn a small commission for my endorsement, recommendation, testimonial, and/or link to any products or services from this website.
This easy Bisquick cheeseburger pie, also called “impossible cheeseburger pie,” is one of those great old-fashioned dinners that the entire family will love! Serve each slice with a simple green salad, roasted broccoli, sauteed zucchini, or a fresh fruit salad!
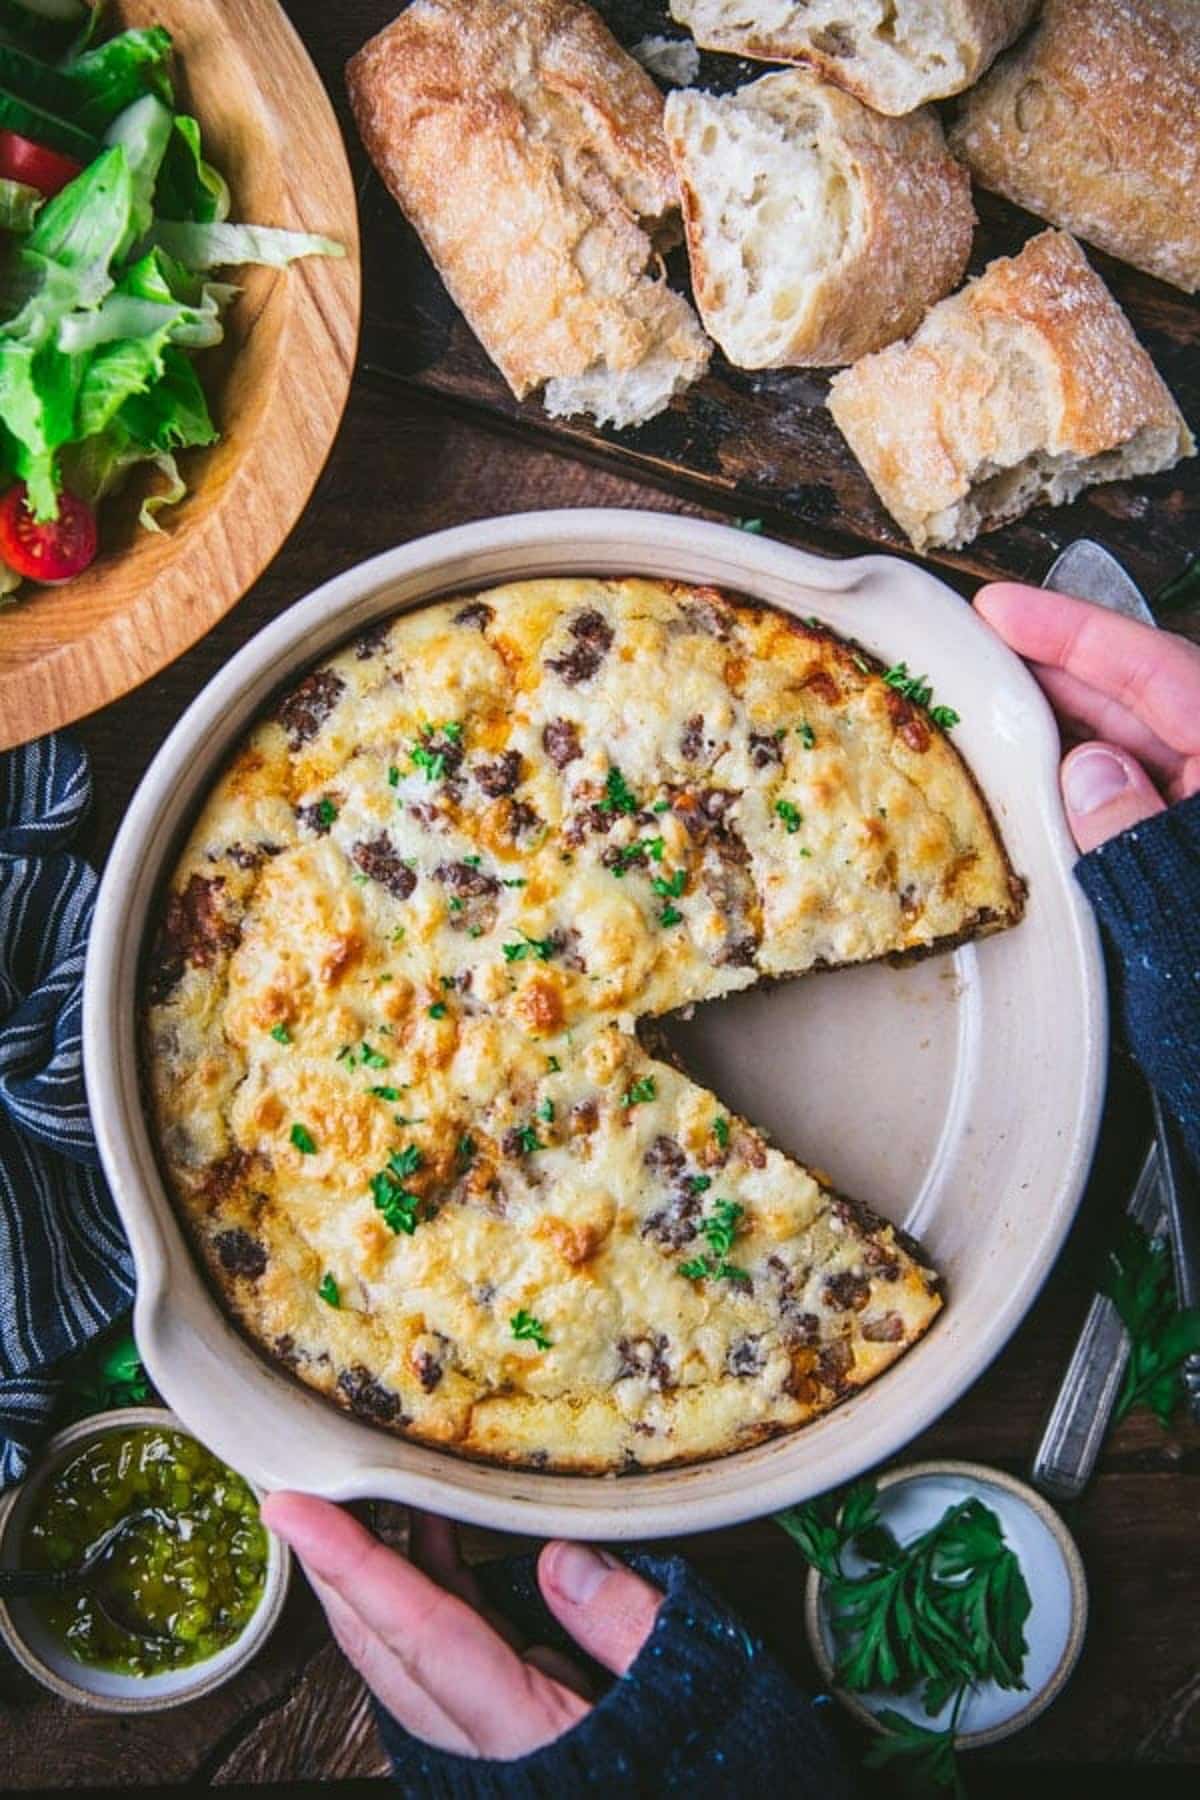
Table of Contents
If you love cheeseburger-inspired easy dinner recipes as much as we do, be sure to try our bacon cheeseburger casserole with rice, this one-skillet cheeseburger tater tot casserole, and this easy cheeseburger soup with bacon, too!
How to Make Cheeseburger Pie with Bisquick | 1-Minute Video
Bisquick is such a convenient pantry staple to have on hand for a variety of recipes. Whether you’re baking a Bisquick peach cobbler, whipping up a batch of secret ingredient Bisquick waffles, making baked pancake squares, rolling together sausage balls for your next party, or serving chicken and dumplings or this easy cheeseburger pie for supper — the options are endless!
Impossible Cheeseburger Pie Recipe
This “vintage” Bisquick cheeseburger pie recipe comes straight from my grandmother’s recipe box! If you’re not familiar with Bisquick “impossible pies,” these dishes rose in popularity back in the 1970s, when Betty Crocker first introduced the Impossible Coconut Pie — named because the company described it as “impossibly easy.”
Many different versions of impossible pies have since been enjoyed — both in the sweet and savory categories. You might remember Impossible Chicken Pot Pie, Impossible Pumpkin Pecan Pie, or the Cheeseburger Pie (or Hamburger Pie). These dishes all utilize Bisquick, an all-purpose pancake and baking mix, to form the custard or base of a crustless pie (no traditional pastry pie crust necessary). Betty Crocker now calls these “Impossibly Easy” pies, and I would have to agree!
Why You’ll Love this Recipe
- Impossibly Easy. As the name suggests, this dinner is simple and quick — thanks to help from Bisquick baking mix.
- Family-Friendly. Cheeseburger pie is one of those great meals that everyone at the table can agree on. It’s loaded with familiar ingredients and flavors that appeal to even the pickiest little eaters. Jazz up individual slices with all of the toppings to suit every palate!
- Affordable. It’s made with budget-friendly ground beef and a handful of other fridge and pantry staples for a hearty casserole that won’t break the bank.
Ingredients
This is a quick overview of the simple ingredients that you’ll need for a Bisquick cheeseburger pie. As always, specific measurements and complete cooking instructions are included in the printable recipe box at the bottom of the post.
- Ground beef: I use 85% lean ground beef, but any variety will work. You can also substitute with ground turkey or ground chicken.
- Onion: adds moisture and flavor to the casserole.
- Salt: to enhance the other flavors in the dish.
- Worcestershire sauce: for a salty, umami flavor.
- Ketchup: a classic cheeseburger ingredient that adds just a hint of sweetness.
- Cheddar cheese: you can substitute with another type of good melting cheese, such as Pepper Jack, Monterey Jack, Colby, Swiss or American.
- Bisquick: an all-purpose pancake and baking mix that’s available in gluten free, Heart-Smart, and buttermilk varieties. Any version will work, but I like the classic original Bisquick.
- Milk: to thin the batter.
- Eggs: give the filling structure.
How to Make Impossible Cheeseburger Pie
Think of this dish as a cross between a casserole and a quiche. The Bisquick mix gives the filling a biscuit-like texture, but it tastes nice and moist from the eggs and milk. With classic cheeseburger ingredients like ground beef, cheddar cheese, and ketchup, it’s a simple, hearty, and flavorful meal that the whole family will enjoy — even your pickiest kids!
You’ll find detailed directions in the recipe card below, but here’s the quick version:
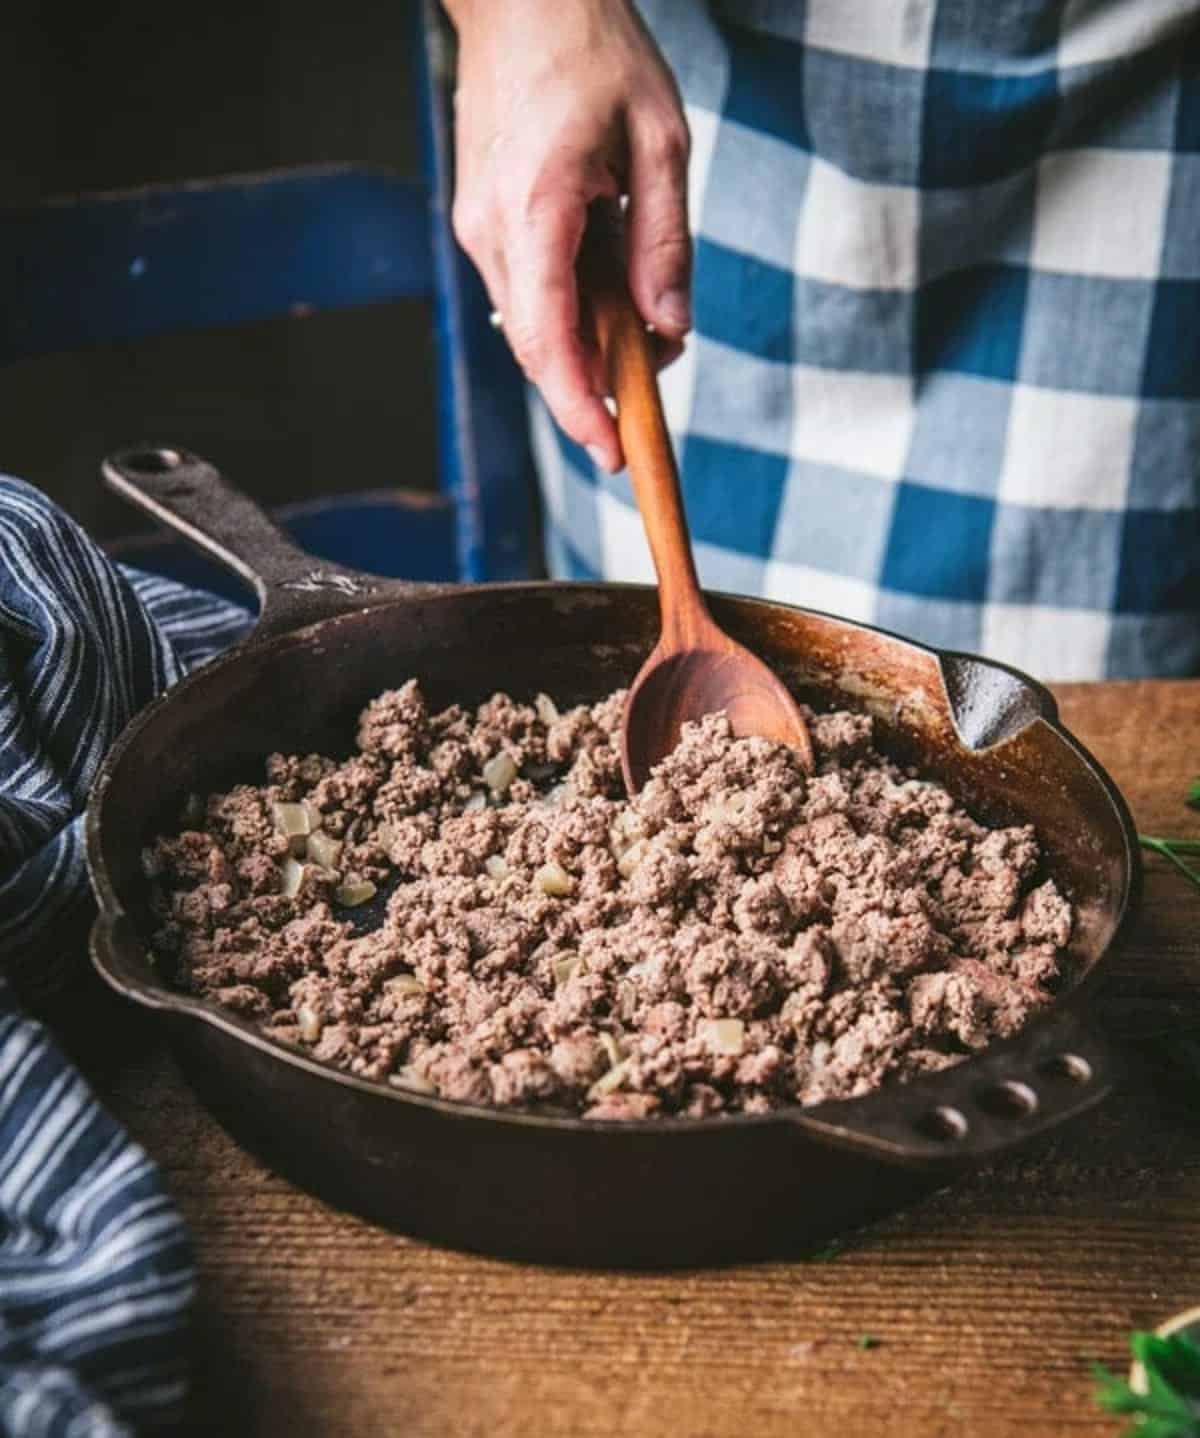
- Cook beef and onion in a skillet; drain off excess grease.
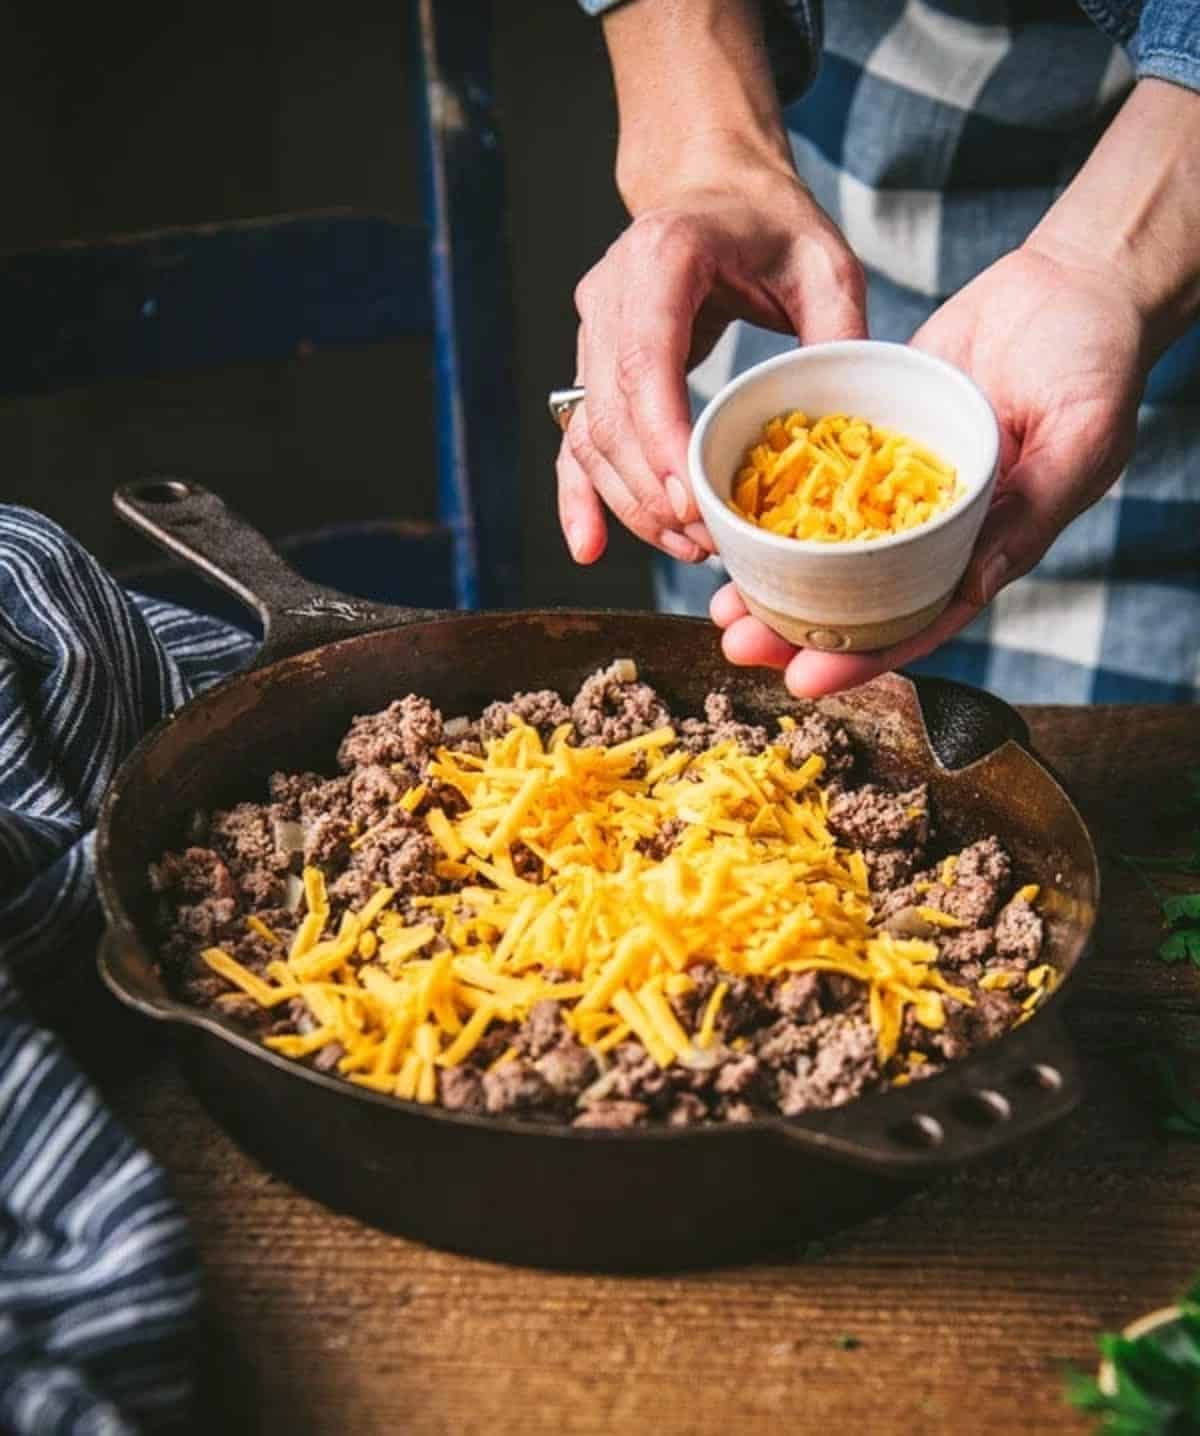
- Stir in salt, Worcestershire sauce, ketchup, and a sprinkle of shredded cheese.
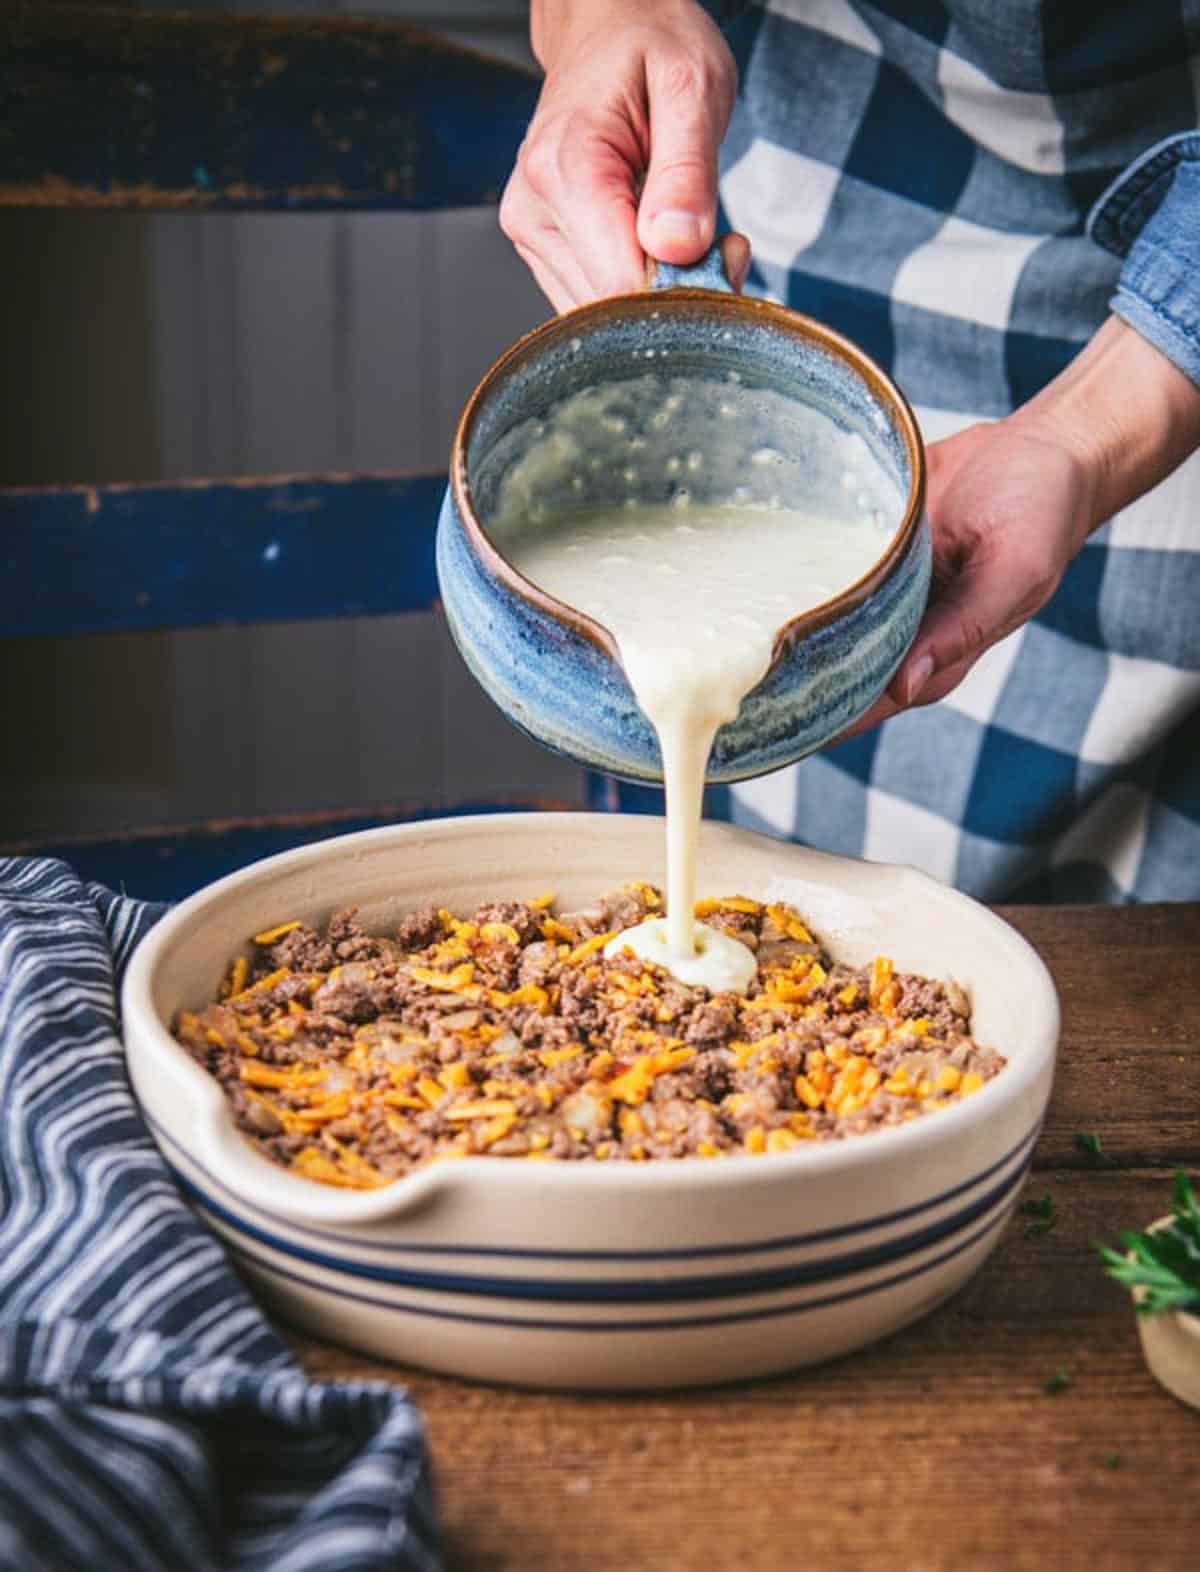
- Transfer beef mixture to a greased pie plate.
- Whisk together Bisquick, milk, and eggs.
- Pour batter over the ground beef.
- Bake until the filling is set and a toothpick inserted in the center comes out clean, about 25-30 minutes.
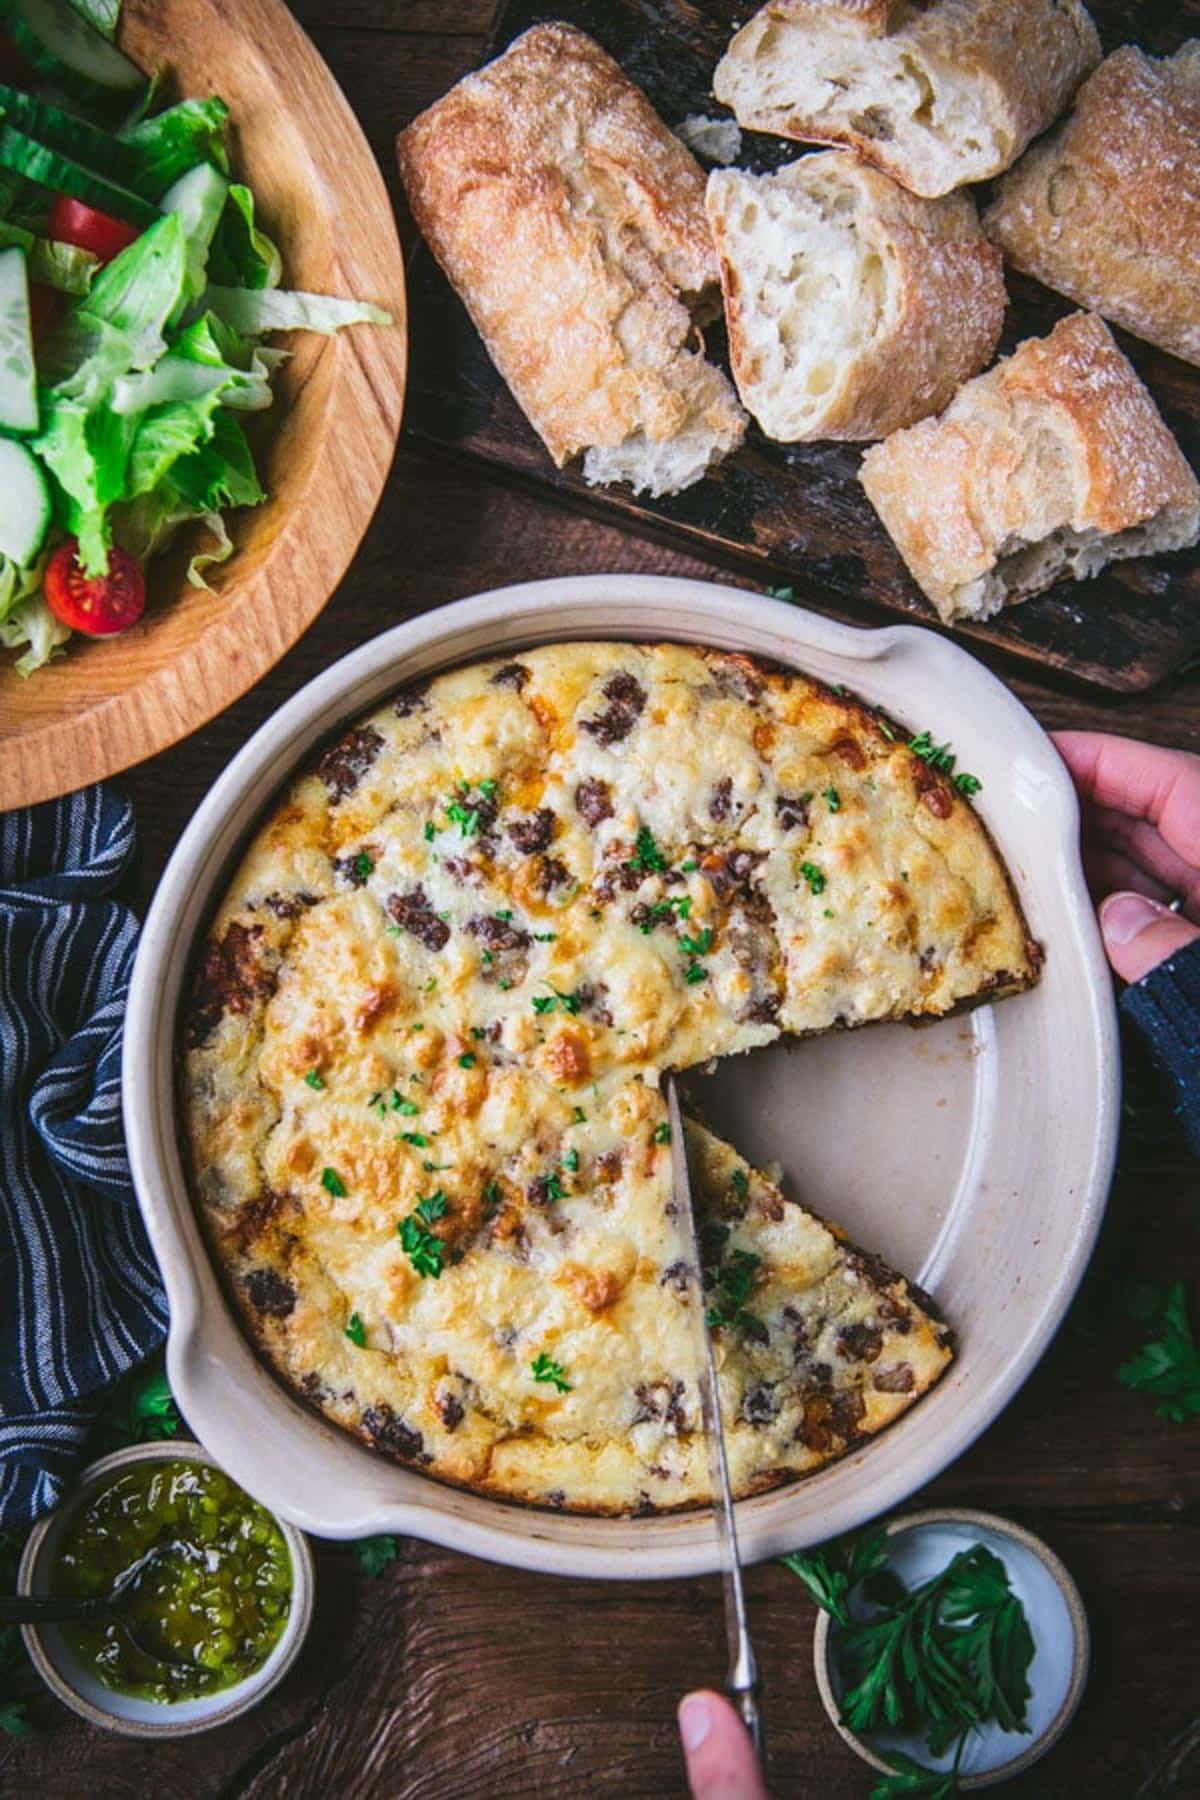
- Cut into slices with a knife and serve!
Serving Suggestions
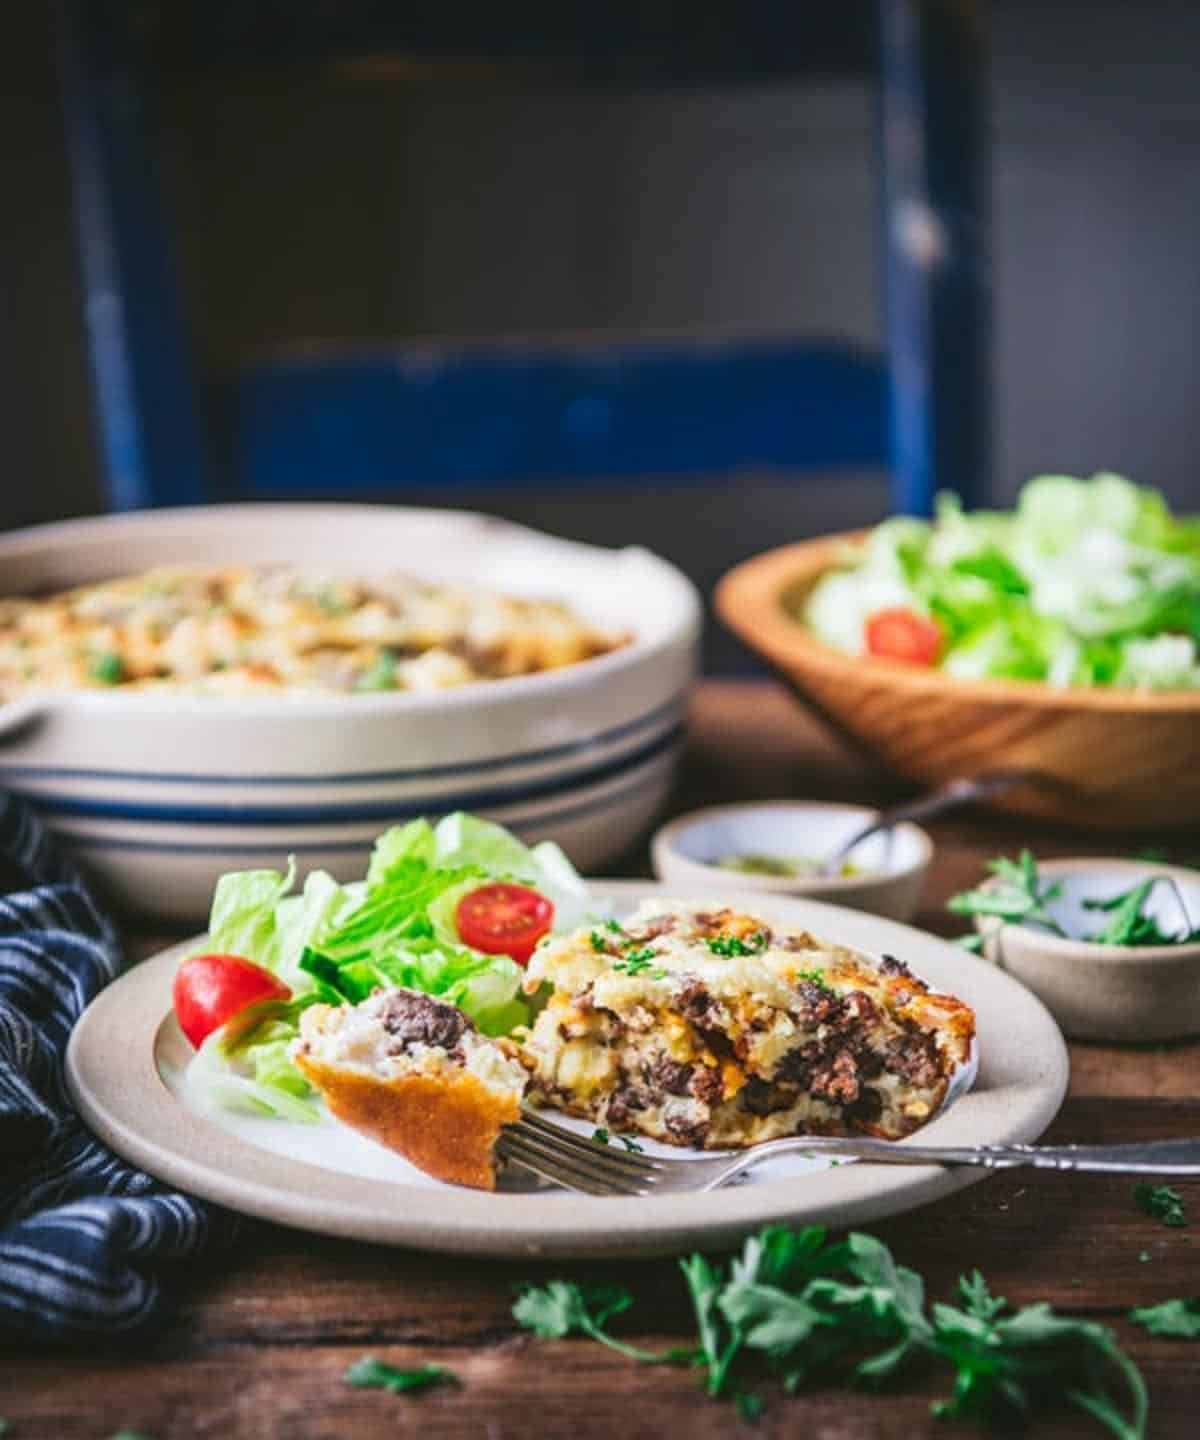
Treat the Bisquick cheeseburger pie like a classic grilled burger, and top each slice with lettuce, tomatoes, pickles, and onions. You might even like to add a drizzle of ketchup or mustard! Here are a few sides and other veggies that also go well with this impossibly easy cheeseburger pie:
- Sauteed Zucchini
- Garlic Roasted Broccoli
- Sauteed Spinach with Garlic
- Baked Potato Wedges or French Fries
- Skillet Cornbread, Corn Sticks, Mexican Cornbread, Honey Cornbread or Corn Muffins
- Southern-Style Green Beans or Arkansas Green Beans with Bacon
- Green Salad with Red Wine Vinaigrette, Caesar Salad, Mixed Greens with Dijon Vinaigrette, or House Salad with Candied Pecans
- Refrigerator Dill Pickles, Cucumber Dill Salad, Cucumber Tomato Onion Salad, or Cucumber Salad with Vinegar
- Tomato Salad with Basil and Balsamic
- Buttermilk Mashed Potatoes {3 Ingredients}, Mashed Potatoes with Sour Cream and Chives, or Skin-On Mashed Red Potatoes
- Baguette, Homemade Focaccia, or a loaf of crusty Dutch Oven Bread
- Buttermilk Biscuits, Drop Biscuits, Cheese Biscuits or Flaky Biscuits
- Pumpkin Bread or Pumpkin Muffins
- Creamy Coleslaw or Vinegar Coleslaw
- Southern Collard Greens
- Broccoli Cauliflower Salad
- Fried Apples, Baked Apple Slices, or Applesauce
- Southern Succotash, Fried Corn or Corn Salad
This was pleasantly easy to make! And everyone loved it.. win win! I cooked it in a cast iron pan and poured bisquik on top and put her in the oven. I added frozen corn and it cooked beautifully. Served it with broccoli and we’re good to go. Love easy meals.
– Sara

Make Ahead Tips
There are a couple of ways that you can prepare this dish in advance for even quicker weeknight meals:
- Prepare the ground beef mixture up to 48 hours in advance. It can sit in the pie plate, covered with plastic wrap in your refrigerator — just waiting for the batter and the oven. Right before baking, whisk together the batter, pour it over top, and pop the dish in the oven. If the dish is cold when it goes into the oven, you may need to increase the total baking time by a few minutes.
- Bake the entire casserole, let it cool to room temperature, and then wrap tightly and freeze for up to 3 months. Thaw in the refrigerator overnight, then reheat (covered) in a 325°F oven for about 20-30 minutes, or until warmed through. If the pie is in a freezer-to-oven-safe dish, you can reheat it directly from frozen. You’ll just need to leave it in the oven for almost twice as long.
Storage Tips
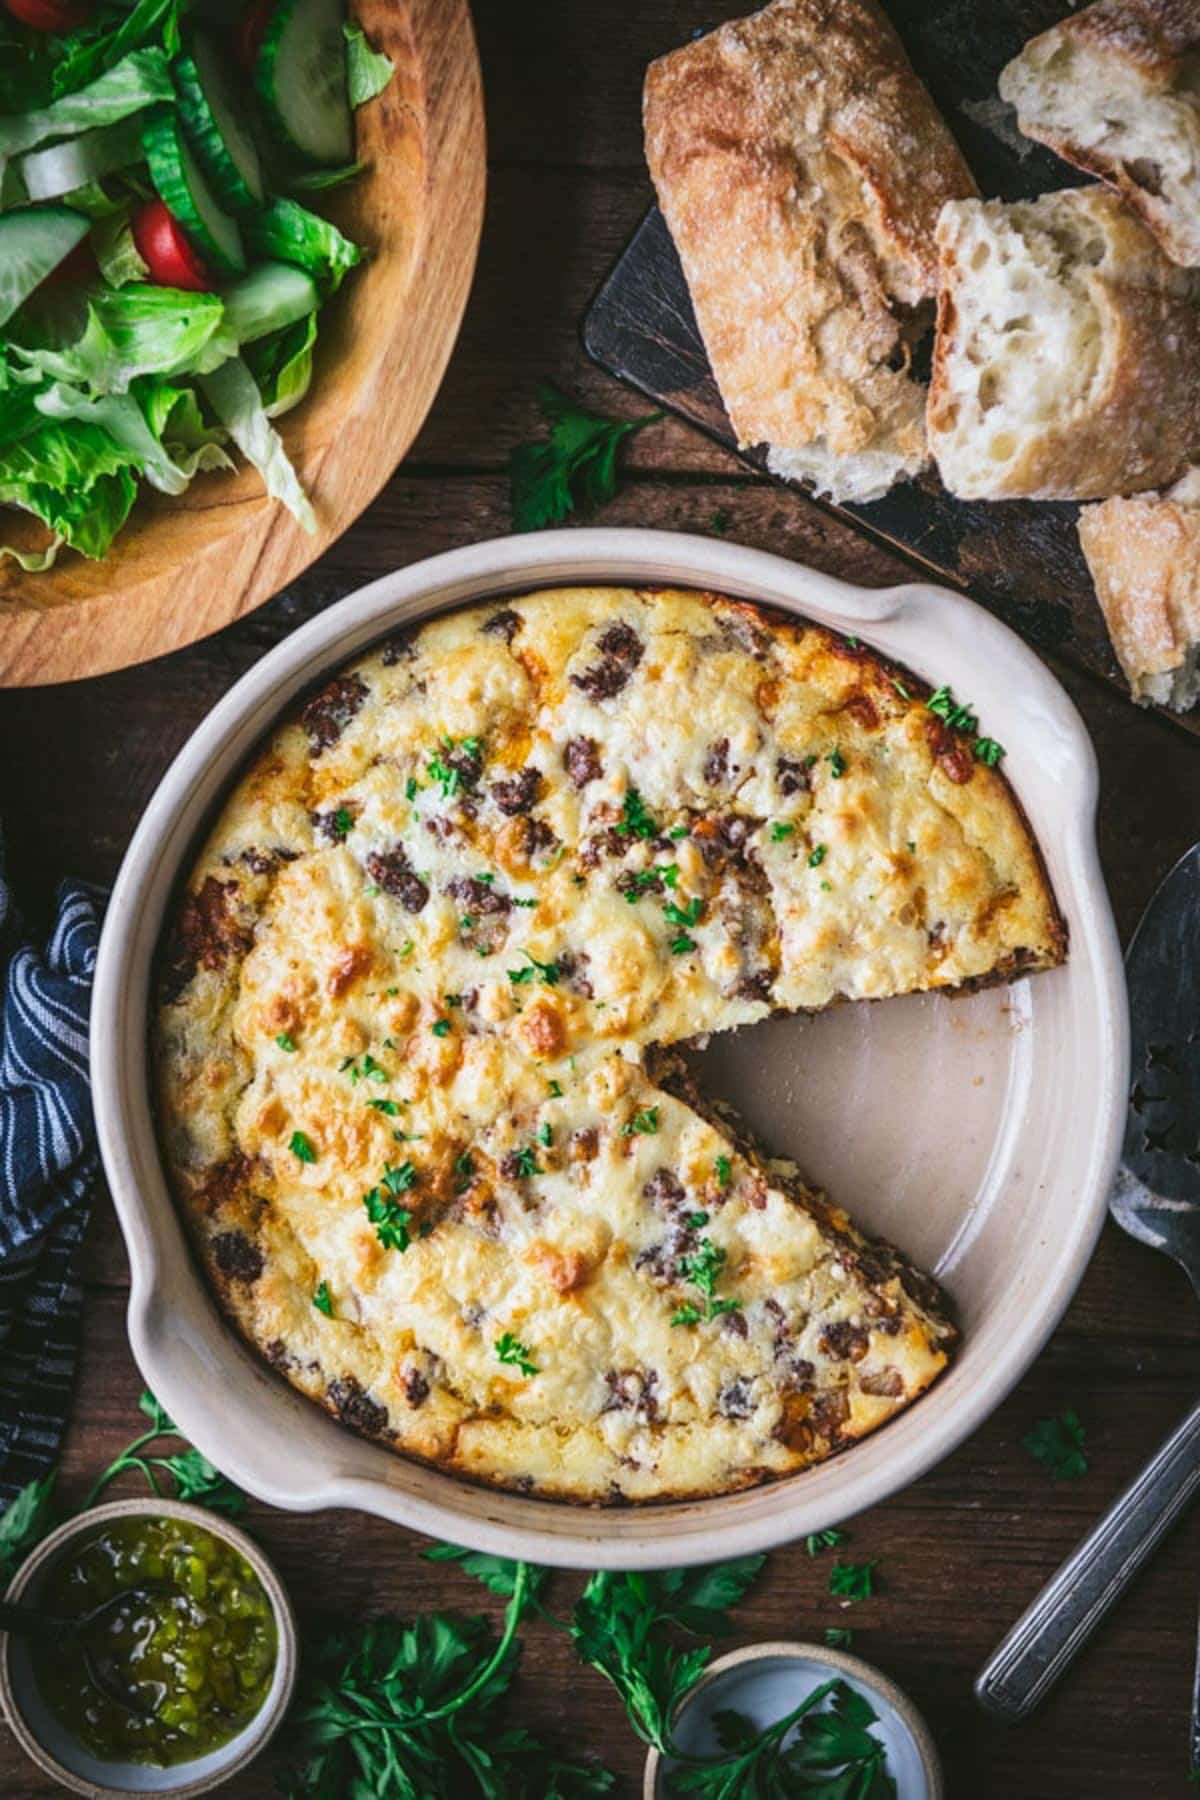
Leftover cheeseburger pie will keep in an airtight container in the refrigerator for 3-4 days, or in the freezer for up to 3 months.
Reheat an entire hamburger pie casserole covered in a 325°F oven for about 20-30 minutes, or until warmed through. You can also reheat individual slices in the microwave for 1-2 minutes.
Recipe Variations
- Make it a bacon cheeseburger pie by adding some chopped bacon to the skillet when you brown the ground beef.
- Swap out the ground beef and replace it with an equal amount of ground turkey, ground chicken, or ground sausage.
- Add extra seasoning to the ground beef with a packet of taco seasoning, garlic powder, onion powder, or paprika.
- Try different types of cheese, such as Pepper Jack, Monterey Jack, Colby, Colby Jack, Swiss, or American. You can also omit the cheese and make it an old fashioned hamburger pie recipe!
- Serving a larger family? Double the ingredients and bake the pie in a 9 x 13-inch casserole dish. You will need to increase the total baking time by about 5-10 minutes.
Expert Tips
- Don’t overmix the Bisquick batter. Some lumps in the batter are fine! Over-mixing will activate the gluten in the flour, which results in tough, dense baked goods.
- Garnish the top of each slice with your favorite cheeseburger toppings. Good options include sliced green onions, chopped pickles or pickle relish, sour cream, lettuce, and diced tomatoes. You might even like a drizzle of ketchup or mustard.
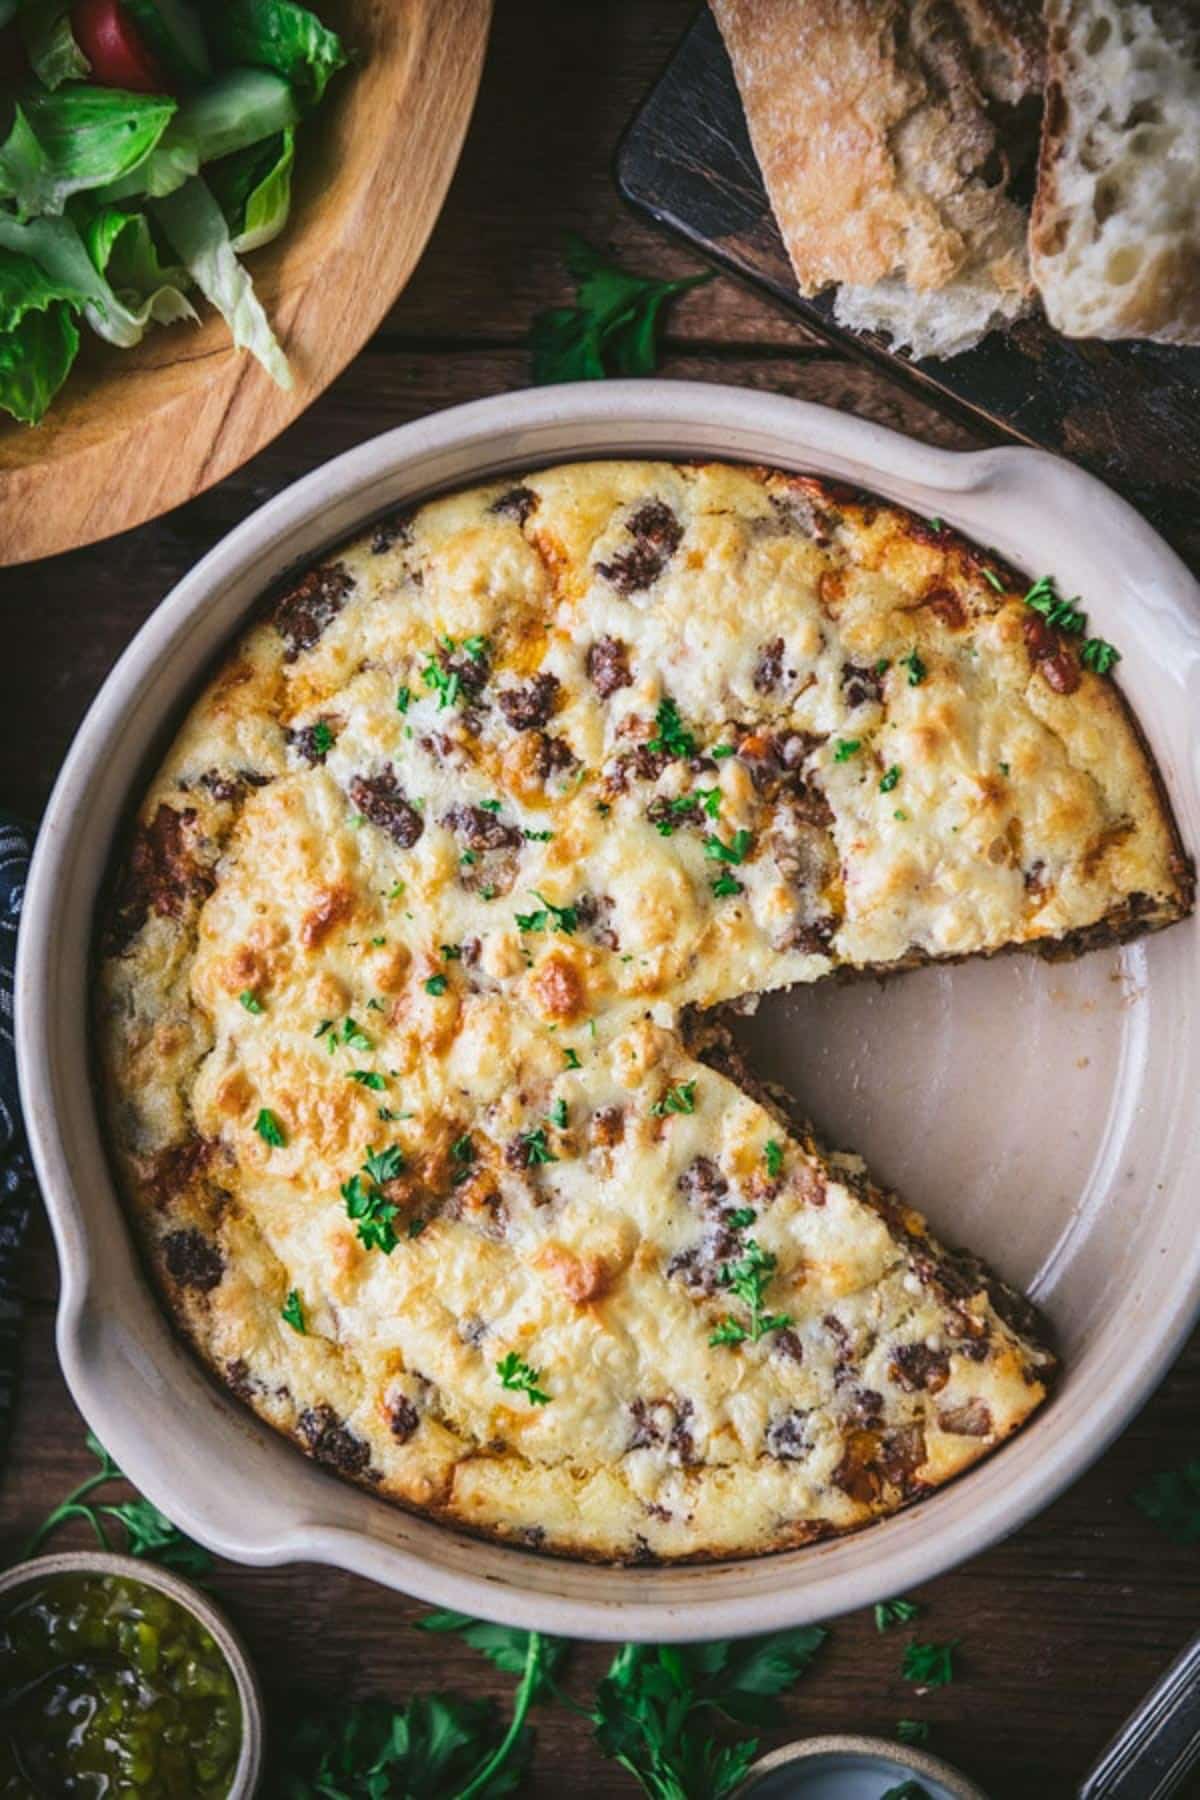
- For a cleaner slice, allow the pie to rest in the pie pan for 10-20 minutes before serving.
More Easy Ground Beef Recipes to Try
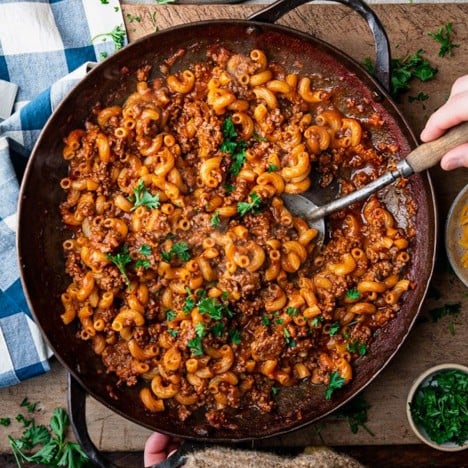
One Pan Homemade Hamburger Helper
30 minutes mins
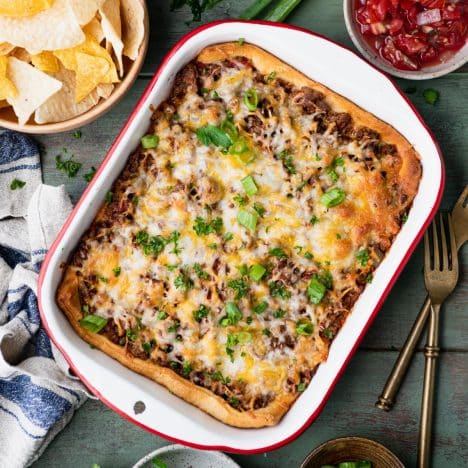
4-Ingredient Ground Beef Casserole
35 minutes mins
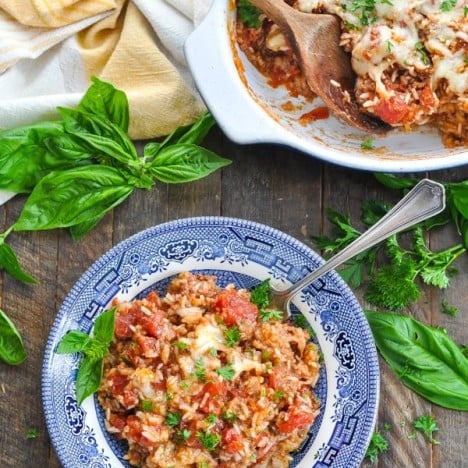
Dump-and-Bake Ground Beef Casserole with Rice
1 hour hr 25 minutes mins
If you’re looking for even more inspiration, don’t miss this collection of the 20 best ground beef casserole recipes!

Cheeseburger Pie {“Impossible Cheeseburger Pie”}
Ingredients
- 1 lb. ground beef
- 1 cup diced onion
- ½ teaspoon salt
- 1 teaspoon Worcestershire sauce
- ¼ cup ketchup
- 1 cup shredded cheddar cheese
- ¾ cup Bisquick baking mix
- 1 cup milk
- 2 large eggs
Instructions
- Preheat oven to 400°F. Grease a 9-inch pie plate (or a deep 8-inch square baking dish) with nonstick cooking spray; set aside.
- In a large skillet, brown ground beef and onion over medium heat until beef is no longer pink (about 8-10 minutes). Drain off fat.
- Stir in salt, Worcestershire sauce, ketchup, and cheese. Transfer beef mixture to the prepared pie dish.
- In a separate bowl, whisk together Bisquick, milk, and eggs, just until combined (it’s fine if you still have some lumps in the batter – do not overmix).
- Pour batter on top of beef.
- Bake for 25-30 minutes, or until a toothpick inserted in the center comes out clean.
Video
Notes
- Don’t overmix the Bisquick batter. Some lumps in the batter are fine! Over-mixing will activate the gluten in the flour, which results in tough, dense baked goods.
- Garnish the top of each slice with your favorite cheeseburger toppings. Good options include sliced green onions, chopped pickles or pickle relish, sour cream, lettuce, and diced tomatoes. You might even like a drizzle of ketchup or mustard.
- For a cleaner slice, allow the pie to rest for 10-20 minutes before serving.
Nutrition
This recipe was originally published in February, 2018. It was updated in March, 2024.











I can see why your boys like this…looks delicious! And I love that you can prepare the ground beef mixture ahead of time. Definitely a time saver! Sounds wonderful for busy weeknights!
Thanks, Gayle! Love a great prep-ahead dinner!
Love how easy this comes together! I’ve had something similar to this using Bisquick but it’s a pizza-style casserole. This one sounds just as good!
Ooooh! A pizza version sounds great too, Melissa!
What’s up it’s me, I am also visiting this site daily, this website is in fact pleasant and the viewers are in fact sharing good thoughts
Jesse would love this – and my family too! I think I might have to try this over the weekend. I’ll have to come up with an alternative to bisquick though because we don’t have that!
It’s definitely family-friendly, Kristy! I don’t know what Australia has that’s an equal substitute for Bisquick…maybe a general baking mix?
You can easily make your own Bisquick. It’s basically just flour, baking powder and salt. I have a recipe on my site but there’s also lots of others if you search Google or Pinterest.
This looks quick & tasty. Not a Bisquick crust fan so think I’m going to try it with Red Lobster Cheddar Bay Biscuit mix.
Oh, that sounds delicious! Let me know if that Red Lobster mix works!
Did that work??
Cheeseburger pie is one of my family’s favorite. I’m trying s new version of this pie with the base made from a combo of corn meal and corn flour.
Perfect! I hope that you all enjoy it, JR!
I make this often but I add a pkg. of mild taco seasoning for each lb. of ground beef when I am browning the meat. It comes out to be taco pie. Everyone loves it.
Great suggestion, Shirley! I have a similar Taco Pie recipe on the blog as well. So good! 🙂
Made this today, was very good! My Grandson will not eat onions , so I did substitute a pack of Lipton Golden Onion soup mix for the onions. Will make again using real onions when he is not visiting.
Great! Thanks, Sandra!
A tbsp of onion powder works well too. My son isn’t a fan of onions either.
My husband hates ketchup. Is there something I could substitute for it or just leave it out altogether?
Hey, Jess!
Yes, you can either substitute with yellow mustard (if he likes that flavor), use some plain tomato sauce (from a can), or just leave it out! 🙂
You can omit it. Bisquik’s recipe doesn’t include ketchup.
Can I use Kodiak cakes flapjack mix? Instead of bisqick
Hey, Callie! I honestly don’t know. I haven’t compared the ingredients in the two mixes to know if they’re similar or not. I think it would probably work fine, but it will definitely taste slightly different (since Kodiak Cakes taste different than Bisquick). Again, it will probably work — it will just be different. 🙂
This recipe is awful. Getting the bisquick crust to flatten out is a nightmare and it ends up lumpy and either over or under cooked. Don’t use it ever.
What do you mean get the Bisquick cross to flatten out it’s a cup of milk a half a cup of Bisquick into eggs it shouldn’t be sick like oatmeal you just pour it on top it pours you don’t have to find something out that pours the recipe is just fine
This was delicious!! Definitely a “Keeper”!!. My husband & I really enjoyed this.. 🙂 Thanks so much for a wonderful & easy recipe!
That’s great, Tess! I’m so glad that you liked it. Thank you! 🙂
Made it up for dinner this evening. I’ve been a fan of impossible pies since they first came out. I do eat & run nights for my family when everybody’s going in all directions. Quick & easy… & good. Somewhere in my vast collection of cookbooks i. Have The Complete or Ultimate or Something Book of Impossible Pies, but it wasn’t close & your recipe had all the stard. Thanks
Althea
Thanks, Althea! So glad that it worked for you! 🙂
Making it now but since I live in Hatch,NM, I had to add 1/2 cup green CHILE to the meat mixture. Will let you know how that worked later! 🙂
Just put this in the oven. Since I’m from Hatch, NM, I had to add 1/2 cup green CHILE. Will let you know how it turns out later.
Sounds awesome! I bet it will be delicious, Karen! 🙂
It was a big hit! Will make it again! Thanks for the recipe!
Wonderful! Thanks, Katen!
thanks for sharing such tasty easy cheeseburger pie recipe. Thanks for your efforts.
This was delicious! I plan to make it again. The only thing I did different was less chopped onion. Just personal preference. Kudos!
Awesome! So glad that you liked it, Lori!!! 🙂
This was pleasantly easy to make! And everyone loved it.. win win! I cooked it in a cast iron pan and poured bisquik on top and put her in the oven. I added frozen corn and it cooked beautifully. Served it with broccoli and we’re good to go. Love easy meals.
Wonderful! Thanks, Sara!
Your share is the great knowledge I have gathered, you are an important person I admire, thank you
Kristy! I don’t know what Australia has that’s an equal substitute for Bisquick…maybe a general baking mix?
Can I bake this using a pie crust for the bottom crust?
Hi, Judy! I’m not sure how that would work — do you mean to pour the Bisquick into a pie crust as well, or just use the ground beef and cheese in the pie crust? I wouldn’t recommend it, but let me know if you give it a try and figure out a delicious new recipe! 🙂
I doubled the recipe to make a casserole and substituted a cup of diced red and yellow peppers for one of the cups of onion. I also used a mixture of different cheddar cheeses and ground chuck instead of ground beef (it’s what I had on hand). The result was absolutely delicious! My husband advised me NOT TO CHANGE A THING! (I often experiment and change recipes as I use them! ;)). This is a definite keeper!! Thank you!!
That’s wonderful, Joanne! Thanks so much for letting me know!
I am the main cook in our household my best friend and housemate my 92 yr Mom ( who is bedridden). Finding make ahead recipes is a true blessing! I made this for our dinner last night along with a simple tossed salad and of course kosher dills. It was a hit out of the ballpark! Will definitely make again, I did add a few mixed color bell peppers . Will top with a few slices of avocado next time.
That’s wonderful, Marianne! I’m so glad that it was an easy recipe that you could both enjoy. Thanks for taking the time to leave me a note!
I’m so excited for this! I have a gluten free baking mix I’m going to try (my oldest son has Celiac Disease) but I think it will work!!
Thank you for the recipe!
I think it should work with the gluten-free mix too, Rebecca (although I’ve never tried that myself). We actually just had this for dinner last night. Such a hit with the whole family! Enjoy! 🙂
can you make this with a pie crust????
Hi, Sue! I think that would probably work, but I worry a little that the meat filling would get dry on its own. Maybe add more ketchup/mustard/bbq sauce? And top with cheese? Let me know if you give it a try and if you have any suggestions that work well. 🙂
We tried it tonight. I wanted to double the recipe but I didn’t quite have 2 pounds so I added some mushrooms and bacon. It was delicious. The only thing I would do differently is to add more Bisquick mix. The casserole had more of an eggy quiche-like taste. Definitely a keeper.
Thanks!
I use crescent roll dough instead of the bisquick. It makes creating this dish even easier. The taste is a little different but just as good.
Great tip! Thanks, Linda!
I used a refrigerator pie dough, 1/2 cup of milk and only one egg. There were two slices left for today’s lunch and they were gone before I had a chance to even ask who wanted to share. I have been making this for years, this house of three “Golden Girls “ love this pie!
That makes me so happy to hear, Marianne! Glad that you all enjoy it, and thanks for sharing your adjustments. 🙂
Can I bake this using a pie crust for the bottom crust?
Hi! Yes, that should work fine. The Bisquick sinks down among the beef, giving the dish a bread-like texture throughout, so you really don’t need a bottom crust. That said, I don’t think it would hurt to add the bottom crust if that’s your preference. Enjoy!
Thank you for this recipe! I added mushrooms to this and it was delicious!
Sounds delicious! Thanks for taking the time to leave a note, Lily!
Can I bake this using a pie crust for the bottom crust?
Hi, Jack! Sure, I would blind-bake the crust first to make sure that it’s cooked through and not soggy. You’ll still want to use the Bisquick to help the filling set. Enjoy!
Easy and so good. Will be making again.
Thanks, Jill!
Great basic recipe for the cheeseburger pie classic. I thought I’d add this comment, as it was a game changer for me on other similar recipes. To spice it up a bit, add your favorite burger fixings! I love adding different combinations of diced pickles, tomatoes, mushrooms, and shredded cabbage or saurkraut (acts like the lettuce but not soggy). I have this one saved in my keepers! Thanks so much!
Thanks, Carly! Yes, the toppings are a great suggestion! 🙂
This was really good! I love the dish you baked yours in. The recipe says to use a pie plate ( your dish doesn’t look like a pie plate, is it a hand made pottery dish?) Needless to say I have a thing for different dishes, was your dish hand made?
Hi, Nancy! My dish is technically called a hand-thrown stoneware cornbread pan. Not something that everyone owns, which is why I say to use a pie plate. 🙂 Here’s the link if you’d like one: https://www.lehmans.com/product/heritage-blue-stripe-stoneware-cornbread-pan?shopping&gclid=CjwKCAiArOqOBhBmEiwAsgeLmfzMemx7cW2SZUcWizFDyGAYGmTMZbs3N8CrJTKoNdwpYQeVhkWtfxoCvx0QAvD_BwE#
This is great and so simple. I’ve made it with both turkey and beef – enjoyed it both ways. Personal additions are I use Diner/Seasoned salt instead of regular salt and add about a teaspoon of mustard. If it helps anyone – because it’s what I normally have on hand I use unsweetened oatmilk for the topping instead of regular milk and it works perfectly. I’m making it again tonight and so looking forward to it with a nice salad to round out the meal!
Great tips, Rochelle. Thank you!
Do you think this would work okay with an almond flour pancake mix instead?
Hi, Brittany! I don’t know, since I’ve never used that type of mix. I would think that it should work okay, but you might need to play around with the amount of milk and eggs that you use. I’m sorry that I’m not familiar with the specific ingredients in the almond flour mix.
I made this the other night using taco seasonings and adding some sliced olives. It was so good that everyone was mad that there were no leftovers lol
Sounds delicious, Stacy. Thank you!
I followed this recipe exactly. The only change was that I minced the onions (hubby can’t stand eating them but will tolerate them if they’ve “melted” into the food). I felt it lacked something in my opinion, not sure what, but that might be just me. I added tomatoes on the side which helped a bit. My husband liked it and ate 2 slices! Next time, I’d experiment with using BBQ sauce instead of ketchup, or I’d use taco seasoning. I will try this recipe again.
Thank you, Tracey! Yes, definitely use this recipe as a baseline and feel free to experiment with different add-ins, flavors, seasoning, and toppings. The options are endless. 🙂
I make a similar version of this. I throw in frozen broccoli with the meat mixture, full meal all in one!
That sounds like a great addition! We love this recipe for an easy weeknight meal.
We loved the cheeseburger pie. It was the best
Thanks, Tina!