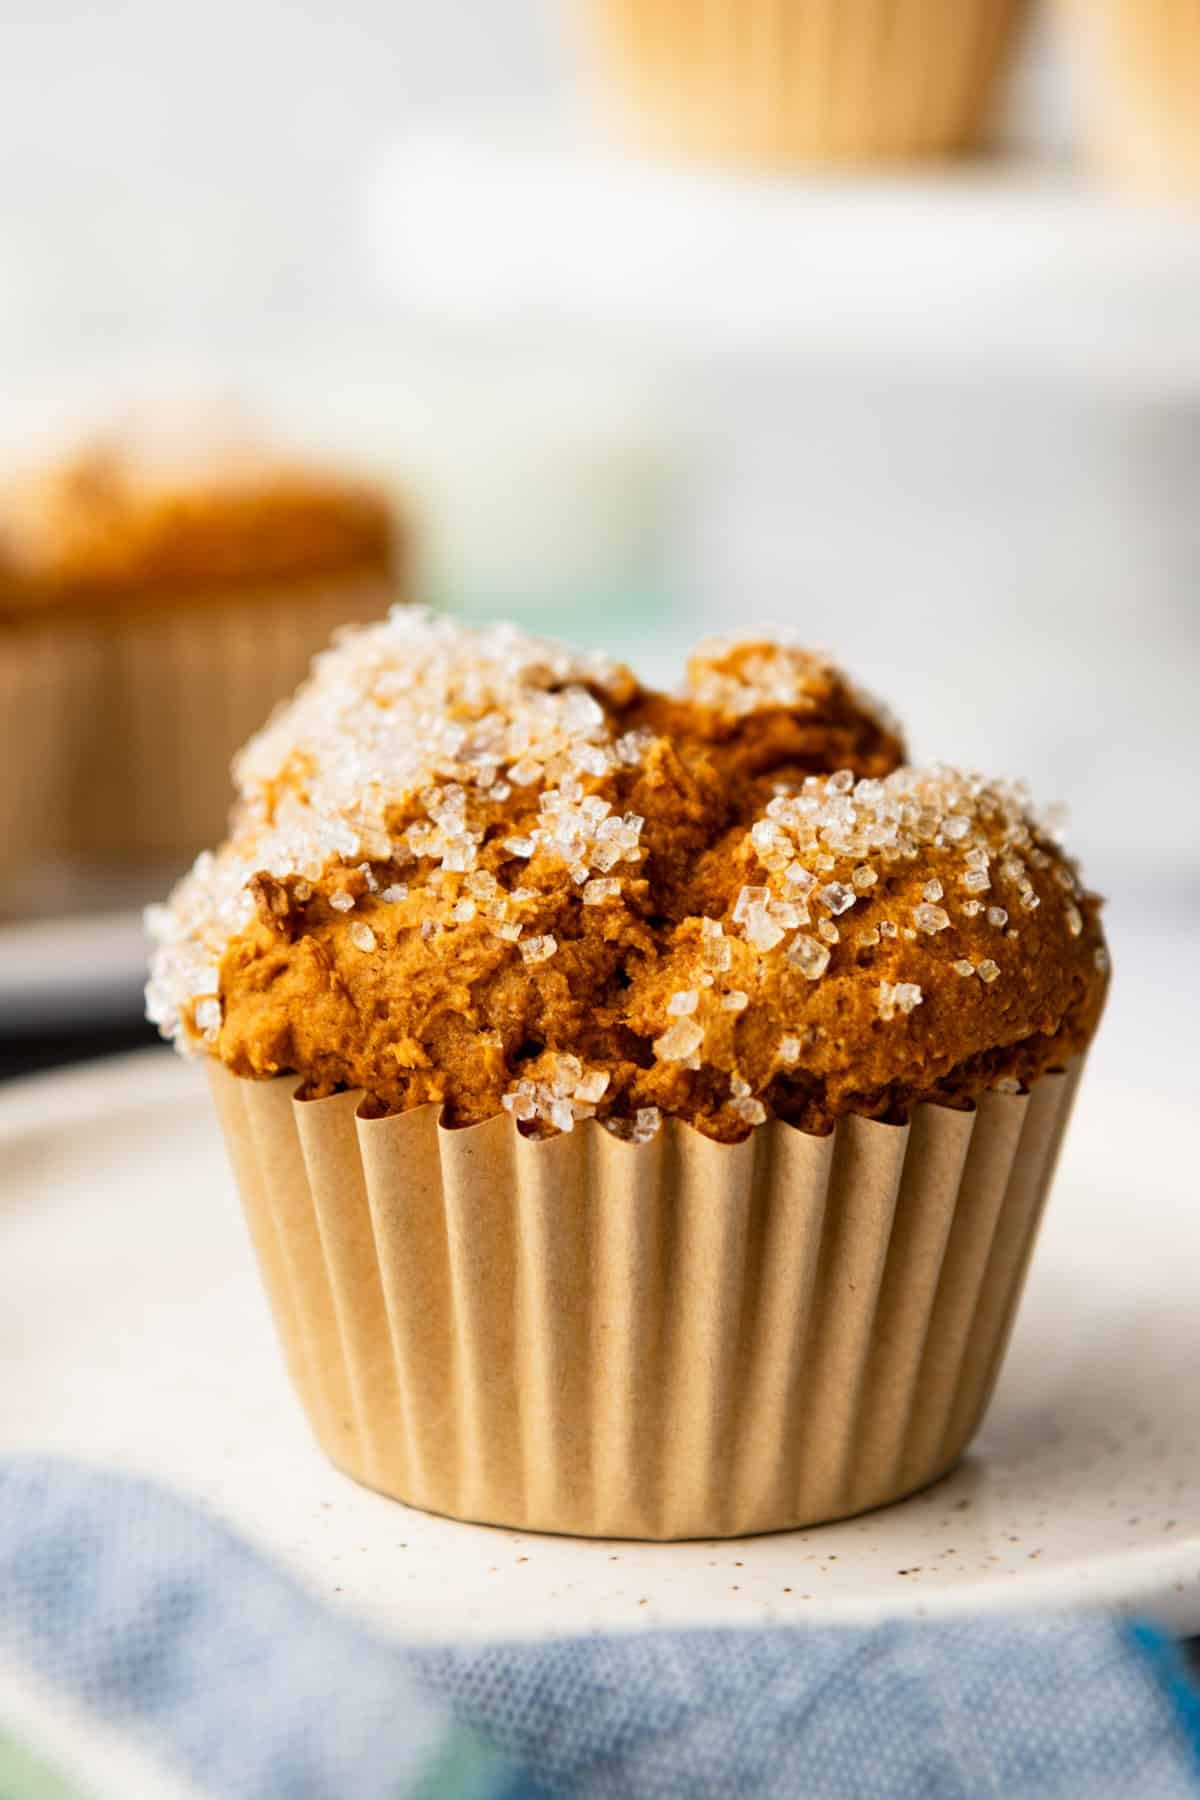
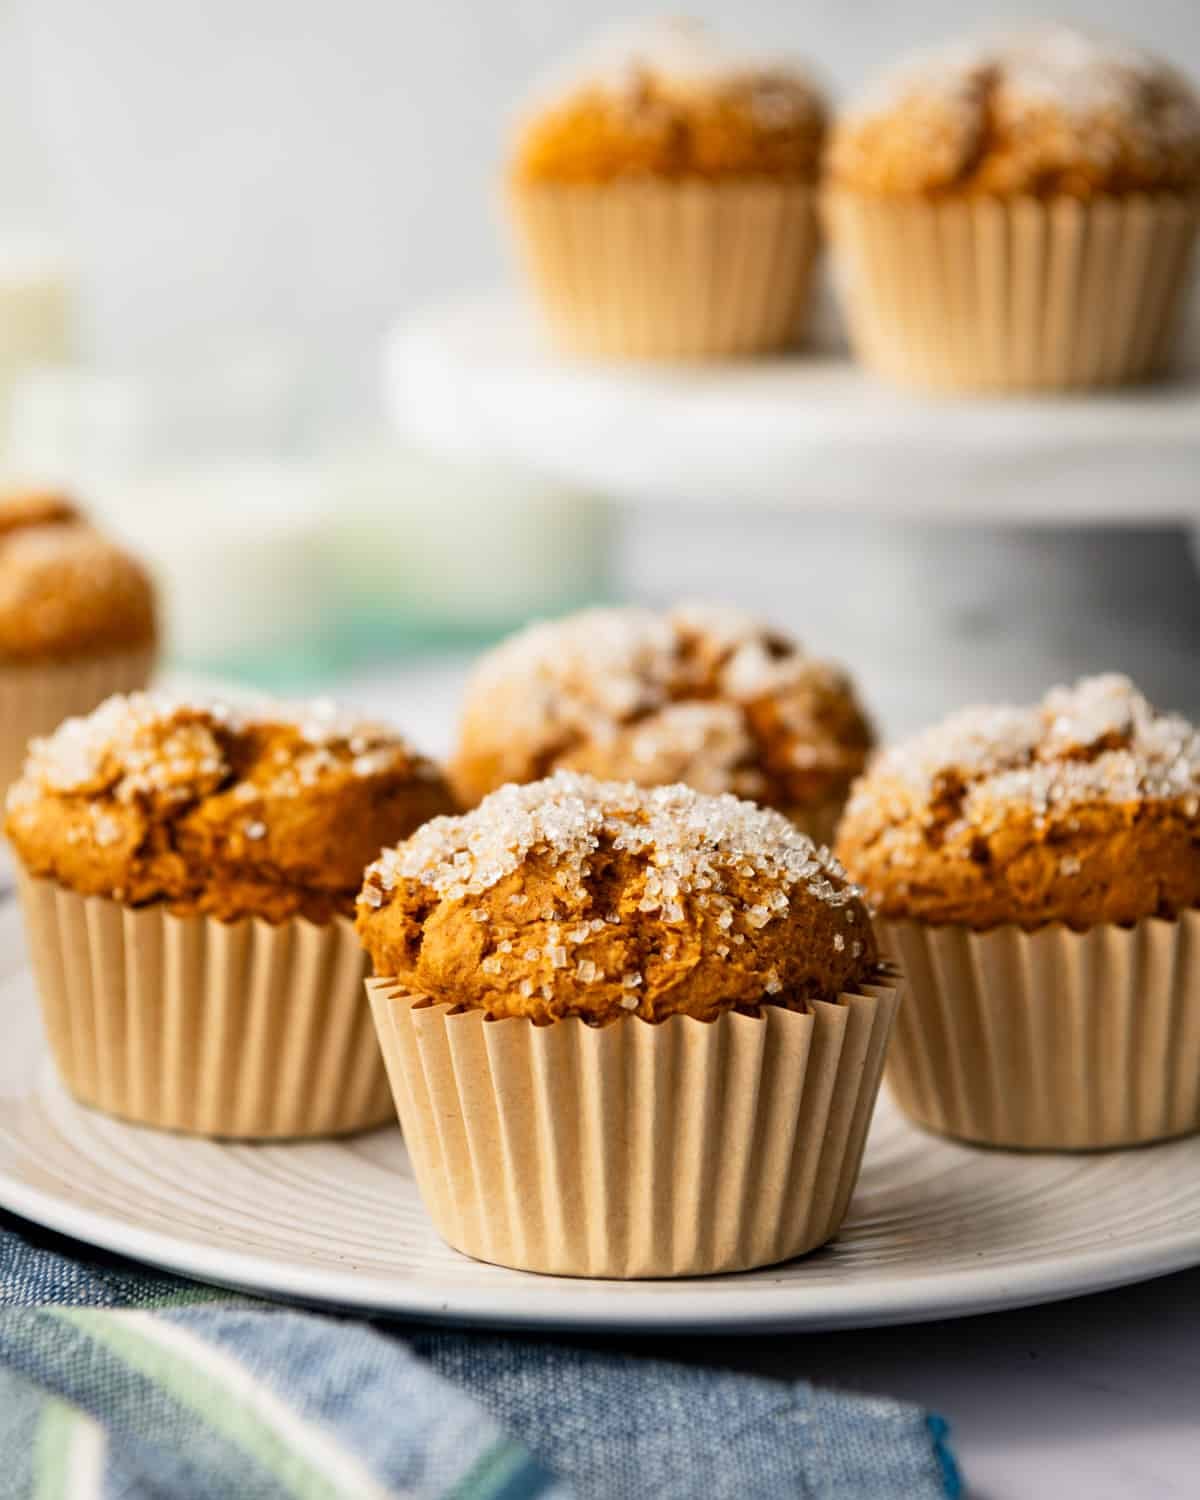
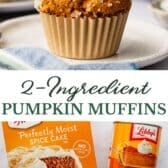
These 2-ingredient pumpkin muffins need nothing but a box of spice cake mix and a can of pumpkin. No eggs, no oil, no butter, and about 5 minutes of prep before they go in the oven. It’s the easiest pumpkin recipe I make all fall!
More Easy Pumpkin Breads and Muffins:
Before You Get Started
Two ingredients doesn’t leave much room for error! Here’s what matters most before you start:
- Skip the box directions. Don’t add the eggs, oil, or water listed on the package. The pumpkin replaces all of it, and anything extra leaves the batter too wet to set.
- Use the whole can of pumpkin. One 15-ounce can to one 15.25-ounce box of cake mix. The full can is what stands in for the eggs and oil, so don’t measure out less.
- Spray the paper liners. There’s no fat in this batter, so the muffins grab onto bare liners and tear when you peel them. A quick spritz of nonstick spray keeps them whole.
Which Cake Mix Works Best
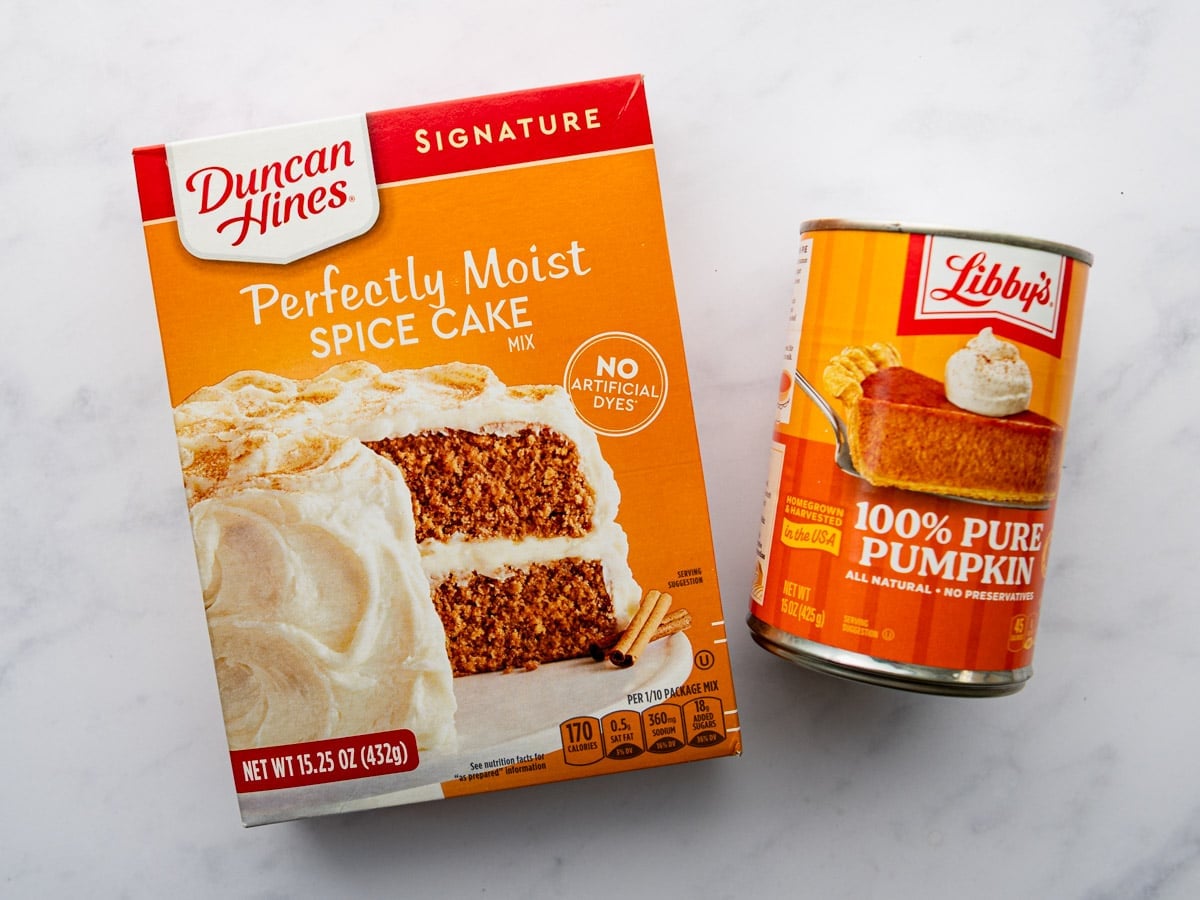
Spice cake mix is my pick, and it’s what I use every time. The warm spices are already blended in, so you don’t have to measure out cinnamon, ginger, and nutmeg separately.
Yellow and white cake mix both work, but they have no spice of their own. Add 2 teaspoons of pumpkin pie spice to the dry mix before you stir in the pumpkin, or the muffins will taste flat. Chocolate cake mix is a fun one for kids, and it doesn’t need any added spice.
⇢ Any 15.25-ounce box will do. Duncan Hines and Betty Crocker both work well here, and store brands are fine too. If you like this combination, my Pumpkin Cake with Yellow Cake Mix uses the same trick in a 9×13 pan.
These were delicious! Thanks so much for this easy recipe. I experimented a bit and added some chopped up pecans and that was delicious as well. I now have an easy, quick go to last minute healthier treat when my grandsons pop in.
– Linda
How to Make Pumpkin Muffins with Cake Mix
I can’t take credit for this one! Hacking a boxed cake mix this way has been around for years, and my boys have been eating these since Aunt Bee taught me the recipe when they were toddlers. Here’s how it comes together:
Step 1: Heat the Oven and Prep the Pan
Preheat the oven to 375°F. Spray a 12-cup muffin tin with cooking spray, or line it with paper cups and give those a light spritz too.
Step 2: Stir the Batter Together
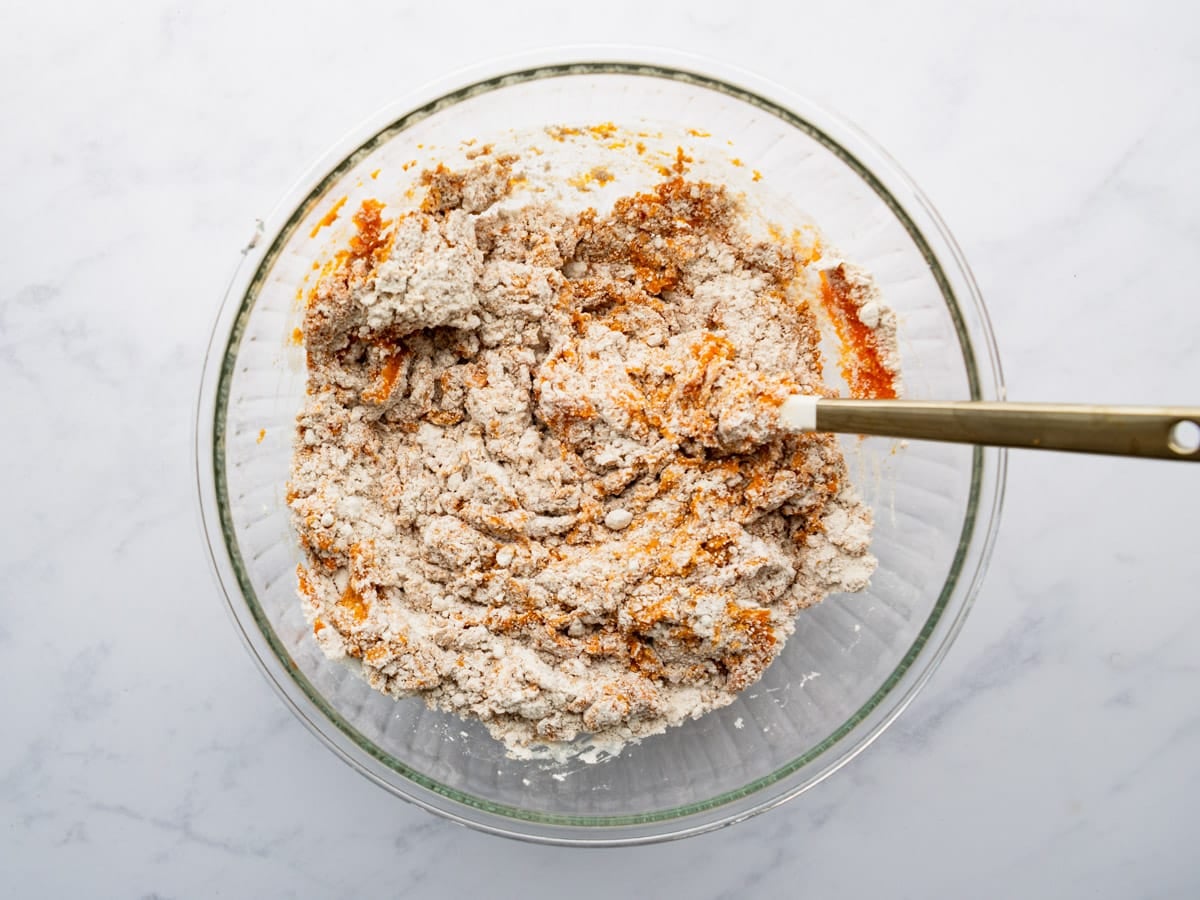
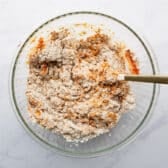
Add the canned pumpkin and the dry cake mix to a large bowl, then fold them together with a spatula until they’re mostly combined. This way you don’t send dry cake mix flying all over the kitchen (and into your face) when you turn on an electric mixer!
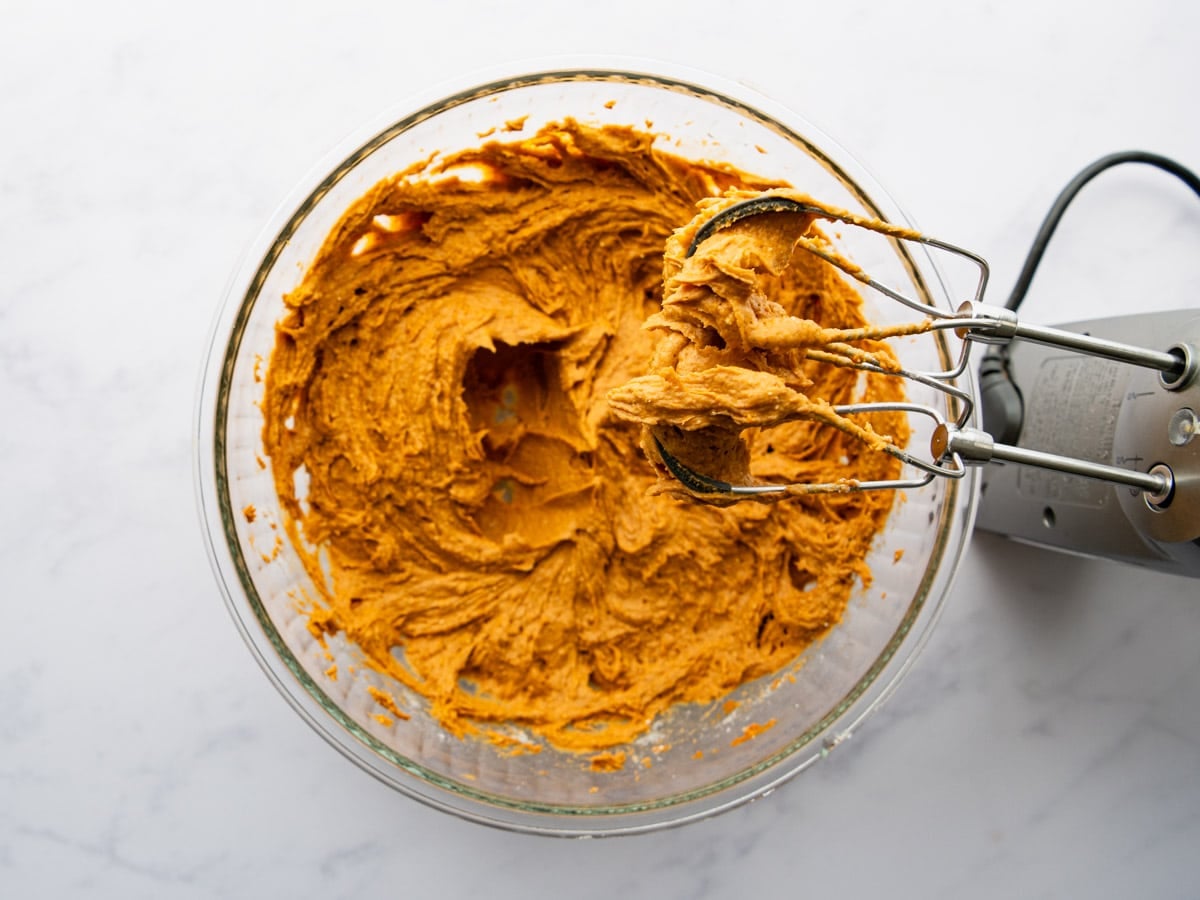
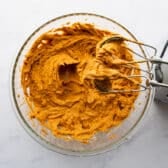
Switch to an electric mixer and beat for about a minute.
The batter will be much thicker than a normal muffin batter, closer to a soft cookie dough. That’s what you get without eggs or oil, so don’t add liquid to thin it out. You can mix it entirely by hand if you’d rather, it just takes some elbow grease.
This is also the point to stir in any add-ins: Chocolate chips, chopped pecans or walnuts, raisins, and fresh or dried cranberries all work well. A cup or two is plenty.
⇢ Add an egg for a lighter muffin. Without eggs or oil, these bake up dense and moist, closer to pumpkin bread than a bakery-style muffin. If you want a fluffier crumb, beat one egg in with the pumpkin.
Step 3: Fill the Muffin Cups
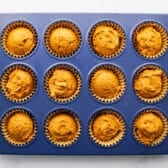
Use a cookie scoop or an ice cream scoop to divide the batter evenly among the 12 cups. The batter is fairly sticky, so a scoop saves a lot of frustration here. Fill each cup about three quarters full.
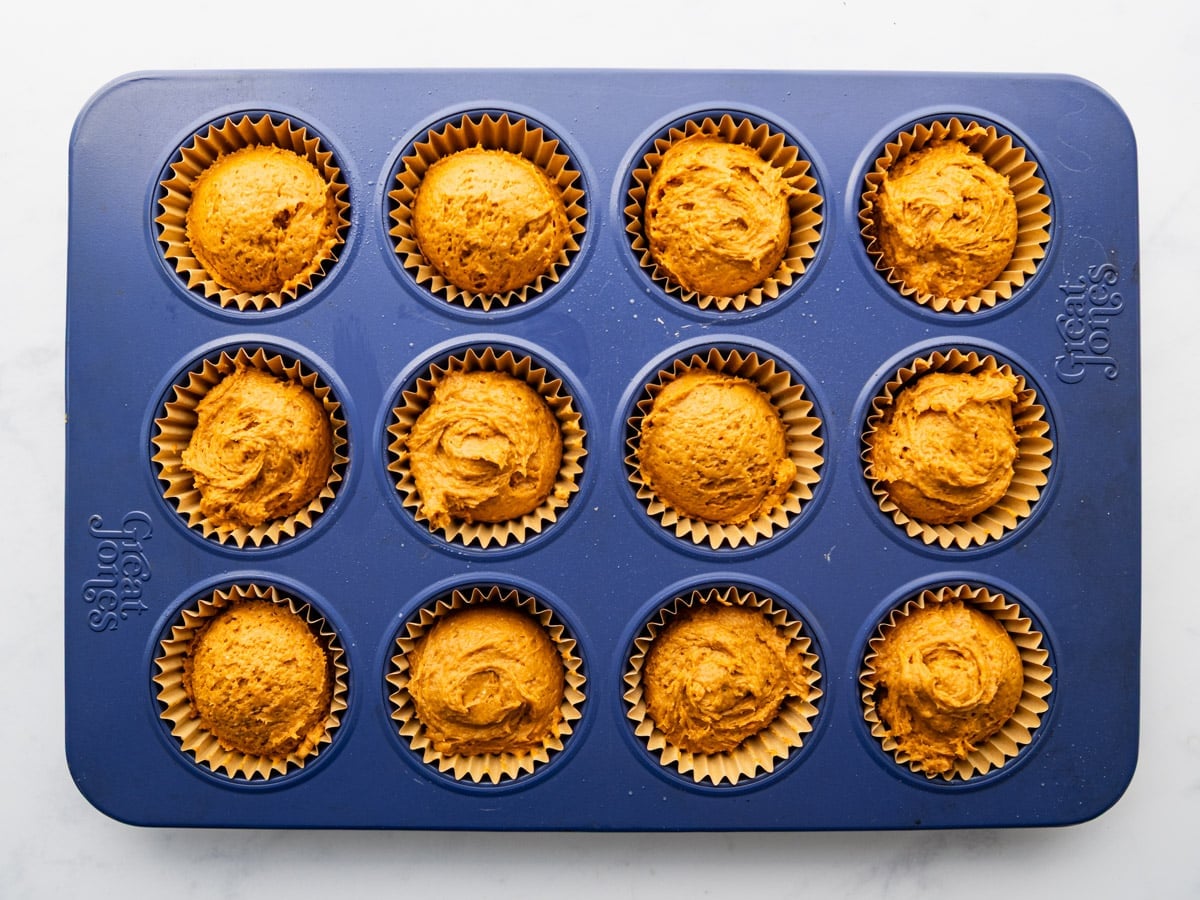
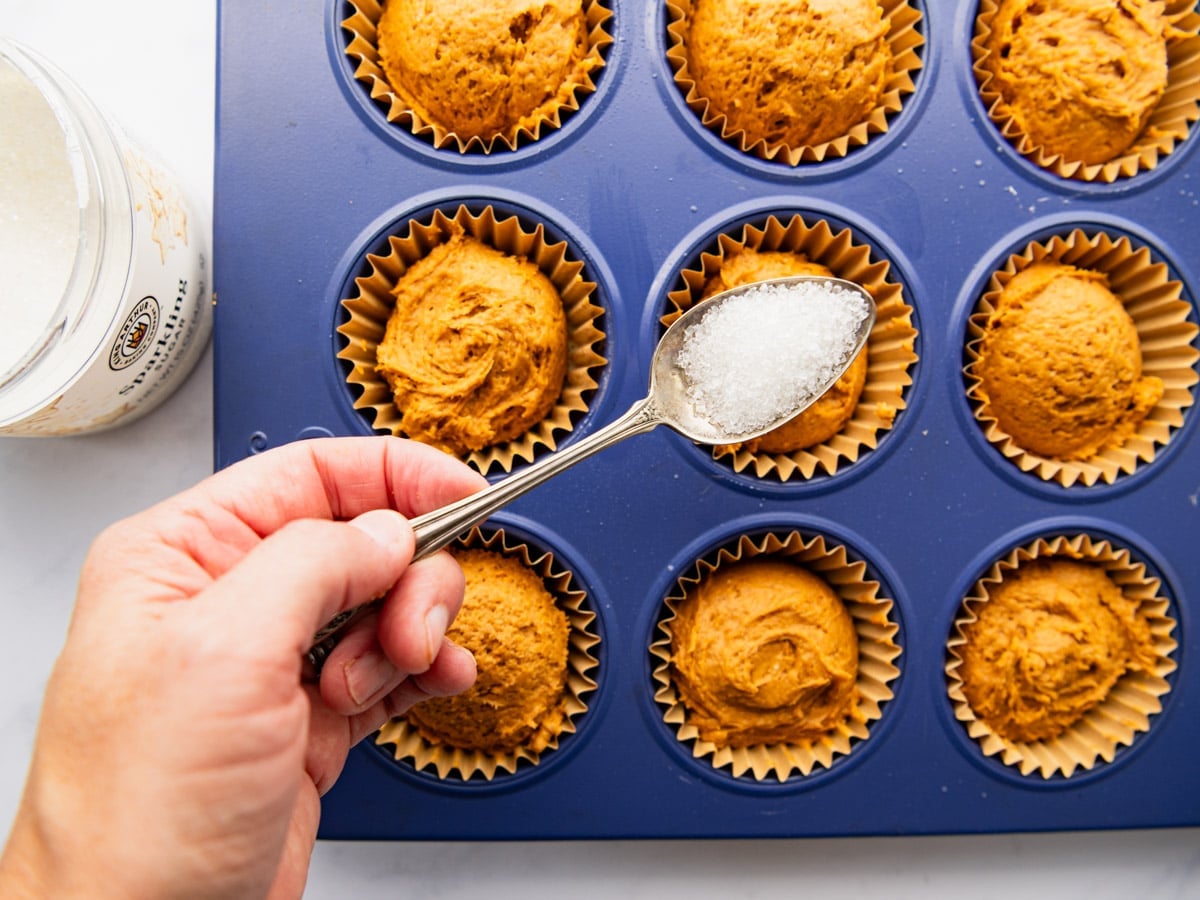
For those crunchy, bakery-style tops, I like to add a generous sprinkle of sparkling sugar to the top of each muffin at this point (it’s optional, though!).
⇢ Mini muffins take about half the time. The same batch makes roughly 30 minis. Bake those for 8 to 10 minutes and start checking early, since they go from done to dry quickly.
Step 4: Bake and Cool
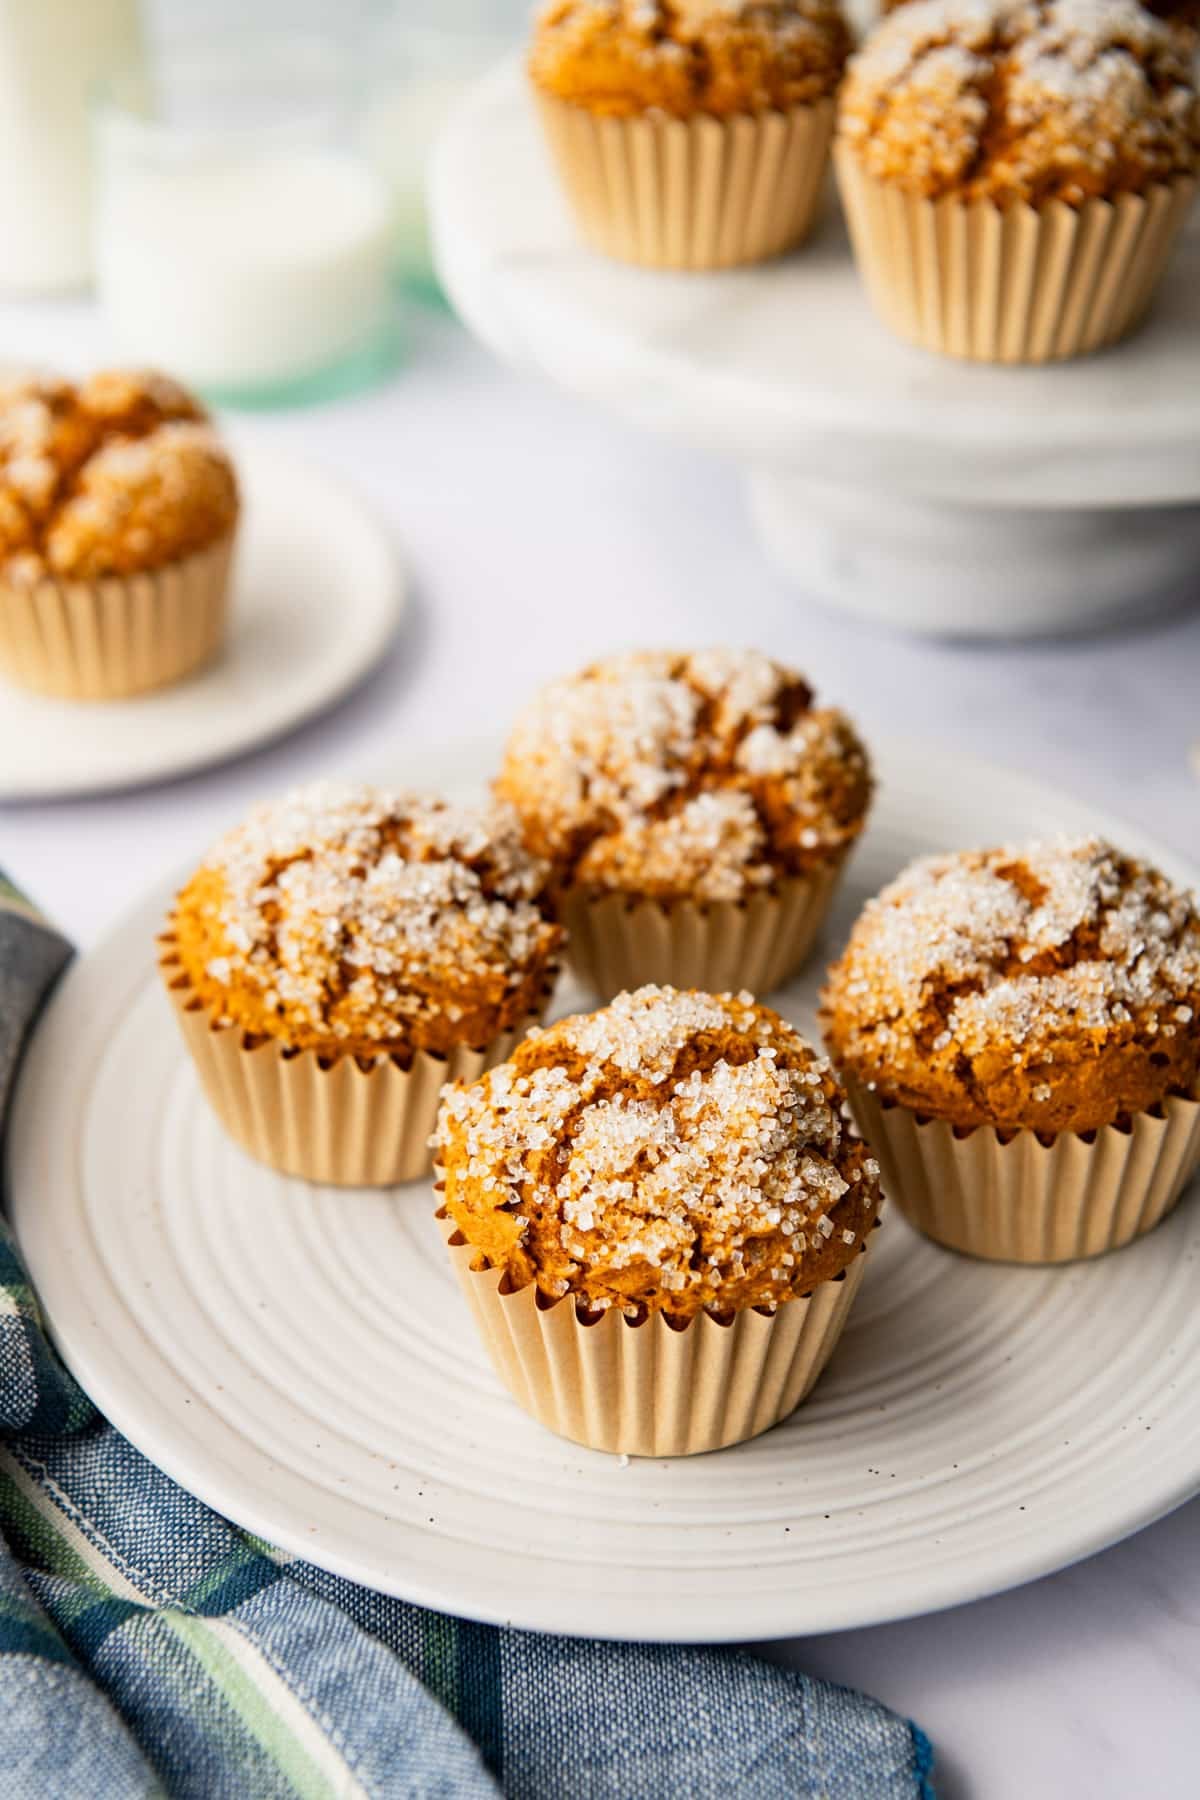
Bake for 18 to 20 minutes, until the tops spring back and a toothpick inserted in the center comes out clean. These should dome, rise a mile high, and crack the way a standard muffin does!
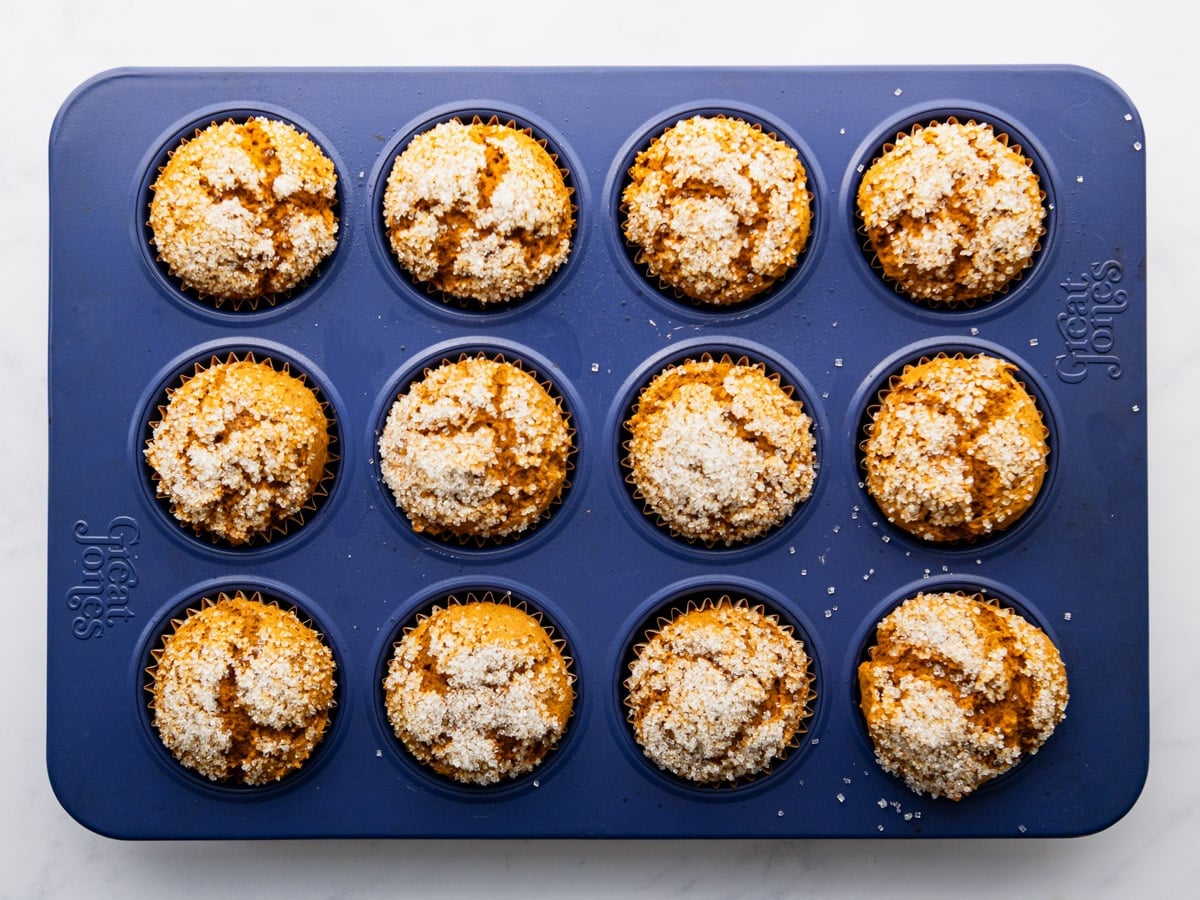
Cool in the pan for about 5 minutes, then move them to a wire rack. They firm up as they cool, so give them a few minutes before you dig in.
⇢ Turn them into cupcakes: Let the muffins cool completely, then top each one with a swirl of cream cheese frosting. My Pumpkin Bars with Cream Cheese Frosting use the same pairing if you want to see how it comes together.
Storage
To Store: Keep the muffins in an airtight container at room temperature for 1 to 2 days, or in the refrigerator for up to 1 week. They have more moisture than a typical muffin, so the fridge is the safer choice past day two.
To Freeze: Cool the muffins completely, then wrap tightly or store in an airtight container or zip-top bag in the freezer for up to 2 months.
To Reheat: Thaw frozen muffins on the counter overnight. Warm individual muffins in the microwave for 5 to 20 seconds.
Frequently Asked Questions
Why are my pumpkin muffins dense?
That’s mostly how this recipe bakes. With no eggs, oil, or butter, there’s nothing to lighten the crumb, so these come out moist and dense, more like a slice of pumpkin bread than a bakery muffin.
Beating the batter with an electric mixer for a full minute works some air in and helps. For a noticeably fluffier muffin, add one egg with the pumpkin.
Can I bake this batter as a cake or a loaf instead?
Yes, and plenty of readers do. Spread it in a greased 9×13 pan or a standard loaf pan instead of the muffin tin. It won’t rise as high as a cake made with the full box directions, so expect something closer to a dense snack cake. Start checking a 9×13 around 25 minutes and a loaf around 45, and pull it when a toothpick comes out clean.
Can I use homemade pumpkin puree?
You can, but homemade puree usually holds more water than canned. Drain it in a fine mesh strainer or press it between paper towels first, then measure out about 1 3/4 cups to match a 15-ounce can. If you skip that step, the batter turns loose and the centers sink instead of setting.
Yumm “O”, what a hit. Easy to make and quick, and Gluten Free in my case. It worked beautifully. Thank you for thinking outside the Cake box!
– Mary
More Pumpkin Recipes to Try This Fall

Did you make this recipe?
If you enjoyed this recipe, please leave a comment with a 5-star review at the bottom of the post. Thank you!
Watch How to Make It

Pumpkin Muffins with Cake Mix
Ingredients
- 1 (15 ounce) can pumpkin puree (plain pumpkin, not pumpkin pie filling)
- 1 (15.25 ounce) box spice cake mix
Instructions
- Prep the pan: Preheat the oven to 375°F. Spray a 12-cup muffin tin with cooking spray, or line with paper cups and spritz the liners with nonstick spray.
- Fold the batter: In a large bowl, use a spatula to fold together the pumpkin and the dry cake mix. Do not add the eggs, oil, or water listed on the box.

- Beat until smooth: Use an electric mixer to beat the batter for about 1 minute, until it's fluffy and completely combined. The batter will be thick. You can mix by hand instead, it just takes longer.
- Fill the cups: Use a scoop to divide the batter evenly among the 12 muffin cups, filling each about three quarters full.
- Optional coarse sugar: For crunchy, bakery-style tops, sprinkle a generous amount (about 1 teaspoon) of sparkling sugar on top of each muffin.
- Bake: Bake for 18 to 20 minutes, or until a toothpick inserted in the center comes out clean.
- Cool: Cool in the pan for about 5 minutes, then transfer the muffins to a wire rack to finish cooling.



Notes
- Cake mix options: Spice cake mix needs nothing extra. With yellow or white cake mix, add 2 teaspoons of pumpkin pie spice to the dry mix first.
- Yield: This recipe makes about 12 standard muffins or about 30 mini muffins. For minis, reduce the baking time to 8 to 10 minutes.
- For a lighter texture: Beat in 1 egg along with the pumpkin. The muffins will rise a bit more and have a fluffier crumb.
- Add-ins: Stir 1 to 2 cups of chocolate chips, chopped pecans or walnuts, raisins, or fresh cranberries into the batter. Sparkling sugar sprinkled on top before baking gives them a bakery-style finish.
- Storage: Store in an airtight container at room temperature for 1 to 2 days or in the refrigerator for up to 1 week. Freeze cooled muffins for up to 2 months and reheat in the microwave for 10 to 30 seconds.
Nutrition
Originally published in February, 2013, this post was updated in October, 2026.












So easy and delicious. My daughter loves them.
Thank you, Kelly!