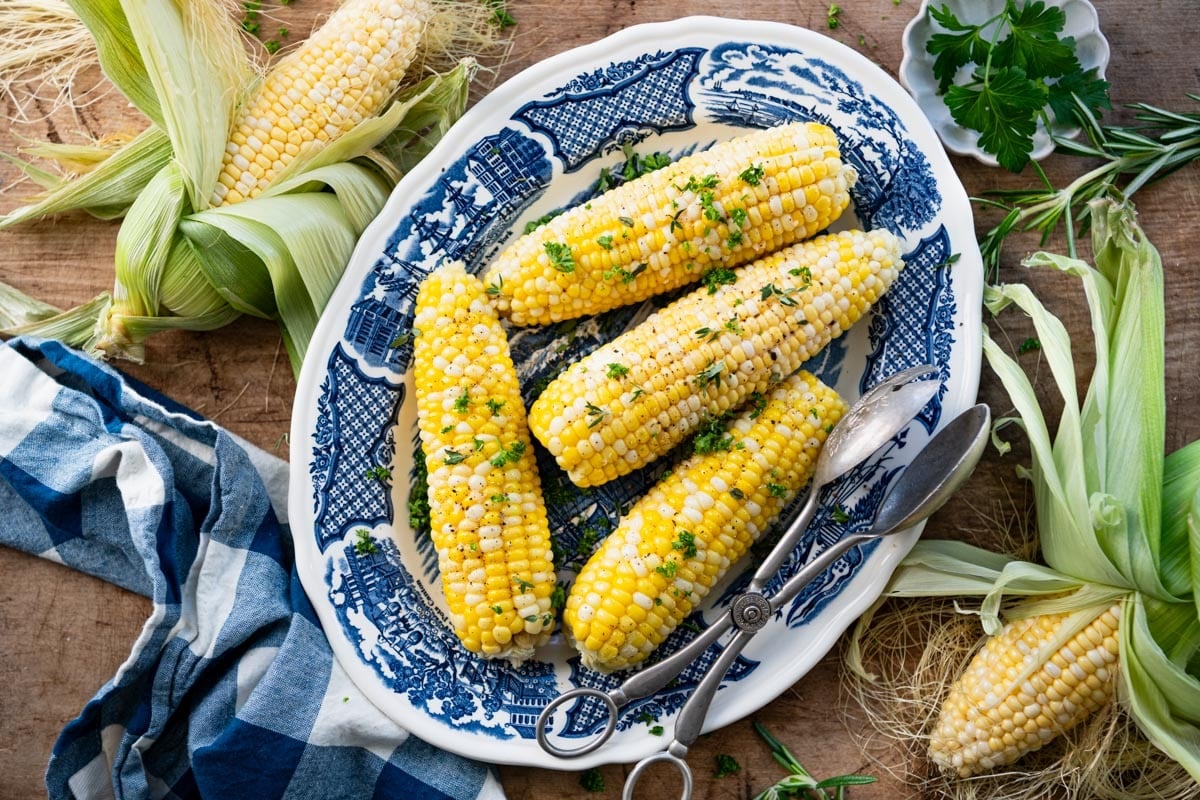
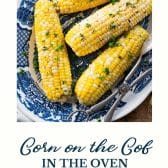
Buttery, salty, and sweet with a hint of garlic and finished with fresh herbs, this corn on the cob in the oven is the easiest and most delicious way to enjoy fresh summer vegetables! Pair the corn with grilled hamburgers, offer it alongside bbq chicken, serve it with Crock Pot pulled pork, or toss it into a cool Dorito taco salad.
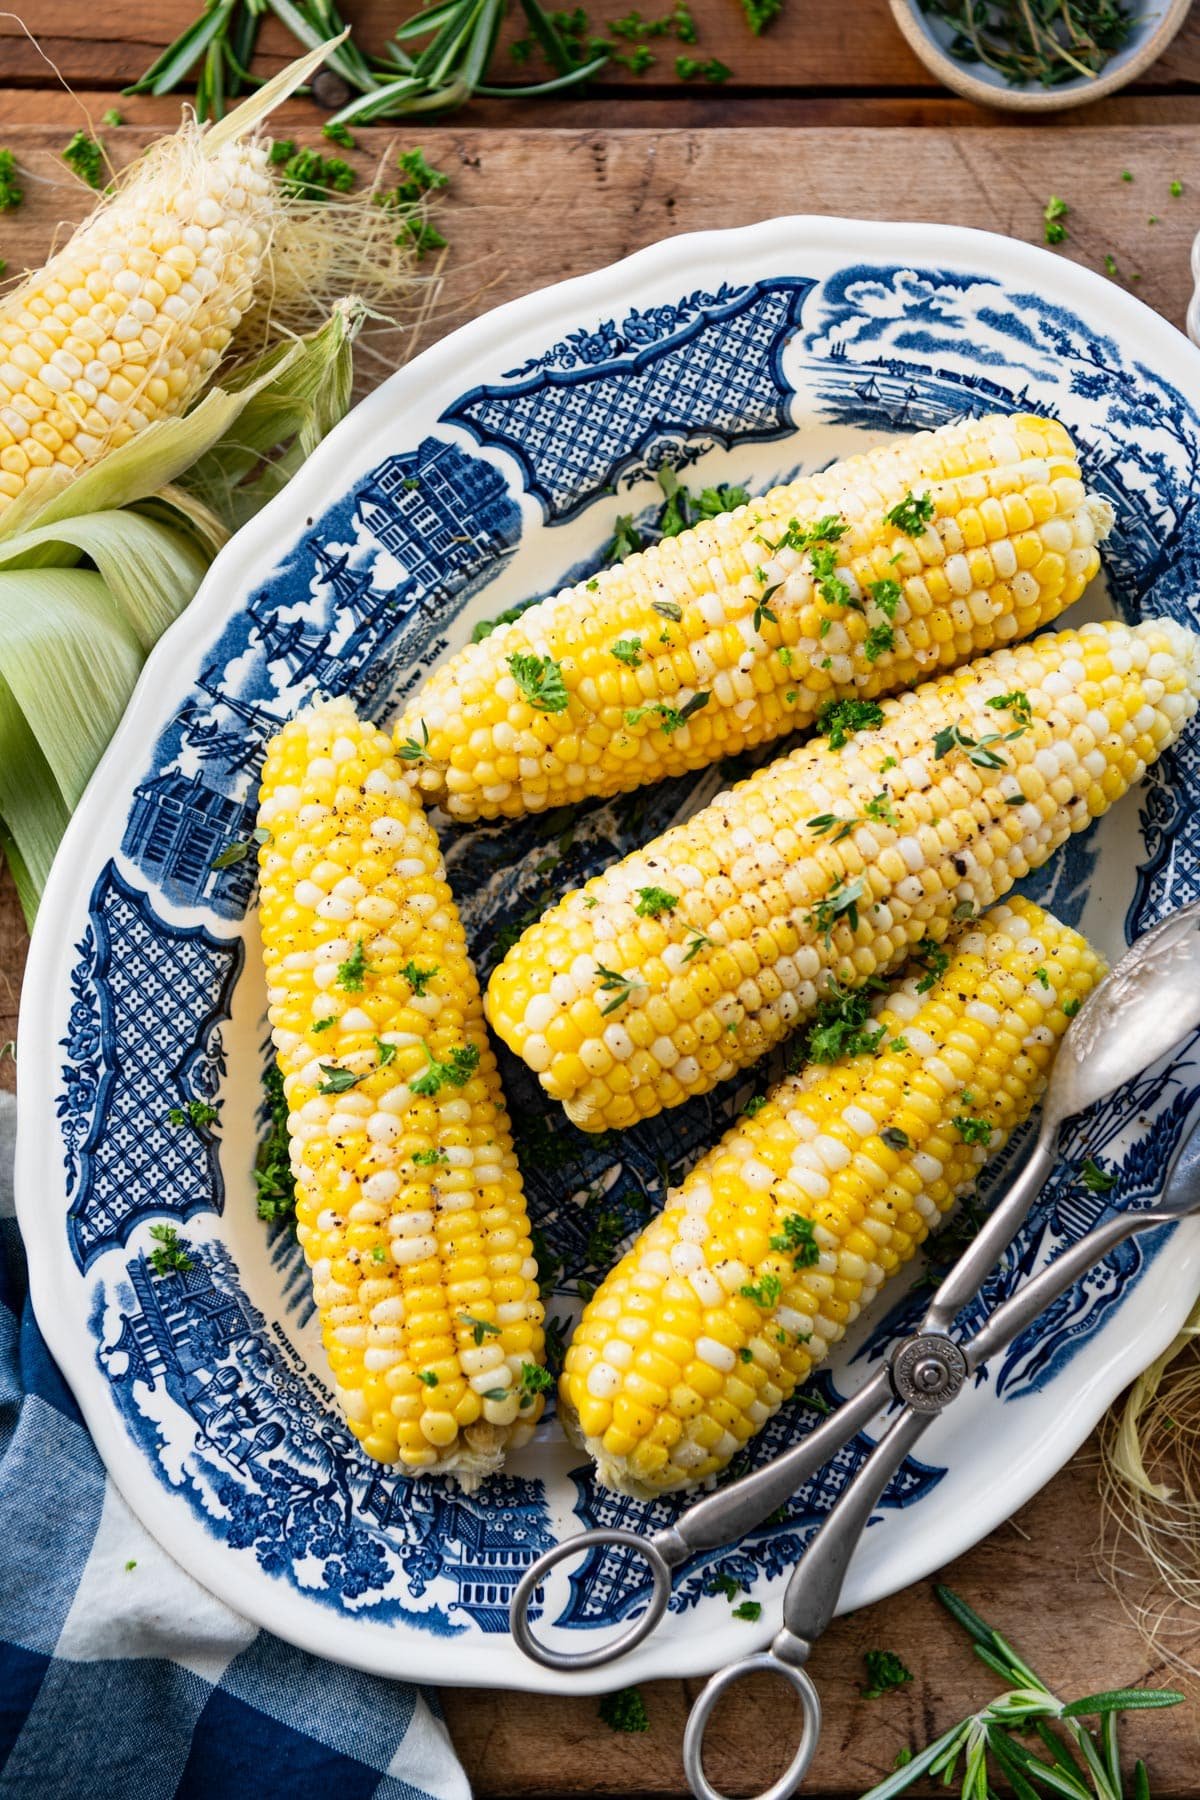
Table of Contents
If you love corn as much as we do, be sure to try a skillet of fried corn, a pot of this corn chowder recipe, a summer corn salad, and this creamy 5-minute corn dip, too!
Why You’ll Love this Recipe
- Easy. This simple recipe highlights the natural flavor and sweetness of fresh corn on the cob with just a few extra ingredients — butter, garlic, salt, and pepper. The ingredients are basic, the process is easy, and the end result is incredibly delicious!
- Make Ahead. Baked corn on the cob is a convenient side dish that you can prepare in advance. Stir together the garlic butter, spread it on the corn, and wrap each cob in foil. Then keep the wrapped corn stashed in the fridge for up to 24 hours before baking. It’s ideal if you’re hosting guests, since there’s no last-minute stress.
- Versatile. Scale the recipe up or down depending on the size of your family or gathering. You can also play around with the flavors by omitting the garlic, by adding more fresh or dried herbs to the compound butter, or by finishing the corn with a little bit of Old Bay seasoning or cayenne pepper for spicy kick.
Ingredients
This is just a quick overview of the ingredients that you’ll need for corn on the cob baked in the oven. As always, specific measurements and step-by-step instructions are included in the printable recipe box at the bottom of the post.
- Butter: I prefer salted butter here, but you can start with unsalted butter if you like. Just add extra seasoning to taste.
- Garlic: grate, mince, or press one large clove. This adds great savory flavor to the corn. See my notes below if you’d like to sub with garlic powder.
- Kosher salt and ground black pepper: enhance the flavors of the other ingredients and really bring out the sweetness of the corn.
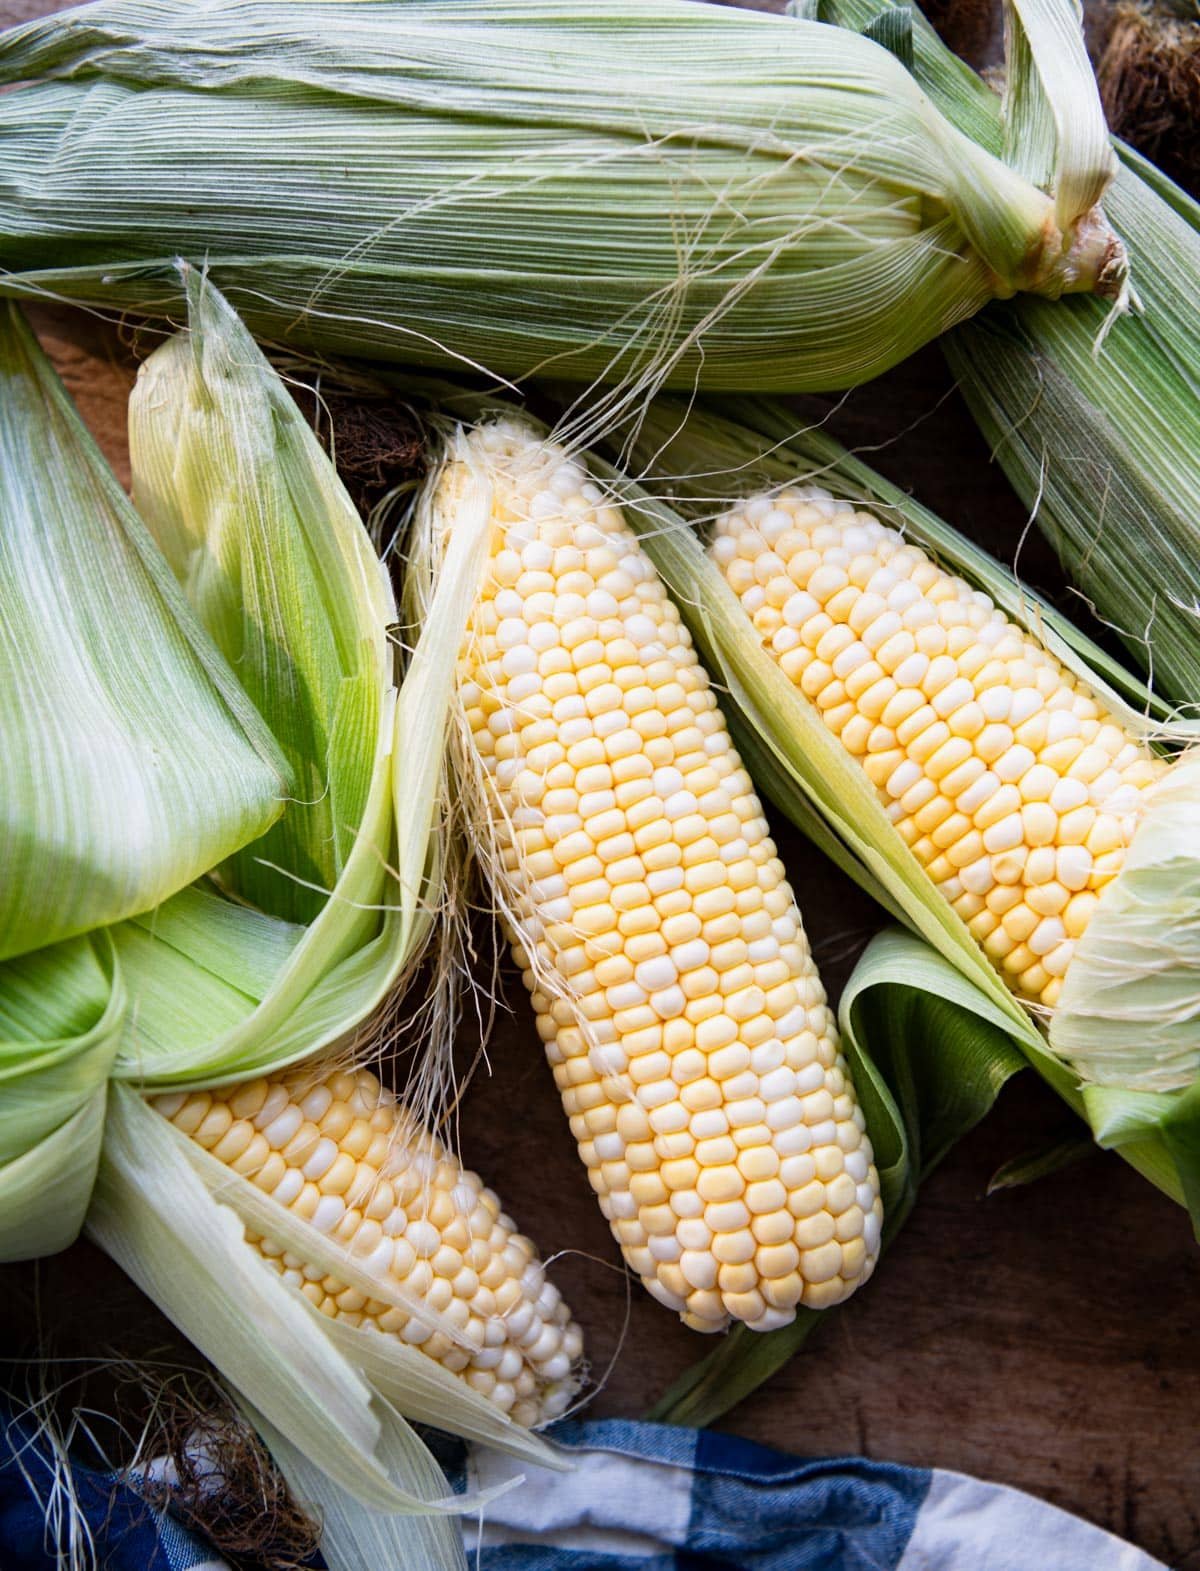
- Fresh corn: remove the husks and the corn silk before baking.
How to Cook Corn on the Cob in the Oven
One reason that this method is great is because it’s hands-off and simple. Plus, it’s more flavorful than boiling. Prep the corn, and the oven does the work. You’ll find detailed directions in the recipe card below, but here’s the quick version:
- Shuck the corn, removing the husks and silk.
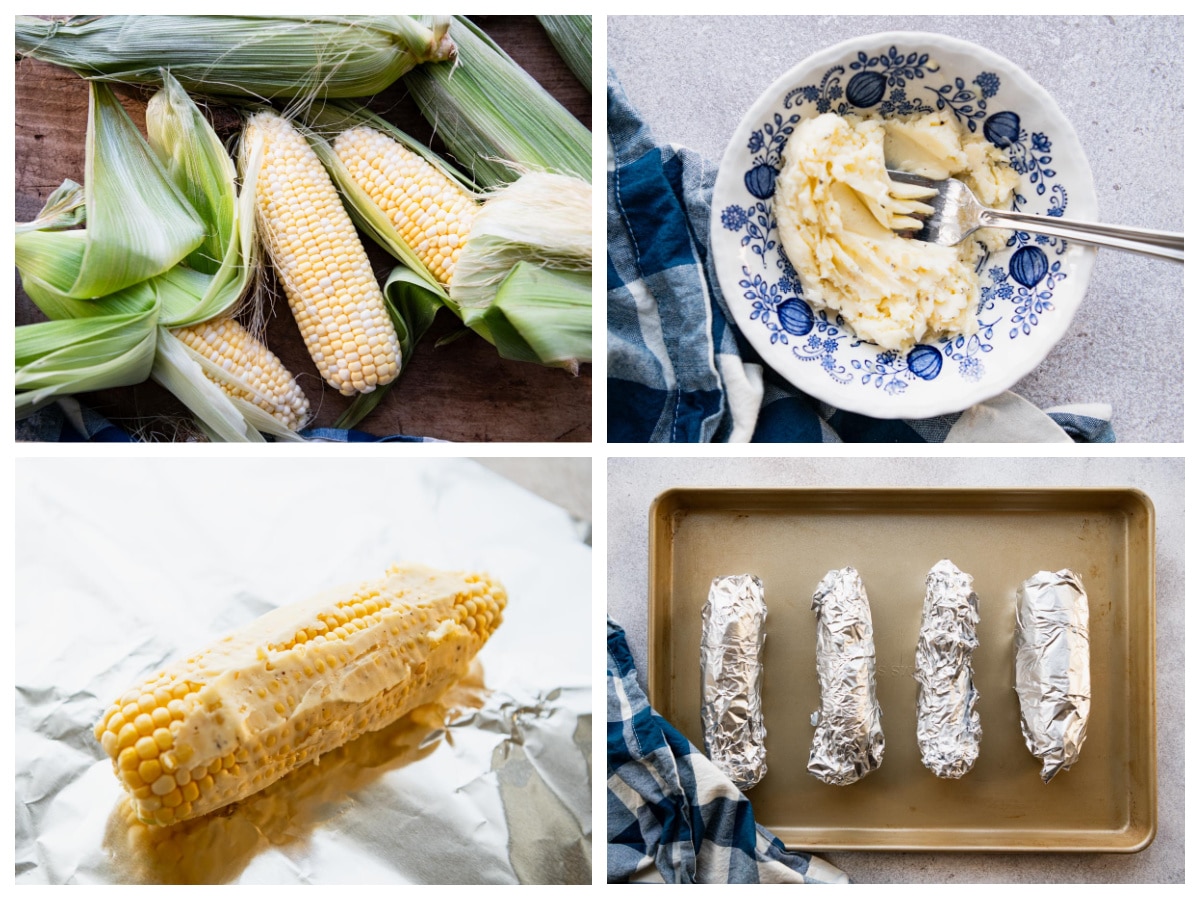
- Stir together the garlic butter.
- Spread the butter on each ear of corn.
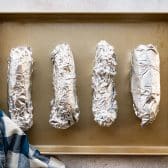
- Wrap each ear of corn with a piece of aluminum foil.
- Place the foil-wrapped corn on a rimmed baking sheet and bake until tender, about 20-25 minutes.
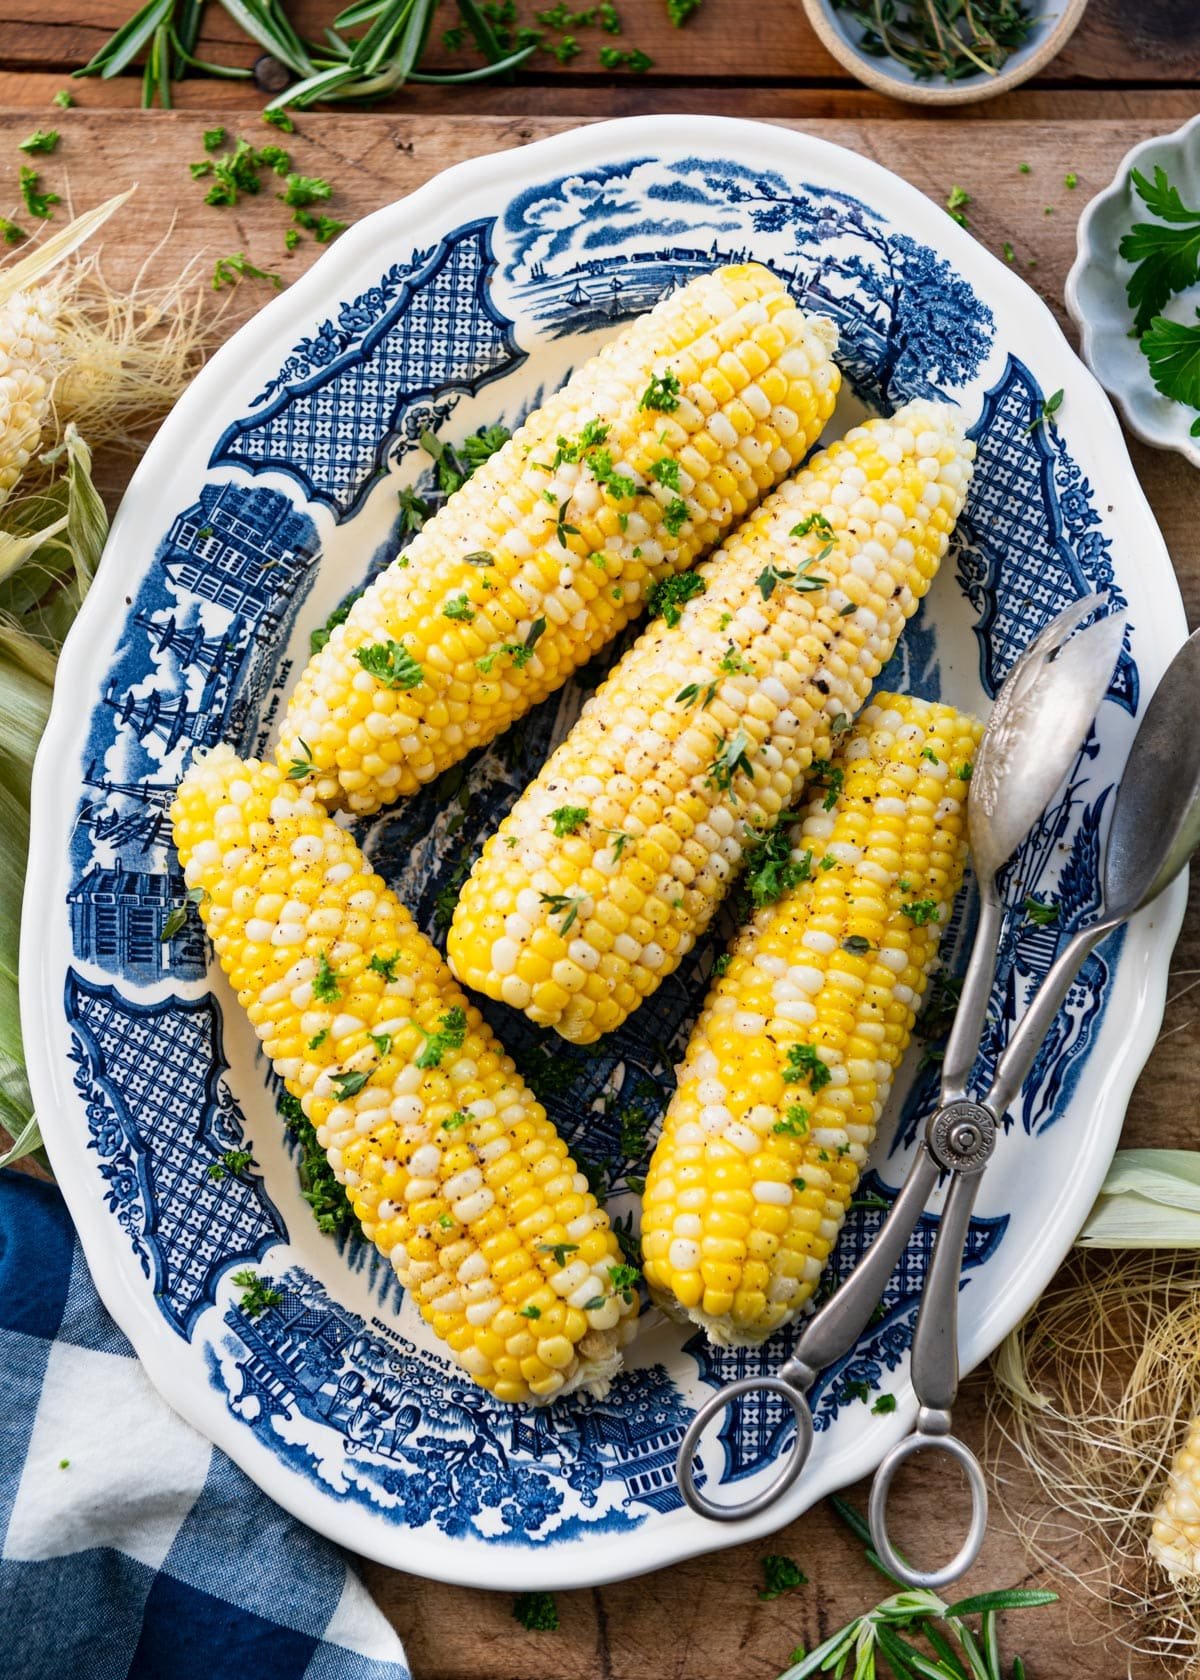
- Unwrap, garnish with fresh herbs and extra seasoning, and serve!
Serving Suggestions
Oven-roasted corn on the cob is delicious with almost any entree! Here are some ideas to get you started:
- Grilled hamburgers, cast iron skillet burgers, and hotdogs
- Grilled beef tenderloin, marinated flank steak, steak salad, and grilled New York strip steaks
- Baby back ribs, Crock Pot pulled pork, Dr. Pepper pulled pork, grilled bbq pork chops, Crock Pot beer pulled pork with maple bbq sauce, grilled pork tenderloin, and Crock Pot pork tenderloin
- Dutch oven bbq beef
- Crock Pot bbq chicken, oven bbq chicken, baked bbq chicken thighs, and grilled bbq chicken breast
- Crispy fried chicken, fried chicken tenders, and chicken fried steak with gravy
- Fried shrimp recipe, this shrimp and rice recipe, shrimp soup, grilled salmon, blackened salmon, crab cakes, marinated grilled shrimp, New England shrimp rolls, and Southern fried catfish
Preparation and Storage Tips
- Prep Ahead: Make the butter, wrap the corn, and store the wrapped corn in the fridge for up to 24 hours before baking.
- How to Store: Cut the corn off of the cobs with a knife. Store the leftover corn kernels in an airtight container in the refrigerator for 3-4 days. You can use the corn kernels in any recipe that calls for canned corn or frozen corn kernels, such as ground turkey chili, pulled pork casserole, 4-ingredient sausage dip with corn, and cornbread with corn.
- How to Freeze: Leftovers will keep in an airtight container or Ziploc freezer bag in the freezer for up to 3 months. Just be aware that the kernels will have a softer, mushier texture when thawed.
Recipe Variations
- Swap out the fresh clove of garlic and use 1 teaspoon of pre-minced fresh garlic or ¼ teaspoon of garlic powder. Or, add a dash of this blackened seasoning recipe.
- Serving a larger family or group? Scale the ingredients for as much corn as you need. For instance, double all of the ingredients to bake 8 ears of corn.
- Instead of roasting the corn in the oven, you can use the same process to grill the corn. Spread the butter on each cob, wrap with foil, and grill over medium-high heat for 20-25 minutes, turning every few minutes.
- To roast the corn in its husk, simply pull the husks down, remove the silk from each ear, spread with butter, and pull the husks back up. Wrap in foil and roast according to the recipe directions.

Expert Tips
- There are so many different ways to flavor the butter that you spread on your corn. Use this recipe as a base, but feel free to experiment with your favorite combinations. Other nice options include Old Bay seasoning, lemon zest or lime zest, granulated sugar or brown sugar, smoked paprika or regular sweet paprika, chili powder, cayenne, onion powder, grated Parmesan cheese, and fresh or dried herbs like parsley, thyme, rosemary, chives, and basil.
- To easily remove the strings of cornsilk from each ear of corn, just rub the corn gently with a gripper pad (like you use to open tight jar lids).
- Don’t wrap the corn too tightly or with too many layers of foil. It’s good to have a little bit of air circulating inside the foil wrapper. Too many layers of foil will require a longer cooking time.
- Bake the corn on a rimmed baking sheet instead of directly on the oven rack. This helps to catch any melted butter that might drip out of the foil, and also makes it easy to pull all of the corn in and out of the oven.
- For even cooking, don’t forget to flip the corn over halfway through the baking time.
More Corn Recipes to Try
Jiffy Corn Casserole
50 minutes mins
Sweet and Fluffy Cornbread with Corn
30 minutes mins

Amish Chicken and Corn Casserole
40 minutes mins

Did you make this recipe?
If you enjoyed this recipe, please leave a comment with a 5-star review at the bottom of the post. Thank you!

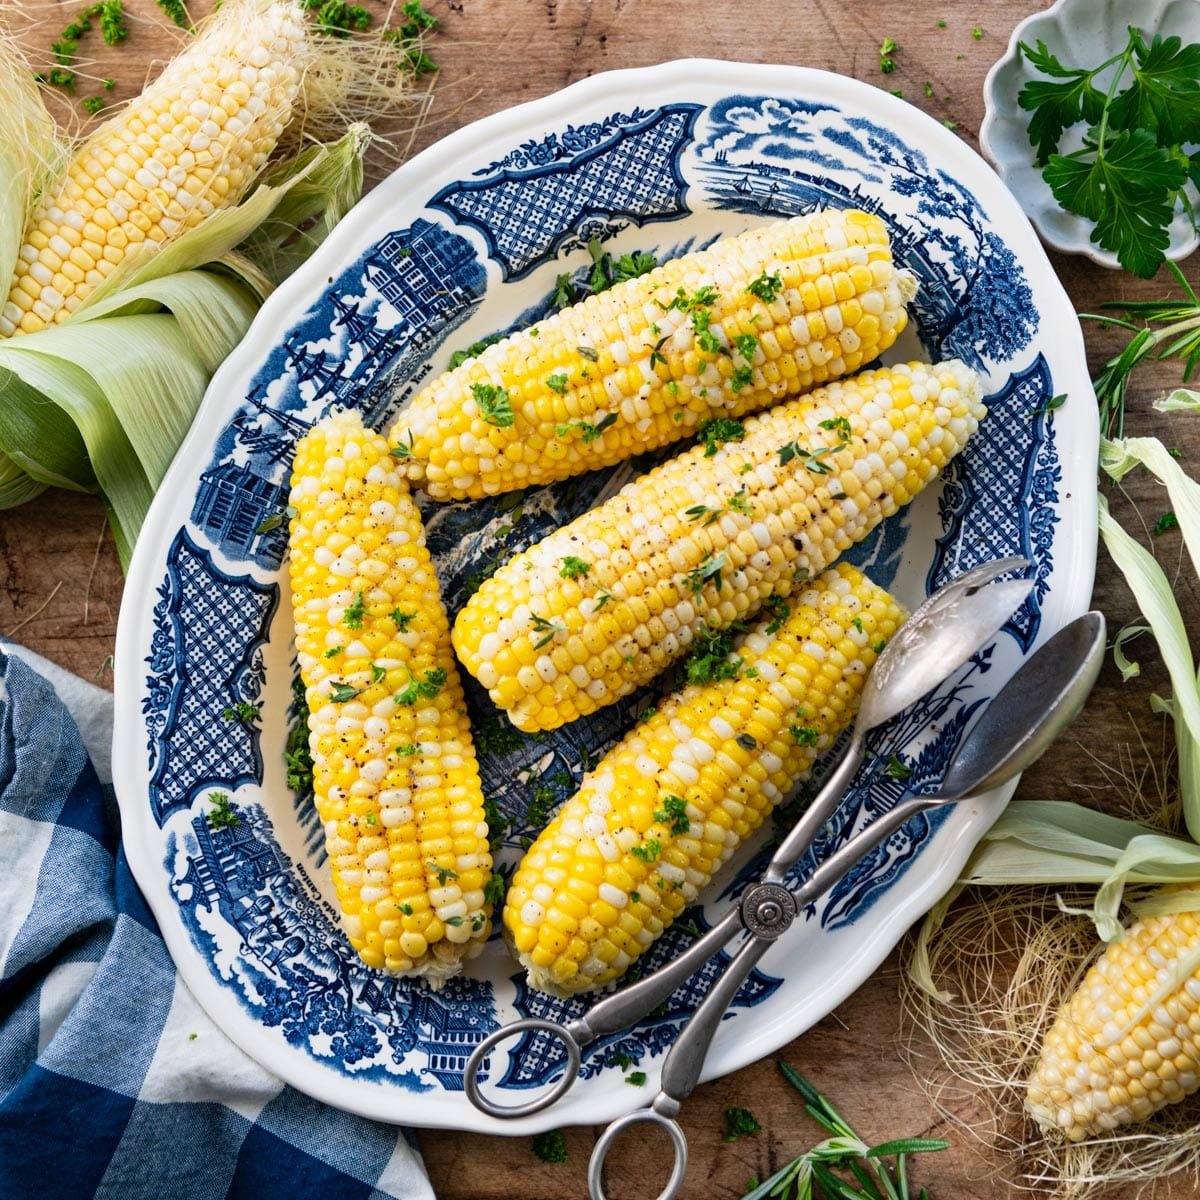
Corn on the Cob in the Oven
Ingredients
- 3 tablespoons salted butter, softened at room temperature
- 1 large clove garlic, minced, grated, or pressed (about 1 teaspoon total)
- Kosher salt and ground black pepper, to taste
- 4 ears fresh corn, husks removed
- For baking: aluminum foil and rimmed baking sheet
- Optional garnish: chopped fresh herbs such as parsley, chives, thyme, or basil
Instructions
- Preheat oven to 425°F. In a small bowl, combine the butter, garlic, salt, and pepper.

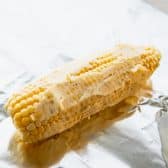
- Spread the butter mixture evenly on each ear of corn. Wrap each individual ear of corn in aluminum foil.
- Place the foil-wrapped corn on a rimmed baking sheet. Bake in the preheated oven until tender, about 20-25 minutes, flipping halfway through.
- Carefully remove the foil from each ear of corn. Garnish with fresh herbs and season with additional salt and pepper, to taste. Serve.

Notes
- There are so many different ways to flavor the butter that you spread on your corn. Use this recipe as a base, but feel free to experiment with your favorite combinations. Other nice options include Old Bay seasoning, lemon zest or lime zest, granulated sugar or brown sugar, smoked paprika or regular sweet paprika, chili powder, cayenne, onion powder, grated Parmesan cheese, and fresh or dried herbs like parsley, thyme, rosemary, chives, and basil.
- To easily remove the strings of cornsilk from each ear of corn, just rub the corn gently with a gripper pad (like you use to open tight jar lids).
- Don’t wrap the corn too tightly or with too many layers of foil. It’s good to have a little bit of air circulating inside the foil wrapper. Too many layers of foil will require a longer cooking time.
- Bake the corn on a rimmed baking sheet instead of directly on the oven rack. This helps to catch any melted butter that might drip out of the foil, and also makes it easy to pull all of the corn in and out of the oven.
- For even cooking, don’t forget to flip the corn over halfway through the baking time.


What tempeture should corn be baked? Thanks…looking forward to roasting in the oven!
Hi, Michele! There’s a full recipe at the bottom of the post, complete with the baking temp and instructions. You’ll roast the corn at 425 degrees F for about 20-25 minutes. Hope you enjoy!
Love getting your recipes
Thank you, Cynthia! I appreciate you following along with us!