Disclosure: This post may contain affiliate links. I may earn a small commission for my endorsement, recommendation, testimonial, and/or link to any products or services from this website.
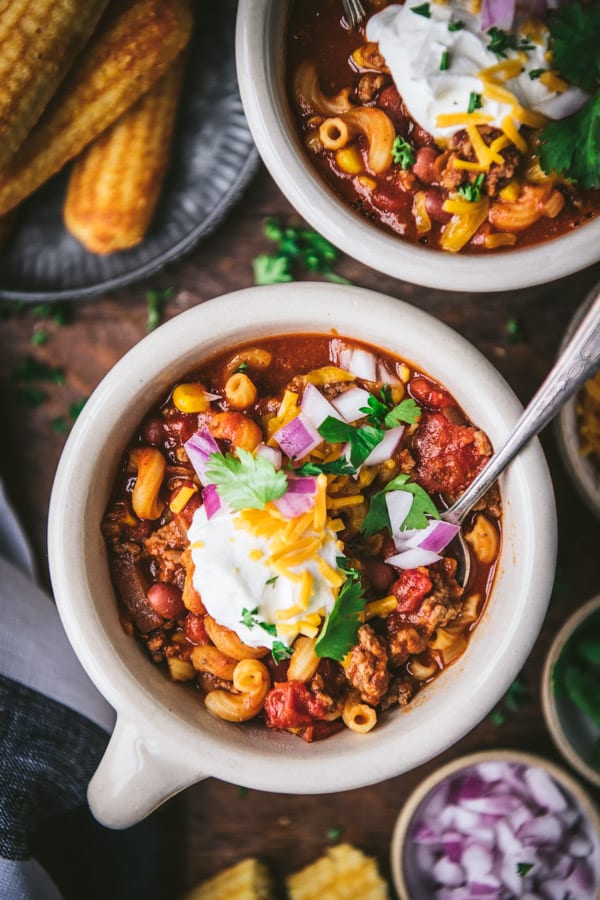
A classic beef and beer chili with robust flavor, just the right amount of zesty seasoning, and a thick, rich texture. Serve the easy chili recipe with a side of cornbread for dipping, or with crunchy tortilla chips for scooping. It’s a great make-ahead option for busy days, a cozy supper for cool evenings, and the leftovers are freezer-friendly, too!

Dutch Oven Beer Chili
Chili is one of our family’s favorite meals, so I’ve certainly tried many, many versions over the years. From white chicken chili to Texas chili and Crock Pot chili, we generally love them all. But if we had to pick a favorite? It’s safe to say that this easy chili recipe is definitely at the top of the list! Here’s why you’ll love the simple dish:
- Flavor: it’s got just the right balance of zesty chili seasoning to give it the flavor that you’re looking for — without any single spice overpowering another. You’ll love the yeasty, malty flavor that the beer adds in the background, while it also tenderizes the meat.
- Thickness: no watery chili allowed! This hearty, rich chili is loaded with meat for a satisfying meal. After all, chili is not a soup, so it shouldn’t be thinned with too much broth!
- Easy: the dish comes together quickly and easily in a Dutch oven on the stovetop with minimal effort. You don’t need all day to cook it in a Crock Pot, and you don’t need any fancy equipment like an Instant Pot.
- Make-ahead and freezer-friendly: this meal just gets better as it sits and the flavors come together, so you can simmer a pot on the weekend and enjoy a warm, homemade meal on your busiest weeknights. Leftovers keep well in the freezer, too!
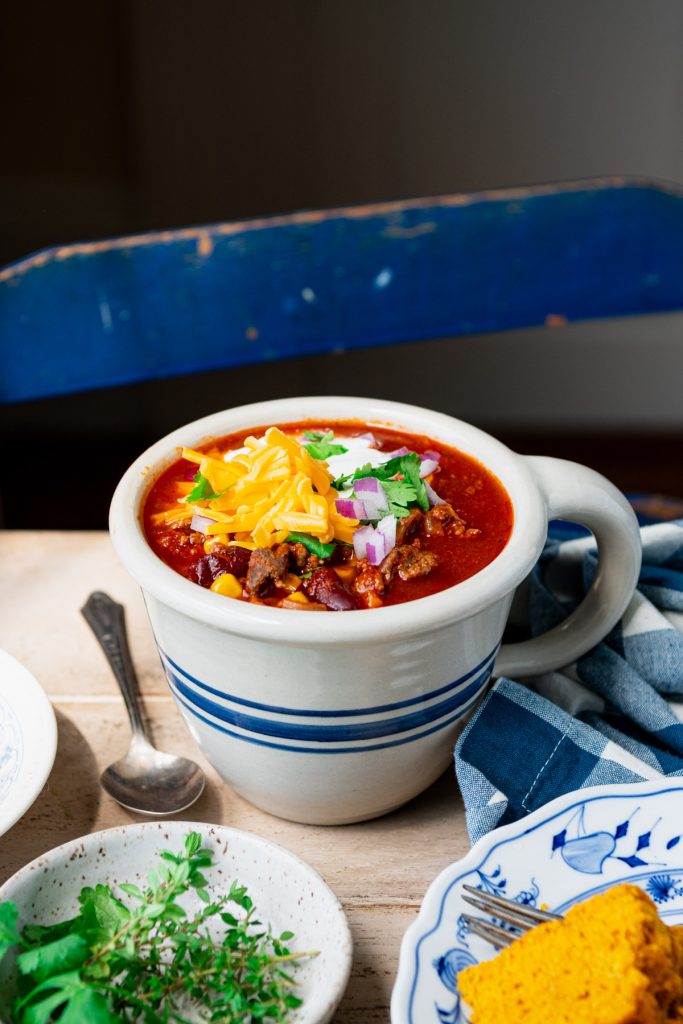
What is a true chili?
This beef chili recipe is about as classic as it gets! Also called chili con carne (or “chili with meat”), a true chili is a spicy stew containing chili peppers or chili powder, meat (usually beef), and often tomatoes and beans. You’ve got each of those components here, for an easy chili recipe that delivers maximum flavor with minimal effort!
What does beer do to chili?
While you can certainly omit the beer and just use beef broth in this recipe, the beer adds that little something “special” to the dish. The beer deglazes the pan, adding flavor to the dish. The alcohol cooks off while you simmer the beer, so there’s no need to worry about serving the chili to children.
Beer is also a delicious addition to chili because it provides subtle malty, yeasty flavor and sugars in the background. You’ll notice a richer taste, while the beer also tenderizes the meat and improves the texture in the finished pot.
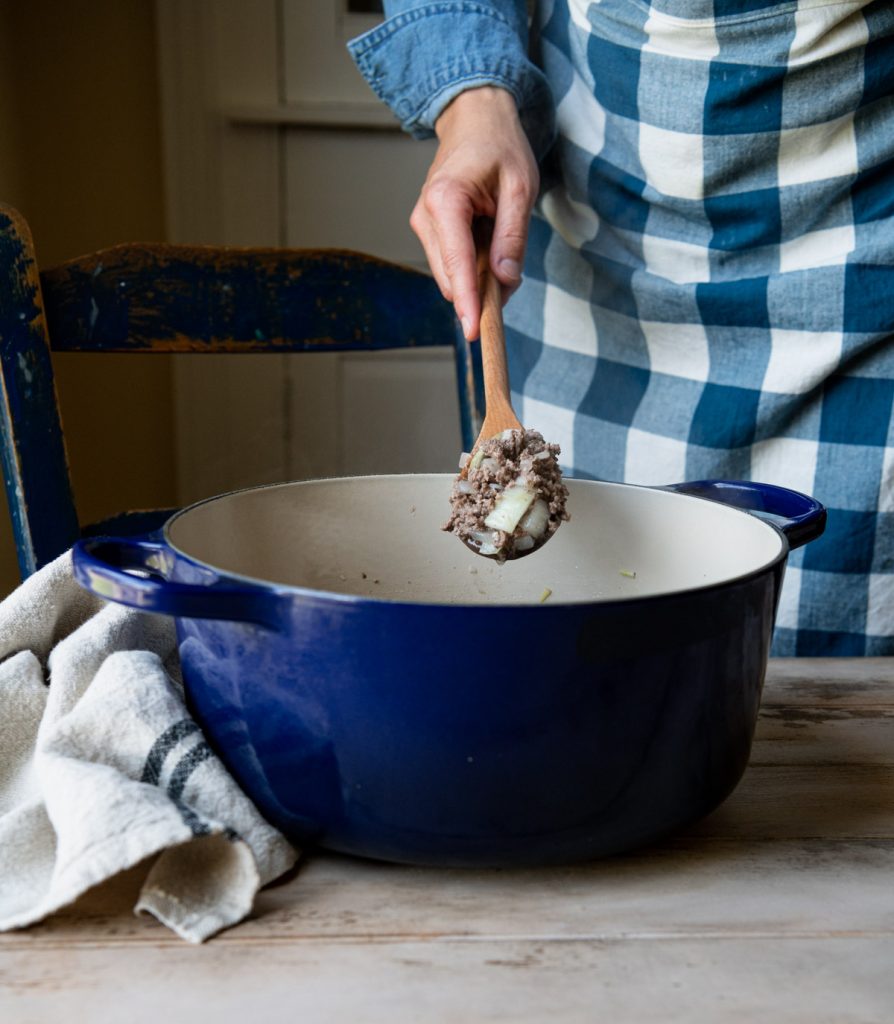
The Best Beer for Chili
This is definitely a matter of personal preference. Many folks will recommend a dark, rich beer like a stout if you’re preparing a spicy chili. Alternatively, we like lighter, pale beers for this more mild dish. Lager, IPA, any variety works — so pick whichever flavor you enjoy! If you’re looking for specific beer recommendations to use in your chili, this is a really helpful article. The Sierra Nevada Pale Ale makes the top of the list for its high-quality, hoppy, complex flavor and crystal malt foundation.
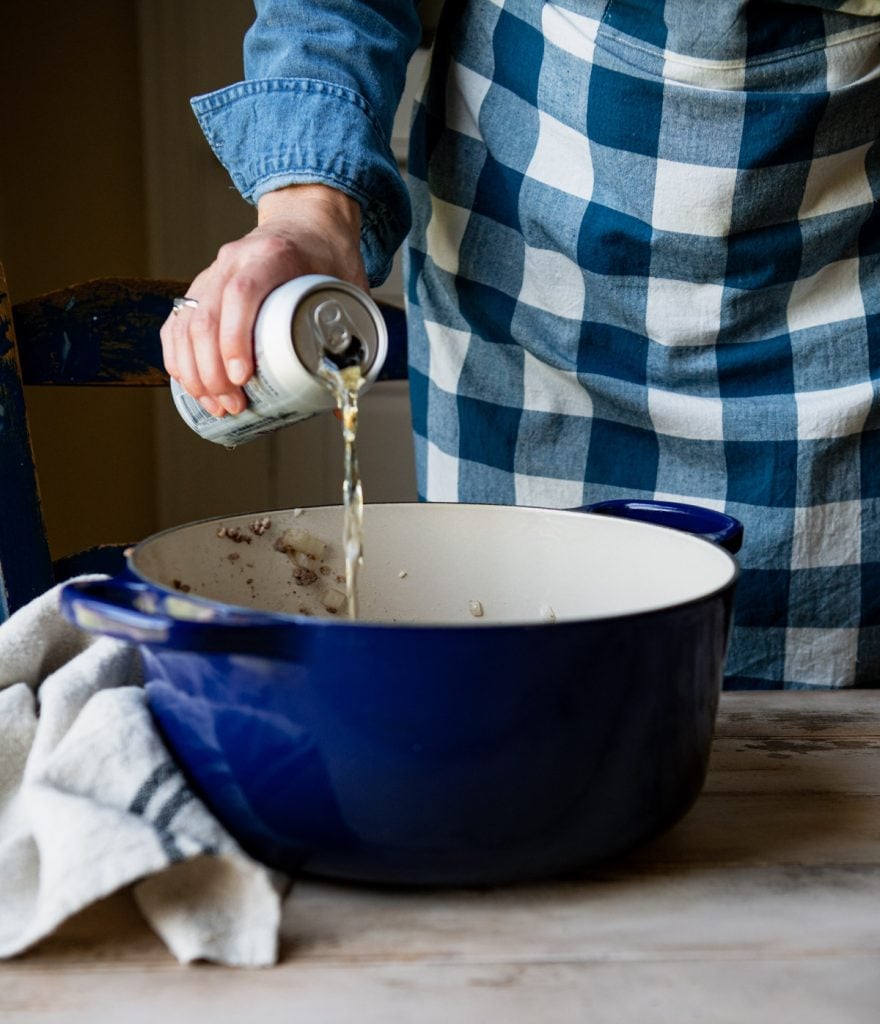
When to Add Beer to Chili
Pour the beer into the pot after browning the meat and sauteing the vegetables. The beer will deglaze the pan, so that you can scrape up those flavorful browned bits from the bottom. This also gives you an opportunity to simmer the beer, cook off the alcohol, and condense its flavor.
Ingredients
This is just a quick overview of the ingredients that you’ll need for a big pot of easy beer chili. As always, specific measurements and step-by-step cooking instructions are included in the printable recipe box at the bottom of the post.
- Olive oil: to sauté the meat and veggies.
- Ground beef: you can substitute with ground turkey, ground pork, ground chicken, ground sausage, or a combination of these, but ground beef is definitely the most traditional choice.
- Onion and garlic: for savory flavor.
- Beer: use about 12-14 ounces of a beer that you enjoy! A light or pale ale is fine for a mild flavor, or try a dark beer or stout for a more robust taste.
- Tomato paste: gives the chili a rich tomato flavor without watering it down.
- Whole tomatoes: whole, peeled tomatoes are packed in tomato juice or tomato purée, and typically have the best flavor of any variety of canned tomatoes. You can easily break up the bigger chunks of tomatoes with your wooden spoon as you stir the chili.
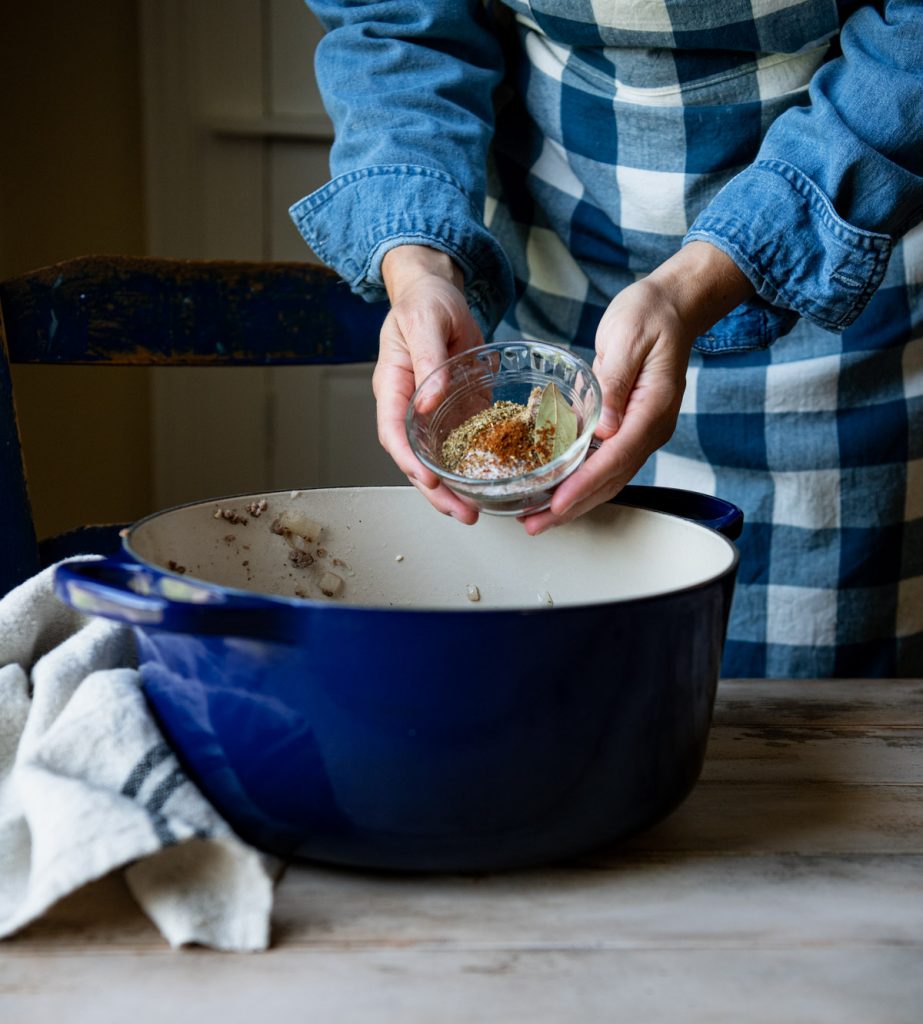
- Chili powder, cumin, kosher salt, bay leaf, oregano, ground black pepper, and cayenne pepper: the classic warm spices that make a great chili seasoning.
- Brown sugar: a secret ingredient that balances the acidity in the tomatoes and gives the chili a more complex depth of flavor.
- Beans: kidney beans are the most traditional, but you can use pinto beans or any other beans that you prefer. If your kids don’t like beans, you can omit these or just substitute with extra corn.
- Corn: I use frozen, thawed corn, but canned corn will also work.
What kind of beans go in chili?
Dark or light red kidney beans are a classic addition to a pot of chili. That said, the larger kidney beans don’t appeal to my picky little eaters, so I often substitute with smaller pinto beans. Really, any beans that you enjoy will work well in this dish — from pink beans to white beans, black beans, or even garbanzo beans!
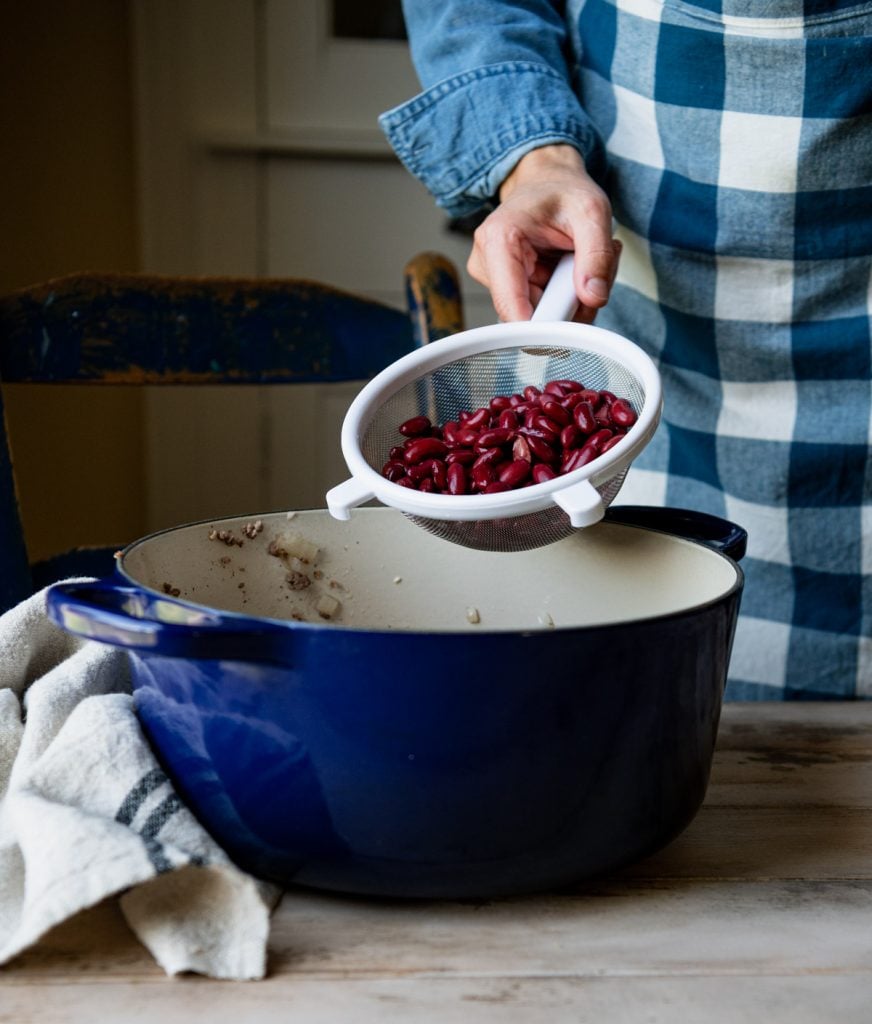
How to Make Beer Chili
This Dutch oven beer chili comes together easily on the stovetop. If you prefer to let it simmer longer, you can finish the dish in the slow cooker. I’ve included the alternate Crock Pot instructions in the notes below. Beer chili is the perfect meal for Game Day!
- Brown the meat, onion, and garlic in a large pot over medium-high heat. Drain off the excess grease.
- Add the beer to the pot and cook until the beer evaporates, about 10 minutes.
- Add the remaining ingredients to the pot except for the beans and corn.
- Bring to a boil, then reduce the heat to low.
- Cover and simmer for 1 hour, stirring occasionally.
- Add the beans and corn to the pot and simmer for about 20 more minutes. Remove the lid during the final 20 minutes to thicken the chili.
- Discard the bay leaf.
- Ladle into bowls and garnish with desired toppings.

How to Thicken Chili
This classic beef chili recipe has a rich, thick consistency. If you prefer it even thicker, you can simmer the pot on the stovetop with the lid off. That’s why I love a Dutch oven more than a slow cooker — the stovetop method just gives you more control over the cooking process and helps you achieve the perfect pot of chili!
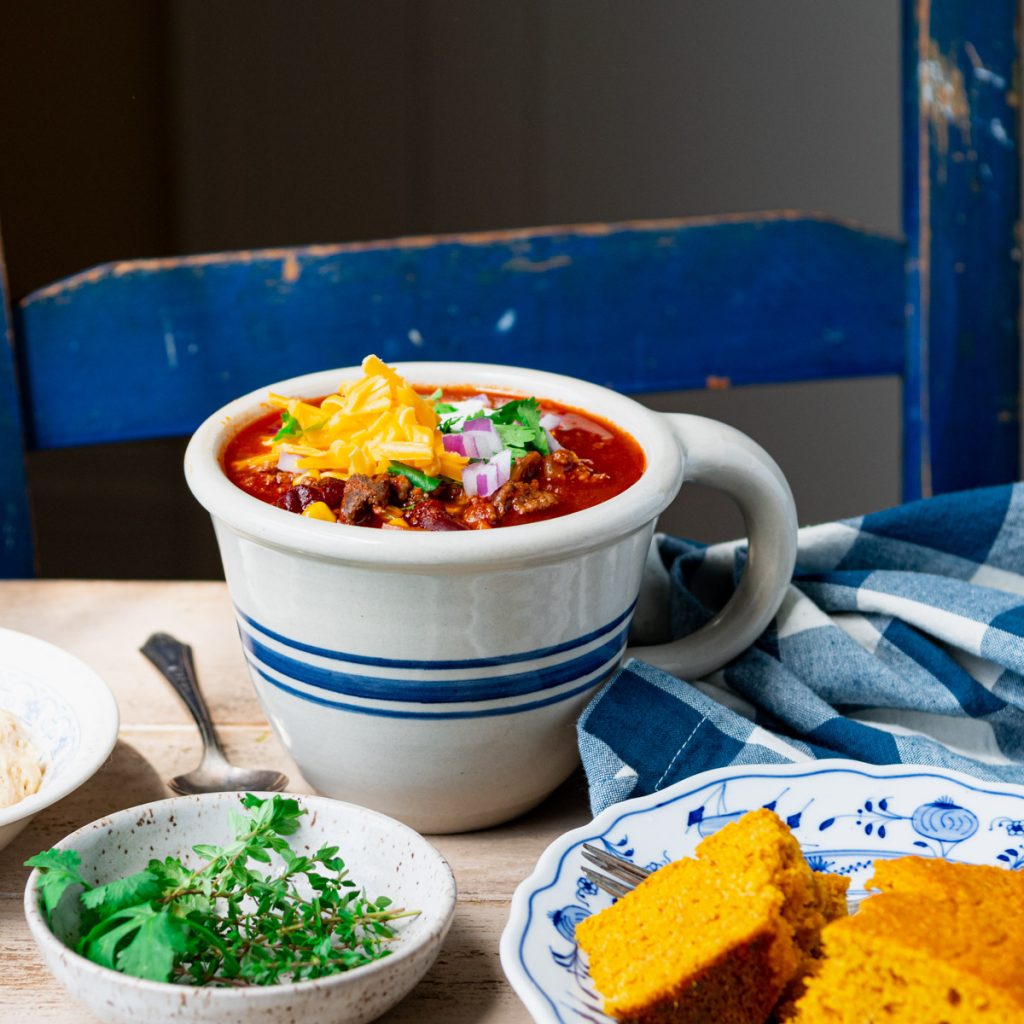
Serving Suggestions
Create a “chili bar” by setting out a variety of toppings and sides, and then let your family members or guests design their own bowls.
Toppings for a Chili Bowl
- Grated cheddar cheese
- Sour cream
- Sliced green onion, minced red onion, quick pickled red onion, or minced white onion
- Sliced fresh jalapeño pepper
- Fresh cilantro
- Tortilla strips or crushed tortilla chips
- Diced avocado
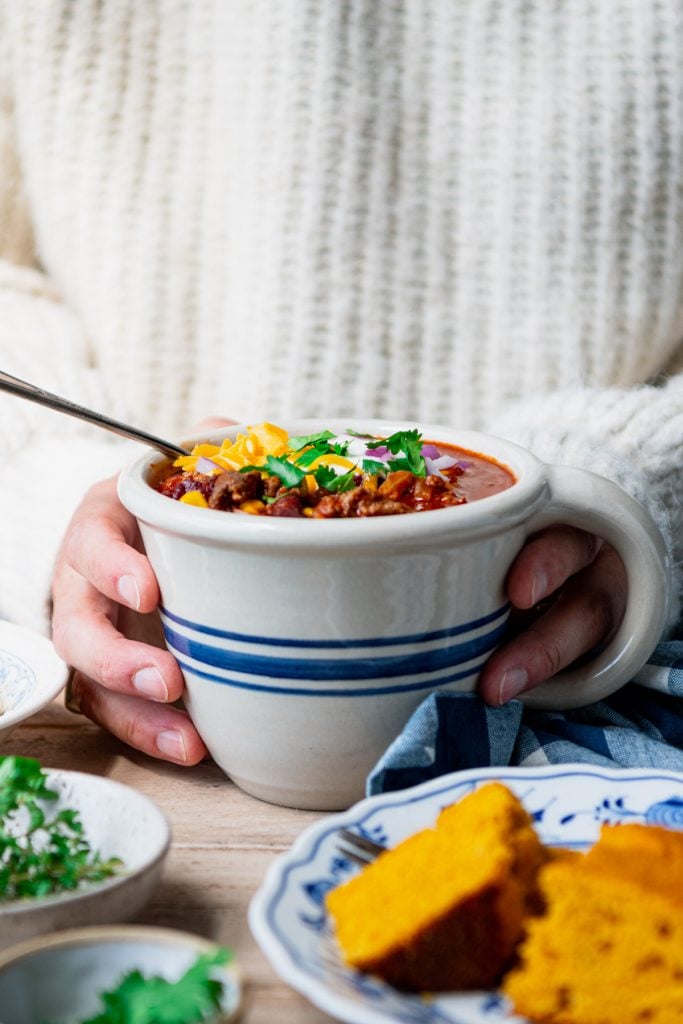
Sides to Serve with Beef and Beer Chili
- Jalapeno Cheddar Mexican Cornbread, Sweet Cornbread, Jiffy Cornbread with Creamed Corn, Southern Cast Iron Skillet Cornbread, Cornbread with Cake Mix, Pumpkin Cornbread, Old-Fashioned Southern Corn Sticks, Skillet Cornbread, or Honey Cornbread
- Corn Muffins, Sweet Cornbread Muffins with Brown Sugar, or 3-Ingredient Sour Cream Muffins
- Classic Pumpkin Muffins, Two-Ingredient Pumpkin Muffins, Pumpkin Bread, or Applesauce Pumpkin Muffins
- 3-Ingredient Buttermilk Biscuits, Flaky Biscuits, Sweet Potato Biscuits, Drop Biscuits, or Cheese Biscuits
- No-Knead Dutch Oven Bread, Honey Beer Bread, Jalapeño Cheddar Bread, or Cheddar Chive Beer Bread
- Green Salad with Red Wine Vinaigrette, Wedge Salads, House Salad or Caesar Salad
- Fritos or other corn chips
- Saltine crackers
- Easy Homemade Guacamole with tortilla chips and salsa
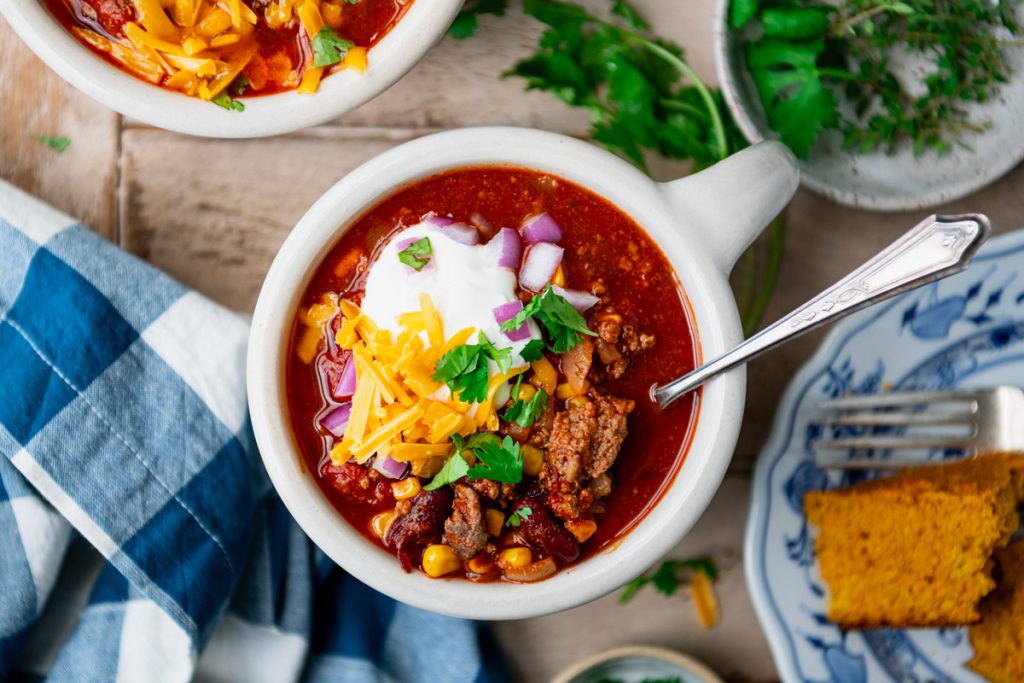
Storage
Leftover chili will keep in an airtight container in the refrigerator for 4-5 days.
To Freeze
Allow the chili to cool to room temperature. Package in airtight containers or Ziploc freezer bags and store in the freezer for up to 3 months.
To Reheat
Thaw frozen chili in the refrigerator overnight. Place chili in a saucepan. Cover and warm over low heat, just until heated through. If it seems too thick, thin the chili with a splash of broth or water.

Recipe Variations
- Slow Cooker Beer Chili: brown the beef, onion, and garlic in a skillet. Drain off the fat, then add the beer as directed. Simmer the beer as instructed, then transfer the mixture to a slow cooker. Add the remaining ingredients, cover, and cook on LOW for 4-6 hours or on HIGH for 2-3 hours. You can wait to add the corn and beans during the final 1 hour, or you can just throw them in with the rest of the ingredients.
- Beer Chili Spaghetti: this chili is thick enough that you can serve it over spaghetti or other pasta like a sauce.
- If you prefer a thinner consistency, you can add a can of crushed tomatoes or tomato sauce to your pot of chili. Some beef broth will also work.
- Add seeded and diced green bell peppers (or any other color sweet bell pepper) with the onion and garlic.
- Use root beer or beef broth in lieu of the beer.
- Beer Turkey Chili: substitute ground turkey for the ground beef.
- No Beans: if you don’t care for beans in your chili, you can just omit that ingredient altogether, or substitute with extra corn.
- For a spicy beer chili, add more cayenne, sprinkle with crushed red pepper flakes, or serve with a side of hot sauce.

Tips for the Best Beer Chili Recipe
- Don’t omit the sugar. It might seem odd, but the sugar helps balance the acidity of the tomatoes in the chili, creating a richer, multi-dimensional tomato flavor. It doesn’t make the chili taste too sweet. Start with 1 teaspoon, and if you like an even sweeter taste, increase the amount to 2 teaspoons or up to 1 tablespoon.
- Adjust the heat. The cayenne gives this beef chili recipe a spicy kick. If you prefer a less-spicy chili, omit this ingredient (it will still have plenty of zesty flavor from the chili powder). If you like a spicier chili, add a bit more cayenne.
- Simmer the chili with the pot covered to trap the moisture. If you prefer a thicker consistency, you can remove the lid towards the end of the cooking time.
- If the chili looks too thick, stir in crushed tomatoes, tomato sauce, beef broth or even water to thin.
- Stir the pot occasionally as the chili simmers to prevent the bottom from scorching.
- If you have the time, prepare this chili at least one day in advance. The flavors will come together and the chili will taste even better on day 2!

More Chili Recipes to Try
- Classic Beef Chili Recipe
- Slow Cooker White Chicken Chili
- Pumpkin Chili
- Easy Texas Chili
- Southern Homemade Chili
- Hot Dog Chili
- Crockpot Chili Recipe
- Instant Pot Turkey Chili
- White Chicken Chili

Beef and Beer Chili
Ingredients
- 2 tablespoons olive oil
- 2 lbs. ground beef
- 1 large onion, diced (about 2 cups total)
- 4 cloves garlic, minced or pressed (about 2 teaspoons total)
- 1 (12-14 ounce) bottle or can of beer
- ¼ cup tomato paste
- 2 (28 ounce) cans whole peeled tomatoes with their juices
- 2 ½ tablespoons chili powder
- 1-2 teaspoons brown sugar (or increase to 1 tablespoon for a sweeter flavor)
- 2 ½ teaspoons cumin
- 2 teaspoons kosher salt, plus more to taste
- 1 teaspoon freshly ground black pepper
- 1 bay leaf
- 1 teaspoon dried oregano
- ¼ teaspoon cayenne pepper (more or less, to taste)
- 1 (16 ounce) can kidney beans, drained and rinsed
- 1 (10 ounce) package frozen corn, thawed
- Optional, for serving: cornbread; corn chips; cheese; sour cream; sliced green onions/chives; cilantro; avocado; diced red onion
Instructions
- Heat the olive oil in a large Dutch oven over medium-high heat. Add the beef, onion, and garlic; sauté until the meat is no longer pink. Drain fat and return beef mixture to the pot.
- Add the beer and cook until the beer is evaporated, about 10 minutes.
- Add the tomato paste, whole tomatoes and their juices, chili powder, brown sugar, cumin, salt, pepper, bay leaf, oregano, and cayenne. Bring to a boil, then reduce the heat to low. Cover the pot and simmer the chili over very low heat for about 1 hour, stirring occasionally. Break up the big tomatoes with a wooden spoon or a fork as you stir.
- Add the beans and corn; simmer the mixture for 20 more minutes. Remove the lid during the final 20 minutes to allow the chili to thicken, if desired.
- Discard the bay leaf. Ladle chili into individual serving bowls; garnish with desired toppings.
Notes
- Slow Cooker Beer Chili: brown the beef, onion, and garlic in a skillet. Drain off the fat, then add the beer as directed. Simmer the beer as instructed, then transfer the mixture to a slow cooker. Add the remaining ingredients, cover, and cook on LOW for 4-6 hours or on HIGH for 2-3 hours. You can wait to add the corn and beans during the final 1 hour, or you can just throw them in with the rest of the ingredients.
- Don’t omit the sugar. It might seem odd, but the sugar helps balance the acidity of the tomatoes in the chili, creating a richer, multi-dimensional tomato flavor. It doesn’t make the chili taste too sweet. Start with 1 teaspoon, and if you like an even sweeter taste, increase the amount to 2 teaspoons or up to 1 tablespoon.
- Adjust the heat. The cayenne gives this beef chili recipe a spicy kick. If you prefer a less-spicy chili, omit this ingredient (it will still have plenty of zesty flavor from the chili powder). If you like a spicier chili, add a bit more cayenne.
- Simmer the chili with the pot covered to trap the moisture. If you prefer a thicker consistency, you can remove the lid towards the end of the cooking time.
- If the chili looks too thick, stir in crushed tomatoes, tomato sauce, beef broth or even water to thin.
- Stir the pot occasionally as the chili simmers to prevent the bottom from scorching.
- If you have the time, prepare this chili at least one day in advance. The flavors will come together and the chili will taste even better on day 2!







That’s a really awesome looking chili, Blair. On my short list. We’re bound to get a cold front sooner or later and that chili would be perfect.
Thank you!
Making it right now as it’s raining outside along with the first cold snap in SC. The first stir/taste test is FANTASTIC! Can’t wait for the flavors to blossom over the next hour or so. I roasted a poblano pepper and some garlic before starting this and diced those up before using in the chili before the tomato paste/sauce addition for some smoky heat. Also, I used a bottle of Imperial Stout called Mexican Cake from Westbrook Brewing Co here in Charleston. I’m not a stout drinker, but it seemed to add a rich molasses flavor (maybe it’s something else) that was a nice addition to the brown meat.
Final stir and a quick taste, I added about 2 tsps of Worcestershire sauce and it was just what it needed for me. Thanks again.
Sounds perfect, Cynthia! It’s rainy and cold here, too…a perfect evening for chili!
Awesome chili recipe! I’ve made it twice within two weeks. I love how easy it is to make too.
We’re so happy to hear this! Thank you, Kim!