Disclosure: This post may contain affiliate links. I may earn a small commission for my endorsement, recommendation, testimonial, and/or link to any products or services from this website.
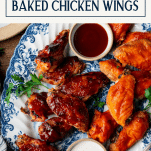
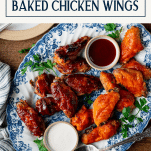
There’s a secret ingredient that makes these crispy baked chicken wings taste like they’re deep-fried! Slather them in bbq sauce or toss them with buffalo sauce for an easy party appetizer, game day snack, or weeknight dinner. The oven-baked wings are delicious alongside carrots, celery, and Ranch dip, a bowl of crunchy potato chips, and an ice-cold beverage!
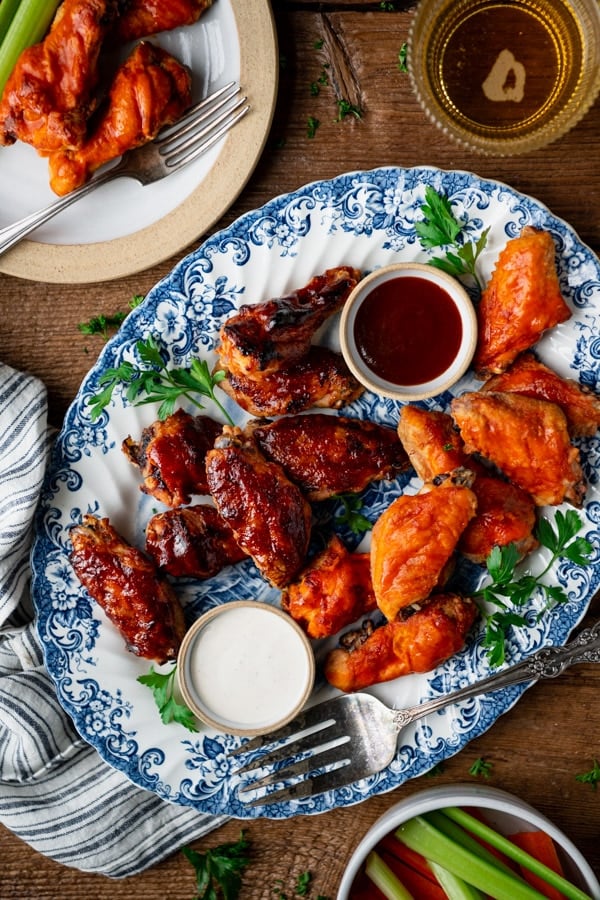
Table of Contents
- Oven Baked Chicken Wings
- Recipe Secrets for Perfectly Crispy Chicken Wings
- Ingredients for BBQ & Buffalo Baked Chicken Wings
- How to Make Chicken Wings in the Oven
- What to Serve with Baked Wings
- Baked Chicken Wings Storage & Reheating Tips
- Recipe Variations
- Tips for the Best Baked Chicken Wings Recipe
- More Baked Chicken Recipes to Try
- Crispy Baked Chicken Wings Recipe
Oven Baked Chicken Wings
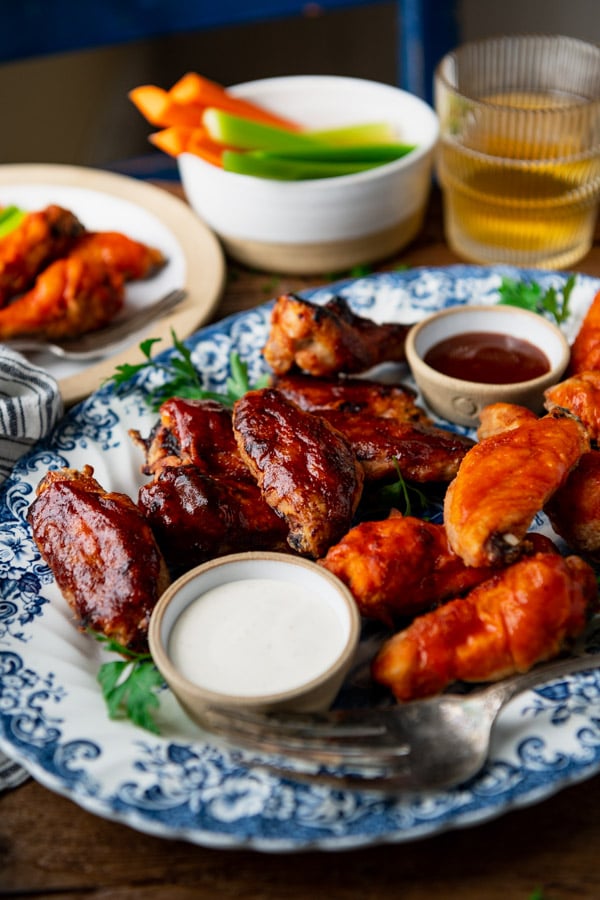
That’s right, you can skip the dive bar and enjoy crispy baked chicken wings at home! With a special ingredient and a few tips and tricks, the oven-baked version turns out just as flavorful and delicious as a basket of deep-fried wings. Best of all, this baked chicken wings recipe is easy to prepare, and almost entirely hands-off. There’s no oily mess splattered on the stovetop and no babysitting batch after batch in the fryer. Finish them with your favorite wing sauce (we love hot buffalo sauce or sweet and sticky barbecue sauce), and your next appetizer or dinner is served!
Recipe Secrets for Perfectly Crispy Chicken Wings
The best part of fried chicken wings is that crispy skin on the outside. So, how do we achieve the same taste and texture with baked chicken wings? there are a few tricks for a batch of the best crispy baked chicken wings:
- Pat dry: using a paper towel or other cloth to dry the skin of the wings really well before dredging helps the skin get nice and crispy in the oven. Any excess moisture can inhibit browning and instead can lead to a soggier crust.
- Baking powder: a little bit of baking powder in the seasoned flour totally changes the texture of the oven-baked wings. Baking powder is alkaline, so it raises the pH level of chicken skin, breaking down the peptide bonds and jumpstarting the browning process. This means that the wings get browner and crispier faster than they would on their own.
- Wire rack: baking the wings on a wire rack on top of a larger baking sheet allows air to circulate around the wings as they cook. You’ll also turn the wings over during the cooking process so that each part of the chicken browns evenly.
- High heat: bake the wings in a 425°F oven so that the skin gets nice and crispy by the time the inside of the wings are cooked through. This achieves the perfect balance of juicy, tender meat paired with a browned exterior.
Ingredients for BBQ & Buffalo Baked Chicken Wings
This is just a quick overview of the ingredients that you’ll need for a batch of crispy baked chicken wings. As always, specific measurements and complete cooking instructions are included in the printable recipe box at the bottom of the post.
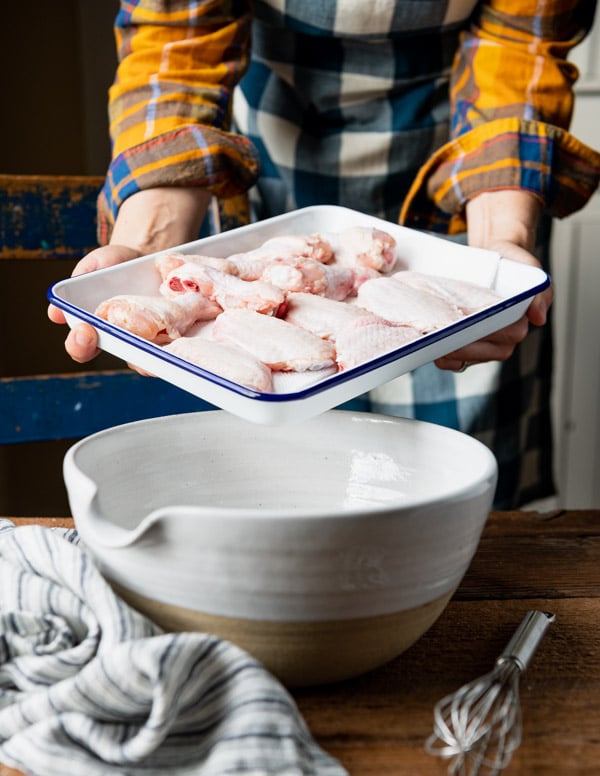
- Chicken wings: halved at the joints, wingtips discarded. Here is a helpful video that shows you exactly how to cut wings.
- All-purpose flour: for dredging the chicken.
- Garlic powder, onion powder, sweet paprika, kosher salt, and black pepper: seasonings that add flavor to the chicken.
- Baking powder: the secret ingredient for browned, crispy baked wings.
- Sauce of choice: we love a sweet, sticky bbq sauce or classic hot buffalo wing sauce.
How to Make Chicken Wings in the Oven
Crispy baked chicken wings are easier than you might think! The oven does all of the work, so you just need to be patient and give them plenty of time to get perfectly golden brown.
- Stir together the seasoned flour.
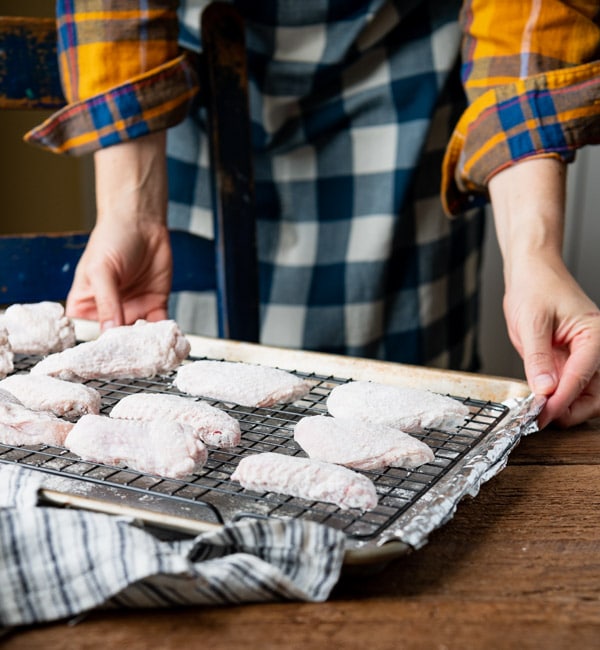
- Pat the wings dry, and then dredge the wings in the seasoned flour.
- Arrange the wings skin-side up in a single layer on wire racks over rimmed baking sheets.
- Bake the chicken wings in a 425°F oven, turning every 20 minutes, until they’re crispy and browned — about 50-60 minutes.
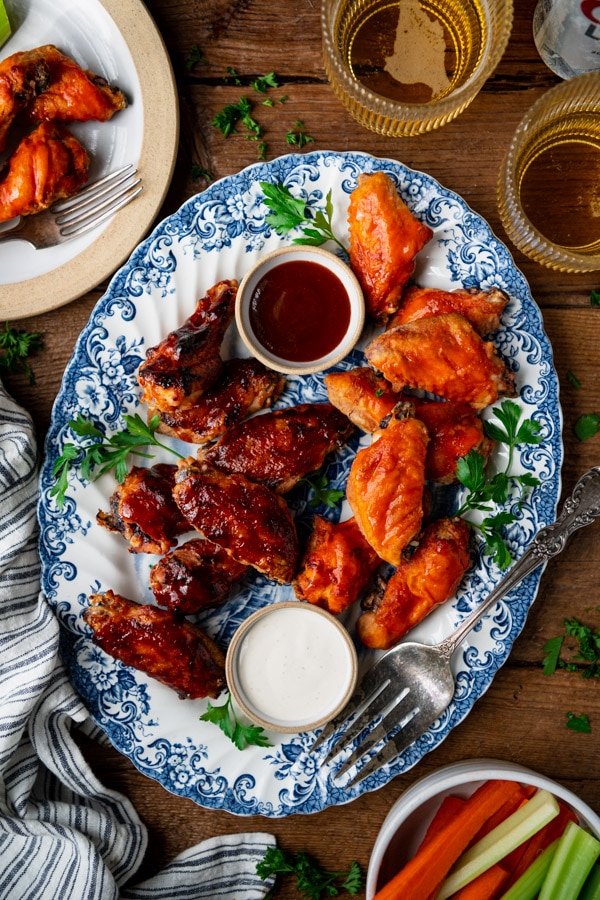
Baked BBQ Chicken Wings
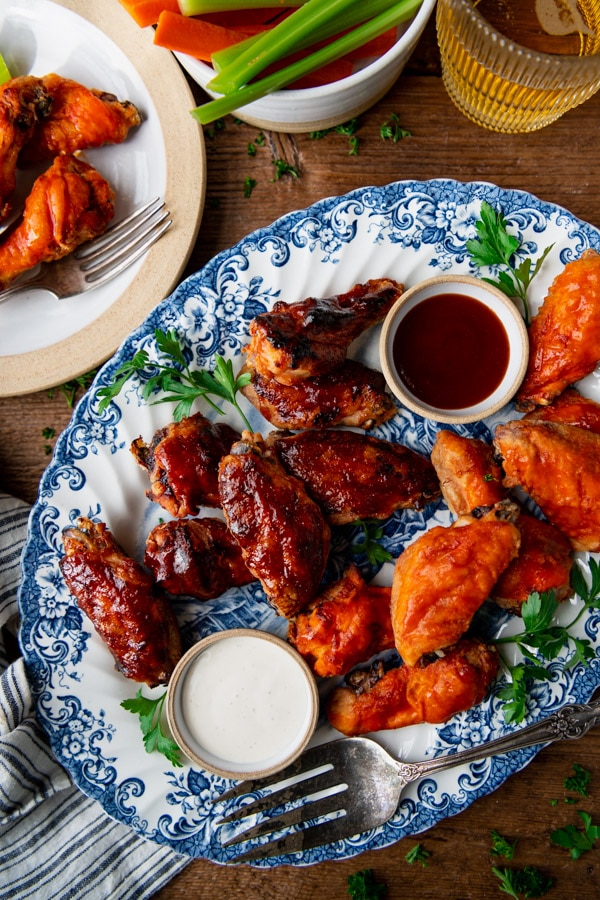
If you’re using barbecue sauce to flavor the wings, baste the sauce onto the wings during the final 5-10 minutes. This allows the sugars in the sauce to caramelize. Serve extra sauce on the side for dipping!
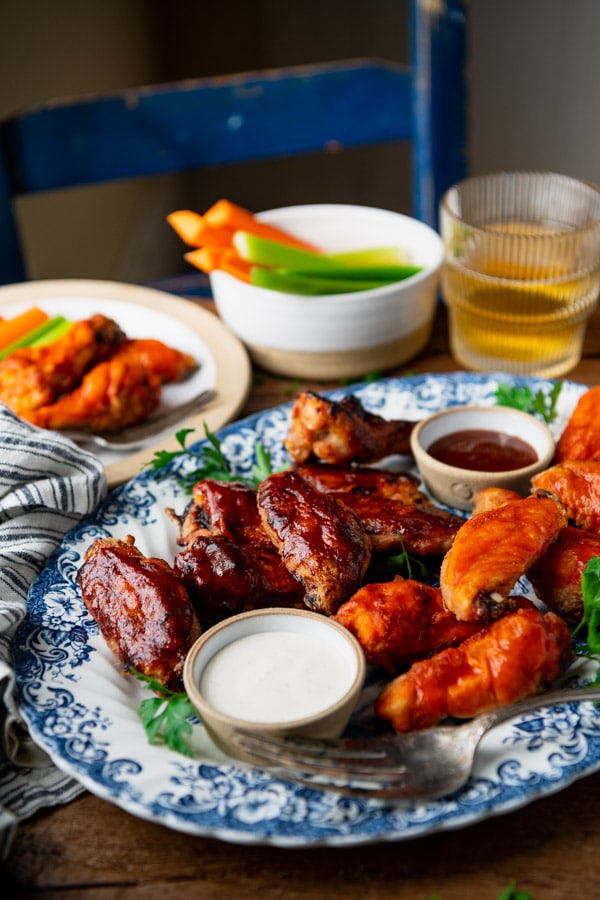
Baked Buffalo Chicken Wings
If you prefer spicy buffalo sauce on the wings, toss the baked wings in a bowl of sauce (or baste with the sauce) just before serving.
What to Serve with Baked Wings
Pair the baked wings with dips like Ranch, blue cheese dressing, or extra barbecue sauce. Here are a few side dishes that go well with the baked chicken wings, too:
- Carrot sticks and celery sticks with Ranch dip on the side
- Wedge Salad with Buttermilk Ranch dressing
- Flaky Buttermilk Biscuits, Aunt Bee’s 3-Ingredient Buttermilk Biscuits, or Drop Biscuits
- 3-Ingredient Sour Cream Muffins
- Charleston Red Rice
- Baked Beans
- Green Salad with Red Wine Vinaigrette
- House Salad with Candied Pecans
- Creamy Baked Mac and Cheese, Crock Pot Mac and Cheese, or Creamy Stovetop Mac and Cheese
- Skillet Cornbread, Honey Cornbread, Old-Fashioned Corn Sticks, or Corn Muffins
- Southern Macaroni Salad, Classic Pasta Salad, or Shrimp Pasta Salad
- Coleslaw or Vinegar Coleslaw
- Southern Collard Greens
- Baked Potato Wedges, Mashed Potatoes with Sour Cream and Chives, Skin On Mashed Red Potatoes, or Easy Potato Salad
- Arkansas Green Beans with Bacon, Southern-Style Green Beans or Roasted Green Beans
- Broccoli Cauliflower Salad
- Southern Succotash
- Creamed Peas
- Refrigerator Dill Pickles
Baked Chicken Wings Storage & Reheating Tips
Storage: Leftover wings will keep in the refrigerator in an airtight container for 3-4 days, or in the freezer for 2-3 months. The chicken is best when served immediately, however, since it does not stay as crispy once it’s chilled.
Reheating: Preheat the oven to 350°F. Take your leftover wings out of the fridge so they can come to room temperature – this usually takes about 15 minutes. If the wings are frozen, thaw them overnight in the refrigerator before reheating.
Grease a rimmed baking sheet with nonstick spray. Arrange the wings in a single layer on the prepared pan. Bake for 5-6 minutes on one side, flip them over, and bake for another 5-6 minutes on the other side. The wings are ready to enjoy when they’re heated through and crisp again.
Recipe Variations
- Season the flour with any of your favorite herbs and spices. Just salt, pepper, and garlic powder would be fine, too!
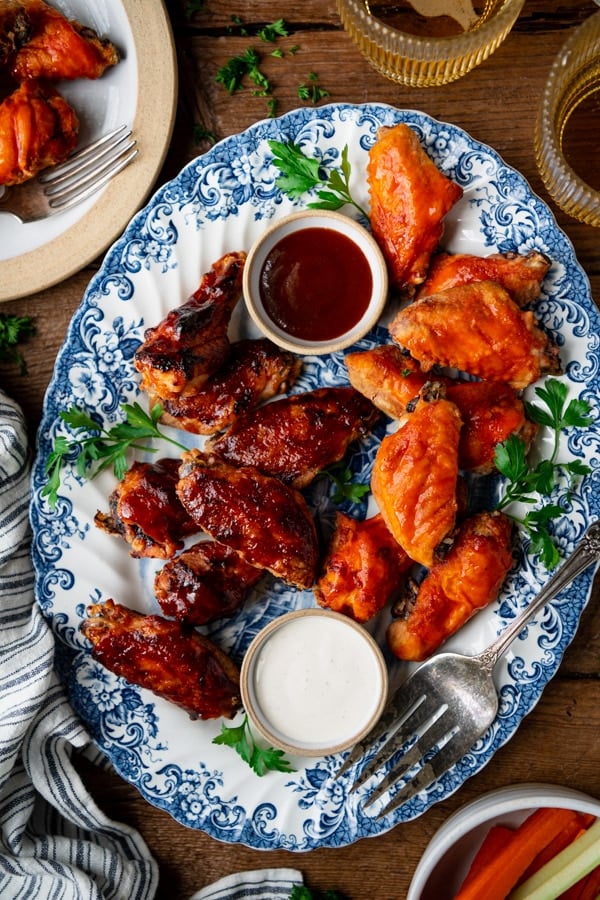
- Use any sauces that your family enjoys. Good options include the bbq sauce and buffalo sauce shown here, as well as lemon-garlic sauce, teriyaki sauce, or any of these other creative flavors.
- Scale the recipe up or down to suit the size of your gathering. For instance, cut the ingredients in half to serve just 2-3 people, or double all of the ingredients to feed a crowd of 10 or more. You may need to bake the wings in batches if you’re feeding a large group since the wings need to be well-spaced in a single layer for proper crisping.
Tips for the Best Baked Chicken Wings Recipe
- Line the baking sheets with foil for easy cleanup. The fat and sauce will drip down during the cooking process, and this can be very difficult to get off of the pans at the end.
- Grease the wire racks really well with nonstick spray so that you can easily flip the wings during the cooking process.
- Pat the wings very dry before dredging in flour. Any extra moisture on the skin will make it harder to achieve a crispy crust.
- Do not crowd the wings on the pan. Arrange them in a single layer with enough space between them to allow plenty of air to circulate. If you squish them too close or pile them on top of each other, the wings will steam and get soggy.
More Baked Chicken Recipes to Try

Crispy Baked Chicken Wings
Ingredients
- 1 cup all-purpose flour
- ½ teaspoon garlic powder
- ½ teaspoon onion powder
- ½ teaspoon sweet paprika
- ½ teaspoon kosher salt
- Dash of black pepper
- 1 teaspoon baking powder
- 3 lbs. chicken wings, cut in half at the joints and wingtips discarded
- 2 cups of BBQ sauce, buffalo wing sauce, or other sauce of choice
Instructions
- Preheat oven to 425°F. Line two rimmed baking sheets with foil and place wire cooling racks on top. Grease the wire racks with nonstick spray.
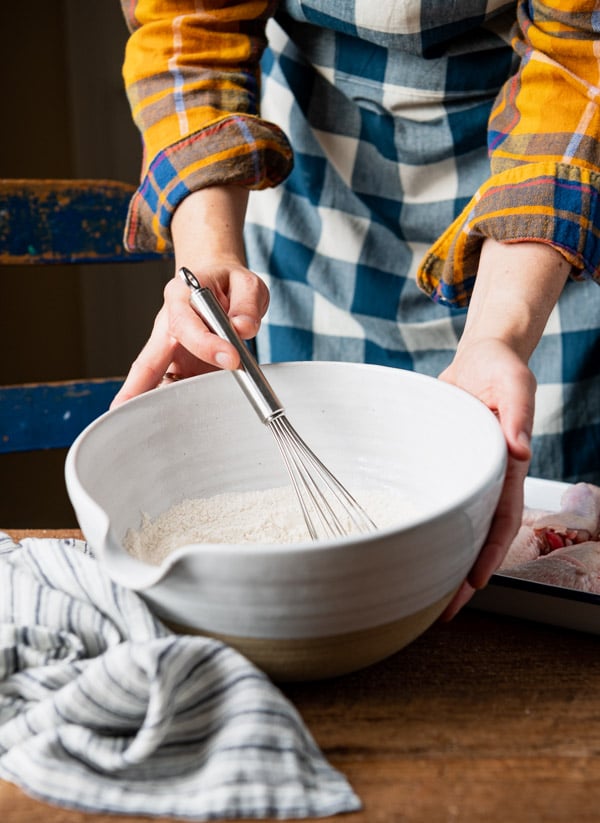
- In a bowl, whisk together the flour, garlic powder, onion powder, paprika, salt, pepper, and baking powder.
- Pat the chicken wings very dry with paper towels. Dredge the chicken wings in the seasoned flour, shaking off any excess flour. Arrange the wings skin-side up in a single layer on the prepared baking sheets.
- Bake the chicken wings, turning them every 20 minutes, until crispy and browned, about 50-60 minutes total. If using BBQ sauce, baste with the BBQ sauce during the final 5-10 minutes of baking. Serve with additional sauce on the side for dipping.
- If using buffalo wing sauce, toss the baked wings in a bowl of sauce just before serving.
Notes
- Line the baking sheets with foil for easy cleanup. The fat and sauce will drip down during the cooking process, and this can be very difficult to get off of the pans at the end.
- Grease the wire racks really well with nonstick spray so that you can easily flip the wings during the cooking process.
- Pat the wings very dry before dredging in flour. Any extra moisture on the skin will make it harder to achieve a crispy crust.
- Do not crowd the wings on the pan. Arrange them in a single layer with enough space between them to allow plenty of air to circulate. If you squish them too close or pile them on top of each other, the wings will steam and get soggy.









Hi, Cindy! Thank you for catching that typo. You’re correct — it’s baking powder. Off to fix it right now. 🙂