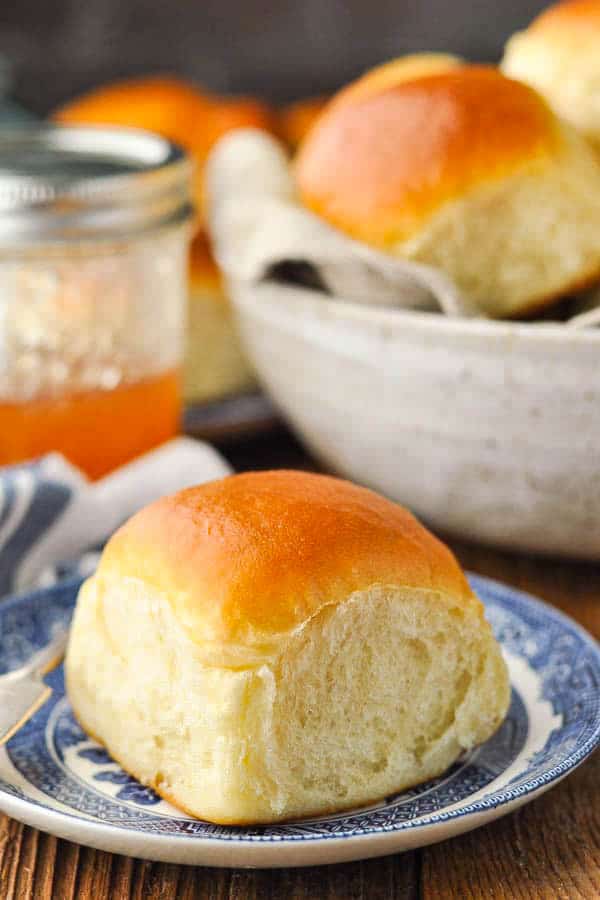
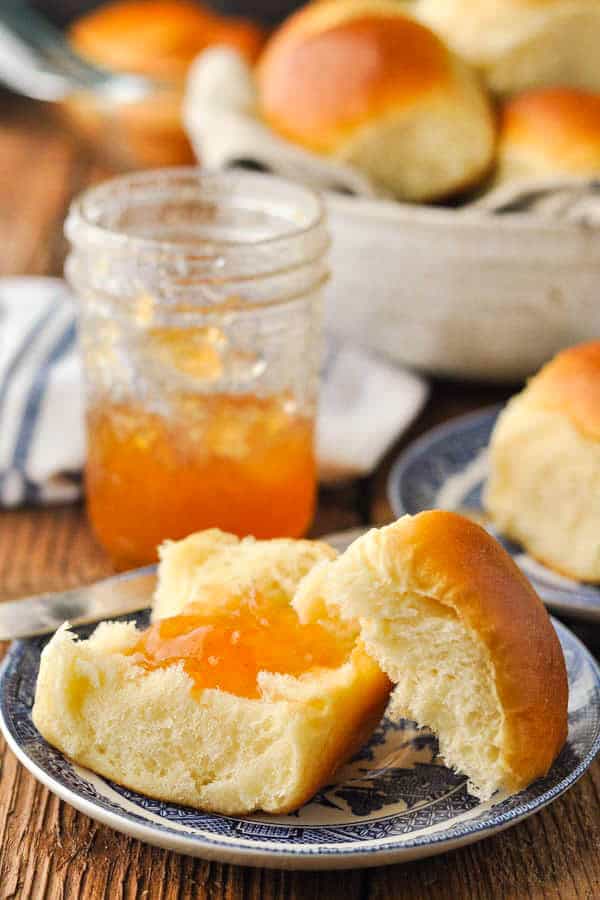
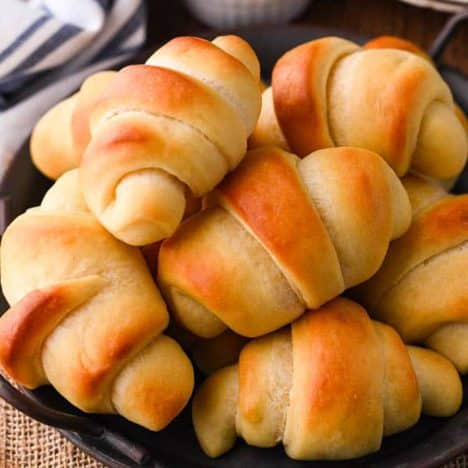
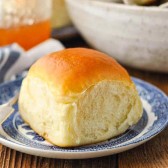
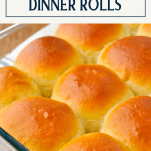
Soft and fluffy homemade dinner rolls are the perfect addition to any meal. From a holiday spread on Thanksgiving or Christmas to a simple Sunday supper at Grandma’s, the warm, buttery yeast rolls always disappear fast. They’re a family favorite with both kids and adults!
Dinner Roll Recipe
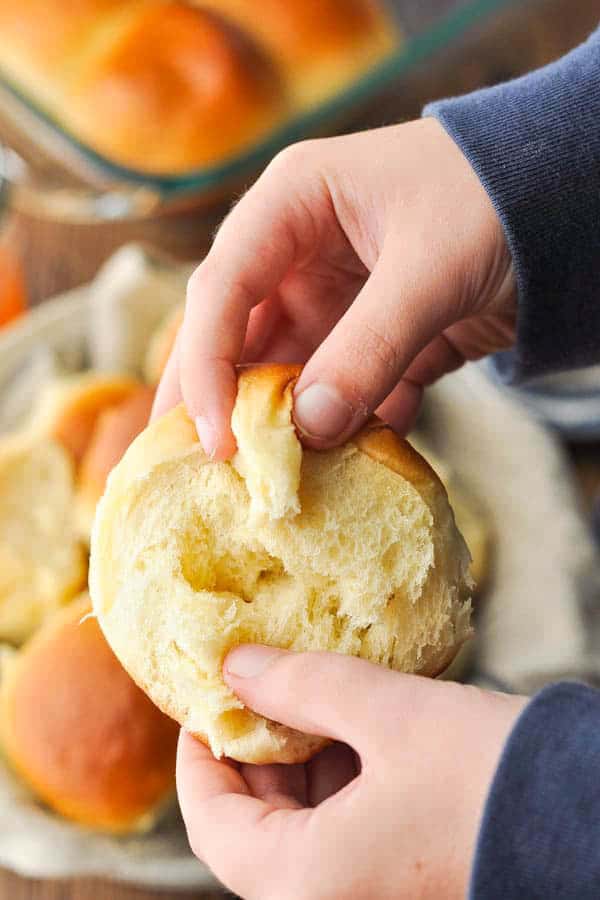
Don’t be intimidated by the thought of baking your own soft dinner rolls at home! I promise, with these step-by-step instructions and a few important tips, the easy dinner roll recipe will yield a perfect batch of golden brown, fluffy pillows every single time. They are truly the world’s best dinner rolls!
What is a dinner roll?
A dinner roll is a very broad term that describes any bread roll that is served with a meal. They’re typically small, round loaves that can really be served at any time of day — including breakfast, brunch or lunch — and not just dinner.
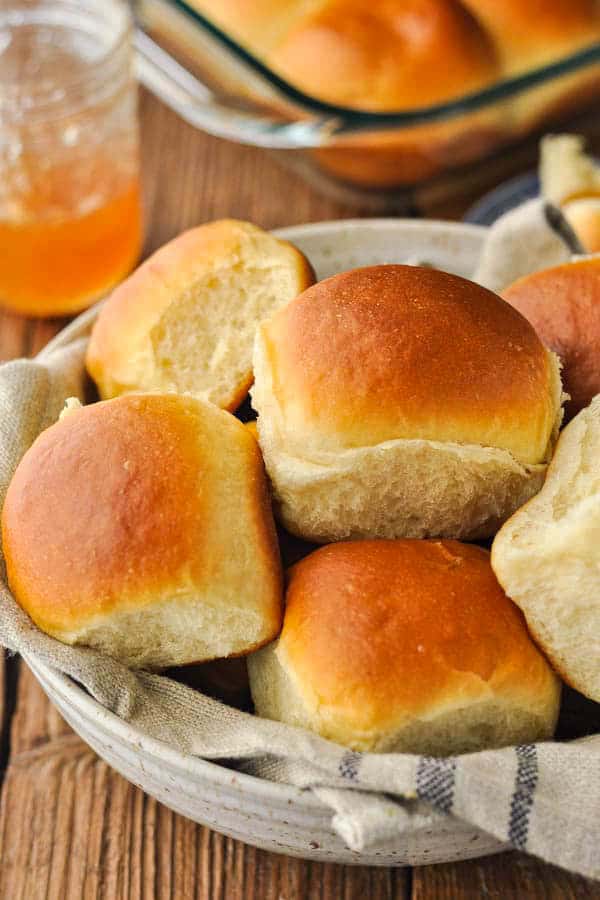
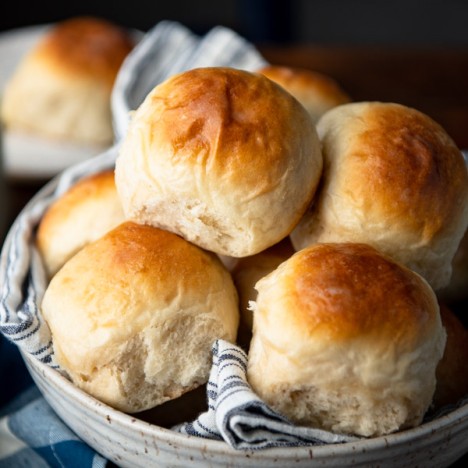
This old-fashioned yeast rolls recipe yields slightly sweet, very soft, fluffy and puffy rolls that are sometimes known as “Amish dinner rolls.” They’re simple enough to bake on a casual Sunday afternoon to serve as sandwishes with this easy chicken salad or pair with a roast chicken, chicken and noodles, chicken noodle casserole, chicken broccoli pasta casserole, hamburger casserole, ground beef stroganoff, crockpot Brunswick stew, Bisquick chicken pot pie, mac and cheese with ground beef, a warm bowl of soup, or easy baked spaghetti. They’re also delicious enough to add to the bread basket on a more formal holiday table.
Ingredients
This is just a quick overview of the ingredients that you’ll need for a batch of easy dinner rolls. As always, specific measurements and step-by-step instructions are included in the printable recipe box at the bottom of the post.
- Active dry yeast: helps the dough rise.
- Lukewarm water: activates the yeast.
- Scalded whole milk: gives the bread a richer, more velvety texture and helps it brown. Low-fat milk will also work, but the whole milk yields the best flavor and texture.
- Shortening: creates super soft dinner rolls with a light, fluffy texture.
- Sugar: feeds the yeast, tenderizes the dough, and gives the rolls a slightly sweet flavor.
- Salt: adds flavor.
- Egg: gives the dough structure and flavor.
- All-purpose flour or bread flour: I like bread flour, which has a bit more protein and yields a slightly higher rise. All-purpose flour works fine, too!
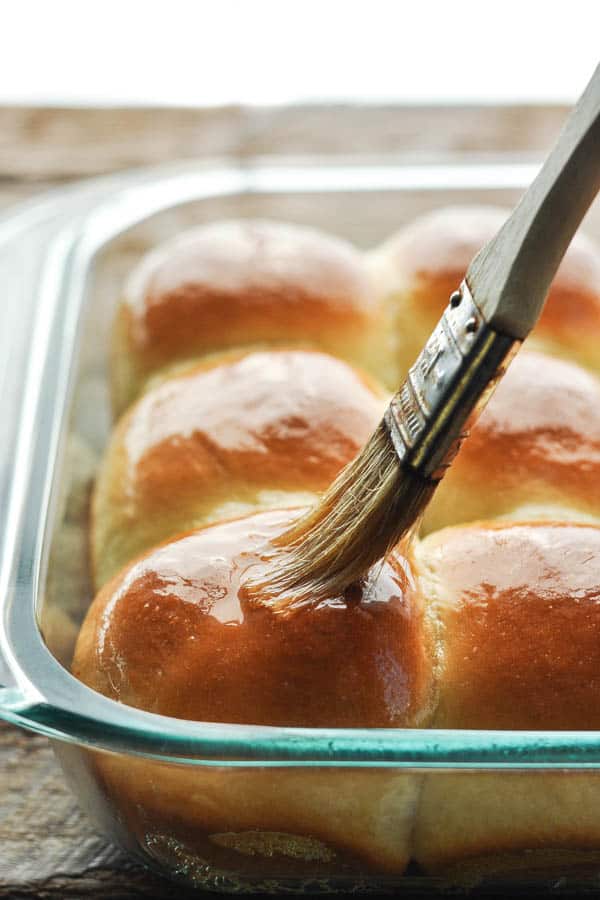
- Melted butter: for extra flavor and shine on the top of the rolls.

how to scald milk for fluffy dinner rolls
The extra step of scalding milk only takes a few minutes, and is well worth the effort. Scalding milk is simply the process of heating milk to 180°F. Bread recipes often call for scalded milk because the scalding process deactivates the proteins in milk whey that can keep gluten from forming properly. The warm milk can also help activate yeast. In short, scalded milk helps yeast breads rise!
To scald the milk for this recipe, place the milk in a saucepan over low heat. Warm the milk until a skin forms on the top. As soon as the skin forms on top of the milk, remove the pan from the heat — be careful not to let the milk boil.
How To Make Soft Dinner Rolls from Scratch
Of all of the different breads, muffins, and scones that I bake in our little farmhouse kitchen, these easy dinner rolls are by far the kids’ favorite. When the aroma of warm, sweet, yeasty rolls wafts through the house, the boys come running! One pan doesn’t last long around here, so it’s a good thing they’re very simple to prepare.
There’s nothing difficult about this process. Just gather your ingredients and follow the recipe directions carefully. Baking is an exact science, so I do not recommend tweaking the measurements or substituting with different ingredients until you’ve tried it at least once.
- Soften the Yeast. Combine the yeast and the lukewarm water in a small bowl and let it rest for 5-10 minutes. It should look a little foamy.
- Mix Dough. In a stand mixer (or by hand), combine the scalded milk with the yeast and remaining ingredients to form a thick, rich dough. Once the dough comes together, knead it (with a dough hook, paddle attachment, or by hand) for about 2 minutes.
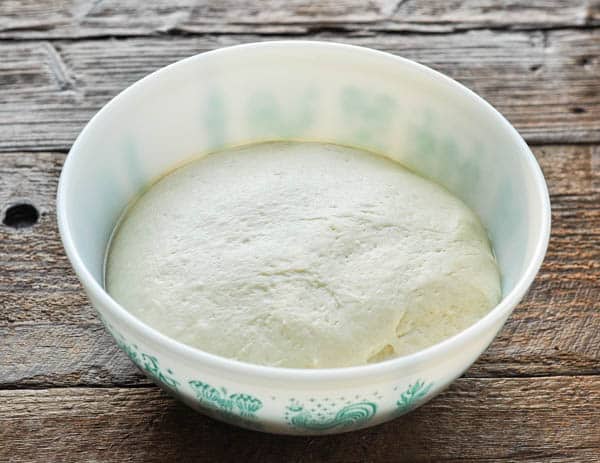
- First Rise. Transfer the dough to a greased bowl, turn to coat in oil, cover and let rise until doubled in size. If the dough is in a particularly warm place, this may only take about 60-80 minutes. If the bowl is sitting in a cooler environment, this will take about 2 hours.
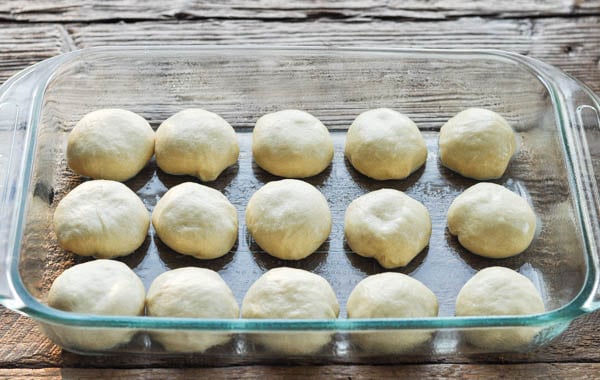
- Punch Down Dough and Shape Rolls. Punch down the dough to release the air, then shape the dough into 14-16 even balls.
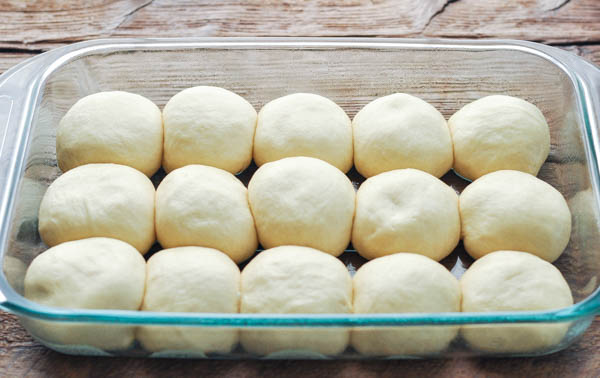
- Second Rise. Cover the dough and let the rolls rise until puffy — about 1 hour.
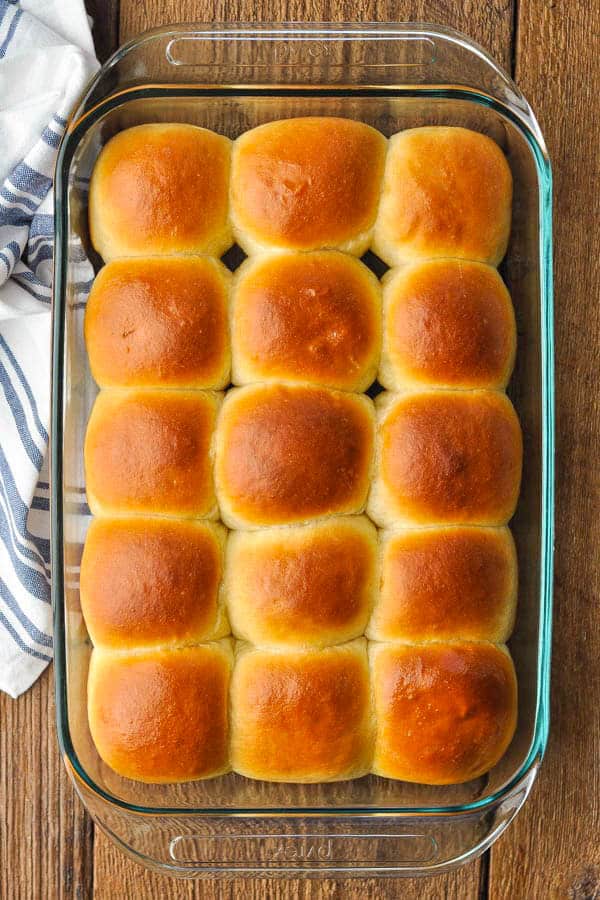
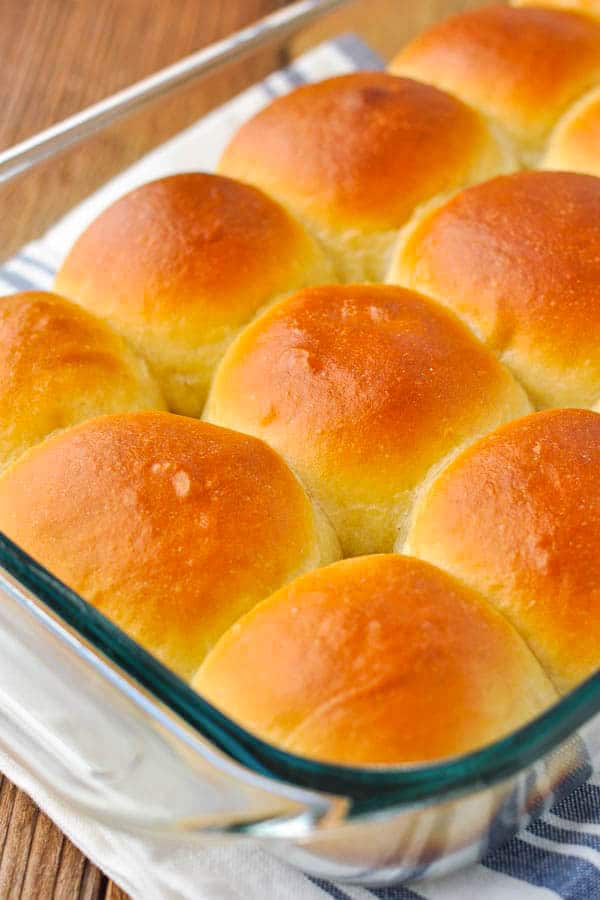
- Bake. Remove the cover and bake the rolls on the middle rack in a 350°F oven until golden brown and cooked through, about 18-22 minutes. Brush the tops with melted butter and serve warm. You can’t beat these soft, buttery dinner rolls!
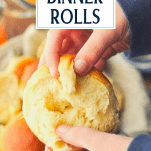
how to shape dinner rolls
You can shape this basic dough recipe into knots, cloverleaf rolls, or even sandwich buns. For simple round dinner rolls, I use a bench scraper to cut the dough into equal portions on the counter. Then, working with one piece of dough at a time, tuck the edges underneath to the middle of the roll — creating a smooth, round top — pinching and sealing the bottom. Place the rolls in a greased 9 x 13-inch baking dish.
If you’re shaping the dough into larger sandwich rolls or hamburger buns, you’ll get about 9 larger rolls out of this batch.
Prep and Storage
The homemade rolls are best served warm, straight from the oven. Leftover rolls will keep at room temperature in an airtight container for about 1 day, or wrapped tightly in the freezer for up to 3 months.
Make Ahead Yeast Dinner Rolls
Since it’s not always convenient to make the dough just before serving, you can prepare the dough in advance and then bake the rolls when you’re ready to enjoy them. This is ideal for Thanksgiving dinner rolls, or other holidays like Christmas or Easter when you have a lot of last-minute responsibilities in the kitchen.
To prepare the dough ahead of time, shape the rolls as instructed in the recipe and arrange them in the greased baking dish. Cover tightly and refrigerate for up to 1 day. About 2-3 hours before you plan to bake the rolls, pull them out of the refrigerator and let them rise on the counter before baking.
How to Freeze Dinner Roll Dough
If you plan to make the dough more than 1 day ahead, it’s best to freeze the dough. To freeze dinner roll dough, shape the rolls as instructed in the recipe and arrange them in the greased baking dish. Cover tightly and freeze for up to 1 month. When ready to bake, remove the rolls from the freezer, take off the cover, and re-cover the rolls with a clean cloth or towel. Place them in a warm spot and let them thaw and rise for 3-4 hours (or until they look puffy). Bake according to the recipe instructions.
how to reheat dinner rolls
If you have leftover dinner rolls that you’d like to reheat, place the rolls in a 350°F oven just until warmed through (about 5-7 minutes). Don’t leave them in for too long or they’ll become dry and toasted. You can also microwave individual rolls for about 15 seconds, or until warm.
What to Do with Leftover Dinner Rolls
After about 1-2 days at room temperature, the baked rolls will start to get stale, dry and hard. Instead of tossing them into the garbage, put them to good use! Here are a few ways to take advantage of those leftovers:
- Bread Pudding. Use cut-up leftover dinner rolls, hamburger buns and hotdog buns to make bread pudding. The stale bread will soak up the delicious custard.
- Breakfast Casserole. Instead of using regular bread or brioche, use the stale dinner rolls in a breakfast strata to soak up a savory egg custard.
- Croutons. Dice the rolls into cubes, toss with melted butter or oil, season, and bake until toasted. Use the homemade croutons to garnish your soups and salads.
- Breadcrumbs. Cube the rolls and grind them in a food processor to make homemade breadcrumbs.
Tips for the best homemade dinner rolls
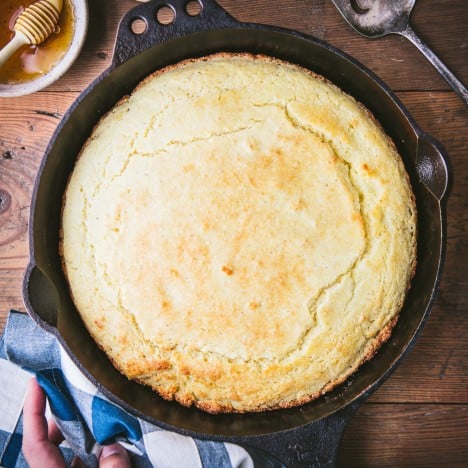
- Use a glass or ceramic baking dish. I find that metal pans, muffin tins and cast iron skillets cause the bottoms and sides of the rolls to burn more easily.
- Bake in the center of the oven to prevent excessive browning on the top or bottom of your rolls. You likely will not need to do so, but you can cover the rolls loosely with foil if they start to get too dark on top before they’re done baking.
- Store yeast in the freezer. Even unopened packets of yeast with a good expiration date can go bad at room temperature, so I always keep the yeast in the freezer. Old yeast will impact the dough’s ability to rise.
- Rise in a warm spot. If your dough isn’t rising, check the temperature of your kitchen. Ideally, you want to find a spot that’s about 75-78 degrees F, but this doesn’t have to be exact.
- Properly measure the flour. Always spoon and level the flour — do not scoop it out of the package. Incorrectly measuring the flour will result in dense, hard dinner rolls.
More Homemade Bread Recipes to Try


Did you make this recipe?
If you enjoyed this recipe, please leave a comment with a 5-star review at the bottom of the post. Thank you!
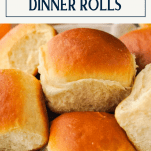
Easy Homemade Dinner Rolls
Ingredients
- 1 (0.25 oz) package dry active yeast
- ¼ cup lukewarm water
- ¾ cup whole milk, scalded (see note below for how to scald milk)
- ¼ cup shortening
- ¼ cup sugar
- 1 teaspoon salt
- 1 egg, beaten
- 3 cups all-purpose flour or bread flour
- 1-2 tablespoons melted butter
Instructions
- In a small bowl, stir together yeast and warm water. Allow to rest for 5-10 minutes, until foamy.
- In a large mixing bowl fitted with a dough hook or paddle attachment, combine scalded milk, shortening, sugar and salt. Stir to dissolve the ingredients in the warm milk. Cool the mixture to a lukewarm temperature.
- Add the softened yeast mixture to the milk mixture. Add the egg and 1 cup of flour. Beat on low speed for 30 seconds, then scrape down the sides of the bowl with a spatula. Add remaining flour; beat on medium speed until the dough comes together and pulls away from the sides of the bowl (about 1-2 minutes). Continue mixing the dough for 2 more minutes (or knead by hand on the counter for 2 minutes).
- Lightly grease a bowl with oil. Transfer the dough to the bowl and turn to coat. Cover tightly with plastic wrap and let the dough rise in a warm place until doubled in size (about 1-2 hours).
- Punch down the dough. Divide the dough into 14-16 even pieces; shape into smooth balls. Arrange the dough balls in a greased 9 x 13-inch baking dish.
- Cover the dish and let the dough rise again until puffy, about 1 hour.
- Remove the cover and bake the rolls on the middle rack in a 350 degree F oven for 18-22 minutes. Brush the warm rolls with melted butter and serve!
Notes
- Use a glass or ceramic baking dish. I find that metal pans, muffin tins and cast iron skillets cause the bottoms and sides of the rolls to burn more easily.
- Bake in the center of the oven to prevent excessive browning on the top or bottom of your rolls. You likely will not need to do so, but you can cover the rolls loosely with foil if they start to get too dark on top before they’re done baking.
- Store yeast in the freezer. Even unopened packets of yeast with a good expiration date can go bad at room temperature, so I always keep the yeast in the freezer. Old yeast will impact the dough’s ability to rise.
- Rise in a warm spot. If your dough isn’t rising, check the temperature of your kitchen. Ideally, you want to find a spot that’s about 75-78 degrees F, but this doesn’t have to be exact.
- Properly measure the flour. Always spoon and level the flour — do not scoop it out of the package. Incorrectly measuring the flour will result in dense, hard dinner rolls.


These rolls are delicious!!
Yay! I’m so glad that you loved them, Sallie! 🙂
Made these last night and got raves!!! they were light, fluffy and looked incredibly appetizing. it will definitely be my go to rolls. Thank you for the recipe and all the hints.
We’re so happy they were a hit and that you found the hints helpful! Thank you for trying them out.
Third dinner roll recipe I tried and it turned out exactly how I expected it. This is a keeper and the only one I will use from now on!
Yay! I’m so happy to hear that. Thanks, Polly!
Thank you for the recipe. I’ve made many roll recipe and this one turned out the BEST!
That’s so good to hear, Kristen! Thank you for taking the time to let me know! 🙂
Hi Blair, I’m new to your sight. Saw today, your dinner roll recipe. Mmmm good looking rolls. What I wanted add was your pictures of the country side! Oh my goodness. So beautiful and wide open. Where are the pictures from? Just great looking landscape type examples for painting a picture.
Thanks for sharing your recipes with us “beginner” bakers.
Enjoy your Christmas too!
Richard Lohr
Hi, Richard! Thanks so much for your kind words. 🙂
We live in Central Virginia — Madison County. I love taking pictures of my surroundings as I’m out and about, and it makes me so happy to know that others find joy in the landscape as well. It’s a special place!