Disclosure: This post may contain affiliate links. I may earn a small commission for my endorsement, recommendation, testimonial, and/or link to any products or services from this website.
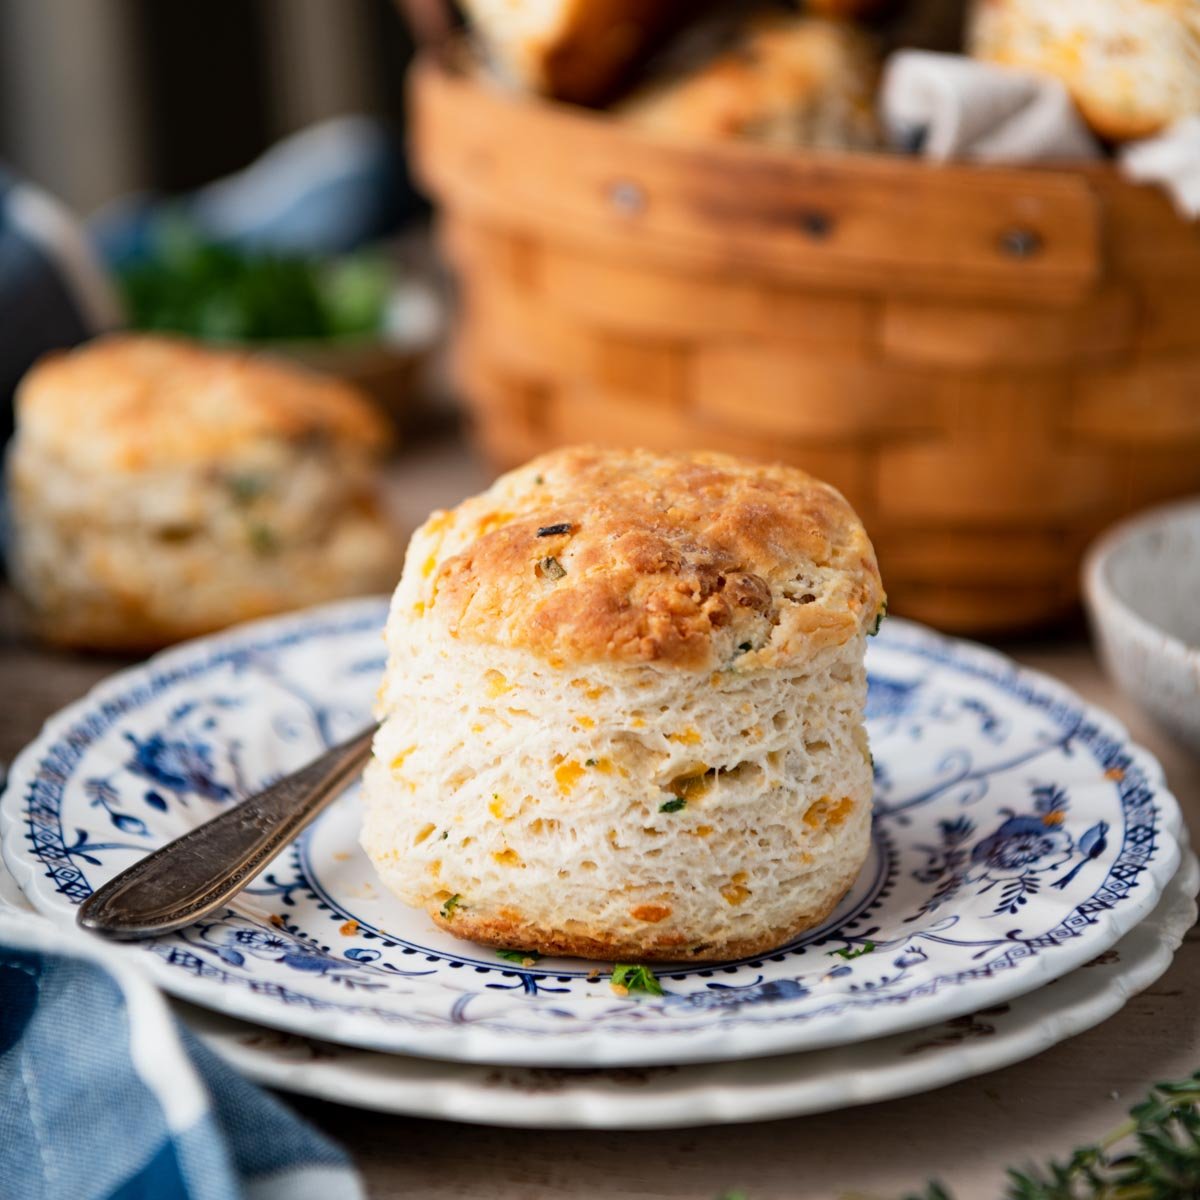
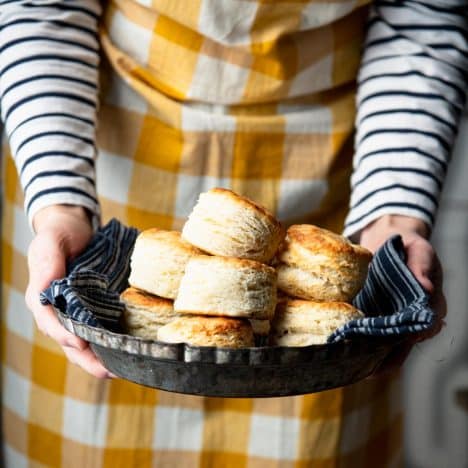
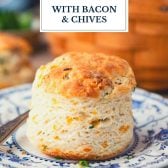
With a few simple tips and tricks, you can make the best cheddar biscuits from scratch! The fluffy, flaky, buttery treats rise a mile high, creating layers of old-fashioned goodness studded with smoky bacon and fresh chives. Perfect for breakfast or brunch with eggs or jam, or for supper alongside a warm bowl of soup or chili!
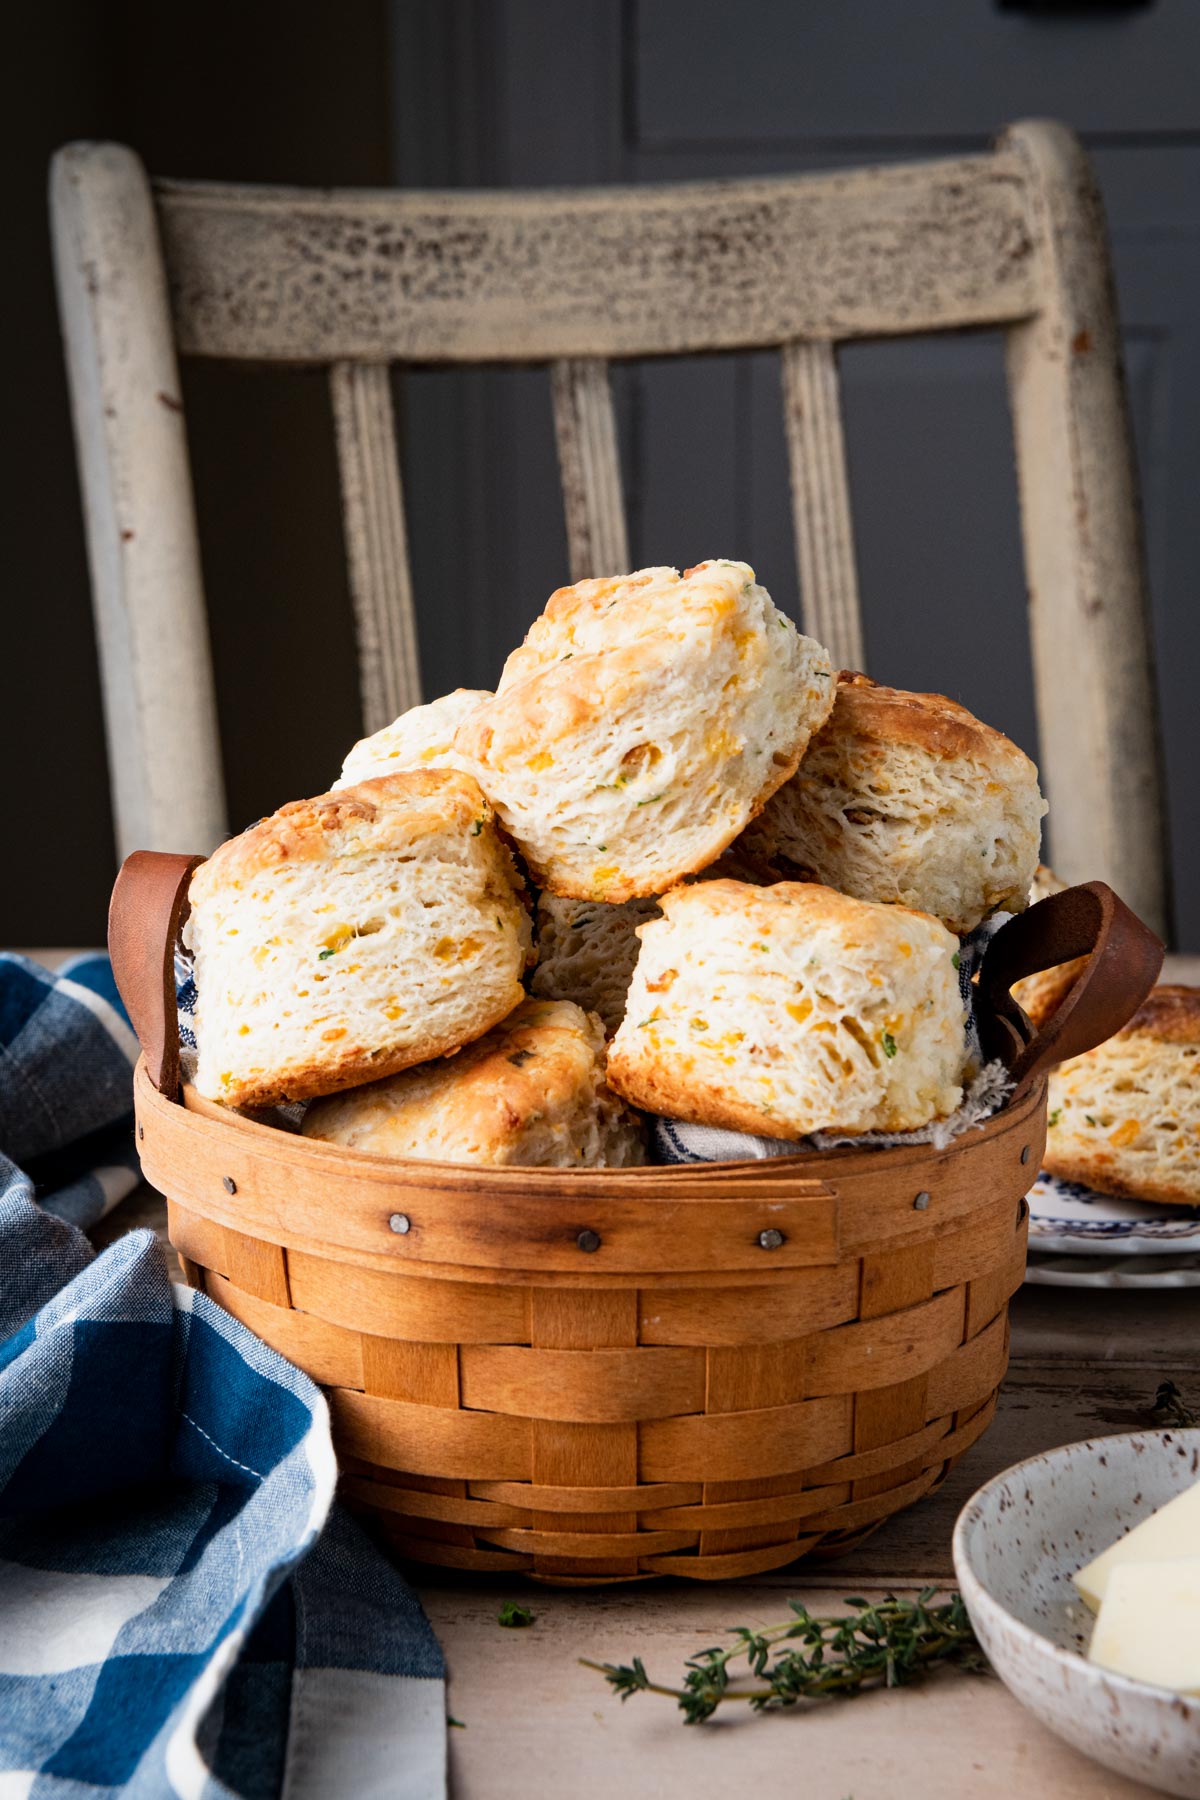
Table of Contents
Biscuits are a way of life in the South, and every home cook has her favorite version. These particular cheddar biscuits are especially quick and easy, thanks to just 3 simple ingredients: self-rising flour, buttermilk, and butter. Add some flavorful sharp cheddar cheese, crispy bacon, and fresh herbs, and you’ve got a flavorful twist on classic buttermilk biscuits.
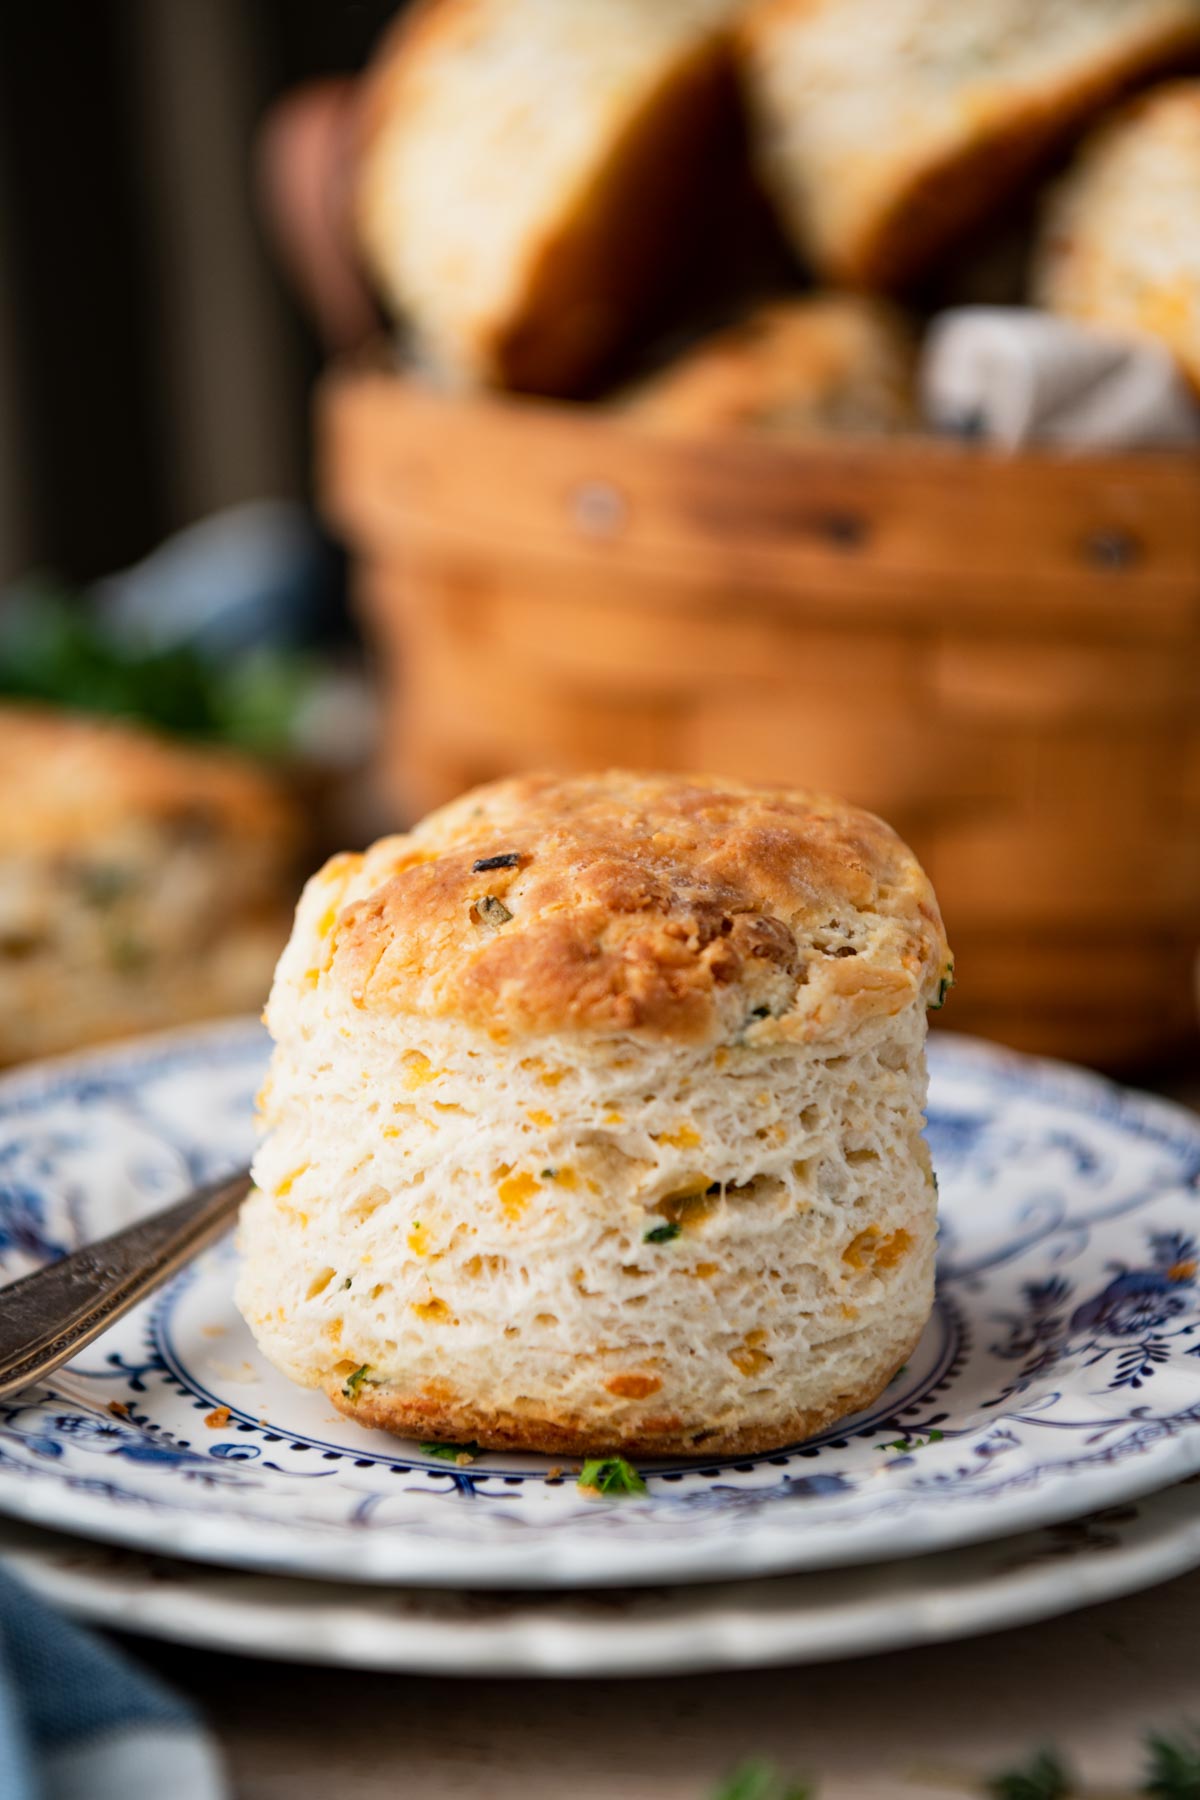
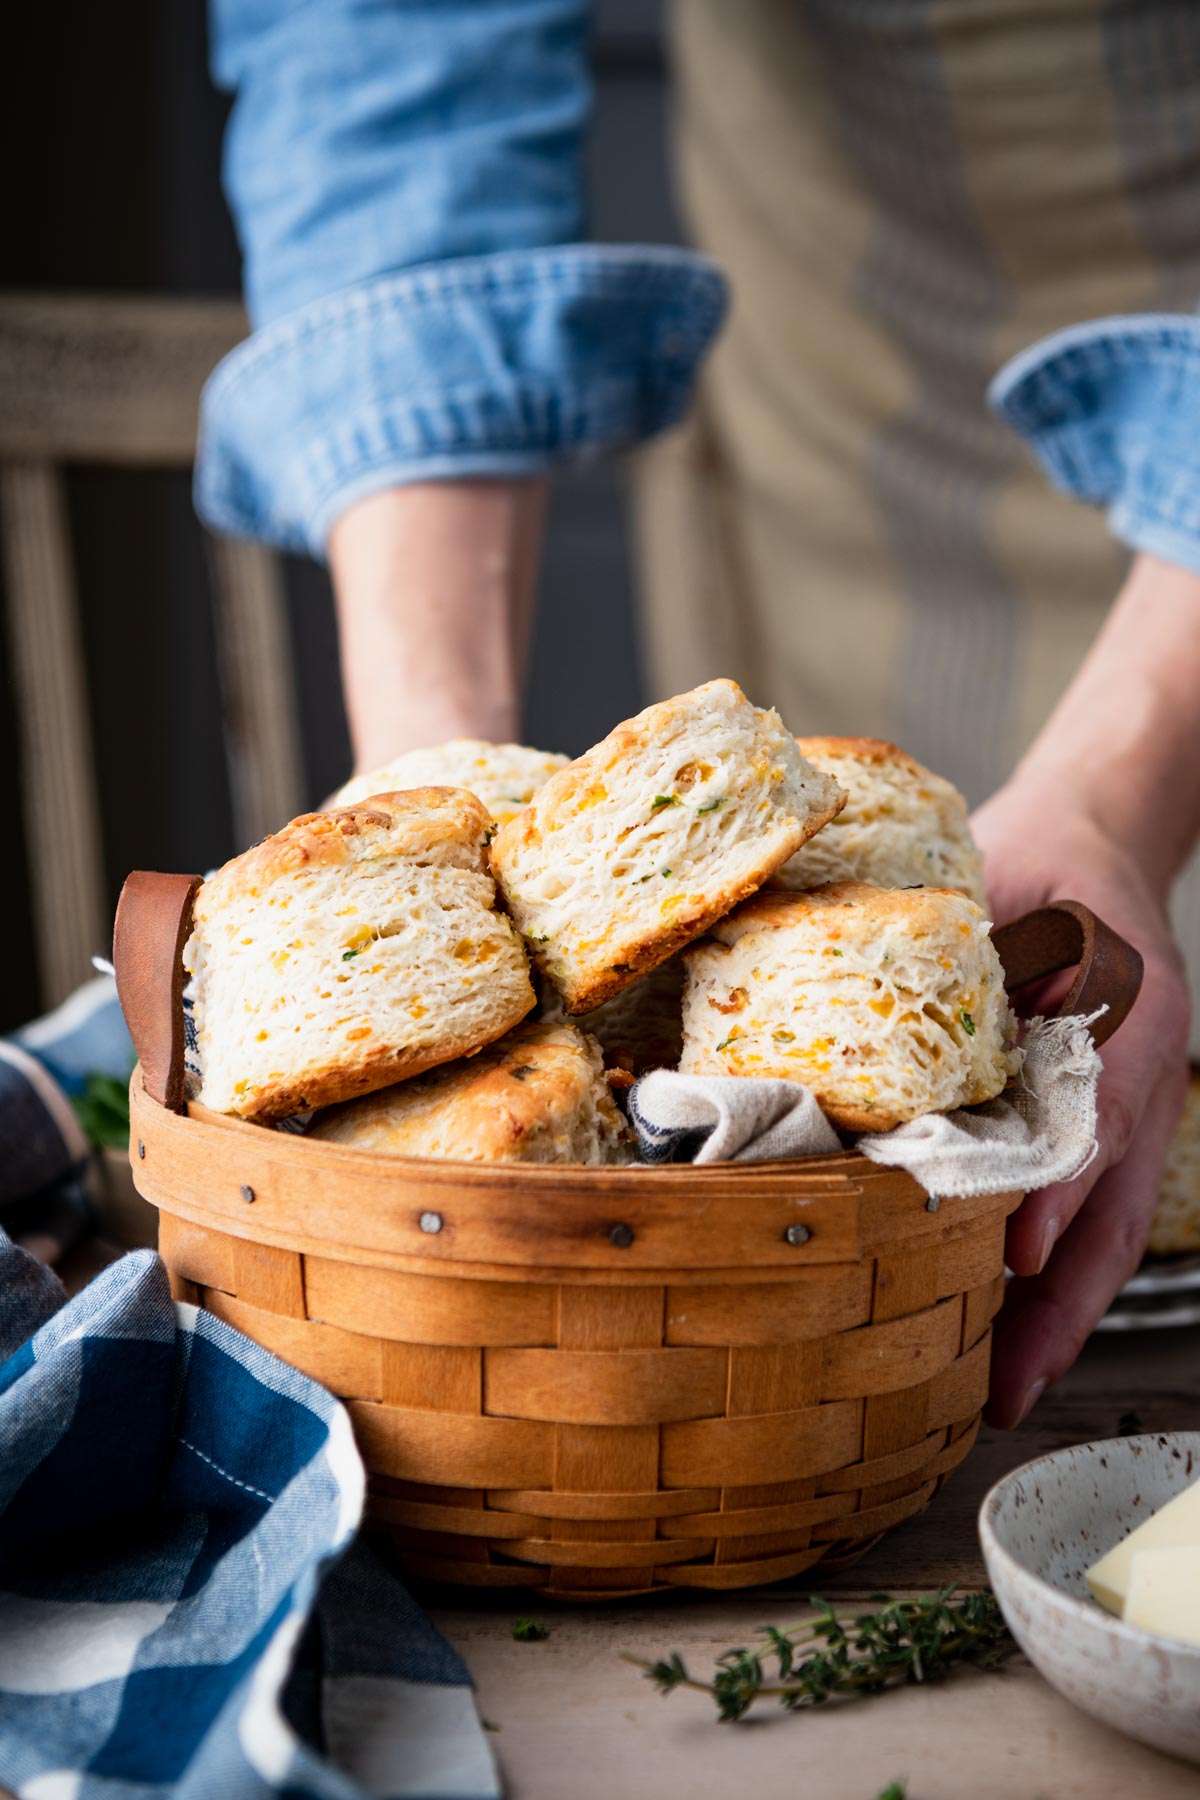
This recipe achieves the perfect combination: biscuits with a crispy and golden brown outside, and a light, tender inside. They’re puffy and tall, not dense or flat, and exhibit that hard-to-achieve cross between a tender crumb and flaky layers. With the savory flavor of bacon and cheese, the biscuits are delicious at any time of day. Pair them with butter, jam, or apple butter for breakfast, or offer them for dinner alongside fried chicken, barbecue, gumbo, or a pot of white chicken chili.
How To Make Biscuits Rise High
If your ideal biscuits include tall, buttery, flaky layers, then you’ve come to the right place. After years and years of practice, I’ve learned a handful of simple ways to achieve those elusive mile-high treats:
- Very cold ingredients are essential. Biscuits get their light, fluffy texture when cold butter expands in a very hot oven, creating pockets of steam. That’s why this recipe calls for freezing the cut biscuits for about 10-15 minutes before baking.
- The oven must be very hot — in this case, 475°F. When the cold biscuit dough interacts with the high heat of the oven, the water in the butter and buttermilk heats rapidly and releases steam, pushing the dough upward. If an oven is set at a lower temperature (such as 350°F or 400°F), the fat inside the dough heats too slowly and melts before the biscuits can fully rise.
- Folding the dough on itself multiple times builds visible layers.
- Do not twist a round biscuit cutter — just punch straight down and pull it straight back out. Twisting the biscuit cutter seals off the edges of the biscuits and they therefore will not rise as high.
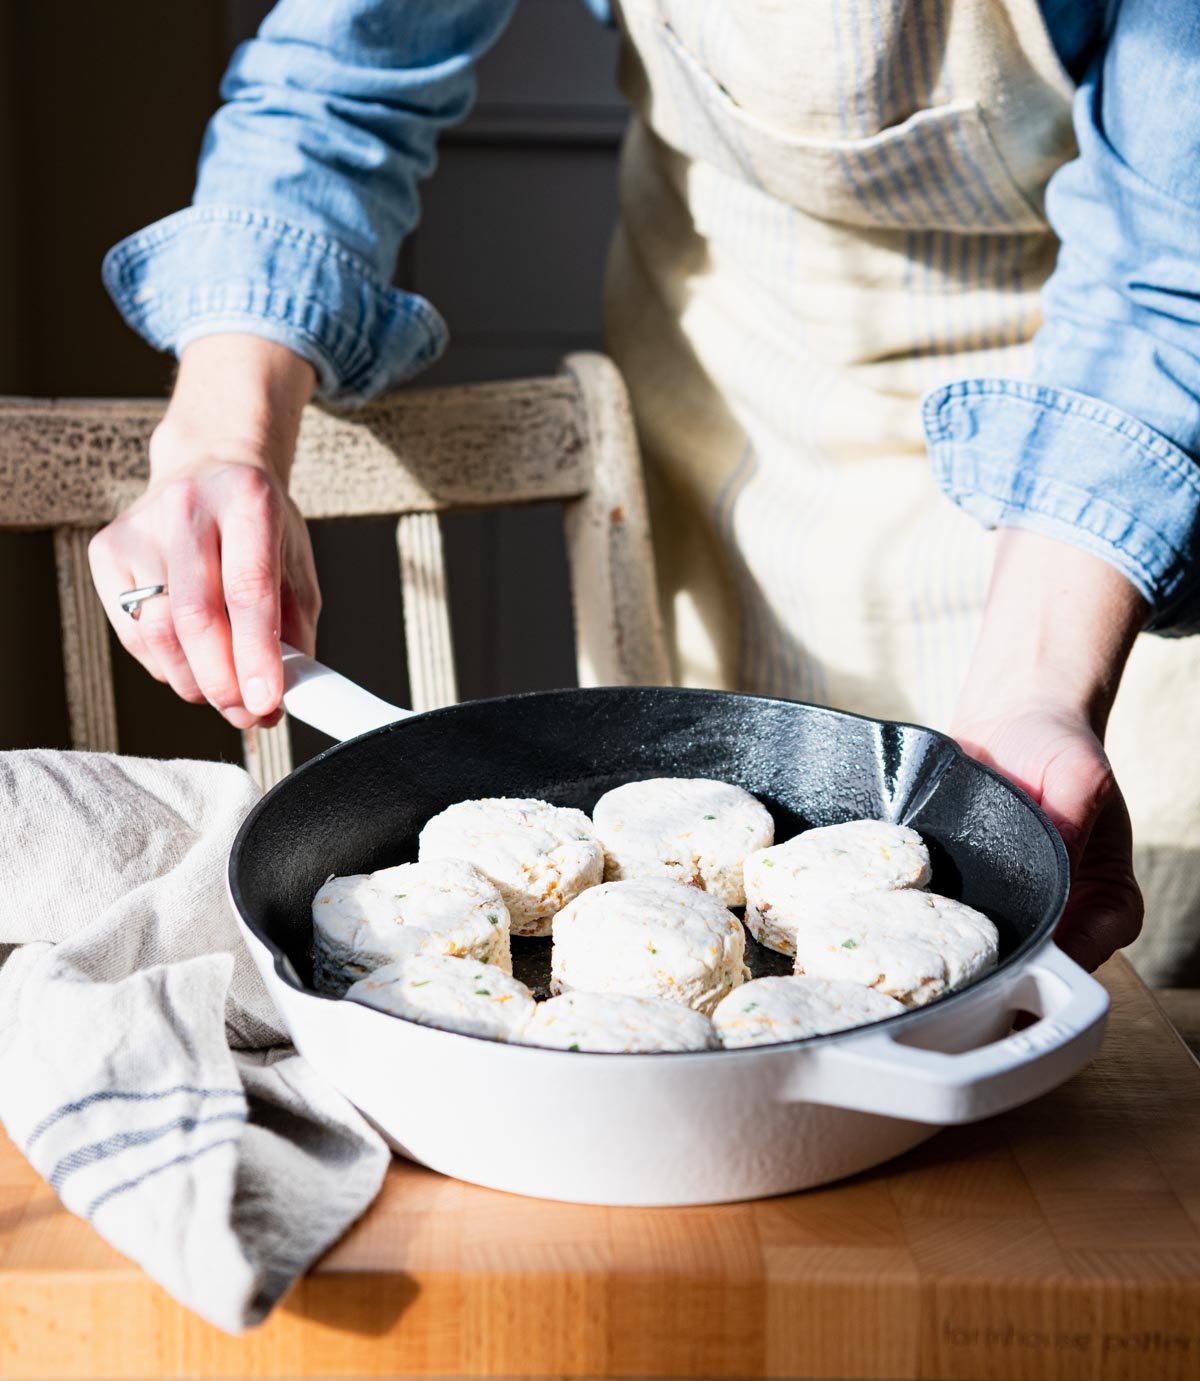
- Arrange the Biscuits with Sides Touching. Place the biscuits in a cast iron skillet or on a parchment paper lined cookie sheet so that they’re all touching their neighbors. This will help them “climb” in the oven so that you get that great, tall lift!
Ingredients
This is just a quick overview of the ingredients that you’ll need for a batch of these easy cheddar biscuits. As always, specific measurements and complete step-by-step instructions are included in the printable recipe box at the bottom of the post.
- Sharp cheddar cheese, chives, and cooked bacon: flavorful mix-ins that turn a classic buttermilk biscuit into a savory treat!
- Self-rising flour: a common pantry staple in most Southern households, self-rising flour is simply flour with the leavening and salt already added. I prefer an extra-fine soft winter wheat flour made by White Lily. This low-protein, low-gluten flour gives Southern biscuits that perfectly crisp-on-the-outside, light-on-the-inside texture.
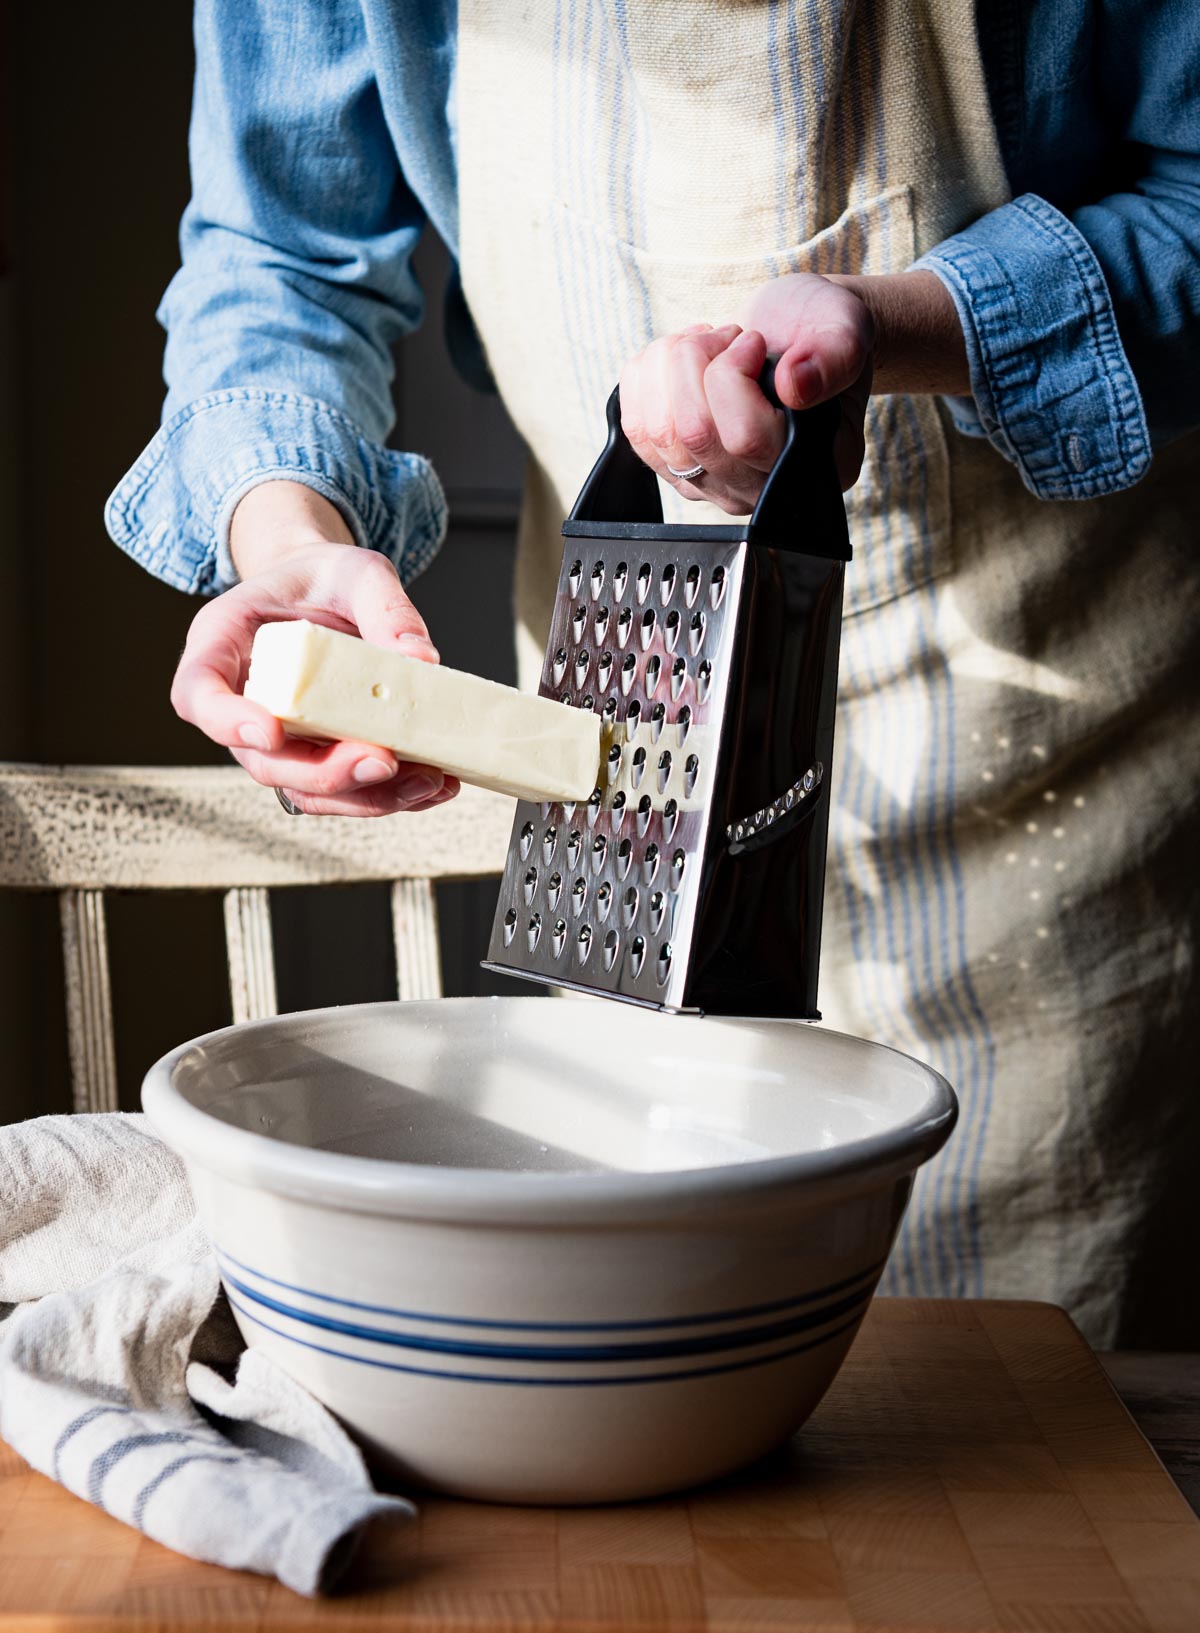
- Butter: I like salted butter, but you can use unsalted butter if you have it on hand. Make sure that your butter is very cold.
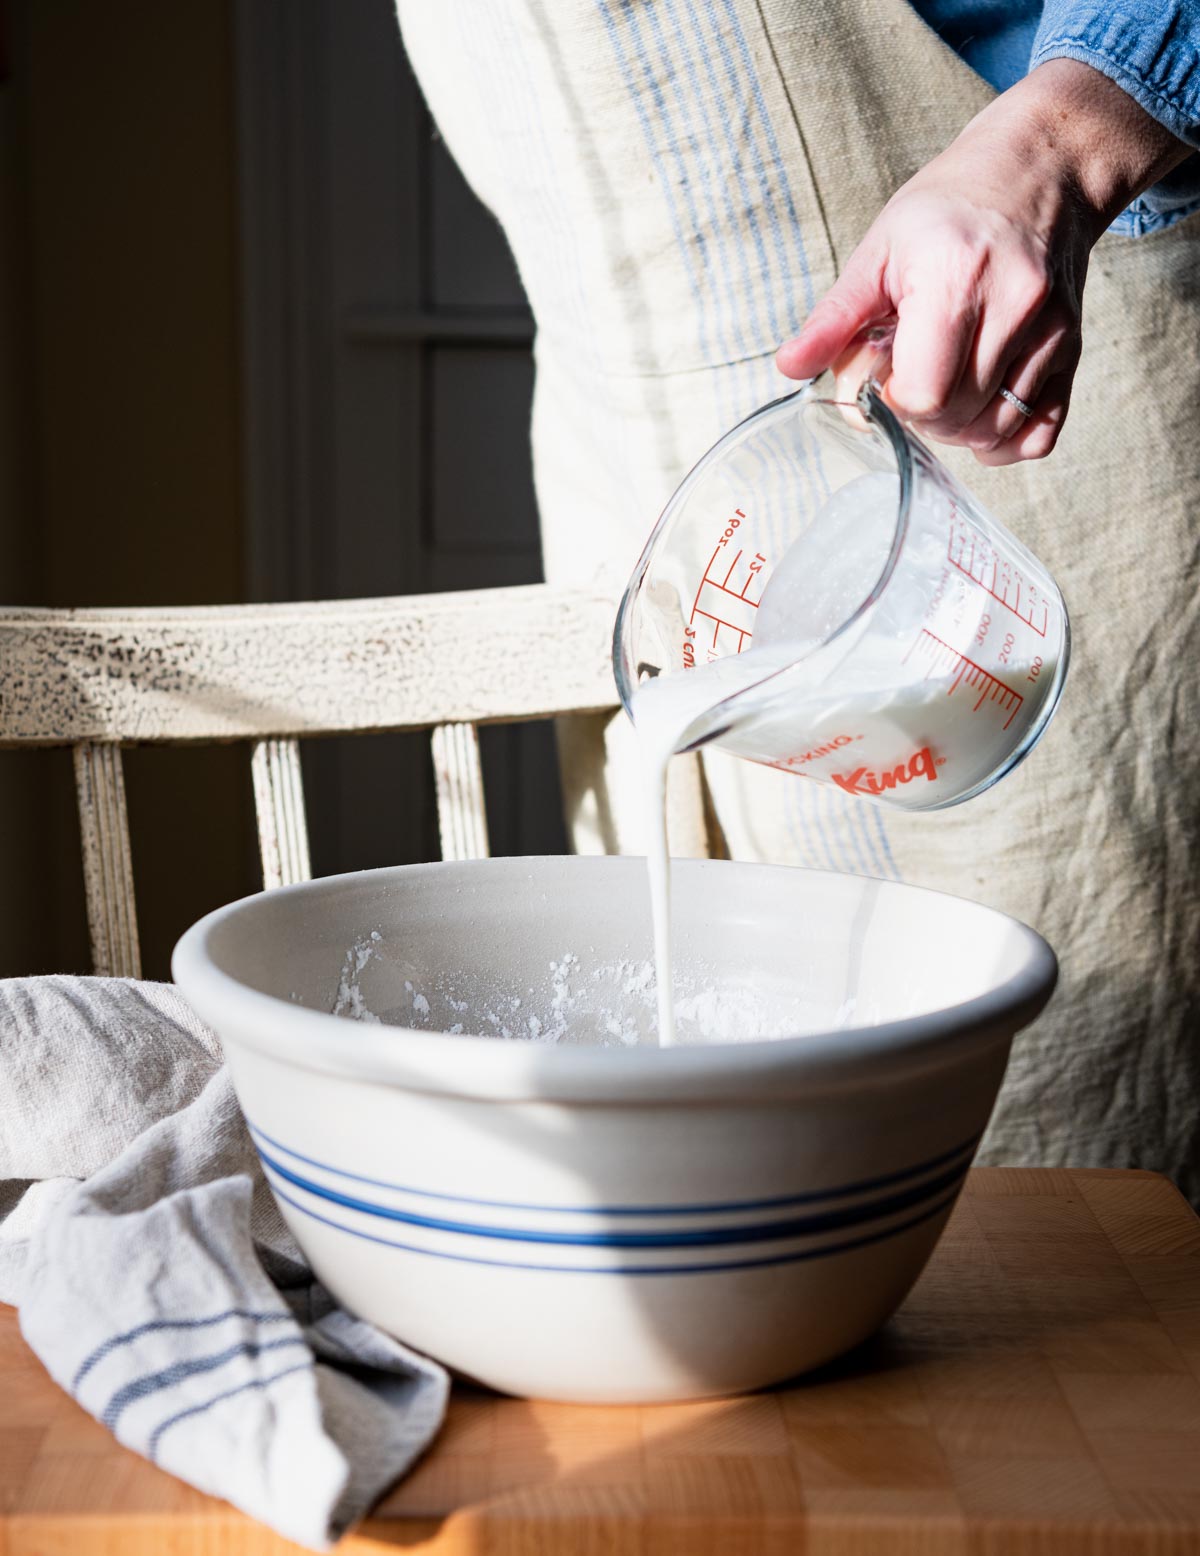
- Buttermilk: for its acidity, as well as its fat and liquid content. In conjunction with the leavening agents, the acidity helps the biscuits rise. The buttermilk also gives the biscuits a nice, subtle tanginess and a tender crumb. Keep the buttermilk nice and cold before adding it to the dough!
What does buttermilk do for biscuits?
Buttermilk is a classic Southern pantry staple that we always keep on hand! From fluffy pancakes to salad dressing, hoe cakes to fried chicken, it’s an important ingredient in so many of our favorite recipes — including these cheddar biscuits. The buttermilk serves a few purposes:
- Flavor: the buttermilk gives the biscuits a nice, subtle tanginess.
- Acidity: the acid in buttermilk helps the biscuits rise, because the acid from the buttermilk reacts with the alkaline baking soda in the self-rising flour, causing it to give off carbon dioxide. Baking powder will also react with buttermilk’s acidity to a small degree.
- Texture: the fat and acid in the buttermilk also yield a fluffy, light, and tender crumb.
The amount of buttermilk that you need will vary, depending on the day. Start with 1 cup, and then add more if the dough feels too dry and crumbly. If it’s humid or rainy, there’s already moisture in the air and in the flour, so you will likely need less liquid in your dough. On a cold, dry winter day, you may need a bit more buttermilk to bring the dough together.
Buttermilk Substitutes
Don’t have buttermilk? No problem! In a pinch, you can make your own buttermilk at home to use in this recipe. To do so, pour either 1 tablespoon of freshly squeezed lemon juice or 1 tablespoon of white vinegar into a large measuring cup. Add enough milk to equal 1 cup of liquid. Give it a stir, let it sit for about 5 minutes, and then use it in the recipe as directed!
How to Make Self-Rising Flour
If you don’t have a bag of self-rising flour in your pantry, that’s no problem. You can make 1 cup of self-rising flour by placing 1 cup of all-purpose flour in a bowl. Whisk in 1 teaspoon of baking powder and ¼ teaspoon of salt.
This recipe calls for 2 ½ cups of self-rising flour, so you would need to combine 2 ½ cups of all-purpose flour with 2 ½ teaspoons of baking powder and ½ teaspoon plus 1/8 teaspoon of salt.
How to Make Cheddar Biscuits
Buttermilk biscuits made a regular appearance on our weekend breakfast table when I was growing up. Both my mom and my dad perfected their recipe over the years, using a juice glass to pop out the round little gems on a floured countertop before church on Sundays.
Today, I serve biscuits to my own family at least once a week — most often in the bread basket at dinner. No matter which entrée I’m offering, I know that the boys won’t go to bed hungry if this cheddar biscuit recipe is on the menu! As always, step-by-step instructions are included in the printable recipe box at the bottom of the post. Here’s the quick rundown:
- Coat the cheese, chives, and bacon with a little bit of flour (this will help them mix more easily throughout the dough without clumping up).
- Grate the butter into the flour in a large bowl, working it in with your fingers. Chill for 10 minutes.
- Add the buttermilk to the dry ingredients, then fold in the cheese mixture.
- Turn the dough onto a floured countertop, fold it 6-8 times, and then cut out the biscuits. I just use my hands for this part — no need to even pull out a rolling pin!
- Arrange the biscuits in a cast iron skillet, and pop it back in the freezer or fridge to chill again.
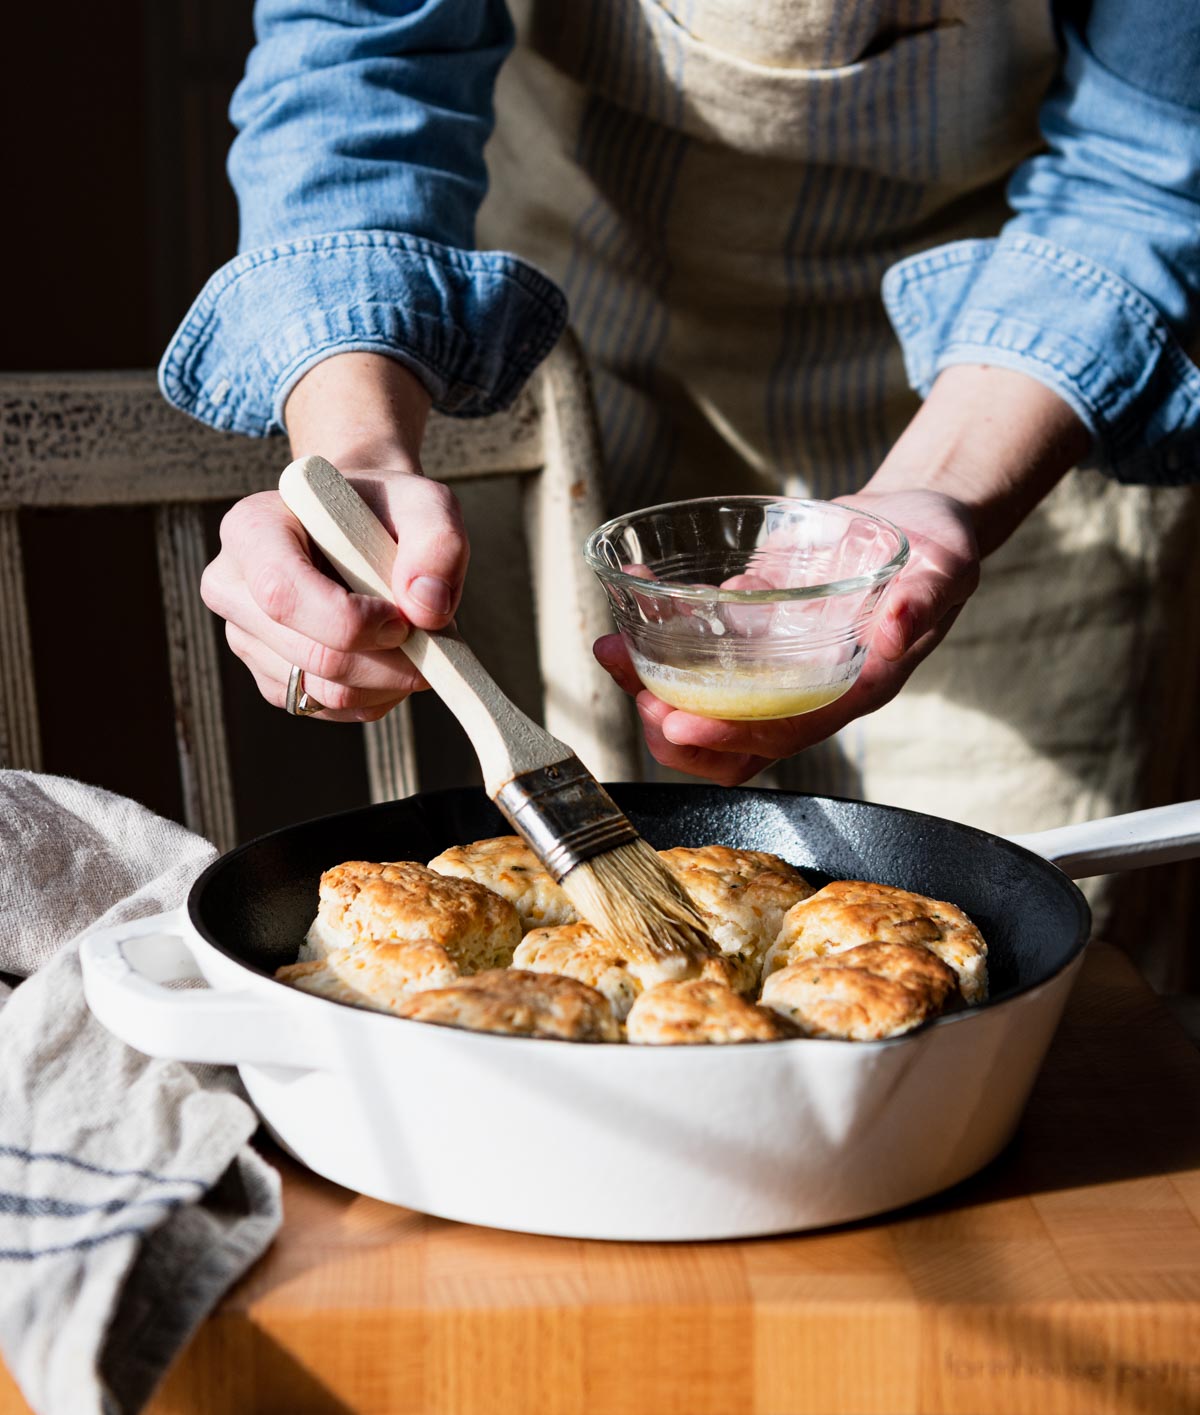
- Bake the biscuits, and then brush with melted butter!
Serving Suggestions
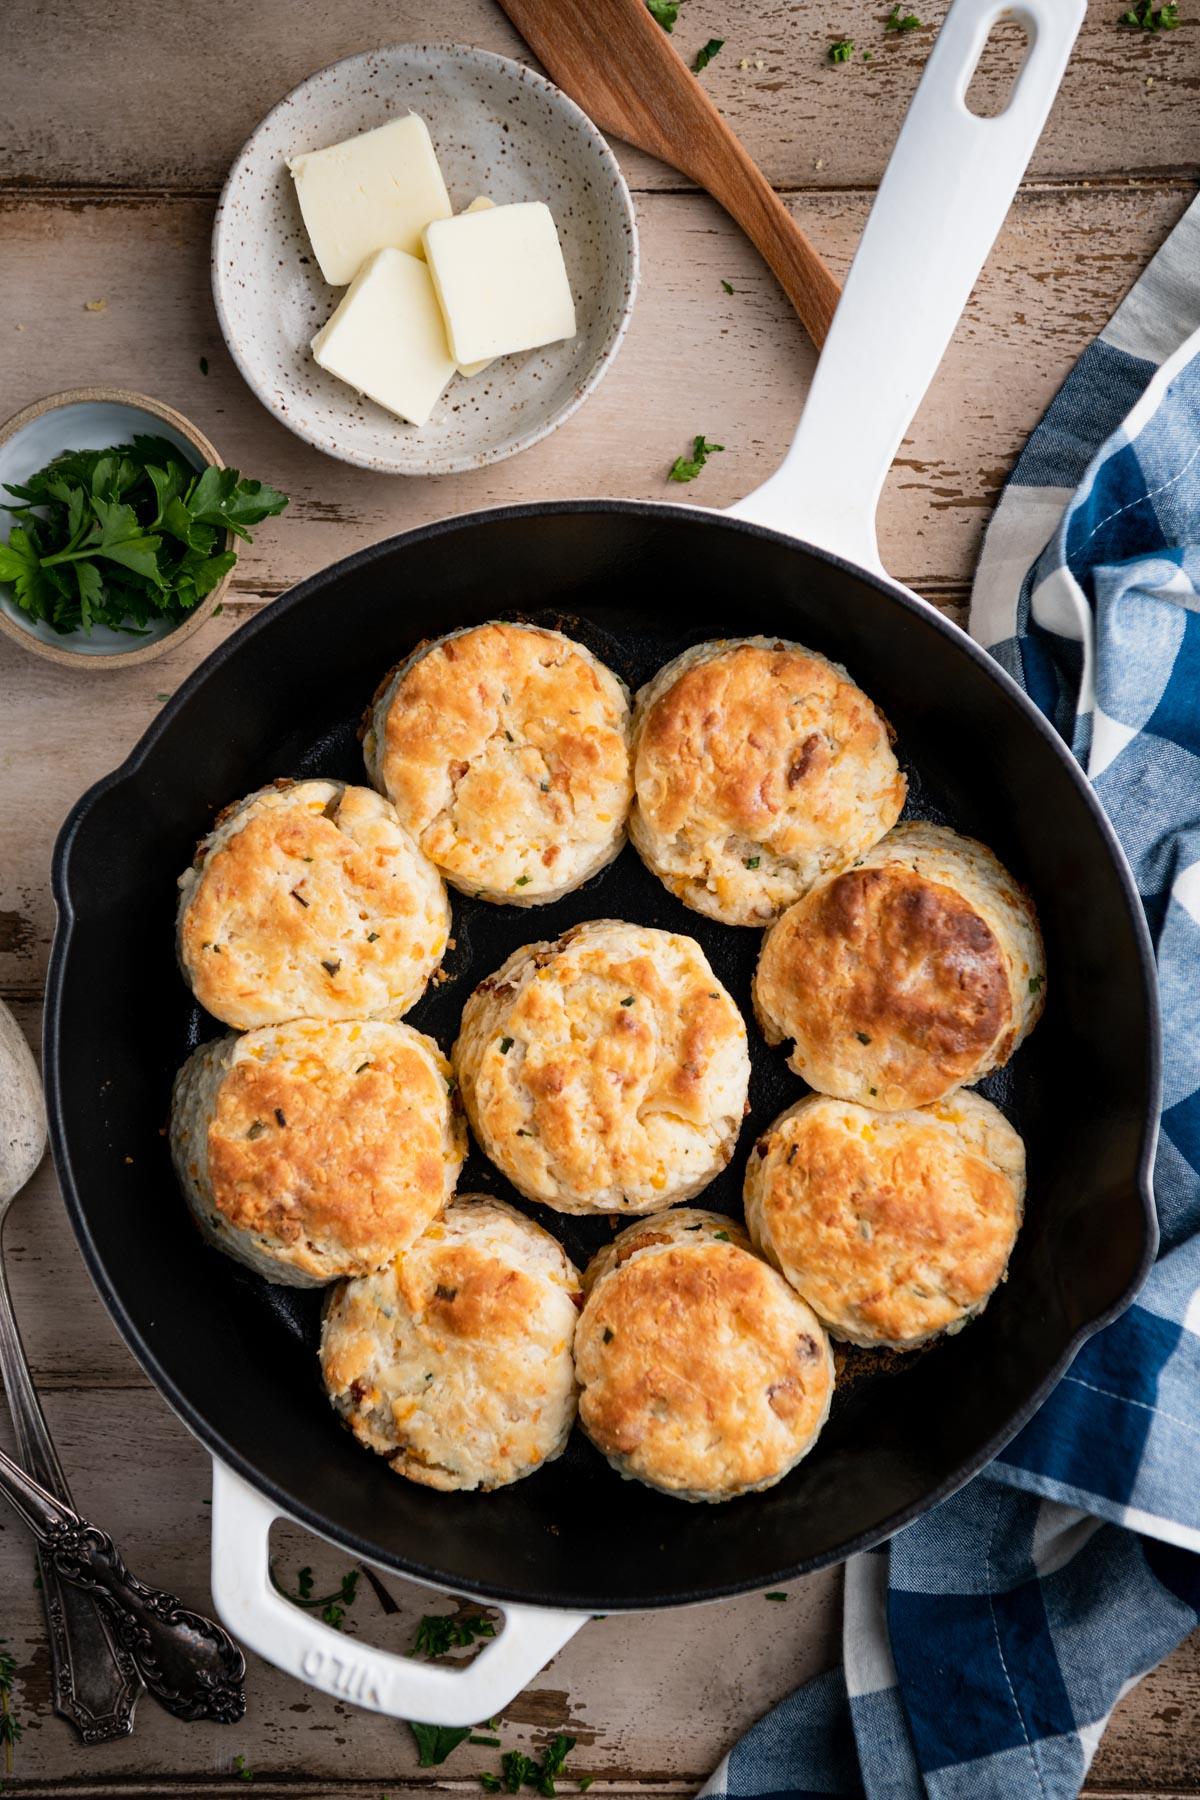
These cheddar chive biscuits are suitable for just about any meal, at any time of day. Serve them on their own for breakfast with butter, jam, or apple butter. Add eggs on the side, use them to make an egg sandwich with extra bacon and cheese, or stir up a skillet of sausage gravy. In Virginia, country ham biscuits are a classic snack!
Here are some dinner entrees that also go well with cheddar biscuits:
- Crispy Fried Chicken, Cornflake Chicken or Pecan-Crusted Chicken
- Grilled Pork Tenderloin, Oven-Baked Pork Tenderloin, Cider Braised Pulled Pork, or BBQ Pork
- Oven BBQ Chicken Breast or Grilled BBQ Chicken Breast
- Egg Salad or Chicken Salad
- Shrimp and Grits
- Crock Pot Ribs or Baked Baby Back Ribs
- Crab Cakes or Crab Imperial
- Shrimp Creole
- Dutch Oven Beef BBQ, Cast Iron Skillet Filet Mignon, Grilled New York Strip Steak, Steak Salad or Bourbon-Glazed Beef Tenderloin
- Classic Beef Chili, Slow Cooker White Chili, “Good Luck” Southern Chili, Easy White Bean Chicken Chili or Texas Chili
- Beef Stew, Chicken Stew, Frogmore Stew, or Brunswick Stew
- Southern Fried Catfish
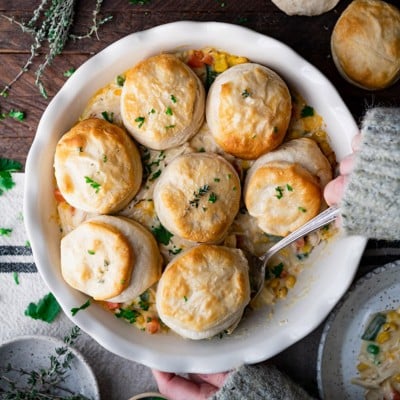
- Grandmother’s Hamburger Soup, Corn Chowder, Tomato Soup, or Split Pea Soup
- Ranch Style Beans, Southern Lima Beans, Slow Cooker Cowboy Pork and Beans or Black Eyed Peas with Bacon
- Rosemary Oven Roasted Chicken or Dutch Oven Chicken
Storage
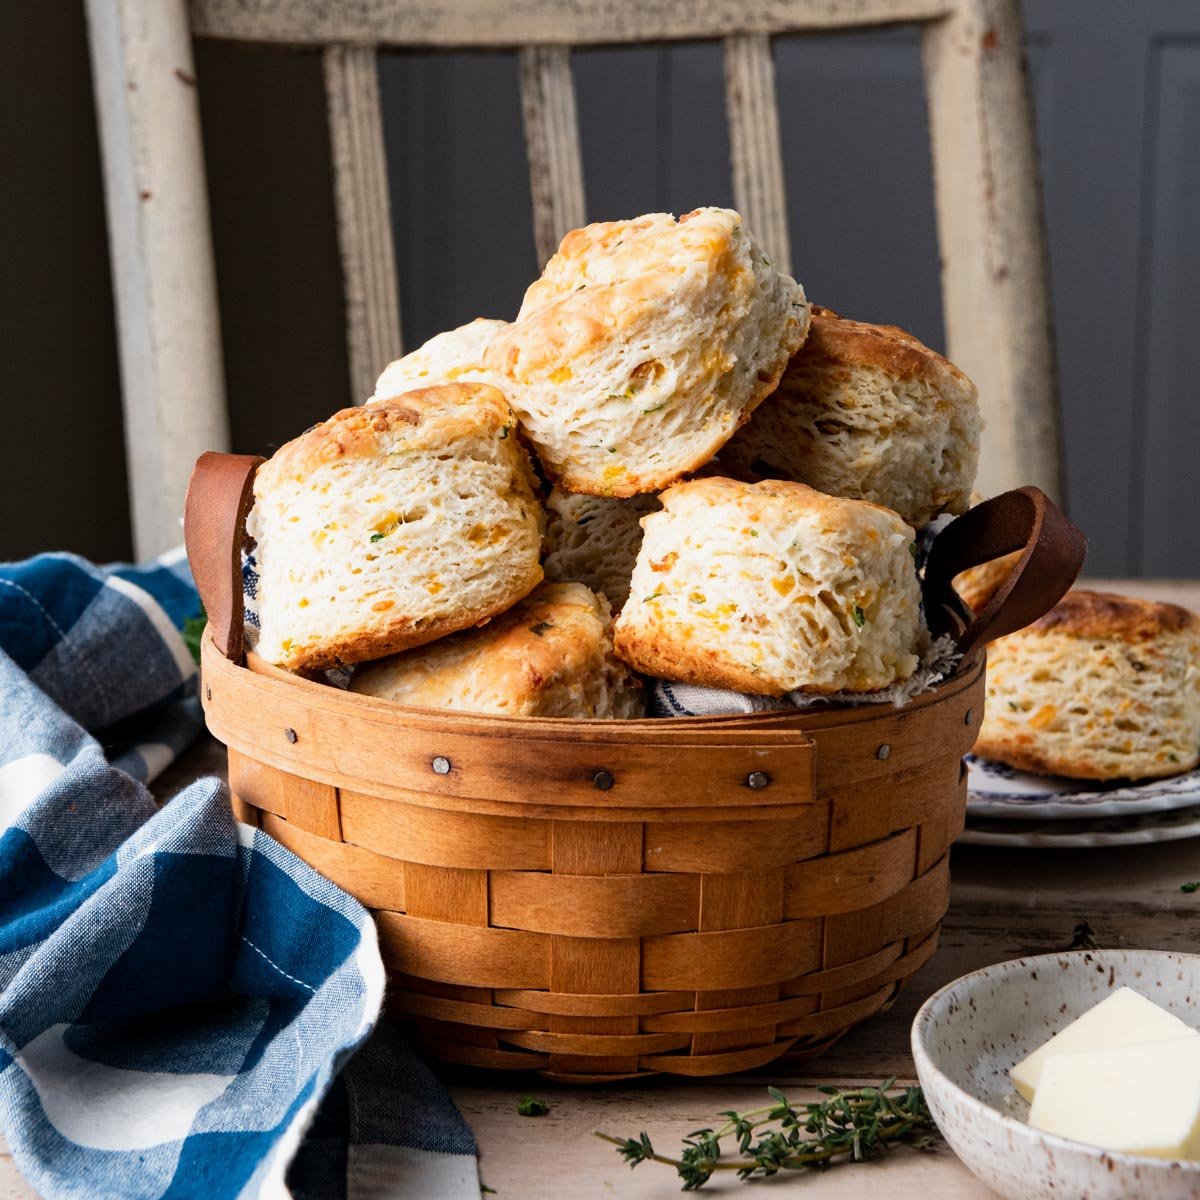
- While they’re best served warm, straight from the oven, you can bake the biscuits up to 3 days in advance. Store them in an airtight container at room temperature.
- Reheat day-old biscuits by placing them on a baking sheet in a 300°F oven for about 10 minutes.
- To freeze the biscuits, allow them to cool to room temperature, then wrap tightly in an airtight container or Ziploc freezer bag and store in the freezer for up to 3 months. Thaw on the counter overnight or in the microwave for a few seconds.
Recipe Variations
- To make these taste similar to Red Lobster’s Cheddar Bay Biscuits, add about ½ teaspoon of garlic powder to the dough. You might also like to sprinkle dried parsley flakes on the biscuits after brushing them with melted butter at the very end. Here’s my recipe for Cheddar Bay Biscuits.
- If you don’t have buttermilk or self-rising flour on hand, see my notes above to make your own buttermilk and your own self-rising flour at home.
- Grating the butter into the flour is easier, in my opinion, than using a pastry cutter, pastry blender, or food processor to cut or pulse the cold butter into the flour. Any method will work, though, so pick whichever works best for you. Ultimately, you should see small pea-size pieces of butter throughout the flour that resemble coarse crumbs.
- Stir in diced pimentos for “pimento cheese” biscuits.
- Add more herbs, such as thyme or rosemary.
- Use a bench scraper or knife to cut the dough into squares instead of rounds.
Tips for the Best Cheddar Biscuit Recipe
- Keep the butter very cold. It doesn’t need to be frozen before grating, since I find that frozen butter is much harder to work with. Just a really firm, chilled stick works perfectly.
- Properly measure the flour. Always spoon and level the flour — do not scoop it out of the package. Incorrectly measuring the flour packs it too tightly into the measuring cup and results in dense, dry biscuits.
- Keep the dough cold. I’ll say it again — the key to tall, fluffy, and flaky biscuits is cold ingredients. Don’t forget to chill the dough in the freezer for 10-15 minutes before baking.
- Arrange the Biscuits with Sides Touching. Place the biscuits on the baking sheet so that they’re all touching their neighbors. This will help them “climb” in the oven so that you get that great, high rise.
- Don’t twist the round cutter. Firmly press the cutter down into the dough, and then pull it straight back out. Twisting the biscuit cutter seals off the edges of the biscuits and they therefore will not rise as high.
- Brush with melted butter. A quick swipe of melted butter adds a ton of rich flavor and buttery taste to the warm biscuits.
More Biscuit Recipes to Try
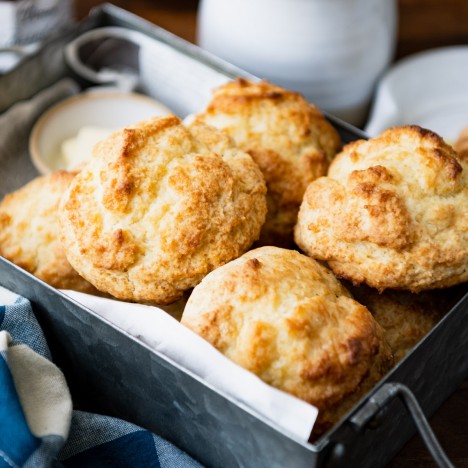
Drop Biscuits
27 minutes mins
3-Ingredient Buttermilk Biscuits
50 minutes mins
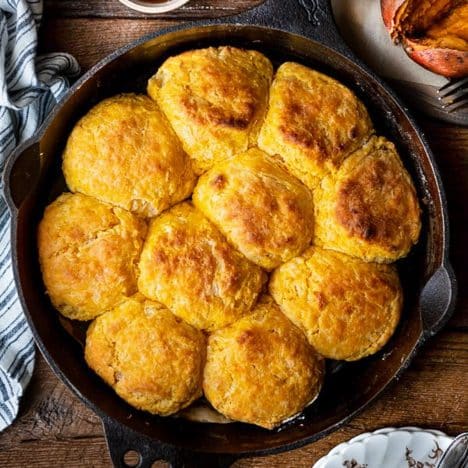
Grandma’s Sweet Potato Biscuits
33 minutes mins
Cheddar Biscuits with Chives and Bacon
Equipment
- 10-inch cast iron skillet
Ingredients
- ½ cup grated sharp cheddar cheese
- 2 tablespoons minced fresh chives
- ¼ cup diced cooked bacon
- 2 ½ cups self-rising flour, plus 1 tablespoon, divided (I prefer White Lily brand)
- ½ cup (1 stick) very cold salted butter
- 1 cup very cold whole buttermilk, well shaken, plus more as needed
- 1-2 tablespoons melted salted butter
Instructions
- Preheat oven to 475°F.
- In a small bowl, toss together cheese, chives, and bacon with 1 tablespoon of flour. Cover and transfer to the refrigerator.
- Place remaining 2 ½ cups flour in a large mixing bowl. Using the larger holes on a box grater, grate the stick of butter into the flour. Use your fingers to coat all of the butter with flour, and then work the butter into the flour with your finger tips for about 2 minutes. Chill in the freezer for 10 minutes.
- Make a well in the center of the flour mixture. Add the buttermilk, and stir with a wooden spoon (or with your hands) just until a shaggy dough comes together. Gently fold in the cheese, chive, and bacon mixture. Add a very small amount of extra buttermilk, if necessary, to bring the dough together (it should still be a bit crumbly — not too wet). The dough will continue to come together on the countertop.
- Turn the dough onto a well-floured work surface. Fold the dough over onto itself 6-8 times, just until it comes together. Pat the dough into a rectangle that’s about ¾ inch thick.
- Use a 2 ¼-inch round biscuit cutter to punch out the biscuits (do not twist the cutter). Arrange the biscuits with sides touching in a 10-inch cast iron skillet, in a round cake pan, or on a parchment-lined baking sheet. Re-roll the scraps and cut out additional biscuits until all the dough is used.
- If time allows, place the biscuits back in the freezer for 10-15 minutes to chill again before baking.
- Bake for 13-18 minutes, or until golden brown. Brush the hot biscuits with the melted butter. Serve warm.
Notes
- Keep the butter very cold. It doesn’t need to be frozen before grating, since I find that frozen butter is much harder to work with. Just a really firm, chilled stick works perfectly.
- Properly measure the flour. Always spoon and level the flour — do not scoop it out of the package. Incorrectly measuring the flour packs it too tightly into the measuring cup and results in dense, dry biscuits.
- Keep the dough cold. I’ll say it again — the key to tall, fluffy, and flaky biscuits is cold ingredients. Don’t forget to chill the dough in the freezer for 10-15 minutes before baking.
- Arrange the Biscuits with Sides Touching. Place the biscuits on the baking sheet so that they’re all touching their neighbors. This will help them “climb” in the oven so that you get that great, high rise.
- Don’t twist the round cutter. Firmly press the cutter down into the dough, and then pull it straight back out. Twisting the biscuit cutter seals off the edges of the biscuits and they therefore will not rise as high.
- Brush with melted butter. A quick swipe of melted butter adds a ton of rich flavor and buttery taste to the warm biscuits.
- To make these taste similar to Red Lobster’s Cheddar Bay Biscuits, add about ½ teaspoon of garlic powder to the dough. You might also like to sprinkle dried parsley flakes on the biscuits after brushing them with melted butter at the very end. Here’s my recipe for Cheddar Bay Biscuits.
- If you don’t have buttermilk or self-rising flour on hand, see my notes above to make your own buttermilk and your own self-rising flour at home.
- Grating the butter into the flour is easier, in my opinion, than using a pastry cutter, pastry blender, or food processor to cut or pulse the cold butter into the flour. Any method will work, though, so pick whichever works best for you. Ultimately, you should see small pea-size pieces of butter throughout the flour that resemble coarse crumbs.
- Stir in diced pimentos for “pimento cheese” biscuits.
- Add more herbs, such as thyme or rosemary.
- Use a bench scraper or knife to cut the dough into squares instead of rounds.
Nutrition
This recipe was originally published in September, 2014. It was updated in January, 2023.










Yum these biscuits look and sound awesome. It’s almost like a savory scone…I bet they make great breakfast sandwiches.
Joybee…they do make great breakfast sandwiches! We enjoyed them with some eggs, cheese, and extra bacon in between!
Hi, Bill! I honestly don’t know how refrigerating the dough would affect the biscuits. It might be fine, but I’ve never tried. Instead, what I’ve done in the past is bake them completely, cool them, and then wrap them tightly to save in the freezer until I’m ready to use them. I can vouch for the fact that they freeze nicely. 🙂
How would I reheat for a bridal brunch if I bake and freeze?
Hi, Jackie! I would keep them covered in foil while you reheat them in a 350-degree oven just until they’re warm. 🙂
Hi, Suzzy:
It’s in Step #3 (“In a separate bowl whisk together flour, baking powder, and salt. Use a pastry cutter or two forks to cut in butter.”)
Those muffins would be perfect with fall soups! Pinning and sharing!
Thanks for sharing, Michelle!
Blair, I love the photos and the recipe. I’ve never made biscuits like this, but I need to. I’m pinning it now. Those donuts look incredible, too. Thanks for the links.
Hi, Heather! Thanks for visiting…these biscuits are such a family favorite. Thanks for the pin, and I hope that you get to try them!
So simple and perfect with a bowl of soup! Thanks so much for linking up to Freedom Fridays! 🙂
Hi, Jamie! Thanks so much for stopping by!
Oh my gosh these biscuits look so good Blair! I can’t wait to give them a try, I think my family will love them!
Thanks so much, Shannon! And thanks for sharing them on Pinterest, Twitter, etc. You’re the best. 🙂
These sound wonderful! I love homemade biscuits, can’t wait to try these out with some chili. I’ve featured this link on my “Feature Friday” post here: https://www.hillsidemomma.com/?p=397
If you’d rather not be featured, please let me know =)
Thanks, Amber! You’ll love them, and they are SO perfect alongside a bowl of chili!
These look so wonderful! Just pinned along with a few others! 🙂
Thanks so much for the pin, Sheena! They’re definitely tasty. 🙂
Oh my gosh these look delicious! Pinning to try later… (Found you on Merry Monday)
Thanks so much for the pin, Meredith!
Your biscuits looks amazing and just made me veryyy hungry! 🙂 Found you on Merry Monday too!:)
Thanks for stopping by, Giovanna!
Blair, so yummy!! It reminds me of Red Lobster biscuits but with bacon! Delish! Thank you for stopping by Merry Monday. I am pinning to my personal board!
Thanks, Elizabeth! I appreciate the pin, too! 🙂
My husband would love these. He is a huge fan of Red Lobsters Cheddar Bay Biscuits and yours look so much better, for one they have BACON! Thanks for sharing at Foodie Fridays. Hope to see you there again tomorrow!
Blessings,
Shari
These look tasty and beautiful! A friend made cheddar bacon scones last week and they were tasty, but these biscuits look far more light and airy. Visiting from Create it Thursday!
Thanks, Natashalh! So glad that you stopped by. 🙂
Definitely making these this weekend!
Thanks, Christina! Enjoy! 🙂
These look so good! Thank you so much for linking up at Tasty Tuesday! Your recipe has been pinned to the Tasty Tuesday Pinterest board! Please join us again this week!
These sound great, I’d love to dip them into soup. Thanks for linking up to Sweet and Savoury Sunday, stop by and link up again. Have a great day!!
Have you ever tried these with whole wheat flour?
Hi, Melissa! No, I haven’t. 🙂 I bet they would be fine, although maybe a little bit more dense. In general, it seems to work best if you use half whole wheat flour and half AP flour when baking. Another great option is Whole Wheat Pastry Flour, which has a lighter texture and seems to result in fluffier baked goods. I’ve just never tried it with this particular recipe. Let me know if you give it a shot!
Hi Blair,
I made these scones few times and it turned out delicious ! My family love it ! Thank you so much for sharing the recipe. I have shared your recipe on my blog linking back to your blog.
That’s awesome, Ruwani! I’m so glad that you liked the biscuits, and I truly appreciate you sharing them on your own blog. That’s wonderful! Have a great week!
Hi, Raechel! No problem! You definitely do not want to melt the butter. In fact, the colder the butter — the better. You can even start with frozen butter. “Cutting in” butter is a method that is used in making biscuits, pie crusts, and other pastries in order to give them that light and flakey texture. It’s kind of hard to explain, so here’s a video that walks you through it: https://allrecipes.com/video/70/how-to-cut-in-butter/
Hope that helps!
Blair I think your recipes are awesome. I have tried quite few them and loved them all. But I really appreciate is that you add the Nutrition list on your recipes as I am a diabetic I can adjust my portion size when I make on of your recipes. And I must thank you for that as I lost weight which helps my insulin intake lower. So keep those recipes coming. Thank you for taking the time to read my comment. And have a fantastic day tomorrow and every day. Kim
PS I rated this recipe as a five because made it in advance and tomorrow morning I will cook them over.
Hi, Kim! That’s wonderful — I’m so glad that you find the recipes tasty and that you have figured out how to incorporate them into a healthy diet. I love hearing that!
Thanks for your support, and I hope that you have a wonderful day too! 🙂 Enjoy those biscuits!
Hey Blair! Do you think this recipe would work drop biscuit style or in a cast iron biscuit pan?
Hi, Dorothy! I haven’t tried it drop biscuit style, so I’m not sure. The cast iron skillet method should work great, though!
Hi, Marge! The parentheses just got cut out, so I’ve fixed it now. It should be 1/4 cup (1/2 stick) of butter. 1/4 cup and half of a stick are the same thing. Hope that helps to clarify! 🙂
Hi, Kayla! I’ve honestly never baked with gluten-free flour, so I have no idea. If the package says that the GF flour is an equal 1:1 substitute for all-purpose flour, then it should work fine. Let me know if you give it a try! 🙂
woh I love your posts, saved to fav! .