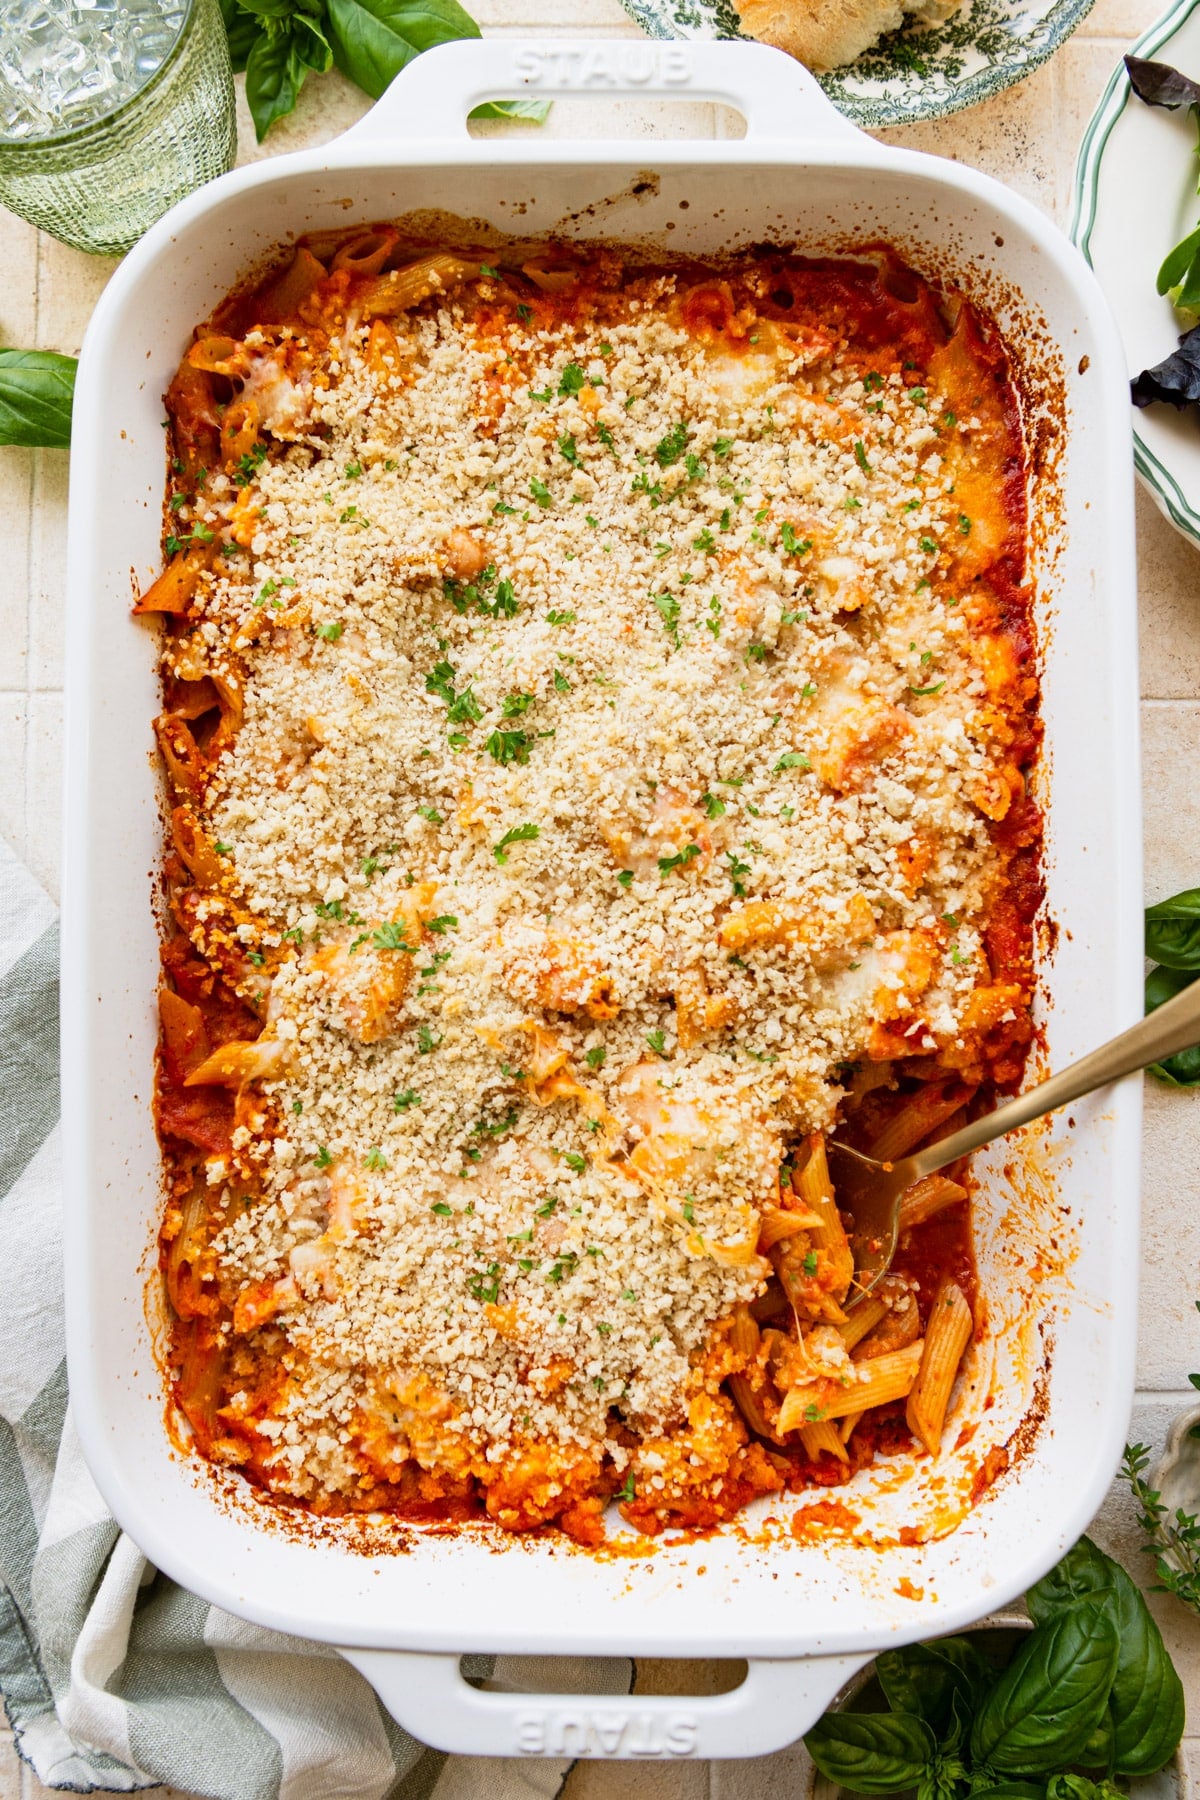
This dump-and-bake chicken parmesan casserole is a one-dish dinner that is healthy, easy, and endlessly family-friendly! You stir the raw ingredients together in a pan and let the oven do the rest, with no boiling and no breading required.
More easy dump-and-bake pasta dinners:
Hi, I just made this for dinner and it’s delicious! So easy to prepare, no pots to wash, my 6 y/o loves it and it’s WW friendly! I followed the recipe exactly except I seasoned everything with my own Italian favorites…
– Karen
Before You Get Started
A few things that make the difference between a flat casserole and one your family asks for again. Here is what matters most before you start:
- Season it generously. The base is mild, so we boost it with Italian seasoning, garlic powder, and onion powder. This is the single best upgrade you can make, and you can certainly feel free to add other herbs and spices if you like.
- Cover it tightly for the first bake. The pasta cooks by absorbing the trapped steam, so a snug layer of foil is what makes the whole method work.
- Match your pasta’s cook time. If you swap the penne, pick another short shape with a similar 11 to 12 minute cook time (farfalle and fusilli) so the timing still holds.
How to Make Chicken Parmesan Casserole
Instead of breading and frying cutlets in a skillet, this version uses my favorite dump-and-bake method to skip the tedious prep. There is no need to boil the pasta ahead of time or start with cooked chicken. Everything mingles, shares seasonings, and cooks together in one big pan!
Step 1: Combine the Raw Ingredients
Preheat the oven to 425°F and coat a 9×13-inch baking dish with nonstick spray.
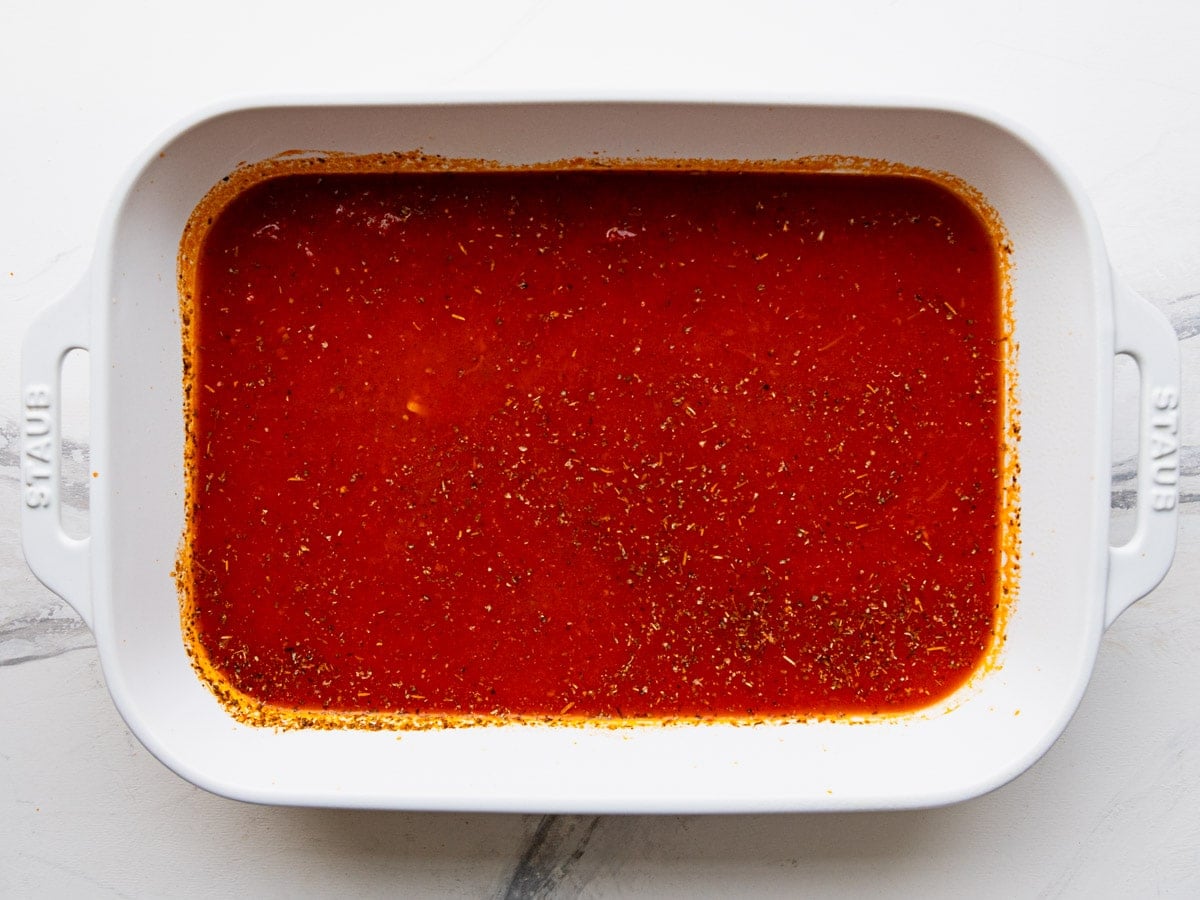
Right in the dish (or in a large bowl), whisk together the marinara, water, and seasonings.
A jarred marinara works great here, and my pomodoro sauce is a nice fresher-tasting option if you have it on hand.
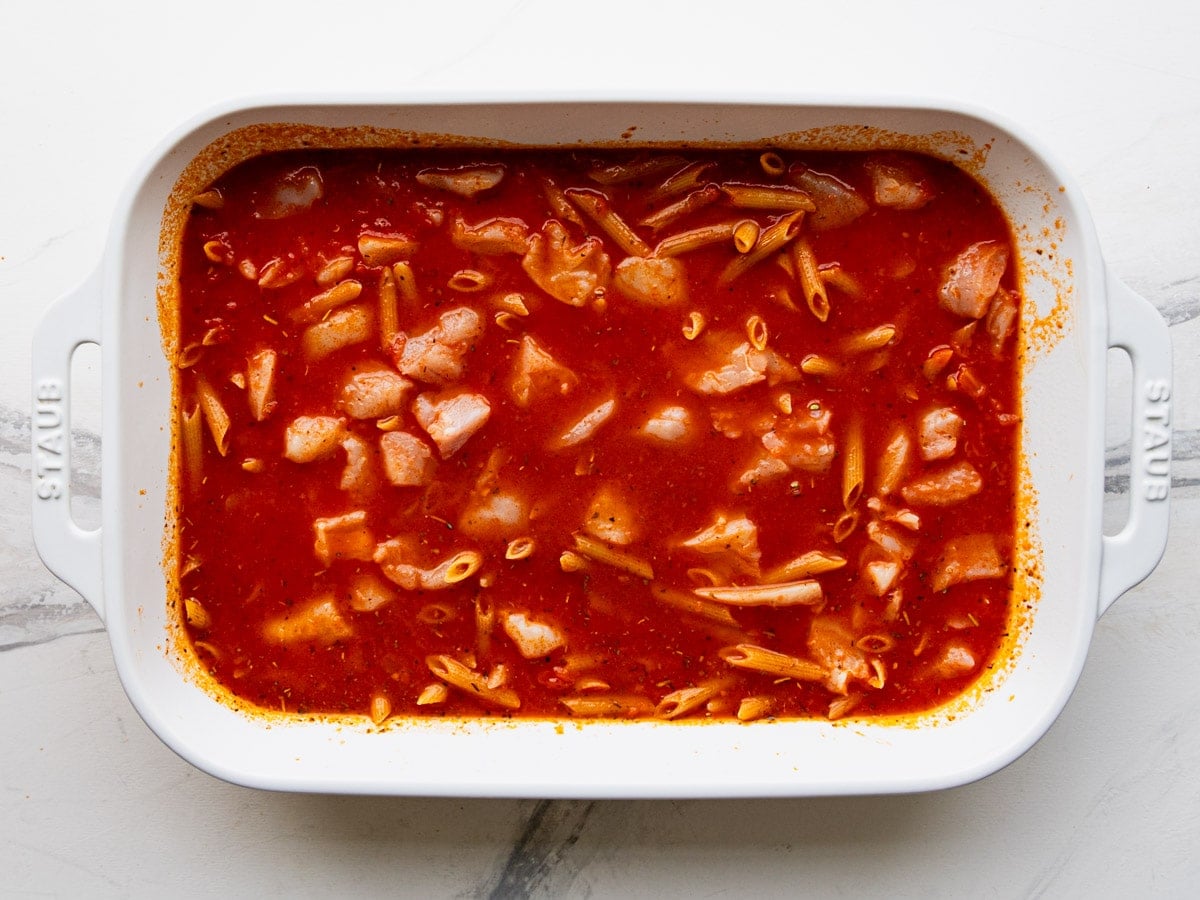
Add the raw chicken and uncooked pasta.
Dicing the chicken into small, bite-size pieces helps it cook quickly and evenly.
⇢ Swap the water for broth. Using low-sodium chicken broth in place of the water is an easy way to add savory depth, and it is a favorite reader tweak.
Step 2: Cover Tightly and Bake
Cover the dish tightly with aluminum foil so none of the moisture escapes, then bake for 30 minutes.
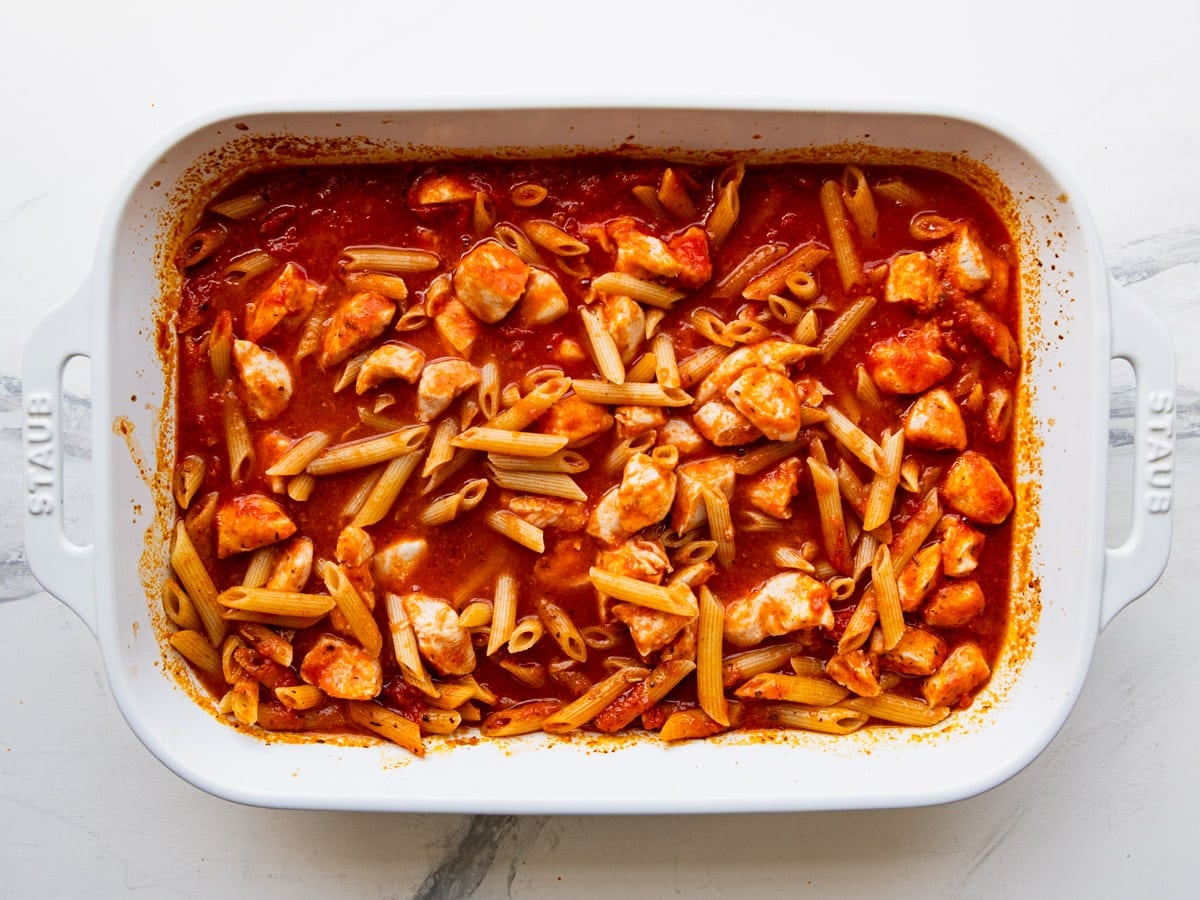
When you uncover it, the pasta will still be firm and there will be a good amount of liquid in the dish. That is exactly what you want at this stage. Give everything a good stir.
⇢ Stir in vegetables here if you like. Frozen peas can go in straight from the freezer, while sturdier vegetables like broccoli are best steamed first. Add tender greens like spinach at this uncovering step.
Step 3: Add the Cheese and Crispy Topping
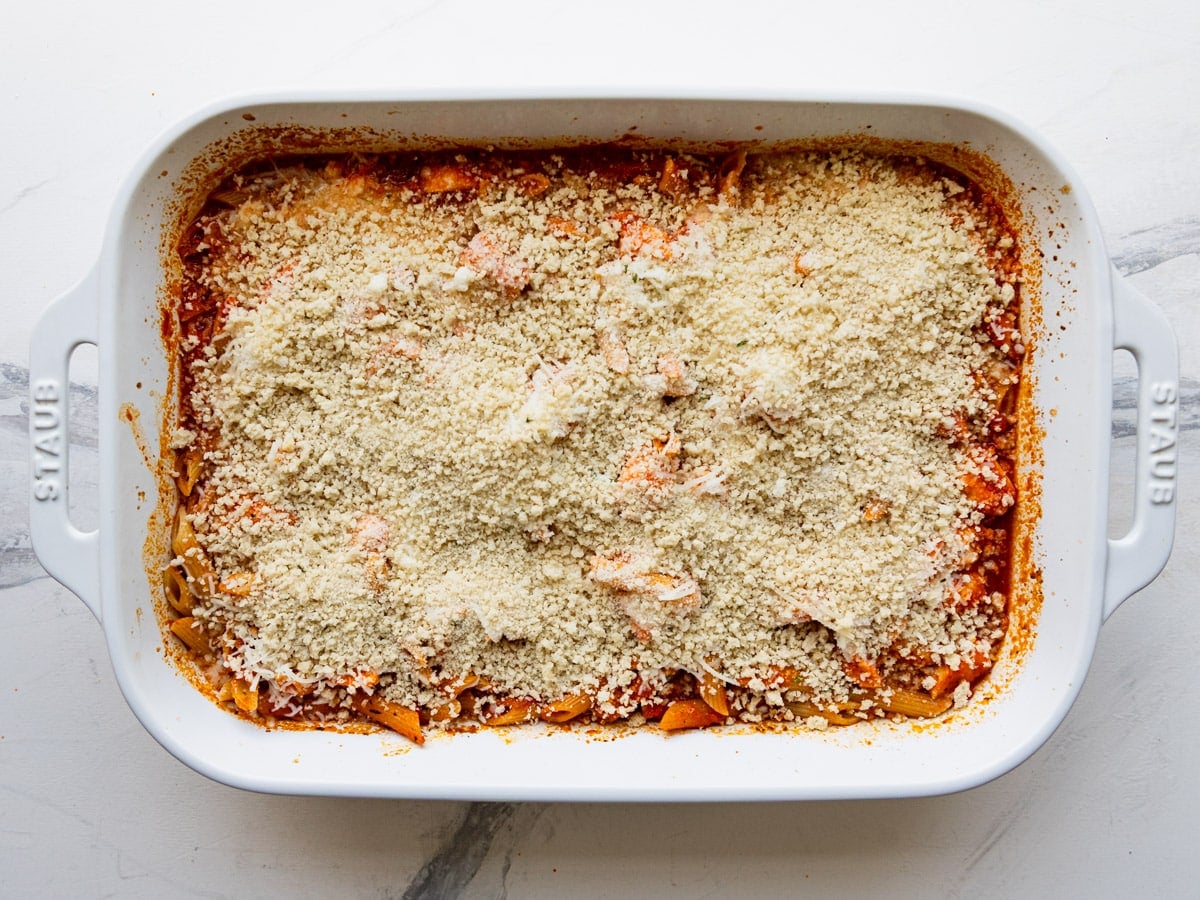
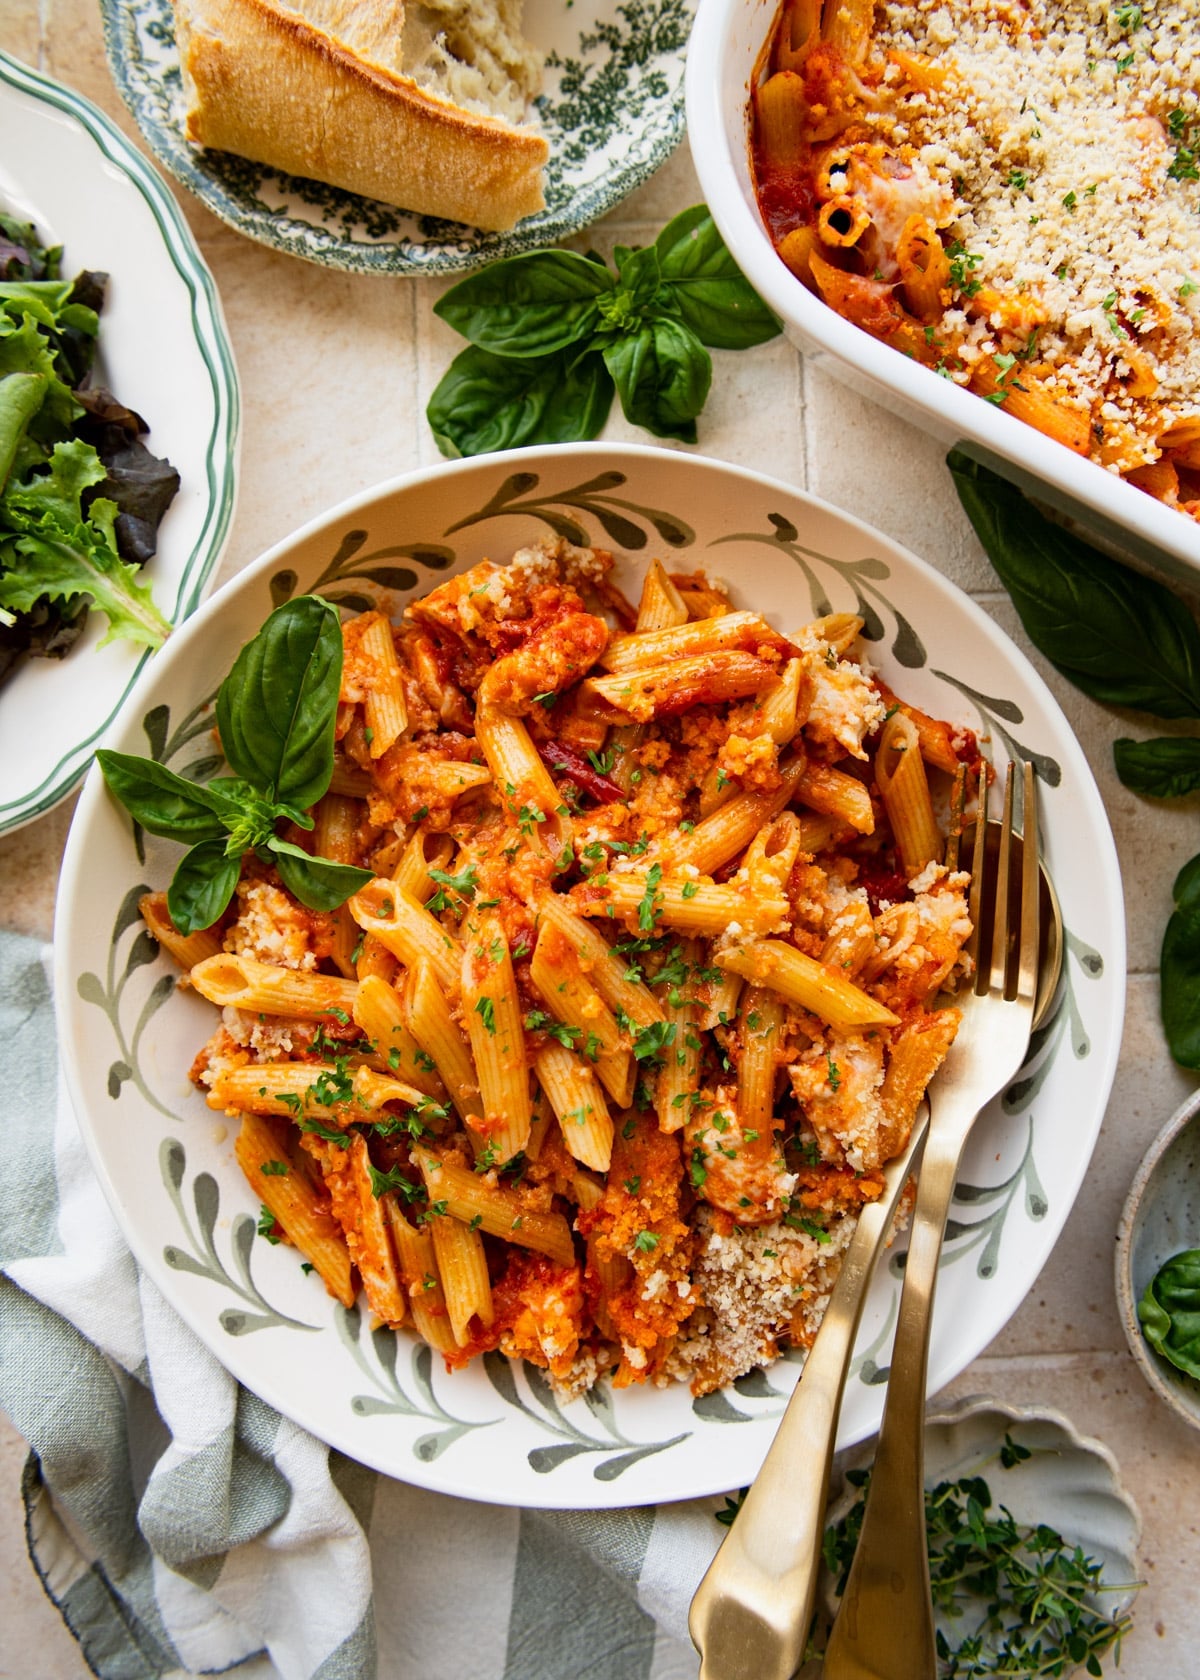
Spread the mozzarella over the top, then sprinkle with Panko breadcrumbs and Parmesan. The Panko is what gives you that crisp, golden finish reminiscent of classic fried chicken parmesan.
Craving the traditional version instead?
My Easy Chicken Parmesan walks you through breaded cutlets over pasta.
Step 4: Bake Uncovered Until Golden
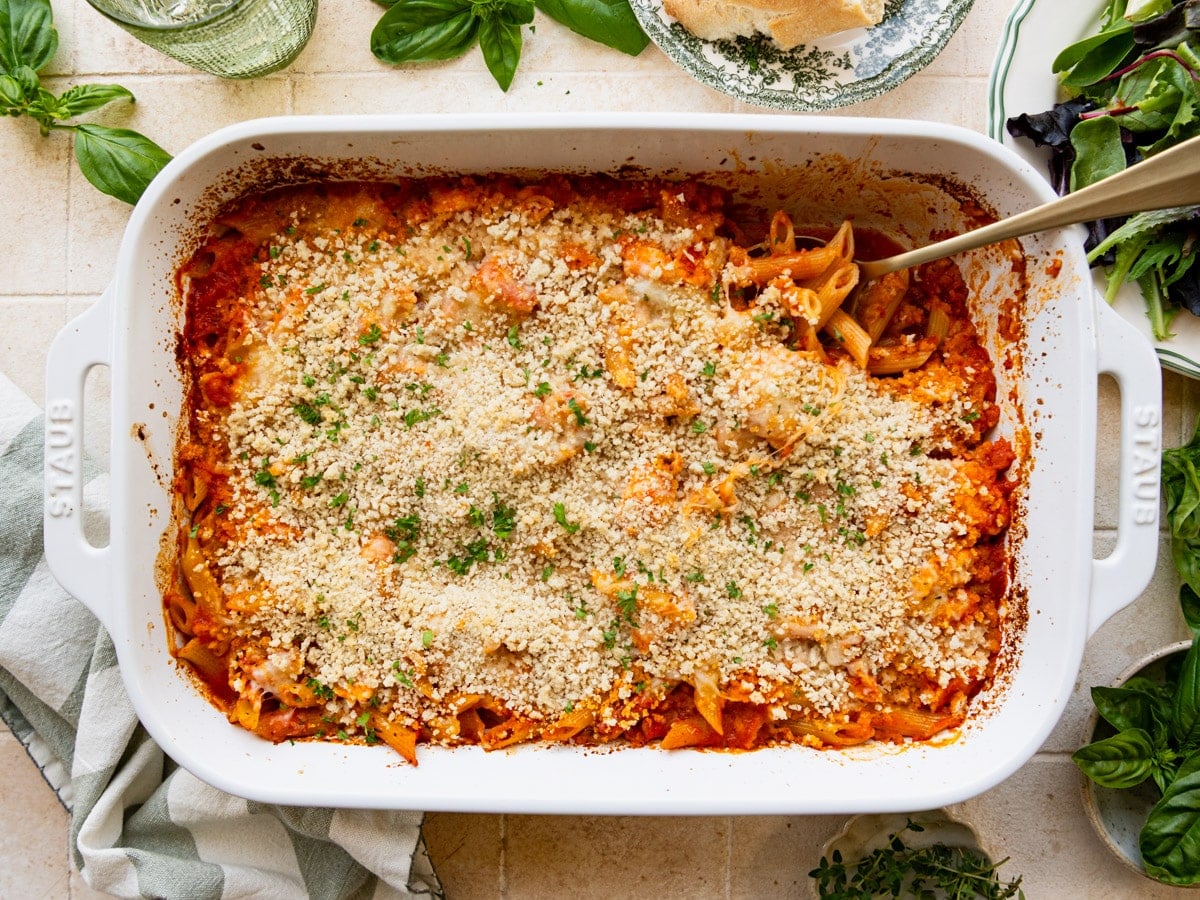
Return the dish to the oven, uncovered, for 10 to 15 more minutes, until the cheese is melted, the top is golden brown, the pasta is tender, and the chicken is cooked through.
Total time will vary with your pan and oven, so use the pasta as your guide: taste a bite, and it should be al dente with most of the liquid absorbed. Glass and ceramic dishes run longer than metal.
Step 5: Garnish and Serve
Finish with fresh chopped basil or parsley if you like, then serve warm. It is one of those meals the whole family can agree on!
What to Serve With Chicken Parmesan Casserole
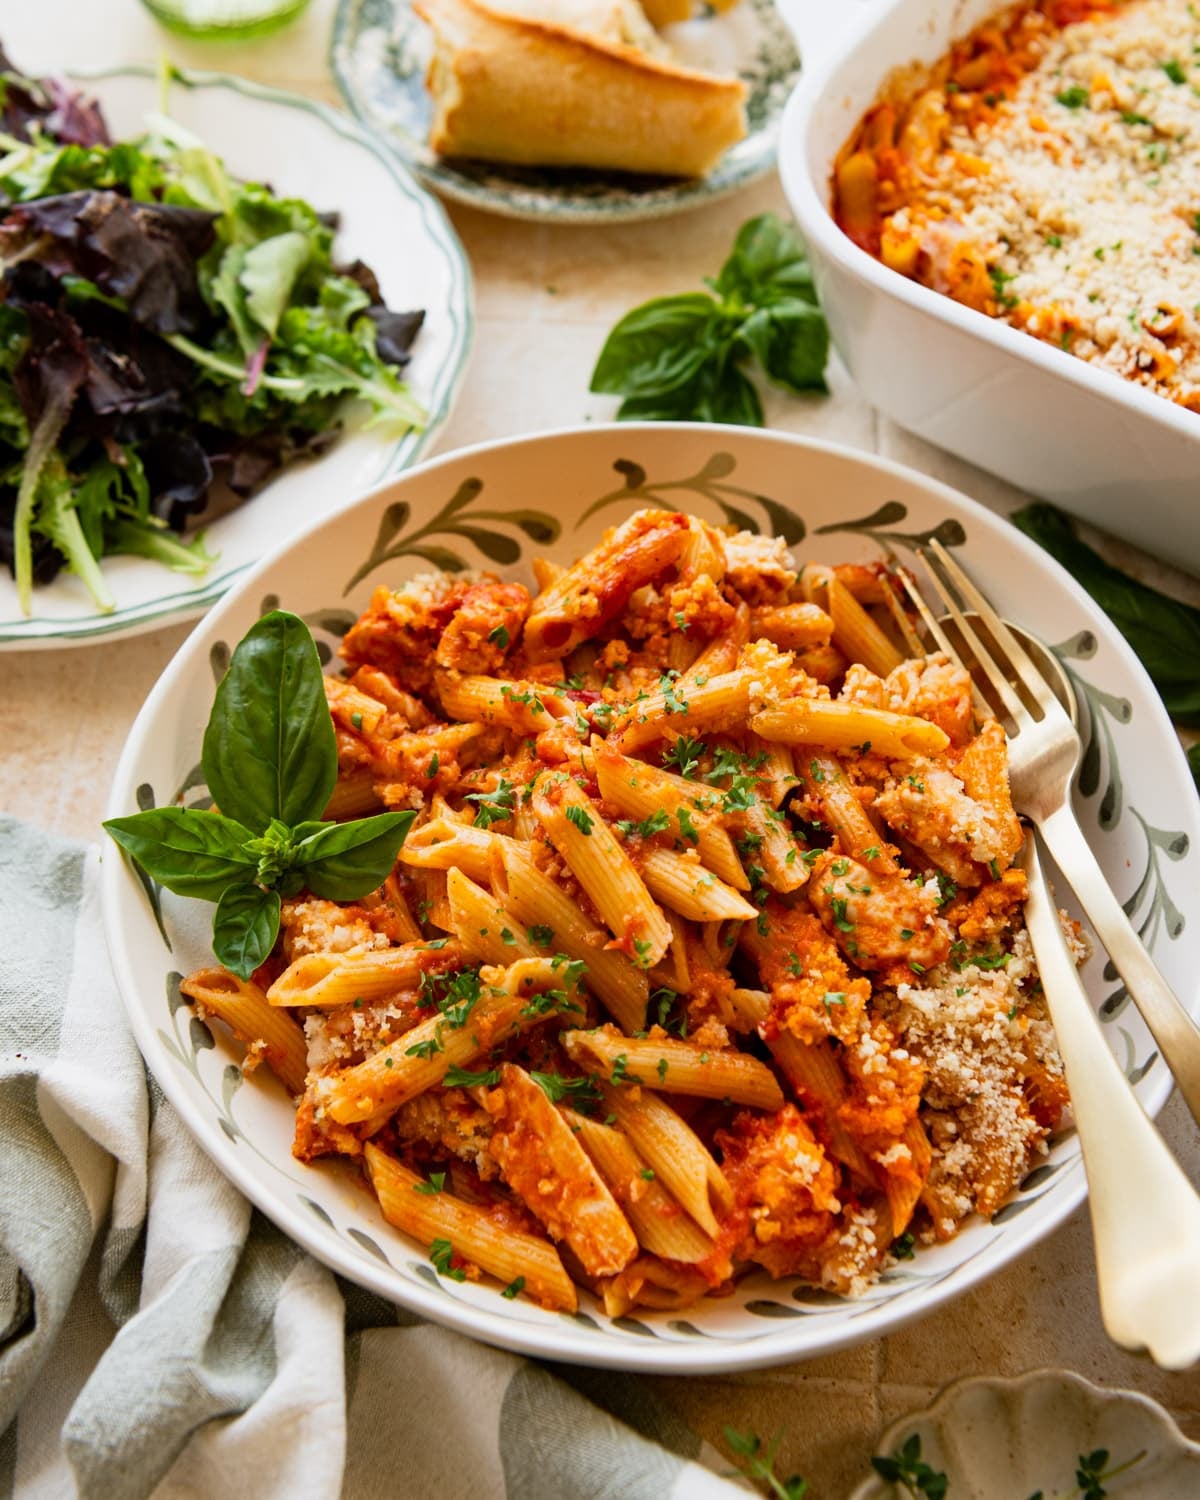
This casserole is a full meal on its own, but a simple bread or vegetable rounds it out nicely. Since the main dish is so hands-off, keep the sides easy too!
A few favorites that pair well:
Make-Ahead & Storage
Make ahead: You can assemble the casserole a few hours ahead, or cover and refrigerate it overnight before baking. The pasta will soften and drink up some liquid as it sits, so decrease the baking time slightly to avoid gummy, mushy noodles.
Storing: This casserole is best straight from the oven. Leftovers keep in an airtight container in the refrigerator for 3 to 4 days, though the pasta will dry out a bit as it sits.
Reheating: Warm individual portions in the microwave, or reheat a larger amount covered in a low oven. Stir in a splash of marinara or water first to loosen the pasta and bring it back to life.
→ I do not recommend freezing this one. Pasta tends to turn gummy and mushy once thawed.
I just made this for dinner and it turned out perfect. The extra liquid I observed after the first half hour of cooking had disappeared after I added the cheese and bread crumbs. Such an easy meal to put together … And delicious too!
– Deb
Frequently Asked Questions
Can I use chicken thighs instead of chicken breast?
Yes. Boneless, skinless chicken thighs or chicken tenderloins both work well in place of the breast. Keep them diced into bite-size pieces so they cook through in the same amount of time.
Why did my chicken turn out rubbery?
Because the chicken cooks in liquid, it has a texture closer to poached or boiled chicken, tender rather than chewy unless it is overcooked. If you want more control over the texture, start with cooked chicken instead. Stir in about 3 to 4 cups of shredded rotisserie or diced cooked chicken toward the end, just before you add the cheese.
Can I use a different pasta shape?
Short shapes like rotini, rigatoni, or elbows all work as long as they have a similar cook time to penne. Very different pastas, such as egg noodles, can work too, but expect the texture and timing to shift, so keep an eye on it.
Can I add vegetables?
Absolutely. Peas, zucchini, mushrooms, spinach, or broccoli are all great additions. Add small or tender vegetables when you uncover the dish to stir, and steam heartier ones like broccoli first so they finish cooking in time.
More Chicken Parmesan Recipes

Did you make this recipe?
If you enjoyed this recipe, please leave a comment with a 5-star review at the bottom of the post. Thank you!
Watch How to Make It

Chicken Parmesan Casserole
Ingredients
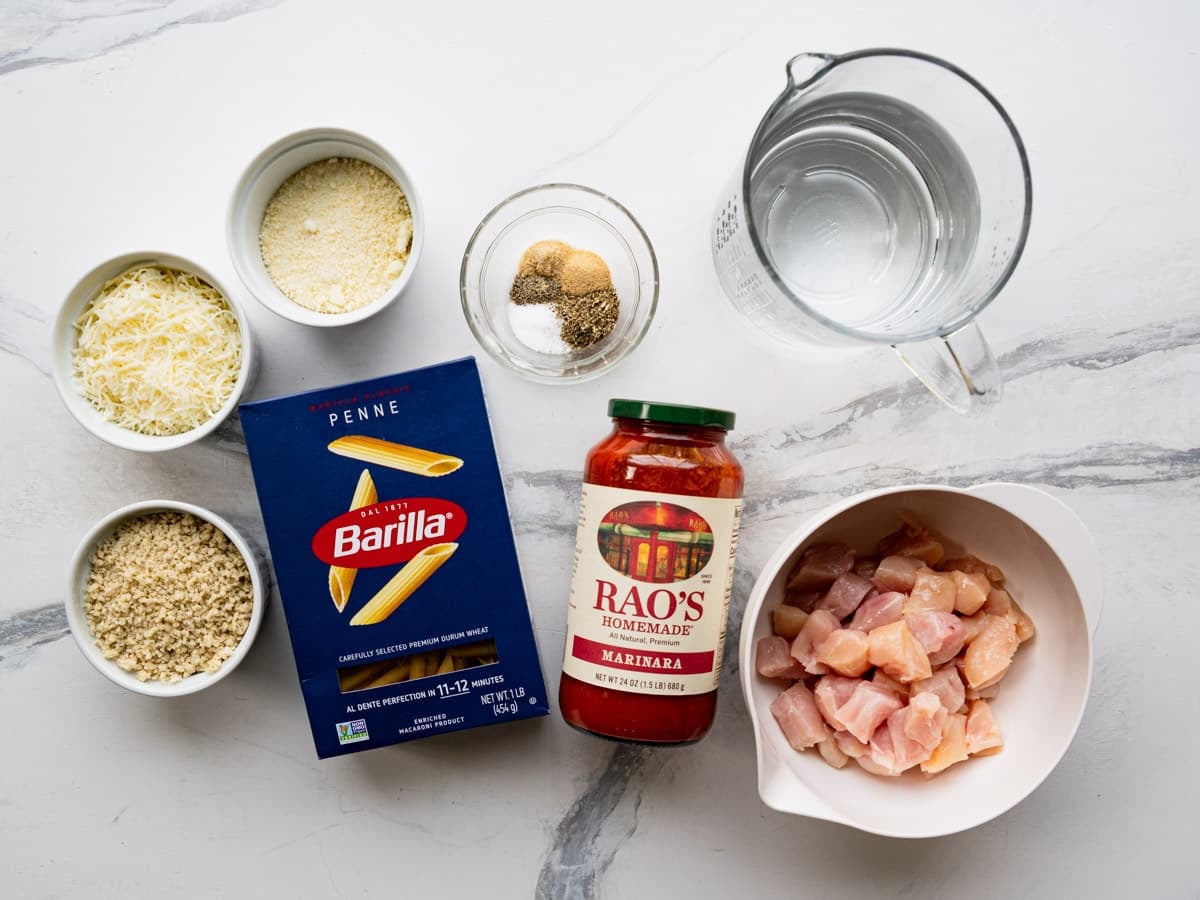
- 1 (24 ounce) jar marinara sauce
- 3 cups water
- 1 teaspoon kosher salt
- 1 teaspoon Italian seasoning
- ¼ teaspoon garlic powder
- ¼ teaspoon onion powder
- Ground black pepper, to taste
- 1 (16 ounce) package uncooked penne pasta
- 1 ½ lbs. raw chicken breast, diced into bite-sized pieces
- 1 cup shredded mozzarella cheese or Italian cheese blend
- ½ cup grated Parmesan cheese
- 1 cup Panko breadcrumbs
- Optional garnish: fresh chopped herbs such as fresh basil or fresh parsley
Instructions
- Preheat the oven to 425°F. Spray a 13-inch by 9-inch baking dish with nonstick cooking spray.
- In the prepared dish, whisk together the marinara sauce, water, salt, Italian seasoning, garlic powder, onion powder, and pepper.

- Add the uncooked pasta and the raw chicken. Stir until evenly distributed.
- Cover tightly with aluminum foil. Make sure that your dish is covered tightly so that none of the moisture escapes (the pasta needs to absorb the liquid as it cooks). Bake the covered dish for 30 minutes.
- Uncover the dish and give the pasta a good stir. At this point the pasta will still be firm and there will still be quite a bit of liquid in the dish. That's fine! Spread mozzarella over the top and sprinkle with Parmesan cheese and breadcrumbs.
- Bake uncovered for 10-15 more minutes (or until cheese is melted, top is golden brown, pasta is tender, and chicken is cooked through). Garnish with fresh herbs, if desired. Serve!


Notes
- Total cooking time will vary with your pan, pasta brand, and oven. Glass or ceramic dishes take longer than metal. To check doneness, taste a bite of pasta: the noodles should be al dente and most of the liquid absorbed.
- Do not overcook the pasta or it will turn mushy.
- Season to taste. Most readers boost the flavor with Italian seasoning, garlic powder, and onion powder. You can also replace some water with red wine or low-sodium chicken broth.
- Add vegetables if you like. Stir in frozen peas straight from the freezer, add spinach when you uncover the dish, and steam heartier vegetables like broccoli first.
- Swap the chicken. Chicken tenderloins or boneless skinless thighs work in place of the breast. To use cooked chicken, stir in 3 to 4 cups shredded or diced cooked chicken toward the end, before adding the cheese.
- To halve the recipe, use an 8×8-inch dish and reduce the uncovered bake to about 15 minutes.
- Storage: Best fresh. Refrigerate leftovers in an airtight container for 3 to 4 days. Freezing is not recommended, as the pasta turns gummy once thawed.
Nutrition
Originally published in November, 2015, this post was updated in August, 2026.











I loved this recipe! I made it in Pyrex glass dish but was wondering if I was to gift it to someone can I make it in one of those aluminum foil baking trays? How would I adjust cooking time to that type of disposable tray?
Thank you for the recipe !!!
Hi, Bri! Thank you! I’m so glad you enjoyed it. Yes, a disposable aluminum pan should work well for gifting this casserole. Choose a deep 9×13-inch tray, and set it on a rimmed baking sheet for support before filling it. Seal the foil tightly so the pasta has plenty of moisture to cook.
I’d keep the oven at 425°F and start with the same 30 minutes covered. Then stir, add the toppings, and check after another 10 minutes uncovered. The timing may differ slightly from your Pyrex dish, so look for tender pasta and chicken that reaches 165°F as your guides. If the topping is getting brown before everything is done, loosely cover with foil and continue baking. Hope your friend enjoys the meal!
Great recipe! Cooked as written, but with a little heavier hand on the seasoning. It came out perfectly after 30 minutes covered then 15 uncovered. Just a few of the noodles were still a little stiff but I could’ve fixed that by leaving the casserole in the oven for about 2-3 more minutes. Red sauce dishes are my least favorite, but I ate my serving plus the rest of my sons, so that’s a great sign! Thanks for the super simple recipe that keeps my family of four fed during busy seasons!
Thank you so much, Katie!