Disclosure: This post may contain affiliate links. I may earn a small commission for my endorsement, recommendation, testimonial, and/or link to any products or services from this website.
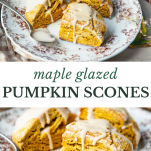
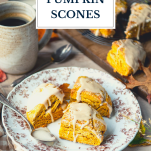
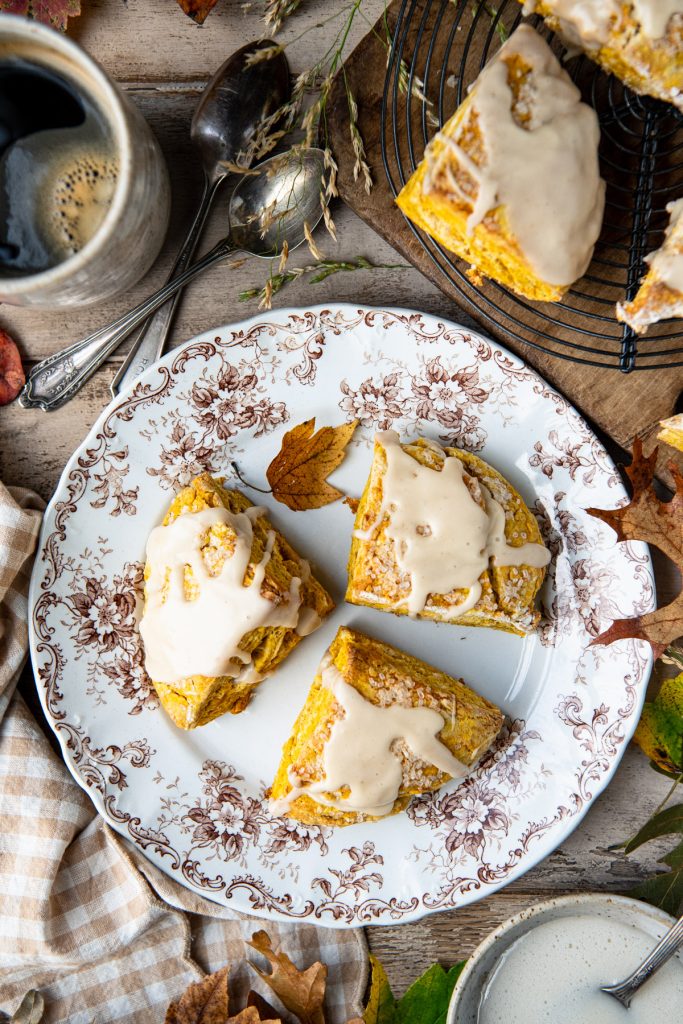
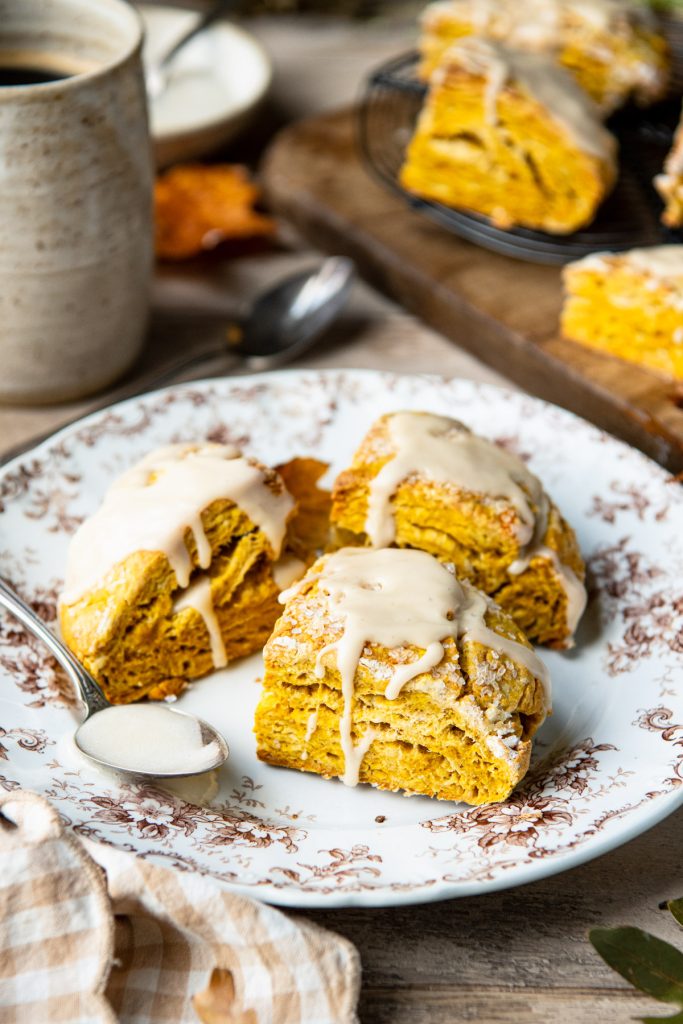
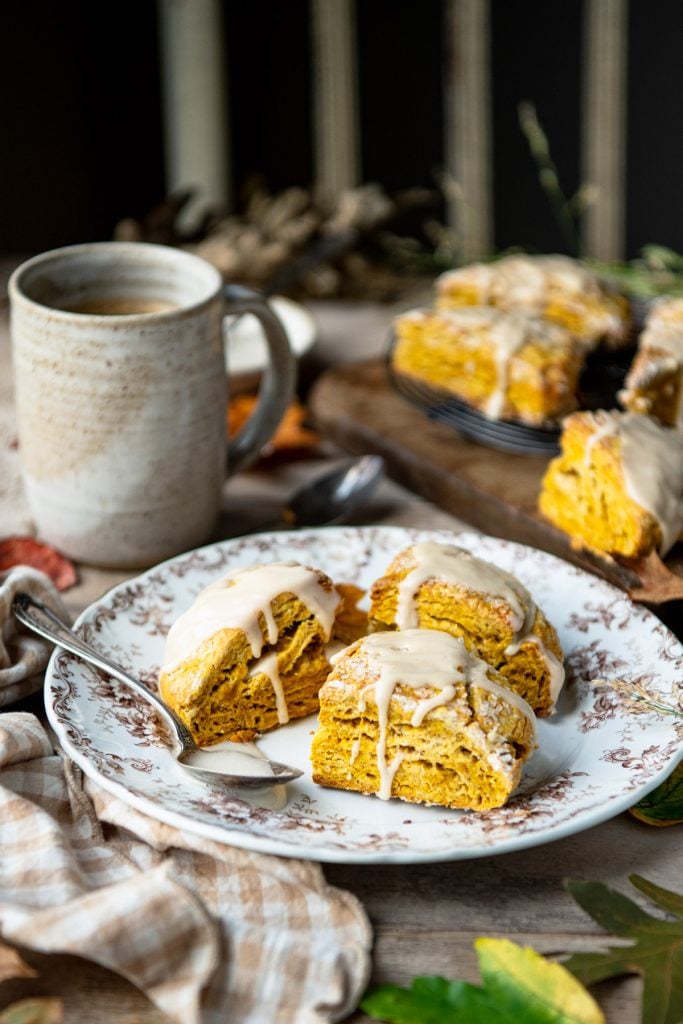
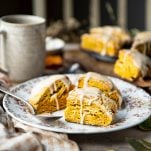
These bakery-style pumpkin scones are moist, buttery, and full of warm spices. A drizzle of maple glaze makes the perfect finishing touch! Serve the scones for a special breakfast, brunch, or snack with a cup of coffee, tea, hot cocoa, or mulled cider. Truly the best recipe, these scones are better than Starbucks!
Pumpkin Scones Recipe
Think scones are dry and crumbly? Think again! These decadent pumpkin scones stay moist and tender, thanks to plenty of butter, pumpkin puree, and rich cream. They’re packed with flavor from the warm blend of spices like cinnamon, ginger, nutmeg, and cloves, and they’re not too sweet. Grab a warm mug of coffee or a hot cup of tea, because when the weather turns cool, you’ll love waking up to the best pumpkin scone recipe!

What is the secret to making good scones?
After years of making buttermilk biscuits, I’ve learned a few tricks that also apply to baking good scones, since the process is quite similar.
- Very cold ingredients are essential. Scones get their light, fluffy texture when cold butter expands in a very hot oven, creating pockets of steam. That’s why this recipe calls for freezing or chilling the cut scones for about 15 minutes before baking.
- The oven must be very hot — in this case, 400°F. When the cold dough interacts with the high heat of the oven, the water in the butter heats rapidly and releases steam, pushing the dough upward. If an oven is set at a lower temperature (such as 350°F or 375°F), the fat inside the dough heats too slowly and melts before the scones can fully rise.
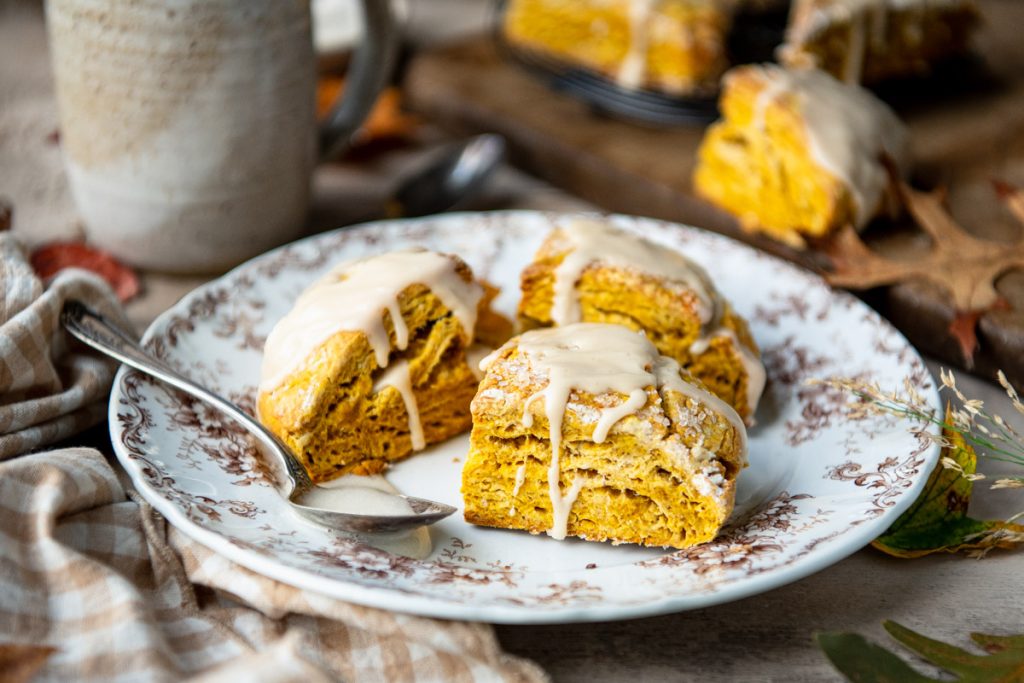
- Folding the dough on itself or kneading gently multiple times builds visible flaky layers.
- Use heavy cream, not a lower-fat milk alternative. The cream makes scones richer, softer, and more tender.
How can I make my scones more moist?
The key to a nicely-balanced, moist pumpkin scone with a light, tender crumb is just the right amount of pumpkin puree paired with just the right amount of butter and cream. Too much cream, butter, or pumpkin and the scones turn out dense, heavy, gummy, and wet. Too little cream, butter, or pumpkin and the scones may be too tough, dry, crumbly, and flavorless. It’s a delicate balance!
Another key to a tender scone is not kneading too much and not overworking the dough. Too much mixing and kneading can result in tough, dry scones. Fold or knead it gently, just to incorporate some layers and bring the dough together…and then stop!

Ingredients
This is just a quick overview of the ingredients that you’ll need for a batch of easy pumpkin scones. As always, specific measurements and step-by-step instructions are included in the printable recipe box at the bottom of the post.
- All-purpose flour: the base of the scones.
- Dark brown sugar: for just a hint of sweetness and rich molasses flavor.
- Baking powder: the leavening agent that helps the scones rise.
- Salt: to enhance the other flavors in the recipe and to balance the sweetness.
- Cinnamon, ginger, nutmeg, and cloves: warm spices that give the scones those cozy fall vibes.
- Butter: for great flavor! Make sure that it’s very cold.
- Egg: for structure.
- Heavy cream: don’t substitute with lower fat alternatives or your scones will not be as moist and tender. Some extra cream on top helps the scones brown in the oven, too.
- Pumpkin: use a can of pure pumpkin purée, or make your own puree at home. Do not pick up a can of pumpkin pie mix or pumpkin pie filling, which has added seasoning and sweetener that you don’t need here.
- Coarse sugar: for a crunchy topping.
- Powdered sugar: combines with milk or cream to make the glaze.
- Maple extract: adds maple flavor to the glaze. You can substitute with maple syrup if you prefer; the flavor just isn’t quite as prominent.
How to Make Pumpkin Scones
Preparing scones at home is almost identical to making biscuits, since pumpkin spice scones are essentially sweet biscuits. Grating the butter into the dry ingredients is an easy shortcut that avoids cutting it in with a pastry cutter or two knives. You won’t believe how easy and delicious these are (and they’re even better than Starbucks’ pumpkin scones)!
- Whisk or sift together the dry ingredients in a large mixing bowl.
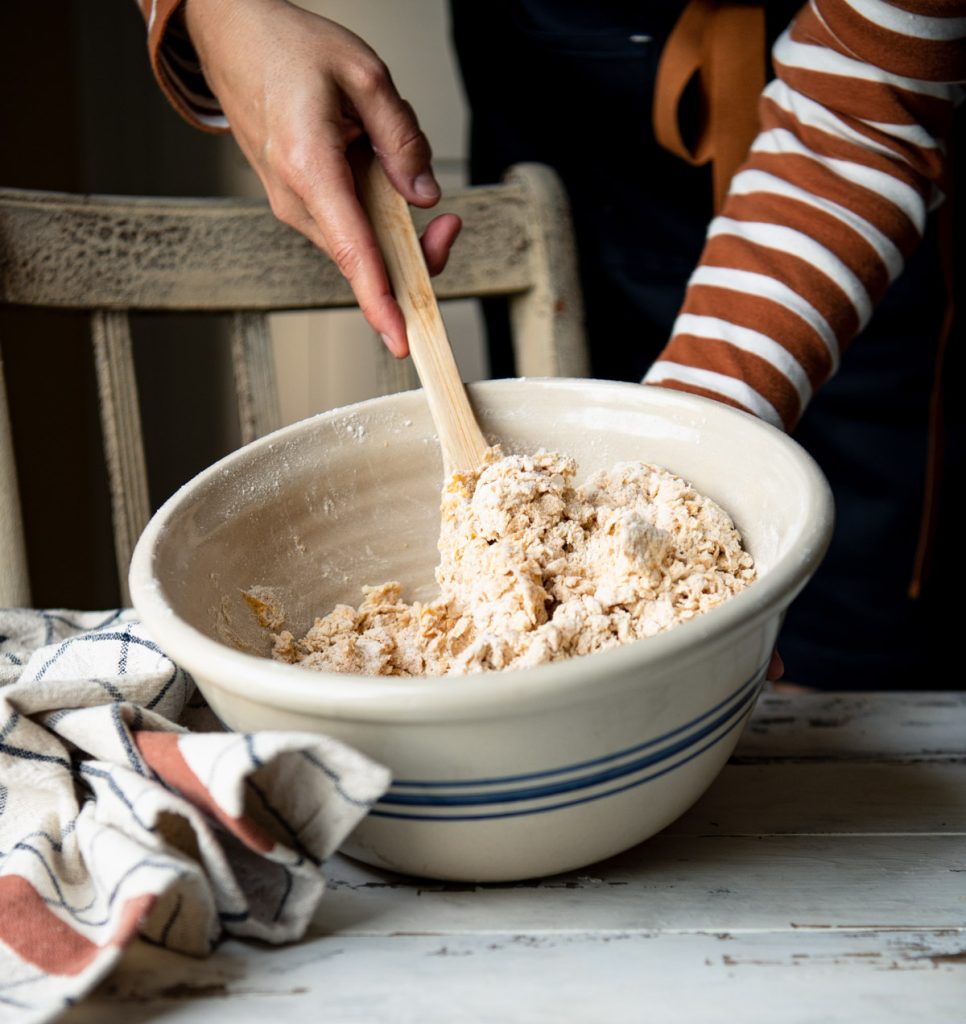
- Grate the butter into the flour mixture. Work the butter into the dry ingredients until it’s coated in flour and resembles small pea-size pieces.
- Whisk together the wet ingredients.
- Add the pumpkin mixture to the dry ingredients. Stir just until combined, adding a small amount of extra cream, as needed, to bring the dough together.
- Knead or fold over the dough on a lightly floured surface a few times, and then shape it into a ball.
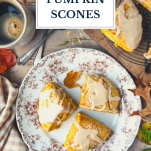
- Pat the dough into a 1-inch thick circle, and then cut into 8 wedges.
- Arrange the wedges on a baking sheet lined with parchment paper. Cover loosely with plastic wrap and chill in the freezer or fridge for about 15 minutes.
- Brush the scones with cream, sprinkle with coarse sugar, and bake in a 400°F oven for about 20-25 minutes (until the tops are golden brown).
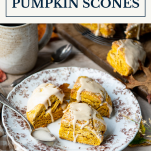
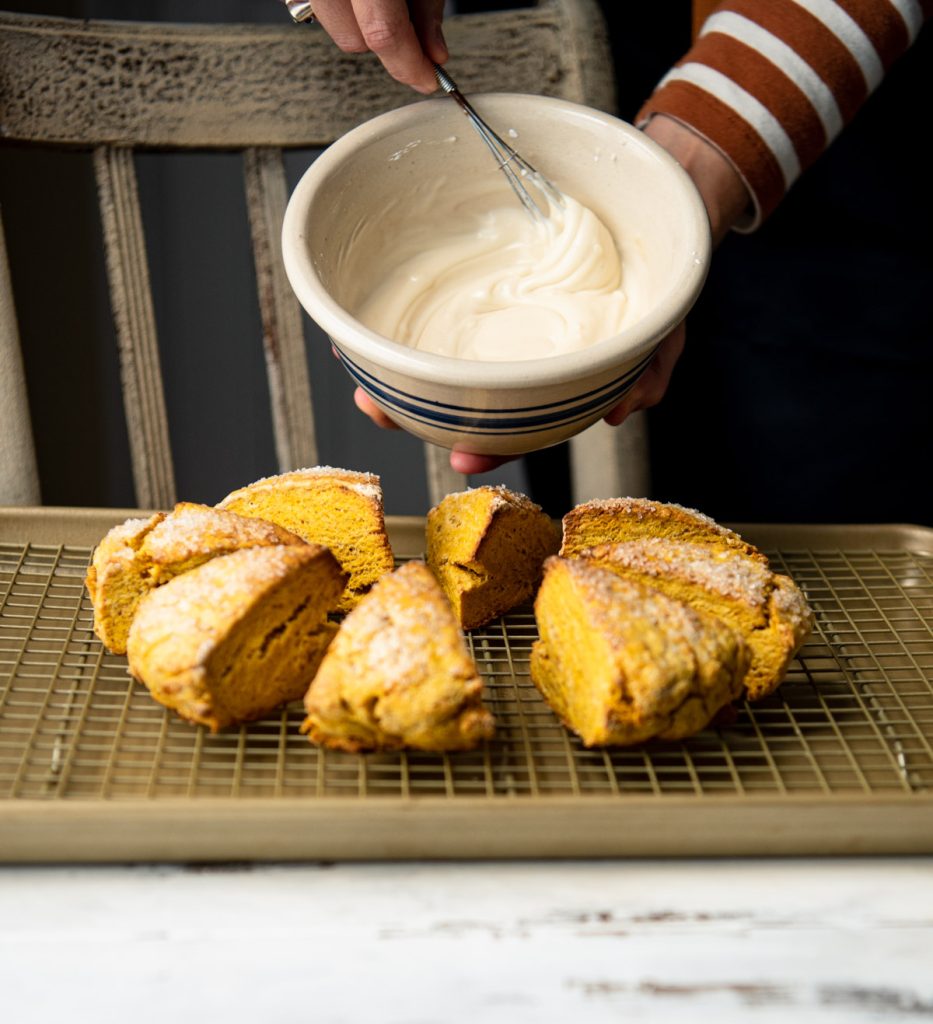
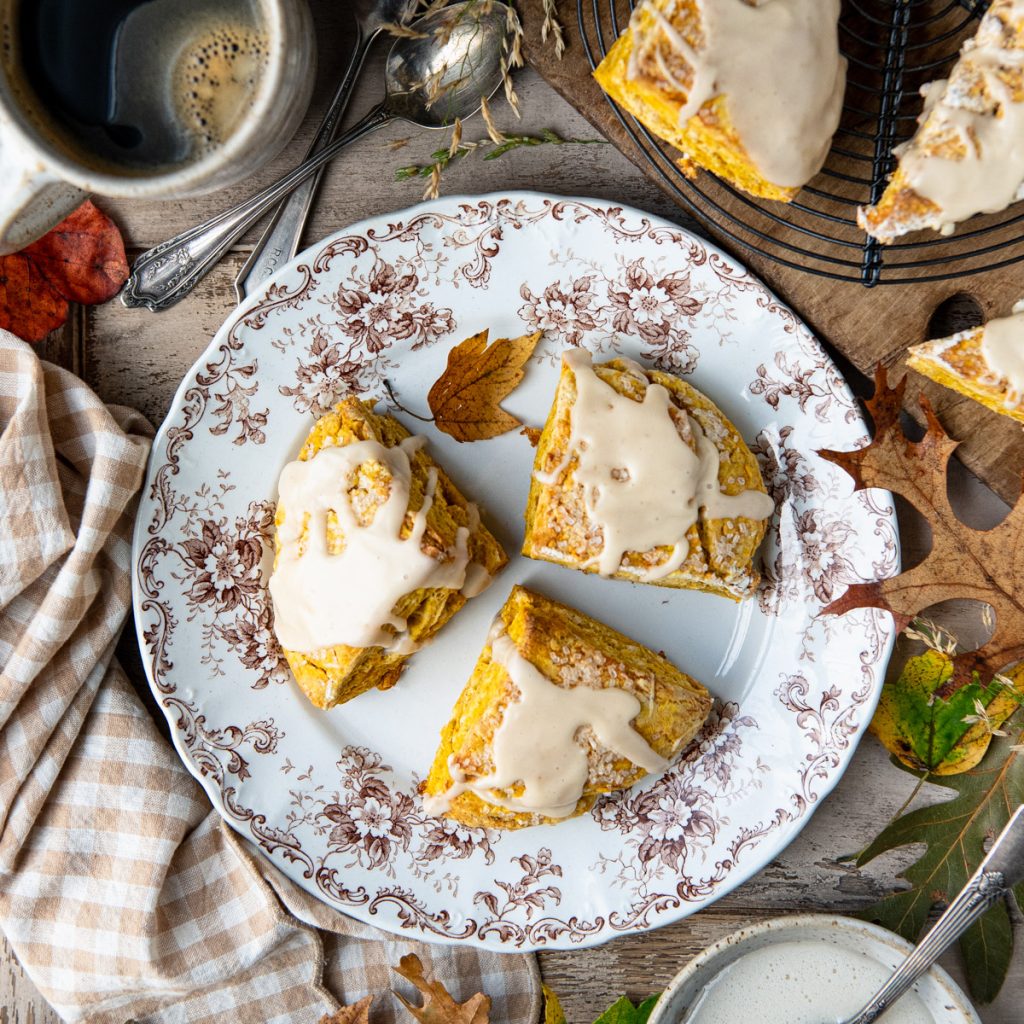
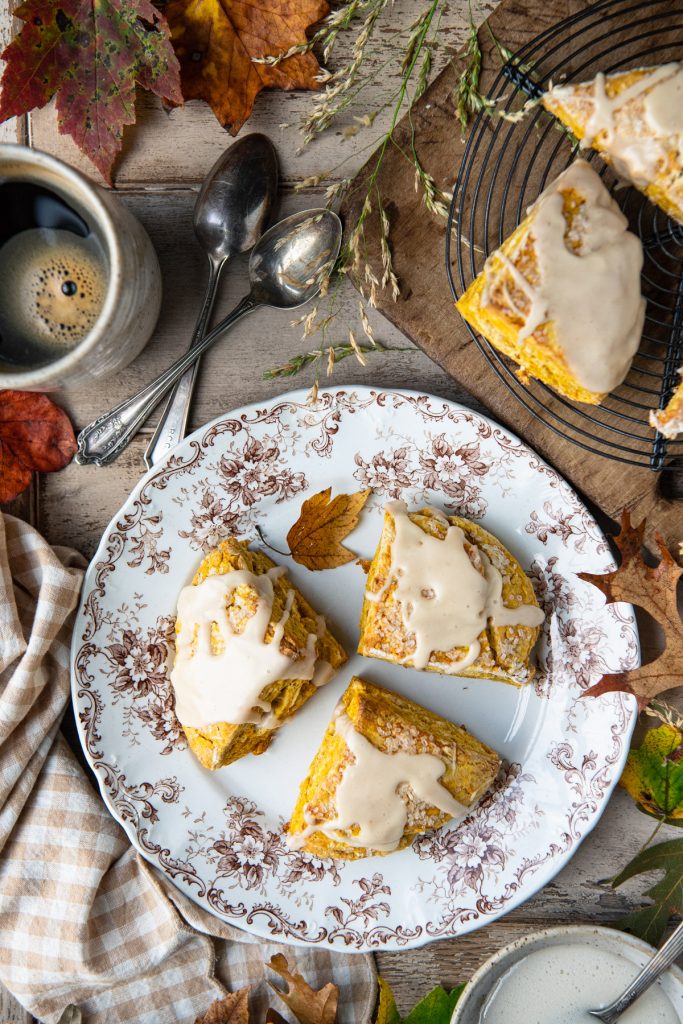
- Whisk together the maple glaze, and drizzle over the scones.
Serving Suggestions
These scones are best served warm or at room temperature. Pair them with coffee or tea for a satisfying snack or breakfast. They’re great on their own, but they’re also delicious with soft butter or a dollop of apple butter.
If you’re serving a larger breakfast or brunch spread, here are some additional options that go well with the pumpkin scones:
- Sausage Hash Brown Casserole
- Tater Tot Breakfast Casserole
- Fresh Fruit Salad
- Candied Bacon
- Sausage Breakfast Casserole
- Sallie’s Easy Overnight Breakfast Casserole
- Ham, Cheddar and Broccoli Quiche or Quiche Lorraine
- Biscuits and Gravy Casserole
- Crock Pot Breakfast Casserole
- Crustless Quiche with Spinach
- Ham Steaks with Brown Sugar Glaze
- Amish Baked Oatmeal with Apples and Cinnamon
Storage
- Leftover scones are good for about 2-3 days in an airtight container at room temperature. They do not need to be refrigerated.
- To make a batch ahead or to extend the life of your scones, you can freeze them in an airtight container or Ziploc bag for up to 3 months.
- To reheat: Thaw the scones on the counter overnight if they’re frozen, or thaw in the microwave for about 10-15 seconds. Then reheat the scones in a 325°F oven just until warmed through (about 5 minutes).
Recipe Variations
- I prefer the scones only slightly sweet (these are not too sweet like a dessert), so I use just ¼ cup of sugar. For a sweeter scone, you can increase that amount to ½ cup of sugar.
- Instead of the cinnamon, ginger, nutmeg, and cloves, use 1 ¾ teaspoons of pumpkin pie spice blend.
- Stir cranberries into the dough. Fresh, frozen, or sweetened dried cranberries will work.
- Add nuts such as chopped pecans, almonds, or walnuts for a bit of crunch.
- Scones are traditionally cut into triangles (as shown); however, you can also make round scones by using a round biscuit cutter to cut the dough.
- For a spiced glaze, add a dash of pumpkin pie spice or a dash of cinnamon to the maple glaze.
Tips for the Best Pumpkin Scone Recipe
- Properly measure the flour. Always spoon and level the flour or weigh it on a kitchen scale — do not scoop it out of the package. Incorrectly measuring the flour packs it too tightly into the measuring cup and results in dense, dry scones.
- Keep the dough cold. I’ll say it again — the key to tall, fluffy and tender scones is cold ingredients. Don’t forget to chill the dough in the refrigerator or freezer for 15 minutes before baking.
- If the butter or the dough gets too warm, the scones will spread and fall flat in the oven. That’s why it’s important to work quickly and not handle the dough too much.
- Be careful not to overwork the dough, or you’ll end up with tough, dry scones.
- The heavy cream is an important ingredient. Avoid thinner liquids such as milk or almond milk, which will just lead to dry, bland, flat scones. Brushing the tops of the scones with extra cream before baking helps them brown in the oven, too!
More Pumpkin Recipes to Try
- One-Bowl Pumpkin Muffins
- Pumpkin Chiffon Pie
- Pumpkin Bars with Cream Cheese Frosting
- 2-Ingredient Pumpkin Muffins
- Pumpkin Coffee Cake with Cake Mix
- Easy One-Bowl Pumpkin Bread
- Pumpkin Cake
- Pumpkin Cheesecake Bars
Pumpkin Scones with Maple Glaze
Ingredients
- 2 ½ cups all-purpose flour
- 1 tablespoon baking powder
- ½ teaspoon salt
- ¾ teaspoon ground cinnamon
- ½ teaspoon ground nutmeg
- ¼ teaspoon ground ginger
- ¼ teaspoon ground cloves
- ¼ cup (half of a stick) very cold salted butter
- 1 large egg
- ¼ cup packed dark brown sugar
- ¼ cup heavy cream, plus extra as needed
- ½ cup pure pumpkin puree
- Coarse sugar, for sprinkling
Maple Glaze:
- 1 cup powdered sugar
- 2 drops maple extract or 2 tablespoons pure maple syrup
- 1-2 tablespoons heavy cream, plus more as needed to thin
- Pinch of salt
Instructions
- Line a sheet pan with parchment or silicone mat.
Make the Scones:
- In a large bowl, sift or whisk together the flour, baking powder, salt, cinnamon, nutmeg, ginger, and cloves.
- Using the large holes on a box grater, grate the butter into the flour mixture. Toss to coat the butter in flour, working the butter into the mixture. The little pieces of butter should be coated in flour and should resemble the size of small peas.
- In a large measuring cup or small bowl, whisk together egg, brown sugar, cream, and pumpkin.
- Add the pumpkin mixture to the flour mixture. Use a wooden spoon to mix everything together just until combined (do not over-mix). Gradually add a little bit more cream, as needed, to bring the dough together. It should be a little bit dry and crumbly, but should just hold together. If you add too much cream and the dough gets wet and sticky, sprinkle in some extra flour.
- Turn the dough out onto a floured surface. Knead it lightly and quickly just a few times, and then shape it into a ball. Press down on the dough with your palms and flatten it into a circle that’s about 1-inch thick. Using a pizza cutter or a knife coated in flour, cut the circle into 8 wedges.
- Transfer the wedges to the prepared baking sheet, leaving about 1 inch between each scone.
- Cover loosely with plastic wrap and chill in the refrigerator or freezer for about 15 minutes while you preheat the oven to 400°F.
- Remove the cover, brush the tops of the scones with a little bit of cream, and sprinkle with coarse sugar.
- Bake for 20-25 minutes, until the tops are lightly browned and the insides are fully baked. Transfer to a wire rack to cool slightly while you make the glaze.
Make the Glaze:
- In a small bowl, whisk together the powdered sugar, maple syrup or maple extract, 1 tablespoon of cream, and a pinch of salt. Gradually add more cream until you have a thick but pourable glaze. Drizzle the icing over the scones.
Notes
- Properly measure the flour. Always spoon and level the flour or weigh it on a kitchen scale — do not scoop it out of the package. Incorrectly measuring the flour packs it too tightly into the measuring cup and results in dense, dry scones.
- Keep the dough cold. I’ll say it again — the key to tall, fluffy and tender scones is cold ingredients. Don’t forget to chill the dough in the refrigerator or freezer for 15 minutes before baking.
- If the butter or the dough gets too warm, the scones will spread and fall flat in the oven. That’s why it’s important to work quickly and not handle the dough too much.
- Be careful not to overwork the dough, or you’ll end up with tough, dry scones.
- The heavy cream is an important ingredient. Avoid thinner liquids such as milk or almond milk, which will just lead to dry, bland, flat scones. Brushing the tops of the scones with extra cream before baking helps them brown in the oven, too!