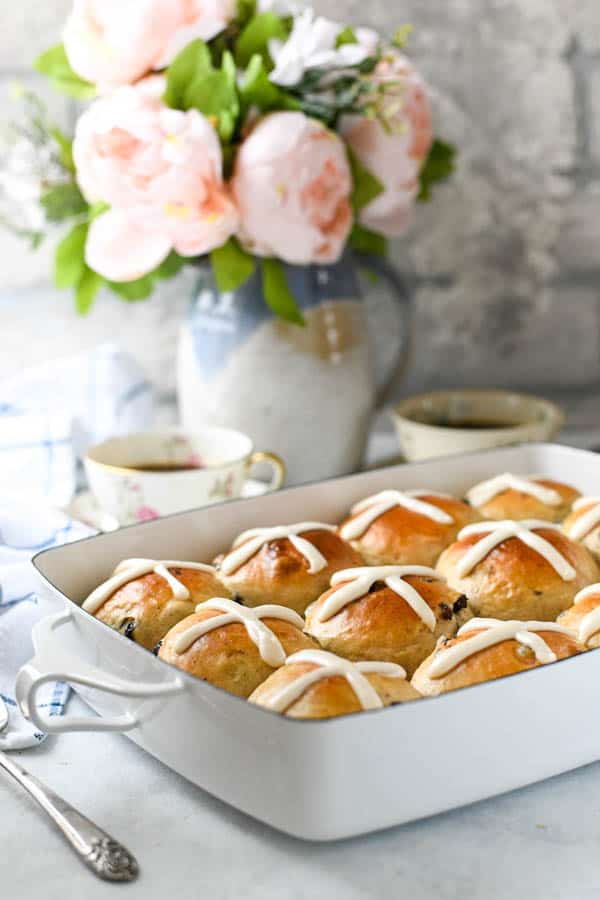
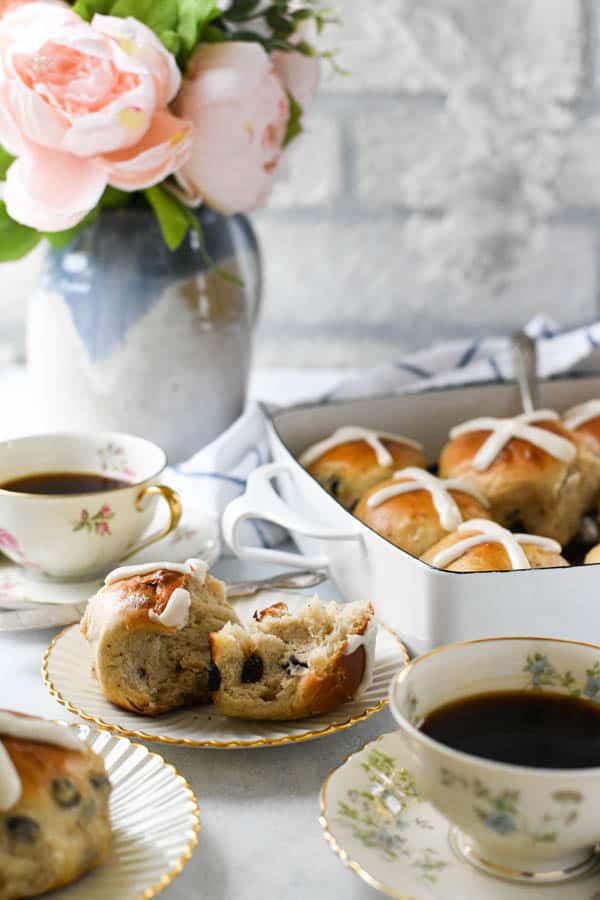
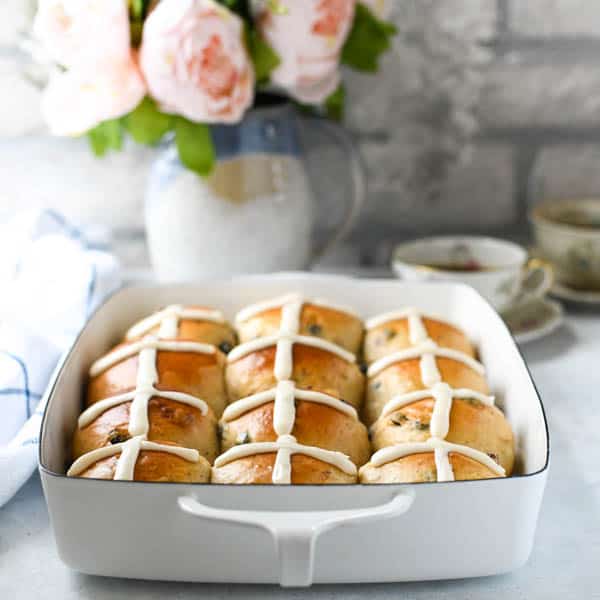
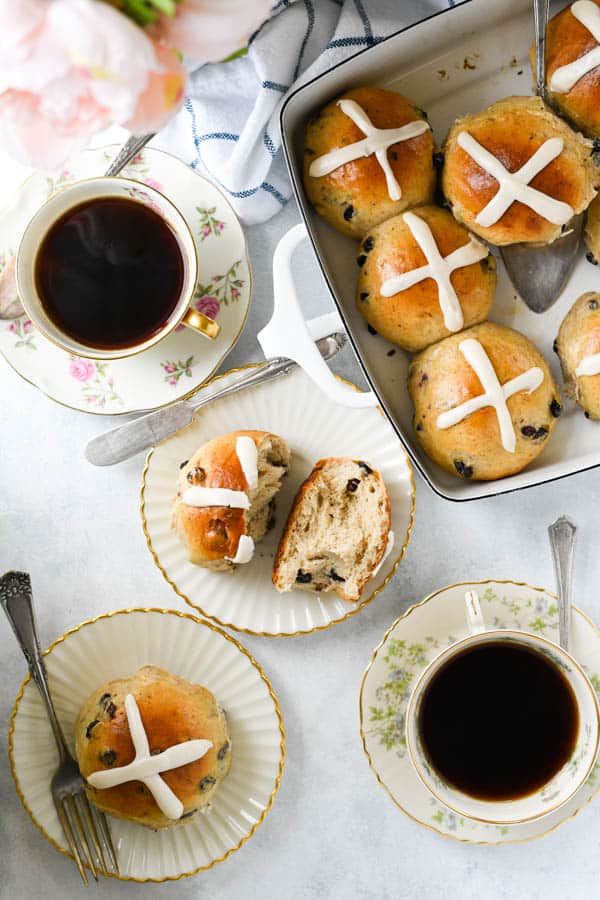
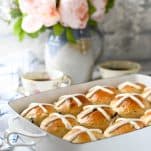
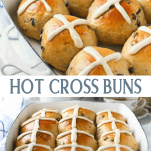
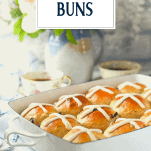
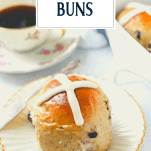
This easy Hot Cross Buns recipe is the perfect addition to your Easter celebration! The soft, tender sweet rolls include warm spices like cinnamon and nutmeg, currants or raisins, and an icing cross on top. Serve them with a cup of coffee for breakfast on Good Friday, or prep them ahead for your Easter Sunday brunch. The best Hot Cross Buns will soon become a holiday tradition in your home, too!
Easy Hot Cross Buns Recipe
When I set out to create an easy hot cross buns recipe, I instantly turned to my “easy homemade dinner rolls,” which are a year-round staple in our house. I whip up the soft and fluffy dinner rolls for a side dish with supper on a regular basis, and I knew that it would only take a few tweaks to turn them into the softest hot cross buns recipe. With a little bit of extra sugar, some dried fruit, warm spices, and a cross on top, the rolls were transformed into a delicious holiday treat. You might not want to wait until Easter to give them a try!
What are Hot Cross Buns?
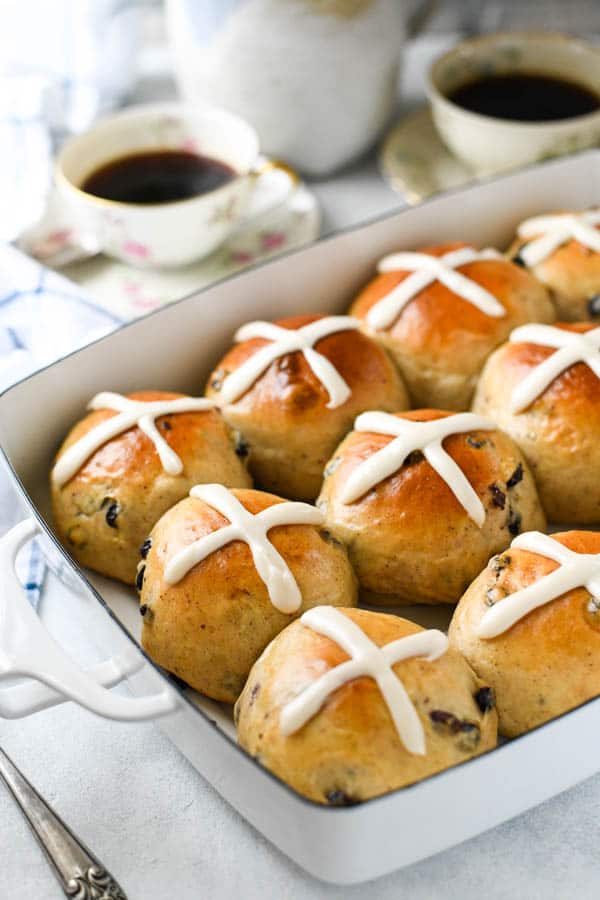
Hot Cross Buns are spiced, yeasted sweet buns made with fruit, marked with a cross on top, and traditionally served on Good Friday in the United Kingdom, Ireland, Australia, India, New Zealand, South Africa, Canada and the United States.
History
The origin of Hot Cross Buns is not entirely clear; however, one theory suggests that the buns originated in 14th century St. Albans, England. In 1361, Brother Thomas Rodcliffe, a monk at the St. Albans Abbey, developed a similar recipe called an “Alban Bun,” which he distributed to the local poor on Good Friday. Over time, the buns gained in popularity and have now become a symbol of Easter weekend in Christian communities around the world.
Significance
Hot Cross Buns mark the end of Lent, with different parts of the bread carrying certain meanings. The cross represents the crucifixion of Jesus, and the spices inside signify the spices used to embalm him at his burial.
What is the cross on the Hot Cross Bun made of?
Old-fashioned hot cross bun recipes used a shortcrust pastry to make the cross on top. More recently, recipes call for a paste made with flour and water to create the same cross design on top of each bun before baking. Here, however, I use a simple icing made with confectioners’ sugar, milk and vanilla extract. Let’s face it, a sweet icing might be less traditional, but the it’s always well-received — and it tastes way better than a flour paste!
Ingredients for the Softest Hot Cross Buns Recipe
This is a quick overview of the ingredients that you’ll need to make hot cross buns. As always, specific measurements and complete cooking instructions are included in the printable recipe box at the bottom of the post.
- Active dry yeast: helps the dough rise.
- Lukewarm water: activates the yeast.
- Scalded whole milk: gives the bread a richer, more velvety texture and helps it brown. Low-fat milk will also work, but the whole milk yields the best flavor and texture.
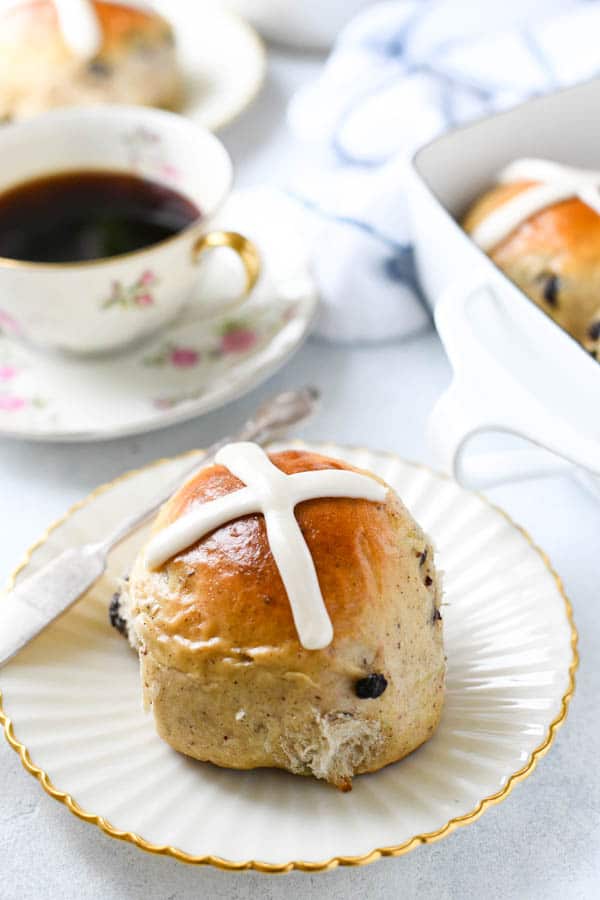
- Shortening: the key ingredient to the softest hot cross buns recipe! Even more than butter, shortening creates super soft buns with a light, fluffy texture.
- Sugar: feeds the yeast, tenderizes the dough, and gives the rolls a sweet flavor.
- Salt: enhances the flavors in the buns.
- Egg: gives the dough structure and flavor; creates an egg wash that helps the tops of the buns brown and shine.
- All-purpose flour or bread flour: I like bread flour, which has a bit more protein and yields a slightly higher rise. All-purpose flour works fine, too!
- Cinnamon, nutmeg and allspice: the warm spices that give the buns their classic flavor.
- Dried currants: currants are small berries that grow on shrubs, but when dried they look and taste a lot like tiny raisins. You can substitute with raisins in this recipe if you can’t find currants.
- Confectioners’ sugar, vanilla extract and milk: whisked together these three ingredients form the icing for the cross on top of the buns.
How to Scald Milk for the Softest, Fluffiest Buns
The extra step of scalding milk only takes a few minutes, and is well worth the effort. Scalding milk is simply the process of heating milk to 180° F. Bread recipes often call for scalded milk because the scalding process deactivates the proteins in milk whey that can keep gluten from forming properly. The warm milk can also help activate yeast. In short, scalded milk helps yeast breads rise!
To scald the milk for this recipe, place the milk in a saucepan over low heat. Warm the milk until a skin forms on the top. As soon as the skin forms on top of the milk, remove the pan from the heat — be careful not to let the milk boil.
How to Make Hot Cross Buns
There’s nothing difficult about this process. Just gather your ingredients and follow the recipe directions carefully. Baking is an exact science, so I do not recommend tweaking the measurements or substituting with different ingredients until you’ve tried it at least once. Enjoy the aroma of the soft, warm, yeasty buns wafting from your kitchen!
- Soften the yeast in warm water for 5-10 minutes.
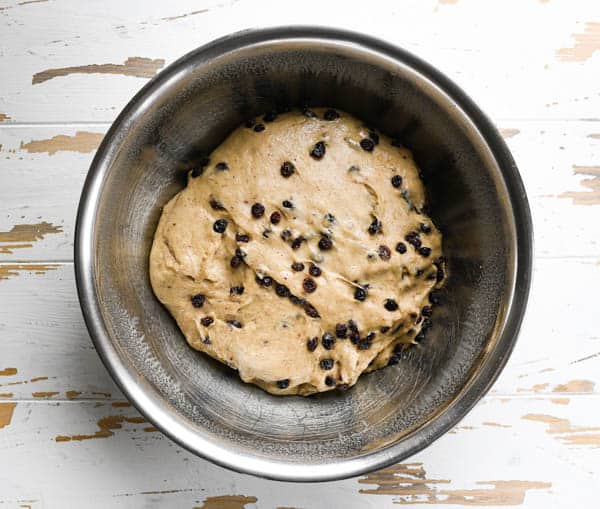
- Mix the dough, then knead for about 2 minutes. I use a stand-mixer for this job, but you can also knead the dough by hand on the counter, if necessary.
- Transfer the dough to a greased bowl, cover, and let rise in a warm spot until doubled in size, about 2 hours.
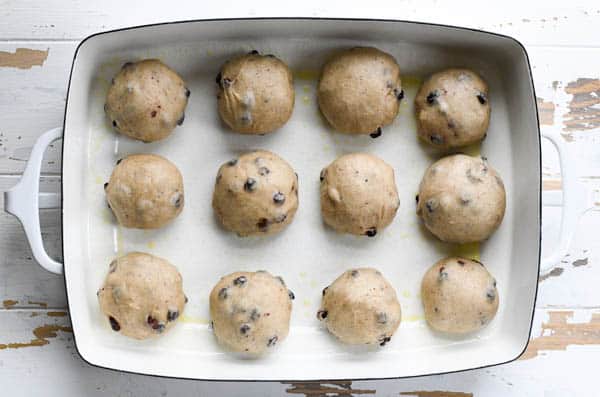
- Punch down the dough, divide into 12 even pieces, and shape each piece into a smooth ball.
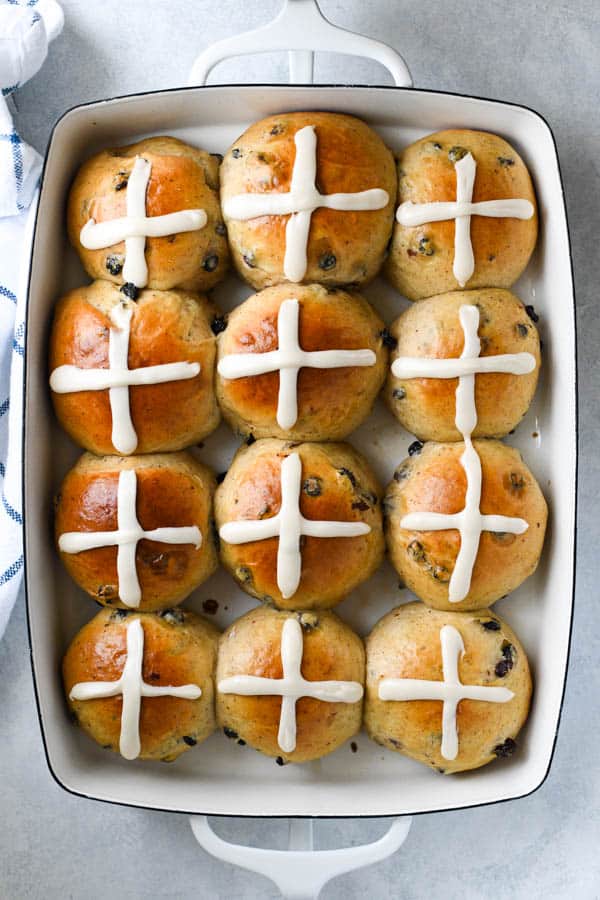
- Arrange the dough balls in a greased 9 x 13-inch baking dish.
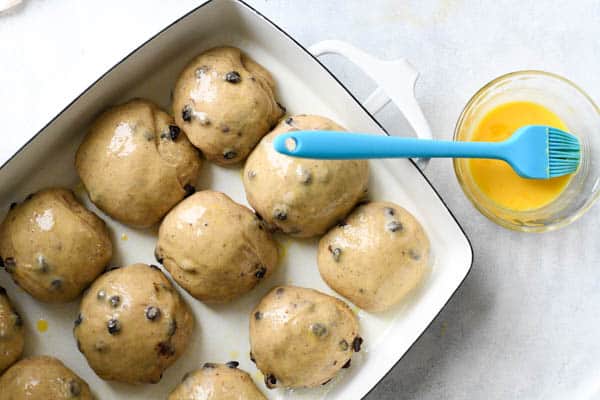
- Cover the dish and let the dough rise again until it’s puffy, about 1 hour.
- Remove the cover and brush the tops of the buns with an egg wash.
- Bake in a 350° F oven for 18-22 minutes, or until golden brown on top.
- Cool in the pan on a wire rack.
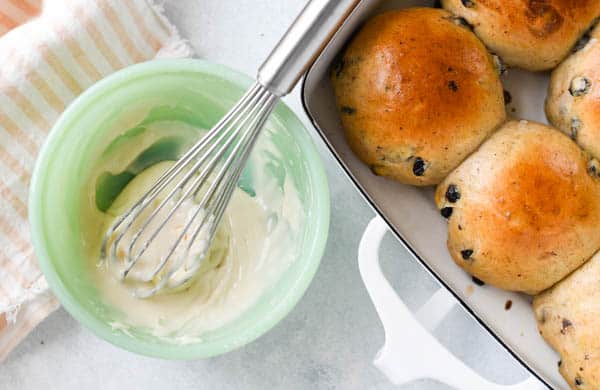
- Whisk together the glaze, transfer to a piping bag or sandwich bag with the corner snipped off, and pipe a cross onto the top of each bun.
Storage
The homemade buns are best enjoyed on the same day that they’re baked. Leftover buns will keep at room temperature in an airtight container for about 1 day, or wrapped tightly in the freezer for up to 3 months.
Make Ahead Hot Cross Buns
Since it’s not always convenient to make the dough just before serving, you can prepare the dough in advance and then bake the buns when you’re ready to enjoy them. This is ideal for Good Friday or Easter when you might have a lot of other last-minute responsibilities in the kitchen.
To prepare the dough ahead of time, shape the buns as instructed in the recipe and arrange them in the greased baking dish. Cover tightly and refrigerate for up to 1 day. About 2-3 hours before you plan to bake the buns, pull them out of the refrigerator and let them rise on the counter before baking.
How to Freeze the Dough
If you plan to make the dough more than 1 day ahead, it’s best to freeze the dough. To freeze hot cross bun dough, shape the buns as instructed in the recipe and arrange them in the greased baking dish. Cover tightly and freeze for up to 1 month. When ready to bake, remove the buns from the freezer, take off the cover, and re-cover the buns with a clean cloth or towel. Place them in a warm spot and let them thaw and rise for 3-4 hours (or until they look puffy). Bake according to the recipe instructions.
How to Reheat
If you have leftover buns that you’d like to reheat, place them in a 350° F oven just until warmed through (about 5-7 minutes). Don’t leave them in for too long or they’ll become dry and toasted. You can also microwave individual buns for about 15 seconds, or until warm. Be aware, though — the icing may run when reheated, so the cross design might not be quite as crisp.
Tips for Making the Best Hot Cross Buns Recipe
- Use a glass or ceramic baking dish. I find that metal pans, muffin tins and cast iron skillets cause the bottoms and sides of the buns to burn more easily.
- Bake in the center of the oven to prevent excessive browning on the top or bottom of your buns. You likely will not need to do so, but you can cover the buns loosely with foil if they start to get too dark on top before they’re done baking.
- Store yeast in the freezer. Even unopened packets of yeast with a good expiration date can go bad at room temperature, so I always keep the yeast in the freezer. Old yeast will impact the dough’s ability to rise.
- Rise in a warm spot. If your dough isn’t rising, check the temperature of your kitchen. Ideally, you want to find a spot that’s about 75° F, but this doesn’t have to be exact.
- Properly measure the flour. Always spoon and level the flour — do not scoop it out of the package. Incorrectly measuring the flour will result in dense, hard hot cross buns.
- To shape the round buns, work with one piece of dough at a time and tuck the edges underneath to the middle of the bun — creating a smooth, round top — pinching and sealing the bottom. Then place the bun in the baking dish and continue with remaining dough.
- Do not pipe the cross onto hot buns. Give them a chance to cool, and then add the cross design. It’s fine if the buns are still slightly warm, but you don’t want them too hot or the icing will melt right off.
More Recipes for Your Easter Table
- Old-Fashioned Lemon Squares
- Coconut Cake
- Twice Baked Potatoes
- Pineapple Glazed Ham or Virginia Brown Sugar Glazed Ham
- Jelly Bean Cookies
- Easy Deviled Eggs
- Brown Sugar Glazed Carrots
- Spinach Salad with Bacon
- Southern Pineapple Casserole
- Virginia Country Ham Biscuits
- Sweet Potato Casserole with Marshmallows
- Tater Tot Breakfast Casserole
- Lemon Bundt Cake
- Easy Carrot Cake Recipe

Did you make this recipe?
If you enjoyed this recipe, please leave a comment with a 5-star review at the bottom of the post. Thank you!
Hot Cross Buns
Ingredients
- 1 (0.25 oz) package dry active yeast
- ¼ cup lukewarm water
- ¾ cup whole milk, scalded (see note below for how to scald milk)
- ¼ cup shortening
- ½ cup granulated sugar
- 1 teaspoon salt
- 1 egg, beaten
- 3 cups bread flour (or sub with all-purpose flour)
- 1 teaspoon ground cinnamon
- ½ teaspoon ground nutmeg
- ¼ teaspoon ground allspice
- 1 cup dried currants (or sub with raisins)
Egg Wash:
- 1 egg lightly beaten with 1 tablespoon of water
Glaze:
- ½ cup confectioners’ sugar, sifted
- ½ teaspoon vanilla extract
- 2 teaspoons milk
Instructions
- In a small bowl, stir together yeast and warm water. Allow to rest for 5-10 minutes, until foamy.
- In a large mixing bowl fitted with a dough hook or paddle attachment, combine scalded milk, shortening, sugar and salt. Stir to dissolve the ingredients in the warm milk. Cool the mixture to a lukewarm temperature.
- Add the softened yeast mixture to the milk mixture. Add the egg, 1 cup of flour, cinnamon, nutmeg and allspice. Beat on low speed for 30 seconds, then scrape down the sides of the bowl with a spatula. Add remaining flour and the currants (or raisins); beat on medium speed until the dough comes together and pulls away from the sides of the bowl (about 1-2 minutes). If the dough seems too wet, gradually add a spoonful of flour at a time until the dough comes together and pulls away from the sides of the bowl. Continue mixing the dough for 2 more minutes (or knead by hand on the counter for 2 minutes).
- Lightly grease a bowl with oil. Transfer the dough to the bowl and turn to coat. Cover tightly with plastic wrap and let the dough rise in a warm place until doubled in size (about 2 hours).
- Punch down the dough. Divide the dough into 12 even pieces; shape into smooth balls. Arrange the dough balls in a greased 9 x 13-inch baking dish.
- Cover the dish and let the dough rise again until puffy, about 60-90 minutes.
- Remove the cover, brush the tops of the buns with egg wash, and bake on the middle rack in a 350° F oven for 18-22 minutes. Let cool in the pan on a wire rack.
- Once the buns are cool (or just slightly warm, but not too hot), prepare the glaze. In a small bowl, whisk together the confectioners’ sugar, vanilla and milk. The glaze should be thick, but thin enough so that you can pipe it onto the buns. If it’s too thick, add a small amount of milk to thin. If it’s too thin, add a small amount of confectioners’ sugar until it reaches the desired consistency. Transfer the glaze to a piping bag or a sandwich bag with the corner snipped off; pipe a cross onto each bun.
Notes
- Scalding milk is simply the process of heating milk to 180 degrees F. To scald the milk for this recipe, place the milk in a saucepan over low heat. Warm the milk until a skin forms on the top. As soon as the skin forms on top of the milk, remove the pan from the heat — be careful not to let the milk boil.
- Use a glass or ceramic baking dish. I find that metal pans, muffin tins and cast iron skillets cause the bottoms and sides of the buns to burn more easily.
- Bake in the center of the oven to prevent excessive browning on the top or bottom of your buns. You likely will not need to do so, but you can cover the buns loosely with foil if they start to get too dark on top before they’re done baking.
- Store yeast in the freezer. Even unopened packets of yeast with a good expiration date can go bad at room temperature, so I always keep the yeast in the freezer. Old yeast will impact the dough’s ability to rise.
- Rise in a warm spot. If your dough isn’t rising, check the temperature of your kitchen. Ideally, you want to find a spot that’s about 75° F, but this doesn’t have to be exact.
- Properly measure the flour. Always spoon and level the flour — do not scoop it out of the package. Incorrectly measuring the flour will result in dense, hard hot cross buns.
- To shape the round buns, work with one piece of dough at a time and tuck the edges underneath to the middle of the roll — creating a smooth, round top — pinching and sealing the bottom. Then place the bun in the baking dish and continue with remaining dough.
- Do not pipe the cross onto hot buns. Give them a chance to cool, and then add the cross design. It’s fine if the buns are still slightly warm, but you don’t want them too hot or the icing will melt right off.

I am going to make these for Easter! At what point do you recommend freezing for later as that is what I plan to do? What about the thawing & heating on Easter?
Hi, Annabel! I’m so glad that you’ll get to enjoy these on Easter! The full make-ahead/freezing instructions are included in the post, but I’ll copy and paste here for convenience, too:
MAKE AHEAD:
Since it’s not always convenient to make the dough just before serving, you can prepare the dough in advance and then bake the buns when you’re ready to enjoy them. This is ideal for Good Friday or Easter when you might have a lot of other last-minute responsibilities in the kitchen.
To prepare the dough ahead of time, shape the buns as instructed in the recipe and arrange them in the greased baking dish. Cover tightly and refrigerate for up to 1 day. About 2-3 hours before you plan to bake the buns, pull them out of the refrigerator and let them rise on the counter before baking.
HOW TO FREEZE THE DOUGH:
If you plan to make the dough more than 1 day ahead, it’s best to freeze the dough. To freeze hot cross bun dough, shape the buns as instructed in the recipe and arrange them in the greased baking dish. Cover tightly and freeze for up to 1 month. When ready to bake, remove the buns from the freezer, take off the cover, and re-cover the buns with a clean cloth or towel. Place them in a warm spot and let them thaw and rise for 3-4 hours (or until they look puffy). Bake according to the recipe instructions.
By “shortening” do you mean something like Crisco? And have you ever mixed your dough in the bread machine on “Dough” setting then shaped rolls?
Have a great day!
Hi, Cathy! Yes — Crisco shortening is perfect. I like the sticks, which I find easier to measure.
I’ve never owned a bread machine, so I’m not familiar with how that would work. Hope you get to try these!
no no. not crosses yet,, until Easter Week,, BUT we did need CHRISTMAS STAR BUNS for all of December and January, then bring back our STICKY BUNS you remember, the ones with the different flavoured delicious glazes that stuck to our fingers for licking,, THEN we need our favourite HOT CROSS BUNS just for Easter Week,, — not before,, or we will get bored with them never changing ?!?!?! marion
I love that! Christmas Star Buns! 🙂 Glad that you can find a way to enjoy them throughout the year, Marion. Thank you!
If I don’t have shorting, can I use the same measurement of 1/4 cup of butter?
Hi Daisy,
Yes! Shortening and butter can be exchanged 1:1 in baked goods.