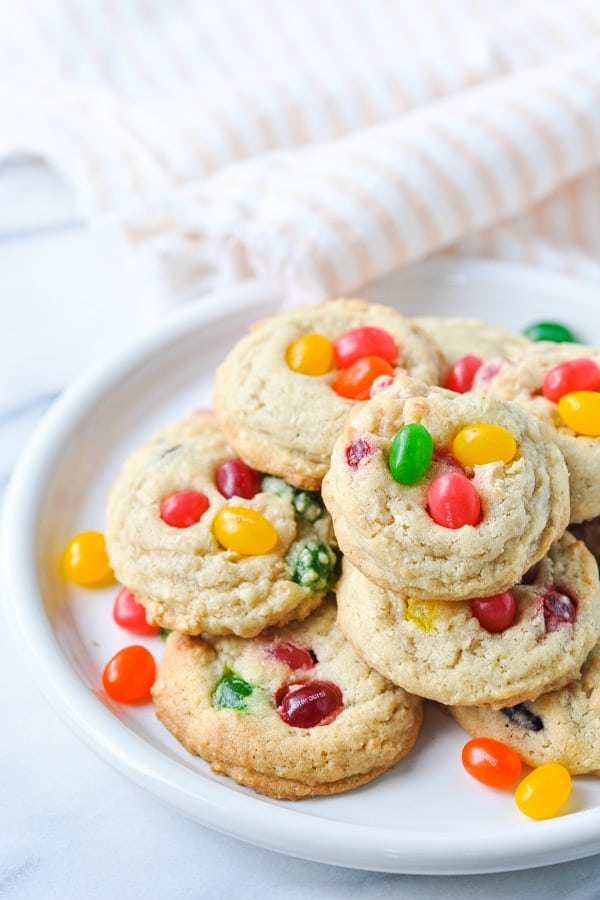
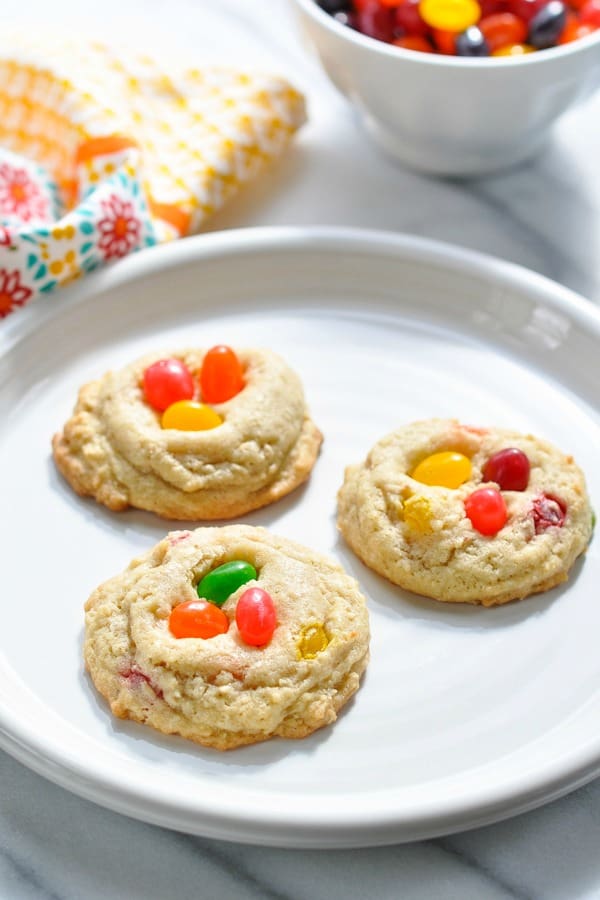
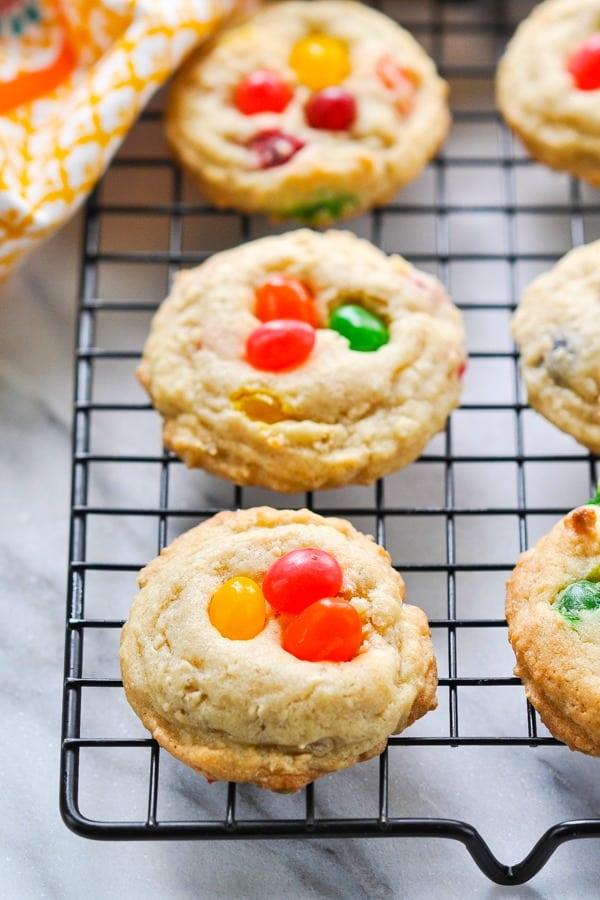
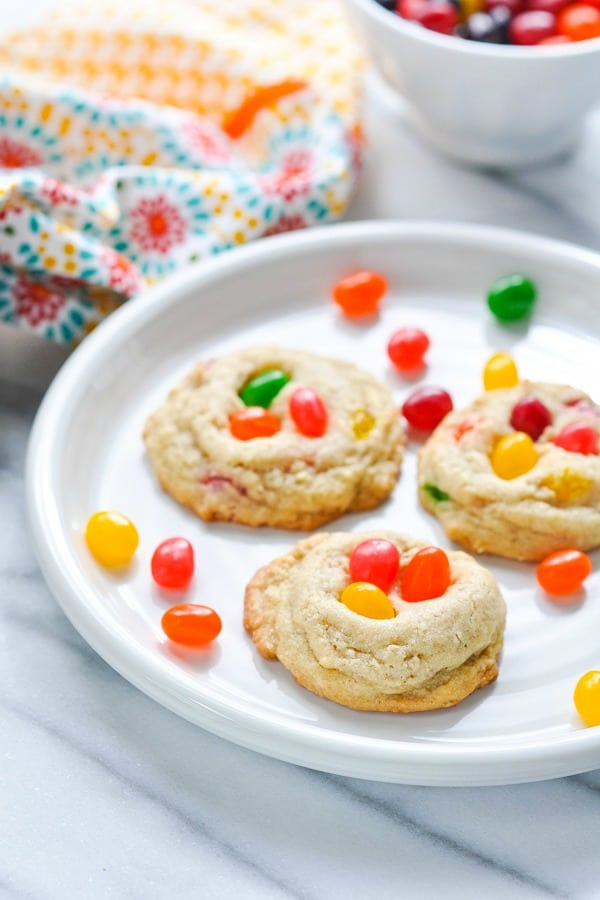
Welcome Spring with these soft and chewy Jelly Bean Cookies! Kids go crazy for this easy Easter dessert recipe, and the sweet treats are a great way to use up any leftover holiday candy!
It can be tricky to come up with festive desserts that are also easily transported to school and 100% kid-friendly. While the grown-ups might prefer a coconut cake, an easy carrot cake recipe, a 7UP Pound Cake, lemon bars with cake mix, or a fresh Strawberry Pie on the holiday table, children will inevitably reach for these brightly colored Jelly Bean Cookies!
How to make Jelly Bean Cookies:
Start a new Easter baking tradition with your grandchildren, or share some holiday joy with your kids’ friends at school. These Jelly Bean Oatmeal Cookies are nut-free, can be prepared in advance, and are ready (from start to finish) in about 20 minutes! Plus, you only need one bowl and a handful of pantry staples…
Ingredients:
- Butter
- Light brown sugar and white granulated sugar
- Egg
- Vanilla extract
- Salt
- Baking soda and baking powder
- All-purpose flour
- Quick oats
- Small jelly beans
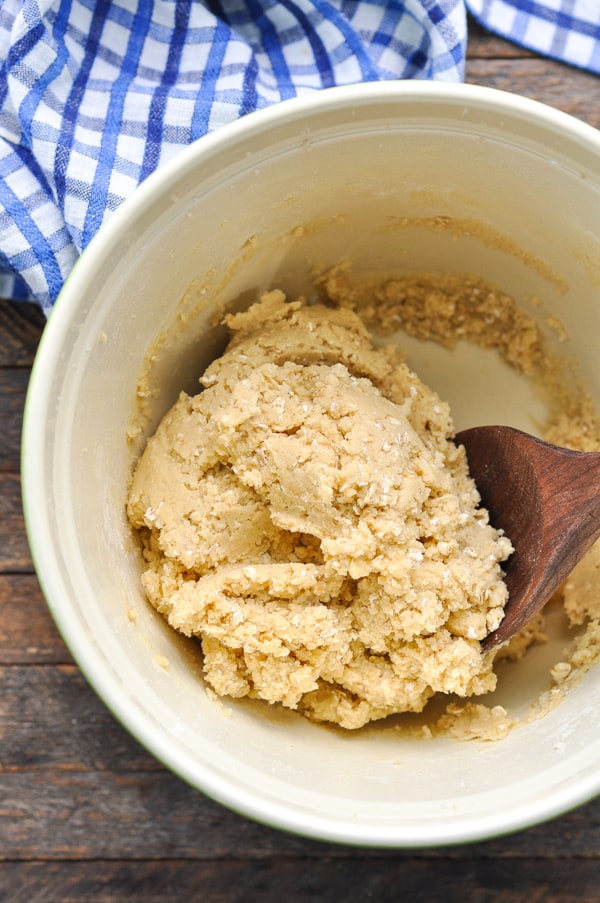
Make the basic cookie dough by creaming together the butter and sugars, adding the egg and vanilla extract, and finally mixing in the dry ingredients.
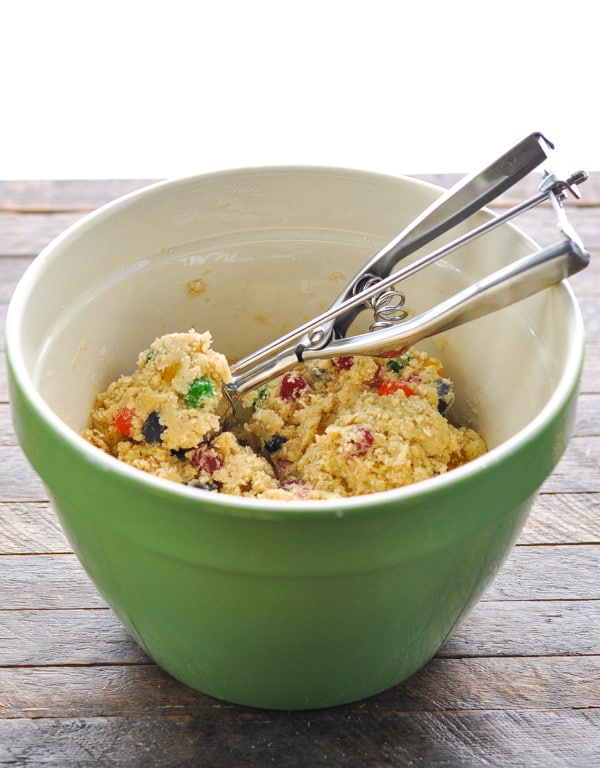
Fold in the jelly beans.
I used Starburst jelly beans here, but any similar small jelly beans will work!

Drop the cookie dough onto parchment or silicone-lined baking sheets.
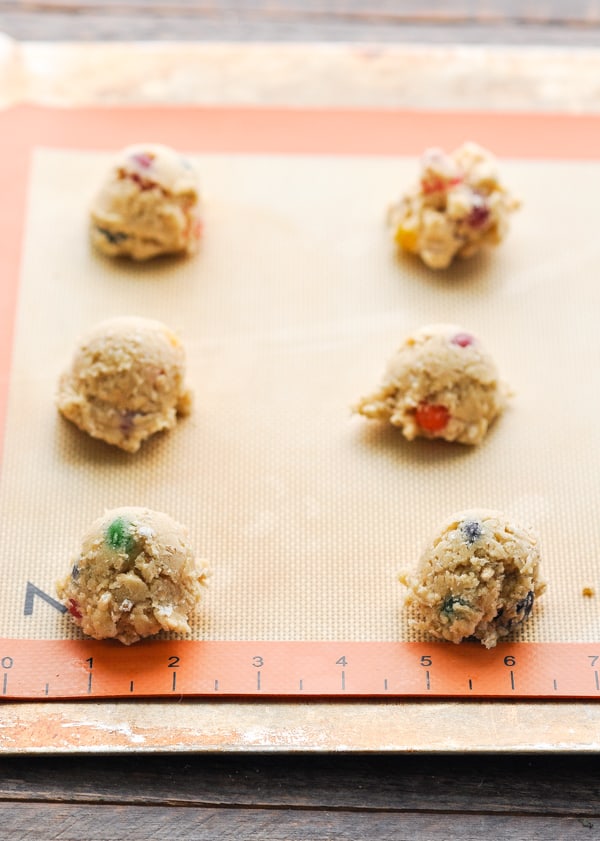
Bake the cookies in a 350 degree F oven for 7-9 minutes, or just until they start to turn golden brown. Don’t bake them too long, or they will not be soft and chewy.
Preparation and Storage Tips – Jelly Bean Cookies:
- This cookie dough does not need to be chilled before baking; however, putting it in the refrigerator for at least 30 minutes (or up to 8 hours) before baking prevents the cookies from spreading and yields puffier, thicker cookies.
- Store the cookies in an airtight container at room temperature. They will last on the counter for about 3 days.
- To extend the life of your cookies, wrap them tightly and freeze them for up to 3 months. You can also freeze the cookie dough before baking. This dough freezes best if you portion it into dough balls before freezing. Arrange the dough balls on baking sheets, freeze, and then wrap tightly in an airtight container or Ziploc bag. When ready to bake, just pull a couple of frozen dough balls from the oven and bake in a 350 degree F oven. You’ll need to add about 1-2 more minutes to the baking time since you’re starting with frozen dough.

Cook’s Tips and Recipe Variations – Jelly Bean Oatmeal Cookies:
- Any small jelly beans will work in this recipe. I used Starburst jelly beans (our favorite), but Jelly Belly or other brands are also great. If you’d like to use large jelly beans, I recommend cutting them in half before adding them to the dough.
- To keep the cookies chewy and moist, remove the cookies from the oven when they’re just slightly browned (but still look a bit soft in the middle). They will firm up as they cool, but they will remain soft and chewy. If you want a crispy jelly bean cookie, bake these longer than the recommended 7-9 minutes. Finally, it’s important that you don’t over-mix the dough once you add the dry ingredients (which can result in tough, dry cookies).
- I like how the quick oats blend into the cookies. If you prefer chewier, heartier oats in your cookies, you can use old-fashioned rolled oats instead. I do not recommend using steel cut oats.
- Make sure that you line the baking sheets with parchment or silicone mats. This prevents the jelly beans from sticking as they bake.
- Have leftover jelly beans? Try other recipes using jelly beans like Jelly Bean Cake, Jelly Bean Bark, Jelly Bean Krispie Treats, or even Jelly Bean Donuts!
More easy cookie recipes that you might enjoy:
- Oatmeal Raisin Cookies
- Cornflake Cookies
- Blueberry Muffin Oatmeal Cookies
- 3-Ingredient Scottish Shortbread Cookies
- Oatmeal Chocolate Chip Cookies

Did you make this recipe?
If you enjoyed this recipe, please leave a comment with a 5-star review at the bottom of the post. Thank you!

Jelly Bean Cookies
Ingredients
- ½ cup salted butter, softened
- ⅓ cup light brown sugar
- ⅓ cup granulated sugar
- 1 egg
- ½ teaspoon vanilla extract
- ½ teaspoon salt
- ½ teaspoon baking soda
- ½ teaspoon baking powder
- 1 ¼ cups all-purpose flour
- ½ cup quick oats
- 1 cup small jelly beans
Instructions
- Preheat oven to 350 degrees F.
- In a large bowl, use an electric mixer to cream together butter and sugars. Beat in the egg and vanilla extract. Slowly add the salt, baking soda, baking powder, flour and oats. Fold in the jelly beans.
- Drop dough in rounded tablespoons on parchment or silicone-lined baking sheets. Bake for 7-9 minutes, or just until lightly golden brown. Cool on the baking sheet for a few minutes, and then transfer to wire racks to cool completely.
Notes
- Any small jelly beans will work in this recipe. I used Starburst jelly beans (our favorite), but Jelly Belly or other brands are also great. If you’d like to use large jelly beans, I recommend cutting them in half before adding them to the dough.
- To keep the cookies chewy and moist, remove the cookies from the oven when they’re just slightly browned (but still look a bit soft in the middle). They will firm up as they cool, but they will remain soft and chewy. If you want a crispy jelly bean cookie, bake these longer than the recommended 7-9 minutes. Finally, it’s important that you don’t over-mix the dough once you add the dry ingredients (which can result in tough, dry cookies).
- I like how the quick oats blend into the cookies. If you prefer chewier, heartier oats in your cookies, you can use old-fashioned rolled oats instead. I do not recommend using steel cut oats.
- Make sure that you line the baking sheets with parchment or silicone mats. This prevents the jelly beans from sticking as they bake.


I made these the day after Easter for my neighbors and myself! They were so cute and tasty!
That’s so good to hear, Heidi! Thanks for taking the time to come back here and let me know!
I made these for Easter, something a little different. My whole family loved them! Will definitely make them again and again!
Thanks, Ann!
WOW!!! Fantastic recipe! These turned out amazing! I was a touch nervous when I pulled them out they would be too soft, but I trusted the process and am SO glad I did not put them back in. They were perfect! THANK YOU!
Oh, good! Thank you!
These cookies are colorful, fun, and easy to make. Next time I will put fewer jelly beans in the dough and more on top.
Thank you for the feedback, Cindy. We’re glad you enjoyed them overall!
What could I use in these cookies besides jelly beans? They got mixed reviews from my family. (I like them!!!) But I think the cookie recipe is really good. Can I use chocolate chips like regular cookies?
Sorry Cindy, I didn’t realize the reply option I was clicked on. Whoops.
Hi, Faith! You could use chocolate chips, or you could try coarsely chopped Cadbury mini eggs or pastel-colored M&M’s if you want to stick with the Easter theme. 🙂