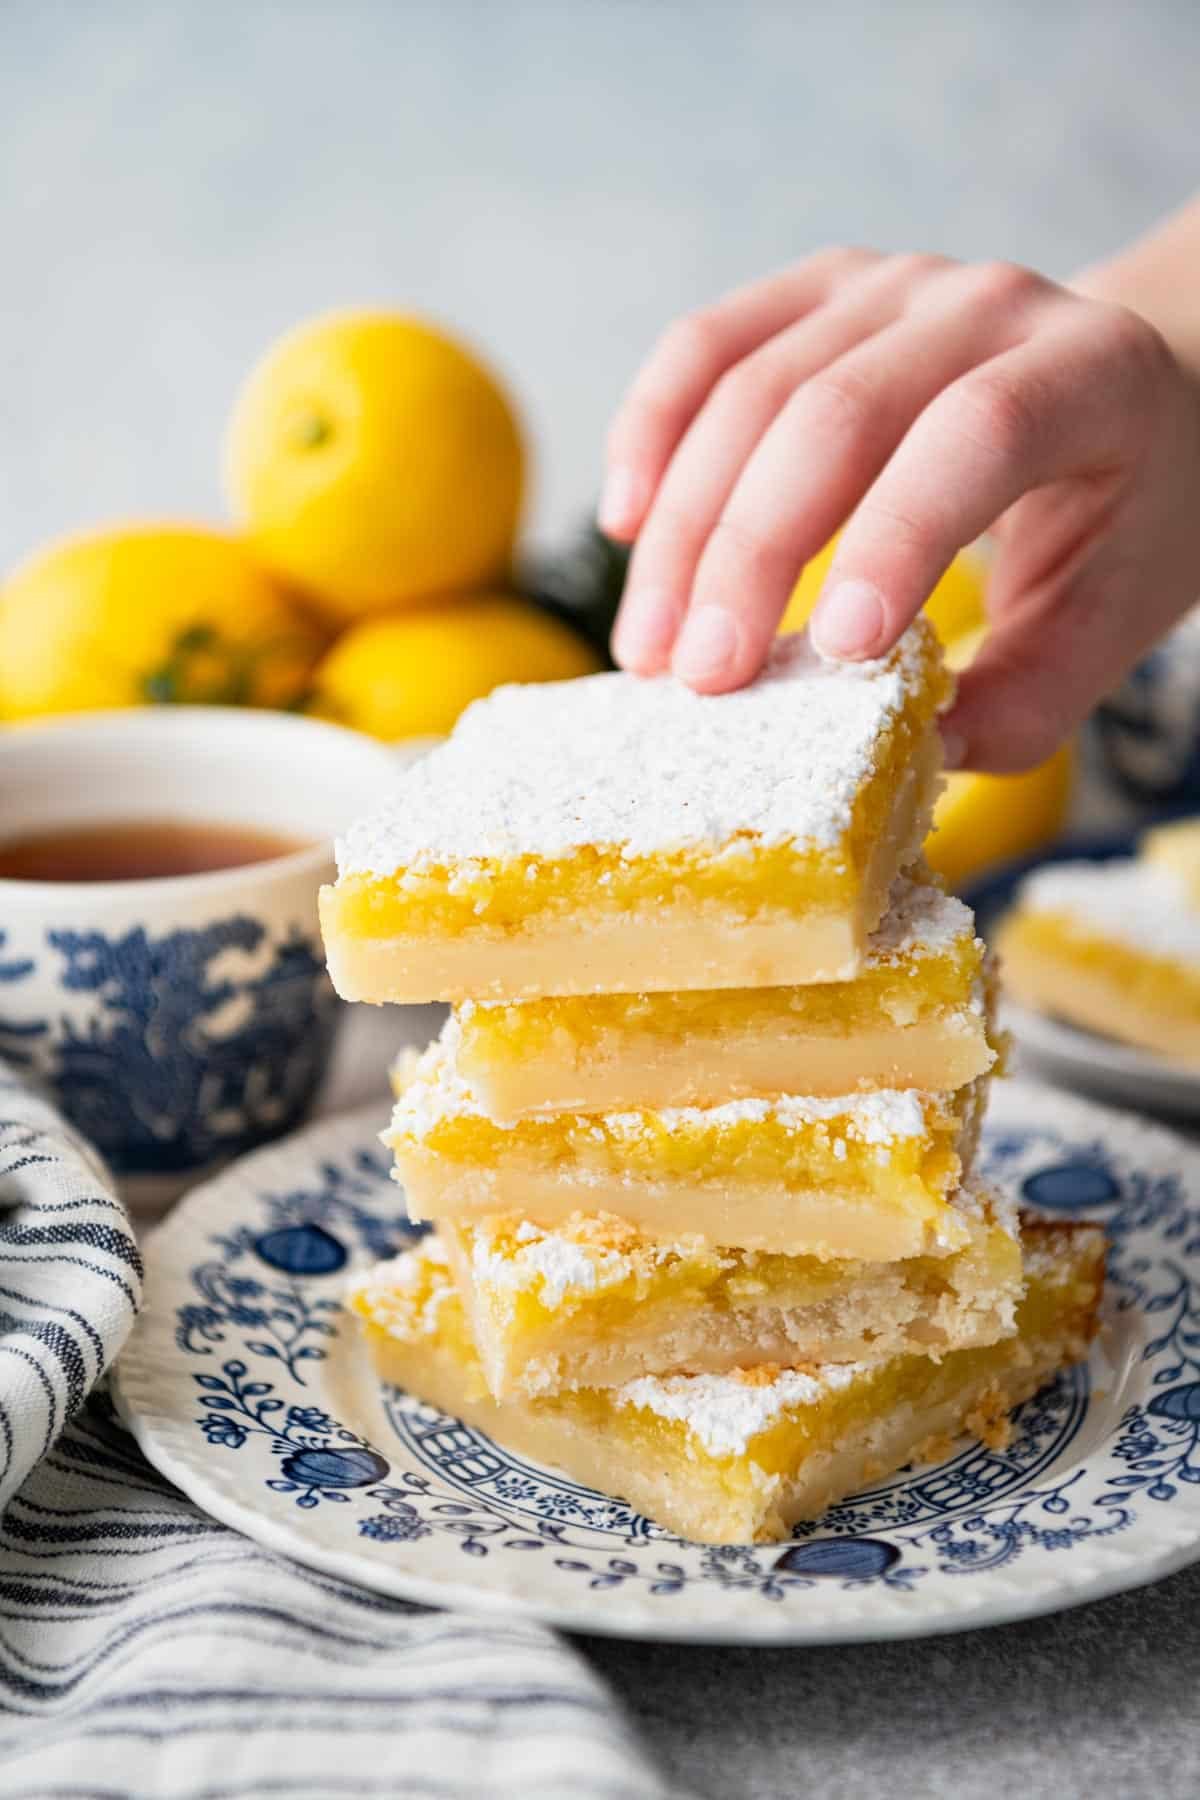
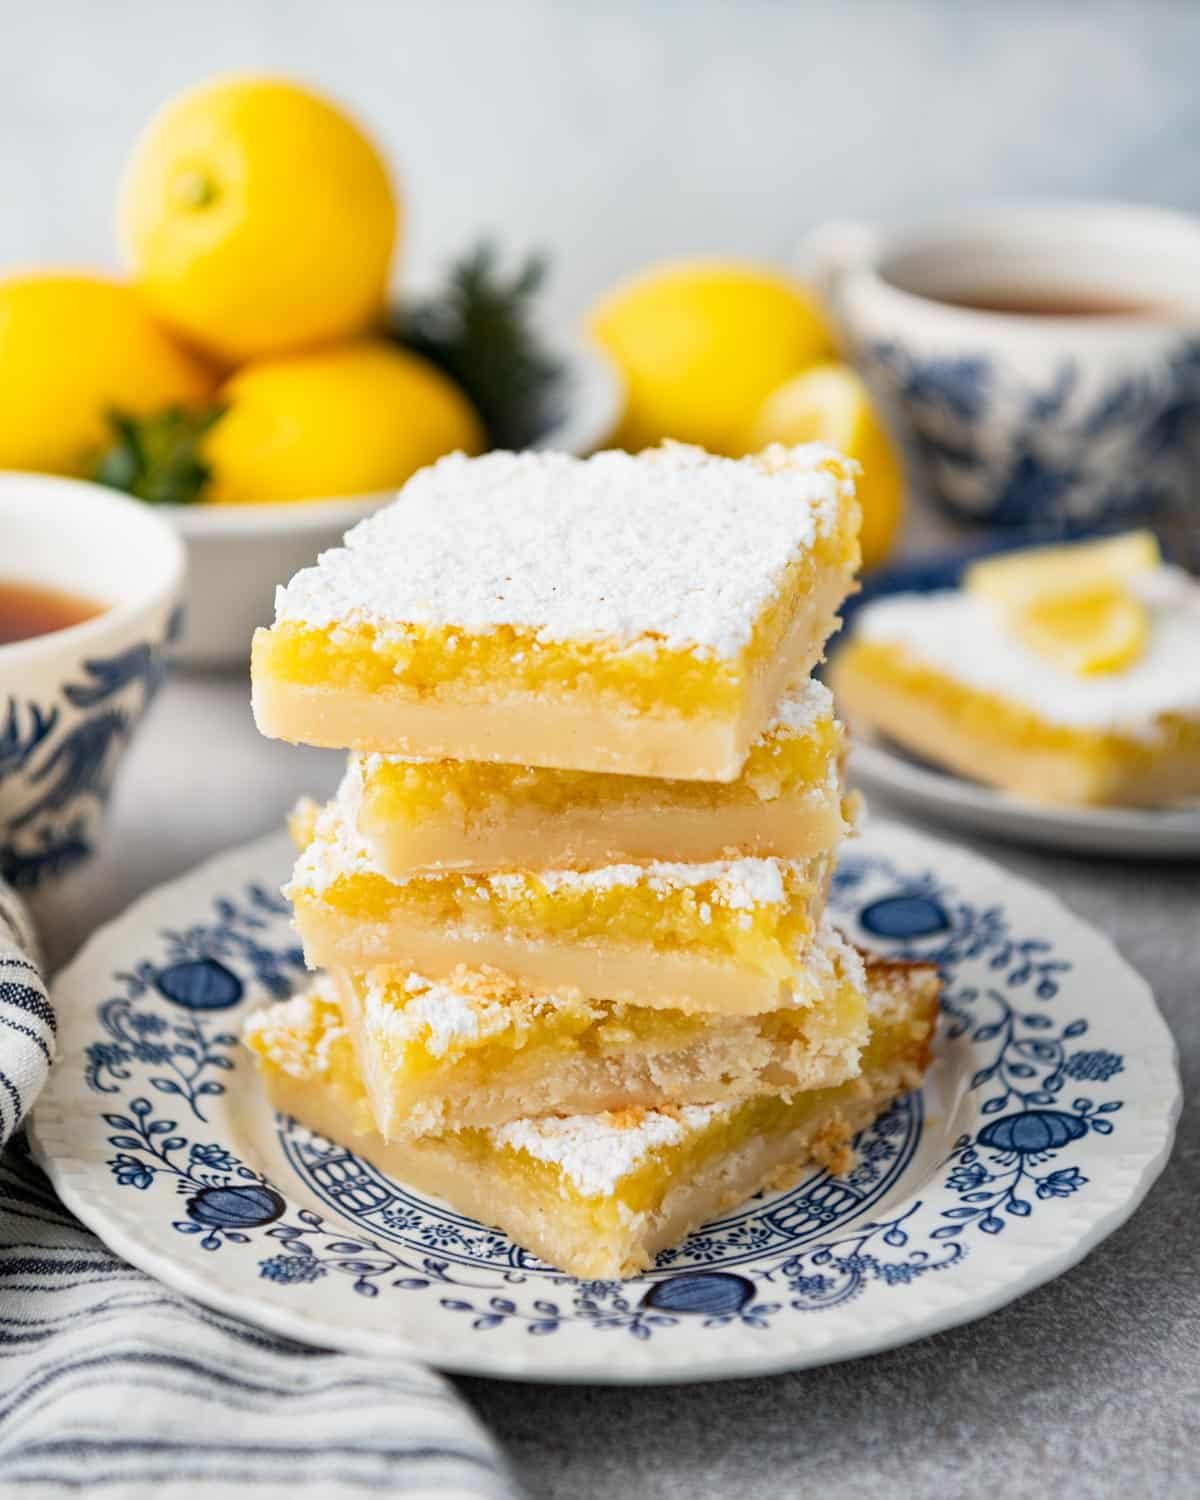
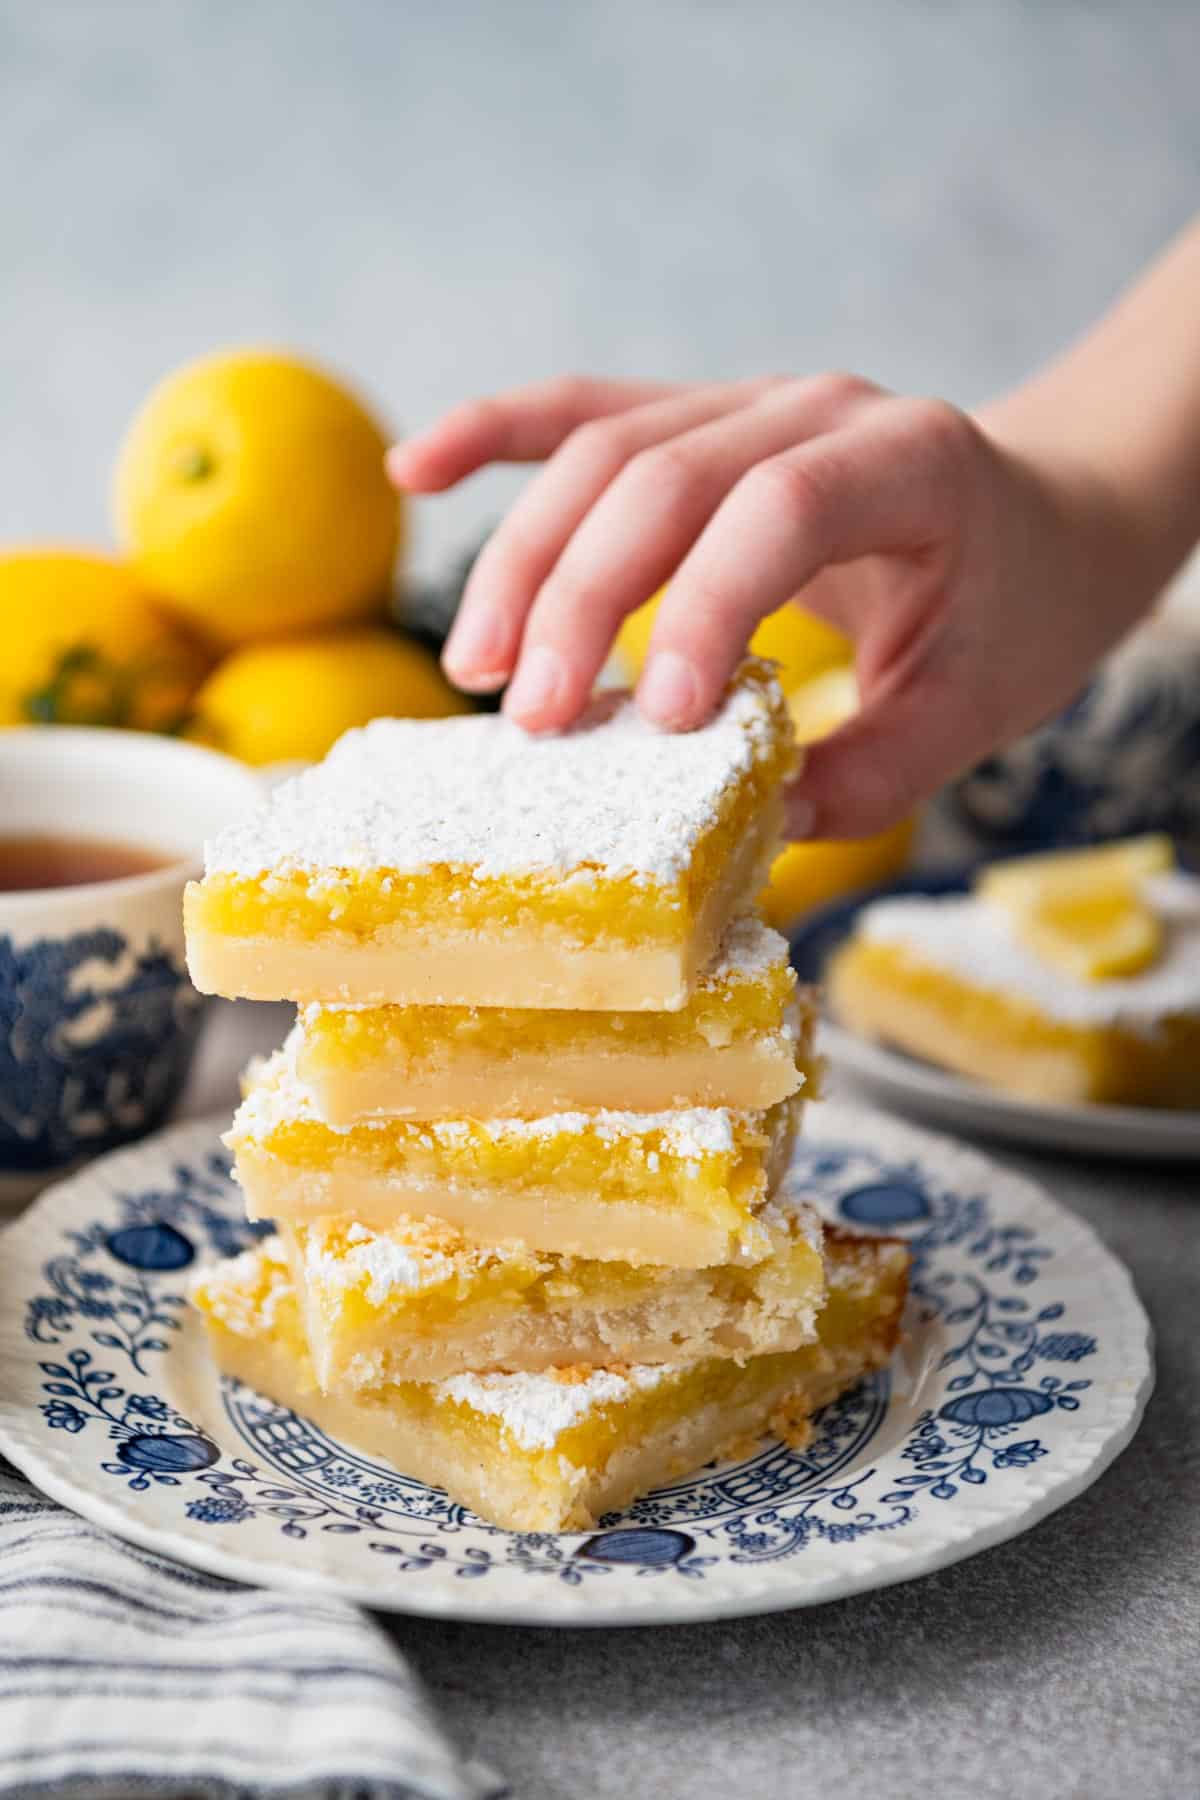
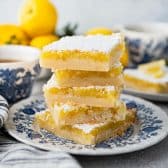
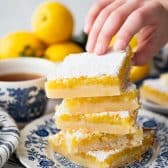
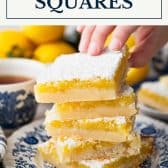
These old-fashioned lemon squares start with a buttery shortbread crust, a bright and tangy lemon curd filling, and a dusting of powdered sugar on top. With just 7 ingredients and 10 minutes of prep, they’re one of the easiest baked desserts you’ll make all spring.
A few more great lemon desserts
Before You Get Started
This recipe traces back to the VeryVera cookbook and the classic Southern lemon bars that have shown up in community cookbooks for generations. A few things to keep in mind before you start:
- Use a glass or ceramic baking dish. Metal pans can react with the lemon filling and leave a faint metallic aftertaste. Plan for this before you start since it affects the final flavor.
- Bake the crust until golden brown. An underbaked crust goes soggy once the filling is added. Look for real color before the filling goes on.
- Cool completely before slicing. Room temperature for about 1 hour, then refrigerate for at least 2 more hours. Cold bars slice cleanly; warm ones don’t.
How to Make Lemon Squares
These classic bars come together in two layers: a shortbread crust and a lemon curd filling. The hands-on time is minimal; the hardest part is waiting for them to cool.
Step 1: Prep the Pan and Preheat
Preheat the oven to 350°F. Grease and flour a 9×13-inch glass baking dish, or line it with parchment paper leaving an overhang on both sides.
The parchment method makes it easy to lift the whole slab out for clean slicing later.
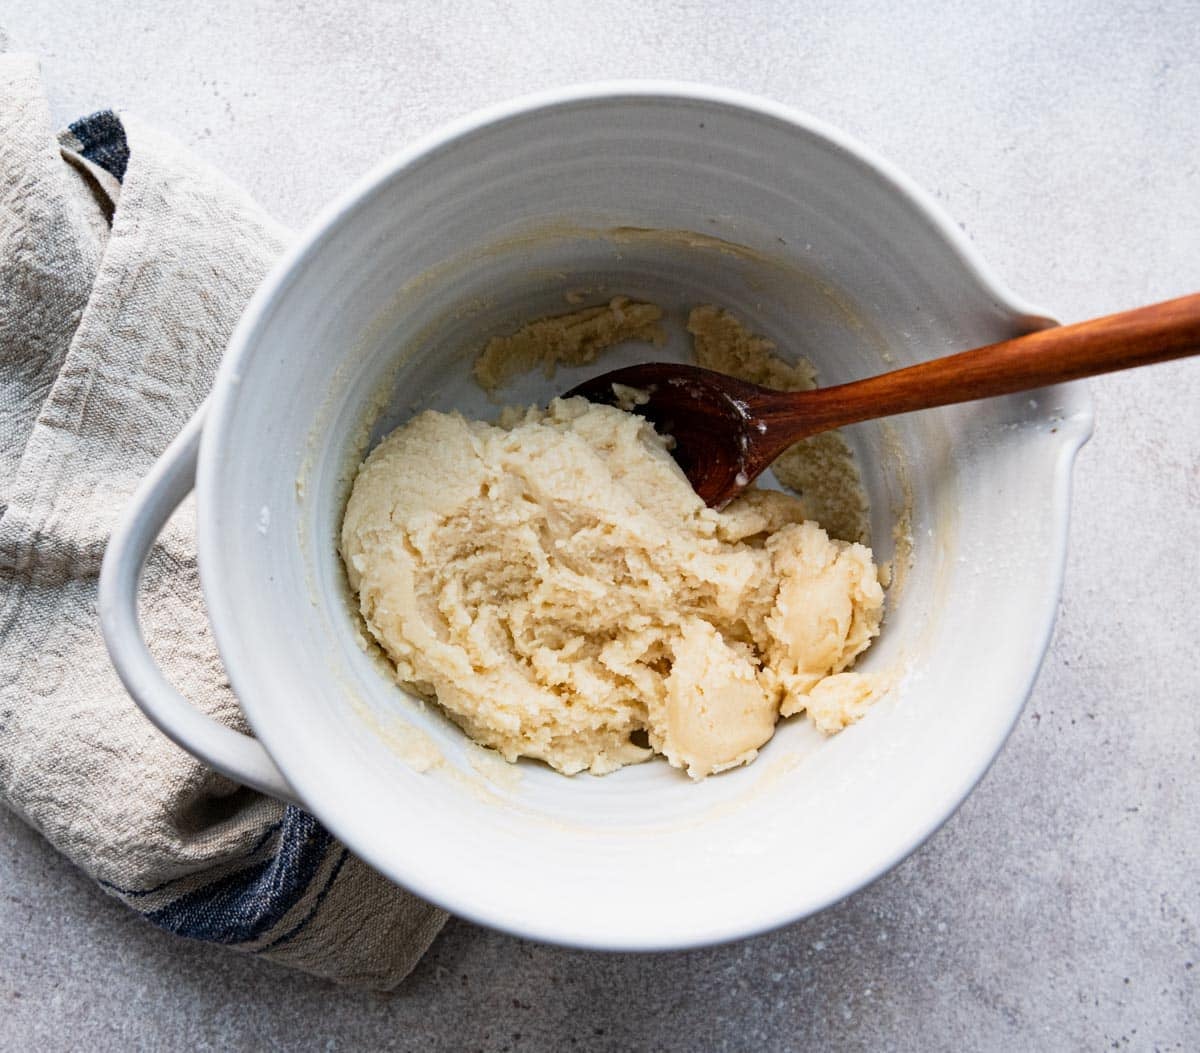
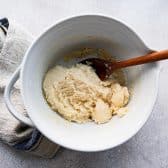
Step 2: Make the Shortbread Crust
In a large bowl, stir together the melted butter, flour, and confectioners’ sugar until fully combined. The mixture will look crumbly at first but comes together into a soft dough.
If you’re using unsalted butter, add about 1/2 teaspoon of salt to the crust at this point.
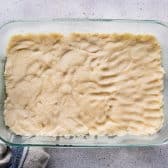
Press the dough into an even layer in the prepared pan. The flat bottom of a measuring cup works well for getting a smooth surface.
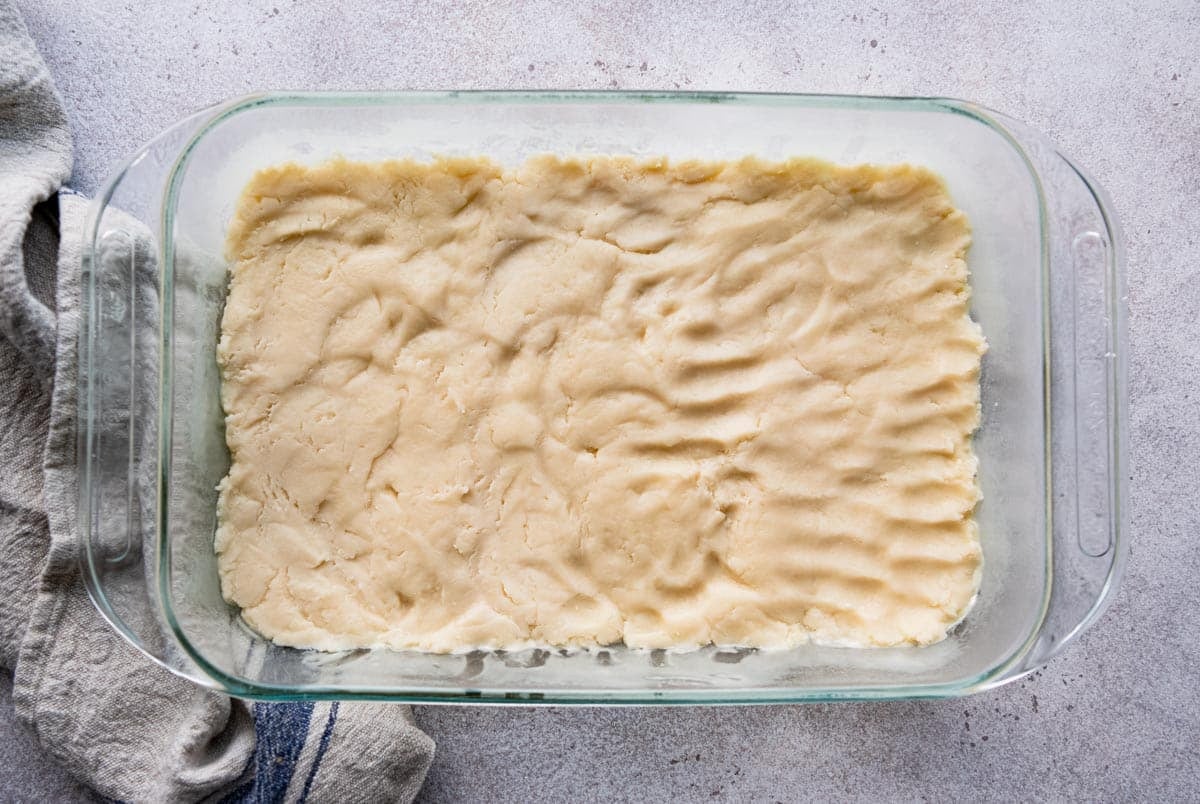
Bake for 15 to 20 minutes, until the crust is a light golden brown. Don’t pull it early. That golden color means it’s set and ready to hold up under the filling.
⇢ Prefer a graham cracker base? My Easy Lemon Bars skips the oven entirely and uses a creamy no-bake filling instead.
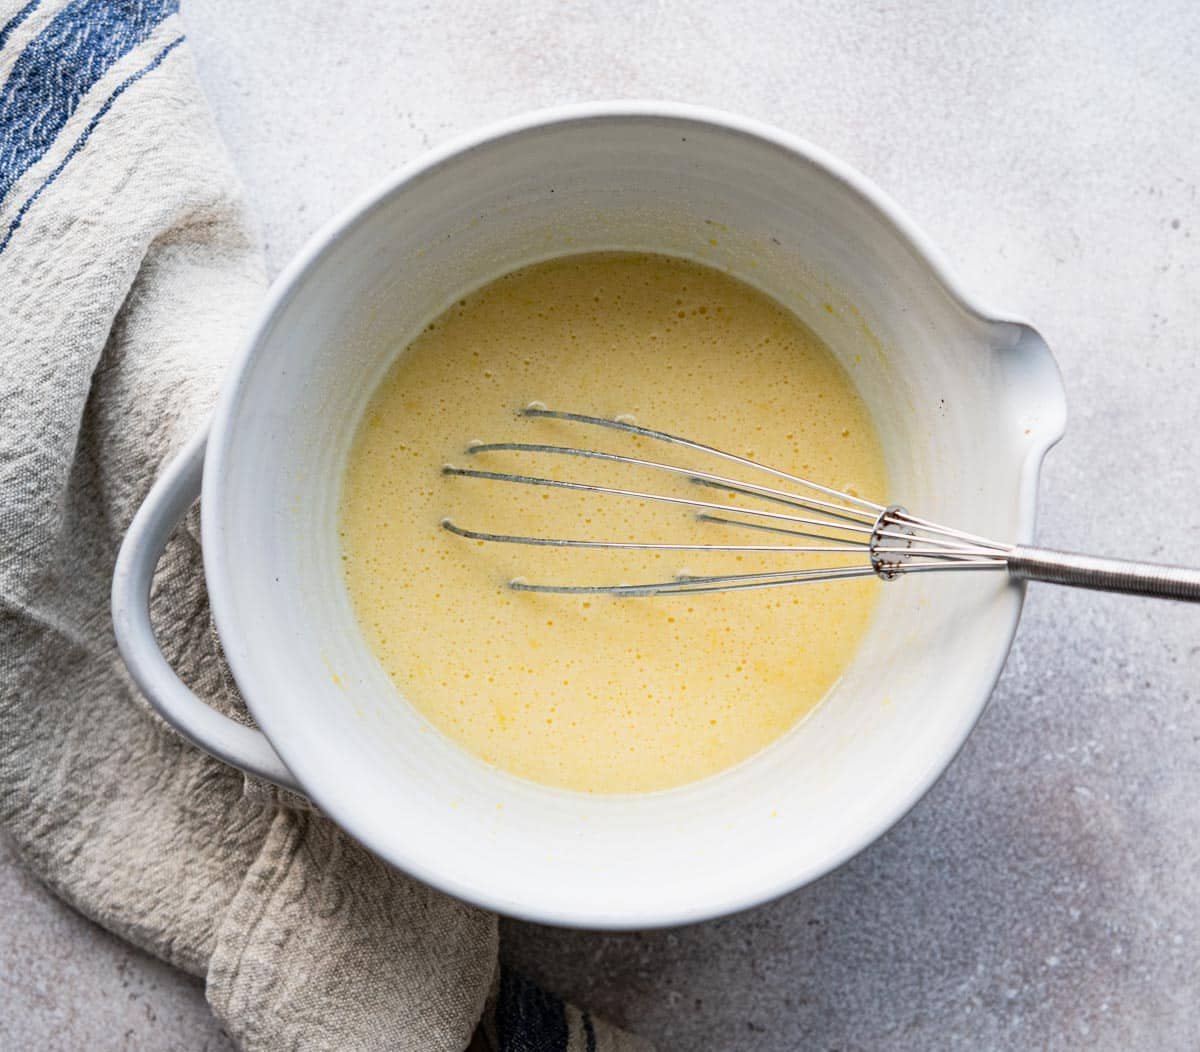
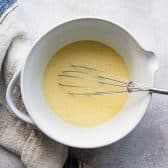
Step 3: Make the Lemon Filling
While the crust bakes, whisk together the granulated sugar, flour, and baking powder in a large bowl. Add the eggs, fresh lemon juice, and lemon zest. Whisk until completely smooth.
Use freshly squeezed lemon juice here, not bottled. The zest matters just as much. It carries the essential oils and bright citrus flavor that make these bars taste fresh rather than flat. When zesting, stick to the outer yellow layer only. The white pith underneath is bitter and will dull the flavor.
For a more pronounced lemon taste, add an extra teaspoon of zest. It won’t change the structure of the filling, just the intensity.
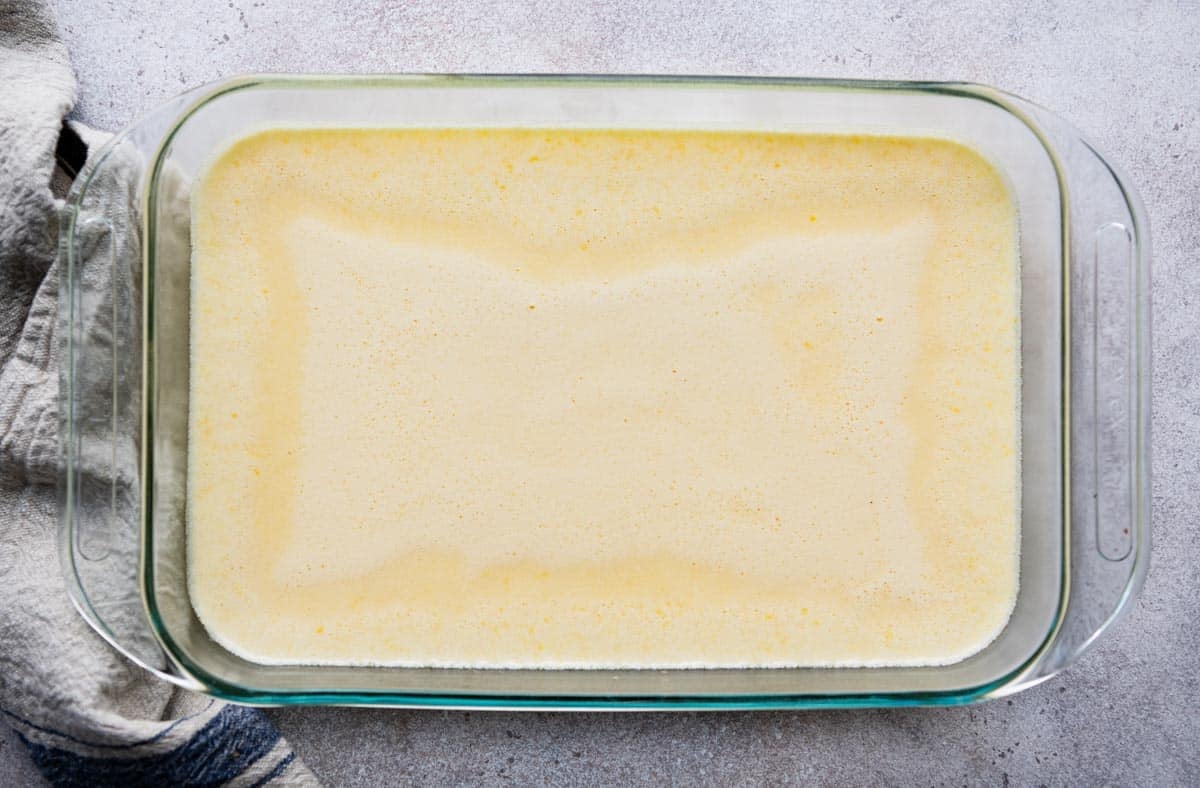
Step 4: Pour and Bake
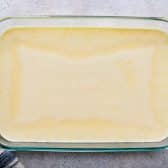
Pour the filling over the hot crust as soon as it comes out of the oven.
Return the pan to the oven and bake for about 25 minutes.
The filling is done when the center no longer jiggles when you gently shake the pan. The edges set first; the top should look matte rather than shiny when fully baked.
If you notice small white bubbles on top after baking, that’s completely normal. A dusting of powdered sugar takes care of them.
Step 5: Cool and Slice
Cool the bars on a wire rack at room temperature for about 1 hour, then refrigerate for at least 2 more hours.
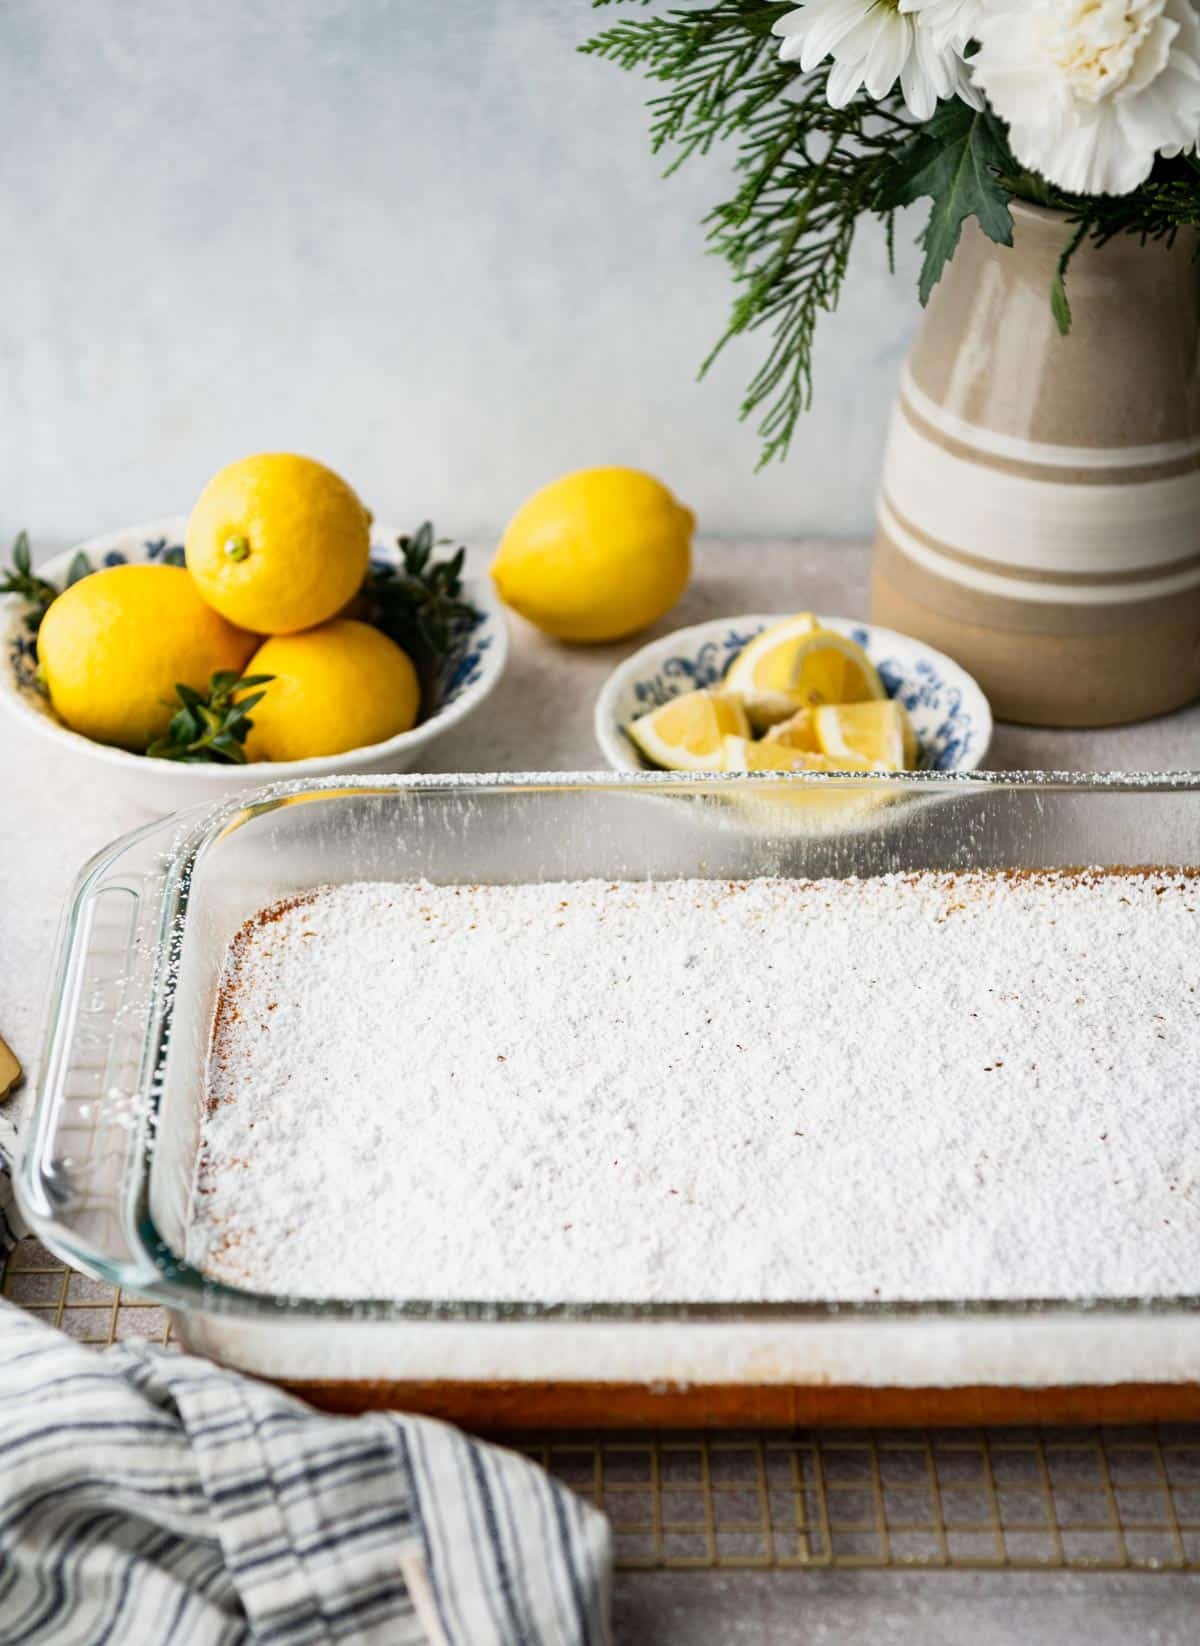
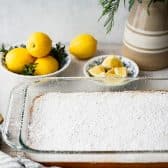
Once fully chilled, dust generously with confectioners’ sugar and slice into squares. For the cleanest cuts, use a sharp knife and wipe the blade between each slice.
Want to Mix It Up?
- Lime Bars: Swap the lemon juice and zest for an equal amount of fresh lime juice and lime zest.
- Lemon Blueberry Squares: Fold about 1 cup of fresh blueberries into the filling before pouring it over the crust.
- Lemon Basil Bars: Add 2 tablespoons of finely chopped fresh basil to the filling for a version that’s a little unexpected and really lovely.
Storage
Refrigerator: Store in an airtight container for up to 1 week. These bars actually improve after the first day as the filling firms up and the flavors deepen, which makes them a great make-ahead dessert.
Freezer: Freeze before dusting with powdered sugar. Wrap tightly in plastic wrap or foil and store for up to 3 months.
Thawing: Thaw overnight in the refrigerator. Dust with fresh powdered sugar just before serving.
Frequently Asked Questions
Is it better to bake lemon squares in a glass or metal pan?
Glass or ceramic is the better choice. Lemon juice is acidic, and metal pans can react with that acid during baking, sometimes leaving a faint metallic aftertaste. Glass and ceramic are non-reactive, so the flavor stays clean. If metal is all you have, a well-coated pan reduces the risk.
Why are my lemon squares soggy?
A soggy filling almost always comes from an underbaked crust. The shortbread needs to be golden brown before the filling goes on. If it’s pale or soft, it won’t hold up under the wet lemon custard. Bake the crust until it has real color, then pour the filling over it while it’s still hot.
Do lemon squares need to be refrigerated?
They’re fine at room temperature for up to 24 hours, but refrigerate them as soon as possible. Keeping them chilled prevents bacterial growth and keeps the filling firm and easy to slice. Pull them out 20 to 30 minutes before serving if you prefer them closer to room temperature.
Can I use a different pan size?
Yes, but it will change the thickness of both layers and the baking time. A smaller pan like an 8×8-inch dish produces thicker bars and needs a longer bake for the filling to set. A larger pan produces thinner bars that set more quickly. Watch the doneness cues rather than relying strictly on the timer.
I’ve tried other recipes this is my favorite!!
– Michael
More Easy Spring Desserts

Did you make this recipe?
If you enjoyed this recipe, please leave a comment with a 5-star review at the bottom of the post. Thank you!
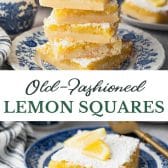
Old-Fashioned Lemon Squares
Equipment
- 9 x 13-inch baking pan
Ingredients
FOR THE CRUST:
- 1 cup (2 sticks) salted butter, melted
- 2 cups all-purpose flour
- ½ cup confectioners sugar, plus extra for dusting at the end
FOR THE FILLING:
- 2 cups granulated sugar
- ¼ cup all-purpose flour
- ½ teaspoon baking powder
- 4 large eggs, at room temperature
- 6 tablespoons lemon juice
- 2 teaspoons lemon zest
Instructions
- Preheat the oven to 350°F. Grease and flour a 9×13-inch glass baking dish, or line with parchment paper leaving an overhang on both sides.
Prepare Crust:
- In a large bowl, stir together melted butter, flour and confectioners sugar until fully combined.

- Press the mixture into an even layer in the prepared dish. Use the flat bottom of a measuring cup to smooth it out. Bake until golden brown, about 15 to 20 minutes.
Prepare Filling:
- While the crust bakes, whisk together the granulated sugar, flour, and baking powder in a large bowl. Add the eggs, lemon juice, and lemon zest. Whisk until completely smooth.
- Pour the filling over the hot crust. Return the pan to the oven and bake for 25 minutes, until the center no longer jiggles when the pan is gently shaken.
- Cool on a wire rack at room temperature for 1 hour. Transfer to the refrigerator and chill for at least 2 more hours.
- Dust with confectioners' sugar, slice into squares, and serve.
Notes
- Use a glass or ceramic pan. Metal pans can react with lemon juice and leave a faint metallic aftertaste.
- Use freshly squeezed lemon juice. Bottled juice doesn’t have the same bright flavor.
- Zest carefully. Grate only the outer yellow peel. The white pith is bitter.
- Want more lemon flavor? Add an extra teaspoon of zest. It won’t change the texture.
- Bake the crust until golden. An underbaked crust goes soggy when the filling is added.
- Cool completely before slicing. Room temperature for 1 hour, then refrigerate for at least 2 more hours.
- White bubbles on top? Totally normal. A dusting of powdered sugar covers them.
- Unsalted butter? Add about 1/2 teaspoon of salt to the crust mixture.
- Storage: Refrigerate in an airtight container for up to 1 week, or freeze (before dusting with sugar) for up to 3 months.
Nutrition
Originally published in January, 2021, this post was updated in April, 2026.


We’re sorry they weren’t your favorite, Lea. You could always reduce the amount of sugar used if you make them again!
I’ve tried other recipes this is my favorite!!
Thank you, Michael!
Hi Blair!
Just wondering if I could cheat and use a Sherriff lemon pie filling? I usually add a little lemon juice to it to give more ‘zing’! lol
Hi Kathleen! We haven’t tested this recipe with pre-made lemon pie filling and can’t guarantee that it would work. It might not set correctly. We’d love to know how it turns out if you do give it a try!
Blair, I cannot wait to make these! Anything lemon is the thing for me. Question: Would I be able, in a time crunch, to sub a jar of lemon curd for the homemade version? Would I then bake it, too? Just a thought since I have a jar of lemon curd in the pantry!
BTW: Yours is the ONLY site I follow. Your recipes are divine!!!
Blair, I just saw the above post about the filling. I’ll try it with the lemon curd and let you know how it goes.
Please do! Thank you!
I made your lemon squares recipe today and they are delicious. I used half the crust amount but the full lemon amount (except I used one cup of sugar not two which was still sweet enough) and made it in a 8×8 pan. It made a nice thick lemon part. Definitely will make this again.
Thank you, Linda! We’re so glad it turned out well for you.
very nice
We’re glad you enjoyed it, Ellie!
I followed the recipe exactly and the lemon flavor was very weak. I used fresh, seedless lemons rather than the regular, normal seeded variety. I wonder if that’s why? However, the crust was perfect! I’ll try to make this again when Meyer lemons are in season.
Hi, Kathleen! That is definitely weird. I don’t know if those lemons would change the flavor or not. You can always add some extra lemon zest if you want a more prominent lemon flavor.
I have made these many times and love this very easy recipe. The first few times I followed the recipe exactly and always ended up with a perfect treat. The last time I tried them with limes instead of lemons. I decided that I like the lemons better. Though both were good. Everyone who has tasted these treats has loved them, so they are my go to when I need to bring dessert to an event.
Thank you for such kind feedback, Elizabeth! We’re so glad you enjoy the recipe.
I just found your recipe for lemon squares. It is the recipe that is exactly what I wanted. This looks like a winner. Thank.you.
We hope you enjoy, Linda!
I made these exactly as instructed. The shortbread was delicious. But…..I found there was not enough lemon flavor compared to the taste of sugar. I believe it needs more lemon juice and more grated lemon zest.
Margaret
Thank you for the feedback, Margaret! We’d love to know what you think if you ever try them with more lemon.
Absolutely delicious! I used gluten free flour and it really came out a treat! Very moreish! Passed the recipe on to my 13year old granddaughter who loves cooking too. I enjoy your recipes as they are not too complicated or time consuming to make, although the same cake mixes etc are hard to obtain here in UK of course so I prefer the ones made from scratch. Thank you for your ideas.
Mary from Norwich UK
Thank you for the feedback, Mary. We’re so glad you enjoyed the recipe and hope your granddaughter does as well!