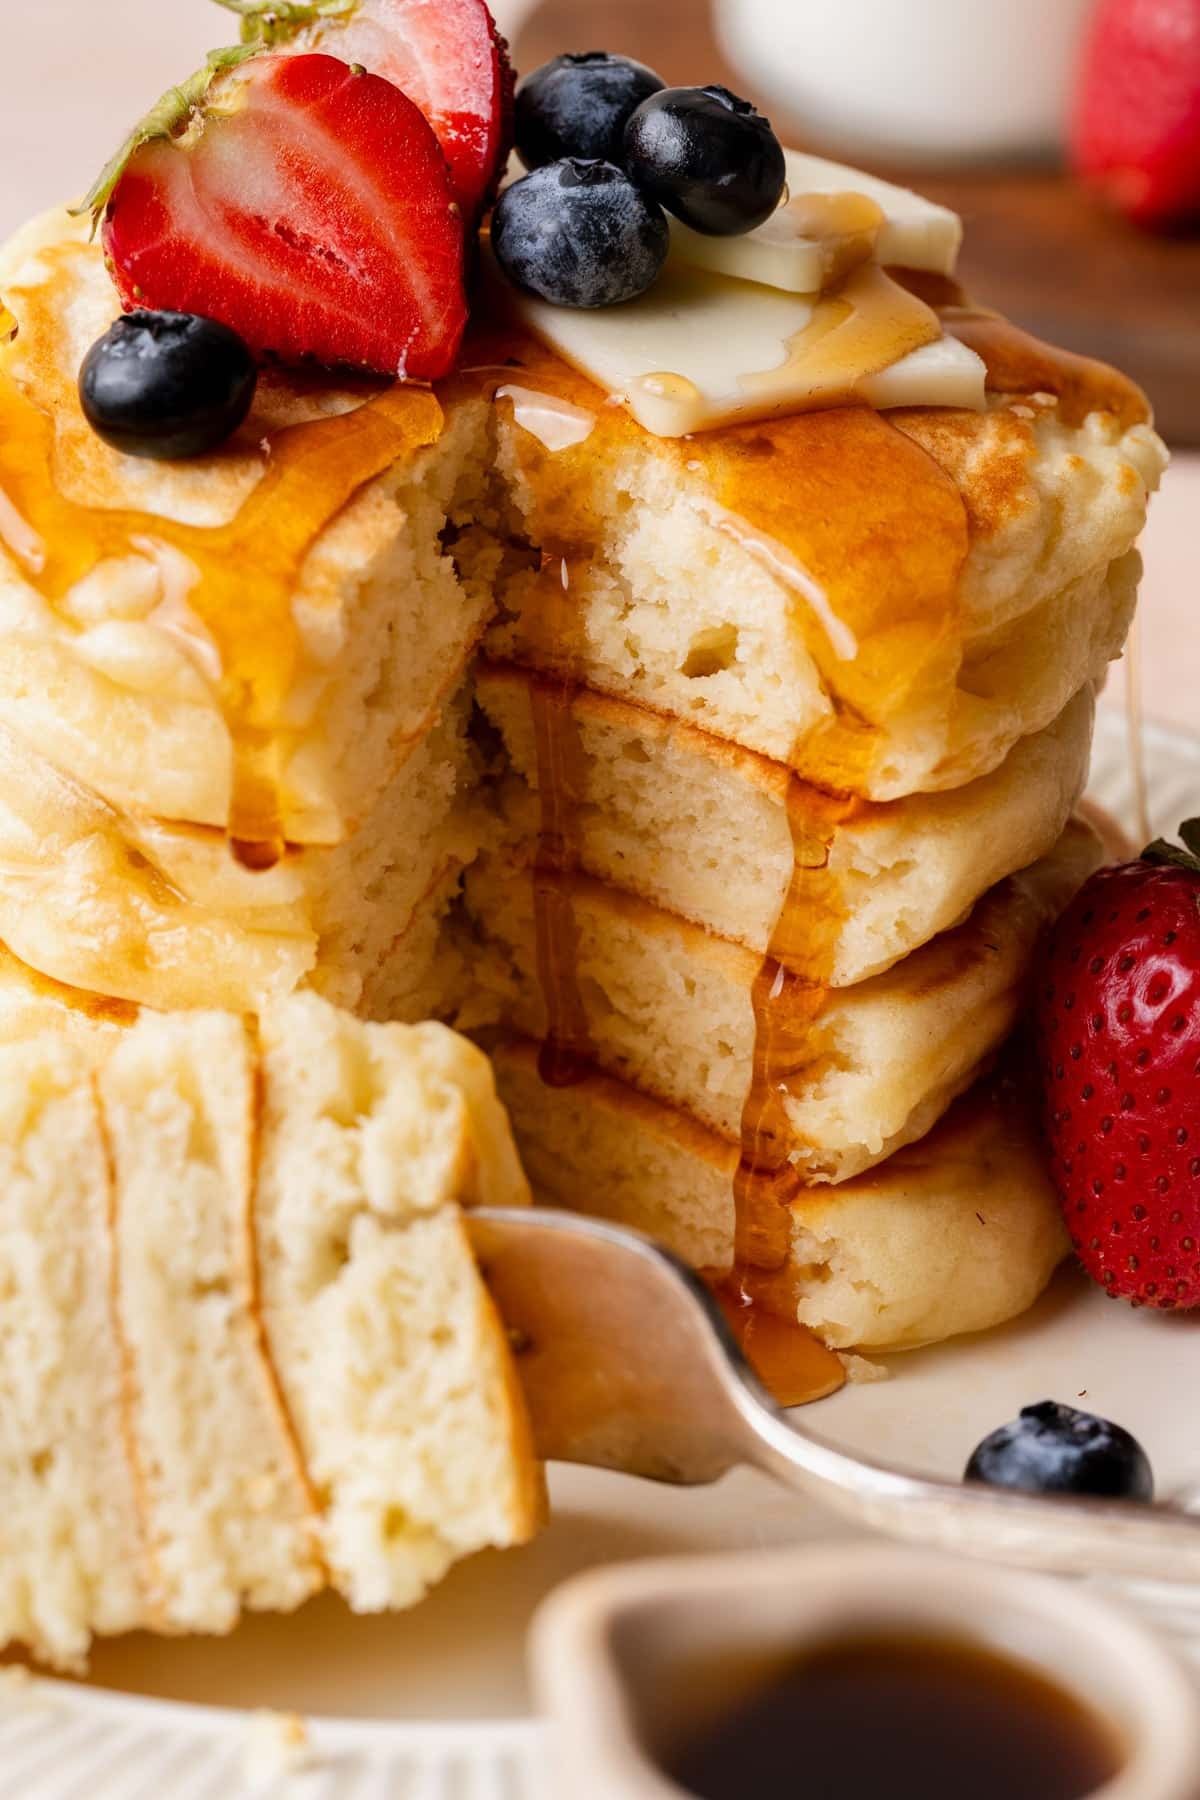
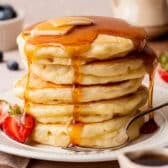
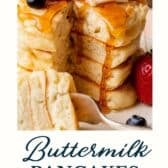
These homemade buttermilk pancakes are thick, fluffy, and a little tangy, with golden edges and soft, tender centers. The batter comes together in about 10 minutes with pantry staples, and a short rest makes all the difference in how tall they cook up! They’re perfect for slow weekends and holiday mornings alike.
More Easy Pancake Recipes:
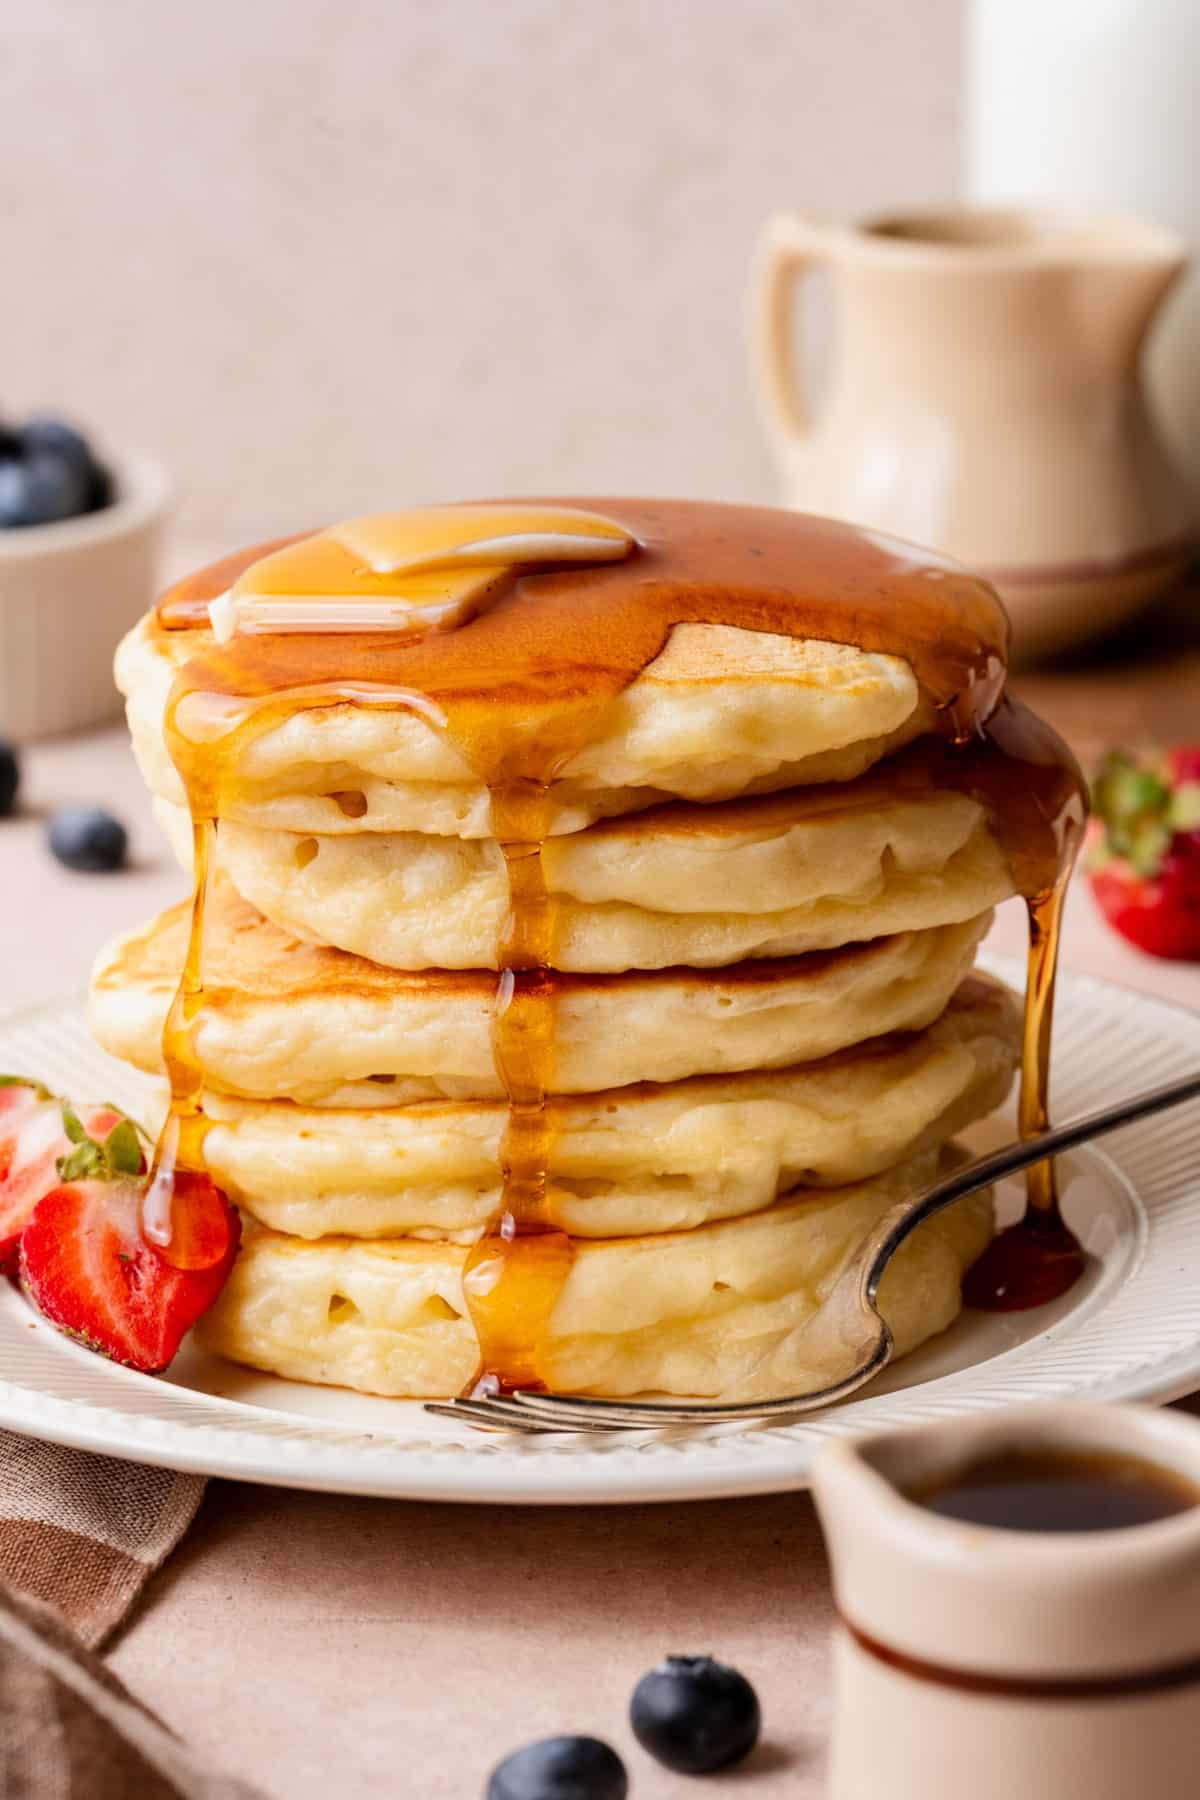
Before You Get Started
Pancakes are simple, but a few small details decide whether they come out thick and fluffy or flat and dense:
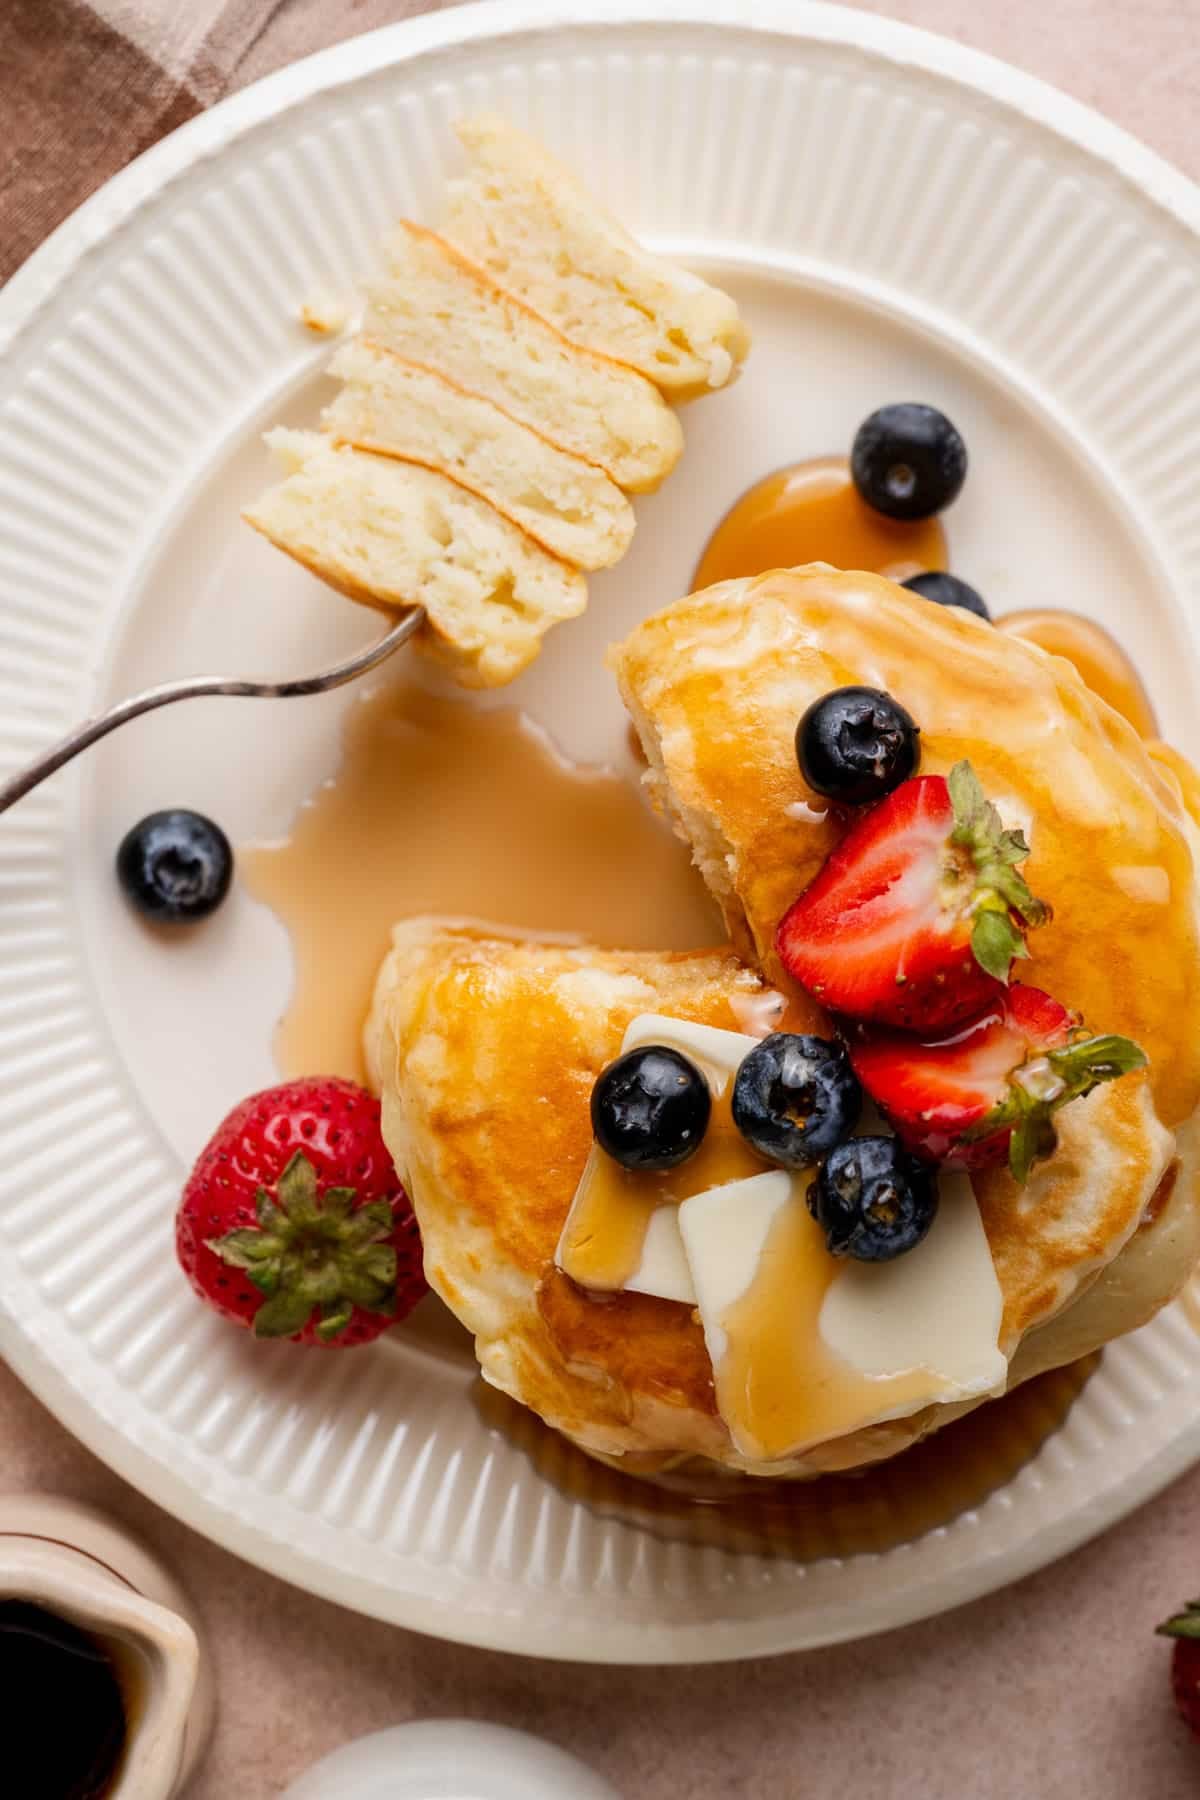
- Leave the batter lumpy. Stir just until you don’t see dry flour. Over-mixing makes the pancakes tough and flat, and the small lumps cook out on the griddle.
- Let the batter rest. Ten minutes gives the flour time to soak up the buttermilk and the baking powder a head start. The batter thickens and the pancakes rise taller.
- Keep the heat medium-low. Pancakes need time to rise and cook through. If the pan is too hot, the outsides burn before the centers set.
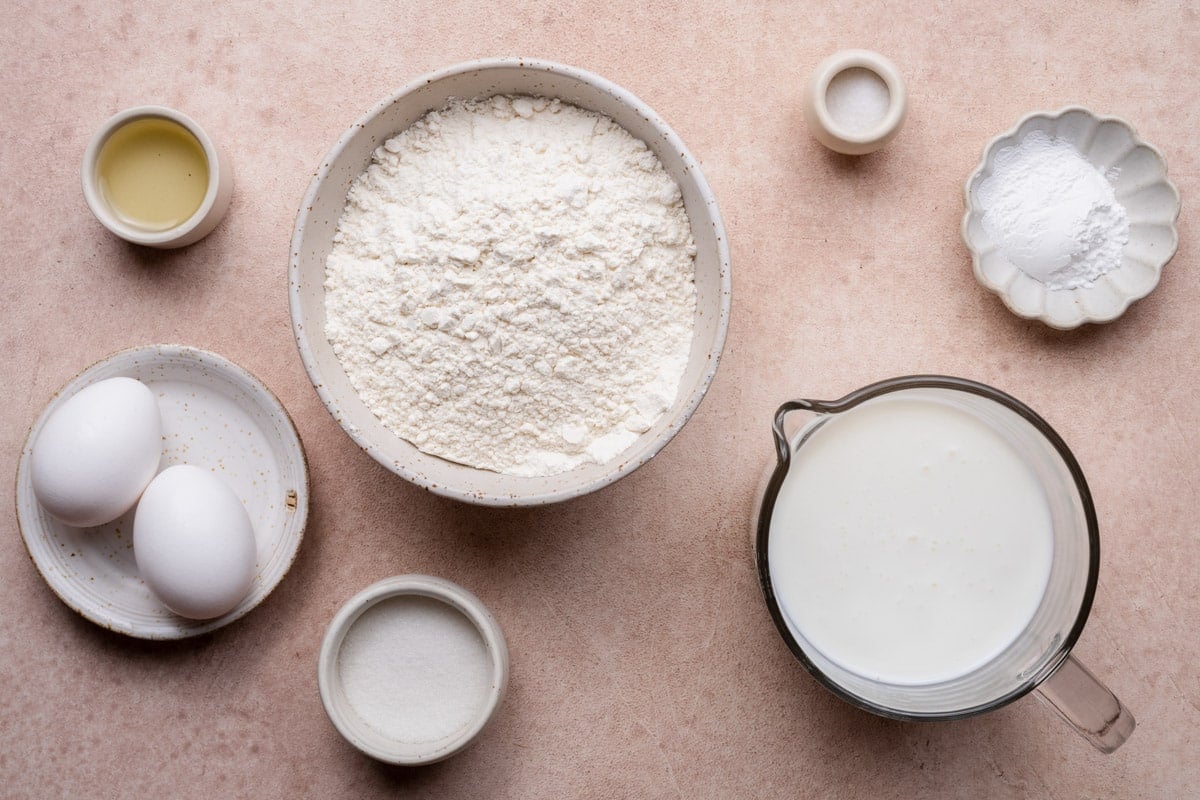
How to Make Buttermilk Pancakes
Buttermilk is what makes these pancakes special. Its tang adds flavor, and it makes the pancakes more tender than regular milk does. It’s also thicker, so the batter holds its shape on the griddle instead of spreading thin.
No buttermilk? Check the FAQs below for an easy homemade swap.
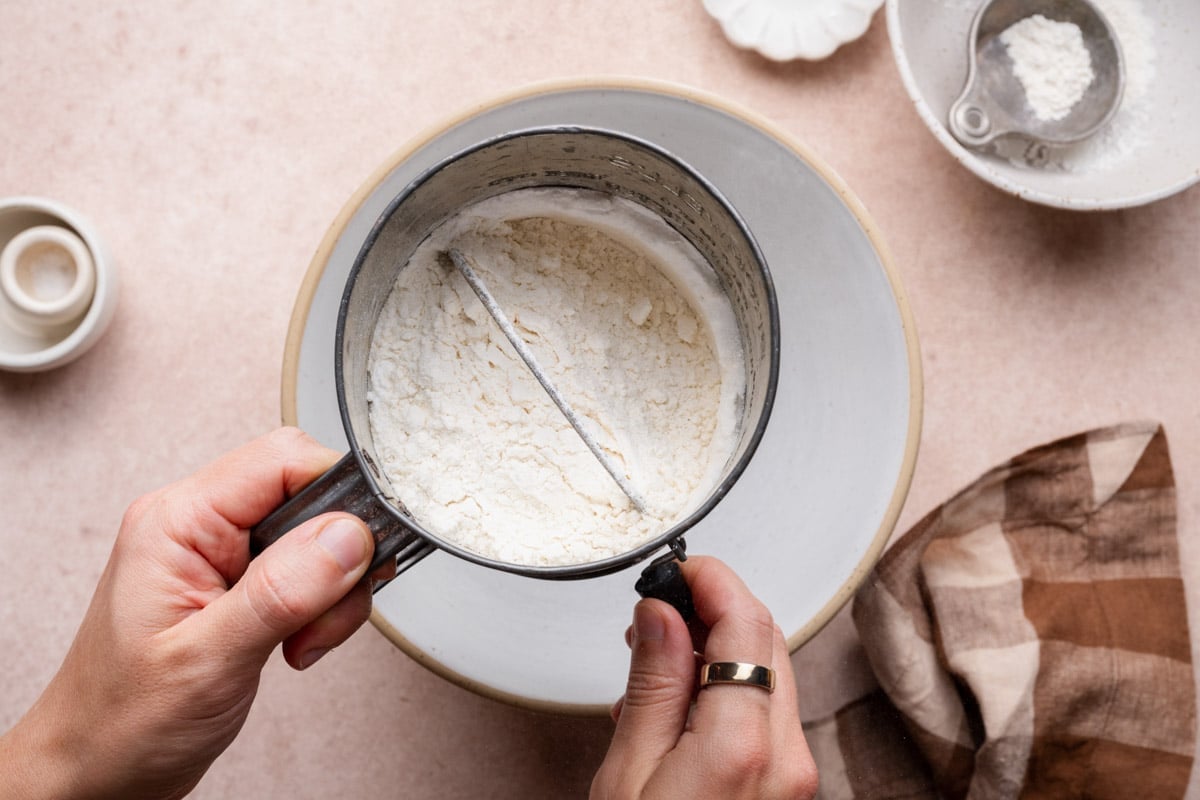
Step 1: Mix the Dry Ingredients
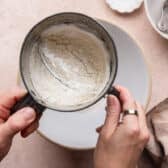
In a large bowl, sift or whisk together the flour, sugar, baking powder, and salt. Sifting gives you the lightest batter, but a good whisk does nearly the same job and breaks up any clumps of baking powder so it spreads evenly.
Step 2: Whisk the Wet Ingredients and Combine
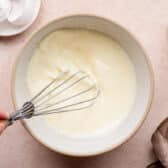
In a medium bowl, whisk together the buttermilk, eggs, and oil until smooth.
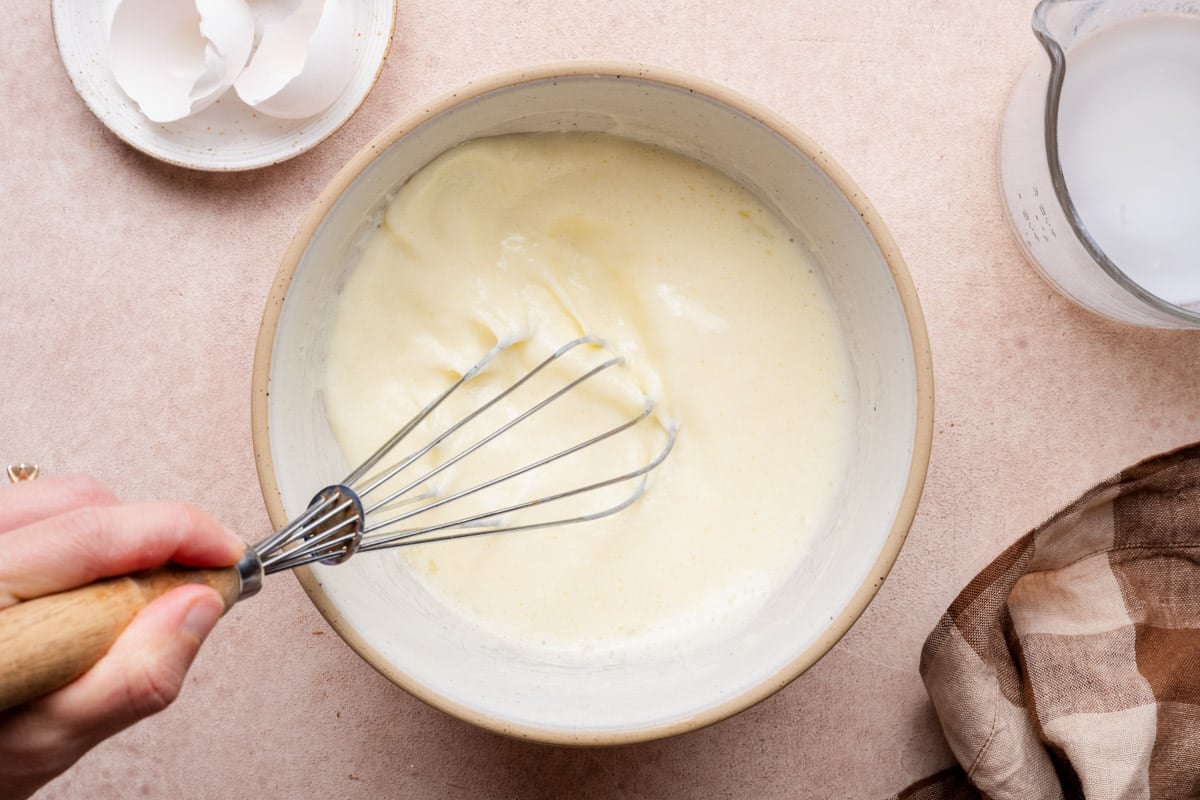
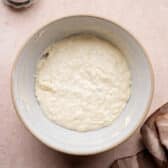
Pour the wet ingredients into the dry ingredients and stir gently with a spatula, just until combined. The batter should be thick and a little lumpy, with no streaks of dry flour.
⇢ The oil keeps the pancakes moist and tender. If you prefer the flavor of melted butter instead, you can sub with 2 tablespoons of melted unsalted butter.
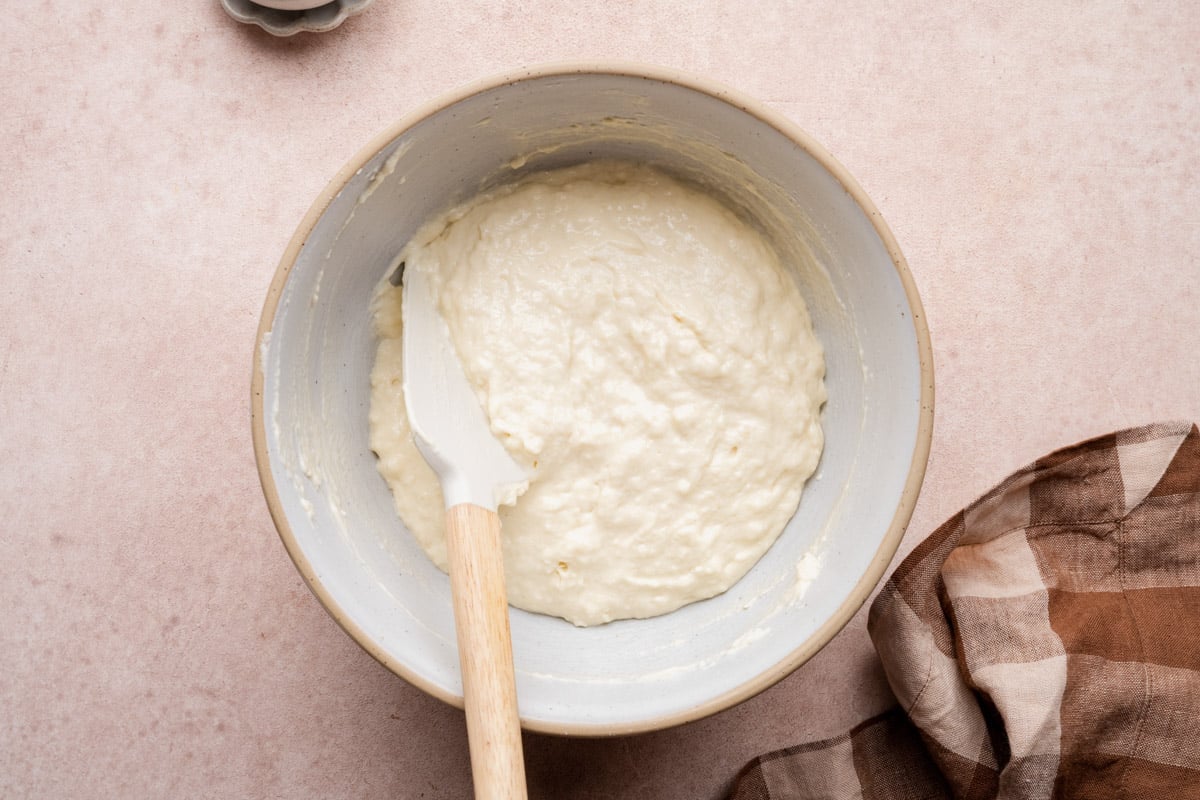
Step 3: Let the Batter Rest
Set the batter aside for about 10 minutes while the griddle heats.
You’ll notice it gets thicker and a little puffy as it sits. That’s the baking powder getting started, and it’s what gives you a taller stack.
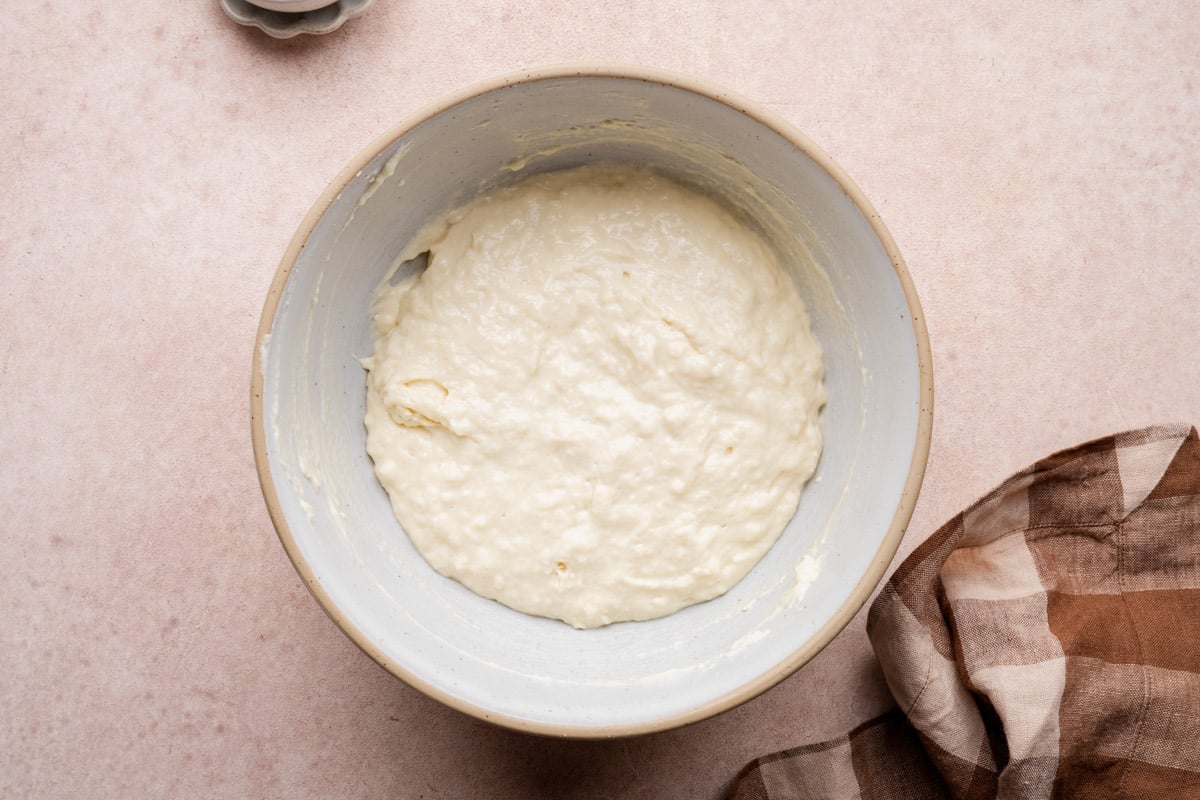
Step 4: Heat and Grease the Griddle
Place a large skillet or griddle over medium-low heat. To test it, flick a few drops of water onto the surface. They should sizzle and dance, not disappear instantly.
Brush the pan lightly with oil, then wipe away any extra with a paper towel so the pancakes brown evenly instead of frying at the edges.
If you’re using an electric griddle, 350°F is a good starting point.
Step 5: Cook and Flip
Pour ¼ cup of batter for each pancake, leaving room between them to spread.
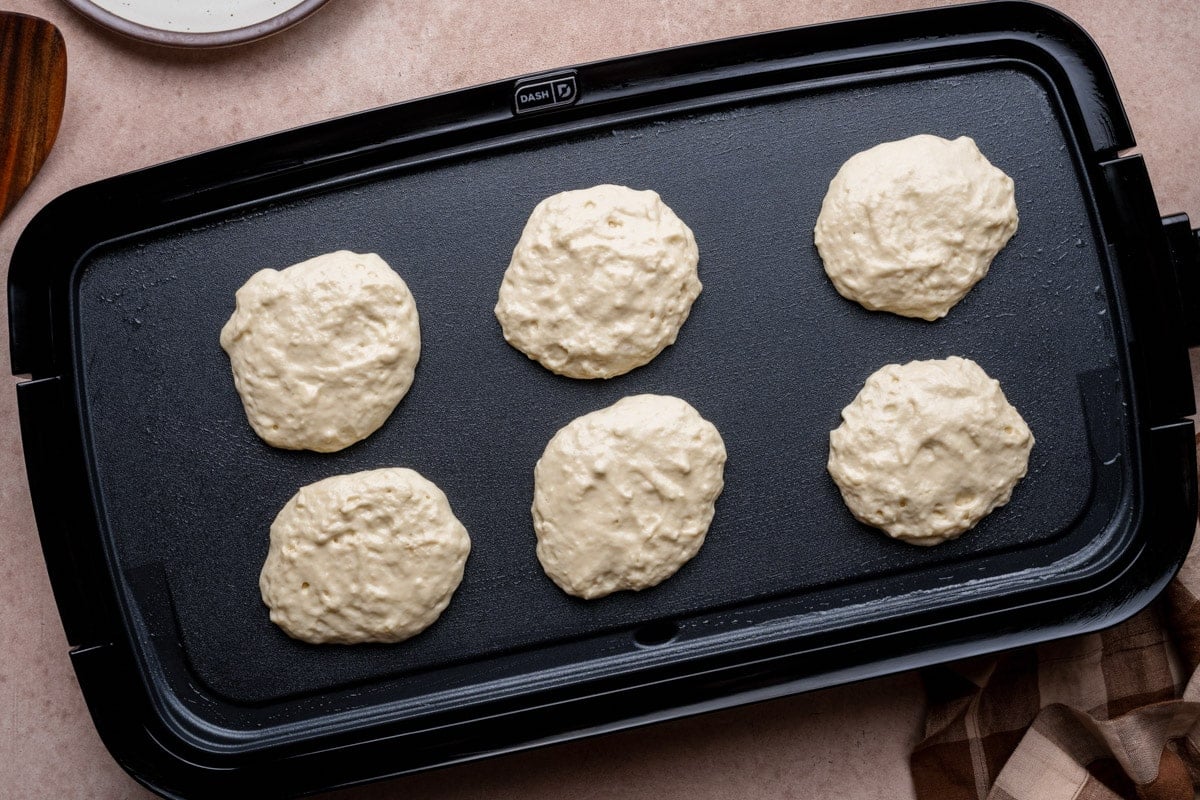
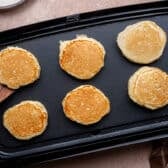
Cook for about 2 minutes, until bubbles form across the top and the edges look dry and set. Flip once, then cook another 1 to 2 minutes, until both sides are golden brown.
⇢ Don’t press them down. Pressing with the spatula squeezes out the air you worked to keep, and the pancakes turn dense.
Your first pancake is your test. If it browns too fast, turn the heat down a little before cooking the next batch. Add a little more oil to the pan between batches as needed.
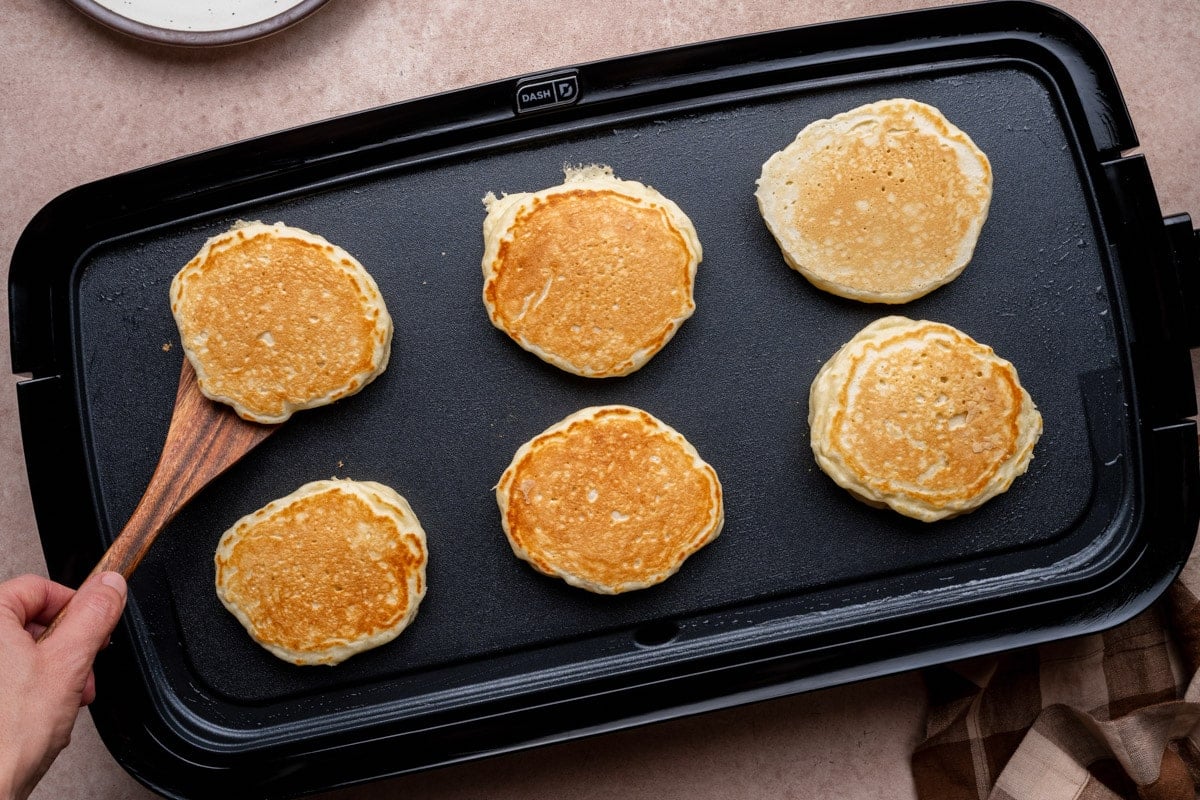
⇢ Mix-Ins: You can fold blueberries or chocolate chips right into the batter, but I like to sprinkle them onto each pancake right after it hits the griddle. Blueberries won’t bleed purple streaks through the batter, chocolate chips won’t sink and scorch on the bottom, and everyone can choose their own. About 1 tablespoon per pancake is plenty.
Step 6: Keep Them Warm
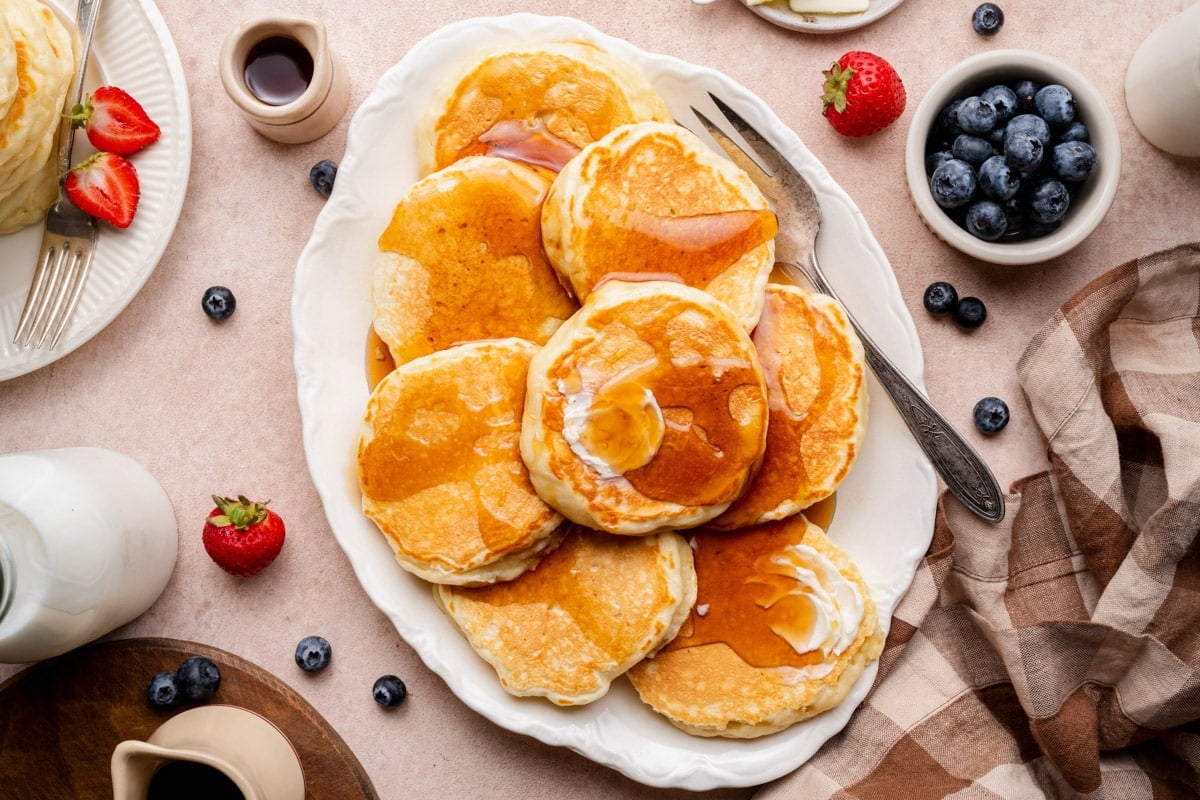
Set a wire rack on a baking sheet and place it in a 200°F oven. As each batch finishes, move the pancakes to the rack in a single layer.
They’ll stay warm for up to 30 minutes, and the rack lets air move underneath so they don’t steam and turn soggy. This is a big help when you’re feeding a crowd and want everyone to eat together.
Toppings and Breakfast Sides
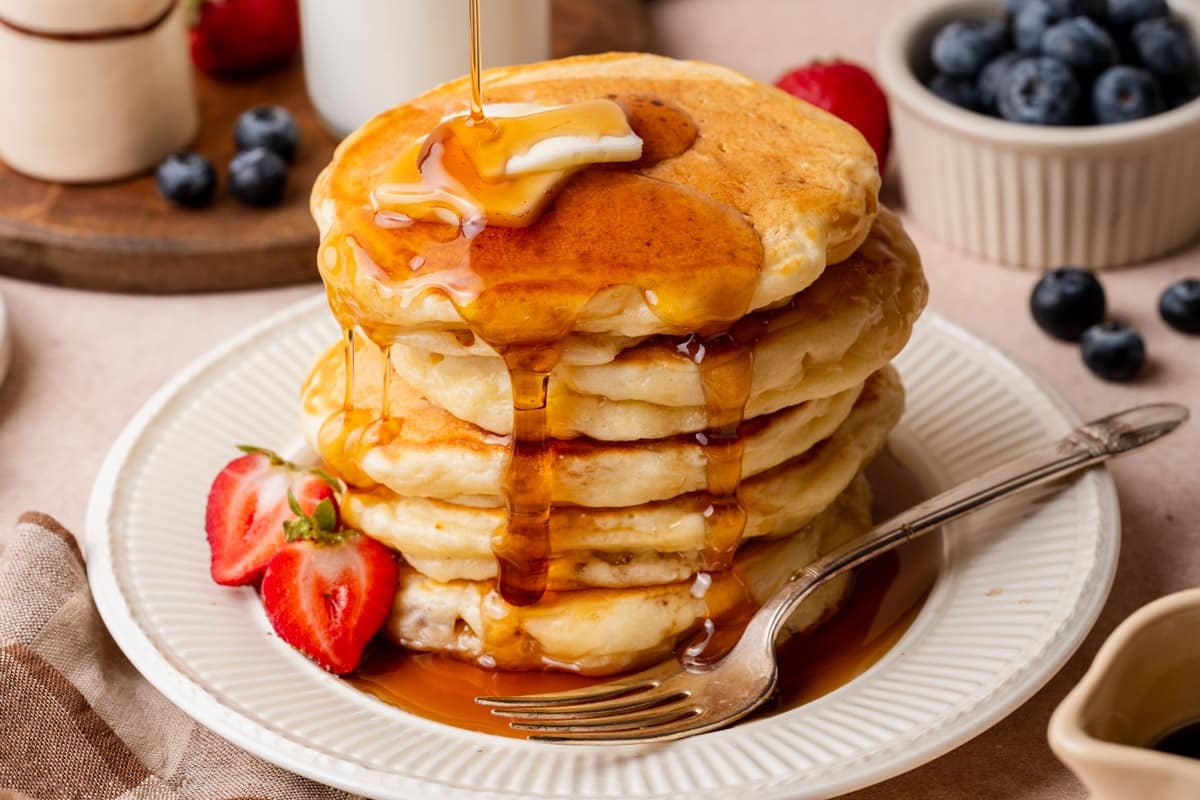
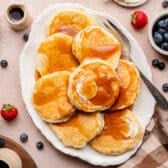
A pat of butter and warm maple syrup are the classic choice, but my Blackberry Syrup is a sweet homemade option, especially with a few fresh berries and a spoonful of whipped cream on top.
Make It a Breakfast Spread: For a holiday morning or a slow weekend, round out the table with something savory and something fresh:
- Something sweet and salty: Candied Bacon (aka “Pig Candy”) bakes on a sheet pan while you cook the pancakes.
- Something heartier: A simple Ham Steak with Brown Sugar Glaze cooks in one skillet and adds a salty, savory bite next to the sweet pancakes.
- Something fresh: A bowl of fruit tossed with Honey Lemon Fruit Salad Dressing brightens up all that butter and syrup.
- Quick weekday breakfast: My boys love a hot breakfast using these leftover pancakes before school in the morning. We typically pair them with frozen hash brown patties (crisped in the air fryer) and maple sausage links (reheated in the microwave).
Storage, Freezing & Make-Ahead
Storing: Let leftover pancakes cool completely, then store them in an airtight container or zip-top bag in the refrigerator for up to 4 days.
Reheating: Warm pancakes in the microwave for 20 to 30 seconds, or pop them in the toaster for crispier edges. For a bigger batch, cover them with foil and warm on a baking sheet at 350°F for about 10 minutes.
Freezing: Arrange cooled pancakes in a single layer on a parchment-lined baking sheet and freeze until firm, about 1 hour. Transfer them to a freezer bag, with a sheet of parchment between layers, and freeze for up to 3 months. Reheat straight from frozen in the toaster or microwave.
Make-ahead: The batter is best cooked the day you make it, since the baking powder loses some of its rise as it sits. To get a head start, whisk the dry ingredients and the wet ingredients in separate bowls the night before. Cover and refrigerate the wet bowl, then combine them in the morning and let the batter rest as usual.
→ Homemade Pancake Mix: For an even faster pancake morning, whisk together 2 cups flour, 2 tablespoons sugar, 1 tablespoon baking powder, and 1 teaspoon salt, and store the mix in an airtight jar for up to 3 months. That’s one full batch.
When you’re ready to cook, whisk 1 ½ cups buttermilk, 2 eggs, and 2 tablespoons oil in a bowl, stir in the mix, and rest the batter for 10 minutes. Tie a tag with those directions onto the jar, and it makes a sweet homemade gift for neighbors and teachers!
Frequently Asked Questions
Can you make buttermilk pancakes without buttermilk?
Yes. The easiest swap is homemade buttermilk: stir 1 ½ tablespoons lemon juice or white vinegar into a measuring cup, add milk to reach 1 ½ cups, and let it sit for 5 minutes until it looks slightly curdled. It gives you a similar tang and tenderness.
Plain milk works in a pinch, but the batter will be thinner and the pancakes a little less tender, so let the batter rest the full 10 minutes to help it thicken.
Why aren’t my pancakes fluffy?
Flat pancakes usually come down to one of four things. The batter was overmixed, the baking powder was old, the batter didn’t rest, or the pancakes were pressed down with the spatula. To check your baking powder, stir ½ teaspoon into ⅓ cup hot water. If it doesn’t fizz right away, it’s time for a new can. A thick, lumpy batter that’s had a few minutes to rest is the best sign you’re on track.
Why are my pancakes burnt on the outside but raw in the middle?
The pan is too hot. The outside browns before the batter in the center has time to cook through. Turn the heat down to medium-low and use your first pancake as a test. It should take about 2 minutes before bubbles cover the top. If the first side is dark brown before the bubbles show up, lower the heat a little more and give the pan a minute to adjust.
Can I use self-rising flour?
Yes, and it’s an easy swap. Self-rising flour already has baking powder and salt mixed in, so use 2 cups self-rising flour and leave out the baking powder and salt completely. Everything else stays the same. Just make sure your flour is fresh, since the baking powder in it loses strength over time.
Buttermilk Pancakes
Ingredients
- 2 cups all-purpose flour
- 2 tablespoons sugar
- 1 tablespoon baking powder
- 1 teaspoon salt
- 1 ½ cups buttermilk
- 2 large eggs
- 2 tablespoons vegetable oil, plus more for greasing the skillet
Instructions
- Mix the dry ingredients. In a large bowl, sift or whisk together the flour, sugar, baking powder, and salt.

- Combine the batter. In a medium bowl, whisk together the buttermilk, eggs, and oil. Add the wet ingredients to the dry ingredients and stir just until combined. The batter should be thick and a little lumpy. Don't overmix, or the pancakes will be tough.
- Add mix-ins (optional). Fold in blueberries or chocolate chips now, or sprinkle them onto each pancake once it's on the griddle.
- Rest the batter. Let the batter rest for 5 to 10 minutes.
- Heat the skillet. Place a skillet or griddle over medium-low heat. When it's hot, brush lightly with oil.
- Cook the pancakes. Pour ¼ cup of batter for each pancake. Cook until bubbles form on top, about 2 minutes. Flip and cook until golden brown, 1 to 2 minutes more.
- Keep warm. Repeat with the remaining batter, greasing the skillet as needed. Keep cooked pancakes warm in a 200°F oven for up to 30 minutes while you finish the rest.
Notes
- No buttermilk? Stir 1 ½ tablespoons lemon juice or white vinegar into a measuring cup, add milk to reach 1 ½ cups, and let it sit for 5 minutes. Plain milk also works in a pinch.
- Self-rising flour: Use 2 cups self-rising flour and leave out the baking powder and salt.
- Keeping warm: Set a wire rack on a baking sheet in the oven so the pancakes stay in a single layer and don’t get soggy.
- Storing and freezing: Refrigerate cooled pancakes in an airtight container for up to 4 days, or freeze in a single layer, then transfer to a freezer bag for up to 3 months. Reheat in the toaster or microwave.
- Homemade mix: Whisk the dry ingredients together and store in an airtight jar for up to 3 months. Add the buttermilk, eggs, and oil when you’re ready to cook.










Did you make this recipe?
If you enjoyed this recipe, please leave a comment with a 5-star review at the bottom of the post. Thank you!