This crispy baked tilapia with lemon and garlic is an easy dinner recipe that’s ready from start to finish in about 20 minutes. A simple lemon garlic butter sauce transforms mild, affordable tilapia fillets into a flavorful, protein-packed meal that even the pickiest eaters will enjoy.
If you love easy baked fish recipes, you’ll also want to try this 5-Ingredient Garlic Parmesan Tilapia and this 5-Ingredient Almond-Crusted Baked Tilapia for two more quick and delicious ways to enjoy tilapia on a busy weeknight.
Before You Get Started
A few small details make a big difference with baked tilapia. Keep these in mind before you start:
- Pat the fillets completely dry. This is the most important step for getting a golden, slightly crispy exterior. Tilapia holds a lot of moisture, and any excess water on the surface will steam the fish instead of letting it brown. Use paper towels and press firmly on both sides.
- Watch the clock closely. Tilapia is thin and cooks fast at 425°F. Even 2-3 extra minutes can take you from tender and flaky to dry and rubbery. Start checking at the 10-minute mark, and pull the fish as soon as it flakes easily with a fork and is no longer translucent in the center.
- Use fresh lemon juice if you can. With so few ingredients, each one matters. Fresh lemon juice gives the butter sauce a brighter, cleaner flavor that really lifts the dish. Bottled lemon juice works in a pinch, but you will notice the difference.
How to Make Baked Tilapia with Lemon and Garlic
This is one of the simplest fish recipes you’ll make. With just a handful of ingredients and about 20 minutes, dinner is on the table.
Step 1: Prep the Baking Sheet and Fillets
Preheat your oven to 425°F. Line a rimmed baking sheet with aluminum foil for easy cleanup, then spray it with nonstick cooking spray.
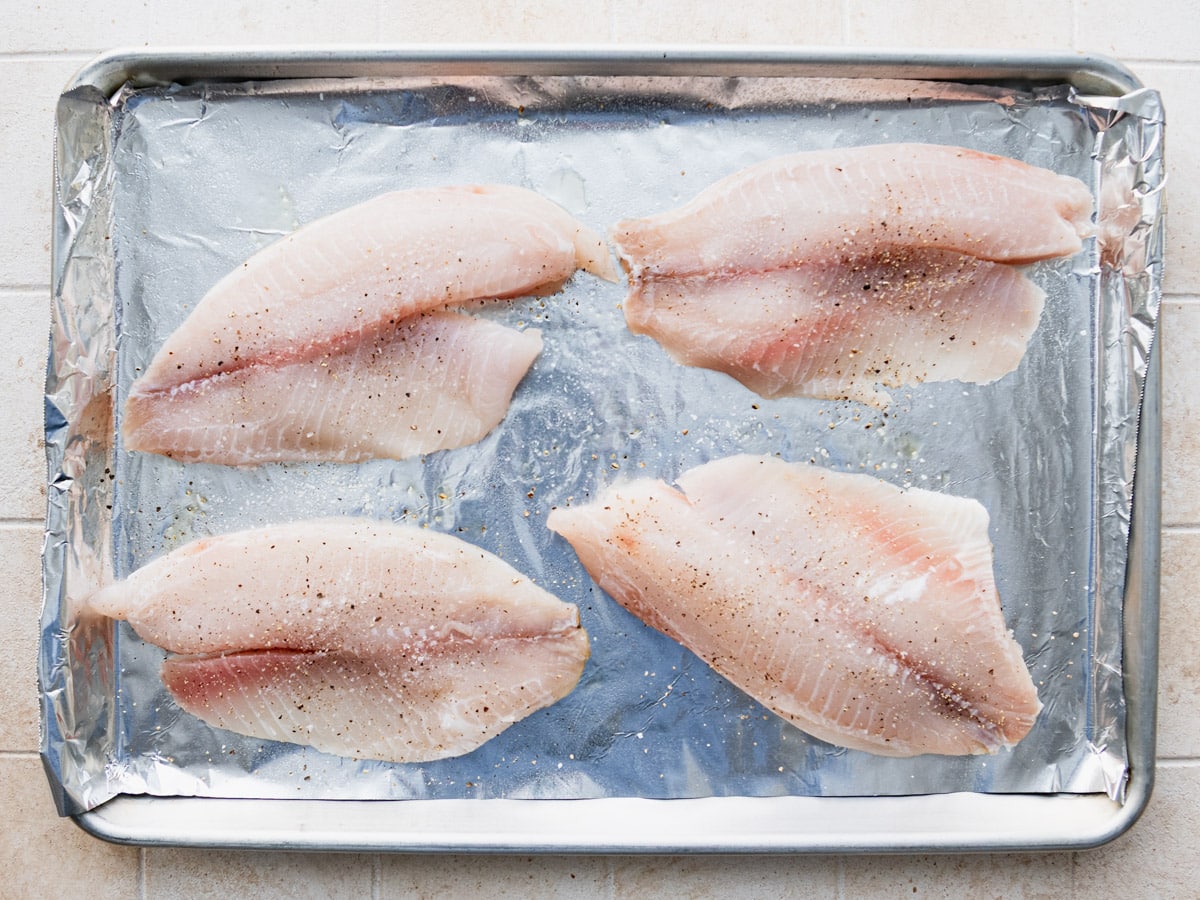
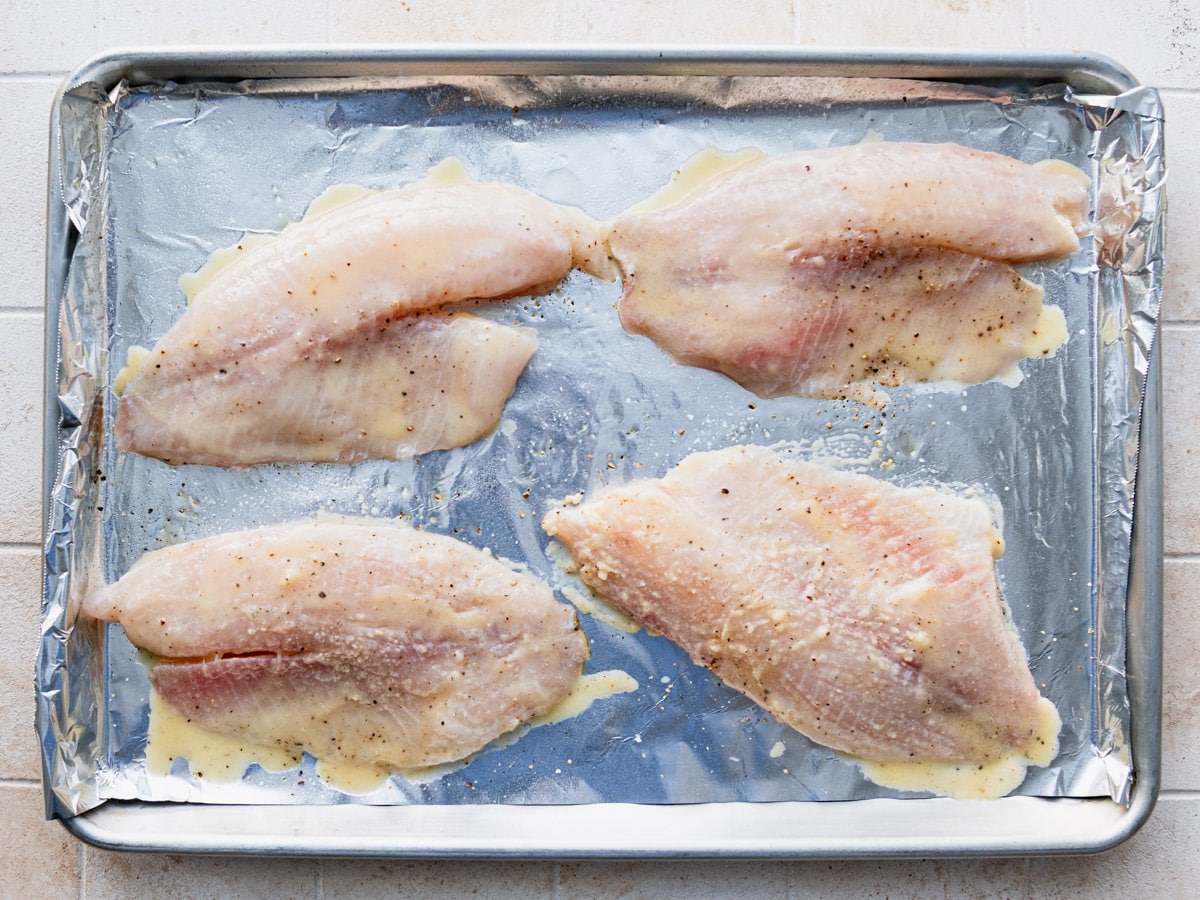
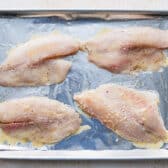
Place the tilapia fillets on the prepared baking sheet and pat them dry with paper towels. Season both sides with salt and pepper to taste.
⇢ Don’t skip the paper towels. Removing surface moisture is the key to getting that golden, slightly crispy exterior instead of pale, steamed fish.
Step 2: Make the Lemon Garlic Butter Sauce
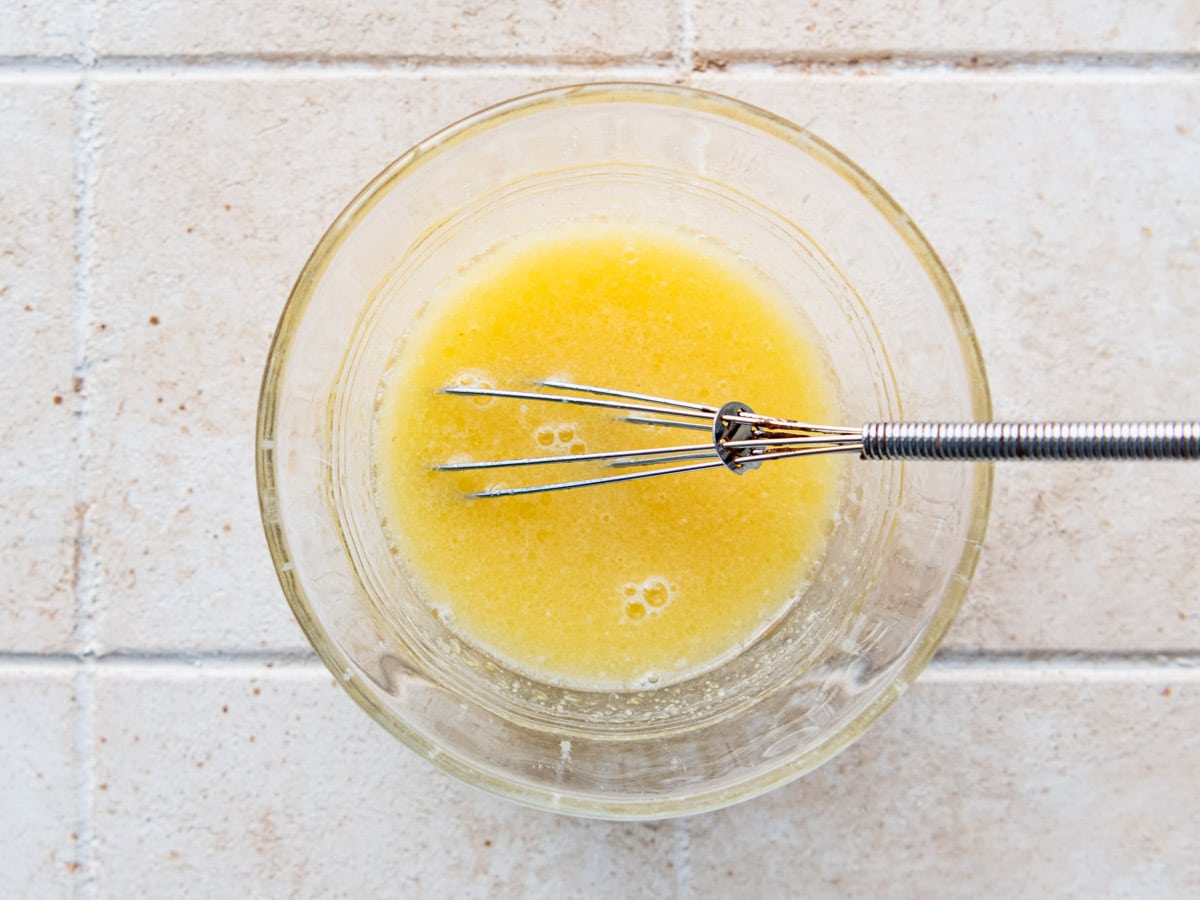
In a small bowl, whisk together the melted butter, fresh lemon juice, garlic powder, and salt until combined. The sauce comes together in about 30 seconds.
Brush the butter mixture generously over the top of each fillet, making sure to coat them evenly.
Step 3: Bake the Tilapia
Bake the tilapia uncovered for 10-15 minutes, or until the fish is opaque throughout and flakes easily with a fork. The exact timing will depend on the thickness of your fillets, so start checking at 10 minutes.
⇢ For a crispier finish, use the broiler. Transfer the baking sheet to the broiler for the final 2-3 minutes of cooking. Keep a close eye on it because the butter and edges can go from golden to too dark quickly. This step is optional, but it adds a really nice texture.
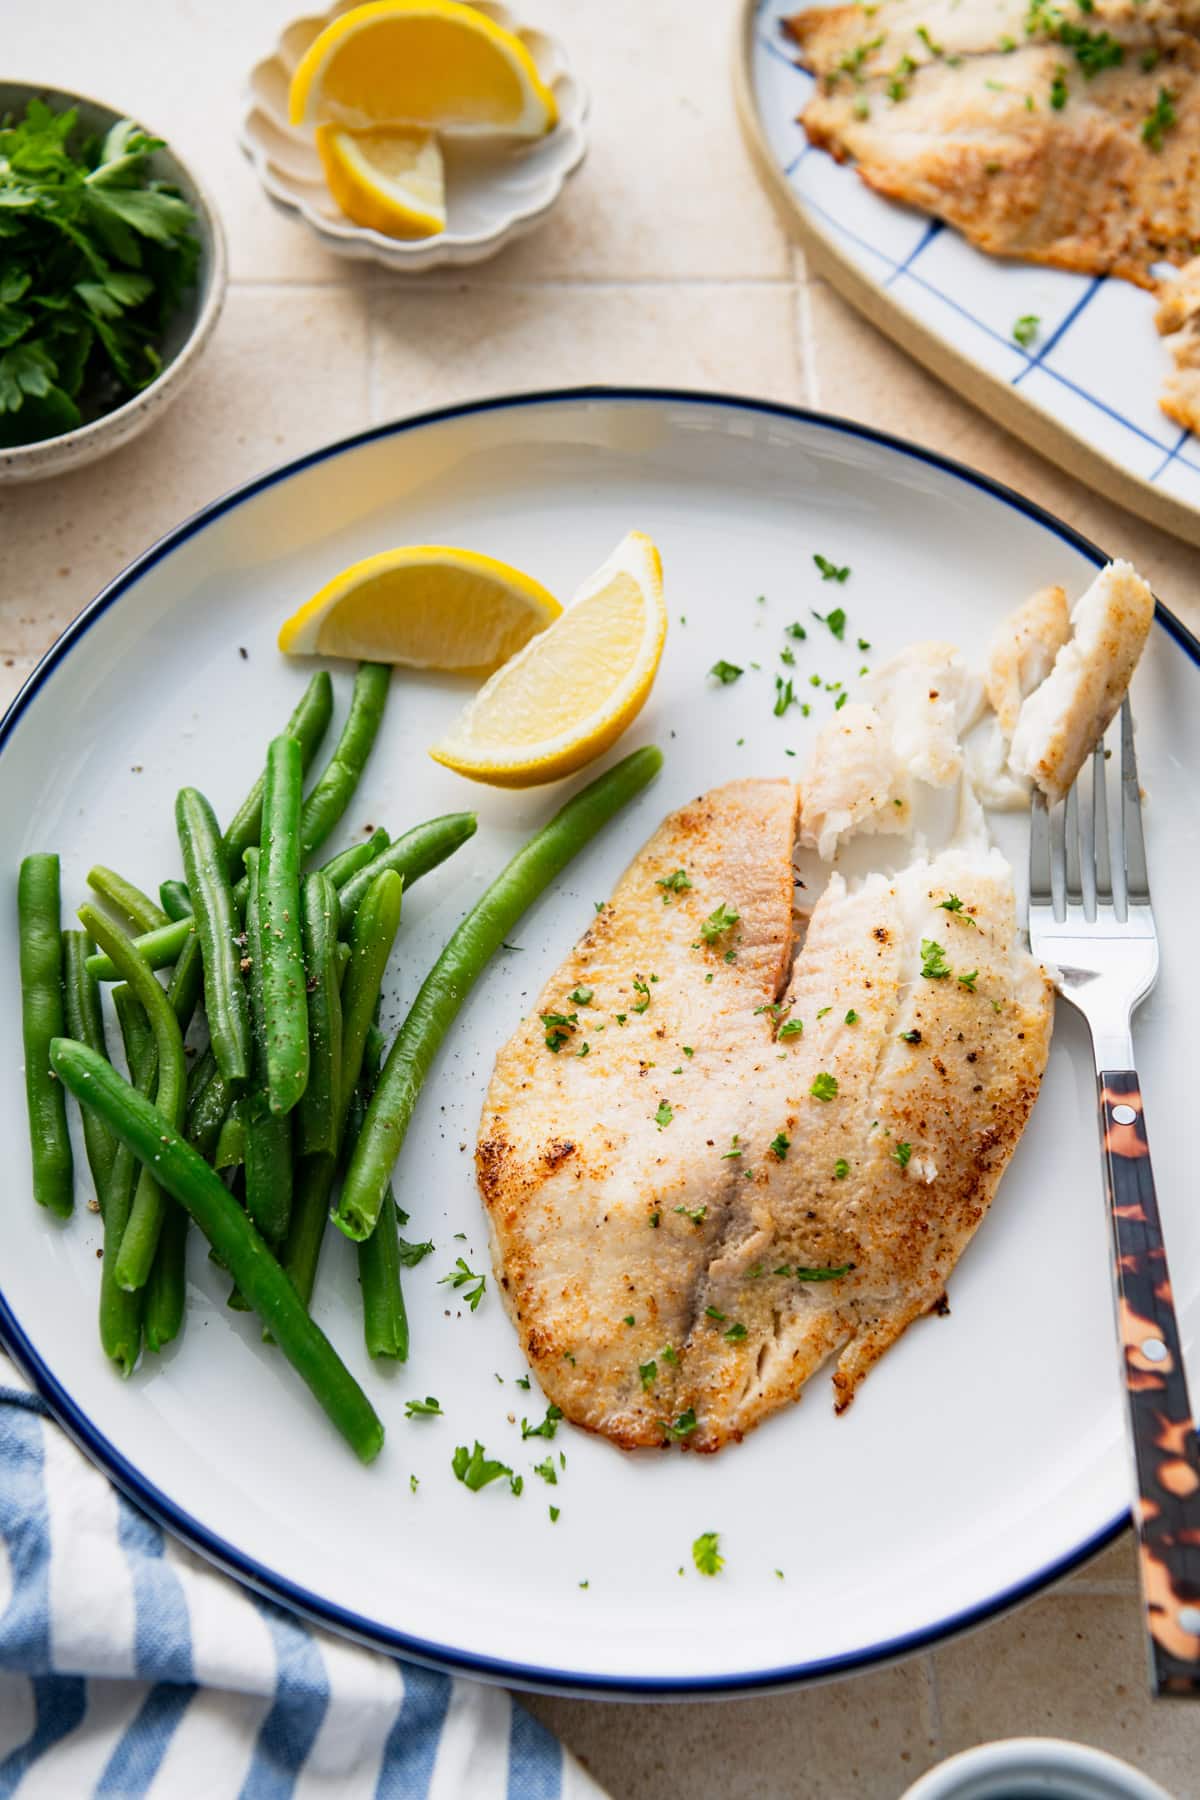
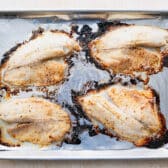
You’ll know the tilapia is done when it’s no longer translucent in the center and the edges are lightly golden. The fish should separate into clean flakes when you press it gently with a fork.
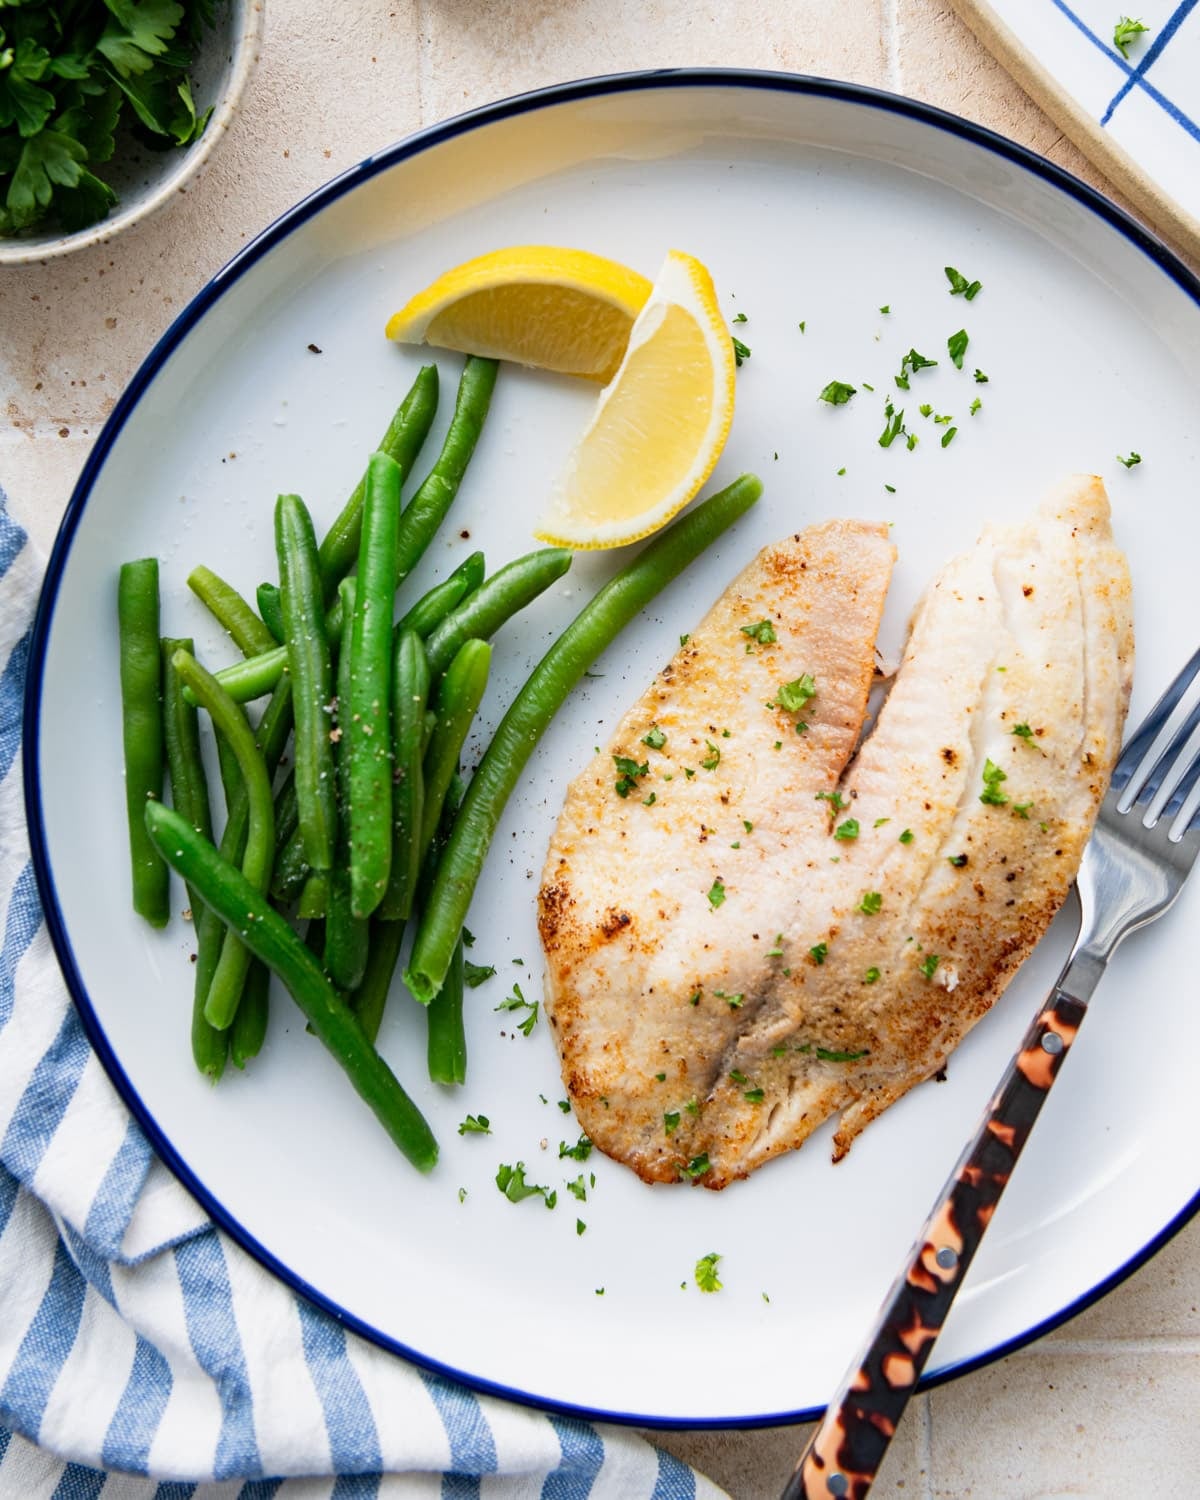
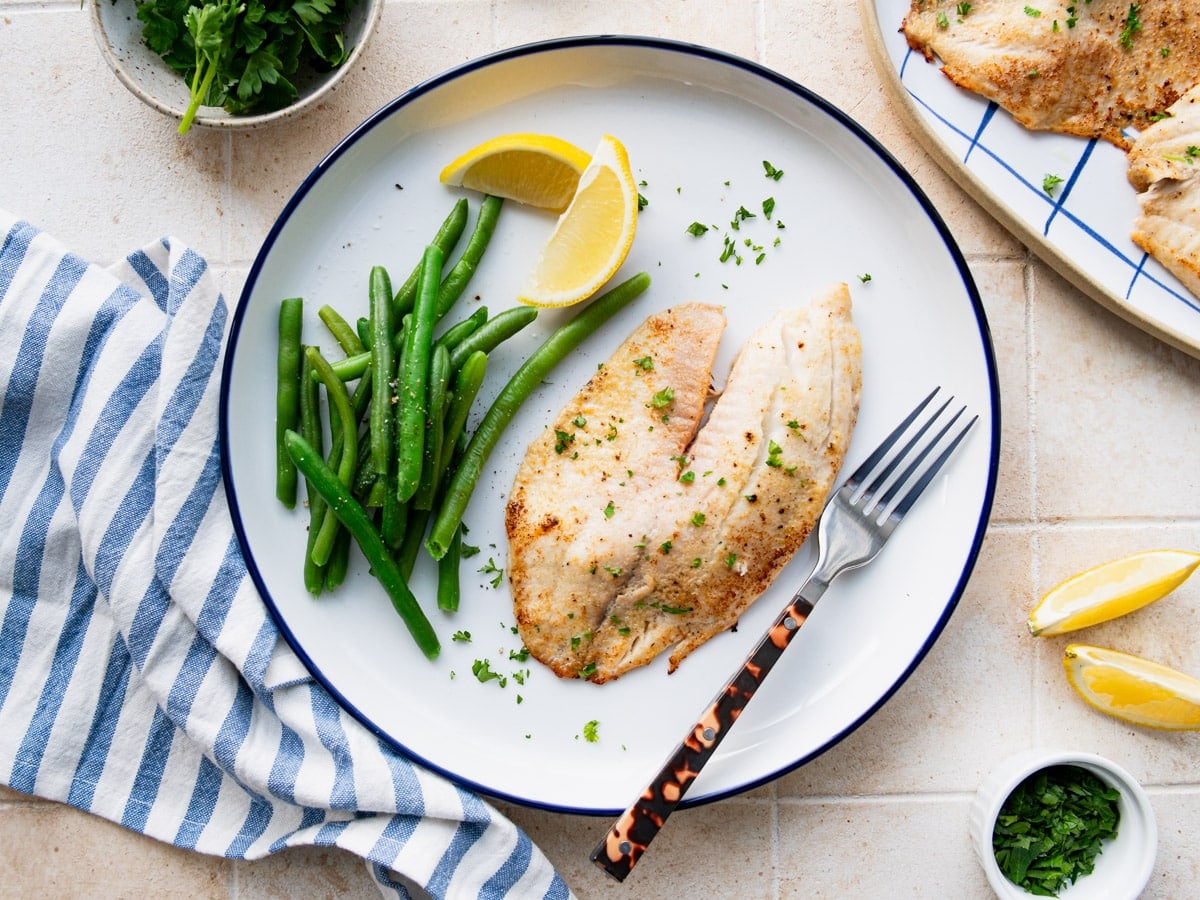
Garnish with chopped fresh parsley and serve with lemon wedges for an extra squeeze of brightness at the table.
Flavor Variations
The lemon garlic butter base is delicious on its own, but it’s also easy to switch things up:
- Add a dash of Old Bay seasoning to the melted butter for a classic seafood kick.
- Sprinkle paprika or Cajun seasoning over the fillets before baking for a little warmth and color.
- Sprinkle grated Parmesan on top of the fillets before baking for a richer, cheesy crust.
- Swap the garlic powder for Italian seasoning for an herb-forward variation.
⇢ Cooking for picky kids? Stick with the base recipe as written. Tilapia’s mild flavor and the simple butter sauce are usually a winner with little ones who are hesitant about fish.
What to Serve with Baked Tilapia
These baked tilapia fillets are light and versatile, so they pair nicely with just about any side dish. Here are some of our favorites:
Starches:
Vegetables:
A loaf of crusty No-Knead Bread is also great for soaking up the extra lemon butter from the pan. For something lighter, a Cucumber Tomato Onion Salad or a Southern Caesar Salad rounds out the meal nicely.
Storage and Reheating
To store: Place leftover baked tilapia in an airtight container in the refrigerator for up to 2-3 days.
To reheat: The best method is a low oven. Place the fillets on a baking sheet, loosely cover with foil, and warm in a 275°F oven for about 7-10 minutes, or until heated through. You can also microwave individual fillets in short 15-20 second intervals, but be careful not to overdo it or the fish will dry out.
Reheated tilapia won’t be quite as crispy as it is fresh from the oven, but the low-and-slow oven method preserves the texture better than the microwave.
Freezing is not recommended for this recipe. Baked tilapia tends to become dry and lose its texture once thawed.
Frequently Asked Questions
How do I keep baked tilapia from drying out?
The two biggest factors are patting the fillets dry before baking (for better browning) and not overbaking. Start checking at 10 minutes, and pull the fish from the oven as soon as it flakes easily with a fork.
Tilapia is a thin fish and cooks quickly at 425°F, so those last few minutes make a real difference.
Can I bake frozen tilapia without thawing it first?
You can, but thawed fillets will give you a better result. Frozen tilapia releases extra moisture as it bakes, which makes it harder to get a golden, slightly crispy exterior. If you’re short on time, bake from frozen at the same temperature and add about 5-7 extra minutes to the cook time. For the best results, thaw the fillets overnight in the refrigerator.
Do I need to flip the tilapia while it bakes?
No. The fillets bake on one side the entire time. The foil-lined baking sheet and cooking spray keep them from sticking, and the butter sauce keeps the top moist and flavorful while the oven does the work.
Can I use a different type of fish for this recipe?
Yes. This lemon garlic butter sauce works well with any mild white fish fillet, including cod, mahi mahi, swai, or flounder. Thicker fillets like cod will need a few extra minutes in the oven. Adjust the baking time based on thickness and check for flakiness with a fork.
More Fish and Salmon Recipes

Did you make this recipe?
If you enjoyed this recipe, please leave a comment with a 5-star review at the bottom of the post. Thank you!

Baked Tilapia with Lemon and Garlic
Equipment
- large rimmed baking sheet
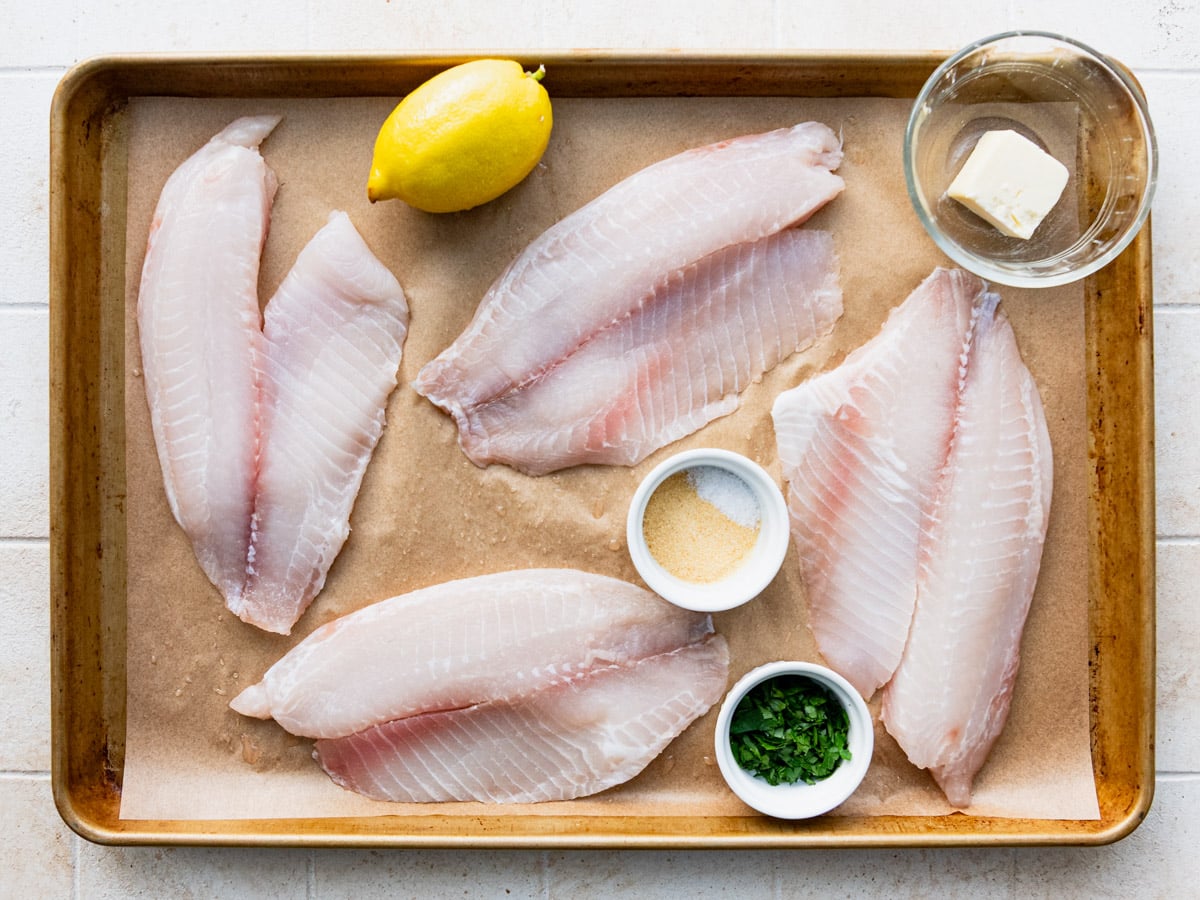
Ingredients
- 4 tilapia fillets (about 5 ounces each)
- 2 tablespoons salted butter, melted
- 2 tablespoons fresh lemon juice (about 1 lemon)
- 1 teaspoon garlic powder
- ¼ teaspoon kosher salt, plus extra for seasoning the fish
- Ground black pepper, to taste
- 2 tablespoons chopped fresh parsley
- Optional, for serving: lemon wedges
Instructions
- Preheat the oven to 425°F. Line a rimmed baking sheet with aluminum foil (for easy cleanup) and spray with nonstick cooking spray.
- Place the tilapia fillets on the prepared baking sheet. Pat dry thoroughly with paper towels. Season with salt and pepper to taste.

- In a small bowl, whisk together the melted butter, lemon juice, garlic powder, and salt.
- Brush the butter mixture evenly onto the fillets.
- Bake, uncovered, until the fish flakes easily with a fork and is no longer translucent in the center, about 10-15 minutes.
- For a crispier exterior, place the fish under the broiler for the final 2-3 minutes. Watch closely to prevent burning.
- Garnish with fresh parsley and serve with lemon wedges.


Notes
- Pat the fillets dry before seasoning. This is the most important step for getting a golden, slightly crispy exterior.
- Check for doneness at 10 minutes. Tilapia is thin and cooks fast. It’s done when it flakes easily with a fork and is no longer translucent in the center.
- For extra-crispy tilapia, use the broiler for the final 2-3 minutes. Keep a close eye on it because the butter and edges can darken quickly.
- Fresh lemon juice gives the best flavor. Bottled works in a pinch, but the difference is noticeable.
- Seasoning variations: Add Old Bay, paprika, Cajun seasoning, or Italian seasoning to the butter mixture for different flavor profiles. Parmesan cheese stirred into the butter is another great option.
- Cooking for two? Cut the ingredients in half and bake two tilapia fillets. Cooking time stays the same.
- Starting with frozen tilapia? Thaw overnight in the refrigerator for the best results. You can bake from frozen by adding 5-7 extra minutes to the cook time, but the exterior won’t be as crispy.
- Other white fish: This recipe also works with cod, mahi mahi, swai, or flounder. Adjust baking time for thicker fillets.
- Storage: Leftovers keep in an airtight container in the refrigerator for 2-3 days. Reheat loosely covered with foil in a 275°F oven for 7-10 minutes.
- Freezing is not recommended. Baked tilapia tends to dry out once thawed.
Nutrition
Originally published in January, 2020, this post was updated in March, 2026.


Sounds delicious & simple too!! Will try soon and let you know how much we enjoyed it! Again thanks for all you recipes and website. 🙂
Awesome, enjoy! Thank you for your support, Tess!
Wow, its look amazing
Baked Tilapia is looking yummy and the combination of lemon with it is lethal.
Won’t the butter/garlic/lemon mix basting wipe off the salt and pepper that was just previously sprinkled on the fish? Why not add the salt and pepper to the basting mix instead?
Hi, Bruce! I haven’t had that issue, and I like that I can see that the salt/pepper are sprinkled evenly onto the fish. That said, you can certainly just season the basting mix instead and do it that way. Whatever suits. 🙂