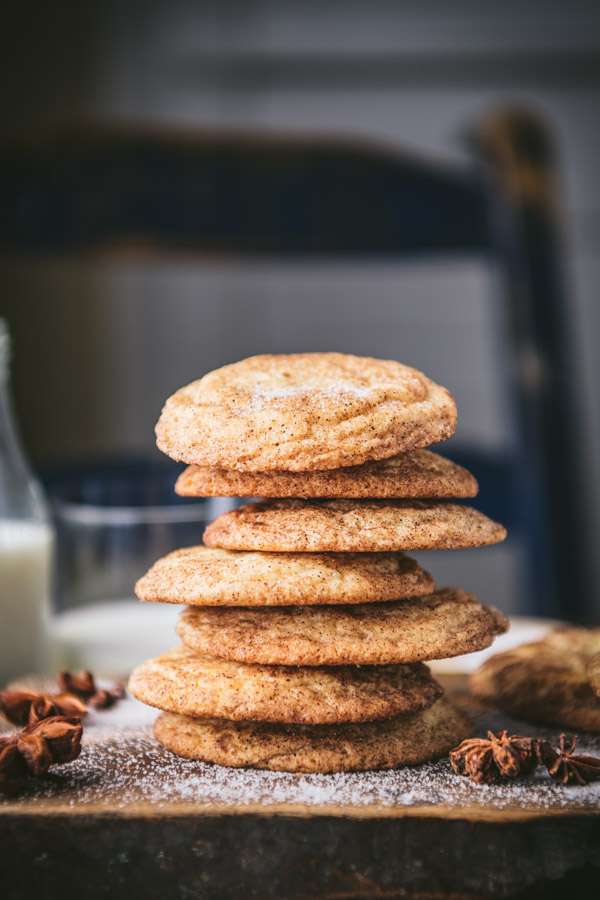
Thick and chewy snickerdoodle cookies are the ultimate sweet treat! Best of all, this classic snickerdoodle recipe is quick and easy to prepare. You can enjoy a batch of warm, fresh-from-the-oven, cinnamon-sugar-coated soft sugar cookies in less than 30 minutes!
Snickerdoodle Recipe
The best cookies are often the simplest. Whether it’s a thick and chewy oatmeal raisin cookie, a soft molasses cookie, or a buttery shortbread cookie, the old-fashioned, classic favorites have stood the test of time — and these easy Snickerdoodle cookies are no exception! You’ll love the short ingredient list, the quick prep, and the decadent taste and texture.
Why are Snickerdoodles called Snickerdoodles?
It’s not really clear where the whimsical name snickerdoodles comes from; however, one thing is certain: this popular cookie of German origin is undeniably good!
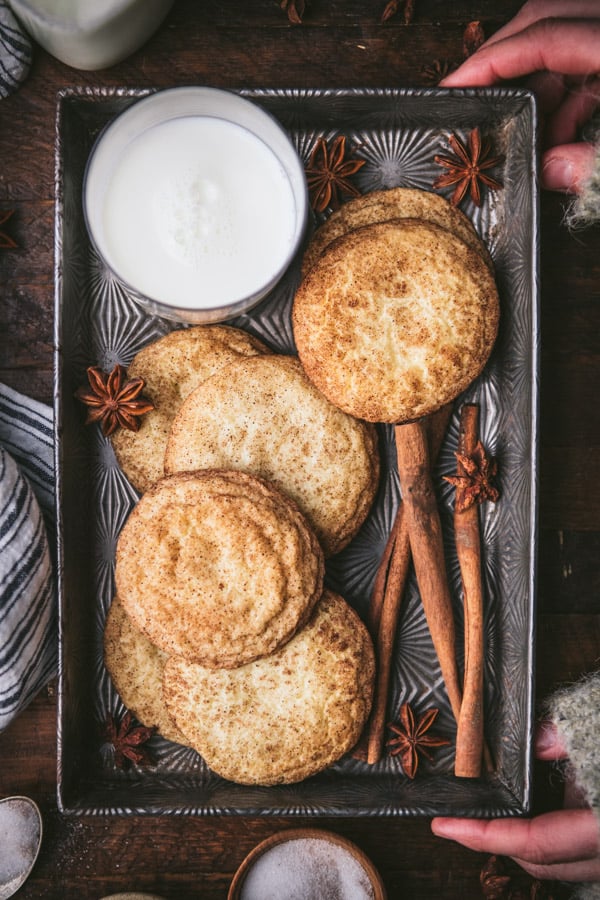
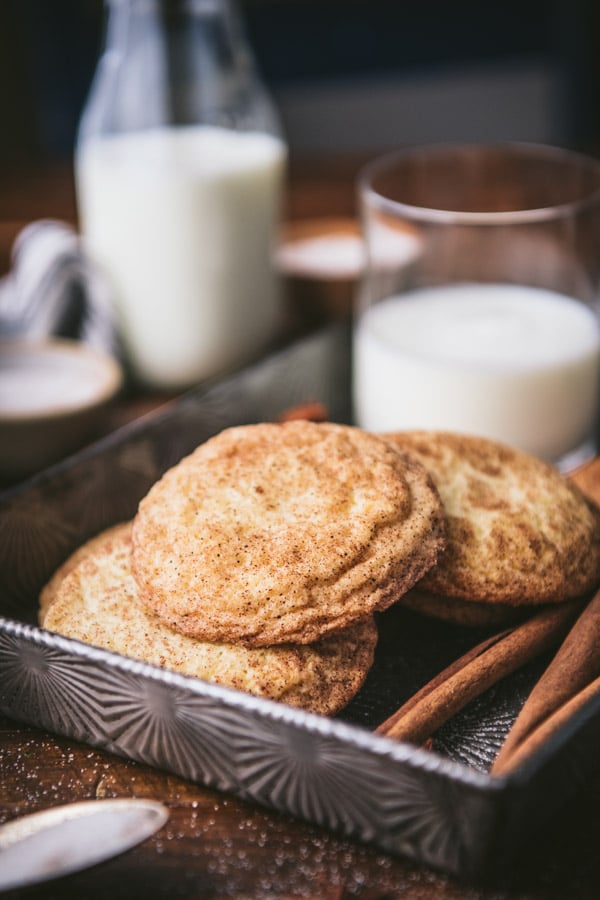
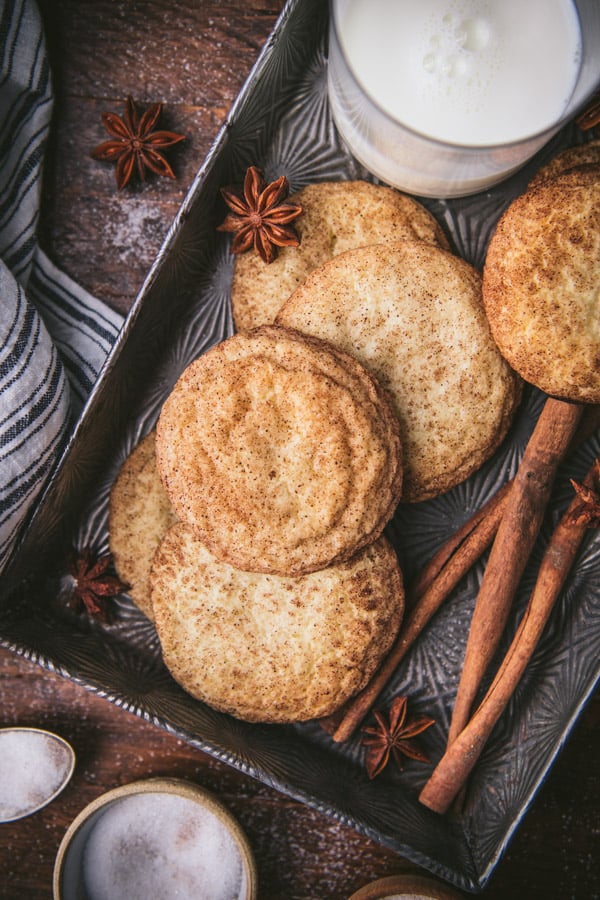
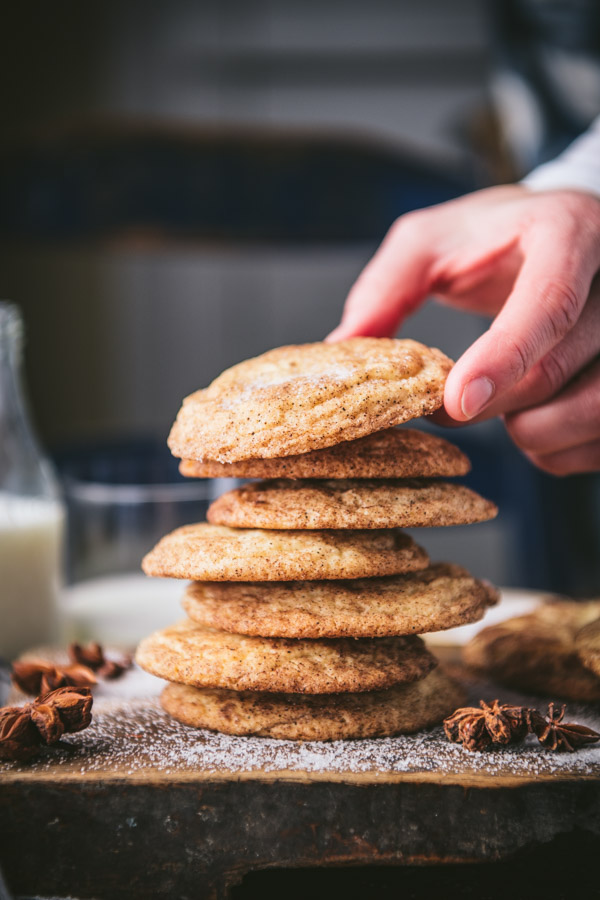
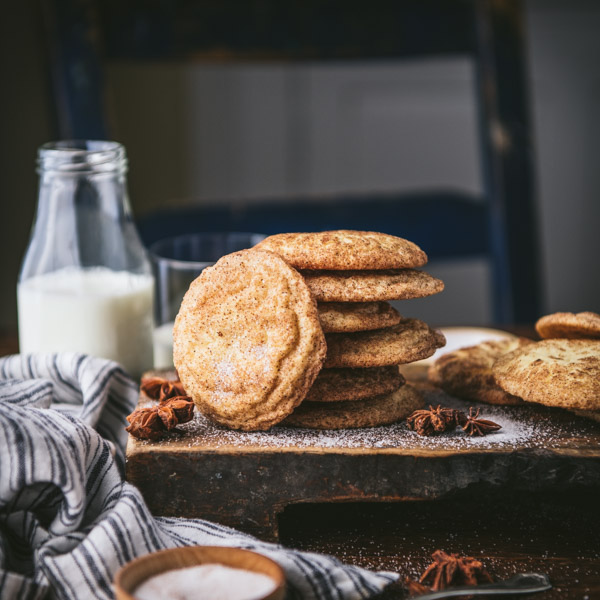
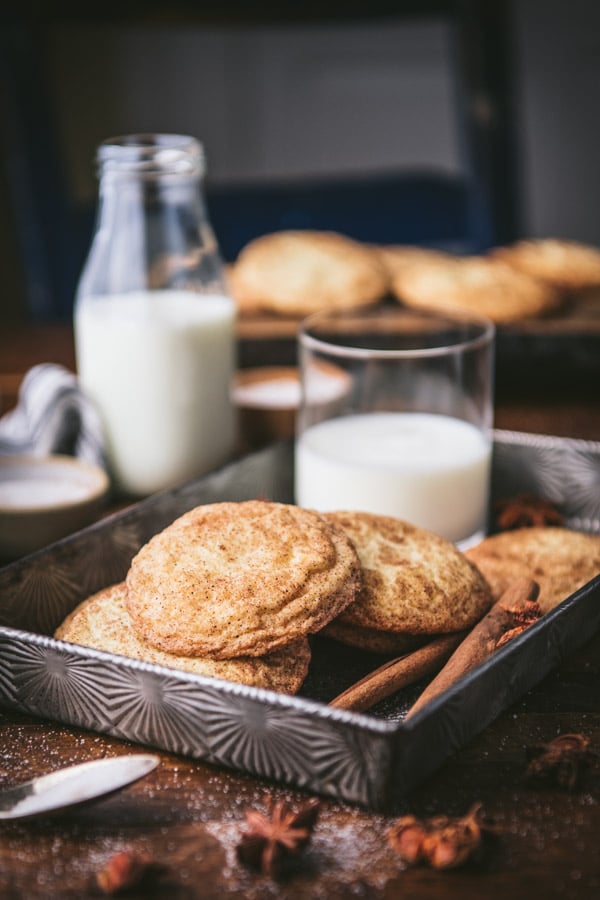
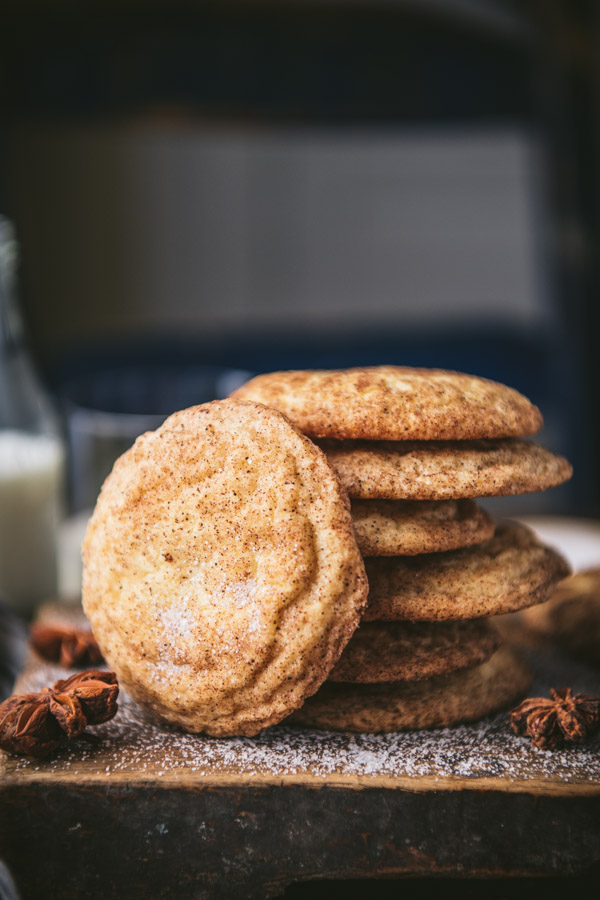
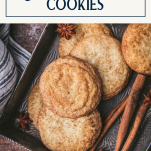
Snickerdoodle cookies taste like a sugar cookie that’s rolled in a cinnamon-sugar coating. This recipe yields a thick cookie with a slightly crisp, cracked surface and a soft, chewy inside.
Ingredients for the Best Snickerdoodle Cookie Recipe
This is just a quick overview of the ingredients that you’ll need for the best snickerdoodles. As always, specific measurements and complete step-by-step instructions are included in the printable recipe box at the bottom of the post.
- All-purpose flour: the base of the cookie dough.
- Salt: to balance the sweetness.
- Baking soda: the leavening agent that helps the cookies rise and puff in the oven.
- Cream of tartar: a key ingredient for snickerdoodles, this gives the cookies their signature chewy texture and tangy flavor.
- Butter: softened at room temperature. I prefer the flavor that you get with salted butter.
- Granulated sugar: to sweeten the cookies and to coat the outsides.
- Eggs: give the cookies structure.
- Vanilla extract: for flavor.
- Cinnamon: combines with sugar to make the cinnamon-sugar coating that’s a hallmark of snickerdoodle cookies.
Why do Snickerdoodles need cream of tartar?
Cream of tartar is a dry, powdery, acidic byproduct of fermenting grapes into wine. Technically known as potassium bitartrate, potassium hydrogen tartrate or tartaric acid, you can find this ingredient in the spice aisle of any grocery store under the label, “cream of tartar.” It’s often used as a bonding or stabilizing agent in baking.
Cream of tartar is a mandatory ingredient in Snickerdoodle cookies, and is responsible for the cookies’ distinctive chewy texture and tangy flavor. Along with the cinnamon, cream of tartar is the ingredient that sets Snickerdoodles apart from their sugar cookie counterparts.
Cream of tartar stops sugar crystals from binding together by activating the alkaline in the baking soda. Since the sugar crystals don’t bind together and become crunchy, the Snickerdoodles have that great chewy texture. As an added bonus, the acid in the cream of tartar gives the cookies a nice, subtle tangy flavor. Just make sure that your cream of tartar is fresh before using it in your recipe!
How to Make Snickerdoodle Cookies
To get your Snickerdoodles soft and chewy, you need the perfect balance of butter, flour, sugar, eggs and leavening agents. You’ll also want to pull the cookies out of the oven when they still look soft (and slightly under-baked in the center). They will firm up as they cool, but will remain nice and tender on the inside.
This classic snickerdoodle cookie recipe never goes out of style, so whip up a batch to share with your family or pack up a box as a gift for your friends during the holiday season. They’re one of those popular treats that both kids and adults adore!
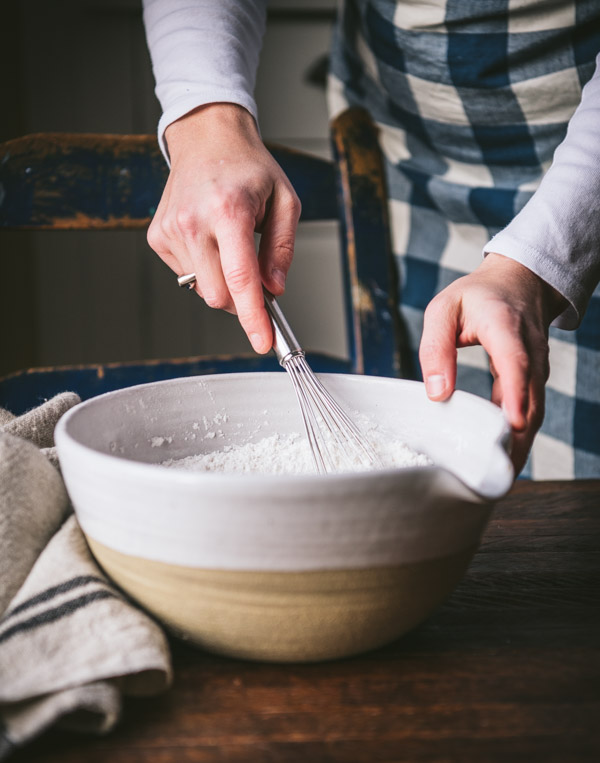
- Whisk Together Dry Ingredients. In a large bowl, combine the flour, salt, baking soda and cream of tartar.
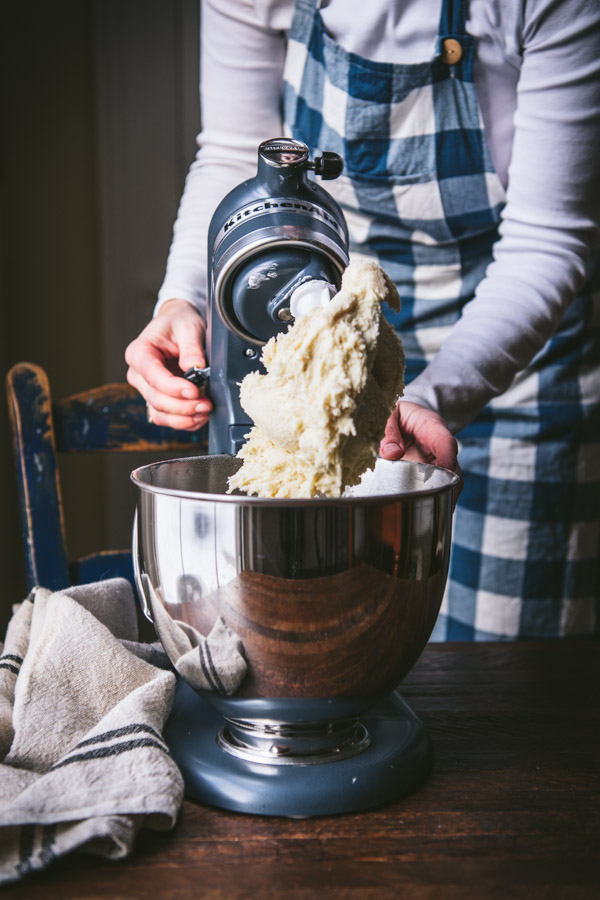
- Cream Together Butter and Sugar. Using a stand mixer fitted with the paddle attachment, cream together the butter and sugar. Add the eggs, one at a time, and then mix in the vanilla extract. Scrape the sides of the bowl, as necessary.
- Add Dry Ingredients. With the mixer on low speed, gradually add the dry ingredients until the dough is completely combined.
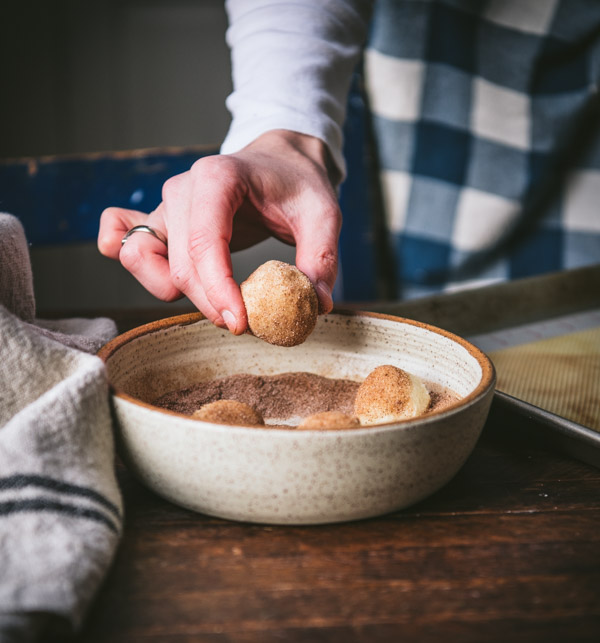
- Roll Balls in Cinnamon and Sugar. Shape dough into balls, then roll the cookie dough balls in a cinnamon-sugar mixture.
- Bake. Arrange the dough balls on parchment or silicone-lined baking sheets. Bake in a 375°F oven for just 10-11 minutes. Be careful not to over-bake the cookies or they will become crunchy and hard. Pull them out of the oven when they are lightly brown around the edges, but still soft and puffy in the center. They will continue to firm up as they cool.
Does Snickerdoodle dough need to be chilled before baking?
No, you don’t need to chill the dough — which is one reason that this simple recipe is so quick and easy! The amount of flour in the recipe prevents the cookies from spreading too thin in the oven. If your kitchen is particularly warm, if your dough is sitting out for a long time, or if you really prefer thick cookies, I recommend chilling the dough in the refrigerator for about 30 minutes before baking. That will ensure the thickest, chewiest cookies possible!
Storage
Store the cookies in an airtight container at room temperature. They will stay fresh for about 3-4 days. Tip: To keep them nice and soft, place a piece of white sandwich bread in the container with the cookies.
How to Freeze
You can freeze the baked cookies in an airtight container or Ziploc freezer bag for up to 3 months. Alternatively, freeze the cookie dough before baking. Simply place the dough balls on a parchment-lined pan and freeze until solid. Once frozen, remove from the pan and transfer the dough balls to a Ziploc freezer bag. Store the dough in the freezer for up to 3 months.
How to Bake Frozen Snickerdoodle Cookies
Simply place the frozen, pre-scooped dough balls onto a parchment or silicone-lined baking sheet and bake at 375°F for 2-3 minutes longer than the original recipe recommends (in this case, about 14 minutes).
Tips for the Best Snickerdoodle Recipe
- For thicker cookies, chill the dough for at least 30 minutes before baking.
- Keep your hands damp as you roll the cookie dough. This prevents the dough from sticking to your palms.
- Don’t overbake the cookies. Watch for the cookies’ edges to just start to turn a slightly darker color. The insides of the cookies should still be soft and puffy when they come out of the oven. They will firm up as they cool, resulting in that great soft and chewy texture that we’re looking for. Overbaking the cookies will yield dry, hard, or crunchy cookies.
More Cookie Recipes to Try
- Soft Cut-Out Sugar Cookies
- Chocolate Chip Cookies
- Cranberry White Chocolate Chip Cookies
- Old-Fashioned Williamsburg Gingerbread Cookies
- Soft and Chewy Oatmeal Chocolate Chip Cookies
- Chocolate Crinkle Cookies {with cake mix!}
- Jam Thumbprint Cookies
- Italian Ricotta Cookies
- Soft Gingerbread Man Cookies
- Magic Cookie Bars
- Russian Tea Cakes {Snowball Cookies}
- Soft and Chewy Peanut Butter Blossoms
- Old-Fashioned Chewy Molasses Cookies
- Fruitcake Cookies
- 3-Ingredient Scottish Shortbread Cookies
- Grandmother’s Bourbon Balls
- Cinnamon Pecan Cookie Bars

Did you make this recipe?
If you enjoyed this recipe, please leave a comment with a 5-star review at the bottom of the post. Thank you!

Snickerdoodle Cookies
Ingredients
- 3 cups all-purpose flour
- ½ teaspoon salt
- 1 teaspoon baking soda
- 2 teaspoons cream of tartar
- 1 cup (2 sticks) salted butter, softened
- 1 ½ cups granulated sugar
- 2 eggs
- 1 teaspoon vanilla extract
For the Topping:
- ¼ cup granulated sugar
- 1 ½ tablespoons cinnamon
Instructions
- Preheat oven to 375°F. Line baking sheets with parchment paper or silicone mats; set aside.
- Sift (or whisk) flour, salt, baking soda and cream of tartar into a medium mixing bowl; set aside.
- Cream together butter and sugar with an electric mixer on medium speed until light and fluffy (about 3-6 minutes). Beat in the eggs, one at a time, until incorporated (about 30 seconds), scraping down the bowl as necessary. Add vanilla extract and mix to combine.
- Reduce the mixer speed to low and gradually add the flour mixture until combined (about 30 seconds). Give the dough one more stir by hand to make sure that all of the ingredients are completely mixed together.
- If time allows, cover the bowl and chill the dough in the refrigerator for about 30 minutes. This isn't necessary, but it yields thicker cookies that spread less in the oven.
- Combine the sugar and cinnamon for the topping in a small bowl.
- Using damp hands, roll about 2 tablespoons of dough at a time into balls, then roll in the cinnamon sugar topping to coat. Arrange the dough on the prepared baking sheets, spaced about 3 inches apart.
- Bake the cookies for about 10-11 minutes, or until just lightly brown around the edges but still soft and puffy in the center. Let the cookies cool on the baking sheet for 10 minutes, then transfer to a wire rack to cool completely.
Notes
- For thicker cookies, chill the dough for at least 30 minutes before baking.
- Keep your hands damp as you roll the cookie dough. This prevents the dough from sticking to your palms.
- Don’t overbake the cookies. Watch for the cookies’ edges to just start to turn a slightly darker color. The insides of the cookies should still be soft and puffy when they come out of the oven. They will firm up as they cool, resulting in that great soft and chewy texture that we’re looking for. Overbaking the cookies will yield dry, hard, or crunchy cookies.
Nutrition
This recipe was originally published in August, 2020. The photos were updated in April, 2022.


Hi Blair, just want to double check on the butter. The recipe says to use salted butter, and 1/2 teaspoon of salt? I’m not used to seeing salted butter in baking recipes. Thanks!
Hi, Renee! Yes, that’s what I use. I always have salted butter on hand, and therefore prefer to use it in most of my baking recipes (with few exceptions). You can definitely use unsalted butter if that’s your preference — just increase the salt accordingly. Hope you enjoy the cookies!
Hi Blair – I don’t have a stand mixer – can this recipe be made with an electric hand mixer? Thank you!
Hi, Tiffany! Yes, that should work fine! 🙂