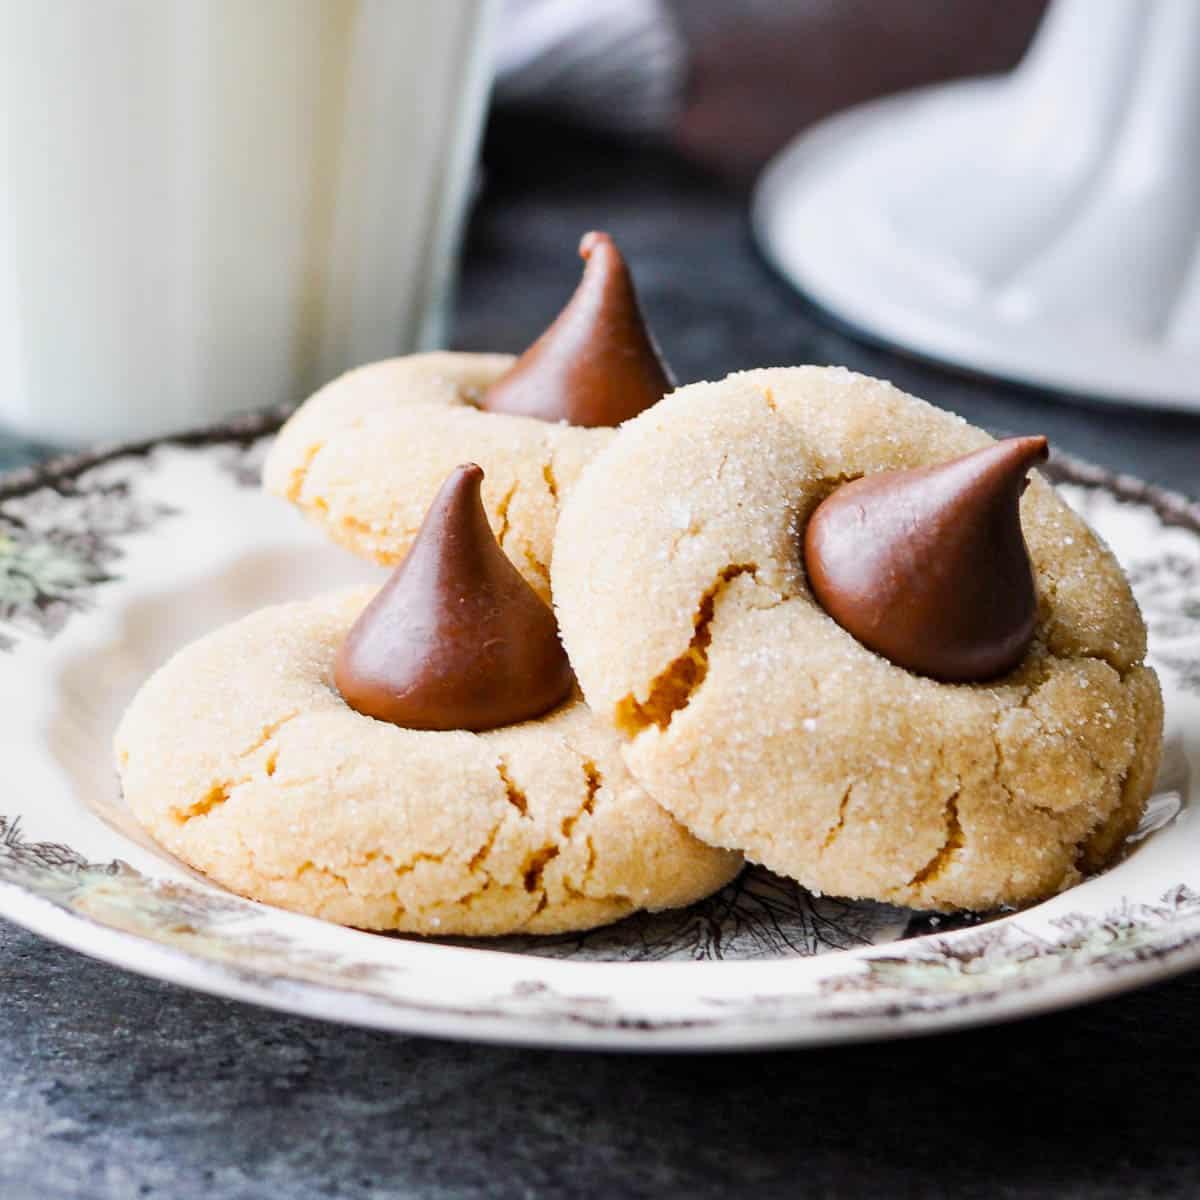
You just can’t beat the classic combination of peanut butter and chocolate! These easy peanut butter blossoms are soft, chewy, and topped with Hershey’s Kisses for the ultimate festive treat. Share them on Christmas cookie trays, serve them with a glass of milk, or whip up a batch whenever you need a crowd-pleasing dessert.
If you love chocolate peanut butter desserts, try these magic cookie bars or no-bake 5-ingredient salted dark chocolate peanut butter balls. You can also browse all of our Easy Christmas Desserts for more holiday inspiration.
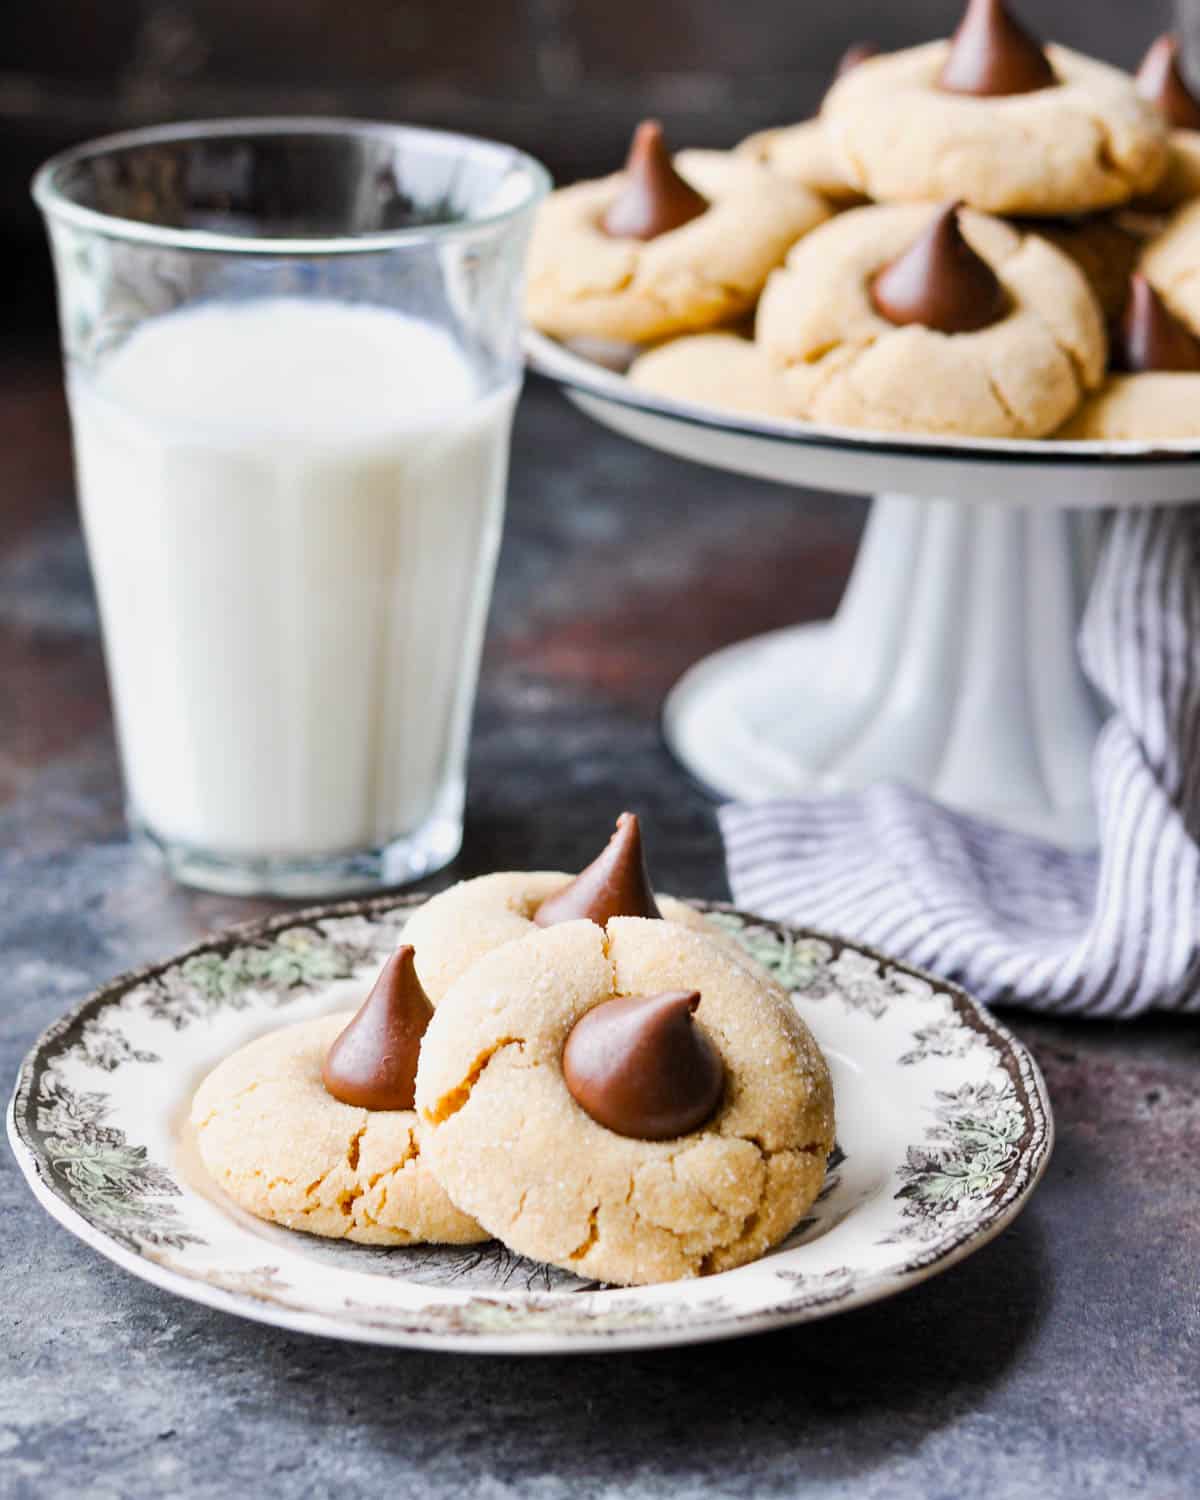
Table of Contents
Before You Get Started
Peanut butter blossoms have been a holiday staple since the 1957 Pillsbury Bake-Off, and for good reason. The dough is simple to prepare and doesn’t require chilling. You can even freeze them ahead of time to eliminate last-minute holiday stress.
Here are a few tips to set you up for success:
- Use processed peanut butter. Brands like Jif or Skippy work best because they don’t separate like natural peanut butter. This gives you a smoother dough and better texture.
- Chill the dough if your kitchen is warm. While not required, 30 minutes in the fridge helps the cookies hold their shape and bake up thick and chewy.
- Don’t overbake. Pull the cookies when they still look soft and slightly underdone in the center. They’ll firm up as they cool but stay soft and chewy inside.
- Unwrap your Hershey’s Kisses while the cookies bake. You’ll want them ready to press into the warm cookies the moment they come out of the oven.
How to Make Peanut Butter Blossoms
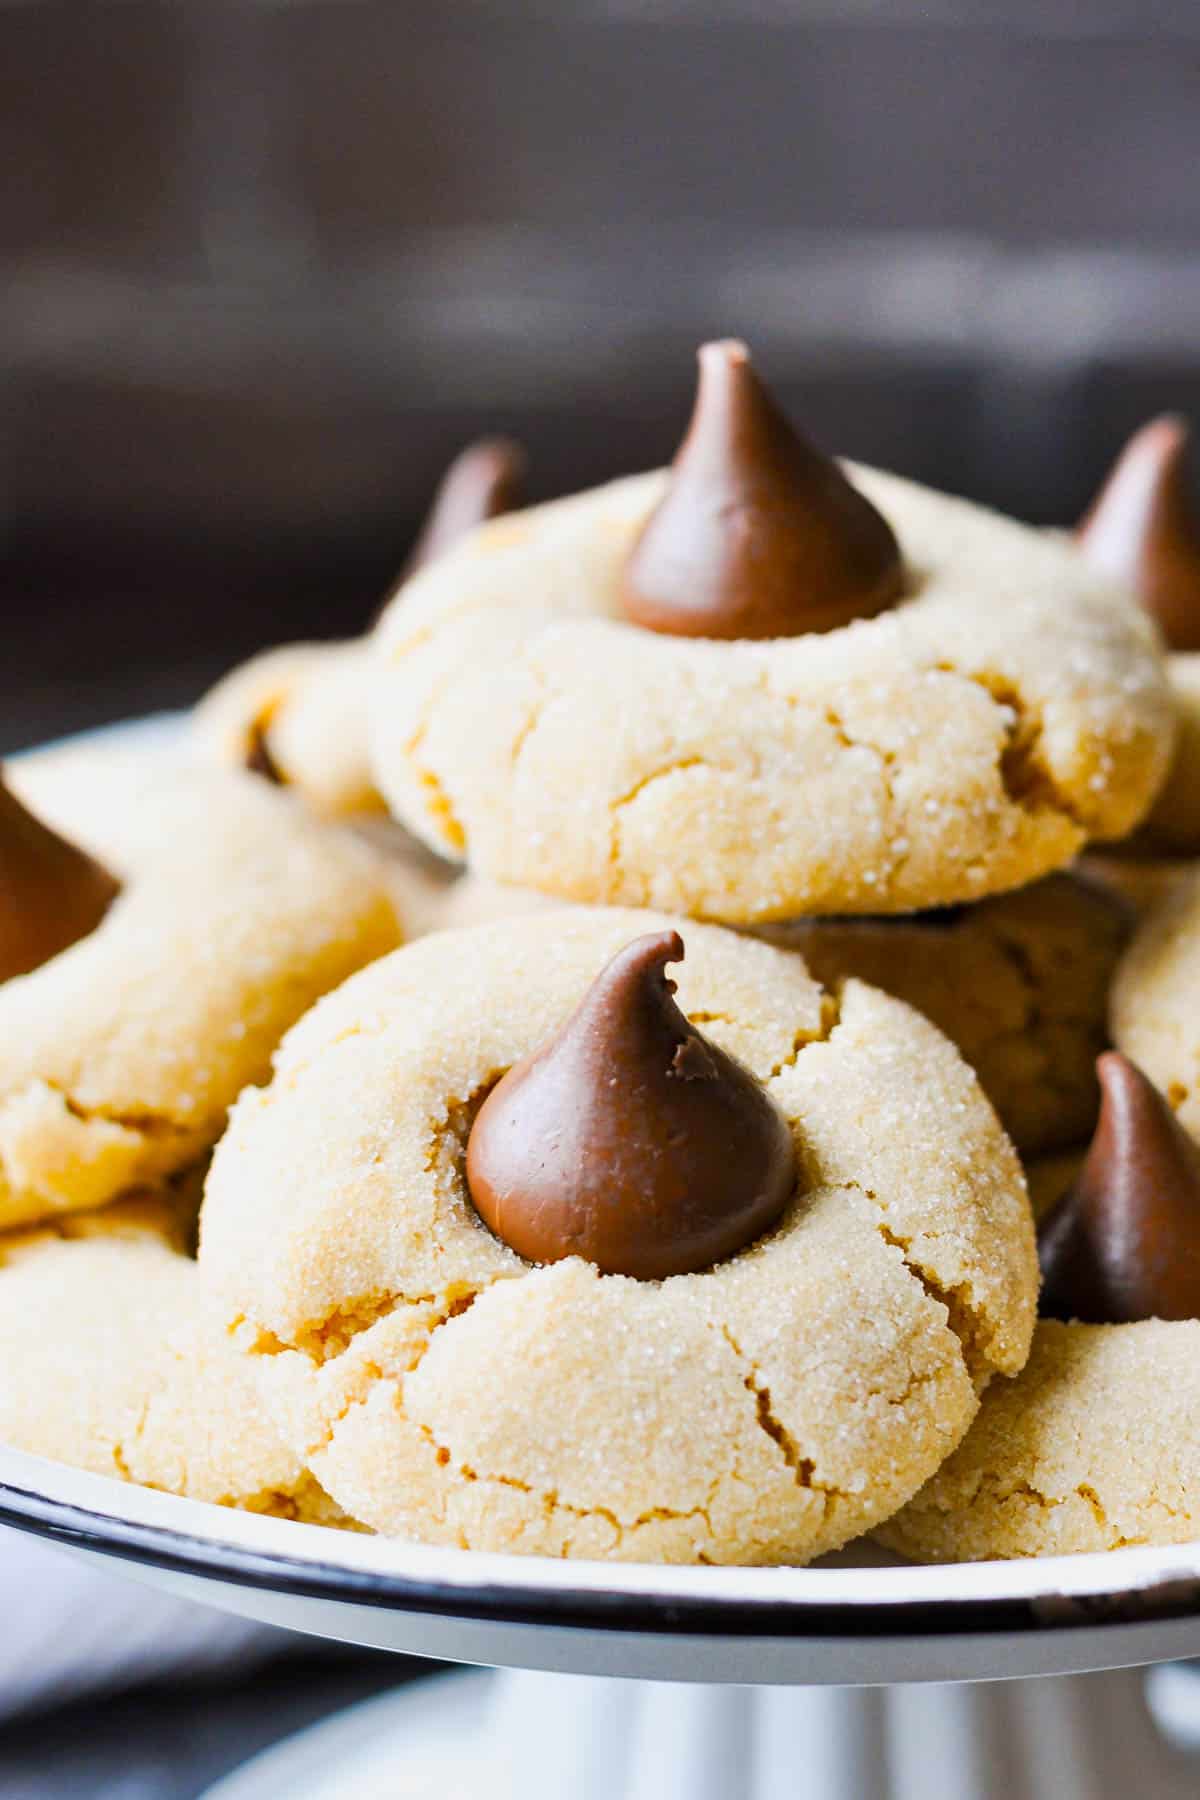
These peanut blossom cookies never go out of style. Whip up a batch to share with family or pack into gift boxes during the holiday season.
You’ll find the full recipe in the card below, but here’s a helpful walkthrough:
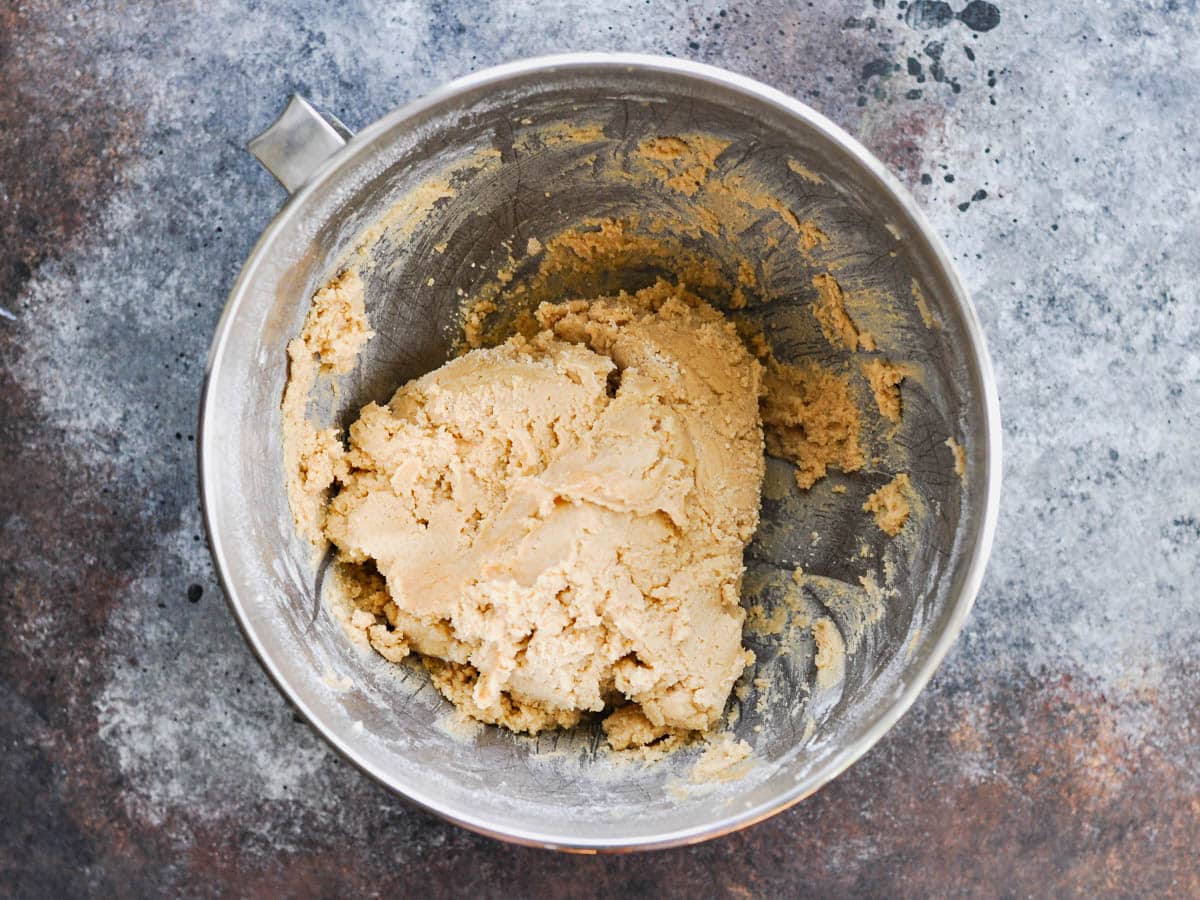
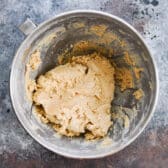
Step 1: Mix the Dough
Cream together ½ cup granulated sugar, ½ cup brown sugar, and ½ cup softened salted butter until light and fluffy. The brown sugar adds sweetness and helps keep the cookies soft, while salted butter brings out that classic sweet-and-salty contrast.
Add 1 egg, ½ cup creamy peanut butter, and 1 teaspoon vanilla extract. Beat until smooth.
In a separate bowl, whisk together 1 ¾ cups all-purpose flour, ½ teaspoon salt, and ¾ teaspoon baking soda. Gradually add the dry ingredients to the butter mixture and mix just until combined
** Pro Tip: If your kitchen is warm or the dough feels sticky, cover and chill for 30 minutes. This helps the cookies hold their shape and bake up thicker.
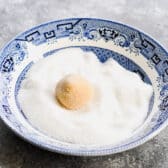
Step 2: Shape and Roll in Sugar
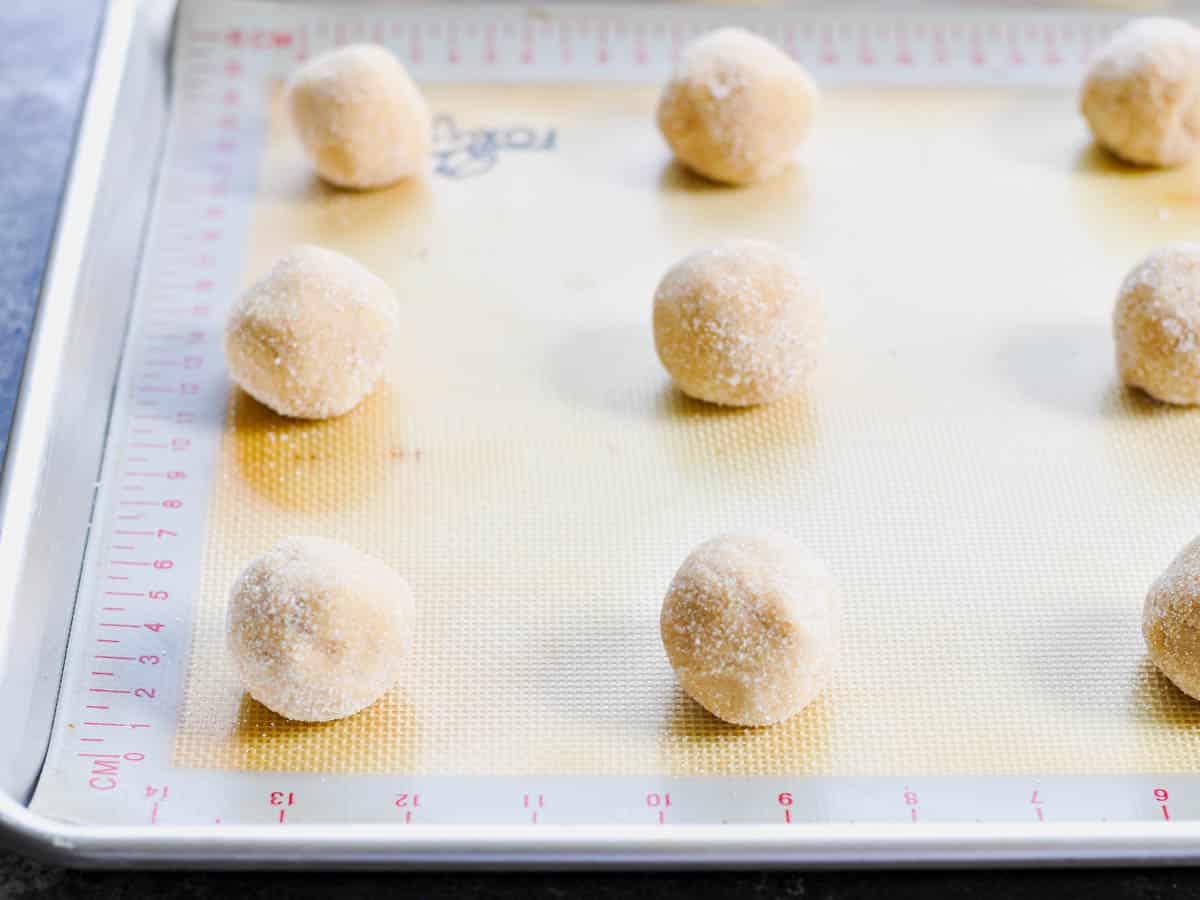
Place about ½ cup of granulated sugar in a shallow bowl. Using a cookie scoop (about 1 ½ tablespoons), roll the dough into balls and coat each one in sugar on all sides.
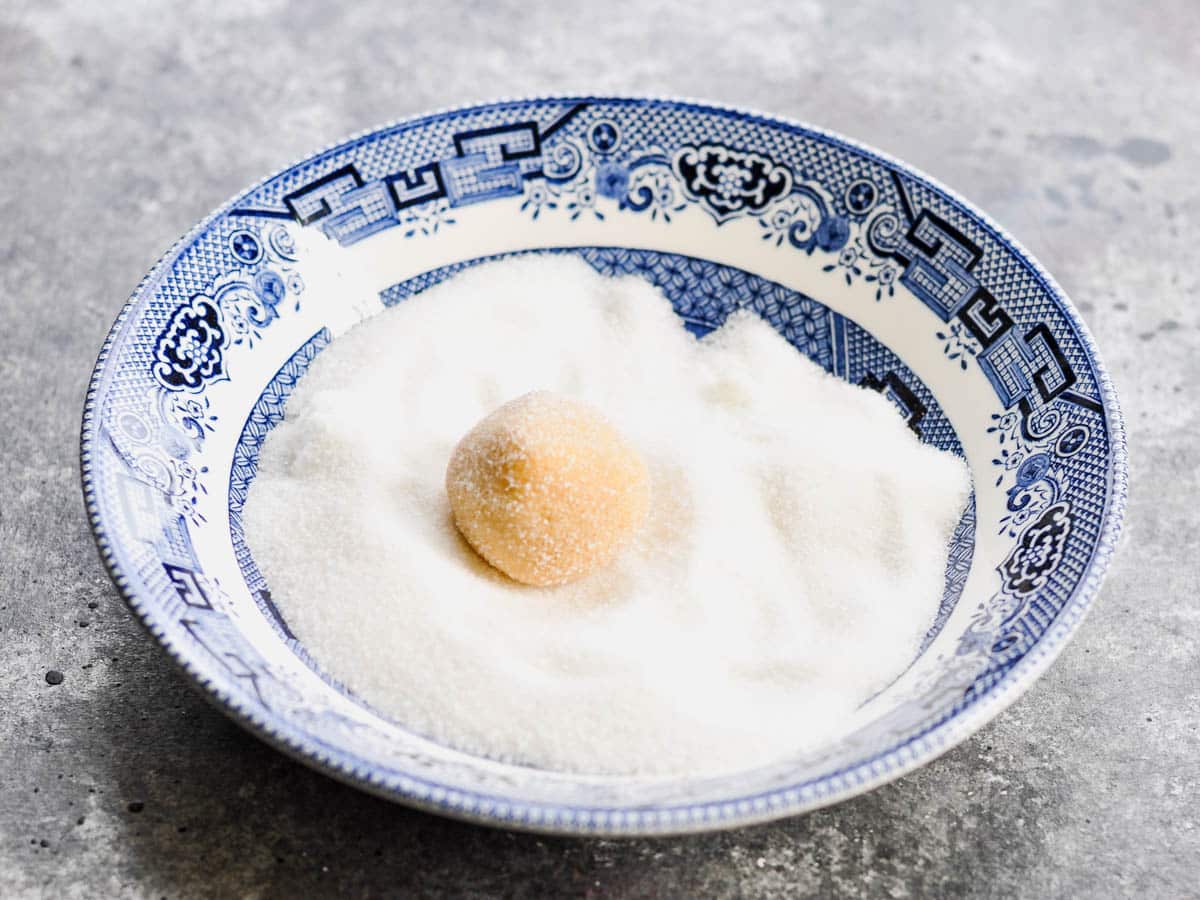
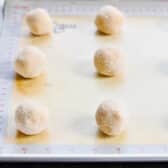
Place the dough balls about 2 inches apart on parchment-lined baking sheets.
Step 3: Bake Until Just Set
Bake at 375°F for 9-10 minutes, or until the tops begin to crack slightly. The cookies will still look soft, and that’s exactly what you want.
** Note: If the cookies look fully set or dry around the edges, they’re overbaked. Soft and slightly underdone is the goal.
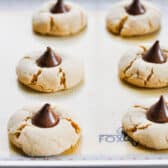
Step 4: Press in the Hershey’s Kisses
Let the cookies cool on the baking sheet for 2-3 minutes.
While they’re still warm, gently press a Hershey’s Kiss into the center of each cookie. The chocolate will soften from the heat but will firm up again as the cookies cool.
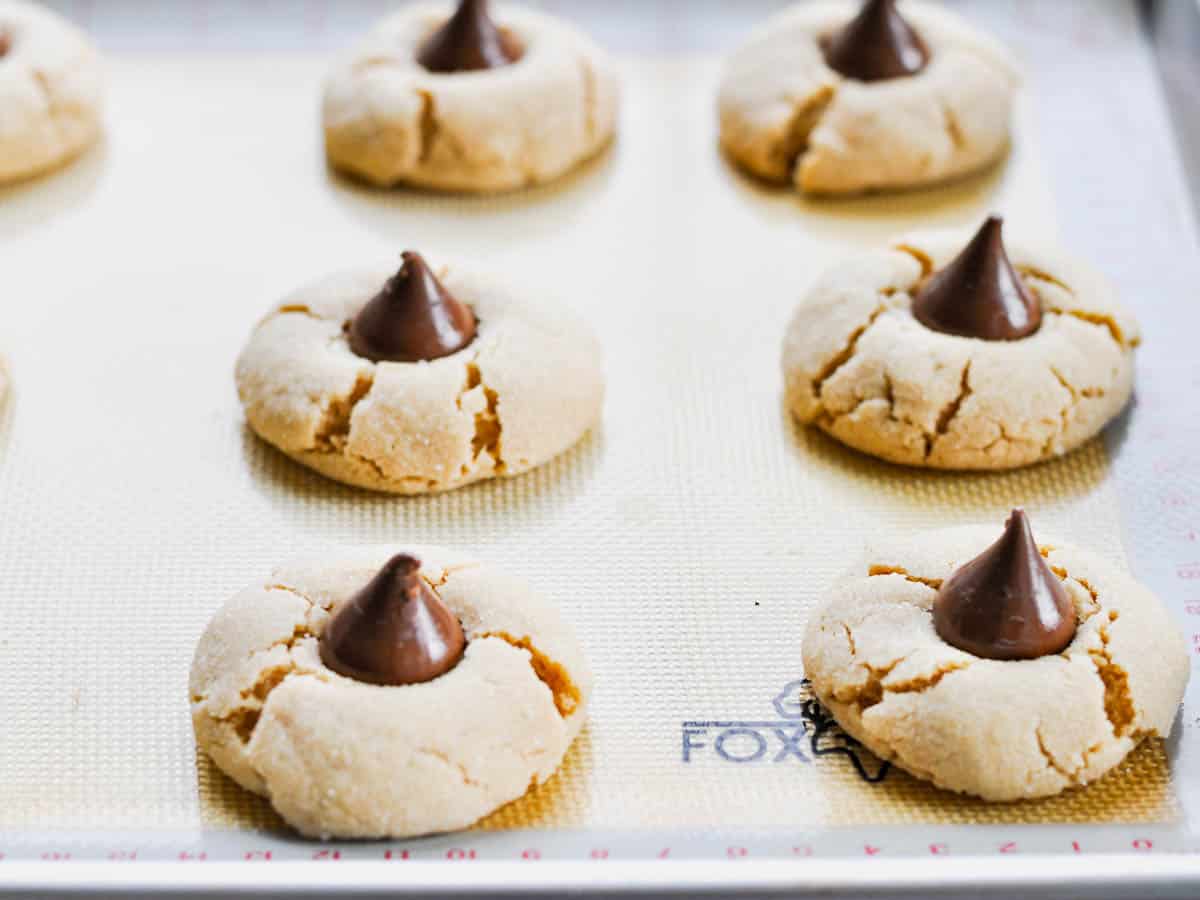
Let them rest on the baking sheet for another 3-5 minutes, then transfer to a wire rack to cool completely.

Recipe Variations
- Using Unsalted Butter: If you only have unsalted butter, add an extra ¼ teaspoon of salt to the dough.
- Different Chocolate Flavors: Swap classic milk chocolate Hershey’s Kisses for Hot Cocoa Kisses, Special Dark Kisses, or Hershey’s Hugs (which include white chocolate).
- 3-Ingredient Shortcut: Use store-bought peanut butter cookie dough (like Pillsbury Peanut Butter Cookie Dough). Shape into balls, roll in sugar, bake, and top with kisses.
- Festive Christmas Blossoms: Roll the dough balls in red and green colored sugar or holiday sprinkles instead of plain granulated sugar.
Storage and Freezing Tips
How to Store: Keep peanut butter blossoms in an airtight container at room temperature for 3-4 days. Layer them between sheets of wax paper to protect the chocolate.
Keeping Them Soft: Place a piece of white sandwich bread in the container with the cookies. It helps them stay soft and chewy.
How to Freeze Baked Cookies: Store cooled cookies in an airtight container or freezer bag for up to 3 months.
How to Freeze Cookie Dough: Place sugar-coated dough balls on a parchment-lined pan and freeze until solid. Transfer to a freezer bag and store for up to 3 months.
Baking From Frozen: Place frozen dough balls on a lined baking sheet and bake at 375°F for 11-12 minutes (2-3 minutes longer than fresh dough).
Just made these! Fantastic recipe!
– holly
Frequently Asked Questions
Can I use butter instead of shortening?
Yes! This recipe uses butter rather than shortening. Butter adds great flavor and helps create that soft, chewy texture. If you see older recipes calling for shortening, you can substitute an equal amount of softened butter.
Why are my peanut butter blossoms falling apart or crumbling?
This usually happens if the cookies are over-baked or if there’s too much flour. Make sure to measure your flour correctly (spoon and level method) and pull the cookies from the oven while they still look slightly soft.
When should I press the Hershey’s Kiss into the cookie?
Press the kiss into the cookie about 2-3 minutes after removing from the oven. The cookies need to be warm enough that the chocolate sticks, but not so hot that it melts completely.
Can I use natural peanut butter?
Processed peanut butter (like Jif or Skippy) works best because it doesn’t separate. Natural peanut butter can make the dough oily and affect the texture of the finished cookies.
Do I have to chill the dough?
No, but it helps! Chilling for 30 minutes gives you thicker, chewier cookies. If your kitchen is warm or the dough feels soft, chilling is especially helpful.
More Christmas Cookies to Try

Did you make this recipe?
If you enjoyed this recipe, please leave a comment with a 5-star review at the bottom of the post. Thank you!
Watch How to Make It
Soft Peanut Butter Blossoms
Ingredients
- ½ cup granulated sugar, plus extra for coating
- ½ cup brown sugar
- ½ cup (1 stick) salted butter, softened
- 1 large egg
- ½ cup creamy peanut butter
- 1 teaspoon vanilla extract
- 1 ¾ cups all-purpose flour
- ½ teaspoon salt
- ¾ teaspoon baking soda
- 24 Hershey’s kisses (or more or less, depending on how many cookies you make)
Instructions
- Preheat oven to 375°F. Line two baking sheets with parchment paper or silicone mats.
- In a large bowl, use a handheld electric mixer or a stand mixer fitted with the paddle attachment to cream together granulated sugar, brown sugar and butter. Add egg, peanut butter, and vanilla extract. Beat well.
- In a separate bowl, whisk (or sift) together flour, salt, and baking soda. Gradually add the dry ingredients to the butter mixture; mix just until combined. Optional, but recommended: cover and chill dough for up to 30 minutes for really thick, chewy cookies.

- Place about ½ cup of additional granulated sugar in a shallow bowl. Using a cookie scoop (about 1 ½ tablespoons), roll dough into balls and coat in sugar.
- Place about 2 inches apart on greased baking sheets.
- Bake in the 375 degree F oven for 9-10 minutes, or until the tops begin to crack a little bit. The cookies will still be soft. Remove the baking sheets from the oven and place on wire racks to cool. Let the cookies cool for 2-3 minutes, then place a chocolate kiss in the center of each cookie, pressing down slightly.
- Cool on the baking sheets for about 3-5 more minutes, and then transfer to wire racks to cool completely.

Notes
- Unwrap your kisses early. Have them ready while cookies bake so you can press them in right away.
- Don’t overbake. Pull cookies when they still look soft in the center. They’ll firm up as they cool.
- Chill for thicker cookies. 30 minutes in the fridge helps dough hold its shape.
- Use processed peanut butter. Jif or Skippy work best. Natural peanut butter can make the dough oily.
- Press kisses at the right time. Wait 2-3 minutes after baking so cookies are warm but not too hot.
- Store in an airtight container at room temperature for 3-4 days. Add a slice of bread to keep them soft.
- Freeze for up to 3 months. Freeze baked cookies or unbaked dough balls.
Nutrition
Originally published in October, 2020, this post was updated in December, 2025.


Delish indeed! We call these Kissy cookies, same recipe as yours. Thank you for providing all that extra information on the ingredients, etc. It surely will help many bakers feel confident.
Thanks, Olivia! I love that name — I should adopt it! 🙂
I made them with Dark Chocolate Kisses and Crunchy Peanut Butter, Yummy!
Well written recipe and tips, THANKS!
Thank you!! Dark chocolate is my favorite, so I need to try that, too. Sounds perfect!
Just made these! Fantastic recipe!
Yay! Thanks, Holly! You can’t beat that flavor combination. 🙂
Oh! I just realized that was under “3X”. I’ve never seen that on a recipe before and I thought it meant to enlarge it so we people with near sightedness could read it better. Well, then just the s on eggs for 2x and 3x!
I just stumbled on this site today. I love your recipes. I think this will be a go to for quick and easy recipes . . . thanks!!
I always make these at Christmas time. Your recipe is pretty much the same as mine. The one thing I do differently is I add M&M’s. They make the cookie more festive. I take the cookies out about a minute before and add the Kiss, then put back in the oven to soften. When you remove from oven, press M&M into the Kiss. Be quick the Kisses cool fast.
Welcome, Kathy! We’re so happy to have you here! We will have to try these cookies your way, too.
The best peanut butter blossoms I’ve made! They came out so fluffy when other recipes usually end up with flat cookies. Delicious!
Thank you, Abbie! I’m so glad to hear that!
Can you send me this recipe.
Thank you!
Hi, Bobby! The complete recipe is included at the bottom of the post. Hope you get to try them!