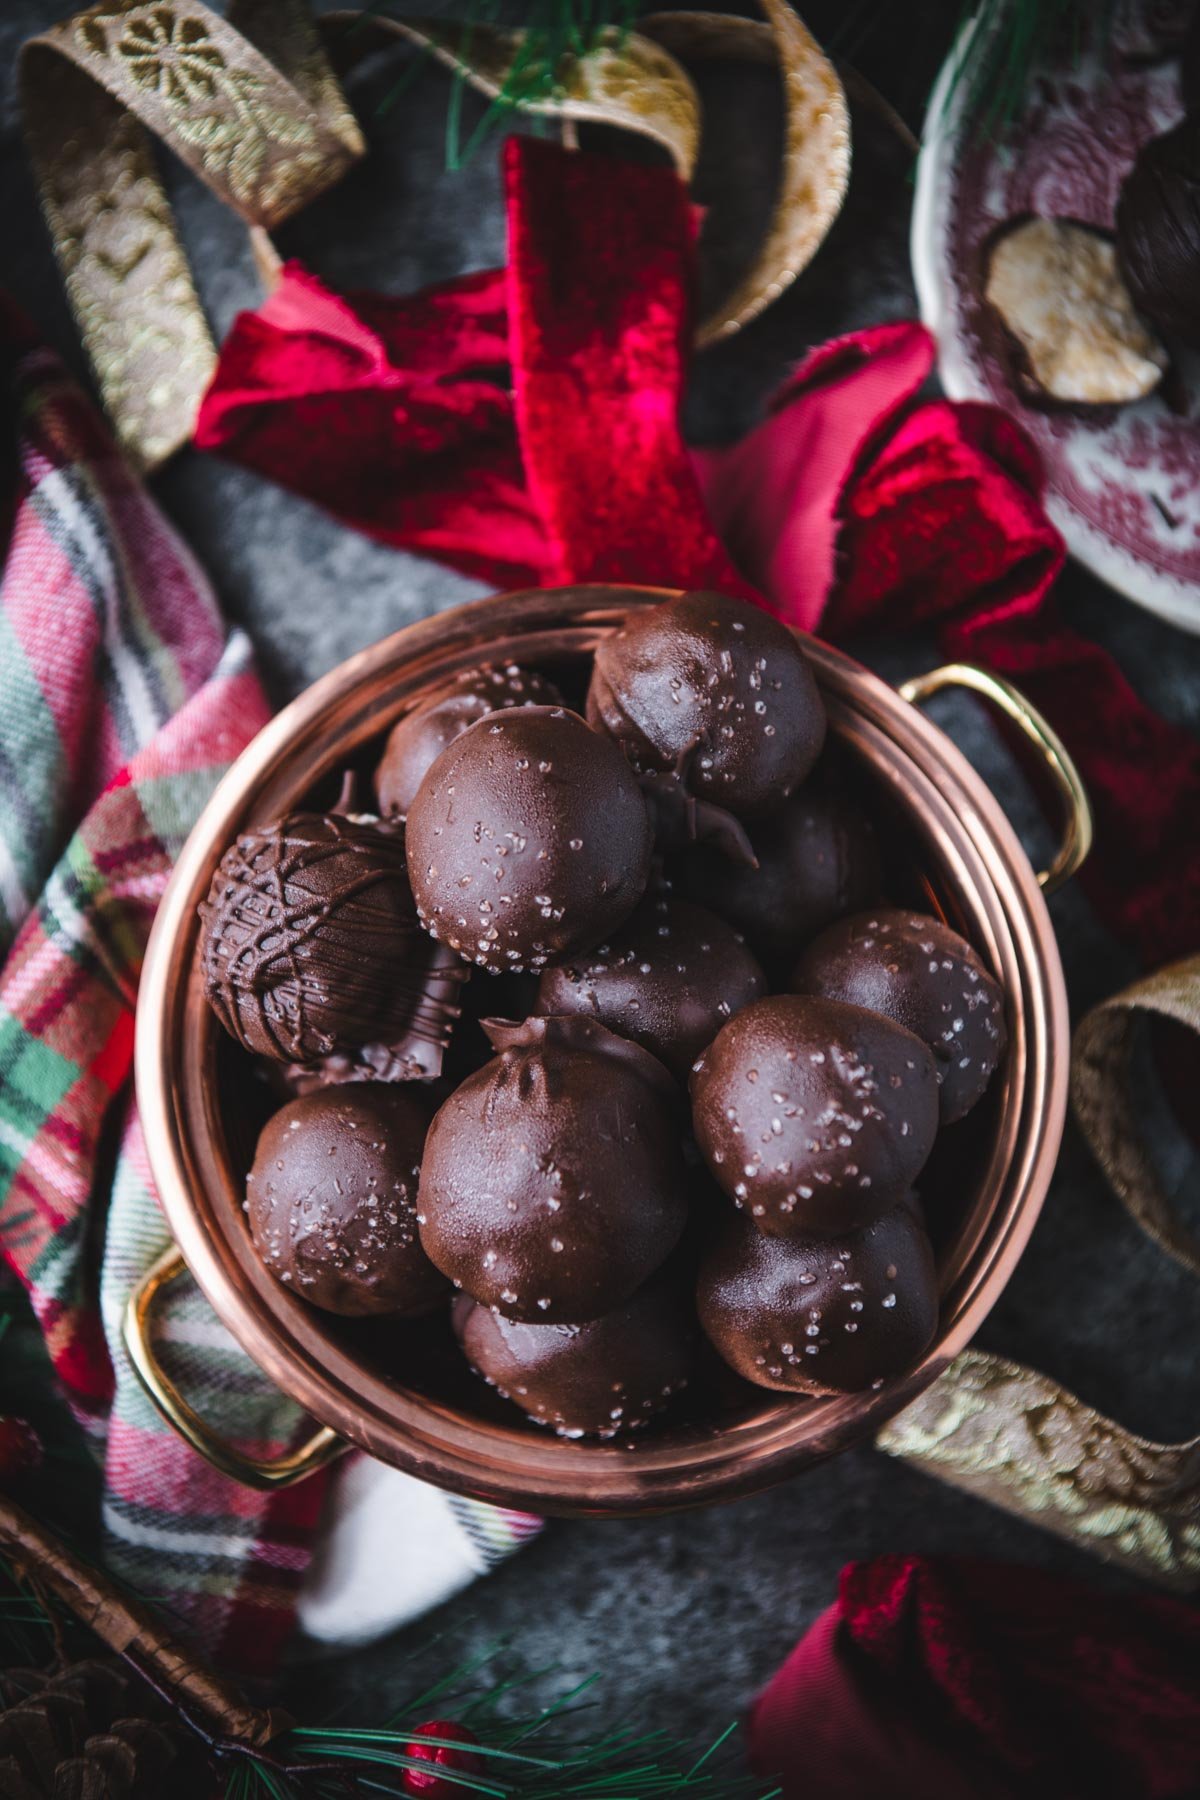
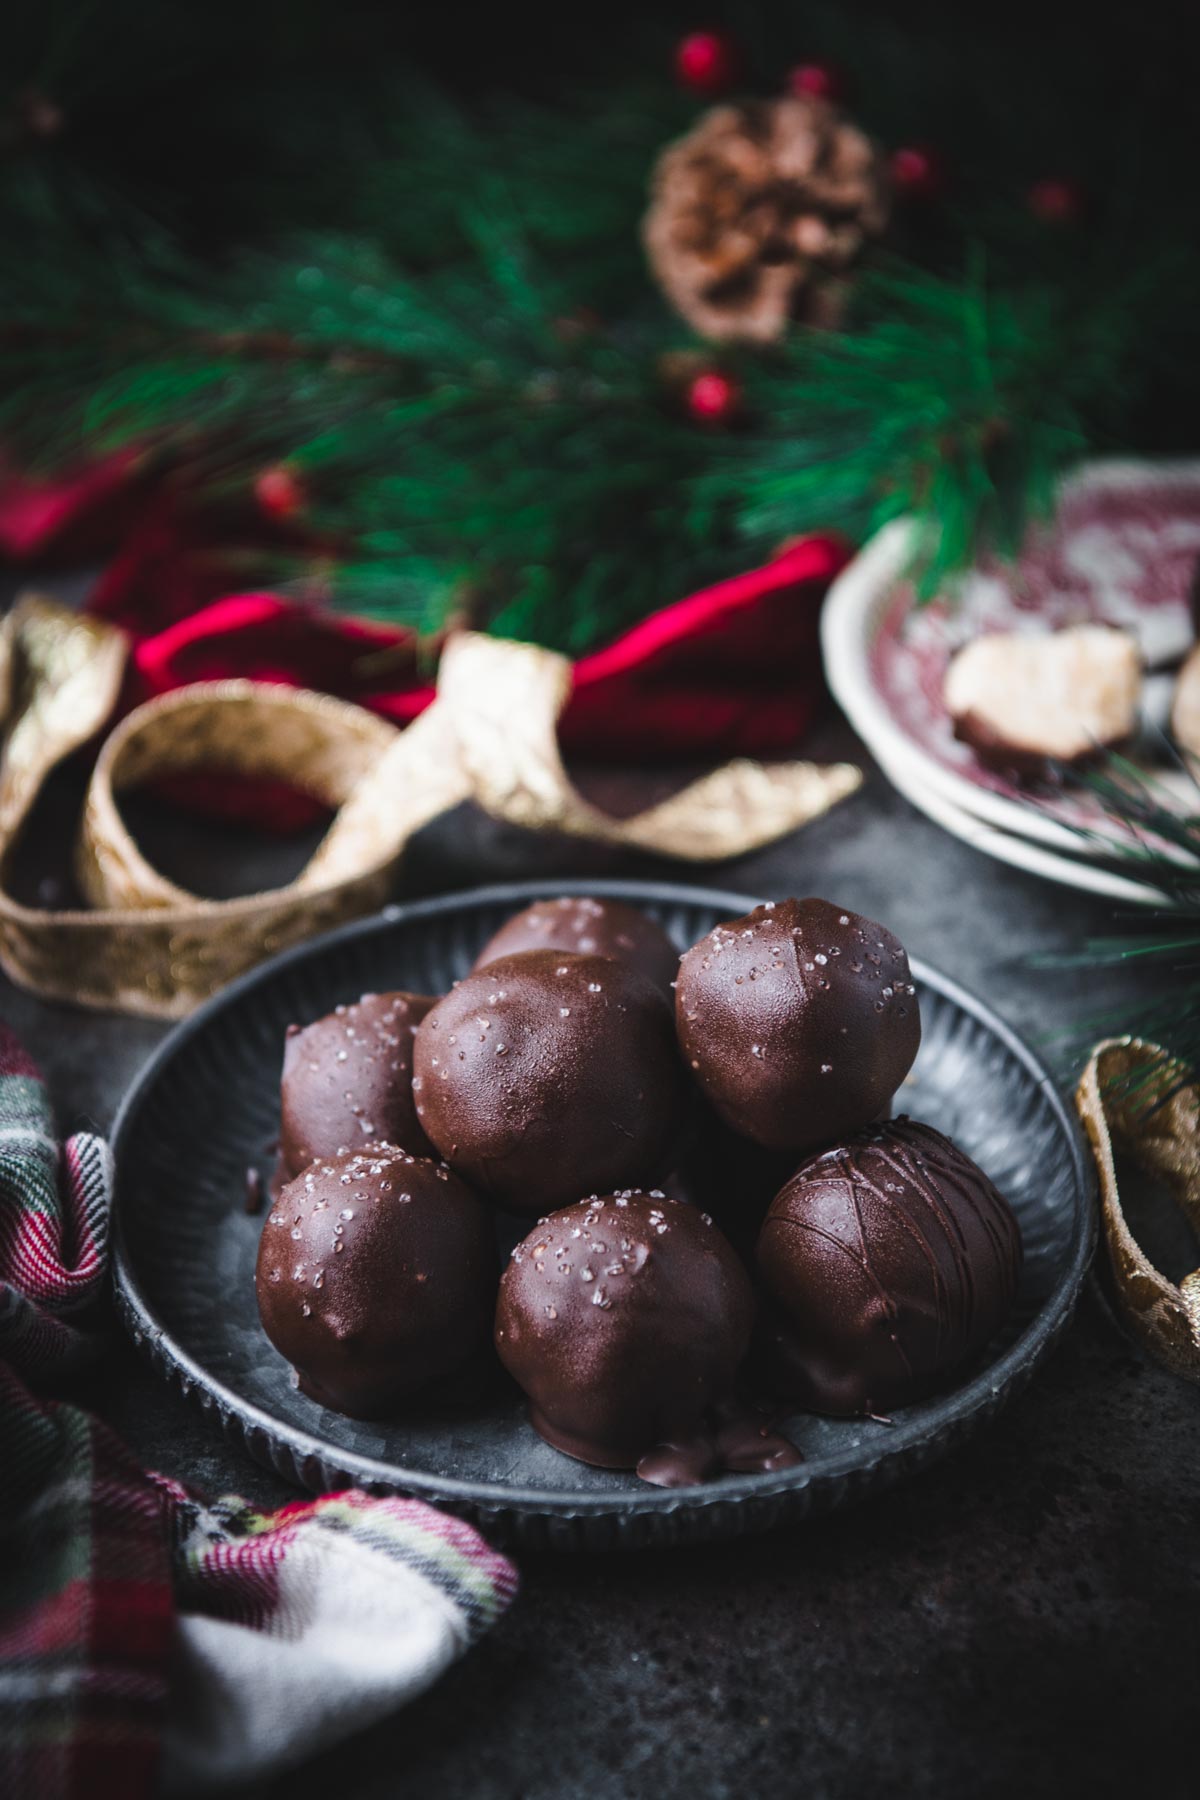
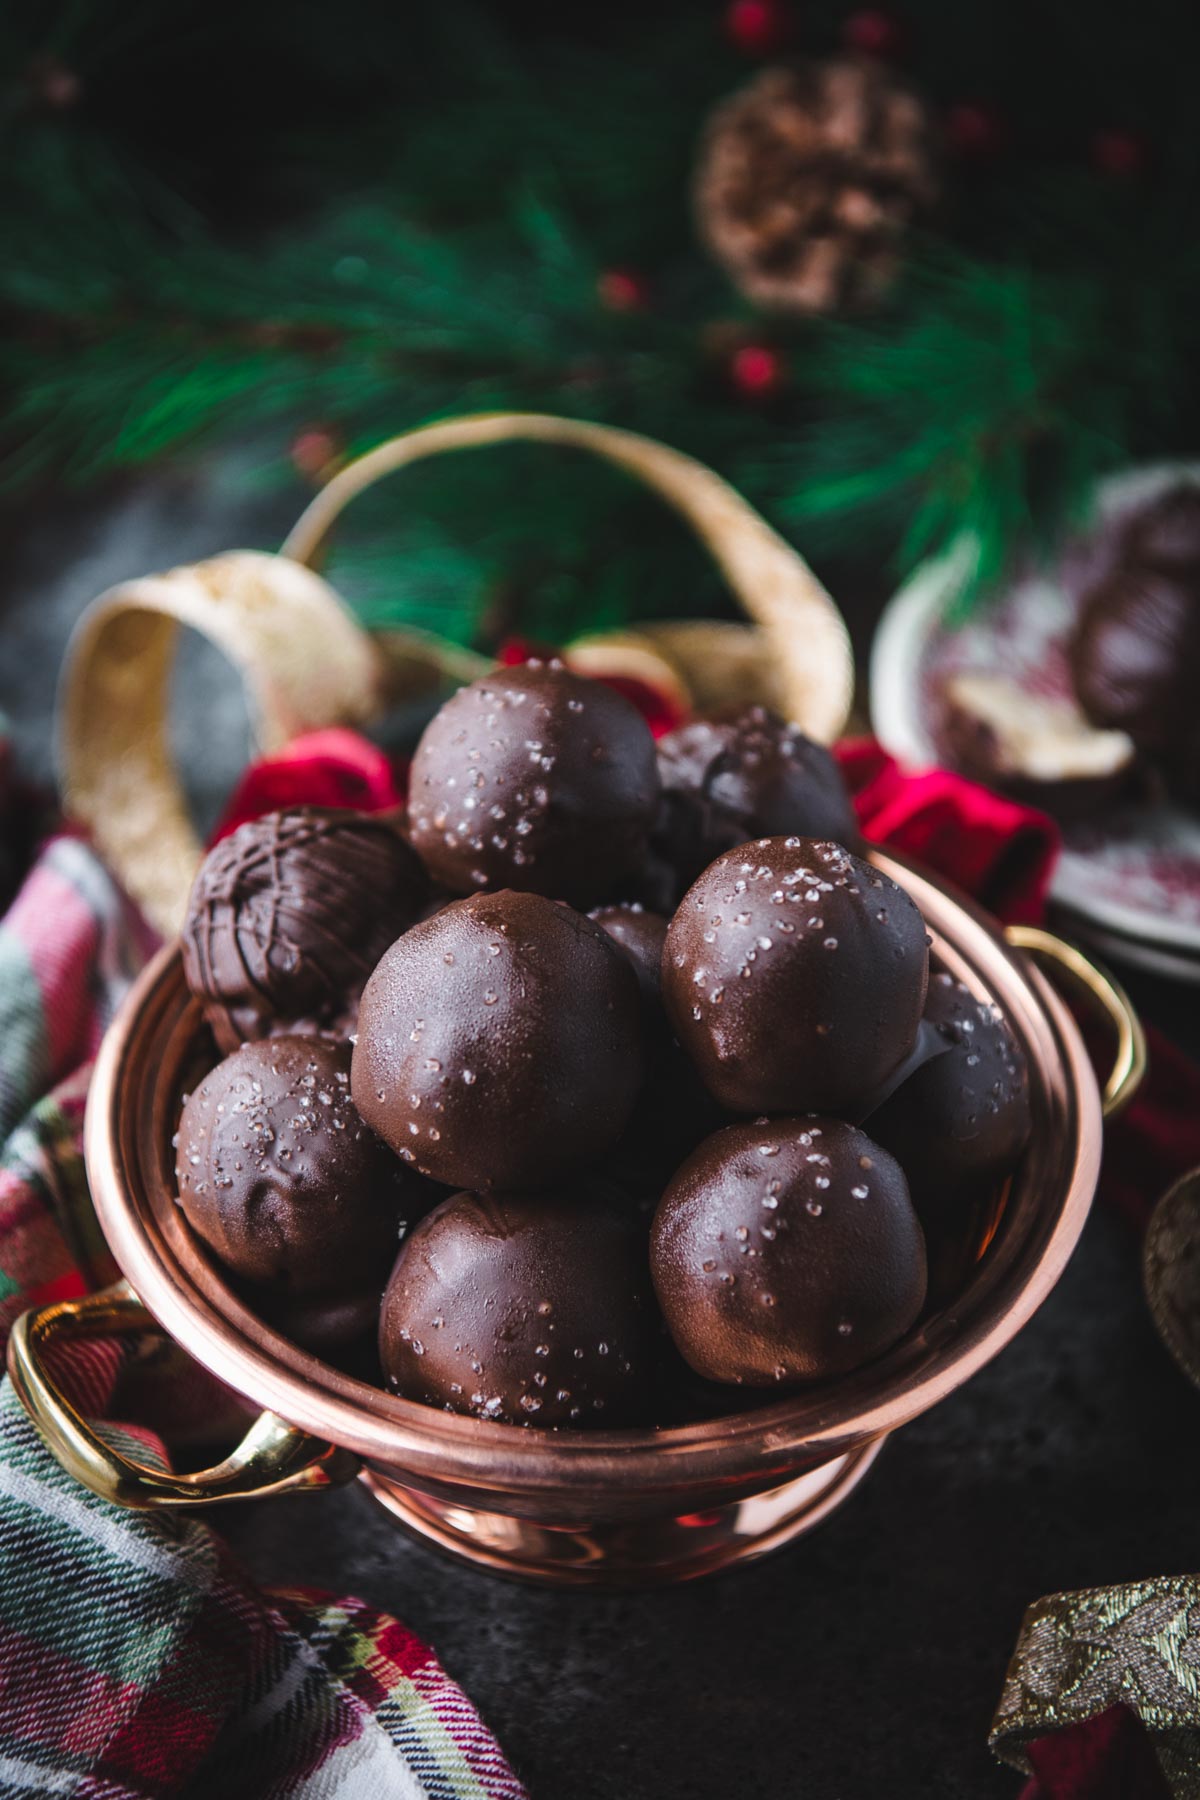
Sweet and salty, rich and creamy, these dark chocolate peanut butter balls are sprinkled with sea salt for an easy, crowd-pleasing dessert. Best of all, the no-bake treats come together with just 5 simple ingredients! Share them with friends throughout the holiday season, add them to a dessert buffet, or whip up a batch for a quick afternoon snack. They disappear quickly!

Table of Contents
Chocolate Covered Peanut Butter Balls
I’ve had this recipe in my file to share with y’all for years, and I’m so excited that I finally got around to posting it. The no bake chocolate peanut butter balls come from my friend Jackie, who delivers a batch to us every year around Christmas. They’re such a fun, delicious addition to a cookie tin…and they couldn’t be easier!
Ingredients
This is just a quick overview of the ingredients that peanut butter balls are made of. As always, specific measurements and step-by-step instructions are included in the printable recipe box at the bottom of the post.
- Butter: I use salted butter. If you’re starting with unsalted butter, you’ll want to add an extra pinch of salt to the peanut butter mixture.
- Peanut butter: Use a processed creamy peanut butter, such as Jif or Skippy brand.
- Powdered sugar: also called confectioners’ sugar. This is used to sweeten the peanut butter dough.
- Dark chocolate melting wafers: such as Ghirardelli brand or CandiQuik brand. Chocolate chips will also work, but they don’t melt as well as the wafers, so they’re not my first choice.
- Sea salt: use flaky sea salt or coarse sea salt crystals for the perfect balance to the sweet chocolate. The salt also brings out the flavors in the other ingredients.
How do you melt chocolate chips for candy?
Semi-sweet chocolate chips do not melt as smoothly as the melting wafers, so they’re not my first choice for this recipe. Instead, use a package of dark chocolate melting wafers designed specifically for this purpose.
Follow the directions on your package of melting wafers. Typically, you’ll need to melt the wafers in a microwave-safe bowl on half power (or on the defrost setting) for 30 seconds. Stir, and then continue melting and stirring in 15-second intervals until the chocolate is smooth. Be careful not to overheat the chocolate or it will separate and become grainy.
How to Make Chocolate Peanut Butter Balls
These decadent peanut butter chocolate balls taste like Reese’s peanut butter cups, but way better! They’re thicker, richer, and more flavorful. Plus, they’re some of the quickest and easiest treats that you’ll ever prepare from scratch.
- Use an electric mixer to cream together the softened butter and the peanut butter in a large mixing bowl. A hand-held mixer is fine — you don’t need a large stand mixer (this is my absolute favorite).
- Gradually add the powdered sugar, mixing on low speed until completely combined.
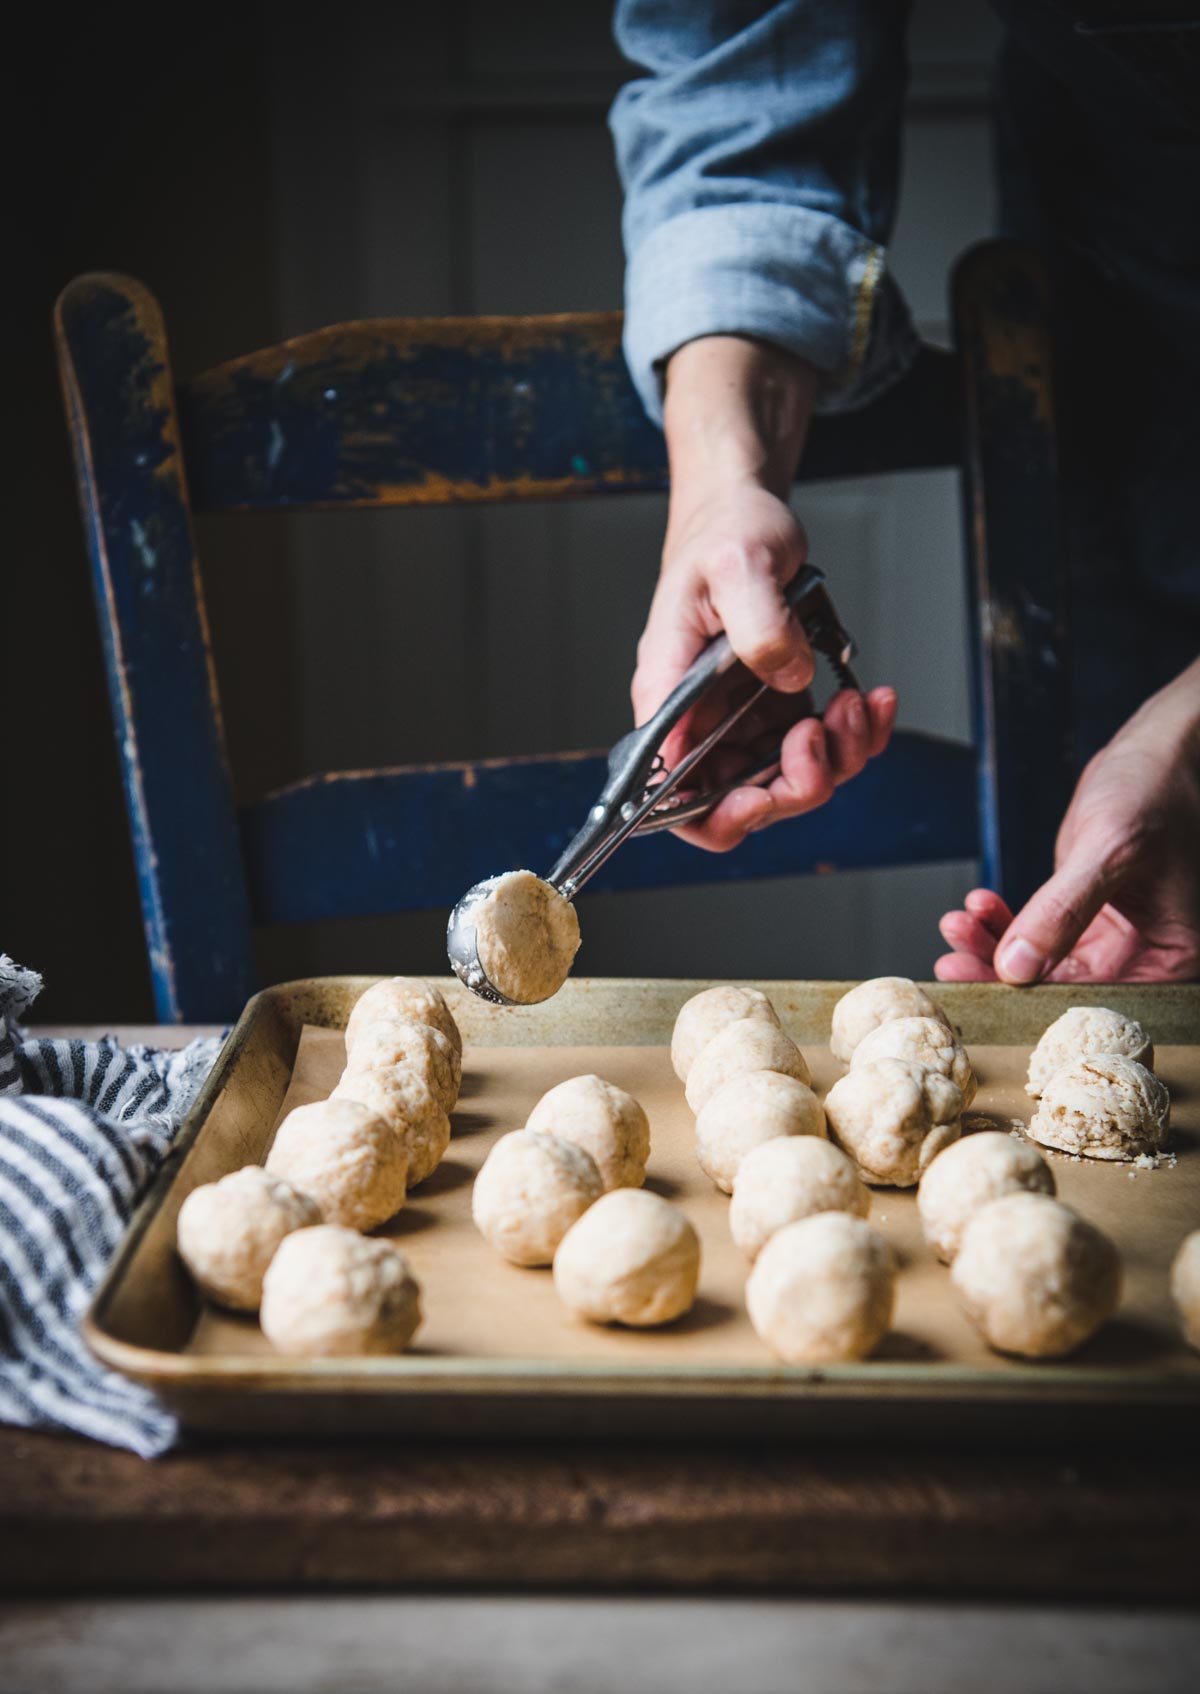
- Scoop and roll the peanut butter mixture into 1 ½-inch round balls.
- Arrange the balls on a parchment-lined rimmed baking sheet or other tray. Cover with plastic wrap and chill in the fridge for at least 1 hour, or until firm.
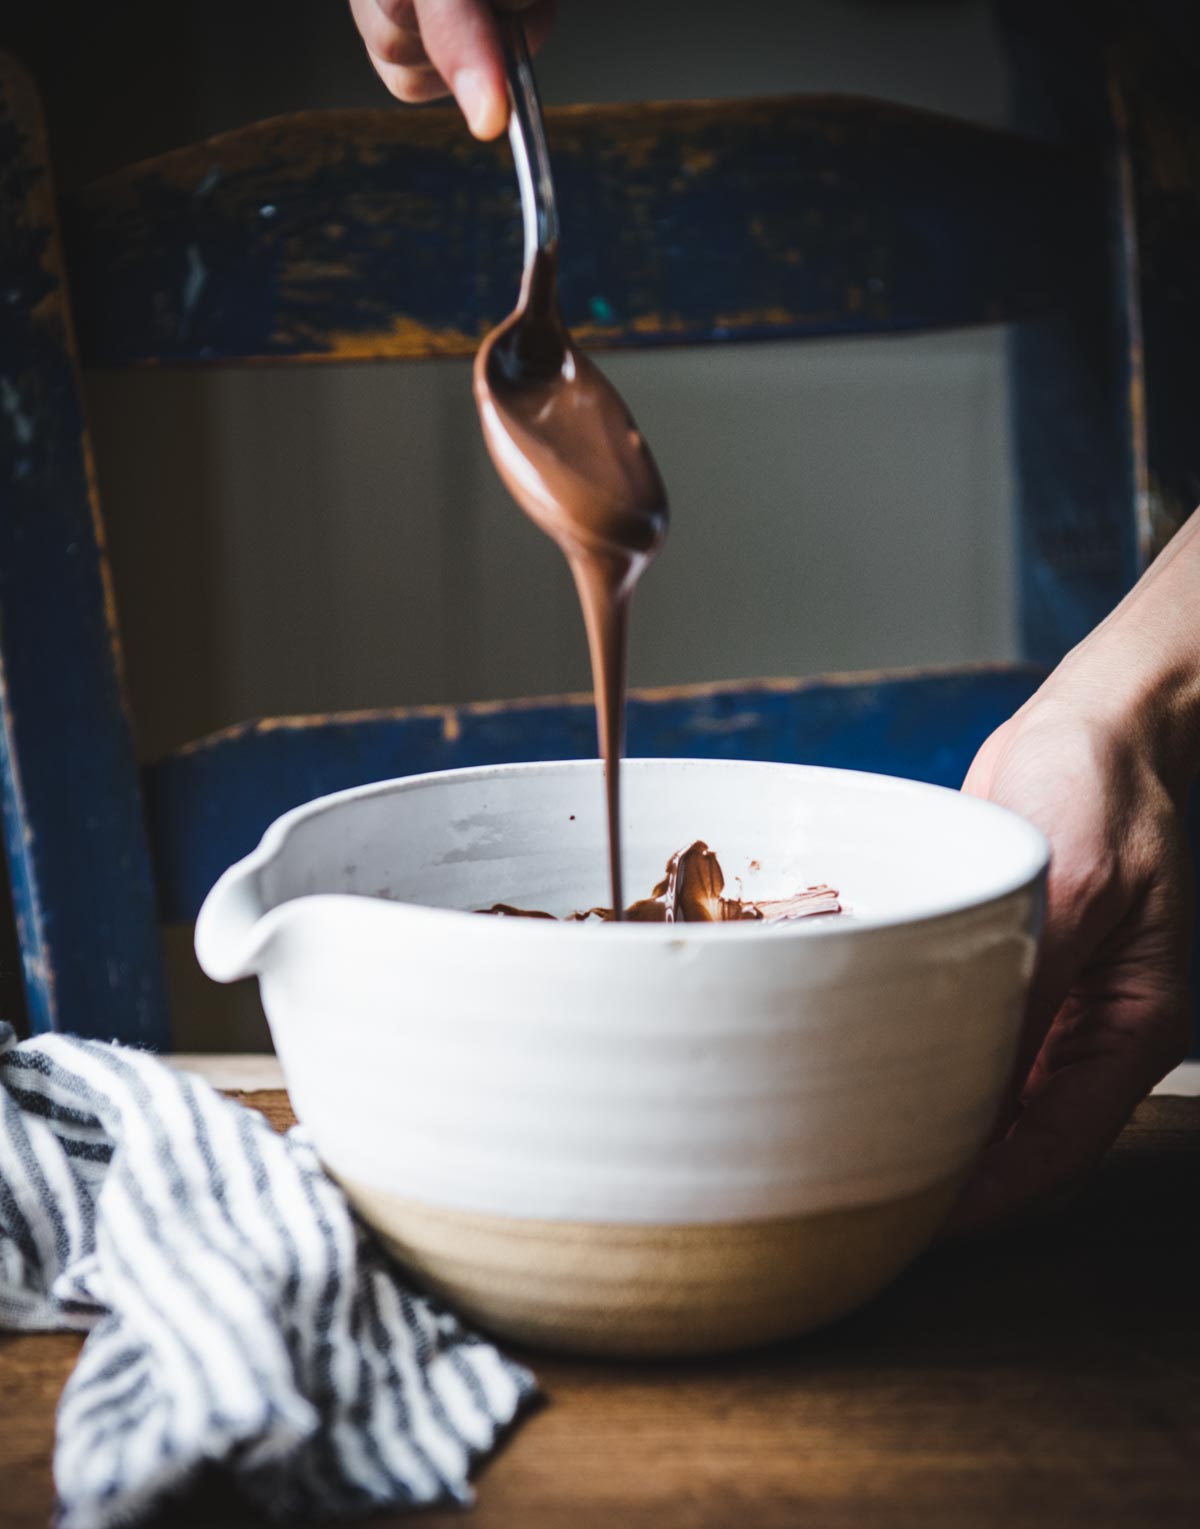
- Heat the chocolate wafers in a microwave-safe bowl according to the package directions. Be careful not to overheat the chocolate.
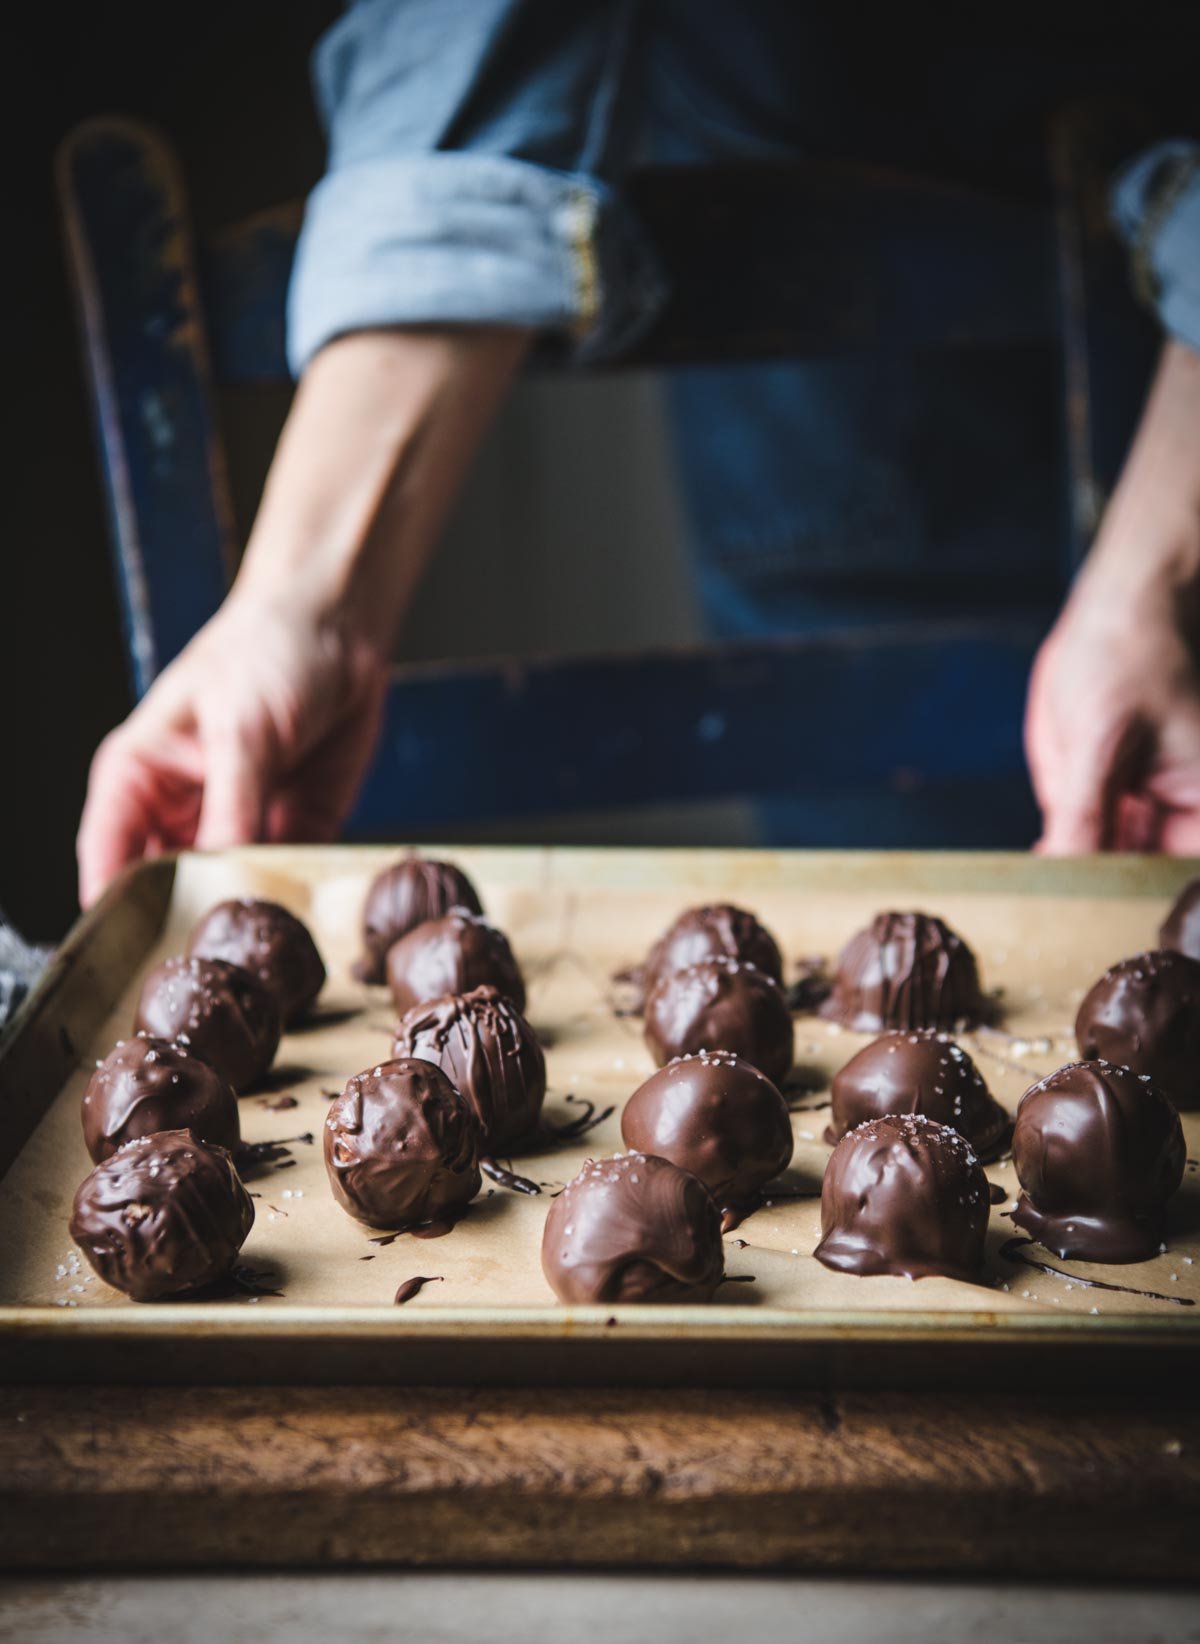
- Using two forks or a toothpick, dip the peanut butter balls in the melted chocolate to coat.
- Place the chocolate covered peanut butter balls back on the tray, and sprinkle with a pinch of sea salt before the chocolate sets.
- Serve the peanut butter balls with your favorite cocktail, a cold glass of milk, or a mug of homemade hot chocolate.
The Best Way to Store Peanut Butter Balls
Keep the peanut butter balls firm and fresh by storing them in an airtight container in the refrigerator for up to 1 week, or in the freezer for up to 3 months.

Recipe Variations
- Any flavor chocolate will work. We like the rich dark chocolate when paired with the sweet peanut butter filling and sea salt; however, milk chocolate or white chocolate peanut butter balls are also great.
- Instead of sea salt, finish the chocolate covered peanut butter balls with festive sprinkles or with an extra drizzle of melted chocolate.
- Double all of the recipe ingredients to make a larger batch, or cut everything in half to make one dozen balls.
- Add a dash of vanilla extract to the peanut butter mixture for even more flavor.
- A smooth, processed almond butter or cashew butter will probably work as well. Just avoid natural nut butters, which separate and have an undesirable texture.

tips for the best chocolate covered peanut butter balls recipe
- Use a processed smooth peanut butter (like Jif or Skippy) rather than all-natural peanut butter. The processed nut butters do not separate, yielding a better texture.
- Chocolate melting wafers work better than chocolate chips here. They are smoother and easier to melt, and set up nicely with a hard shell. I prefer Ghirardelli brand.
- Melt the chocolate in the microwave, which is much easier than using a double boiler. Just make sure that you don’t overheat the chocolate! If it’s heated too much, the chocolate will separate and become grainy. Follow the directions on your specific package of melting wafers.
- You don’t need a special dipping tool for these peanut butter balls. Instead, just use a fork or a toothpick to dip each ball in the melted chocolate, allowing the excess chocolate to drip off and back into the bowl.
- I use this hand mixer to combine the peanut butter, butter, and sugar. This is the cookie dough scoop that I use to scoop the peanut butter into equal portions before rolling into balls.
More No Bake Desserts to Try

Ice Cream Sandwich Cake (Just 5 Ingredients)
2 hours hrs 10 minutes mins

Chocolate Icebox Cake
4 hours hrs 20 minutes mins

Blueberry Yum Yum
3 hours hrs 30 minutes mins

Did you make this recipe?
If you enjoyed this recipe, please leave a comment with a 5-star review at the bottom of the post. Thank you!

Salted Dark Chocolate Peanut Butter Balls
Equipment
- Electric hand mixer (or stand mixer)
Ingredients
- 6 tablespoons salted butter, softened at room temperature
- 1 cup creamy peanut butter (such as Jif or Skippy brand)
- 2 ¾ cups (about 312 grams) powdered sugar
- 1 (10 ounce) package dark chocolate melting wafers (such as Ghirardelli brand)
- Coarse sea salt crystals or flaky sea salt, for topping
Instructions
- In a large bowl, use an electric mixer to cream together the butter and peanut butter until completely combined, smooth, and creamy
- With the mixer on low, gradually add the powdered sugar, mixing until well combined. The mixture will look dry and crumbly, but should hold together when squeezed.
- Line a large, rimmed baking sheet with parchment paper or wax paper.
- Scoop and roll the peanut butter mixture into 1 ½-inch balls; place on the prepared baking sheet.
- Cover loosely with plastic wrap and chill in the refrigerator until firm, about 1 hour.
- Heat the chocolate wafers in a microwave-safe bowl at half power or on the defrost setting for 30 seconds. Stir thoroughly. If the chocolate is not completely melted after stirring, continue to microwave at 15 second intervals and stir until smooth. Do not overheat.
- Using two forks, dip one peanut butter ball into the melted chocolate, turning to coat. Let any excess chocolate drip back into the bowl. Place the peanut butter ball back on the baking sheet. Sprinkle with a pinch of sea salt right away, before the chocolate has a chance to set. Repeat with remaining peanut butter balls.
- Allow the chocolate to set completely. Store in an airtight container in the refrigerator up to 1 week.
Notes
- Use a processed smooth peanut butter (like Jif or Skippy) rather than all-natural peanut butter. The processed nut butters do not separate, yielding a better texture.
- Chocolate melting wafers work better than chocolate chips here. They are smoother and easier to melt, and set up nicely with a hard shell. I prefer Ghirardelli brand.
- Melt the chocolate in the microwave, which is much easier than using a double boiler. Just make sure that you don’t overheat the chocolate! If it’s heated too much, the chocolate will separate and become grainy. Follow the directions on your specific package of melting wafers.
- You don’t need a special dipping tool for these peanut butter balls. Instead, just use a fork or a toothpick to dip each ball in the melted chocolate, allowing the excess chocolate to drip off and back into the bowl.


Hello! In the ingredient list on the recipe Ghirardelli is listed as the brand of powdered sugar not chocolate wafers.
Hah! Thanks for catching that typo, Christine. It’s fixed now. 🙂