Disclosure: This post may contain affiliate links. I may earn a small commission for my endorsement, recommendation, testimonial, and/or link to any products or services from this website.
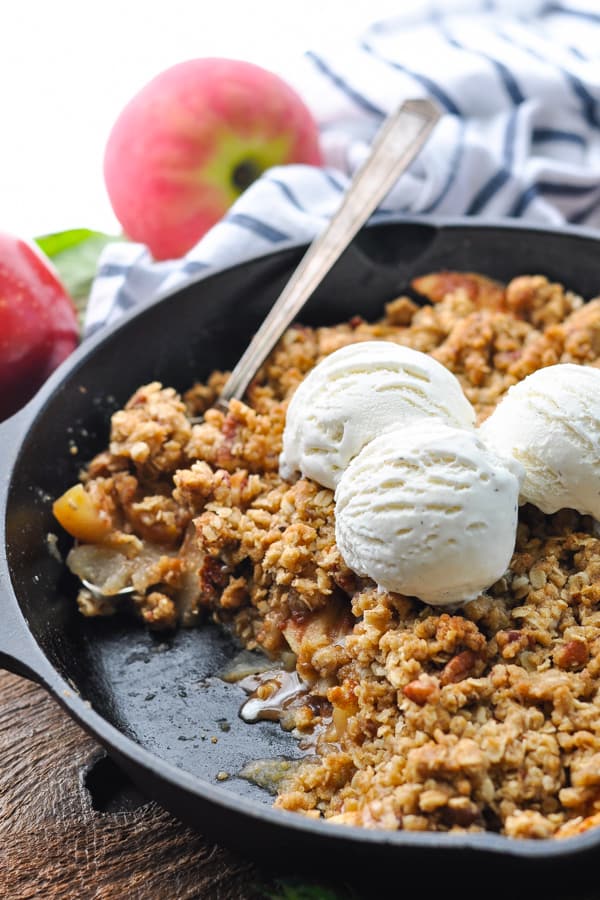
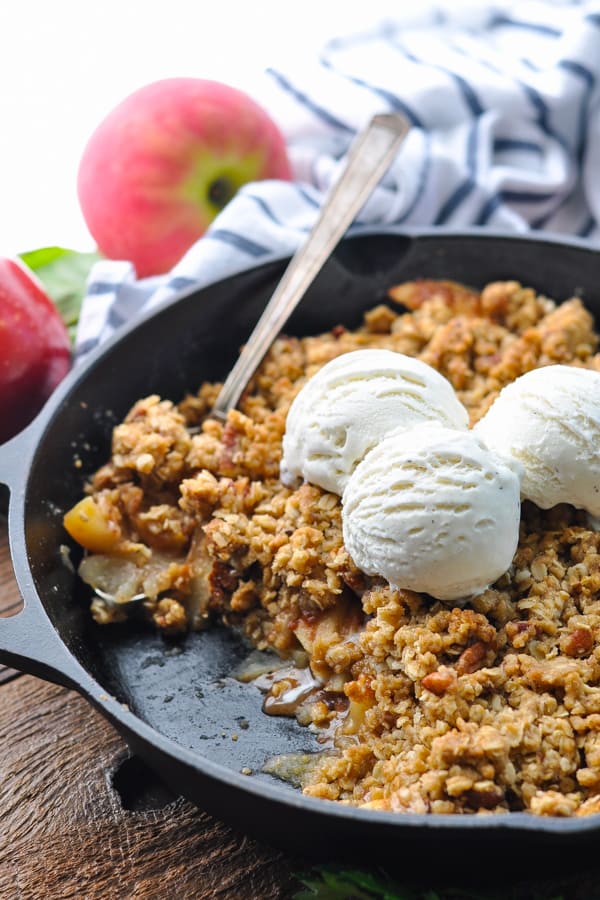
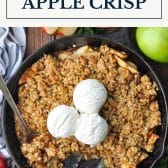
This easy apple crisp recipe is the perfect way to enjoy a bounty of fresh fruit! Sweet and tart warmly spiced apples are topped with a buttery, crunchy oat streusel for a classic dessert that everyone loves. Bake the crisp in a skillet or in a dish, and serve warm with vanilla ice cream on top!
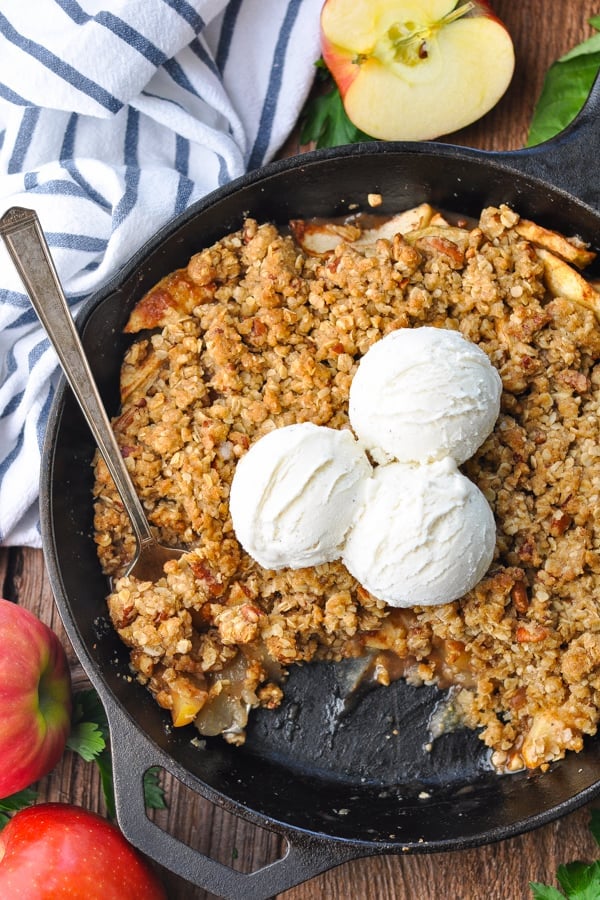
Table of Contents
If you love apple desserts as much as we do, be sure to try this apple dapple Bundt cake, my mom’s easy apple pie, and this quick apple galette, too!
Truly — this is the best apple crisp recipe that you will ever taste! A fruit crisp is such a great dessert for beginning bakers because it’s almost impossible to mess up. So much easier than a pie — and ready for the oven in about 20 minutes!
Why You’ll Love this Apple Crisp Recipe
An easy apple crisp is a simple, rustic dessert made from an apple base that’s topped with a buttery oat streusel crumb topping. While there are endless versions of this classic dish, here are a few reasons to make this your go-to apple crisp recipe:
- Not Too Sweet: Too much sugar can overpower the actual taste of the fruit itself. Instead, this recipe uses just a touch of brown sugar to let the natural sweetness and flavor of the fresh apples shine.
- Plenty of Topping (but not too much): The perfect ratio of topping-to-fruit is key for a successful crisp. Too little topping and you’ll miss out on that rich, buttery crunch. Too much topping and the dessert becomes too dense and fatty. This recipe gets it just right!
- Juicy Filling: Since apples don’t release quite as many juices as berries, it can be tricky to find the right texture for the fruit filling. I’ve landed on 1 tablespoon of flour for this easy recipe. It’s just enough to keep the apple filling thick and not watery, but it’s not so much that it dries out the filling, giving it an undesirable gummy texture. We’re going for juicy and a little bit saucy — but not wet and soggy!
- Warm Spices: Many apple crisp recipes just place sliced apples in the bottom of the dish without actually adding any seasoning or thickeners. I see this as a missed opportunity, which results in a bland, watery apple crisp! In my mind, the best apple dessert recipes include plenty of warm spices like cinnamon and nutmeg. The filling should taste like an apple pie (not like plain apples)!
- Quick and Easy: There’s no need to spend hours laboring over dessert when you can enjoy something so delicious with just minutes of effort. This is really as simple as 1-2-3: stir together the filling, stir together the topping, then bake!
The Differences Between Apple Crisp, Apple Crumble, Apple Cobbler, and Apple Pie
There are plenty of old fashioned apple dessert recipes, so it’s easy to get confused! Crumbles and crisps are very similar, as they both include a fruit base with a streusel topping.
Originally, an old fashioned apple crisp would contain oats in the topping, while a crumble would not. These days, the words “crumble” and “crisp” are often used interchangeably when referring to these desserts.
A cobbler, by contrast, is a fruit dessert with a biscuit or cake-like topping (source). And don’t forget about pie! The crisp’s filling is similar to a pie filling; however, the crisp has a crumb topping (and no bottom crust), rather than a double pastry pie crust.
Ingredients
This is just a quick overview of the ingredients that you’ll need for our favorite apple crisp recipe. As always, specific measurements and step-by-step baking instructions are included in the printable recipe box at the bottom of the post.
- Apples: choose apples with a firm flesh that won’t break down easily during the cooking process. See my notes below for more specific suggestions.
- Brown sugar: to lightly sweeten both the filling and the topping.
- All-purpose flour: absorbs some of the juices released in the filling, and adds texture to the topping.
- Lemon juice: brightens up the dish and brings out the natural flavor of the apples.
- Cinnamon and nutmeg: warm spices that give the apples that cozy fall flavor.
- Salt: to balance the sweetness and add depth of flavor.
- Oats: for great texture in the topping. I use old-fashioned oats, but quick oats are also fine. Just don’t use steel cut oats.
- Butter: to bring the streusel topping together.
- Pecans: adds a rich, toasted, nutty crunch to the streusel.
The Best Apples for Apple Crisp
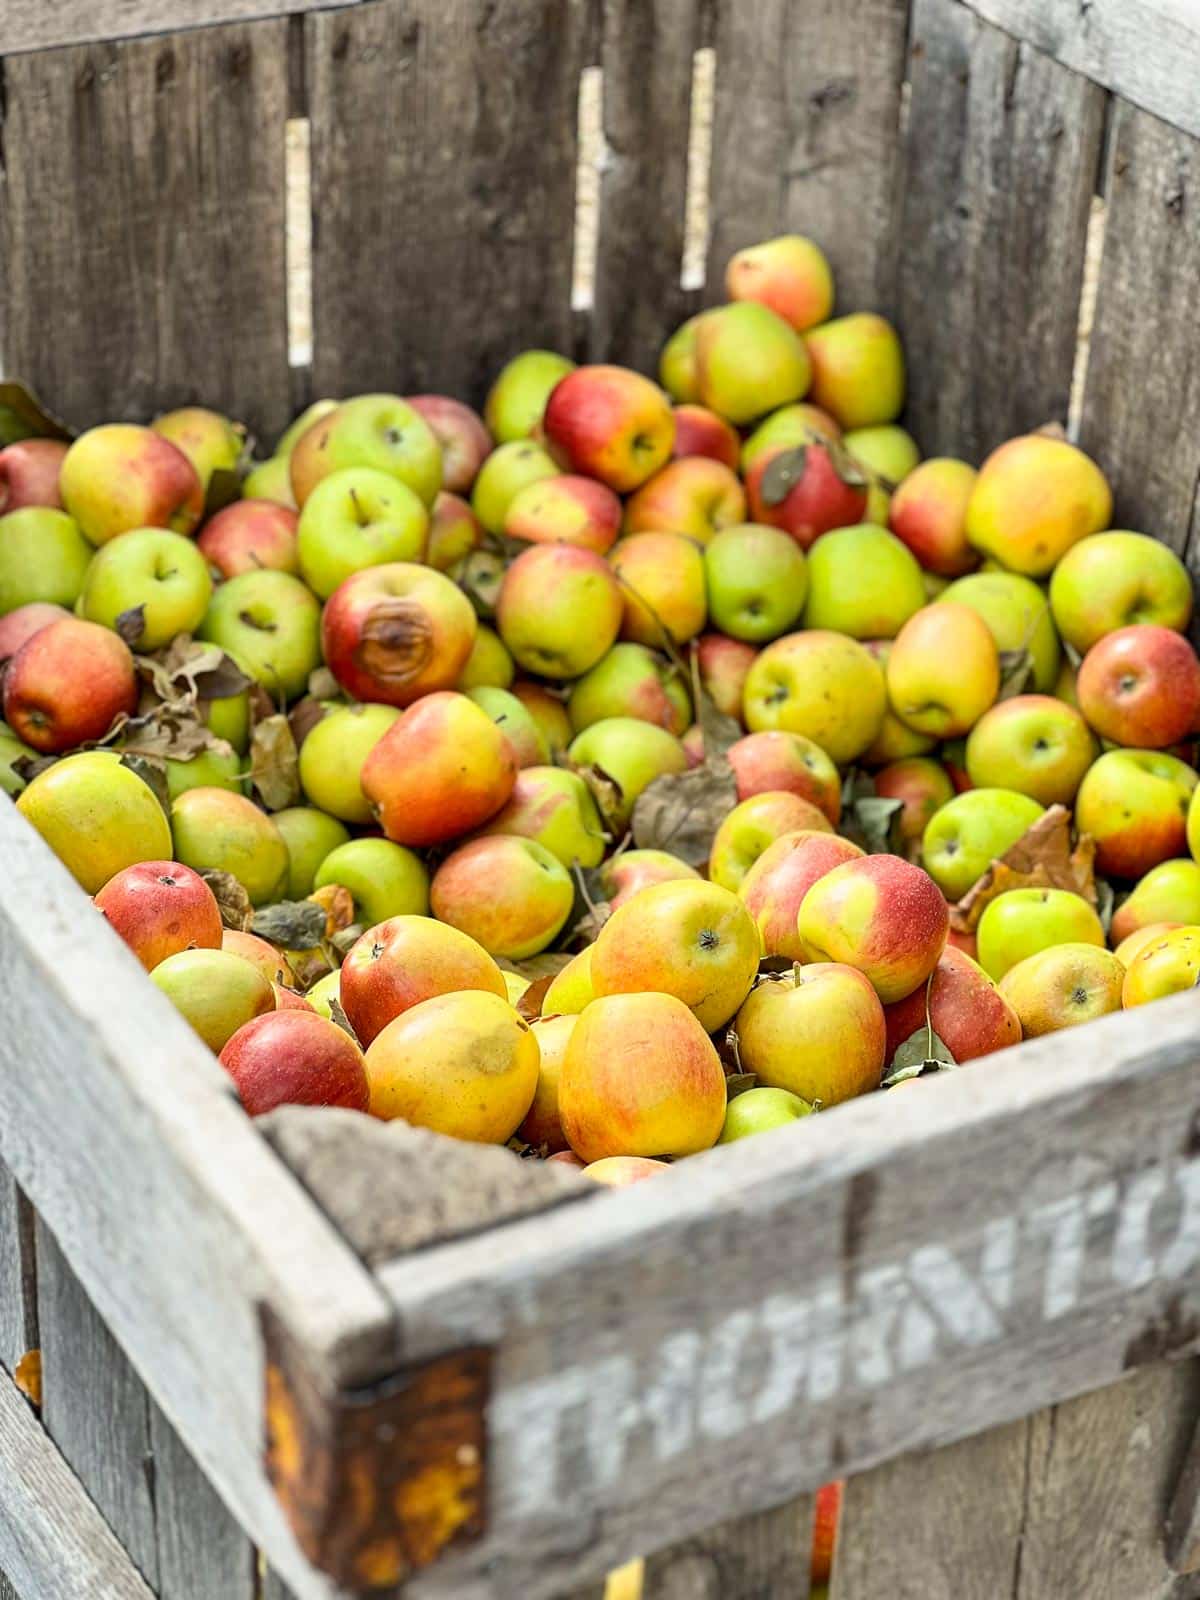
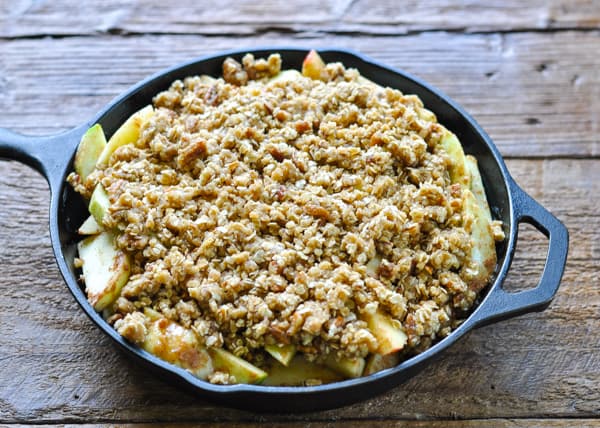
I prefer baking with apples that have a firm flesh and don’t break down into apple sauce when cooked. Try a combination of Granny Smith apples (for tartness) and a sweeter firm-fleshed apple (like Gala, honeycrisp, or Pink Lady). Other great options include Jonagold, Winesap, and Braeburn apples. You can’t beat the mix of sweet-and-tart apples in a dessert.
Since Honey Crisp apple season typically begins in late August/early September, you should be able to scoop up a few at a good price very soon to use in this dessert. Get them while they’re fresh and affordable!
How to Make Easy Apple Crisp from Scratch
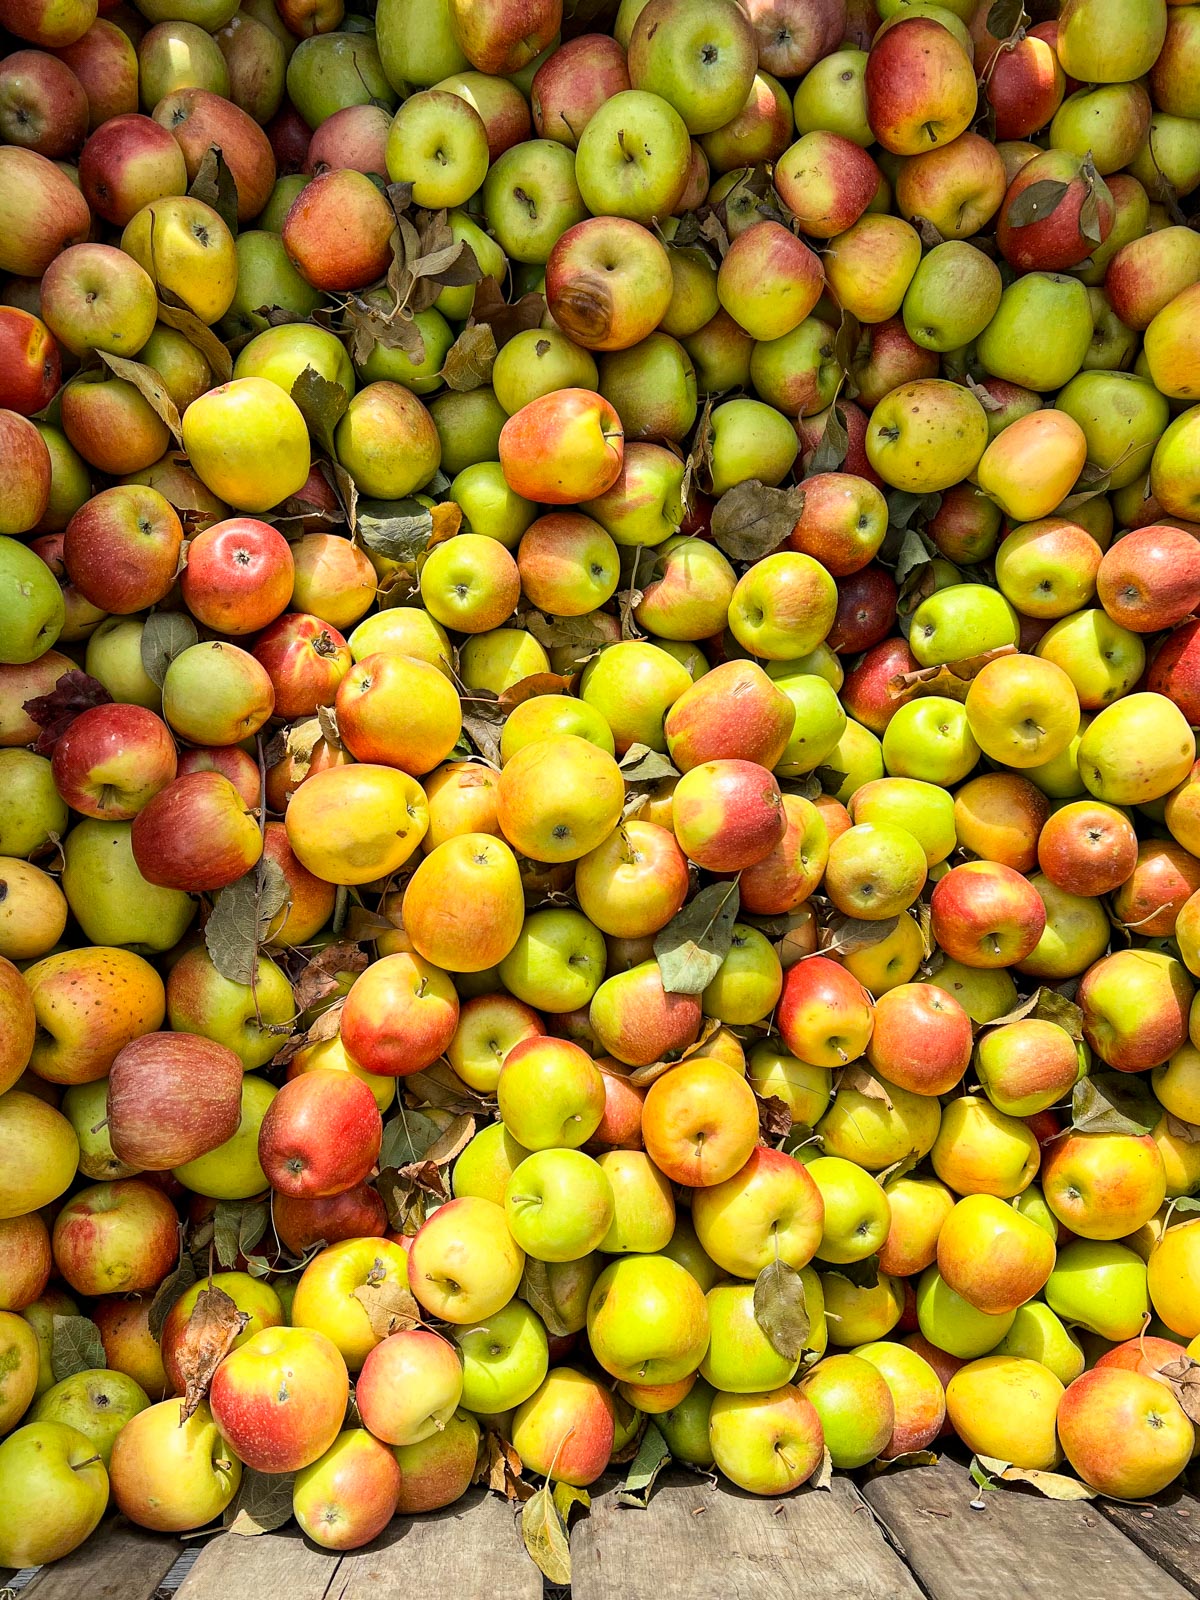
I honestly can’t think of a more perfect fall dessert for your next Sunday supper, holiday celebration, or casual gathering with friends! This easy apple crisp is made from scratch, but it comes together quickly, can be prepped and baked ahead of time, and (most importantly) it tastes amazing!
- Stir together the apple filling.
- Transfer the apple mixture to a cast iron skillet or baking dish.
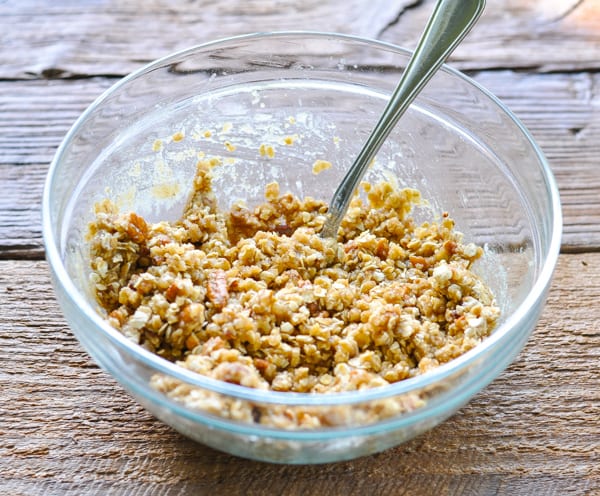
- Stir together the oat topping.
- Sprinkle the topping over the apples.
- Bake until the apples are tender and the topping is golden brown.
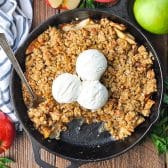
- Serve warm with a scoop of vanilla ice cream!
How to Serve Homemade Apple Crisp
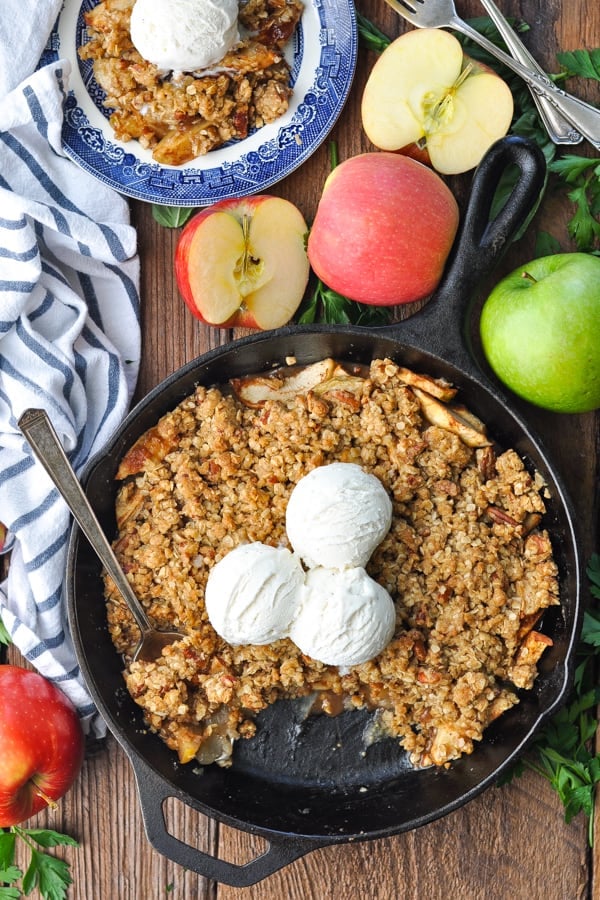
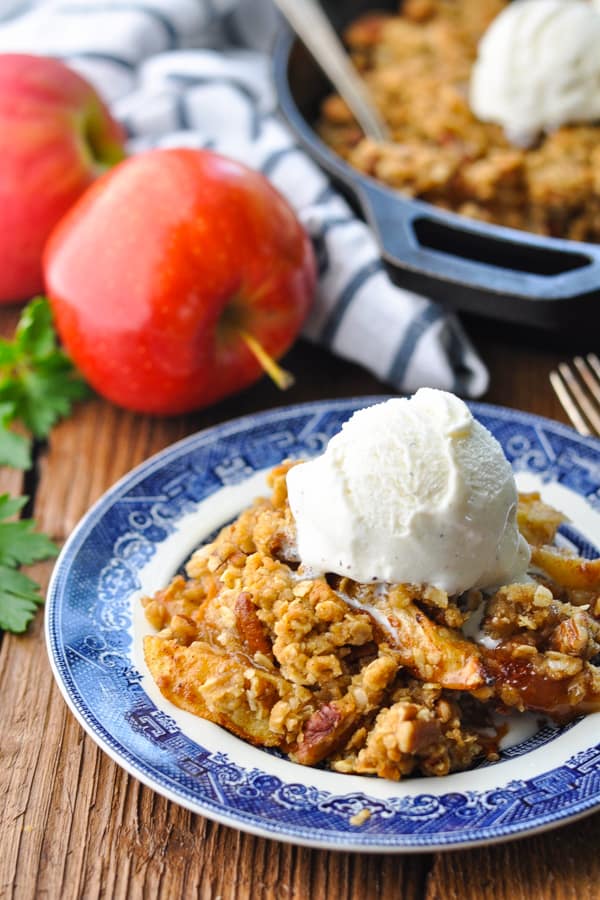
Apple crisp can be served at room temperature, but it’s always best when it’s warm from the oven. Top each serving with a scoop of vanilla ice cream, a drizzle of caramel sauce, or a dollop of whipped cream for the best apple dessert recipe ever!
Preparation and Storage Tips
- Make Ahead: You can make this dessert up to 2 days in advance. To do so, bake the crisp according to recipe instructions. Allow to cool completely, cover, and refrigerate.
- How to Store: If you plan to enjoy the crisp on the same day that it is baked, then you do not need to refrigerate it before serving. If you don’t plan to serve the crisp on the same day as baking, then the dessert needs to be refrigerated overnight.
- How Long: The apple crisp will keep in the refrigerator for at least 2-3 days.
- How to Freeze: You can freeze the crisp before or after baking. To freeze this dessert after baking, allow it to cool completely. Wrap tightly with a double layer of foil and freeze for up to 3 months.
- How to Reheat: If frozen, allow the crisp to thaw in the refrigerator overnight. To reheat, warm the crisp in a 350°F oven (uncovered) for 20-25 minutes, or until heated through. Alternatively, you can reheat individual servings in the microwave for about 20-30 seconds.
Classic Apple Crisp Recipe Variations
- I love the flavor combination of apples with pecans, but you can use any nuts that you prefer in the topping. Try walnuts or almonds.
- If you prefer to omit the nuts altogether, that’s fine — just substitute with an extra ½ cup of oats.
- Apple Crisp with Pie Filling: While fresh apples are always my preference, you can prepare this dessert using a can of apple pie filling in a pinch. Just sprinkle the topping over the pie filling and bake!
- Add other fruit. For instance, swap out some of the apples and replace them with cranberries or sliced pears.
- If using unsalted butter in the topping, you’ll need to add a little bit of extra salt to the oat streusel mixture.
Tips for the Best Apple Crisp Recipe
- Don’t slice the apples too thin. They will break down as they bake, so you don’t want them to completely disintegrate in the oven. Some visible apples slices in your filling are ideal.
- If you prefer, you can skip the step of peeling the apples. The apple peels will add a little bit of texture to the finished dish, but they will not be too tough.
- Use old-fashioned rolled oats or quick-cooking (“instant”) oats in the topping. Just don’t substitute with steel cut oats.
- If you don’t have a deep 10-inch cast iron skillet, you can use a 9-inch square baking dish or an 11 x 7-inch baking dish. Any similar dish with a capacity of 2 ½ – 3 quarts is fine!
- The total baking time will vary depending on the type of pan that you use, and on your individual oven. For instance, a glass baking dish will require a longer cooking time (up to 75 minutes), while a cast iron skillet may only need 55-60 minutes. Just keep your eye on the dish while it’s in the oven. You’ll know it’s done when the apples are tender and juicy, and the top is golden brown.
- Bake the crisp in a 325°F oven for 60-75 minutes. Don’t be tempted to crank up the heat on the oven to get it done faster. Slow and steady wins when it comes to a crisp, because this gives the apples enough time to break down and become tender. Go too hot and the topping will burn before the fruit is done.
More Baked Apple Desserts to Try
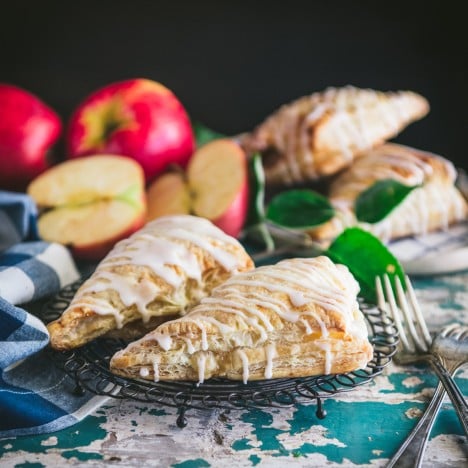
Apple Turnovers
1 hour hr 45 minutes mins
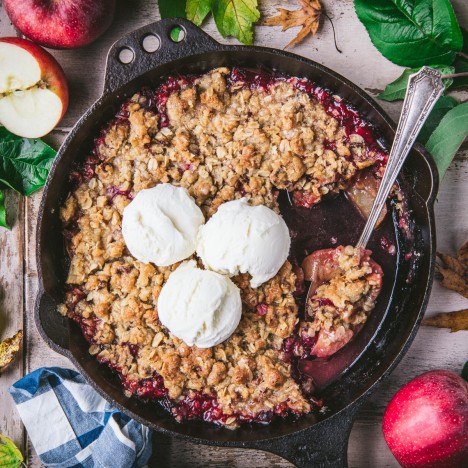
Apple Cranberry Crisp
1 hour hr 10 minutes mins
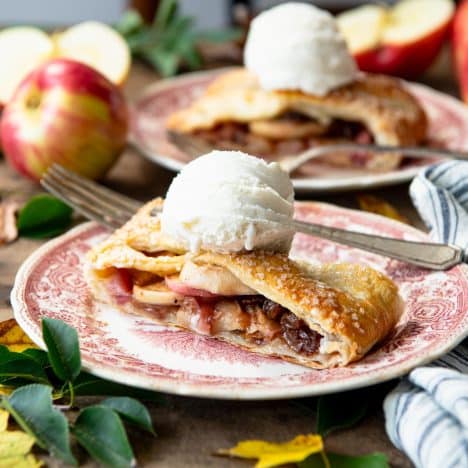
Easy Apple Strudel Recipe
1 hour hr 30 minutes mins
Easy Apple Crisp Recipe
Ingredients
For the Filling:
- 6 cups peeled, sliced apples (about 6 medium apples)
- 2 tablespoons brown sugar
- 1 tablespoon all-purpose flour
- 1 tablespoon lemon juice
- ¾ teaspoon cinnamon
- ¼ teaspoon nutmeg
- ¼ teaspoon salt
For the Topping:
- ¾ cup oats (quick or old-fashioned work well)
- ½ cup (1 stick) salted butter, melted
- ½ cup chopped pecans
- ½ cup brown sugar
- ½ cup all-purpose flour
- ¼ teaspoon salt
Instructions
- Preheat oven to 325°F. Grease a 9-inch square baking dish, a 10-inch cast iron skillet, or an 11 x 7-inch baking dish.
- In a large bowl, stir together filling ingredients. Transfer filling to prepared dish and set aside.
- In a separate bowl, stir together topping ingredients. Sprinkle over the apples.
- Bake, uncovered, for 60 – 75 minutes (until apples are tender and topping is golden brown). Tent the top of the crisp loosely with aluminum foil if it starts to get too dark during the final 20 minutes or so.
Notes
- Don’t slice the apples too thin. They will break down as they bake, so you don’t want them to completely disintegrate in the oven. Some visible apples slices in your filling are ideal.
- If you prefer, you can skip the step of peeling the apples. The apple peels will add a little bit of texture to the finished dish, but they will not be too tough.
- Use old-fashioned rolled oats or quick-cooking (“instant”) oats in the topping. Just don’t substitute with steel cut oats.
- If you don’t have a deep 10-inch cast iron skillet, you can use a 9-inch square baking dish or an 11 x 7-inch baking dish. Any similar dish with a capacity of 2 ½ – 3 quarts is fine!
- The total baking time will vary depending on the type of pan that you use, and on your individual oven. For instance, a glass baking dish will require a longer cooking time (up to 75 minutes), while a cast iron skillet may only need 55-60 minutes. Just keep your eye on the dish while it’s in the oven. You’ll know it’s done when the apples are tender and juicy, and the top is golden brown.
- Bake the crisp in a 325°F oven for 60-75 minutes. Don’t be tempted to crank up the heat on the oven to get it done faster. Slow and steady wins when it comes to a crisp, because this gives the apples enough time to break down and become tender. Go too hot and the topping will burn before the fruit is done.








I made this yesterday evening for dessert and it was absolutely delicious! My 95 year old Mother and I both loved it for the crunch and relative healthiness – the oats and fruit and spices. Smile. I followed the recipe, but not exactly. I didn’t use as much sugar as called for (only about 1/4 cup of raw sugar). I didn’t feel like grating the whole nutmeg I keep, so I used the cinnamon and a pinch of allspice. I didn’t use nearly as much butter as called for. Plus, I used a mix apples and Asian pears. With all of my “adjustments,” the dish still turned out GREAT! I am really excited to make this again, and to try more recipes from your site!
Thank you, Paula! We are glad you were able to make it work for you!
Great recipe very much like Gr. Grandma’s. She used vanilla instead of lemon juice (Not available in 1940’s) so I did the vanilla because I hate lemons. I used a 9×13 cake pan so I halved again the recipe and it filled the pan perfectly. Baked it an hour and it was perfect (peeled the apples). I used quick oats and glad I did because I think old fashioned might have been too dry with such a small amount of butter. This goes into my favorite recipes section in my recipe box.
Thank you, Patti! We’re so glad you were able to make it work for you.