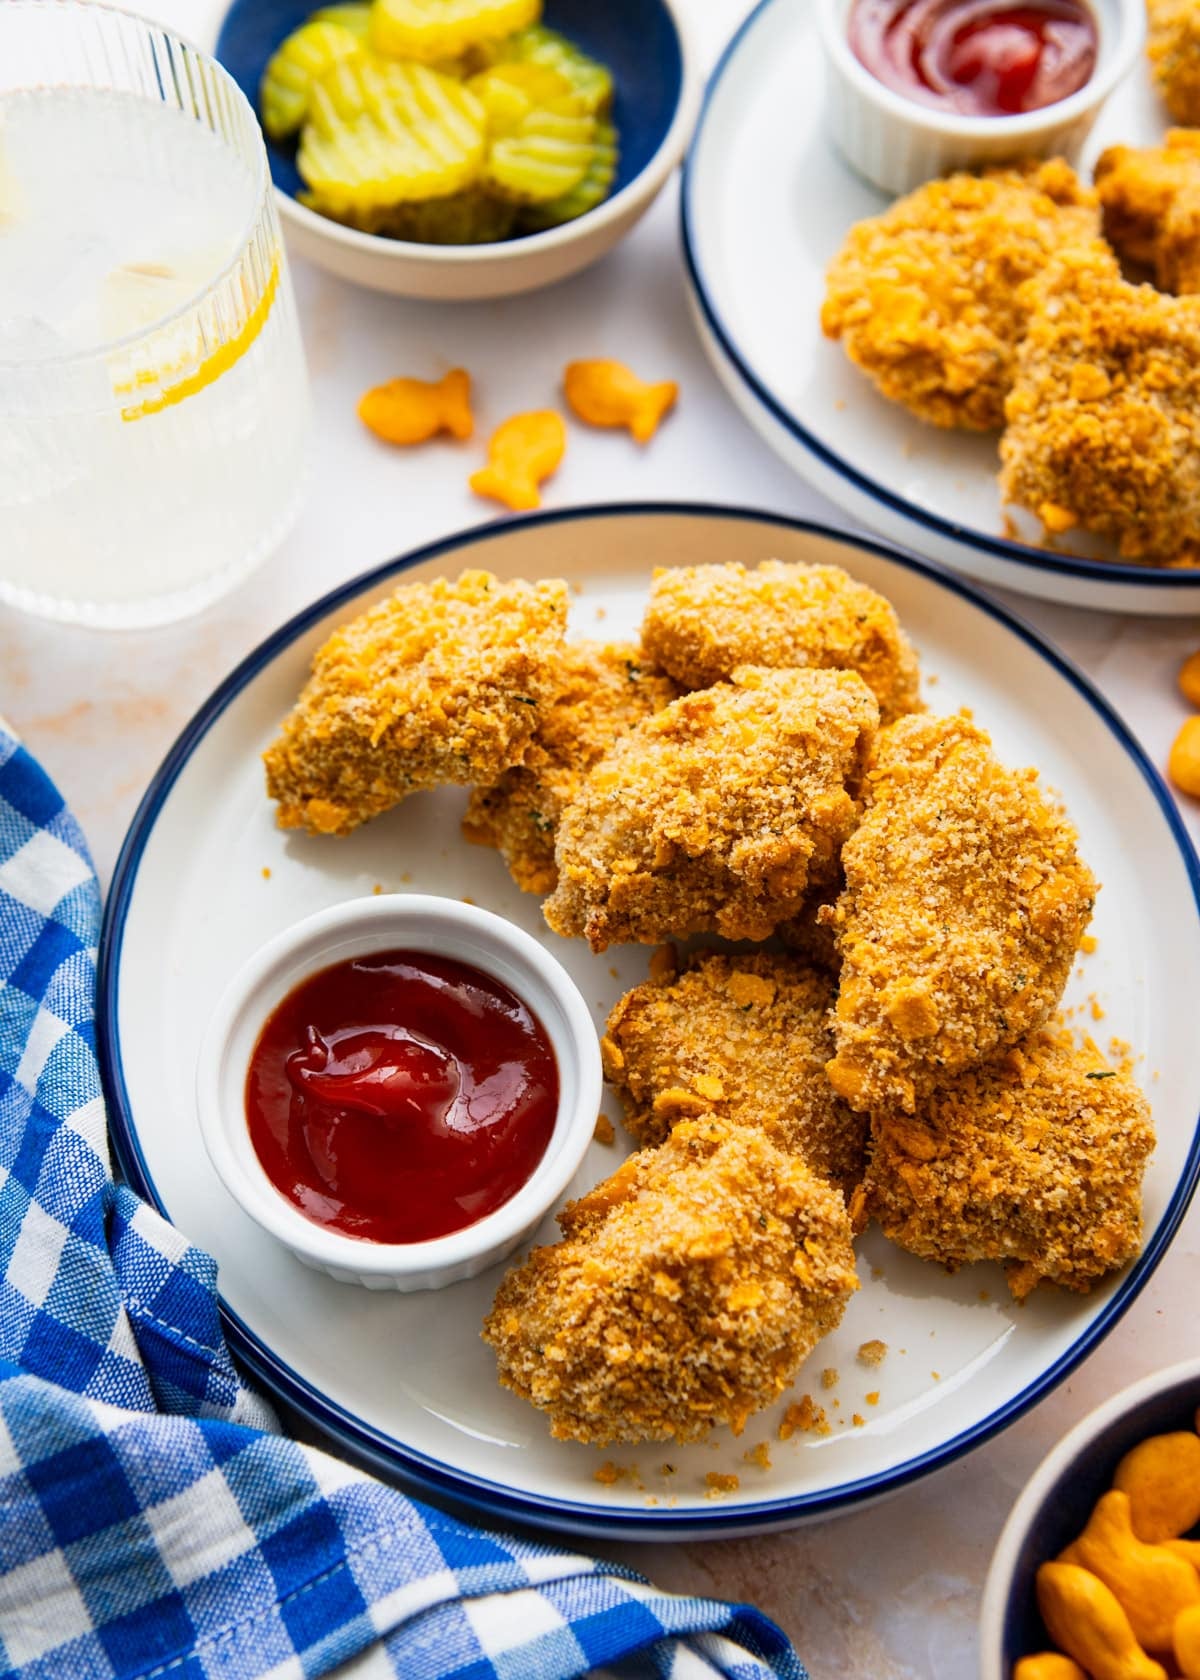
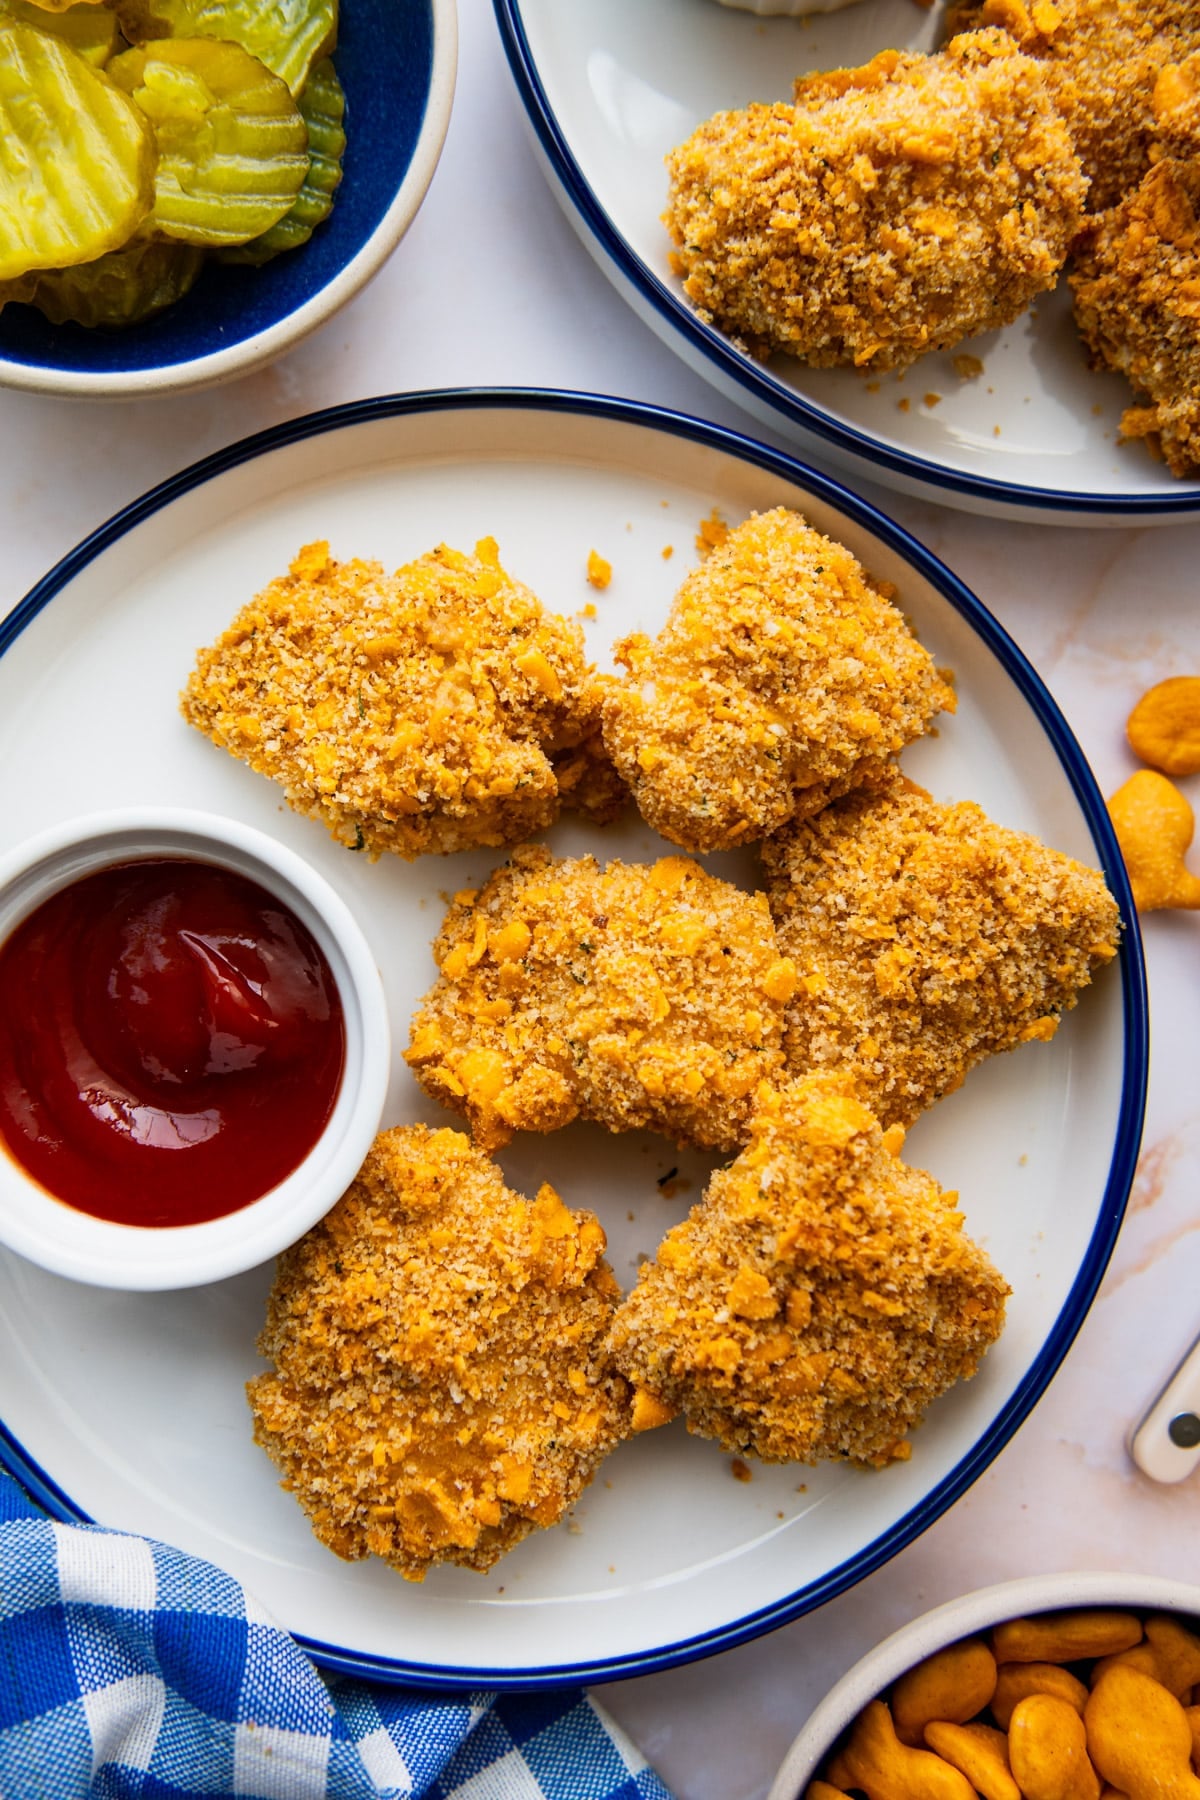
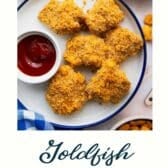
Crushed cheddar Goldfish crackers turn into the crispiest breading you can get out of an oven, no frying required! These baked chicken nuggets come together in about 30 minutes with pantry staples, and they’re one of my kids’ most-requested dinners.
More chicken nuggets and tenders:
Before You Get Started
Baked nuggets live or die on the coating. Three things make the difference between golden and crunchy and pale and disappointing:
- Don’t skip the oil: The breading has no hot pan to crisp against, so the fat you toss into the crumbs is what browns it. Leave it out and they bake up dusty.
- Use sprayed foil, not parchment: Lightly oiled foil browns the undersides as they bake, which is why you never have to flip these.
- Cut the pieces evenly: Uneven chunks mean some are dry by the time the thickest ones finish. Aim for 2-inch pieces across the board.
How to Make Baked Chicken Nuggets
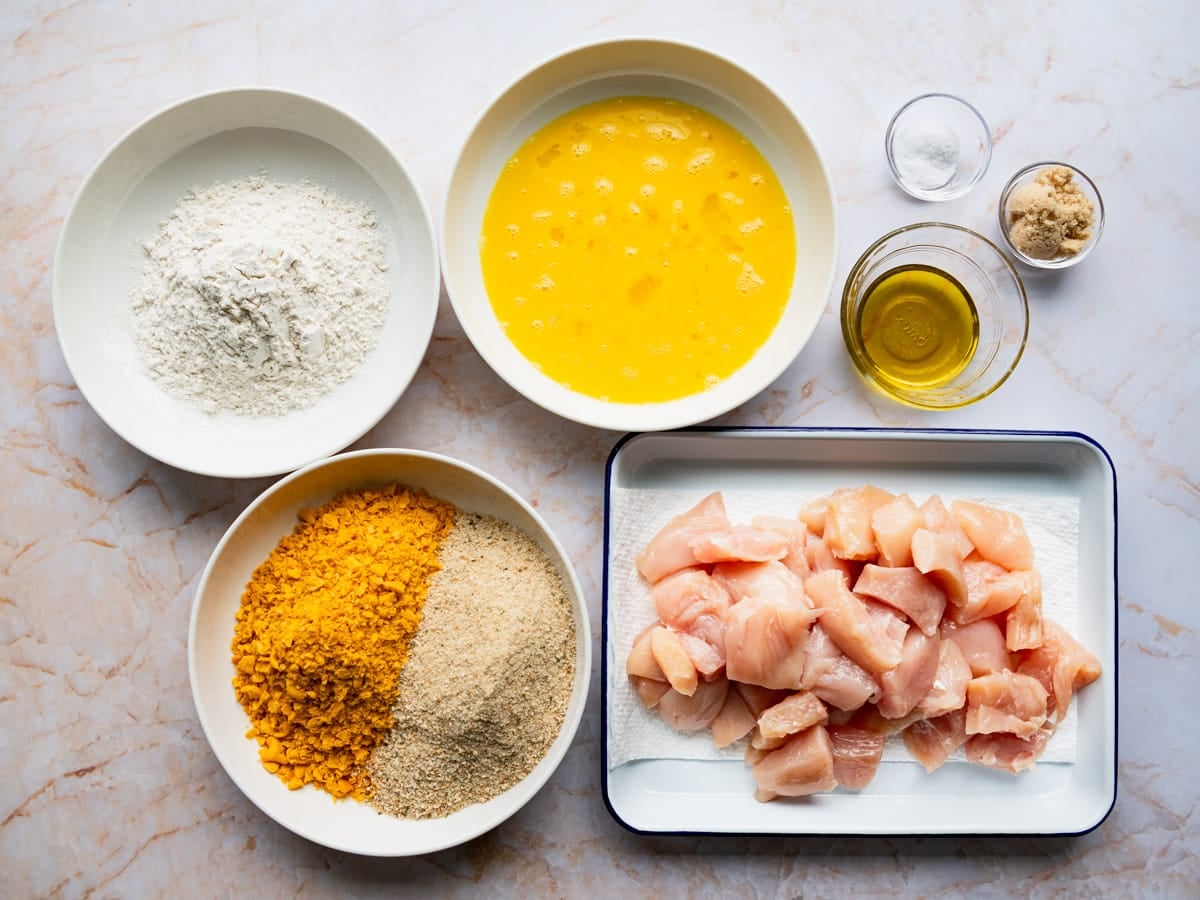
All you need is a three-dish assembly line and a hot oven! Set up your stations first and the breading goes fast.
Step 1: Heat the Oven to 375°F and Line Your Pan
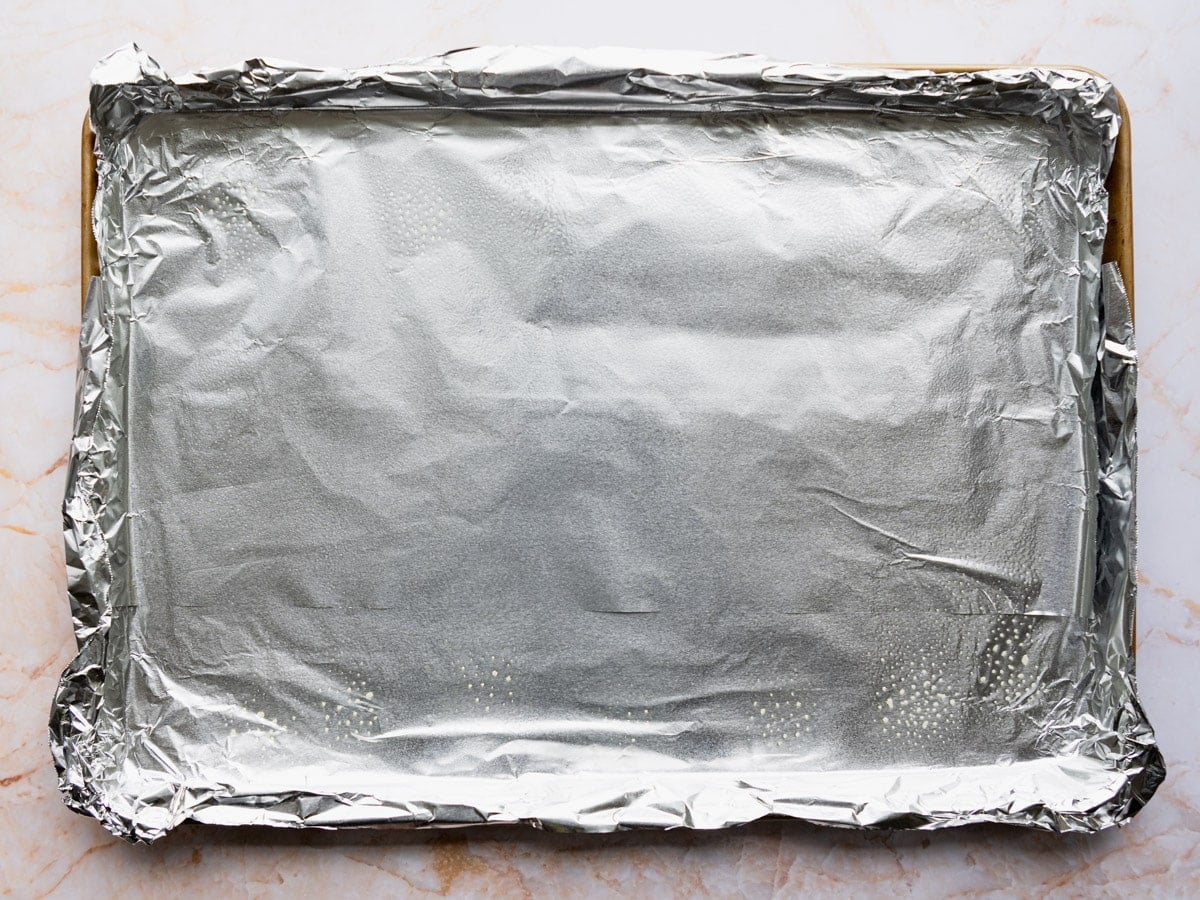
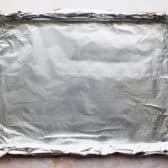
Line a large baking sheet with aluminum foil and give it a light coat of cooking spray.
A reader asked me about swapping in parchment, and I would stick with the sprayed foil here. It conducts heat better against the bottom of each nugget, which is what gets them crisp on both sides without flipping.
Step 2: Mix the Cracker Breading
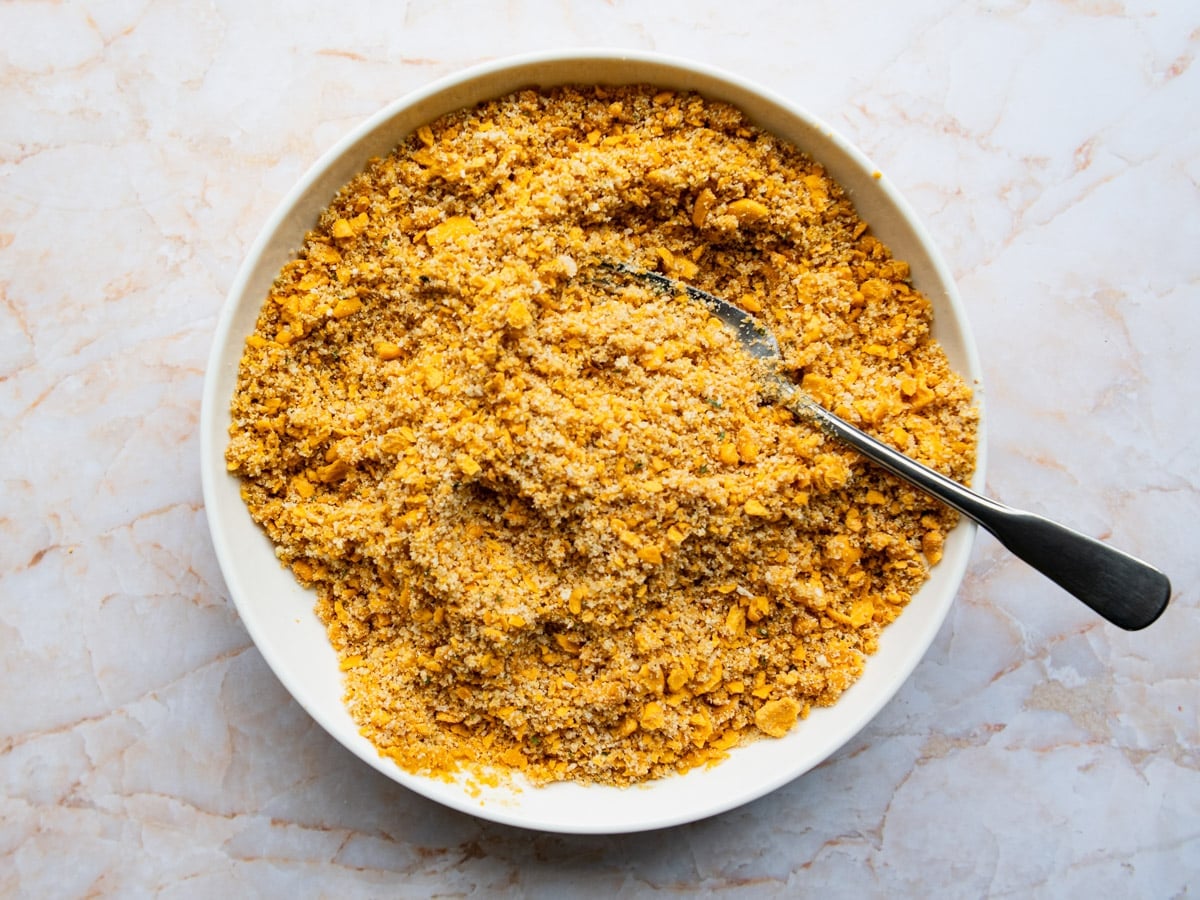
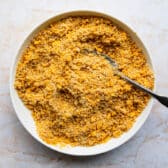
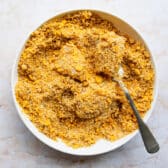
Start with about 1 cup of whole cheddar Goldfish crackers and crush them down to roughly 1/2 cup of crumbs.
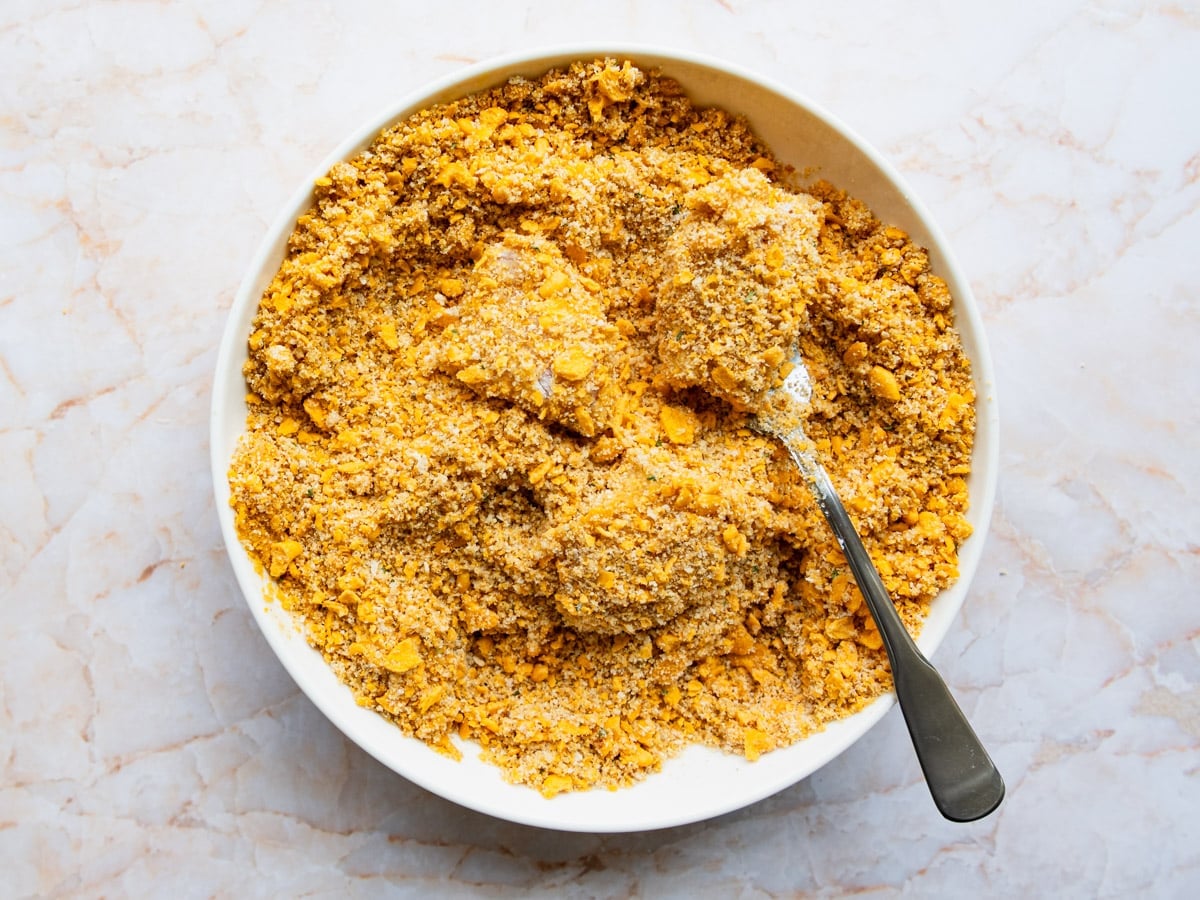
Stir them together with the Italian style bread crumbs, brown sugar, and salt in a shallow dish, then drizzle the olive oil over the top and toss until the crumbs look evenly damp and slightly clumpy.
⇢ Any cheddar cracker works: Whole grain Goldfish, Parmesan Goldfish, Cheez-Its, and Annie’s Cheddar Bunnies all crush down the same way. Crushed corn flakes work too, though you may want an extra pinch of salt.
⇢ The brown sugar: Two teaspoons is not enough to taste sweet. It helps the crust brown faster and balances the salty cracker crumbs.
Step 3: Set Up the Flour and Egg Dishes
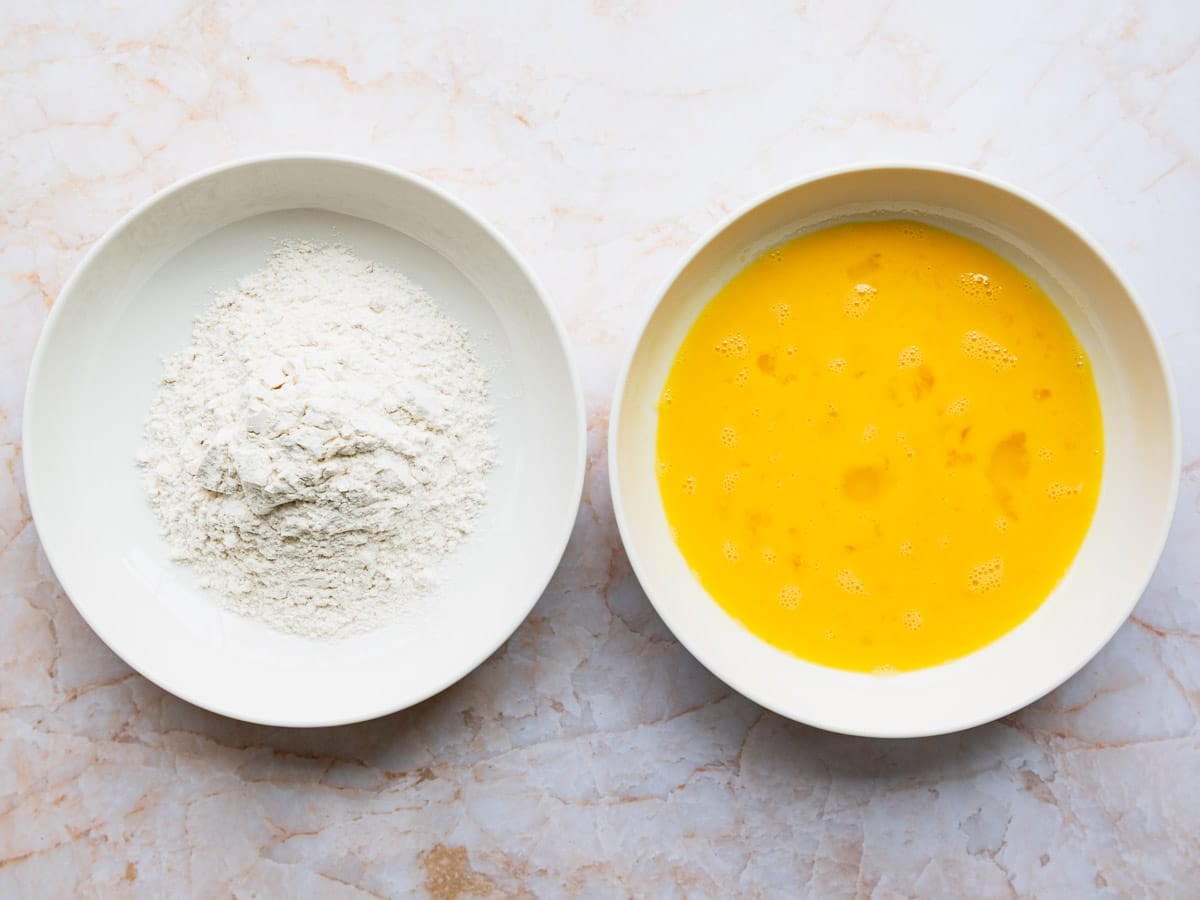
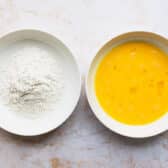
Pour the flour into one shallow dish and beat the eggs in another, so you have three stations lined up in order: flour, egg, crumbs.
The flour is not optional; it gives the egg something to grip so the coating stays put instead of sliding off in the oven.
Step 4: Dredge and Coat the Chicken
Working with a few pieces at a time, turn the chicken in the flour, then the egg, then the crumb mixture.
Shake off the excess at every step. Loose flour and drippy egg are the main reasons a nugget steams instead of crisping, so a quick shake between dishes does more for the texture than anything else you can do here.
⇢ Tenderloins are a nice shortcut: They come already in strips, so you can snip them crosswise with kitchen shears instead of cubing a whole breast.
Step 5: Bake at 375°F for 15 Minutes
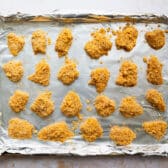
Arrange the coated pieces on the prepared sheet in a single layer with a little space between them; crowding traps steam and softens the crust.
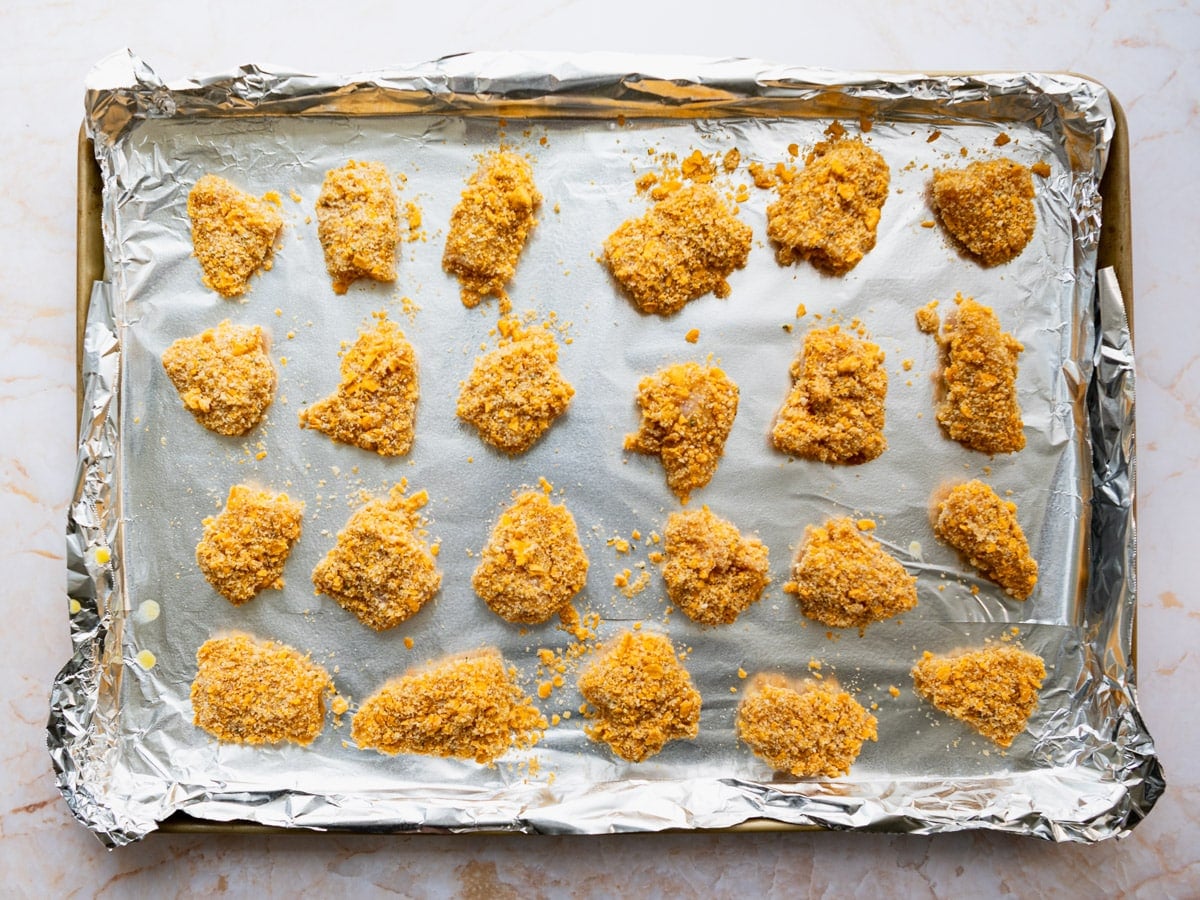
Bake for about 15 minutes, until the coating is deep golden and the edges look crunchy. No flipping needed.
⇢ Making tenders instead? Leave the tenderloins whole, bread them the same way, and bake for 20 to 25 minutes.
⇢ Feeding a crowd: Double everything and use two separate trays rather than crowding one. Rotate the pans halfway through.
⇢ Air fryer option: Preheat to 400°F, then cook in batches for 7 to 8 minutes, until crispy and cooked through.
Dipping Sauces
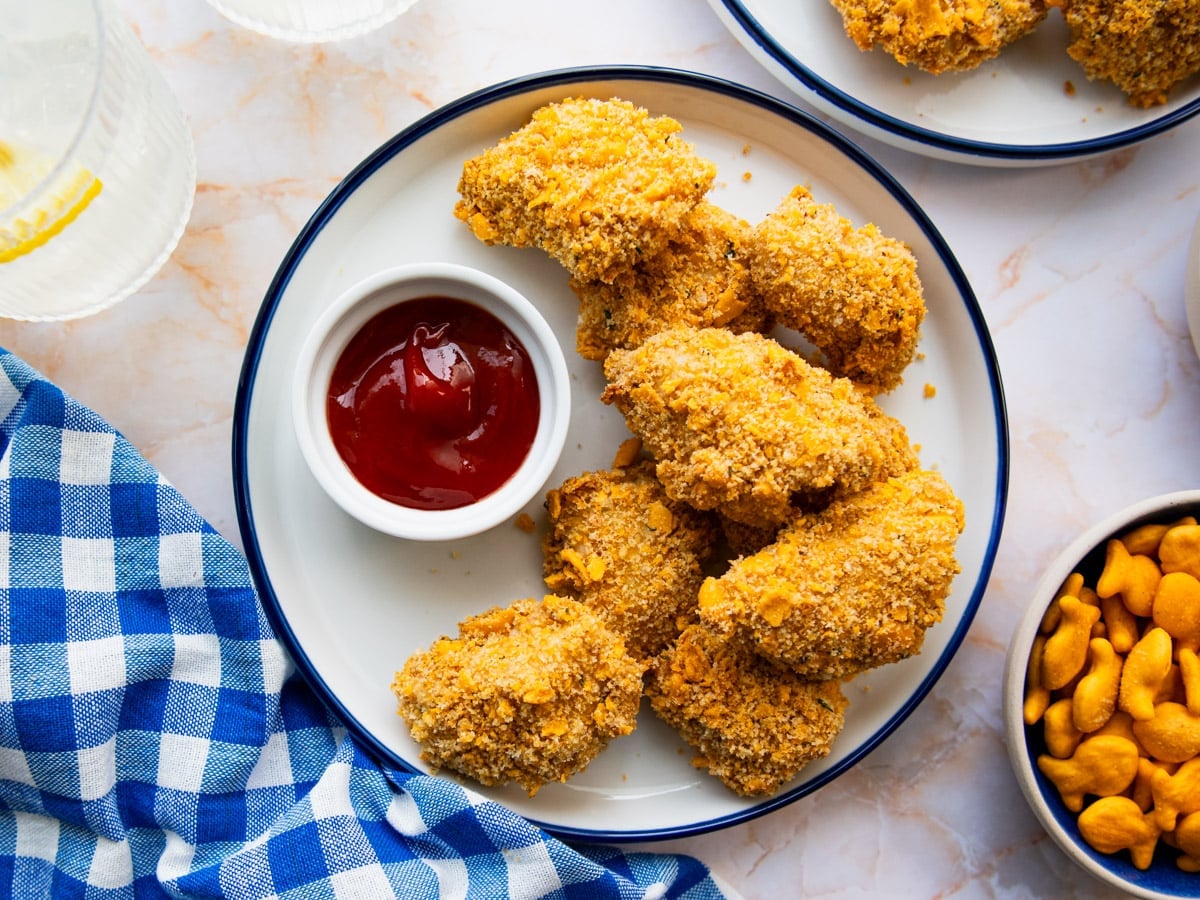
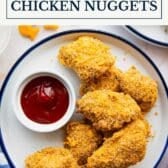
Honey mustard is the one I make most often, because the sweetness plays off the salty cheddar crust better than anything else. That said, be realistic about your audience. If there are small people at your table, ketchup is going to win no matter what else is on offer, so put it out and save yourself the negotiation.
Two per person is plenty. Set out a small bowl of each and let everyone claim their own.
Sauces worth making from scratch:
A quick note on the ranch: that one is a dry seasoning blend, but the instructions for a homemade ranch dip are included in the recipe.
What to Serve Alongside
Nuggets are the easy part of the plate. What they need next to them is one starch, one vegetable, and something a little sweet or tangy to keep it from being beige all the way across. Pick one or two and you have a full dinner.
A few of our favorites:
Storing and Freezing
These are best straight from the oven, when the crust is at its crispiest. They keep well beyond that, but the coating does soften as it sits.
Make ahead: You can bread the chicken and keep it tightly covered in the refrigerator for up to 1 day before baking. I do not recommend freezing the breaded chicken raw; the coating turns gummy when it thaws.
Store: Leftovers keep in an airtight container in the refrigerator for 3 to 4 days.
Freeze: Bake first, cool completely, then freeze in an airtight container for up to 2 months. Freezing them in a single layer on a sheet pan before transferring to a bag keeps them from fusing into a block.
Reheat: Skip the microwave, which turns the crust soft. Reheat on a sheet pan in a 375°F oven for 8 to 10 minutes, or 10 to 12 minutes straight from frozen. The air fryer works too, about 4 minutes at 375°F.
⇢ Double the batch: Half for dinner and half for the freezer means a 12-minute dinner two weeks from now.
More crispy chicken tenders and bites:
Frequently Asked Questions
Do you have to flip chicken nuggets halfway through baking?
No. The lightly sprayed foil browns the undersides while the oven crisps the tops, so they come out golden on both sides without touching them. Flipping partway through actually works against you here, since moving them around can pull crumbs loose from the coating.
Why aren’t my baked chicken nuggets crispy?
Almost always one of three things. Either the oil got left out of the crumb mixture, which is what does the browning in a dry oven; or the excess flour and egg were not shaken off between dishes, which adds moisture the coating has to fight through; or the pan was crowded, which traps steam between the pieces. Give them space and a hot oven and the crust takes care of itself.
Can I use panko or plain bread crumbs instead of Italian style?
Yes, any of them work. Italian style just comes pre-seasoned, so it adds flavor without extra effort. If you are using plain crumbs, add about half a teaspoon of Italian seasoning and a pinch of garlic powder to the mix. Panko gives a coarser, flakier crust rather than the fine even coating you get from regular crumbs.
How do I know when the nuggets are done?
Fifteen minutes at 375°F does it for 2-inch pieces, and the coating will look deep golden rather than pale. The nuggets are big enough to check with an instant-read thermometer if you want to be sure, and you are looking for 165°F at the center, though you will rarely need it at this size.
What can I use instead of flour for the coating?
Cornstarch works as a straight one-to-one swap and actually crisps a little more aggressively than flour. If you are skipping the dredge entirely, the coating will not grip quite as well, so press the crumbs onto each piece a little more firmly than usual.
More Easy Dinners Kids Ask For

Did you make this recipe?
If you enjoyed this recipe, please leave a comment with a 5-star review at the bottom of the post. Thank you!

Baked Chicken Nuggets
Ingredients
- ½ cup crushed cheddar cheese Goldfish crackers (start with about 1 cup of whole Goldfish crackers)
- ½ cup Italian style bread crumbs
- 2 teaspoons brown sugar
- ½ teaspoon salt
- 1 ½ tablespoons olive oil
- ⅓ cup all-purpose flour
- 2 eggs, beaten
- 1 lb. chicken breast tenderloins or boneless skinless chicken breast, cut into 2-inch pieces
Instructions
- Heat the oven: Preheat to 375°F. Line a large baking sheet with aluminum foil and spray with cooking spray. Set aside.

- Mix the breading: Place the crushed Goldfish crackers, bread crumbs, brown sugar, and salt in a shallow dish and stir to combine.
- Add the oil: Drizzle the olive oil evenly over the crumb mixture and toss until the crumbs are evenly coated and slightly clumpy.
- Set up the stations: Pour the flour into a second shallow dish and place the beaten eggs in a third.
- Dredge in flour: Turn the chicken pieces in the flour to coat, then shake off any excess.
- Dip in egg: Dip the floured chicken into the beaten eggs, letting the excess drip off.
- Coat in crumbs: Press each piece into the crumb mixture until fully covered.
- Arrange on the pan: Place the breaded chicken on the prepared baking sheet in a single layer, leaving space between the pieces.
- Bake: Bake until crisp and deep golden brown, about 15 minutes. No need to flip.

Notes
- Don’t skip the oil in the crumbs. It is what browns the coating in a dry oven. Without it the nuggets bake pale and dusty.
- Use sprayed foil rather than parchment. The oiled foil crisps the undersides, which is why these do not need flipping.
- Shake off the excess at every step. Loose flour and drippy egg add moisture and soften the crust.
- Give them space on the pan. Crowding traps steam. Use two trays if you are doubling the batch.
- Cracker swaps: Whole grain Goldfish, Parmesan Goldfish, Cheez-Its, Annie’s Cheddar Bunnies, or crushed corn flakes all work. Add a pinch of extra salt with corn flakes.
- Bread crumb swaps: Plain or panko crumbs work in place of Italian style. With plain crumbs, add ½ teaspoon Italian seasoning and a pinch of garlic powder.
- To make tenders instead: Leave the tenderloins whole, bread them the same way, and bake 20 to 25 minutes.
- Air fryer: Preheat to 400°F, then cook in batches 7 to 8 minutes, until crispy and 165°F at the center.
- Storage and reheating: Refrigerate leftovers up to 4 days or freeze baked nuggets up to 2 months. Reheat in a 375°F oven for 8 to 10 minutes, or 10 to 12 minutes from frozen.
Nutrition
Originally published in January, 2015, this post was updated in September, 2026.










These look like a kids favorite meal! Chicken nuggets & goldfish?? I can only imagine their joy! I would love to try making these for my nieces! Thanks for sharing!
After my 4 year old got over the “murder” of her favorite crackers, she’d devour this in a heartbeat.
Great way to get kids eating quality protein with the chicken and the egg! 🙂
What a fantastic breading idea!! My kids will go crazy 😀
Ahhh these look and sound incredible! Must try!
This looks so delicious! I know our kids will love this and their dads. We all enjoy chicken and who doesn’t love goldfish?! Great job with this post; thanks for sharing!
Forget Fast food chicken nuggets! These look amazing !I bet they will be my kid’s favorite chicken nuggets after they taste it. My mouth is watering already! #client
Thanks, Amber! 🙂
It’s nice to have a snack that everyone will like for game day! These look great! My oldest son loves goldfish too. Thanks for sharing them with us at Foodie Fridays!
Can you freeze these nuggets?
YES, Lisa! You definitely can, and it works great. I do it all of the time! 🙂
Great idea! I always have goldfish handy.
Thanks, Karly! Yes — totally a pantry staple around here! 🙂
These look good and I love cheese crackers. If I can’t find Italian seasoned crumbs, I suppose I can just add seasoning to the plain ones, correct? Also, are nuggets generally big enough to accept an automatic thermometer?
Yes, you can make your own Italian style breadcrumbs. There are many different “recipes” out there, but here’s one as an example: https://www.food.com/recipe/italian-breadcrumbs-206196
The nuggets are big enough that you can temp them with an instant read thermometer, but you probably won’t need to. They’ll be done after 15 minutes. 🙂
Instead of foil for the chicken nuggets, would parchment paper work?
If yes, parchment will work, do I still spray the parchment paper?
I always use parchment paper without oil spray but didn’t want to use it in this recipe if you don’t advise.
I’m thinking…. maybe the oil sprayed foil does a better job in browning the chicken?
You’re right, Debbie! I would stick with the lightly-sprayed foil for this recipe, which really helps the chicken get crispy. I don’t even bother to flip them halfway through — they get nice and crisp on both sides!