The apples aren’t the hard part of an apple crumble. Getting a topping that’s actually crisp instead of soft and sandy is, and that comes down to how you handle the butter. Here’s the one I make all fall, plus the two tricks that make the difference between craggy and powdery!
A Few More Apple Classics:
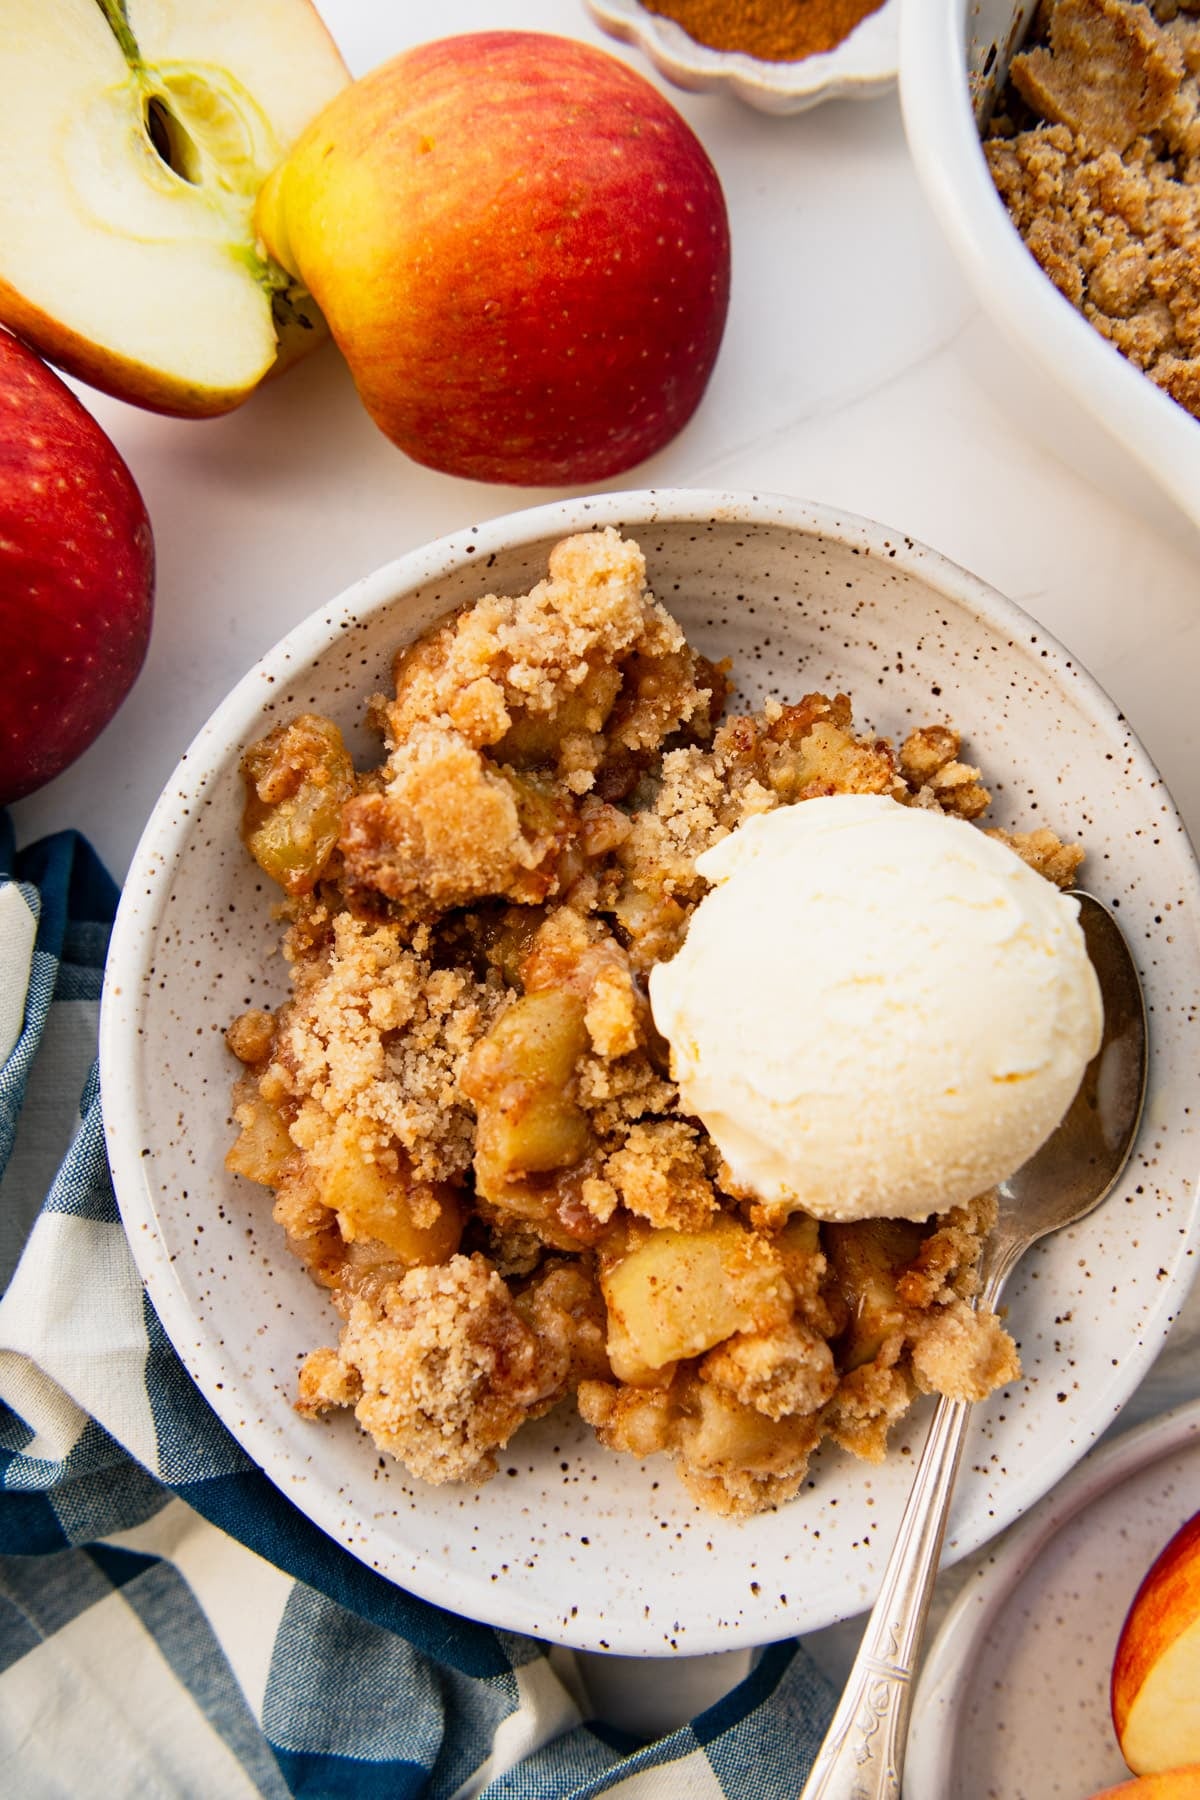
Before You Get Started
The apples take care of themselves once they’re in the oven. The topping is where a crumble is won or lost, so these are the three things worth knowing before you start:
- Clump the topping, don’t smooth it. Stir the melted butter in only until you’ve got moist crumbs, then squeeze some together with your fingers into pieces about the size of small marbles. Those clumps are what bake up crisp. Stir it smooth and you’ll get a fine, powdery layer instead.
- Never press the topping down. Sprinkle it loosely over the apples so the heat can move through it and the steam can get out. Packed-down topping steams from below, and no amount of extra bake time will save it.
- Reach for firm apples. Softer varieties collapse into sauce before the topping has a chance to brown. Granny Smith holds its shape and keeps the filling from going too sweet, while a couple of Honeycrisp or (my favorite) Cosmic Crisp mixed in round it out nicely.
Crumble or crisp?
The difference is oats. A crumble topping is flour, sugar, and butter, so it bakes into buttery clumps. Stir oats (and nuts) into that same topping and you’ve got a crisp, which comes out chewier and more like granola.
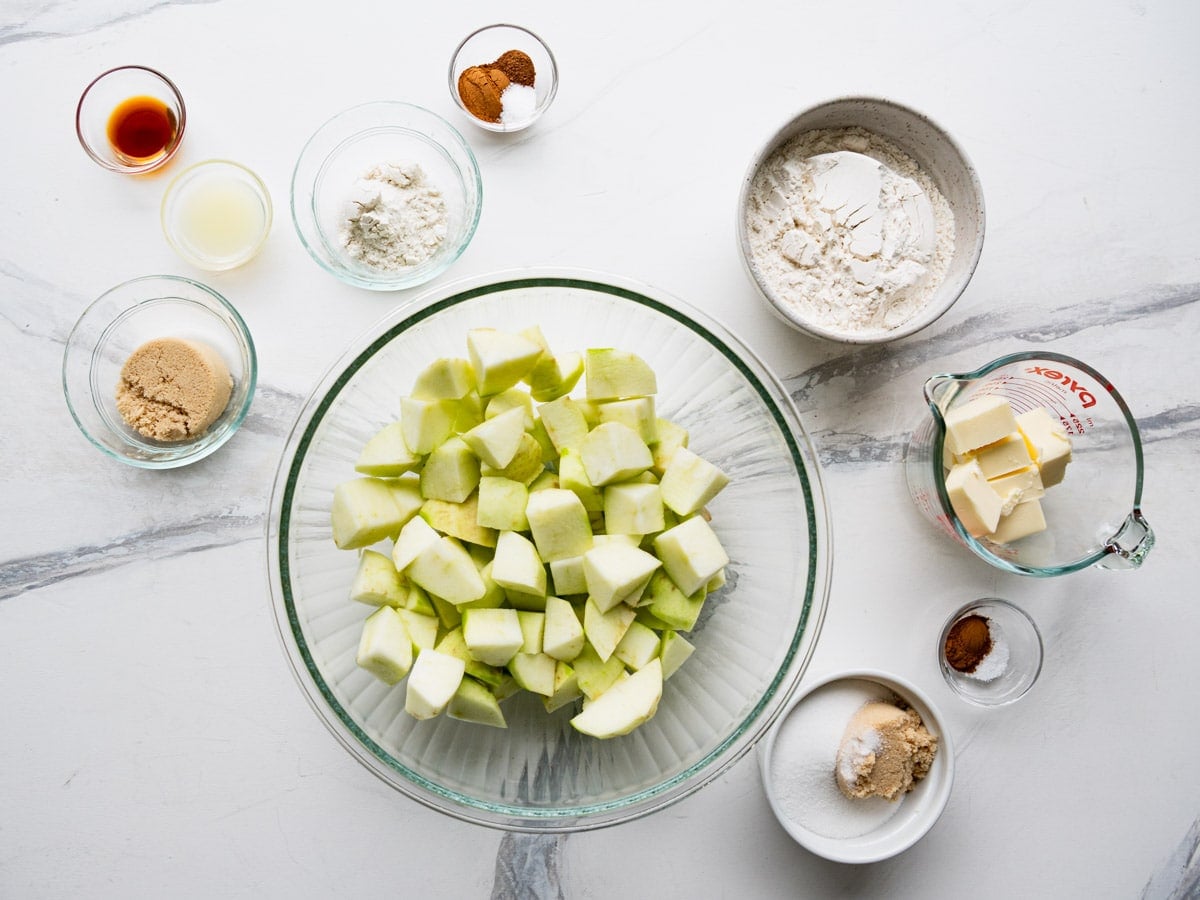
How to Make Apple Crumble
Two bowls, one dish, and no special equipment! The full recipe with measurements is in the recipe card at the bottom of the post.
Step 1: Prep the Apples
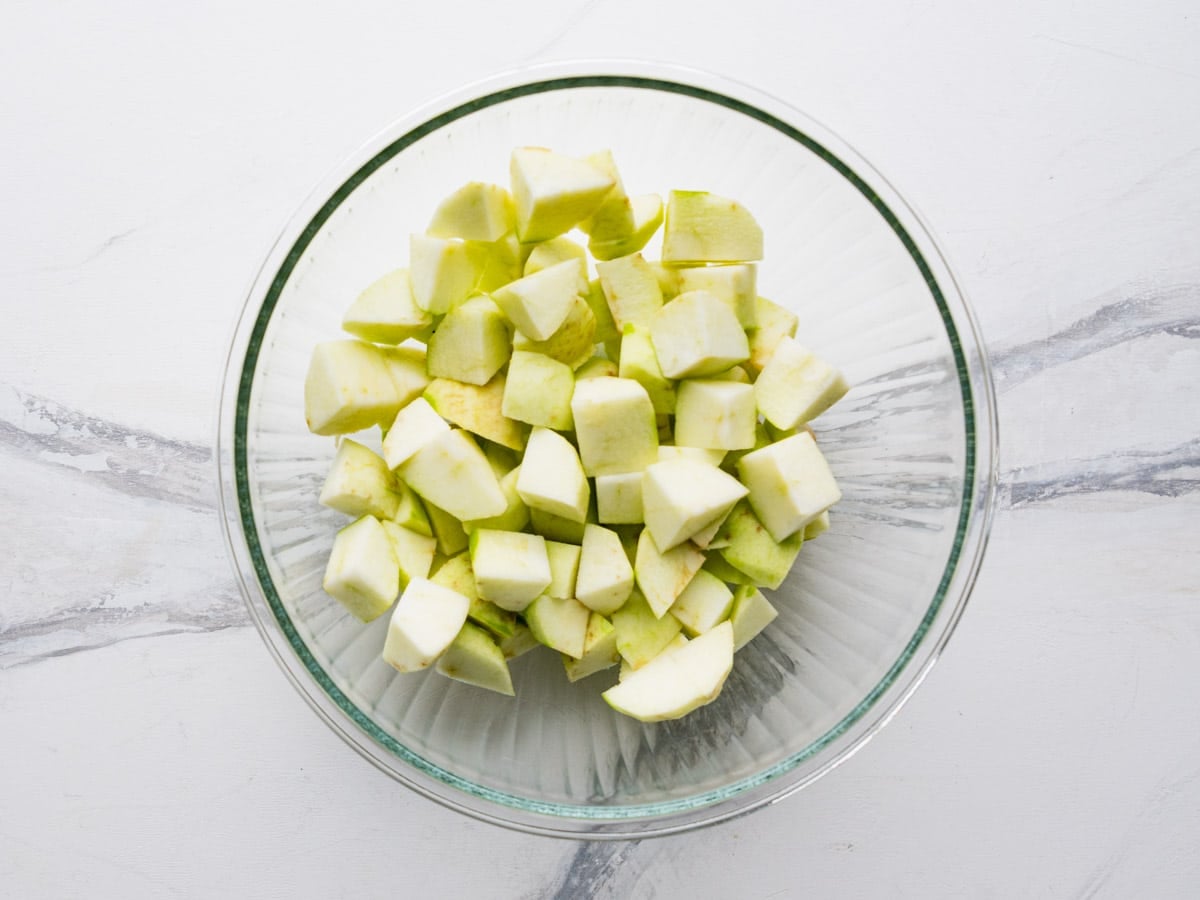
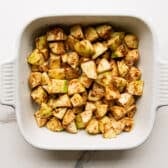
Peel, core, and dice the apples into one-inch pieces.
How many apples? Your goal is about 6 cups, which usually works out to around 2 1/2 pounds, so use a scale if you’ve got one. “Six medium apples” can mean anywhere from four cups to eight depending on what’s in your bag.
Cut them all about the same size. If some pieces are chunks and others are slivers, you’ll end up with half your filling mushy and half of it still crunchy.
→ Peeling is worth the time: They don’t soften much in the oven, and you notice them against an otherwise tender filling.
Step 2: Toss the Filling
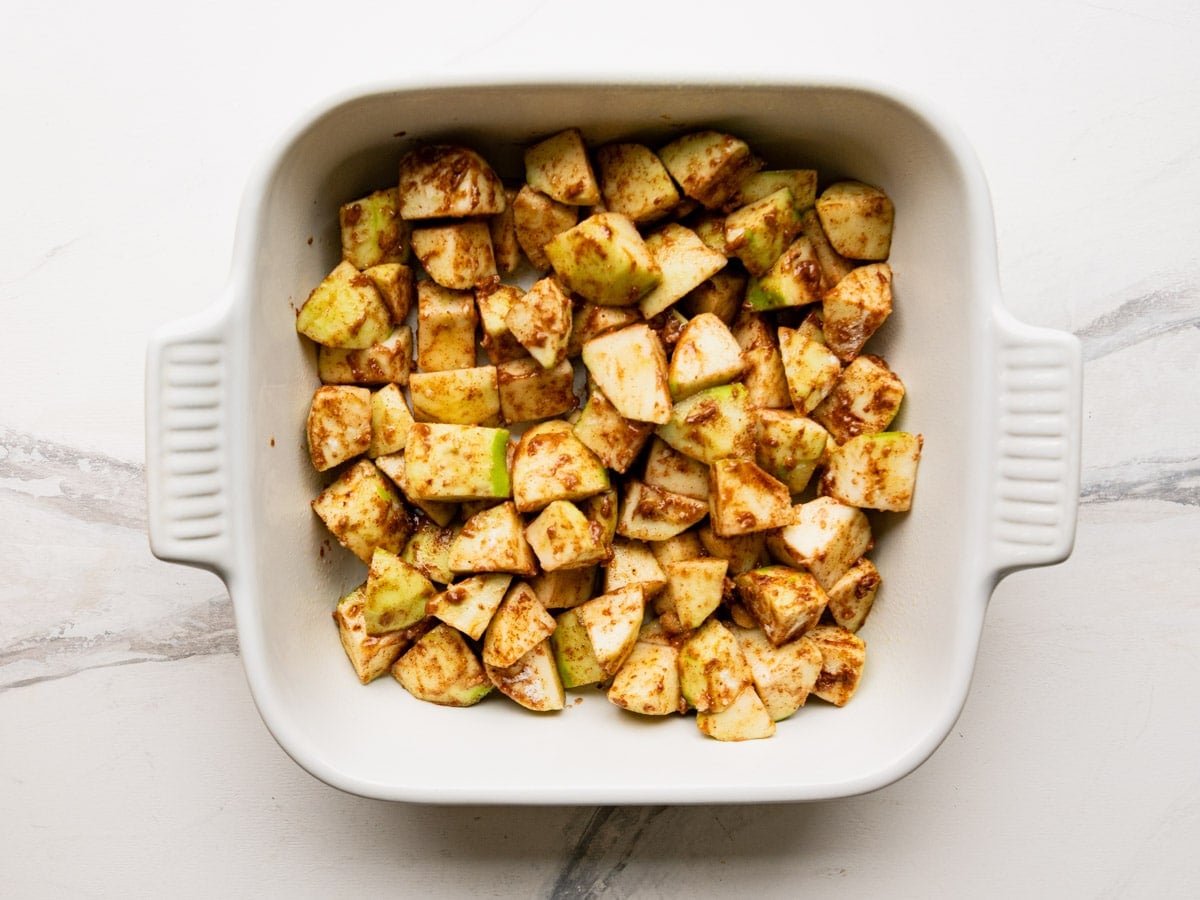
Add the brown sugar, flour, lemon juice, vanilla, cinnamon, nutmeg, and salt to the bowl of apples and toss gently until everything’s coated. The flour thickens the juices as the apples release them.
The lemon juice is doing two jobs: it keeps the apples from browning while you work, and it cuts the sweetness so the filling still tastes like apples.
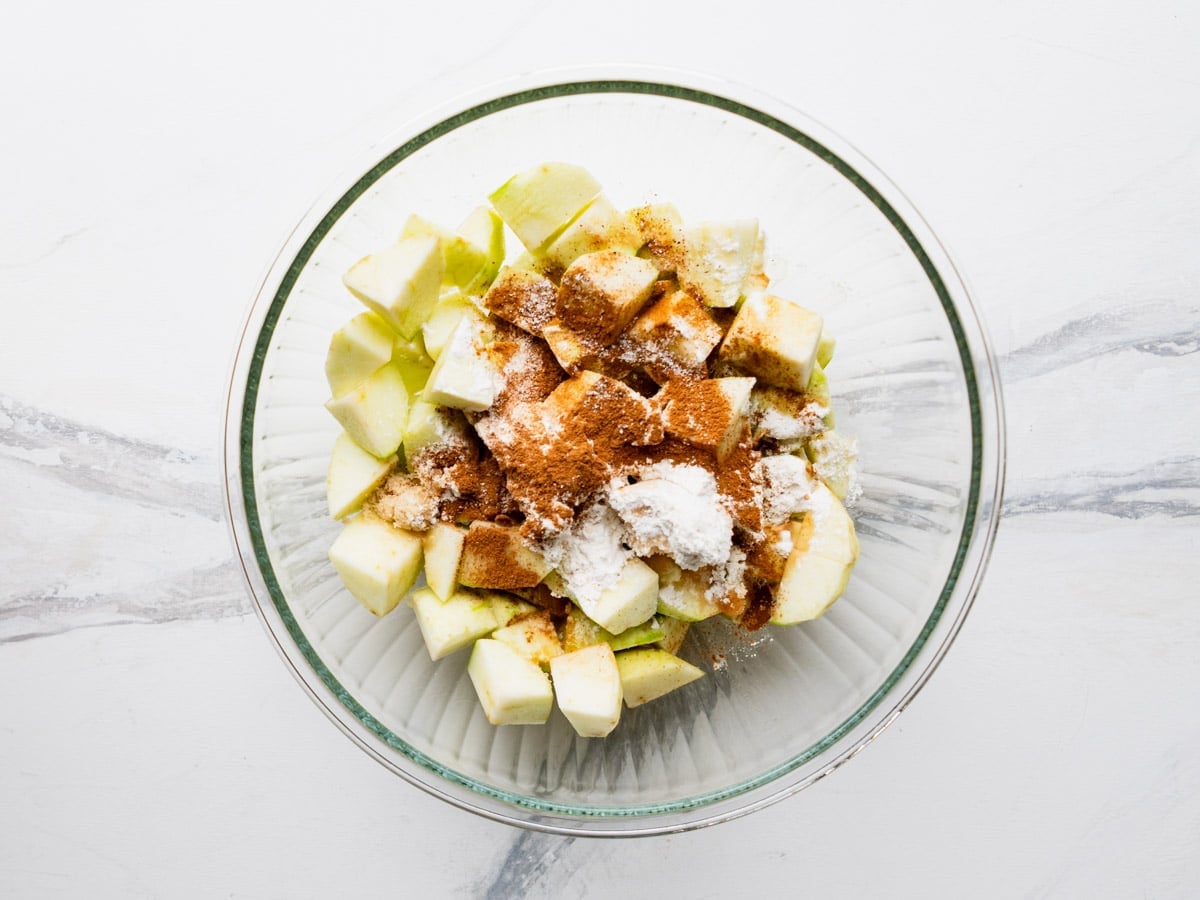
Spread them into the dish in an even layer. The apples go in raw. There’s no pre-cooking here. They bake to tender in the same time the topping takes to brown, and cooking them first just gets you a mushy filling.
⇢ About your pan: A 9-inch square dish gives you a deeper crumble with more filling under the topping. A 10-inch cast iron skillet spreads everything thinner and browns faster, so start checking around 40 minutes.
Step 3: Make the Crumb Topping
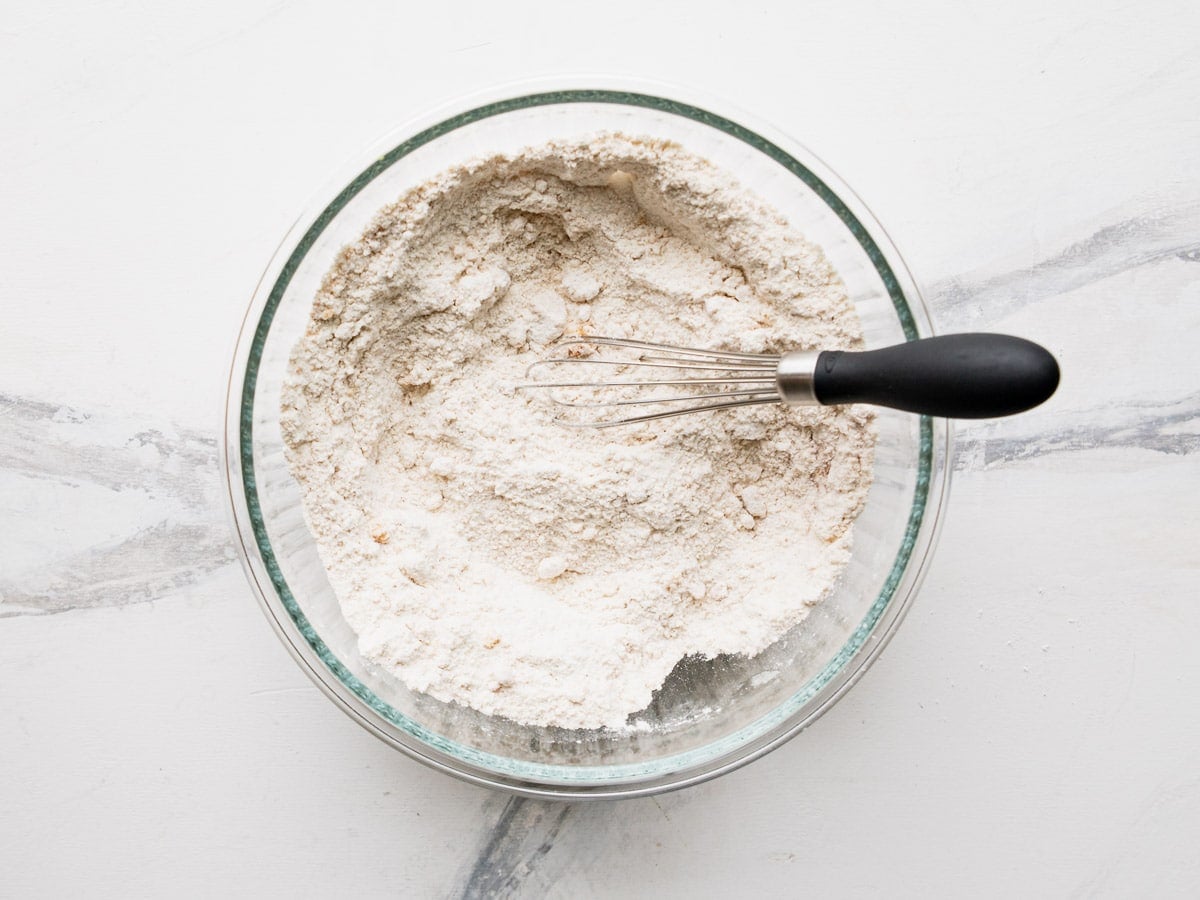
Whisk the flour, both sugars, cinnamon, and salt together in a second bowl.
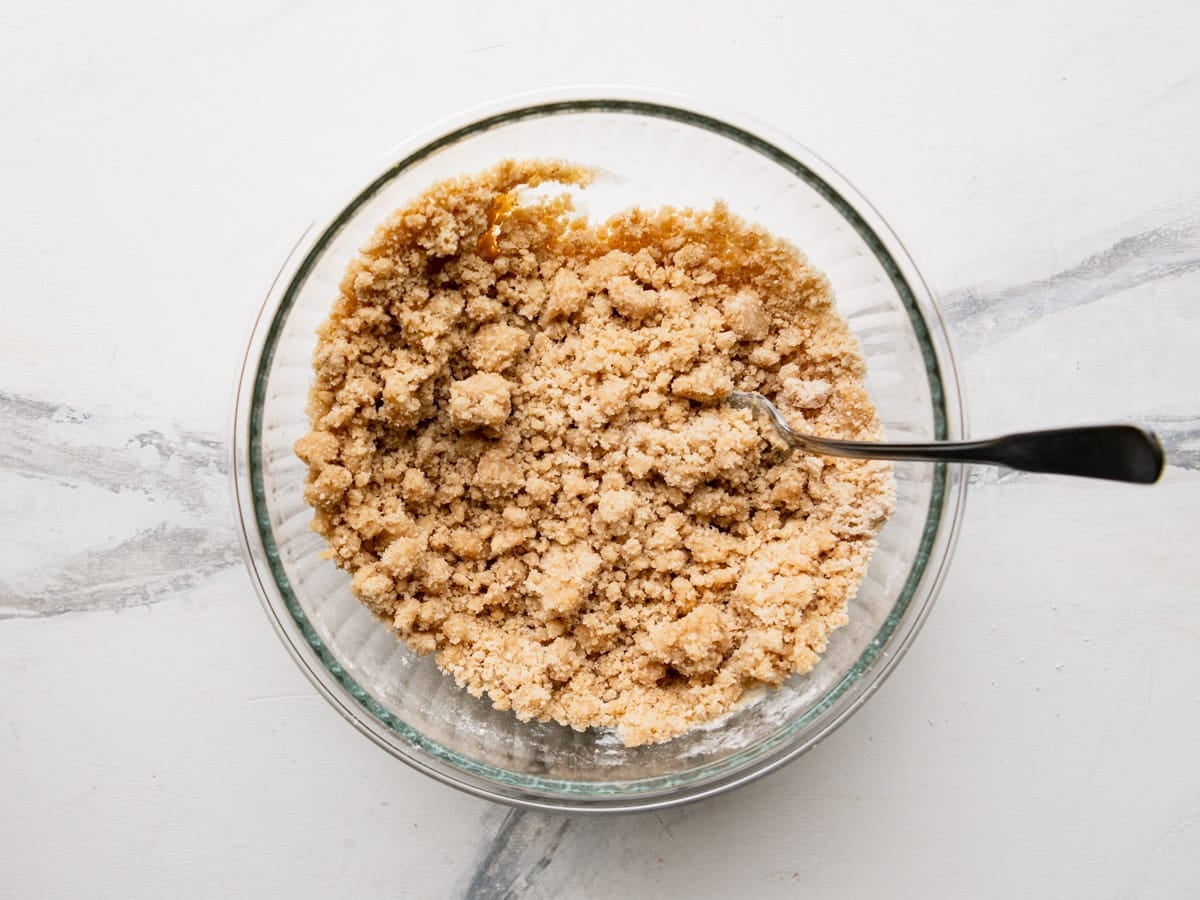
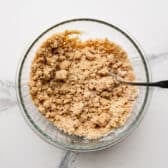
Pour the melted butter over the top and stir with a fork just until the mixture looks like damp sand with clumps scattered through it. Then stop. Keep stirring and you’ll work it smooth, and smooth topping bakes into a powdery layer that never crisps up.
Now use your hands. Grab a handful, squeeze it into clumps about the size of small marbles, and let some of it stay loose. You want both. The clumps give you those craggy, crunchy bites, and the loose crumbs fill in around them.
I use salted butter here and still add a quarter teaspoon of salt. That sounds like a lot until you taste it against a cup of sugar.
Step 4: Sprinkle and Bake
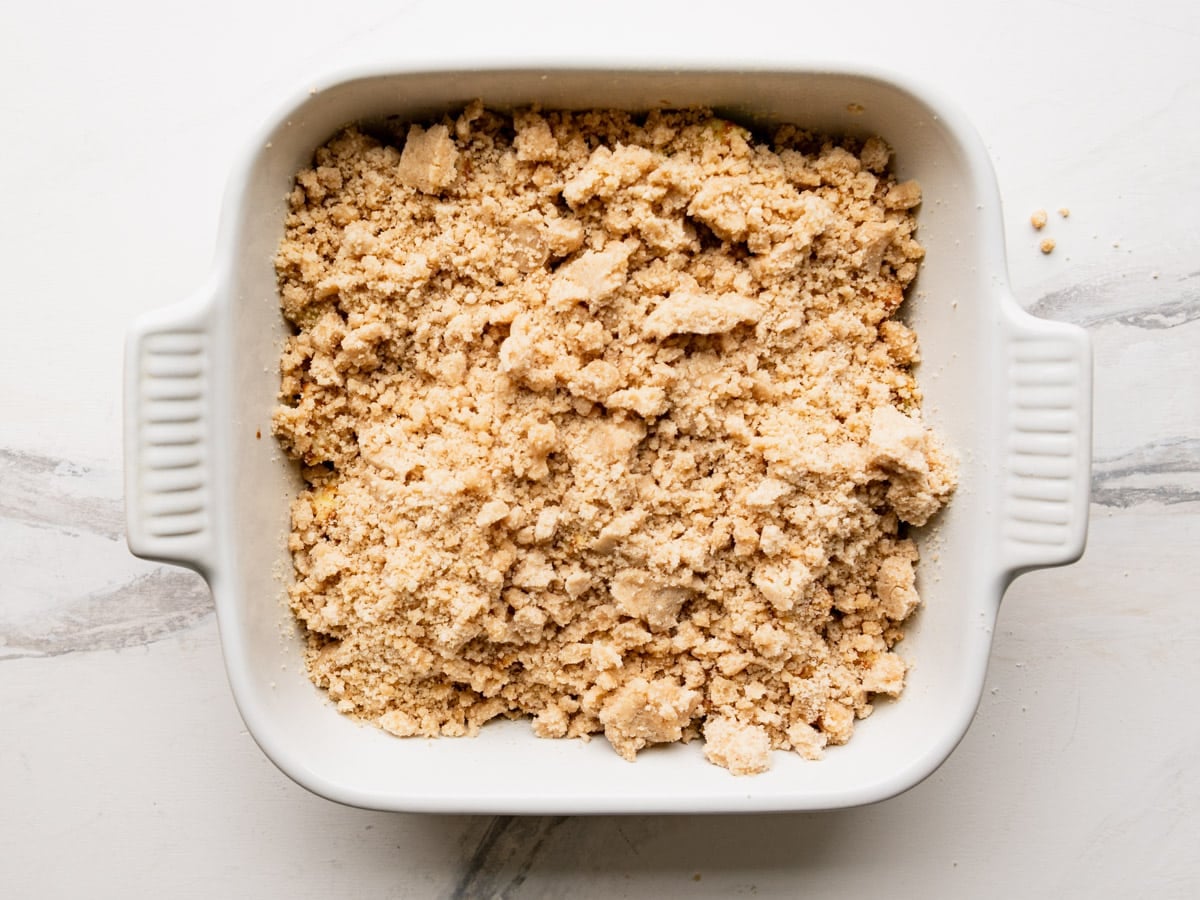
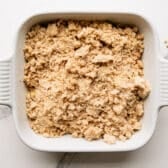
Scatter the topping over the apples and leave it alone. Don’t press it down.
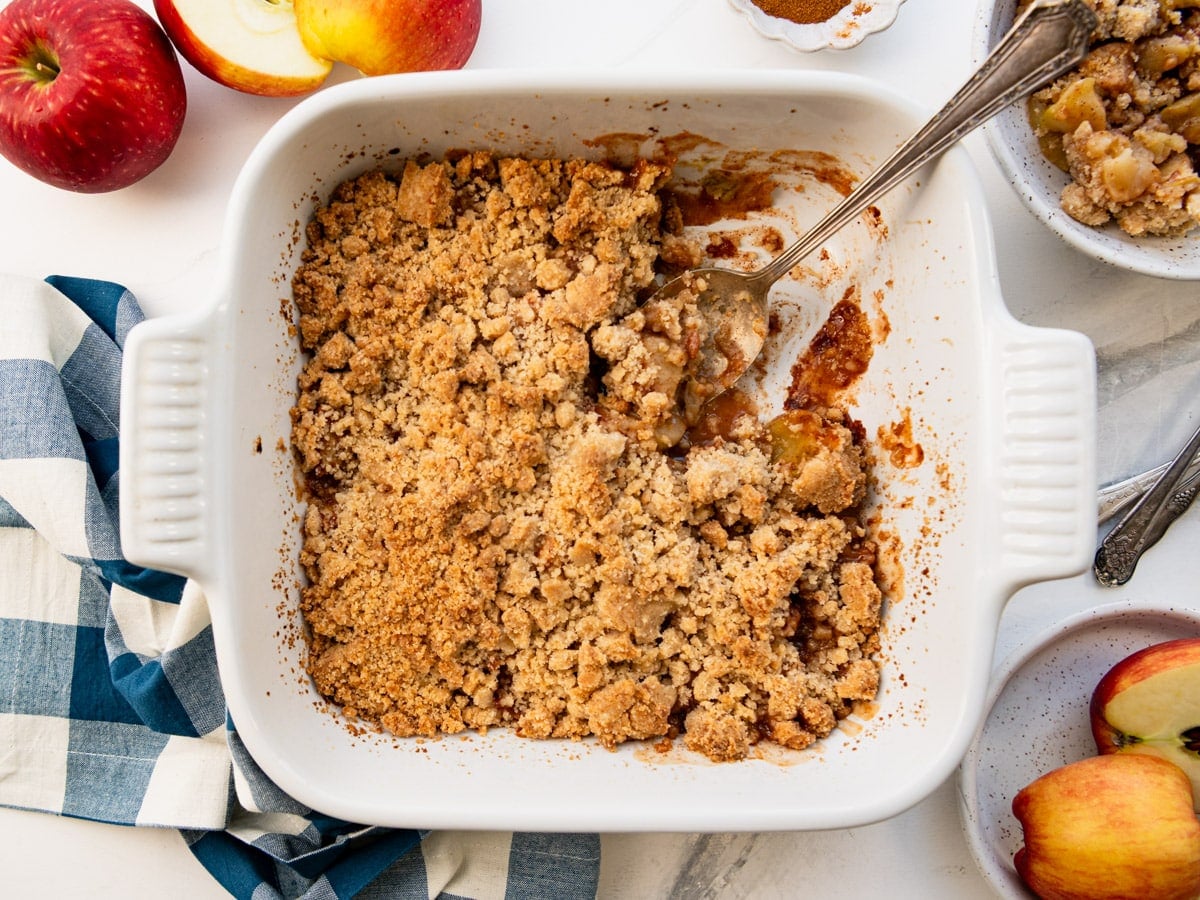
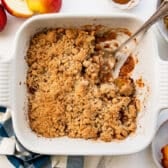
Bake at 375°F for 45 to 55 minutes, until the topping is deep golden brown, the filling is bubbling around the edges, and a knife slides into the apples without resistance.
→ Check on it around 35 or 40 minutes. If the top is browning faster than the filling is bubbling, lay a piece of foil loosely over the dish and keep going. Pulling it out early to save the topping leaves you with crunchy apples underneath.
Step 5: Let it Rest
Give it at least 15 minutes on a rack before you serve it. The filling thickens a lot as it cools.
Cut into it straight out of the oven and the juices run everywhere, the topping sits in them, and the crisp you just worked for is gone in about two minutes.
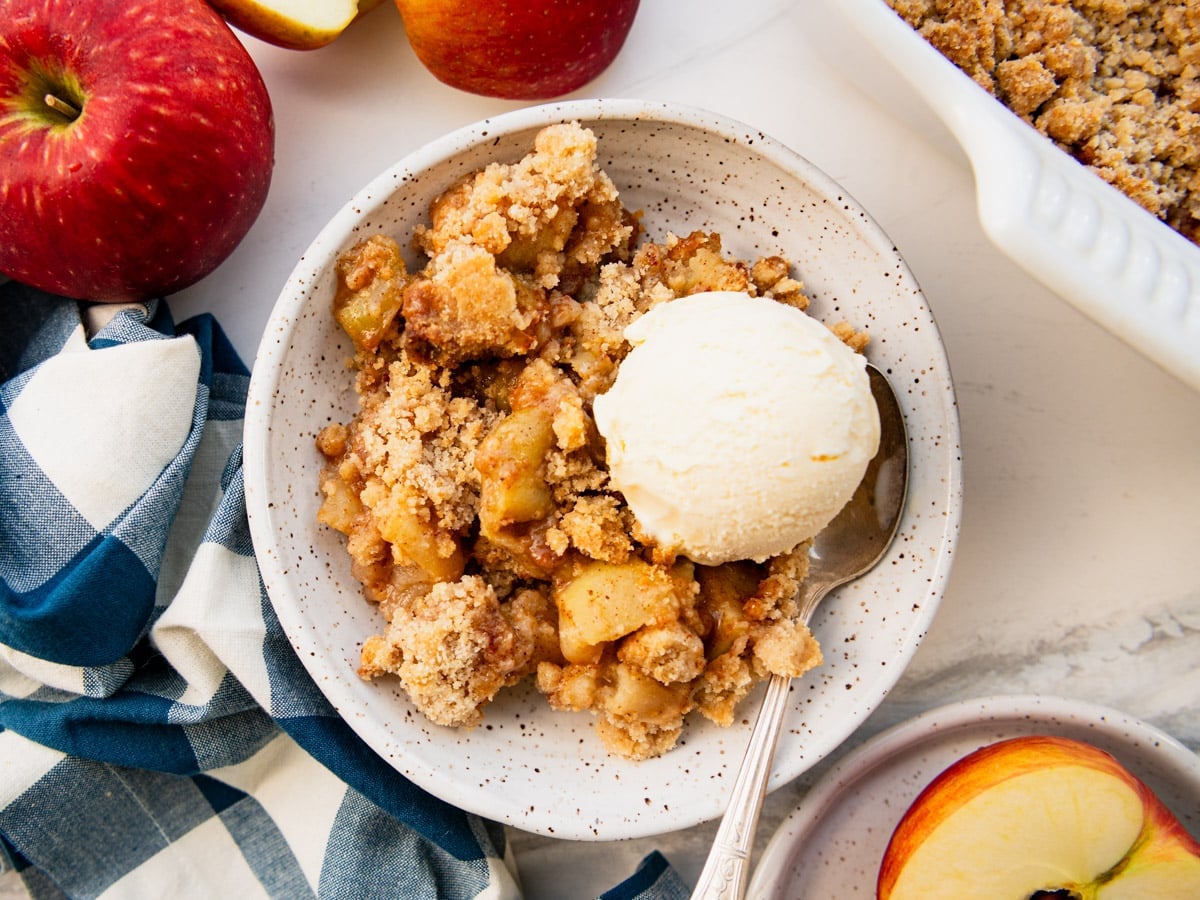
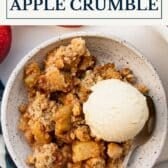
Serve it warm with vanilla ice cream.
When apples aren’t what you have:
The same approach works with plenty of other fruit. Try these: Pear Crisp, Peach Crisp, and Plum Crisp.
Variations
Add nuts: A half cup of chopped pecans or walnuts stirred into the topping adds crunch and a little toasty flavor. Keep an eye on them to make sure they don’t burn (tent with foil if the top starts to get too dark).
Warm up the spice: A quarter teaspoon of ground ginger or allspice alongside the cinnamon gives the filling more depth without changing anything else.
Swap the fruit: Pears work with no adjustments at all, and so does a mix of apples and pears. Fresh cranberries bring tartness, though you’ll want an extra tablespoon or two of brown sugar to balance them out.
Make a smaller one: The recipe halves cleanly into a smaller 1-1 1/2 quart dish or a loaf pan. Start checking at 30 minutes.
Storage, Freezing, and Make-Ahead
Storing leftovers: Cover and keep in the fridge up to 4 days. The topping softens slightly overnight, but not to the point that it hurts the taste and texture of the dish.
Reheating: A few minutes in a 350°F oven brings most of the crisp back. The microwave won’t do it.
Making it ahead: Mix the topping up to 3 days early and keep it in an airtight container in the fridge, then sprinkle it over freshly tossed apples when you’re ready to bake. I wouldn’t assemble the whole thing in advance. The apples start releasing liquid into the topping while it sits, and you lose the texture before it ever hits the oven.
Freezing: Baked crumble freezes up to 3 months. Cool it completely and wrap it well, then reheat from frozen at 350°F, covered, about 30 minutes. Uncover for another 10 to 15 to crisp the top.
Still have apples to use up? Try these:
Frequently Asked Questions
Why isn’t my crumble topping crispy?
It’s almost always one of three things. The butter got stirred in too long, so the mixture went smooth instead of clumping. The topping got pressed down into the apples, which traps steam underneath it. Or it came out of the oven before it reached a deep golden brown. Stir just until you’ve got moist crumbs, sprinkle it on loosely, and let it brown properly before you pull it.
Do I have to peel the apples?
You don’t have to, but I would. Apple skins stay firm through baking and they stand out against a soft filling. If you’re short on time and working with thin-skinned apples, leaving them on won’t ruin anything.
What are the best apples for apple crumble?
Firm varieties that hold their shape. Granny Smith is the reliable one, and the tartness balances all that sugar in the topping. Honeycrisp, Braeburn, and Pink Lady all work well too. A mix of tart and sweet gives you better flavor than any single variety on its own. Stay away from Red Delicious and McIntosh, which turn to sauce.
Can I use a different baking dish?
Anything in the 2 1/2 to 3 quart range works. Just know that depth changes your timing. A deeper 9-inch square needs the full 55 minutes, while a wider 10-inch skillet browns faster and might be done closer to 45.
More Apple Desserts to Bake This Fall
Watch How to Make It
Apple Crumble
Equipment
- 9-inch square baking dish, 10-inch cast iron skillet, or similar 2 1/2 to 3 quart baking dish
Ingredients
Filling
- 6 cups peeled apples, diced into 1-inch pieces (about 6 medium apples, or 2 1/2 pounds)
- ¼ cup packed light brown sugar
- 1 tablespoon all-purpose flour
- 1 tablespoon fresh lemon juice
- 1 teaspoon vanilla extract
- 1 teaspoon ground cinnamon
- ¼ teaspoon ground nutmeg
- ¼ teaspoon kosher salt
Topping
- 1 ½ cups all-purpose flour
- ½ cup packed light brown sugar
- ½ cup granulated sugar
- ½ teaspoon ground cinnamon
- ¼ teaspoon kosher salt
- ½ cup (1 stick) salted butter, melted
- For serving: vanilla ice cream
Instructions
- Preheat the oven to 375°F. Grease a 9-inch square baking dish, 10-inch cast iron skillet, or similar 2 ½ to 3 quart baking dish.
- Gently toss all of the filling ingredients together in a large bowl until the apples are evenly coated. Transfer to the prepared dish and spread into an even layer.

- In a separate bowl, whisk together the flour, both sugars, cinnamon, and salt. Add the melted butter and stir with a fork just until moist crumbs form. Squeeze some of the mixture into larger clumps with your fingers.
- Sprinkle the topping evenly over the apples. Don’t press it down.
- Bake for 45 to 55 minutes, until the topping is deep golden brown, the filling bubbles around the edges, and the apples are tender. Check at 35 to 40 minutes and cover loosely with foil if the top is browning too quickly.
- Cool for at least 15 minutes before serving. Serve warm with vanilla ice cream, if desired.
Notes
- Clump the topping with your fingers after stirring in the butter. Loose crumbs alone bake up sandy. Clumps bake up crisp.
- Don’t press the topping into the apples. It needs air moving through it to crisp.
- Firm apples work best. Granny Smith, Honeycrisp, Braeburn, and Pink Lady all hold their shape. Skip Red Delicious and McIntosh.
- Weigh the apples if you can. Six cups is about 2 1/2 pounds, and apple size varies enough that the count alone isn’t reliable.
- The lemon juice matters. It keeps the apples from browning and balances the sweetness of the topping.
- No pre-cooking needed. Raw apples bake to tender in the same time the topping takes to brown.
- Salted butter is intentional. If you’re using unsalted, increase the topping salt to 1/2 teaspoon.
- Pan depth changes timing. A deeper 9-inch square needs the full 55 minutes. A wider skillet may be done closer to 45.
- Rest before serving. The filling thickens as it cools, and 15 minutes keeps the juices from running.
- Store covered in the fridge up to 4 days. Reheat in a 350°F oven to bring the topping back.











Did you make this recipe?
If you enjoyed this recipe, please leave a comment with a 5-star review at the bottom of the post. Thank you!