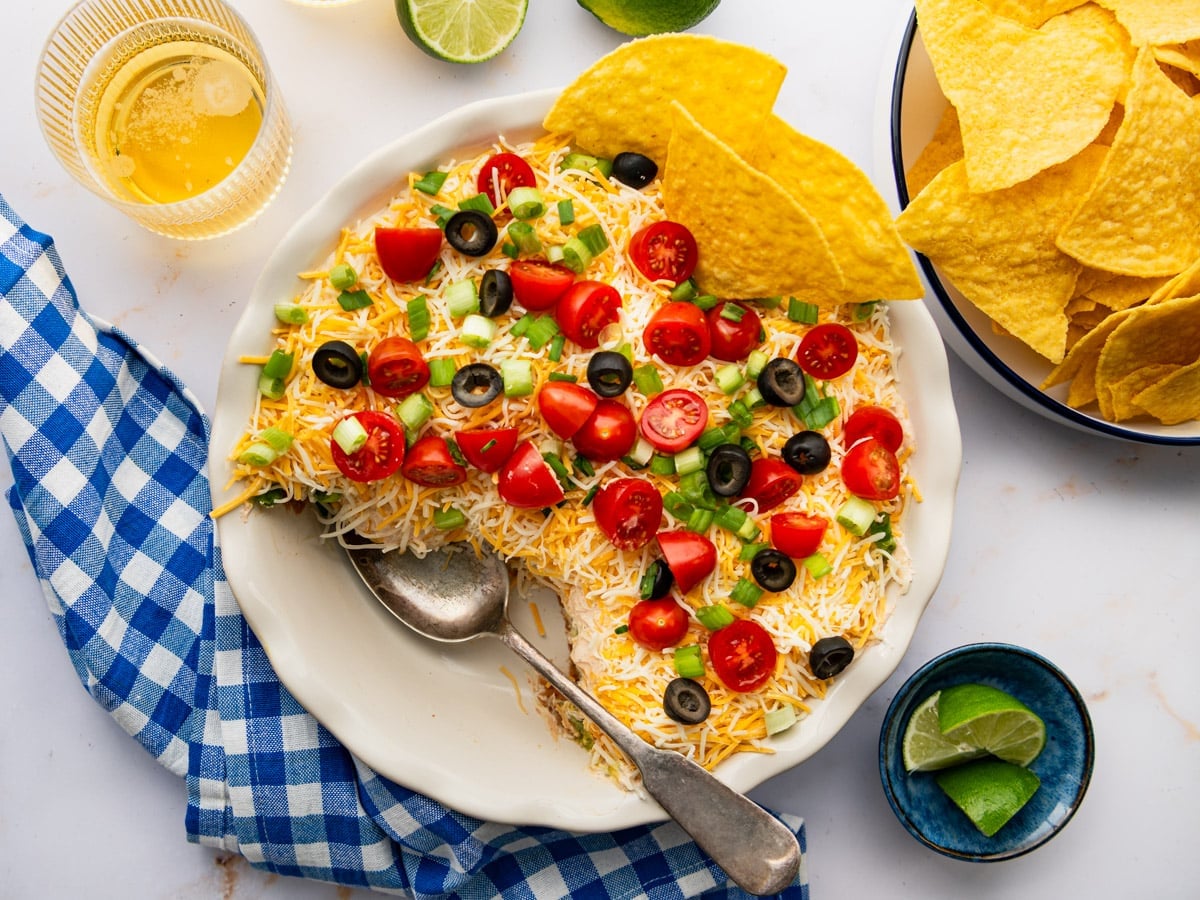
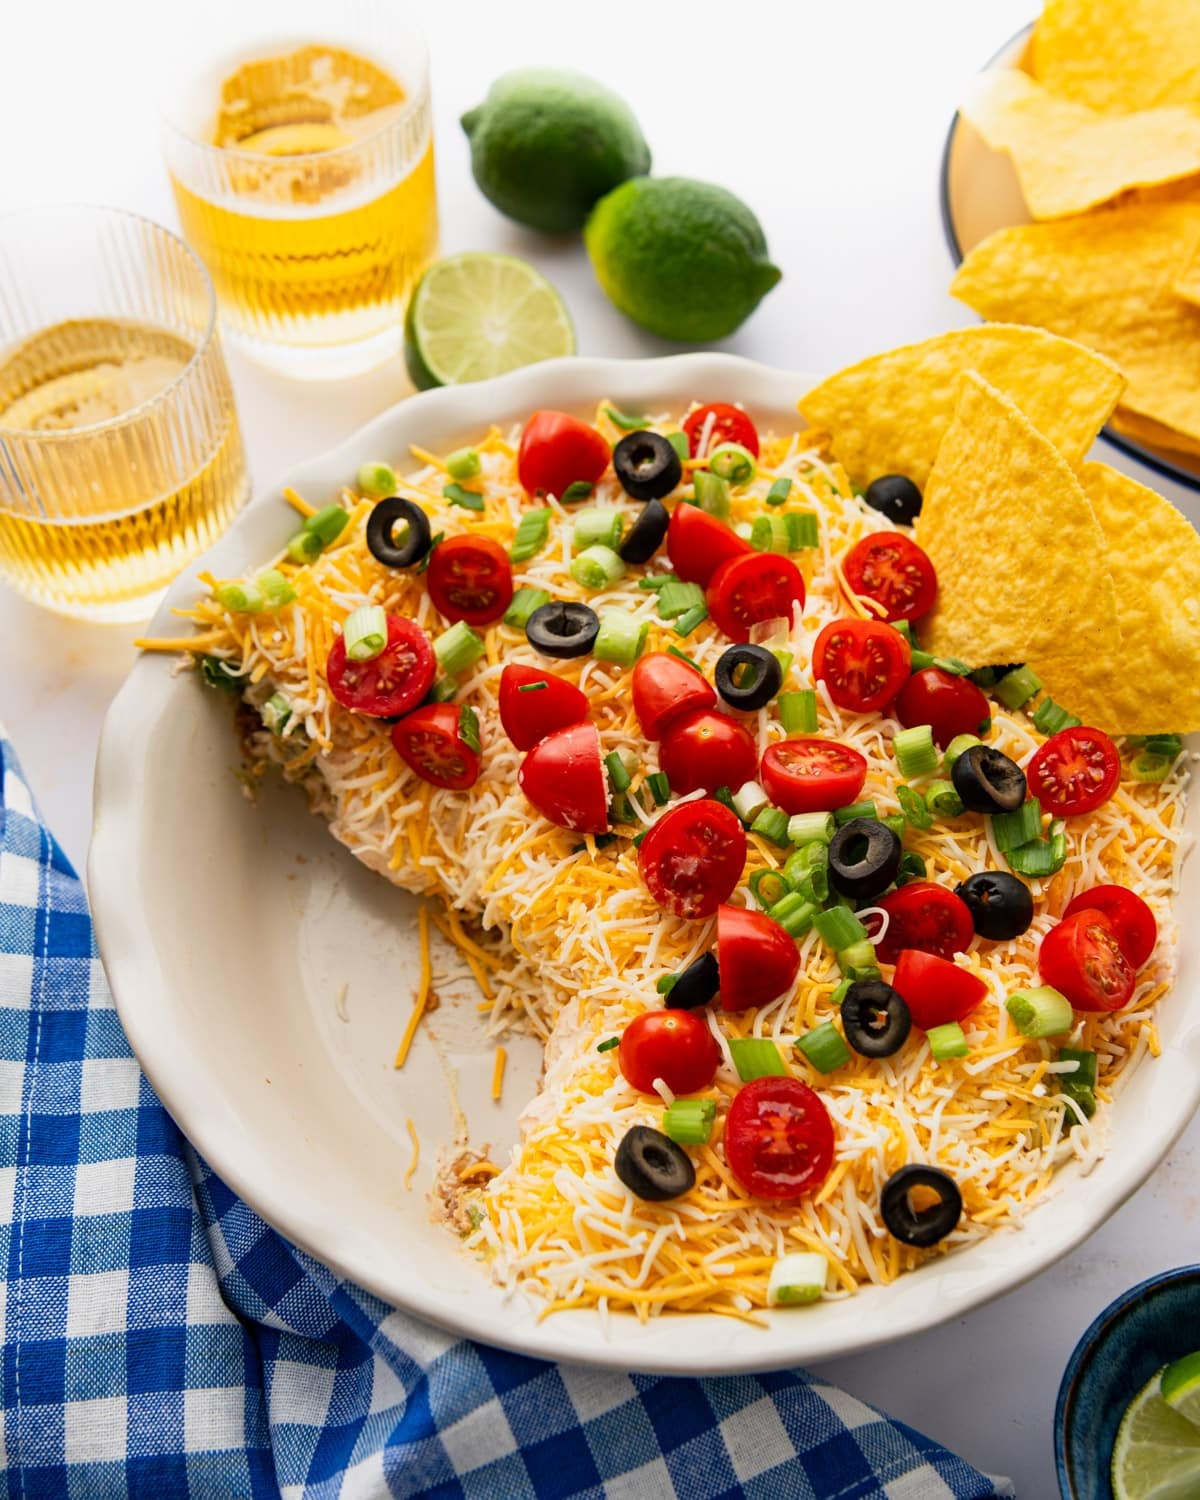
This easy 7 layer bean dip is the kind of no-bake appetizer that disappears first at every party! With layers of refried beans, guacamole, taco-seasoned sour cream, cheese, and fresh toppings, it’s a quick crowd-pleaser that’s perfect for game days, Cinco de Mayo, holiday gatherings, and casual family get-togethers.
More Cold Dip Recipes:
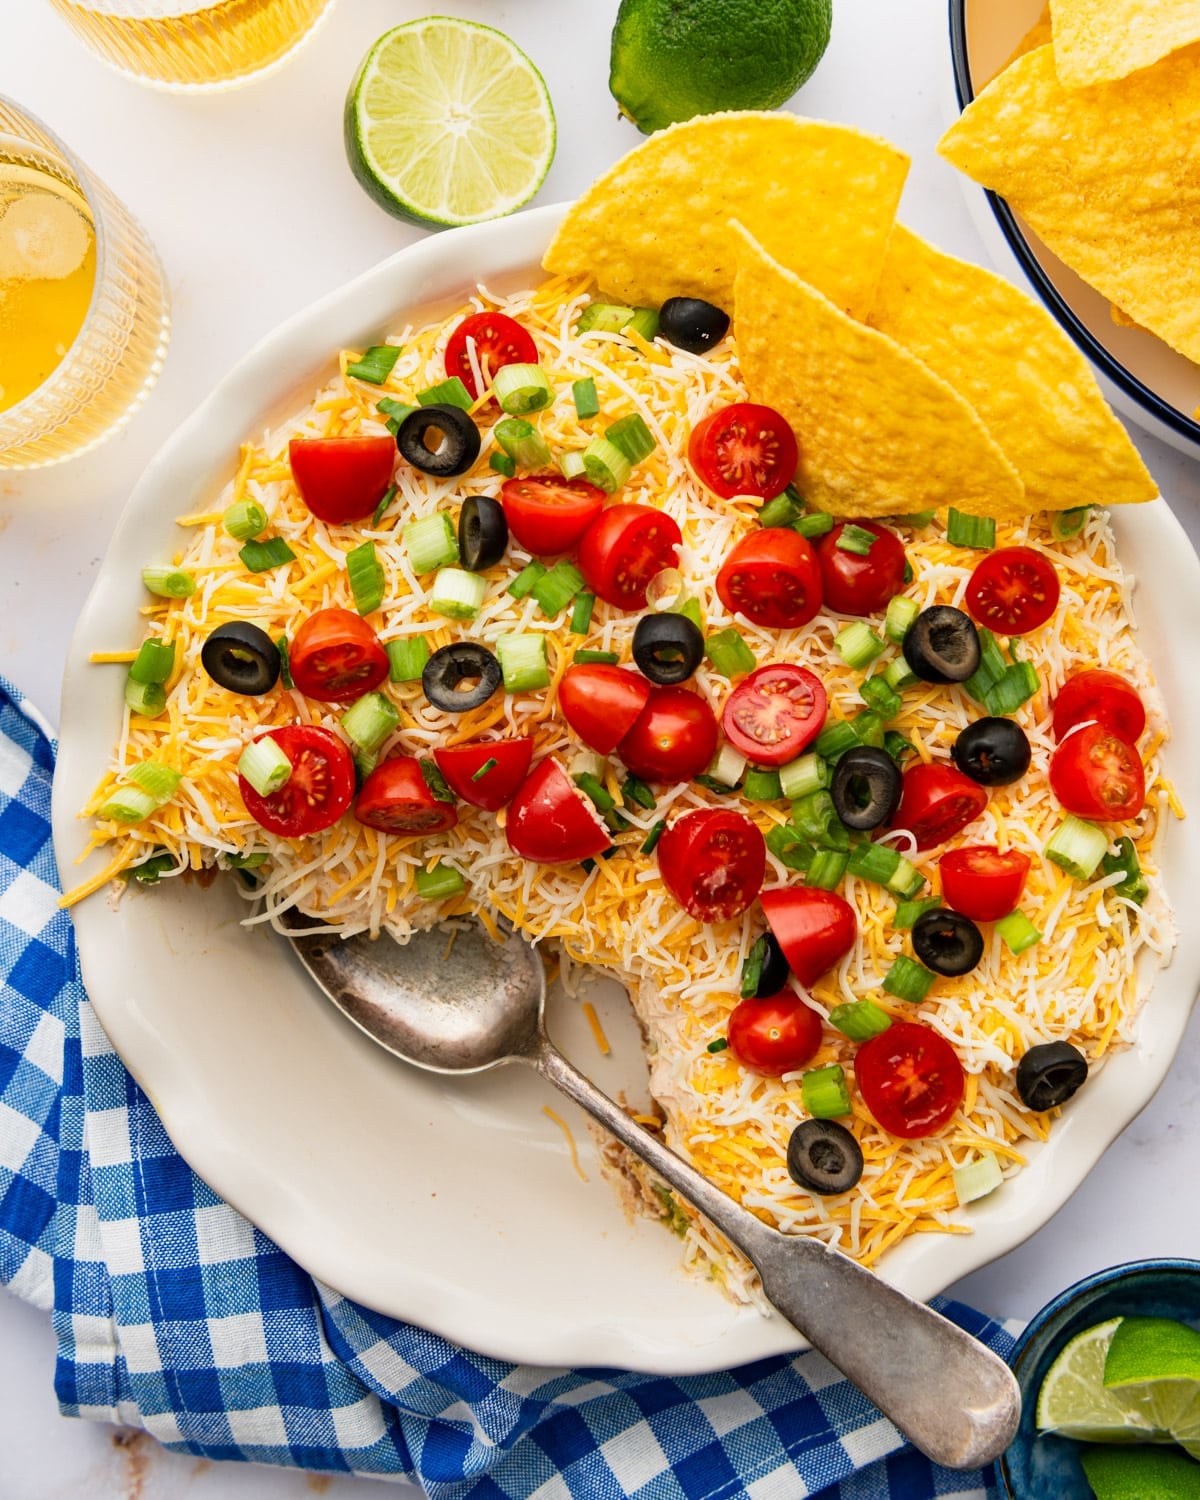
Before You Get Started
A few quick tips will help you make the best 7 layer bean dip:
- Drain the tomatoes well to keep the dip from becoming watery.
- Chill the dip for at least 30 minutes before serving so the layers can set.
- This dip is best served the same day it’s made for the freshest flavor and texture.
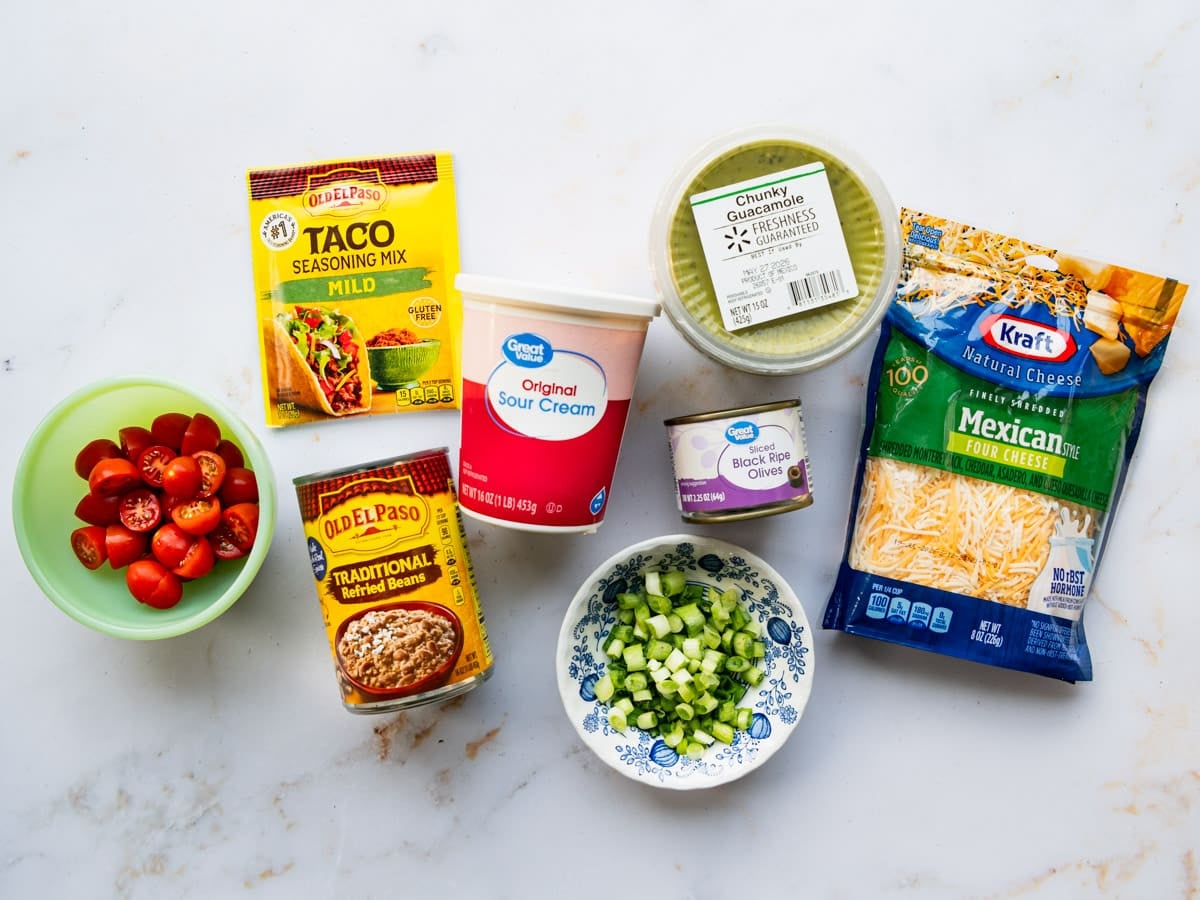
The 7 Layers in This Bean Dip
Part of the appeal of a classic 7 layer dip is that every bite includes a little bit of everything. The layers are simple, but together they create the perfect combination of creamy, savory, fresh, and tangy flavors.
This recipe includes:
- Refried beans
- Guacamole
- Sour cream mixed with taco seasoning
- Shredded cheese
- Diced tomatoes
- Green onions
- Black olives
Try it another way
See the Variations section below if you’d like to change up the layers by adding meat, salsa, lettuce, etc.
How to Make 7 Layer Bean Dip
Since there’s no baking or cooking involved, this recipe comes together in just minutes! Here’s how to do it:
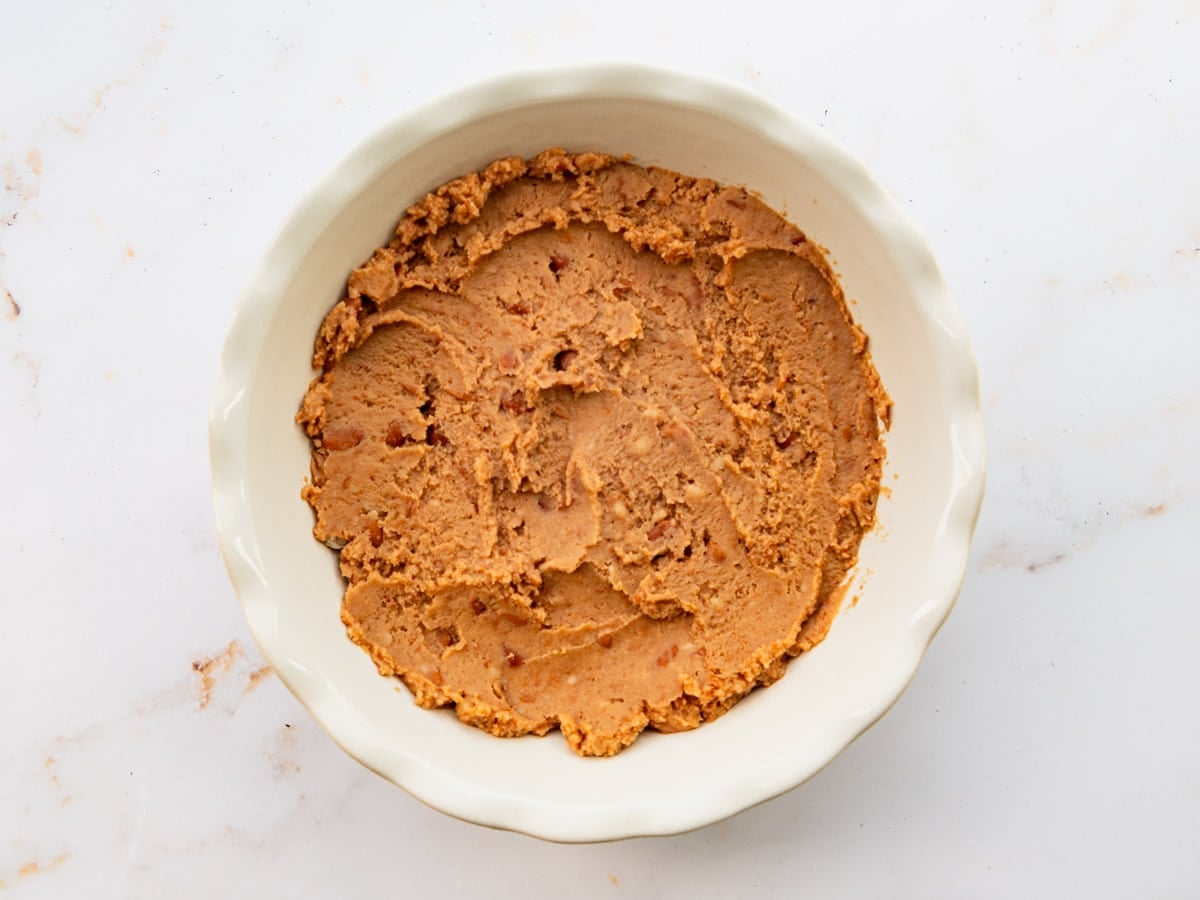
Step 1: Spread the Refried Beans
Spread the refried beans evenly in the bottom of your serving dish.
This first layer creates a sturdy base that supports all of the ingredients stacked on top.
** Tip: Use the back of a spoon or a small offset spatula to spread the beans into an even layer.
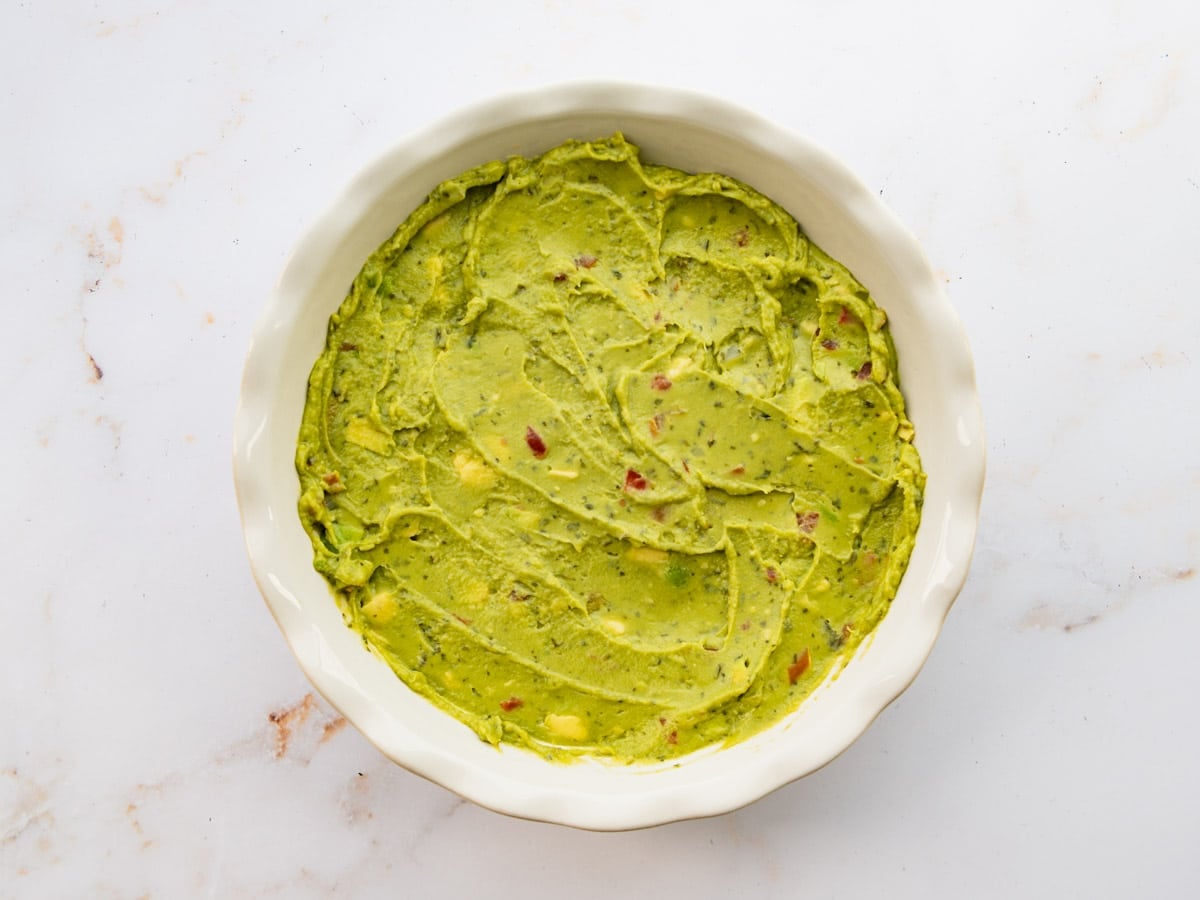
Step 2: Add the Guacamole
Carefully spread the guacamole over the beans.
Working gently helps keep the layers separate and gives the finished dip a prettier appearance.
** Tip: Refrigerated prepared guacamole is one of my favorite shortcuts when I need to throw this dip together quickly.
Step 3: Spread the Taco Sour Cream
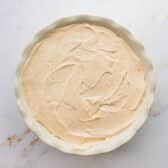
In a small bowl, stir together the sour cream and taco seasoning.
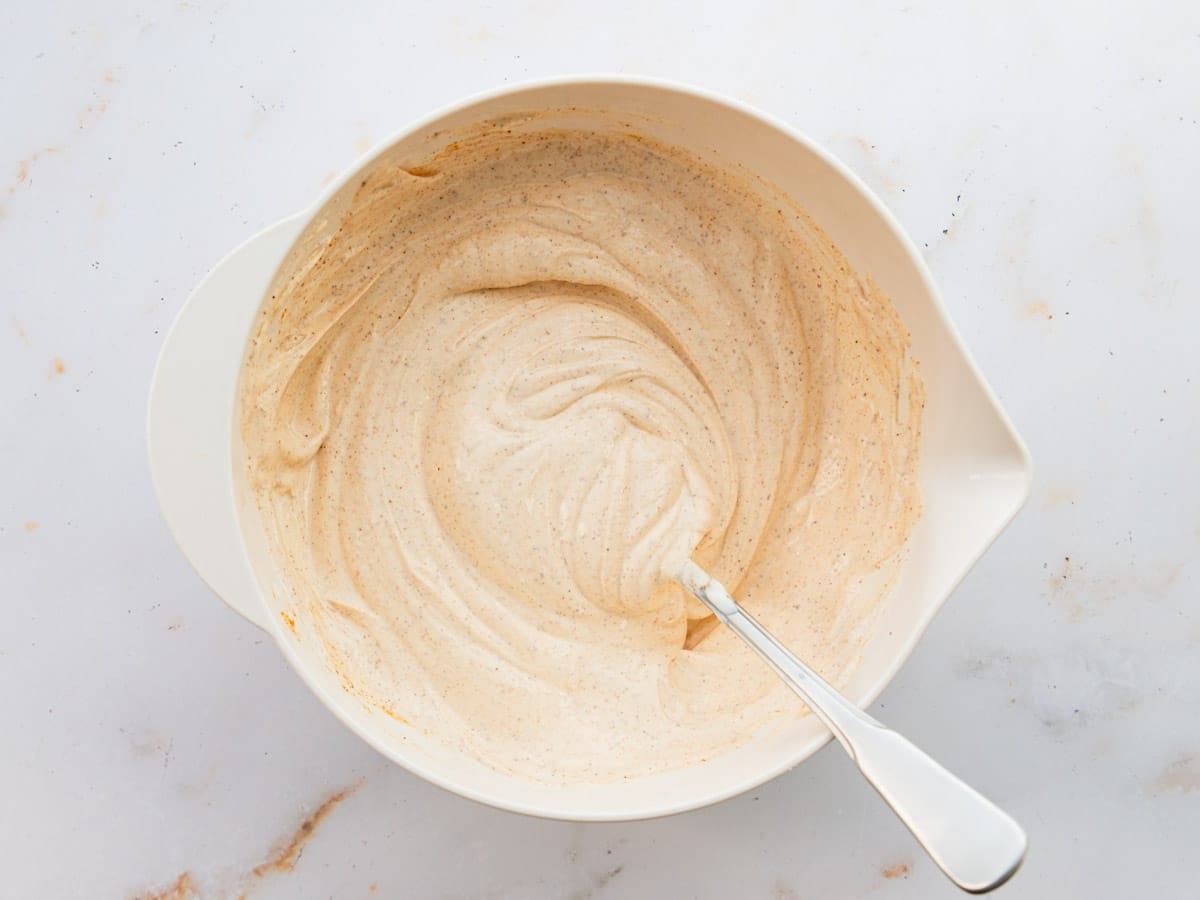
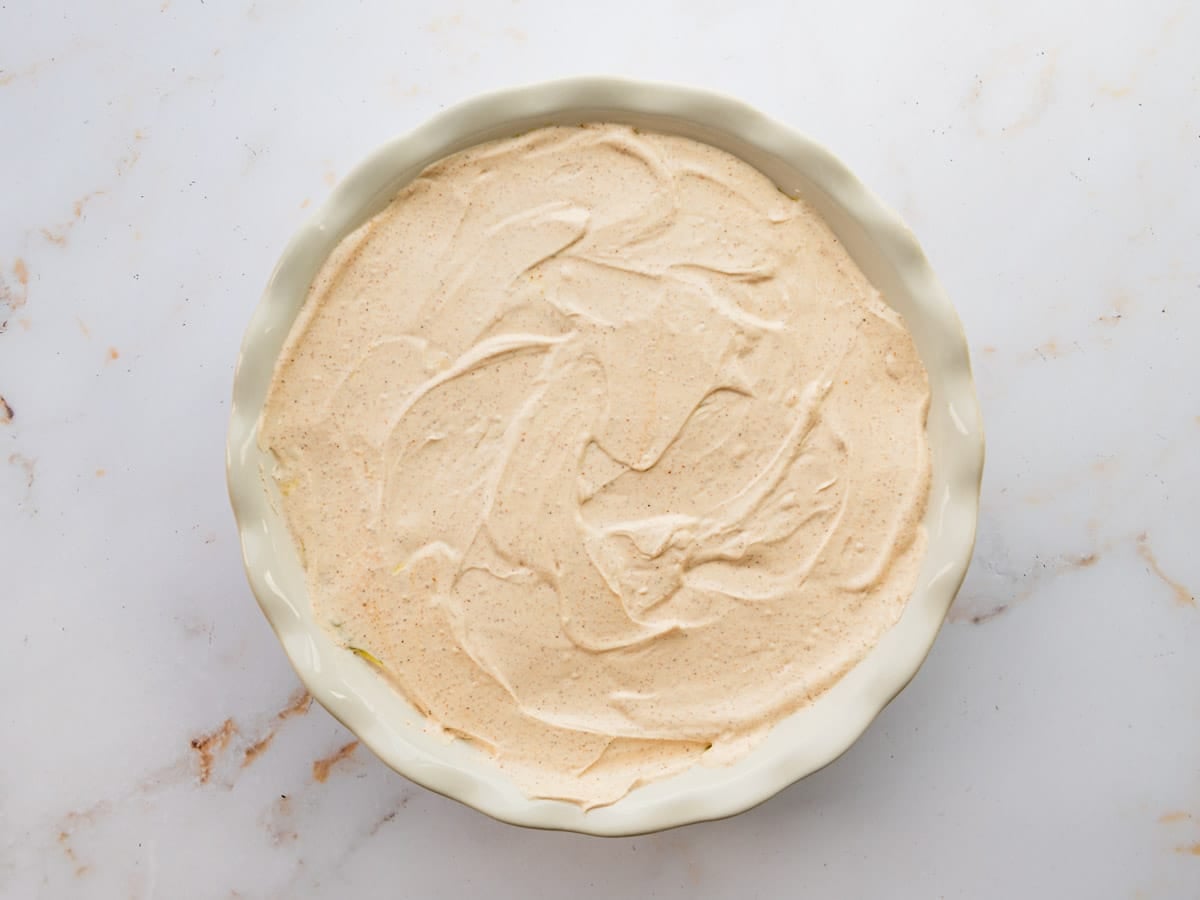
Spread the mixture evenly over the guacamole.
** Tip: If your family prefers milder flavors, start with a little less taco seasoning and add more to taste.
Step 4: Add the Cheese
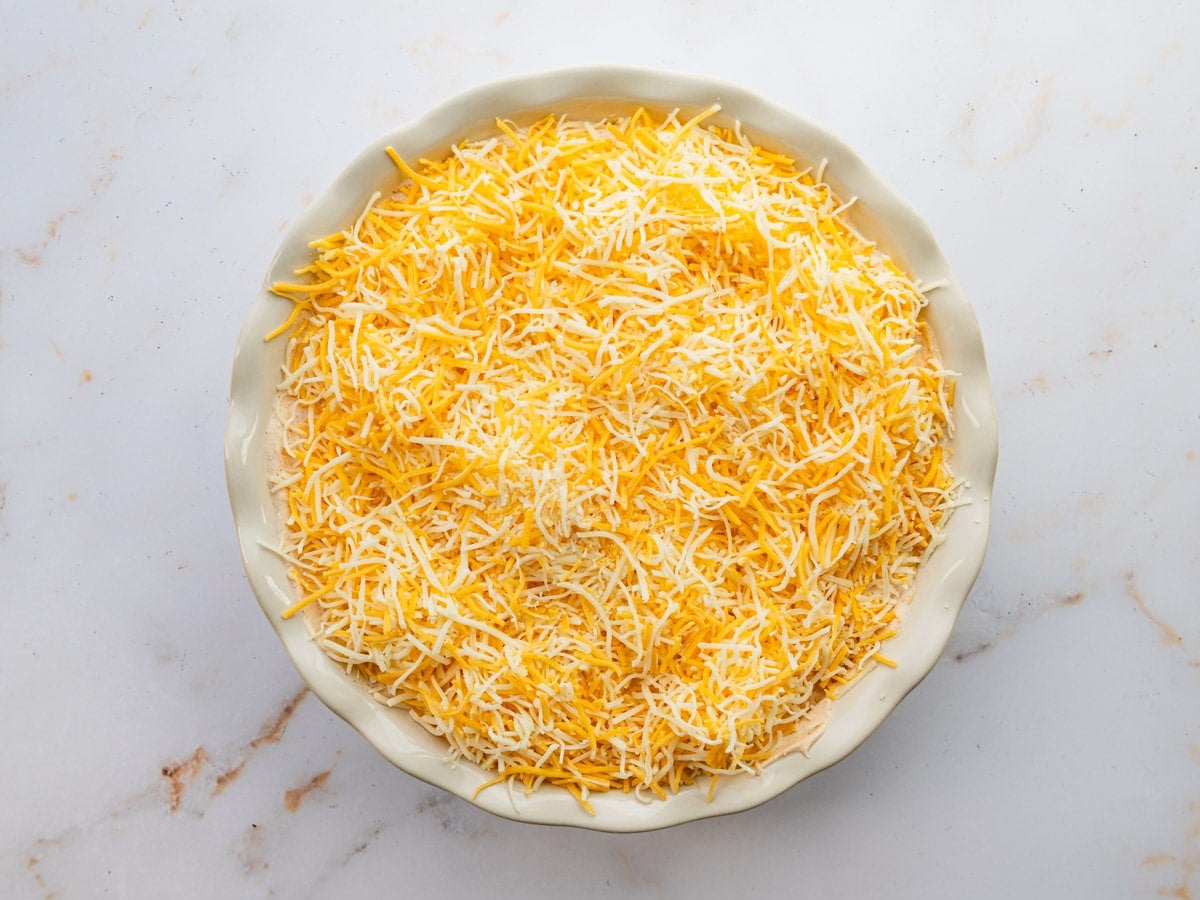
Sprinkle the shredded cheese evenly over the sour cream layer.
The cheese adds flavor and texture, while also creating a barrier between the creamy layers and the fresh vegetables on top.
** Tip: Cheddar, Mexican blend, Monterey Jack, and pepper jack are all great choices.
Step 5: Finish with the Fresh Toppings
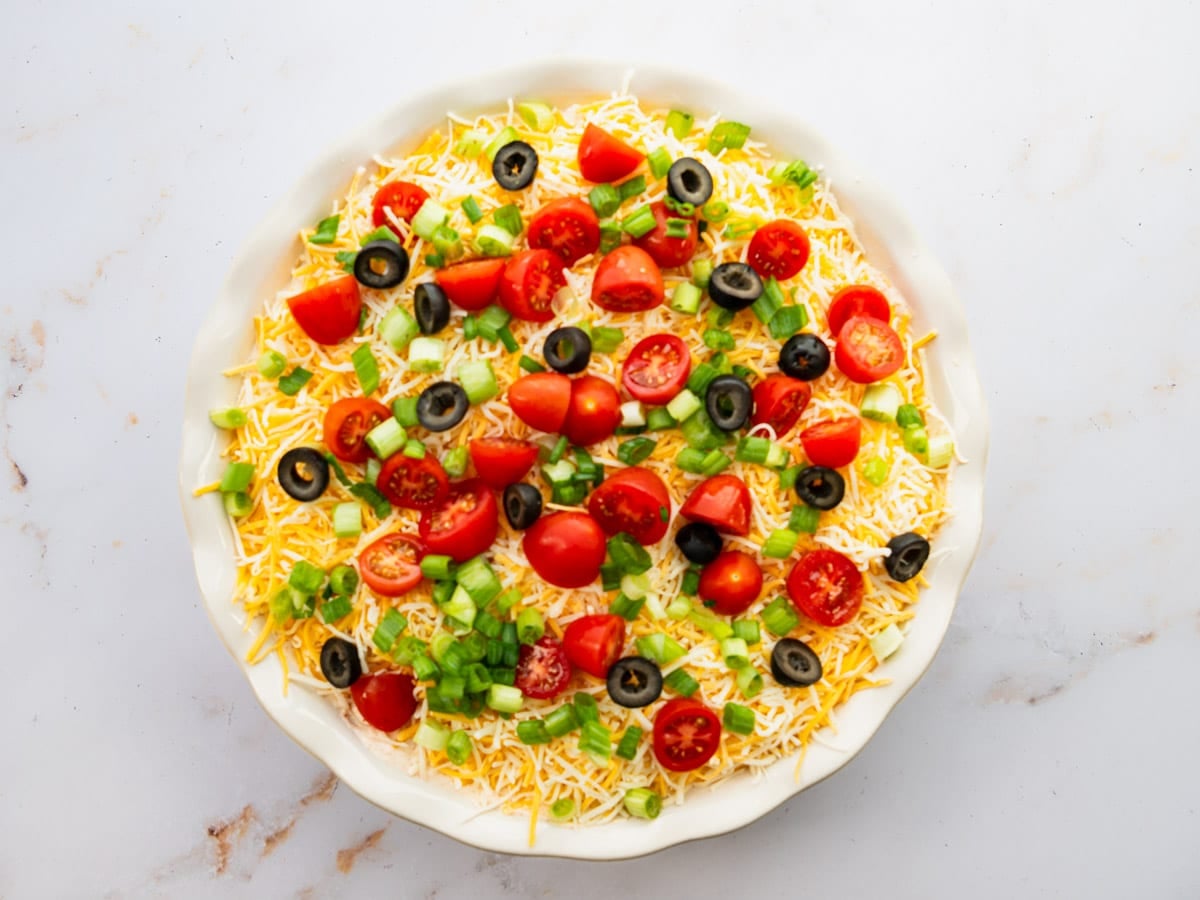
Top the dip with the tomatoes, green onions, and black olives.
** Tip: Pat the tomatoes dry with paper towels before adding them to the dip. This simple step helps prevent excess moisture and a watery dip.
Step 6: Chill Before Serving
Cover the dip and refrigerate for at least 30 minutes before serving.
The chilling time helps the layers firm up and gives the flavors a chance to come together.
** Tip: If you’re making the dip far ahead, wait to add the tomatoes until shortly before serving for the freshest presentation.
→ Serve With: tortilla chips, bell pepper strips, cucumber slices, celery sticks, or crackers.
Delicious Alongside:
Variations and Customizations
- Add a layer of cooled taco meat for a heartier version.
- Use homemade guacamole instead of store-bought.
- Replace the olives with diced jalapeños.
- Add shredded lettuce for a more traditional Tex-Mex style dip.
- Use pepper jack cheese for extra heat.
- Add a thin layer of salsa between the beans and guacamole.
Make-Ahead and Storage Tips
This dip is ideal for parties because most of the work can be done ahead of time.
Make Ahead: Assemble the dip up to 8 hours in advance and refrigerate until ready to serve.
Storage: Cover tightly and refrigerate leftovers for up to 3 days.
Best Quality: For the freshest flavor and appearance, serve the dip the same day it’s made.
Freezing: I don’t recommend freezing 7 layer dip because the texture changes significantly once thawed.
Frequently Asked Questions
Can you make 7 layer dip the night before?
Yes. You can assemble the dip up to a day ahead, although it’s best within about 8 to 24 hours for the freshest texture and appearance.
Why is my 7 layer dip watery?
Watery dip is usually caused by undrained tomatoes or vegetables releasing moisture as the dip sits.
Do you serve 7 layer dip hot or cold?
Traditional 7 layer bean dip is served cold straight from the refrigerator.
Can I add meat to the dip?
Absolutely. A layer of cooled taco-seasoned ground beef is one of the most popular variations.
What dish is best to use?
A deep pie plate, 8-inch square dish, or 11 x 7-inch baking dish all work well. Just remember that larger dishes create thinner layers.
More Dip Recipes for Your Next Party

Did you make this recipe?
If you enjoyed this recipe, please leave a comment with a 5-star review at the bottom of the post. Thank you!

7 Layer Bean Dip
Ingredients
- 1 (16 ounce) can refried beans
- 1 (13 ounce) container refrigerated guacamole (about 1 ¾ cups)
- 1 (16 ounce) container sour cream
- 1 (1 ounce) packet taco seasoning mix
- 2 cups shredded Mexican cheese blend or cheddar cheese
- 1 cup diced tomatoes, drained on paper towels to absorb juices
- ¼ cup green onions (white and green parts), sliced
- 1 (2.25 ounce) can sliced olives, drained (about ¼ cup)
- For serving: tortilla chips
Instructions
- Spread refried beans in the bottom of a deep pie plate.

- Spread guacamole over top.
- Stir together sour cream and taco seasoning. Spread over the guacamole.
- Add a layer of cheese.
- Top with tomatoes, green onions, and olives.
- Refrigerate for at least 30 minutes before serving.



Notes
- Drain the tomatoes well before adding them to the dip.
- Homemade or store-bought guacamole both work well.
- Chill for at least 30 minutes before serving.
- Cheddar, Mexican blend, Monterey Jack, or pepper jack cheese are all great options.
- Add cooled taco meat for a heartier version.
- Assemble up to 8 hours in advance.
- Wait to add tomatoes if making the dip far ahead.
- Store leftovers in the refrigerator for up to 3 days.
- Do not freeze.
- Serve with sturdy tortilla chips for easy scooping.
Nutrition
Originally published in April, 2020, this post was updated in July, 2026.













Hi,
I look forward to trying the 7 layer bean dip.
If you keep it in the fridge for 3-4 days does the guacamole turn brown?
Enjoy receiving your email every Sunday 🙂
Beverly
Hi, Beverly! If you seal the guacamole with the other layers so that it’s not exposed to air, it should stay green for pretty long; however, I’ve never let it sit in the fridge for more than a day without using it…so I don’t know how long it will go without turning green when left untouched. If you scoop into it, you’ll expose some of the guacamole to the air, and then it will start to turn brown. So when I put leftovers in the fridge, the part of the guacamole that’s near the edges starts to turn. Hope that all makes sense! 🙂