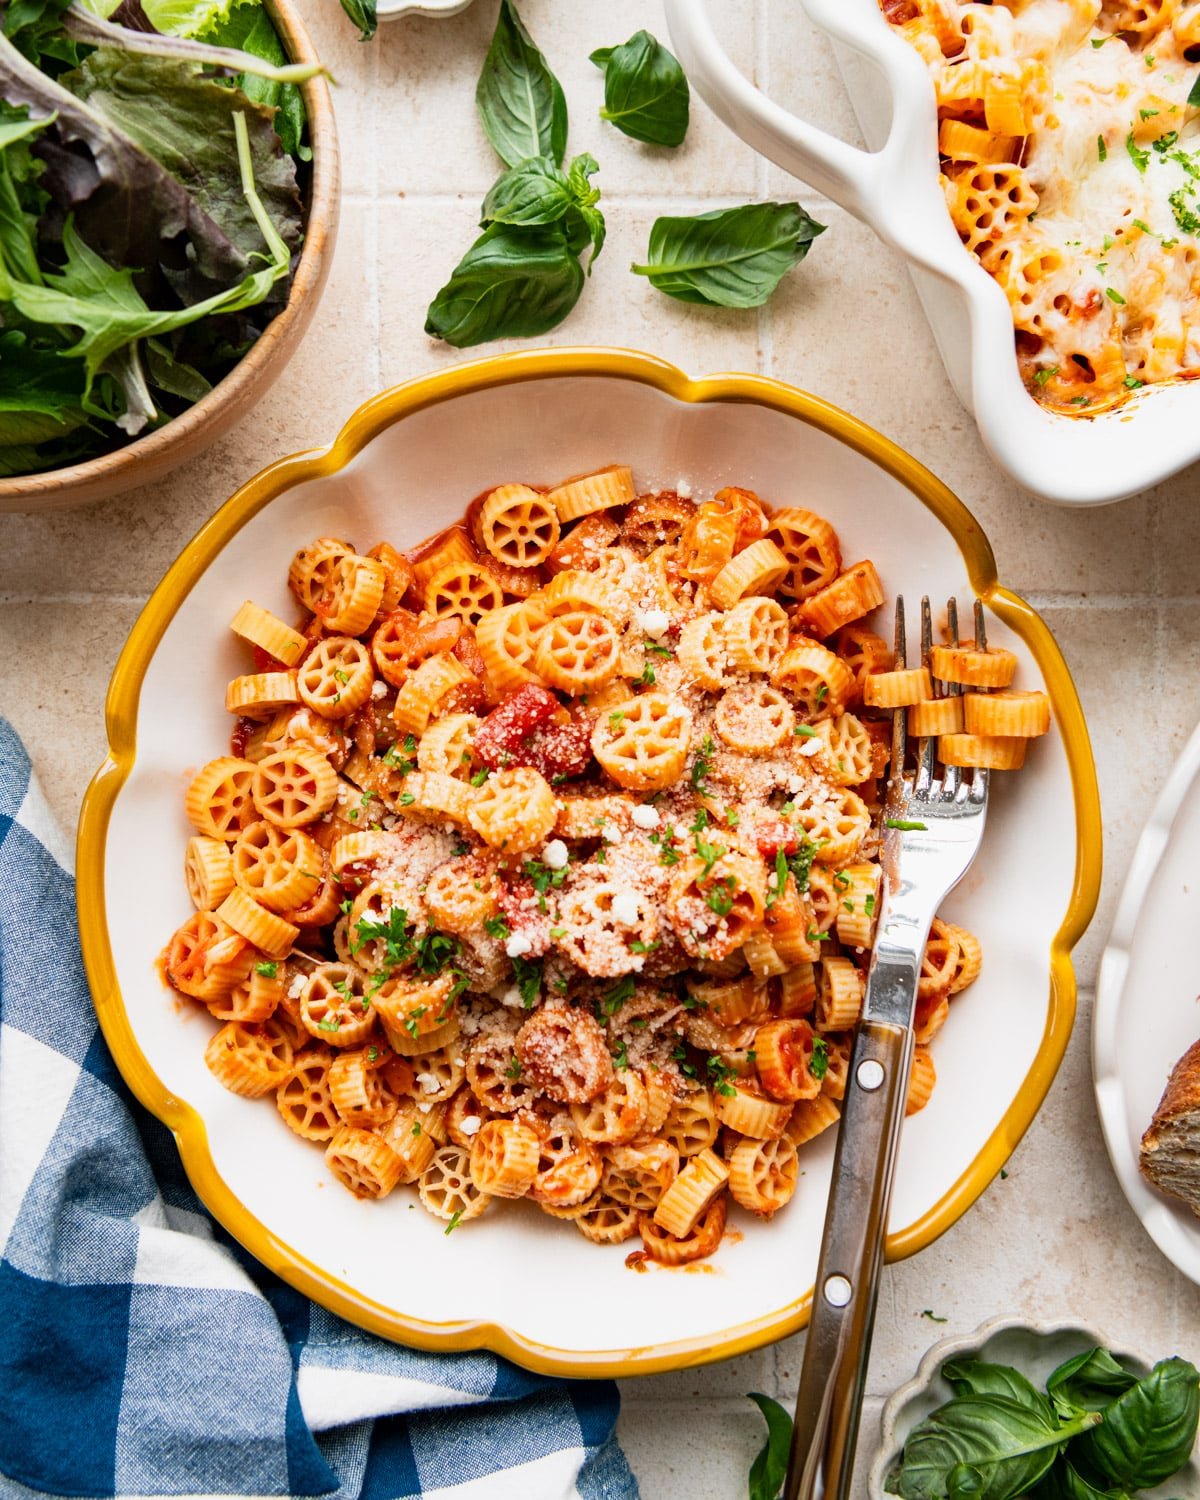
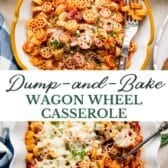
With just 3 ingredients and about 5 minutes of prep, this dump-and-bake wagon wheel pasta casserole is an easy, cheesy vegetarian dinner that’s perfect for busy weeknights. Best of all? You don’t even have to boil the pasta before it goes in the oven. Everything bakes together in one dish.
If you love easy baked pasta dinners, you’ll also want to try this chicken pasta casserole or my creamy 3-cheese baked ziti. For even more ideas, check out my collection of the Best Pasta Bake Recipes.
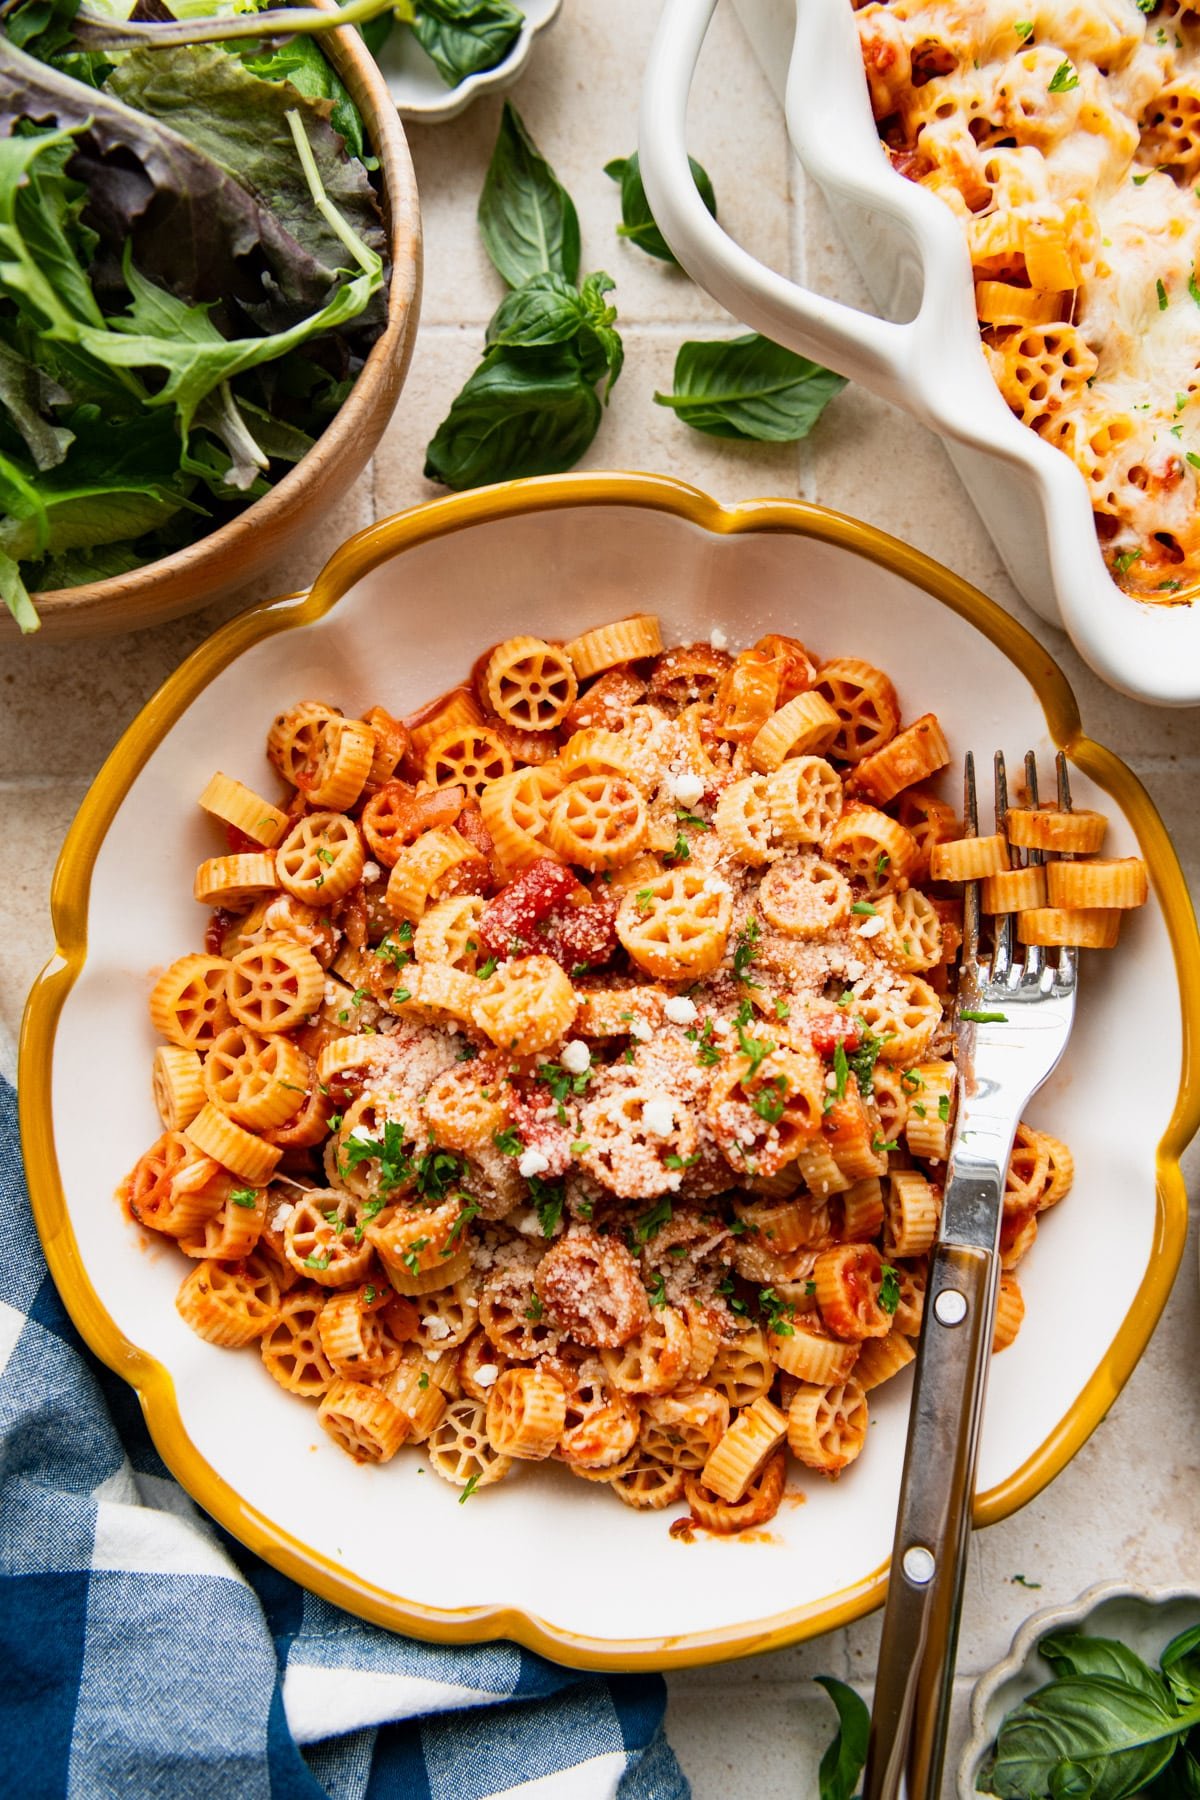
Table of Contents
Before You Get Started
A few quick tips to make sure your pasta bakes up perfectly:
- Use the right pasta shape. Mini wagon wheels or elbow macaroni work best here because they have a similar cooking time (around 7-8 minutes on the stovetop). Other small pasta shapes will work, but cooking time may vary slightly.
- Don’t skip the water. The uncooked pasta absorbs liquid as it bakes, so the water is essential. Without it, you’ll end up with dry, undercooked noodles.
- Cover tightly with foil. Keeping the dish covered for the first 25 minutes traps steam and helps the pasta cook evenly. You’ll remove the foil at the end to melt the cheese and let the top get bubbly.
How to Make This Dump-and-Bake Pasta Casserole
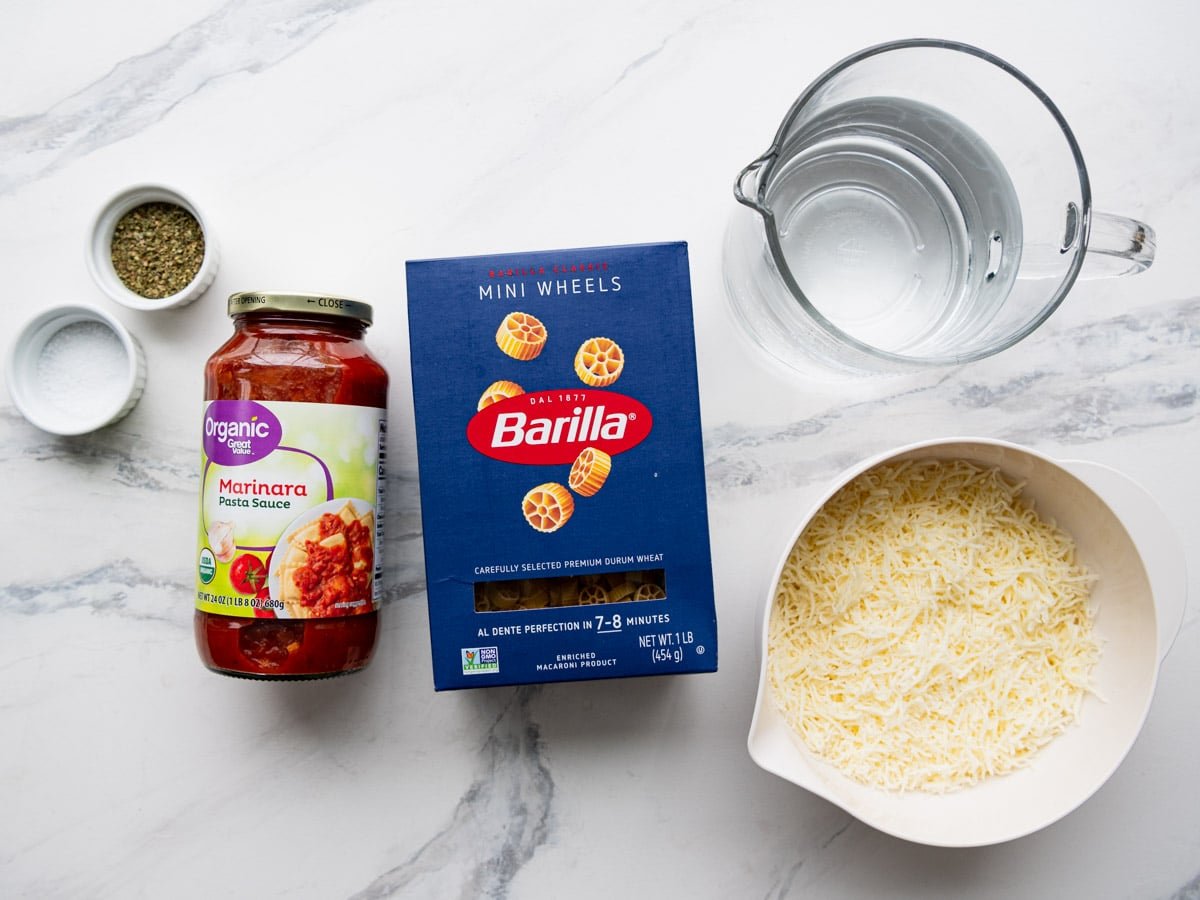
This no-boil pasta casserole couldn’t be simpler. You’ll need just 3 main ingredients: mini wheels pasta, grated mozzarella cheese, and marinara sauce (plus some Italian seasoning from your pantry, if you like). And I’m not kidding when I say it only takes about 5 minutes to stir this meal together.
Step 1: Mix the Casserole Base
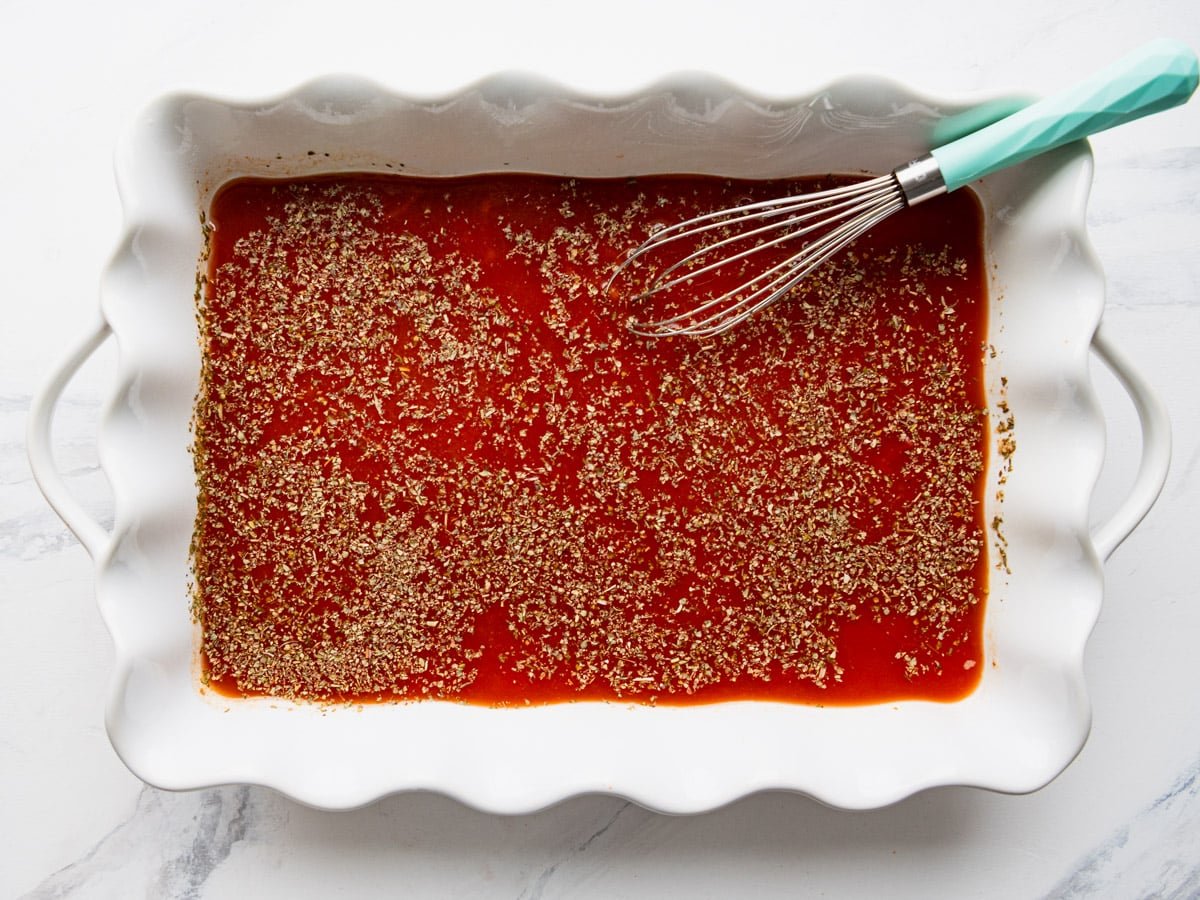
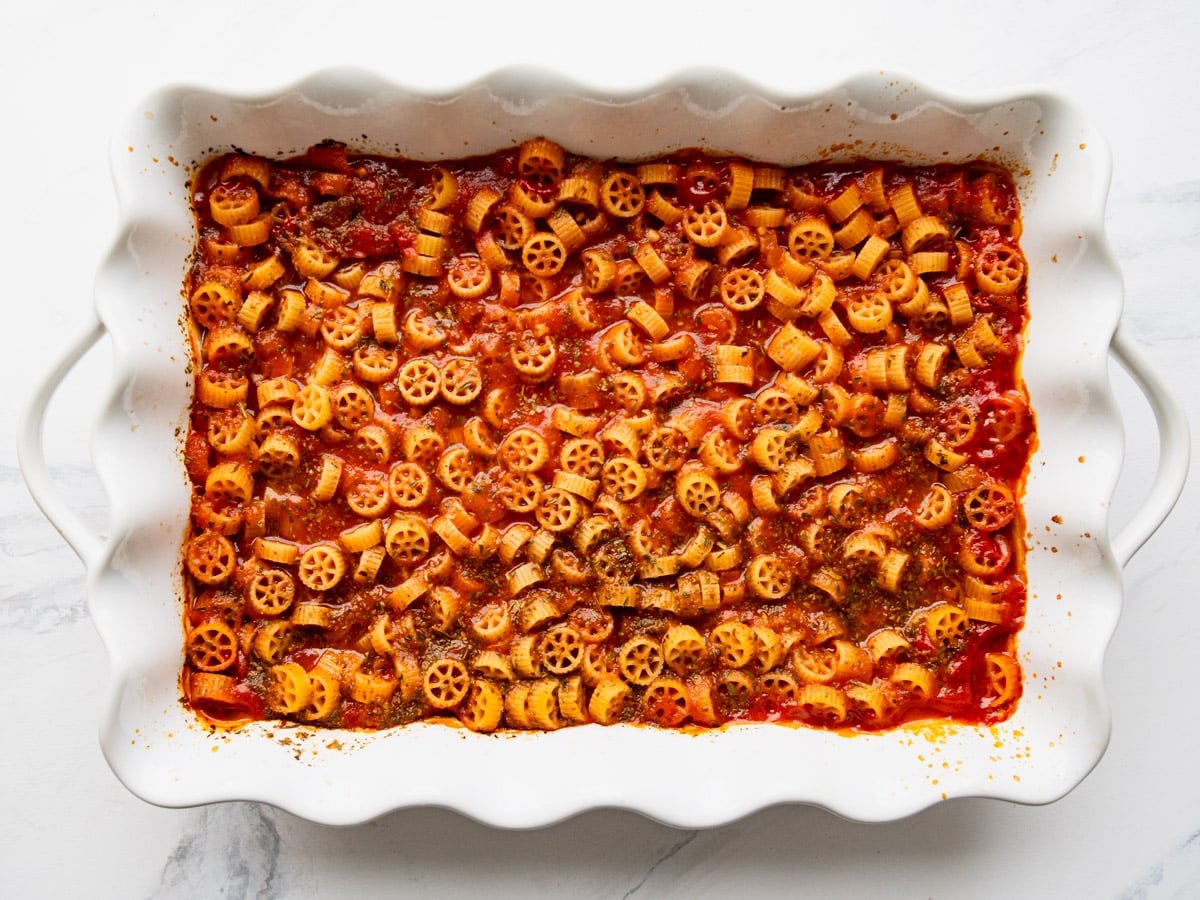
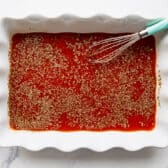
In a 9 x 13-inch baking dish (or a large bowl), whisk together the marinara sauce, water, Italian seasoning, and salt. If you’d like a fresh pop of flavor, stir in some chopped fresh herbs like basil or oregano. The extra seasoning is optional, but it really does brighten the whole dish.
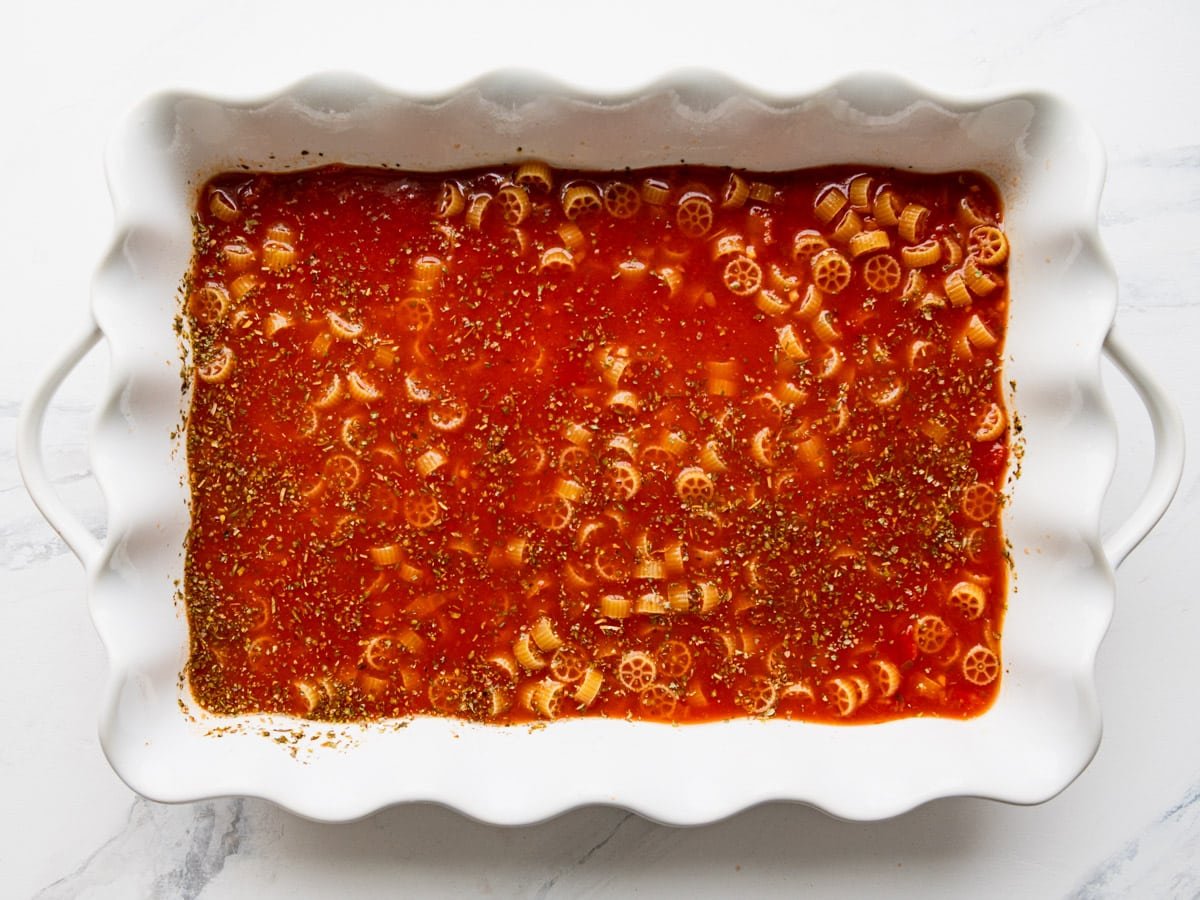
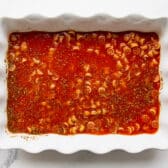
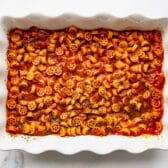
Stir in the uncooked pasta, using a spoon or rubber spatula to evenly distribute the pasta in the dish and make sure that the pasta is mostly submerged in the liquid.
Pasta Noodle Substitute: If you don’t have wagon wheels on hand, elbow macaroni is a perfect substitute with the same cooking time.
Step 2: Cover and Bake
Transfer the mixture to your prepared baking dish (if you mixed it in a bowl) and cover tightly with foil. Bake at 425°F for 25 minutes.
At this point, the pasta should be almost done but still just a little bit firm (what you’d call “al dente”). That’s exactly what you want. It’ll finish cooking once you add the cheese and return it to the oven.
Step 3: Add Cheese and Finish Baking
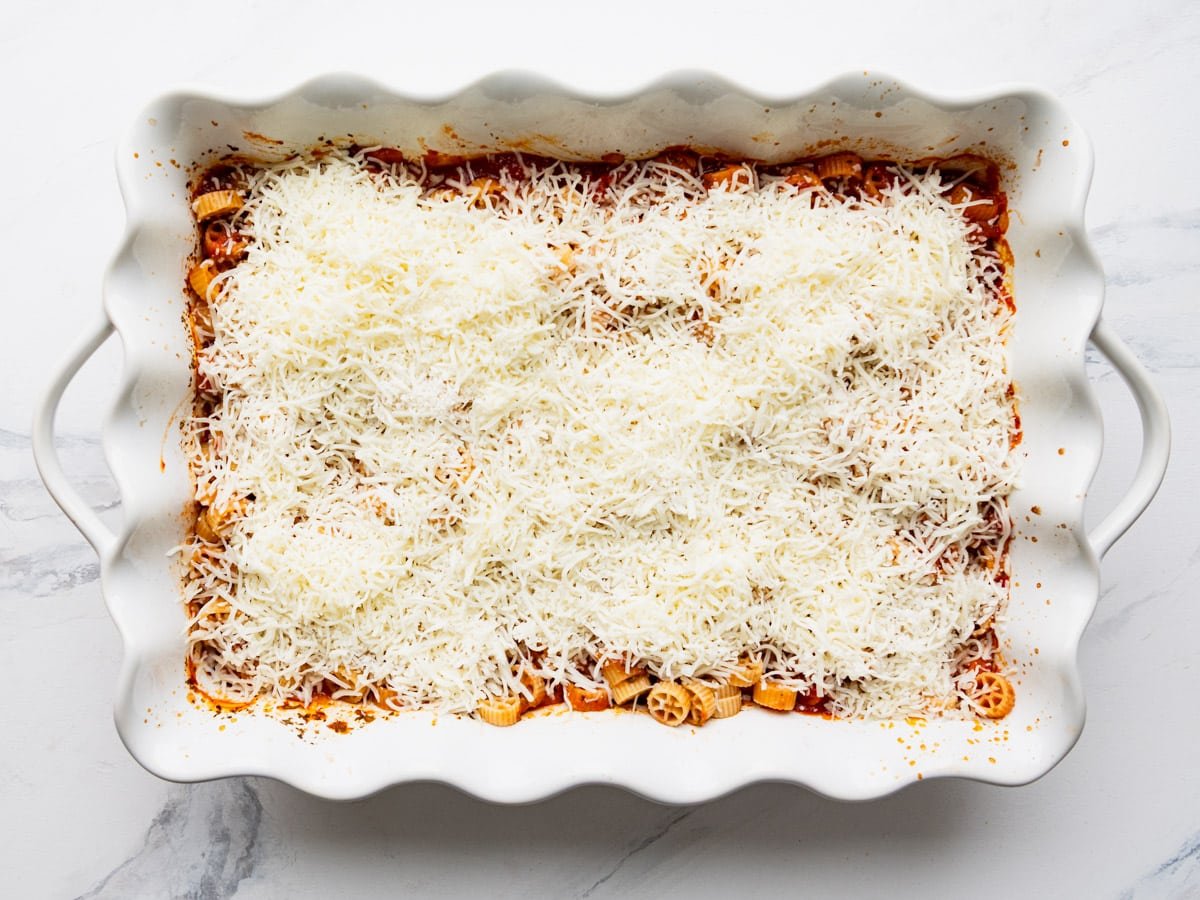
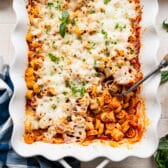
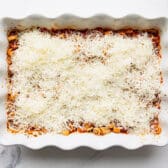
Give the pasta a good stir, then sprinkle the shredded mozzarella evenly over the top.
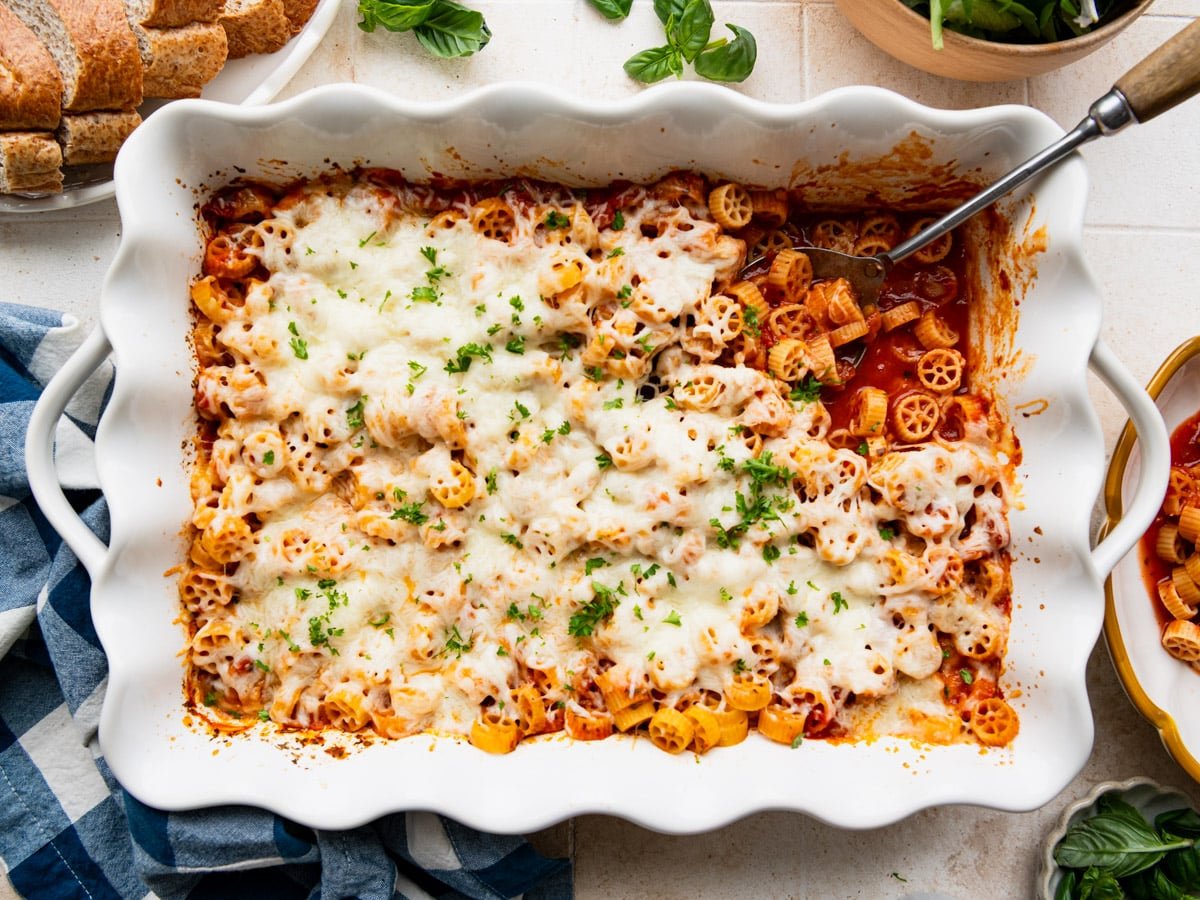
Return the dish to the oven uncovered for another 5-10 minutes, or until the cheese is melted and bubbly and the pasta is tender.
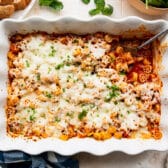
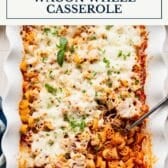
The wagon wheels absorb the liquid as they bake, giving you a saucy, cheesy pasta casserole that adults and kids can all agree on.
** TIP: If you’d like the cheese more browned and crisp on top, pop it under the broiler for the final couple of minutes instead of baking for 5 more minutes.
Tips and Variations
This recipe is incredibly flexible. Here are some ways to switch things up:
Add Protein: This vegetarian pasta casserole is delicious on its own, but it’s also easy to bulk up with your favorite protein. Try stirring in 1 lb. of cooked ground beef, ground turkey, or ground chicken. You can also add 3-4 cups of cooked, diced chicken breast or 1-2 cans of beans (drained and rinsed) for a heartier meal.
Stir in Some Veggies: If your family likes peas, zucchini, or frozen broccoli, toss them right in. For something small like frozen peas, add them (still frozen) straight to the baking dish toward the end of the cooking time. For larger vegetables with longer cook times (like broccoli), steam them first before adding.
Cooking for a Smaller Crowd? Cut the ingredients in half and bake in an 8-inch square pan. Or, use the full recipe and divide it between two 8-inch pans. Bake one now and freeze the other for later.
Finishing Touches: Garnish with grated Parmesan cheese or chopped fresh herbs like parsley or basil for a little extra flavor and color.
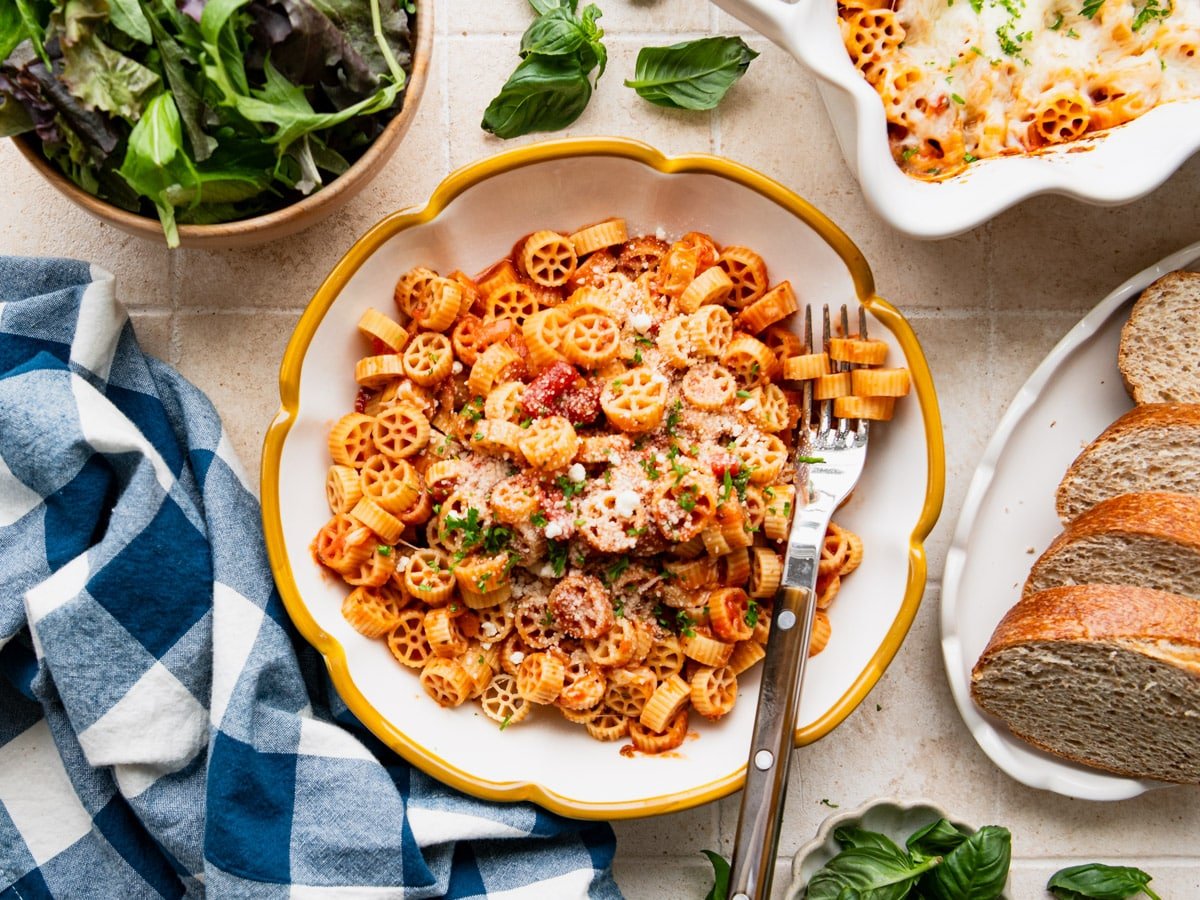
What to Serve with Pasta Casserole
This casserole is a full meal on its own, but a simple side rounds it out nicely. Here are a few favorites:
- Dutch Oven Bread (No-Knead Crusty Bread)
- Southern Caesar Salad
- Homemade Garlic Bread
- Garlic Roasted Broccoli
- Sauteed Spinach with Garlic
Storage, Freezing, and Reheating
Leftovers: Store any leftover pasta casserole in an airtight container in the refrigerator for up to 3-4 days. Reheat individual portions in the microwave or warm the whole dish (covered with foil) in a 350°F oven until heated through.
Freezing: You can freeze this casserole, though it’s not my first choice. The pasta texture can get a bit softer after sitting in the liquid. If you do freeze it, I recommend freezing the casserole before baking for best results.
To Bake After Freezing: Thaw the casserole in the refrigerator overnight, let it sit at room temperature for about 20 minutes, then bake according to the recipe instructions.
To Bake Straight from Frozen: Increase the baking time significantly. Start by baking the dish (covered) for 1 hour at 425°F, stirring occasionally and checking the pasta for tenderness as it cooks. The exact time will depend on your dish and oven.
This was delicious and so easy! A definite make again in our house!
– Crissy
Frequently Asked Questions
Do you have to boil the pasta before baking this casserole?
Nope! That’s what makes this a true dump-and-bake recipe. The pasta cooks right in the dish as it bakes, absorbing the marinara sauce and water. Just make sure to cover the dish tightly with foil for the first 25 minutes so the steam can do its work.
Can I use a different pasta shape?
Yes! Elbow macaroni is the easiest swap since it has the same cook time. Other small pasta shapes (like rotini or small shells) will also work, but you may need to adjust the baking time slightly. Stick to pasta with a 7-8 minute stovetop cook time for best results.
Why is my pasta still hard after baking?
This usually happens if the dish wasn’t covered tightly enough or if there wasn’t enough liquid. Make sure your foil creates a good seal, and don’t reduce the amount of water in the recipe. The pasta needs that liquid to cook properly.
Can I make this ahead of time?
You can assemble the casserole (without baking) and refrigerate it for up to 24 hours. When you’re ready to bake, you may need to add a few extra minutes of covered baking time since it’s starting cold.
More Easy Baked Pasta Recipes

Did you make this recipe?
If you enjoyed this recipe, please leave a comment with a 5-star review at the bottom of the post. Thank you!
Watch How to Make It
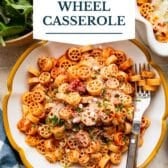
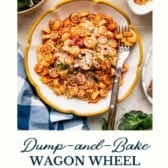
Dump-and-Bake Wagon Wheel Pasta Casserole
Equipment
- 9 x 13-Inch Baking Dish
Ingredients
- 1 (24-25 ounce) jar marinara sauce
- 3 cups water
- 1 tablespoon Italian seasoning
- 1 teaspoon kosher salt
- 1 (16 ounce) package uncooked mini wheels pasta (can substitute with elbow pasta or other small pasta with a cook time of about 7-8 mins)
- 2 cups (8 ounces) grated mozzarella cheese or Italian cheese blend
- Optional garnish: grated Parmesan cheese; chopped fresh parsley or basil
Instructions
- Preheat the oven to 425°F. Spray a 9 x 13-inch baking dish with non-stick cooking spray.
- In the prepared dish (or in a separate bowl), whisk together the marinara sauce, water, Italian seasoning, and salt.
- Add the uncooked pasta and stir to combine, making sure most of the pasta is submerged in the liquid. Cover tightly with foil.
- Bake (covered) for 25 minutes. Remove dish from oven, take off cover, and give the pasta a stir. At this point it should be almost done, but still a bit firm ("al dente").
- Sprinkle the grated mozzarella cheese over the top of the casserole. Return the dish to the oven (uncovered) for an additional 5-10 minutes, or until the cheese is melted and bubbly and the pasta is tender.
- Garnish with grated Parmesan cheese and fresh herbs, if desired. Let rest for a few minutes before serving.
Notes
- The No-Boil Method: This is a true dump-and-bake recipe. The pasta cooks directly in the dish as it bakes, absorbing the liquid. Don’t skip the water or reduce the amount.
- Cover Tightly: The foil needs to create a good seal so steam stays trapped. This is what cooks the pasta evenly.
- Pasta Substitutions: Elbow macaroni works perfectly here. Other small pasta shapes with a 7-8 minute cook time will also work.
- Add Protein: Stir in 1 lb. cooked ground beef, turkey, or chicken, or add 3-4 cups diced cooked chicken or 1-2 cans of beans (drained) for a heartier dish.
- Add Veggies: Toss in frozen peas toward the end of baking, or stir in steamed broccoli or zucchini.
- Smaller Batch: Cut ingredients in half and use an 8-inch square pan. Or divide the full recipe between two 8-inch pans and freeze one for later.
- Storage: Refrigerate leftovers in an airtight container for 3-4 days. Reheat in the microwave or in a 350°F oven until warmed through.
- Freezing: Freeze before baking for best results. Thaw overnight in the fridge before baking, or bake from frozen at 425°F (covered) for about 1 hour, stirring occasionally.
Nutrition
Originally published in February, 2014, this post was updated in January, 2026.

This looks delicious!! I love the idea of using this mini pasta in the dish 🙂 Pinning now, thanks for sharing!
Hannah ♫
Sew Lah Tea Dough
Hi Hannah! Thanks for stopping by, and I hope that you enjoy the casserole!
I am sure the kids love this casserole. You mentioned it is healthy, I have to disagree…..
Always got that Karen
LOVE using fun shaped noodles to for the kiddos, but I’m also going to say it’s fun on my end too 🙂 This looks wonderful!
Hi Julie! I love your blog — thanks so much for stopping by mine!
Where did you get the noodles from?
Thank you for the auspicious writeup. It in fact was a amusement account
it. Look advanced to far added agreeable from you!
By the way, how can we communicate?
If you are going for most excellent contents like me, simply visit this
web page all the time since it gives quality contents, thanks
Hmm it seems like your blog ate my first comment (it was extremely long)
so I guess I’ll just sum it up what I submitted and say, I’m
thoroughly enjoying your blog. I as well am
an aspiring blog writer but I’m still new to everything.
Do you have any suggestions for first-time blog writers?
I’d definitely appreciate it.
Hi! Thanks so much for reading the blog and for commenting. I don’t have a ton of helpful tips for new blog writers, since I don’t consider myself much of an expert. 🙂 The best advice I could give you is to pick topics that you’re genuinely interested in and excited about so that you have fun over the long term, and to just stick with it. It takes a while for a blog to build momentum, so don’t get discouraged if your mom is the only one reading it for a while!
It’s actually a great and helpful piece of information. I am glad that you shared this useful information
with us. Please stay us up to date like this. Thanks for sharing.
Howdy would you mind sharing which blog platform you’re working with?
I’m looking to start my own blog in the near future but I’m having a difficult time
deciding between BlogEngine/Wordpress/B2evolution and Drupal.
The reason I ask is because your design and style
seems different then most blogs and I’m looking for
something unique. P.S Sorry for being off-topic but I had to ask!
I love wagon wheel pasta! This looks awesome Blair!
Thanks, Chelsea! So kid-friendly, too. Your little guy would probably love it…once he can eat this stuff! 🙂
Thanks for the auspicious writeup. It in fact used to be
a enjoyment account it. Look complicated to more delivered
agreeable from you! By the way, how could we communicate?
My kids love wagon wheel pasta, will have to give this one a try, thanks!
Thanks, Joy! I hope that your family enjoys it! 🙂
I love this.
This looks delish. My daughter loves pasta, so I’ll definitely give it a shot!
Thanks, Cailin! Definitely give it a try…I hope your daughter loves it!
Wonderful post! We will be linking to this particularly great content
on our site. Keep up the good writing.
I went to the store for ingredients before I read what you wrote about no one carrying wagon wheel pasta, but instead I found ABC pasta to use instead! The kids (ages 7,5 & 2) will love it. 😉 Thank you for the recipe– were giving it a try tonight! 🙂
Oh, fun! I hope the letters work just as well, Meg! Enjoy! 🙂
Thanks for sharing this recipe its look so yummy,
I know it’s been a while since you posted this recipe but quick question… If we were adding some cooked ground turkey, should we add it to the dry pasta mixture or after it has cooked for the first 30 minutes?
Hi, Jamie! If you’re using turkey that’s already cooked, you can add it at either point. It will be fine if you add it at the beginning, but you can also just wait to stir it in closer to the end. Either way is fine! 🙂
Hi there! We loved the original recipe! We made this updated version last night and have to say we were disappointed – not that this version was bad but we liked the original.. Any way you can post the original recipe? Thanks!
Hey, Amanda! Of course! Here’s the non-dump-and-bake original recipe:
6 cups uncooked wagon wheel pasta (or other short shape pasta such as rotini or penne)
2 eggs
1 teaspoon salt
¼ teaspoon minced garlic
1/8 teaspoon pepper
1 lb. ground beef
¼ cup grated Parmesan cheese
¼ cup Italian-seasoned bread crumbs
4 cups marinara sauce
2 cups (8 ounces) shredded mozzarella cheese, divided
Cook pasta for about 1-2 minutes less than called for on the package directions. You want it to be slightly under-cooked so that it doesn’t become mushy when you bake it in the oven later.
Meanwhile, in a large bowl, beat the eggs, salt, garlic, and pepper. Add beef and mix well. Sprinkle with Parmesan cheese and bread crumbs; mix gently.
Crumble beef mixture into a large skillet. Cook over medium-high heat until meat is no longer pink; drain. Stir in the marinara sauce.
Drain pasta; place in a large bowl. Add beef mixture; sprinkle with 1 cup mozzarella cheese. Toss until pasta is well coated.
Pour pasta mixture into a 13×9-inch baking dish (or into two 8-inch square baking dishes). Top with remaining 1 cup of mozzarella cheese.
Cover and bake at 350 degrees F for approximately 30 minutes. Remove cover and bake for an additional 5 minutes, or until top browns and pasta is heated through.
Serve with additional Parmesan cheese on top, if desired.
Can you send me the recipe with ground beef in it? I never wrote it down and my family loved that recipe.
Oops I just seen that someone asked above and you gave recipe sorry.
Hi! You had a wagon wheel pasta recipe that my family absolutely loved. It looks like you’ve changed the recipe and I can’t seem to find the old one. Do you know where i could find it?
Hey, Laura! Yes! I actually posted it in a comment above because someone else also asked for the old recipe. 🙂 Here it is again:
6 cups uncooked wagon wheel pasta (or other short shape pasta such as rotini or penne)
2 eggs
1 teaspoon salt
¼ teaspoon minced garlic
1/8 teaspoon pepper
1 lb. ground beef
¼ cup grated Parmesan cheese
¼ cup Italian-seasoned bread crumbs
4 cups marinara sauce
2 cups (8 ounces) shredded mozzarella cheese, divided
Cook pasta for about 1-2 minutes less than called for on the package directions. You want it to be slightly under-cooked so that it doesn’t become mushy when you bake it in the oven later.
Meanwhile, in a large bowl, beat the eggs, salt, garlic, and pepper. Add beef and mix well. Sprinkle with Parmesan cheese and bread crumbs; mix gently.
Crumble beef mixture into a large skillet. Cook over medium-high heat until meat is no longer pink; drain. Stir in the marinara sauce.
Drain pasta; place in a large bowl. Add beef mixture; sprinkle with 1 cup mozzarella cheese. Toss until pasta is well coated.
Pour pasta mixture into a 13×9-inch baking dish (or into two 8-inch square baking dishes). Top with remaining 1 cup of mozzarella cheese.
Cover and bake at 350 degrees F for approximately 30 minutes. Remove cover and bake for an additional 5 minutes, or until top browns and pasta is heated through.
Serve with additional Parmesan cheese on top, if desired.
Thanks so much! I’ll be printing it this time so i don’t lose it. This one is a keeper!!
You’re welcome!! 🙂
This looks delicious! Do you think the recipe could be doubled? If so, do you think I would need to adjust the cooking time? Thank you!
Hey, Erin! Yes, it can definitely be doubled! Just double all of the ingredients and bake it in two separate dishes (or one really giant dish if you can find it). The cooking time should be about the same!
Thank you for the quick reply— can’t wait to try it out!!