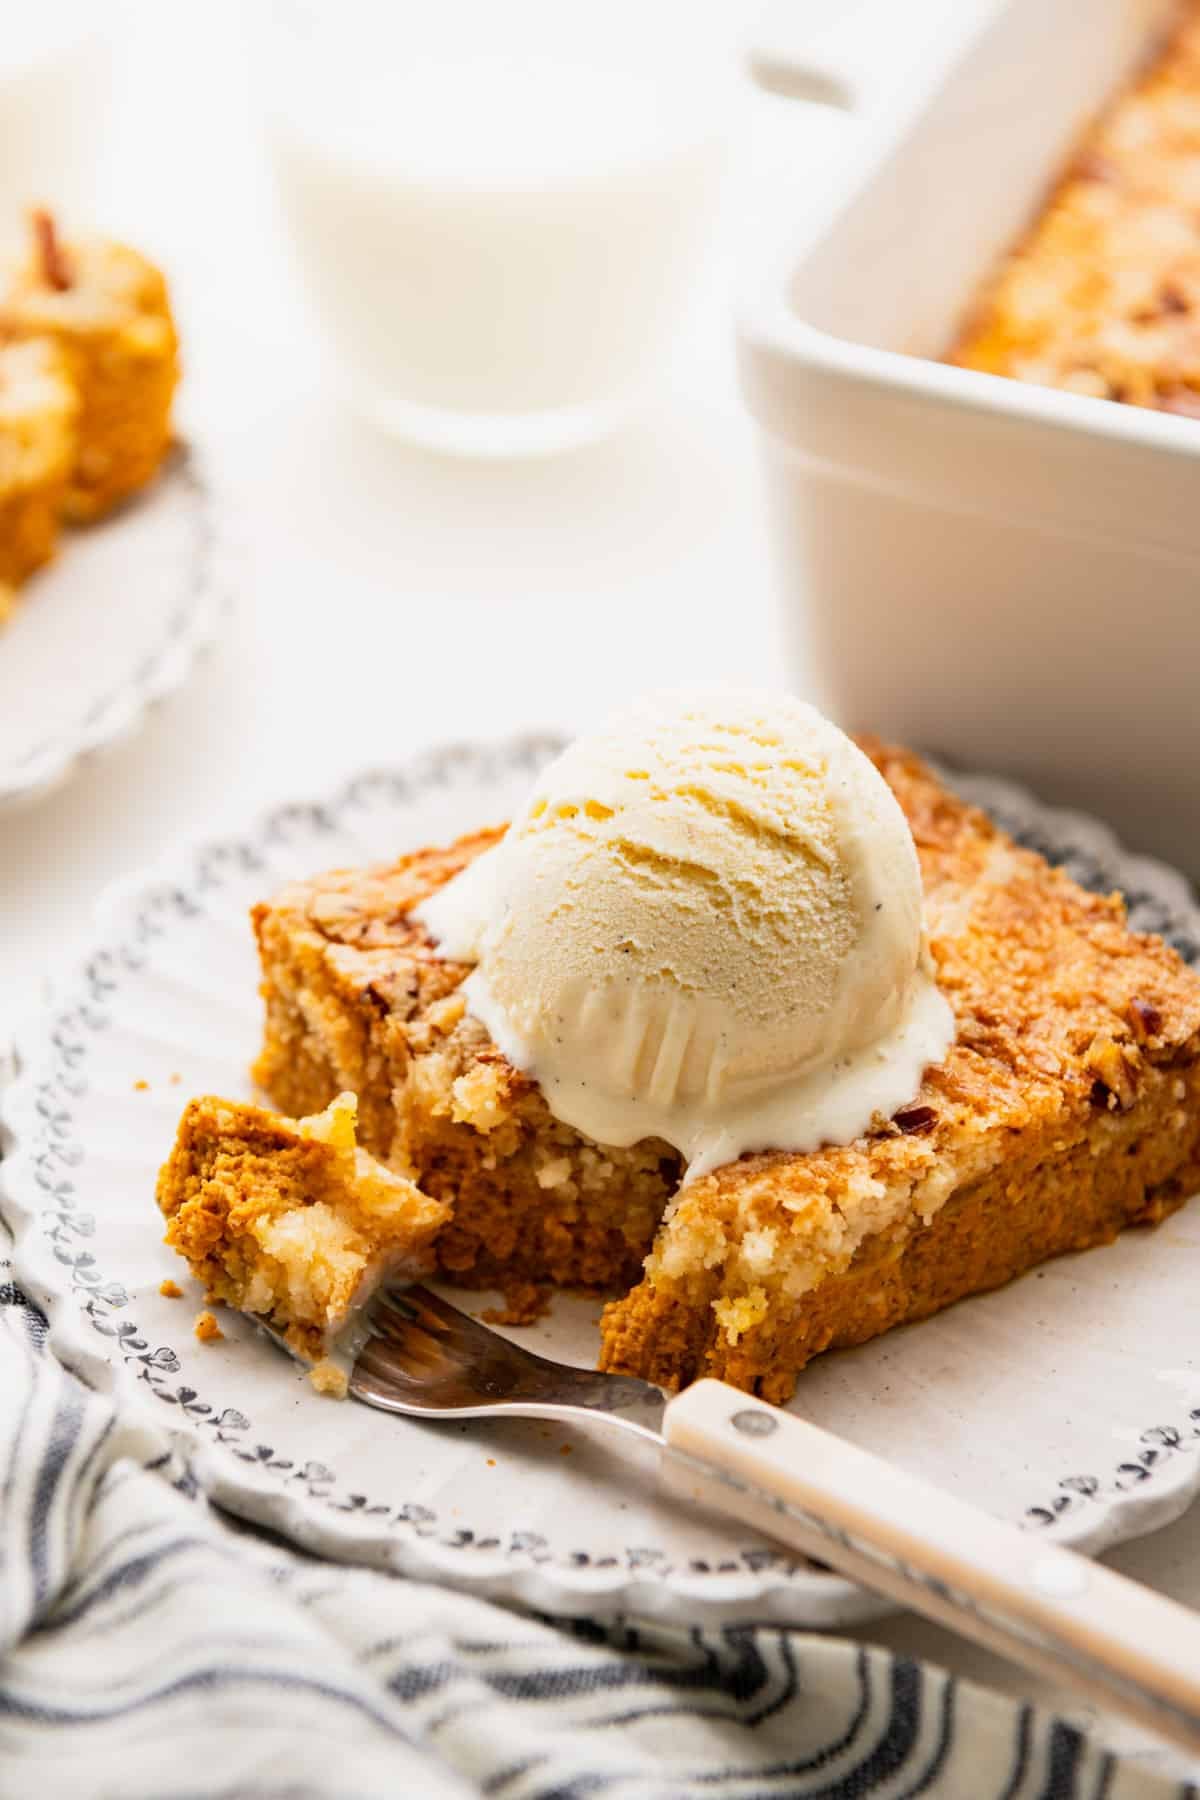
Pumpkin dump cake is what happens when pumpkin pie and a buttery crisp end up in the same dish! You whisk the filling, sprinkle a box of cake mix over the top, and cover it with butter. No batter, no mixer, and one pan that feeds a crowd!
More pumpkin recipes that start with cake mix:
Before You Get Started
Dump cake is about as forgiving as baking gets, but a few things make the difference between a golden top and a powdery one:
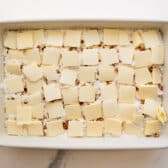
- Cover every bit of the cake mix with butter. Slice it very thin and shingle it across the whole surface (or arrange it close enough so that it melts together). Any spot you miss stays dry and chalky after baking.
- Use pumpkin purée, not pumpkin pie filling. The filling is already sweetened and spiced, so using it makes the cake far too sweet.
- Give it the full 30 minutes (or more) to rest. The filling is still setting when it comes out of the oven. Cut it too early and it runs.
How to Make Pumpkin Dump Cake
Here’s the whole process. You’ll use one bowl for the filling, and after that everything happens right in the baking dish!
Step 1: Heat the Oven and Prep the Dish
Preheat the oven to 350°F and grease a 9 x 13-inch baking dish with nonstick spray.
Don’t skip the greasing: The pumpkin layer is custardy and it will stick.
Step 2: Whisk the Pumpkin Filling
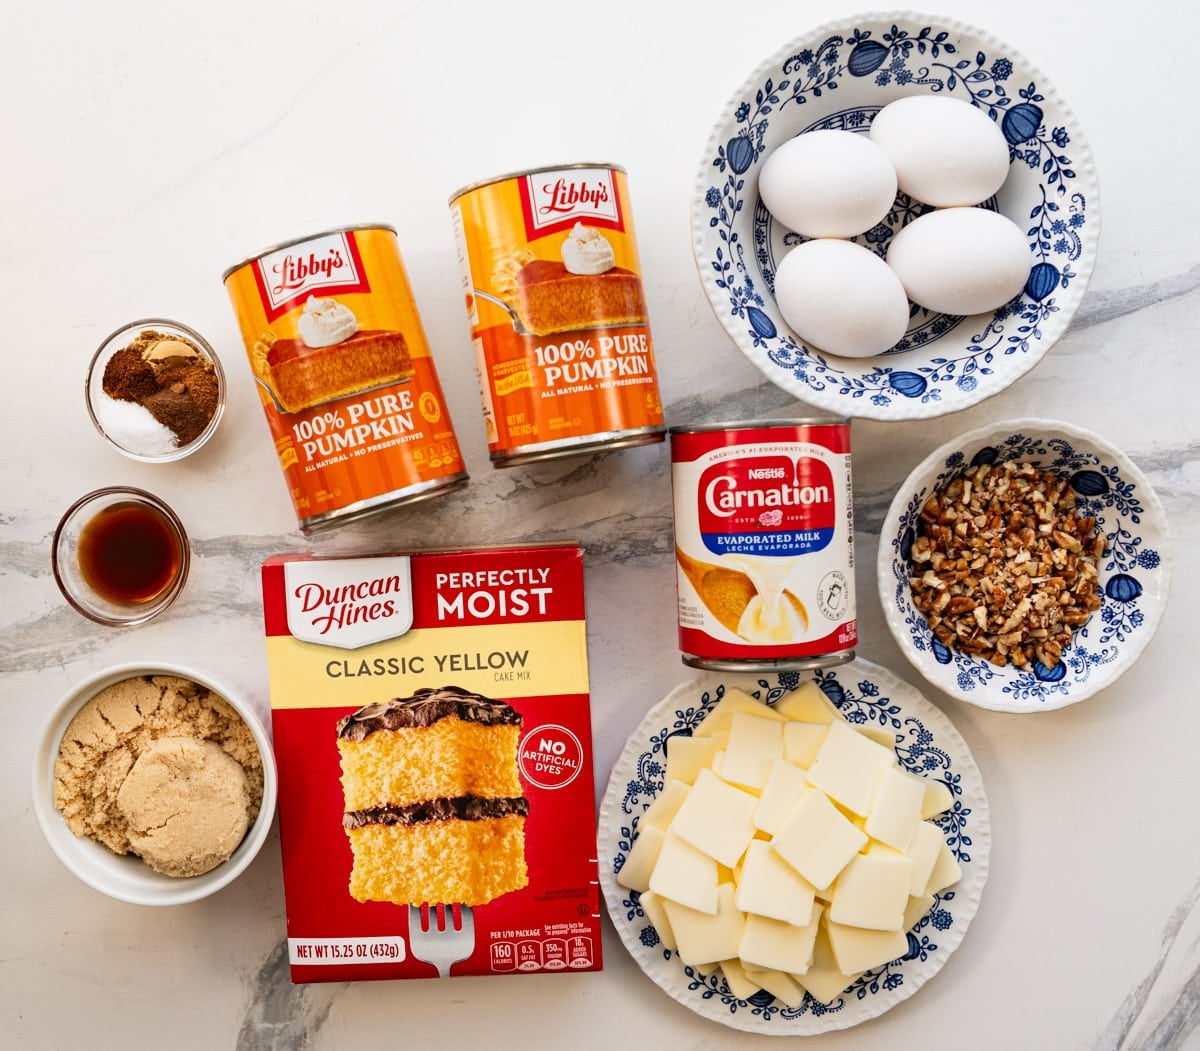
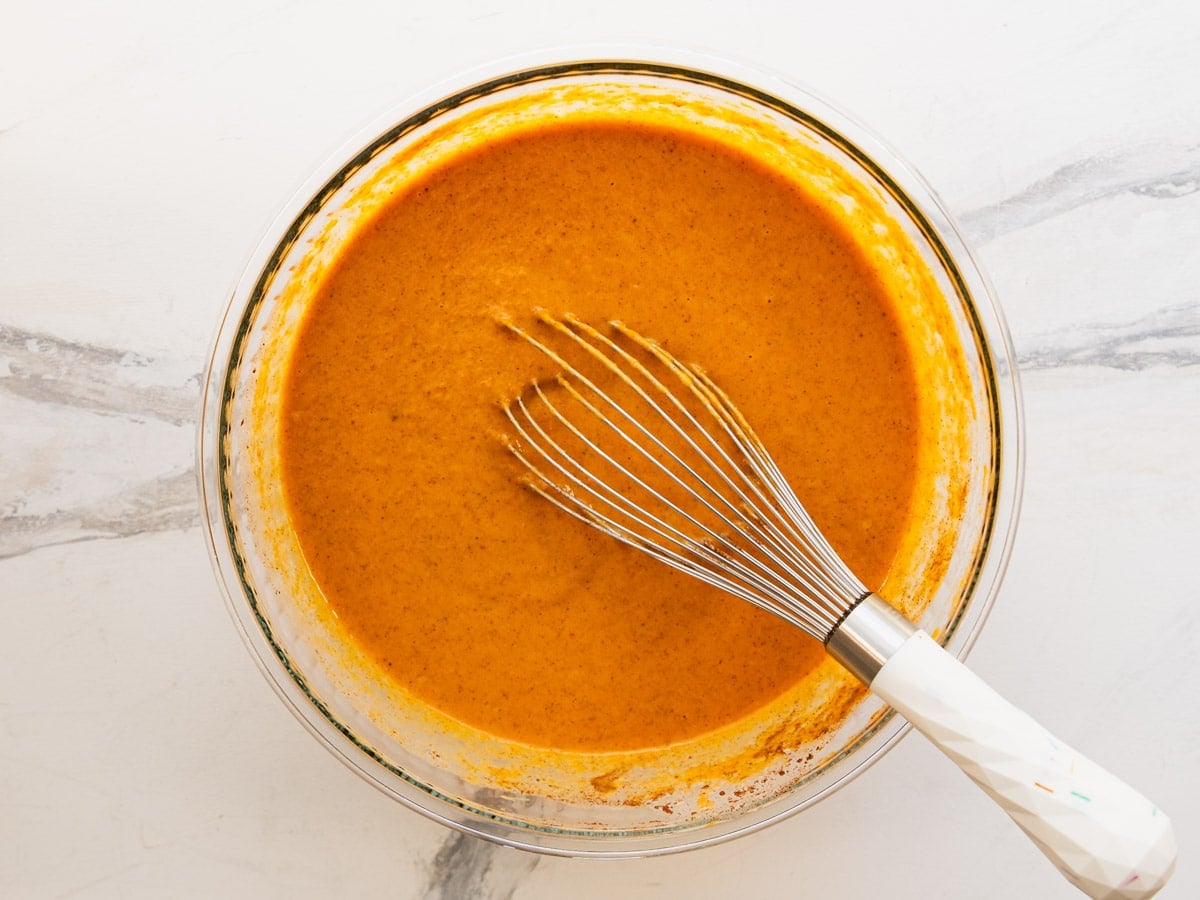
In a large bowl, whisk together the pumpkin, brown sugar, eggs, evaporated milk, vanilla, cinnamon, ginger, nutmeg, allspice, salt, and cloves until it’s completely smooth.
Mix this in a bowl rather than in the baking dish. You want it fully combined, and it’s hard to get into the corners of a 9×13 without slopping it over the sides.
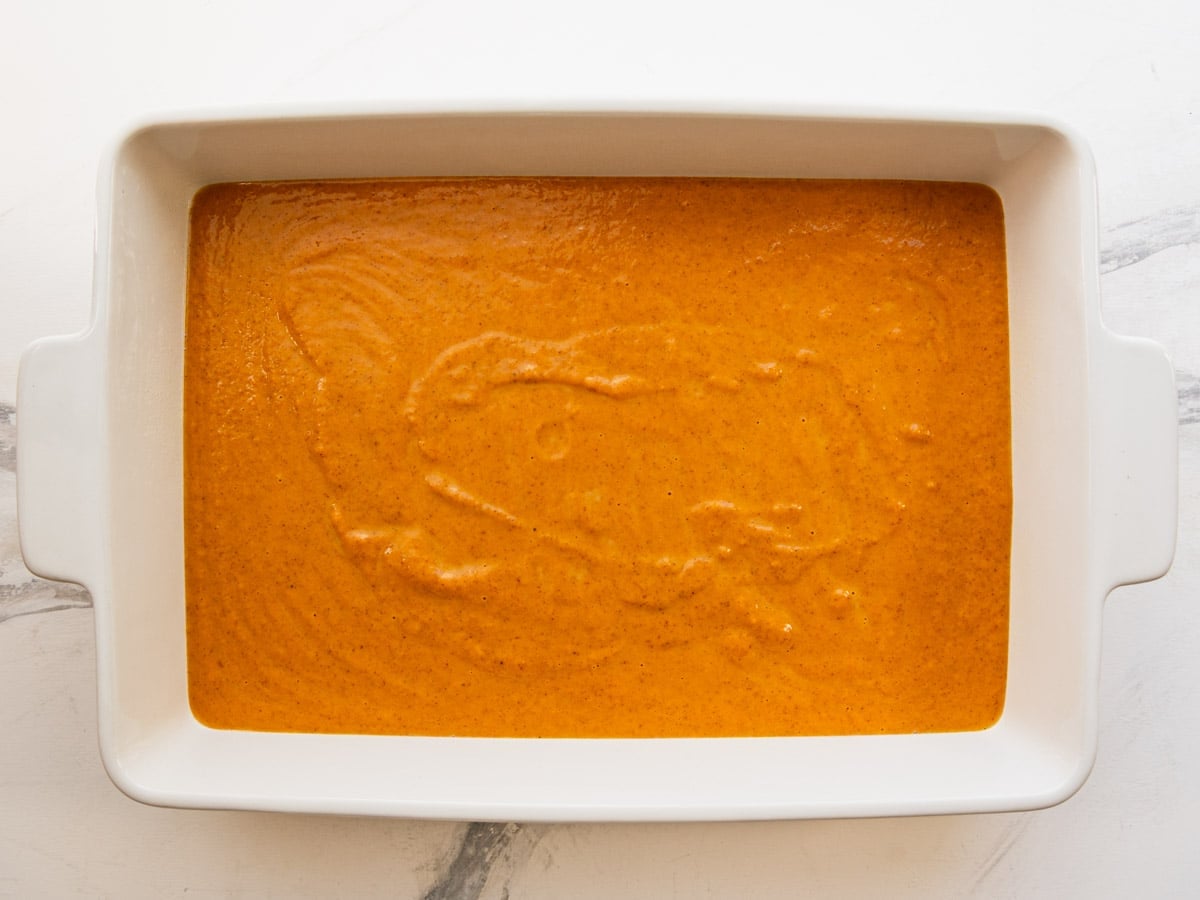
Pour it into the prepared dish.
Step 3: Sprinkle the Cake Mix
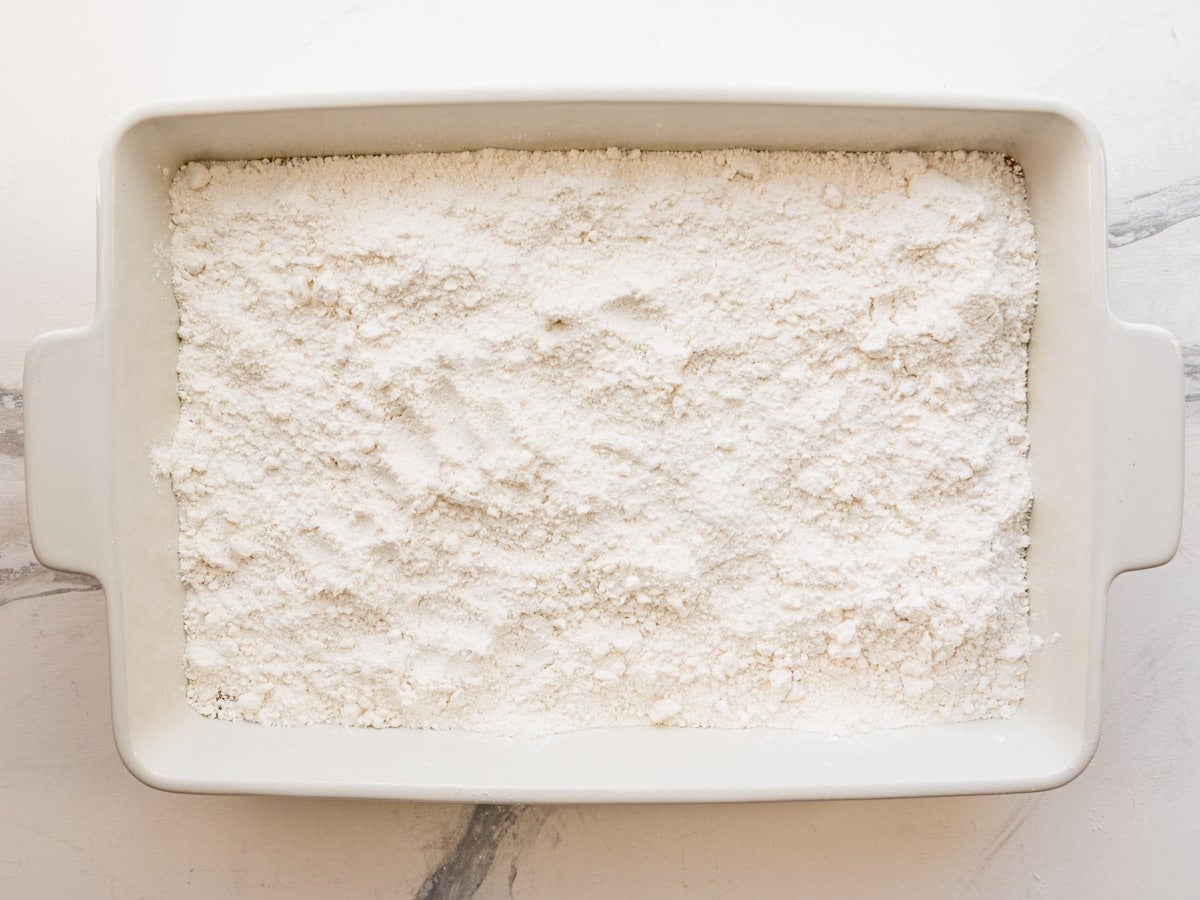
Shake the dry cake mix evenly over the pumpkin filling, straight from the box.
Do not stir. That separation is what creates the layers. Break up any clumps with your fingers as you go so the mix lies in an even layer.
⇢ Spice cake mix works too: Yellow lets the pumpkin and spices stand out. Spice mix pushes the whole thing warmer and sweeter. Both are good, they’re just different desserts.
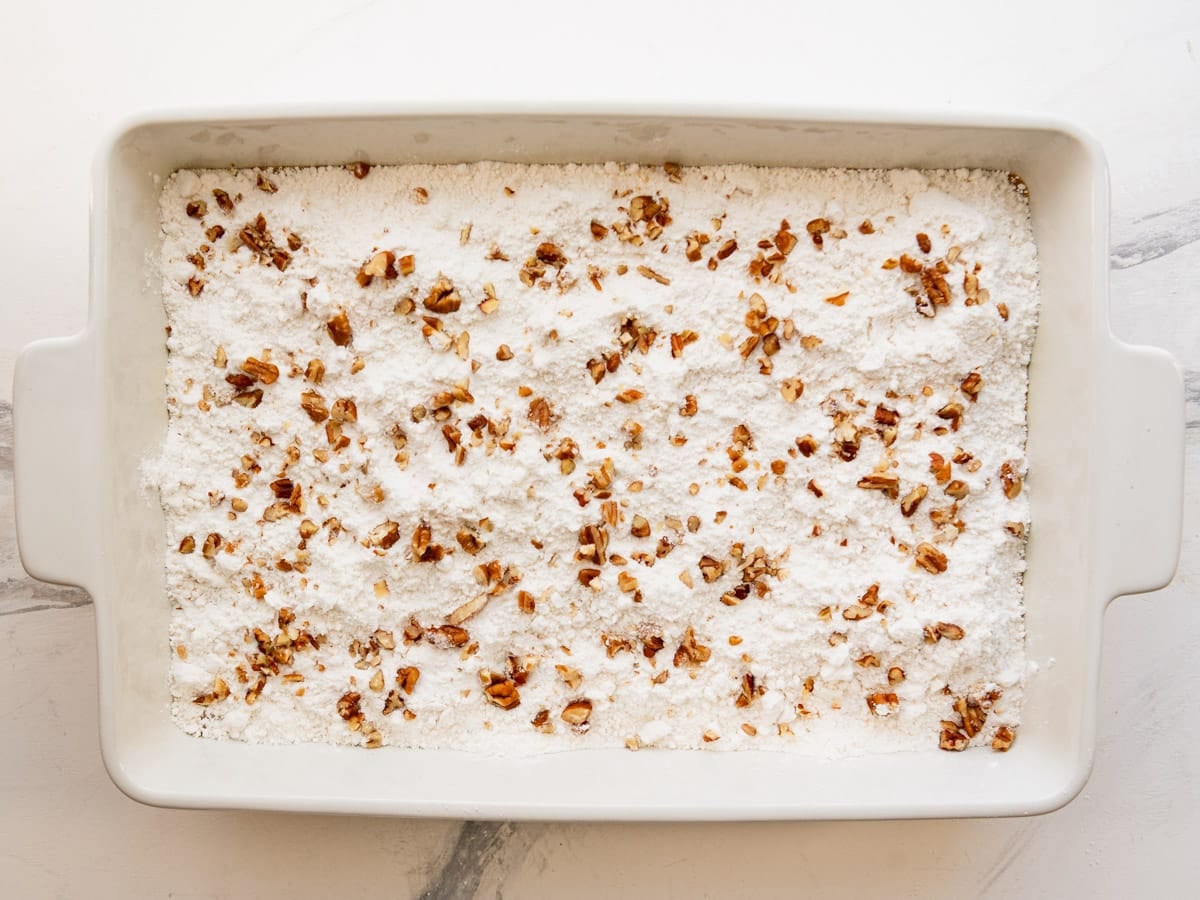
If you’re using pecans, scatter them over the cake mix now. Walnuts work just as well, and toasting either one for a few minutes first deepens the flavor. Leave the nuts out entirely for a nut-free crowd. Nothing else needs to change.
Step 4: Layer the Butter
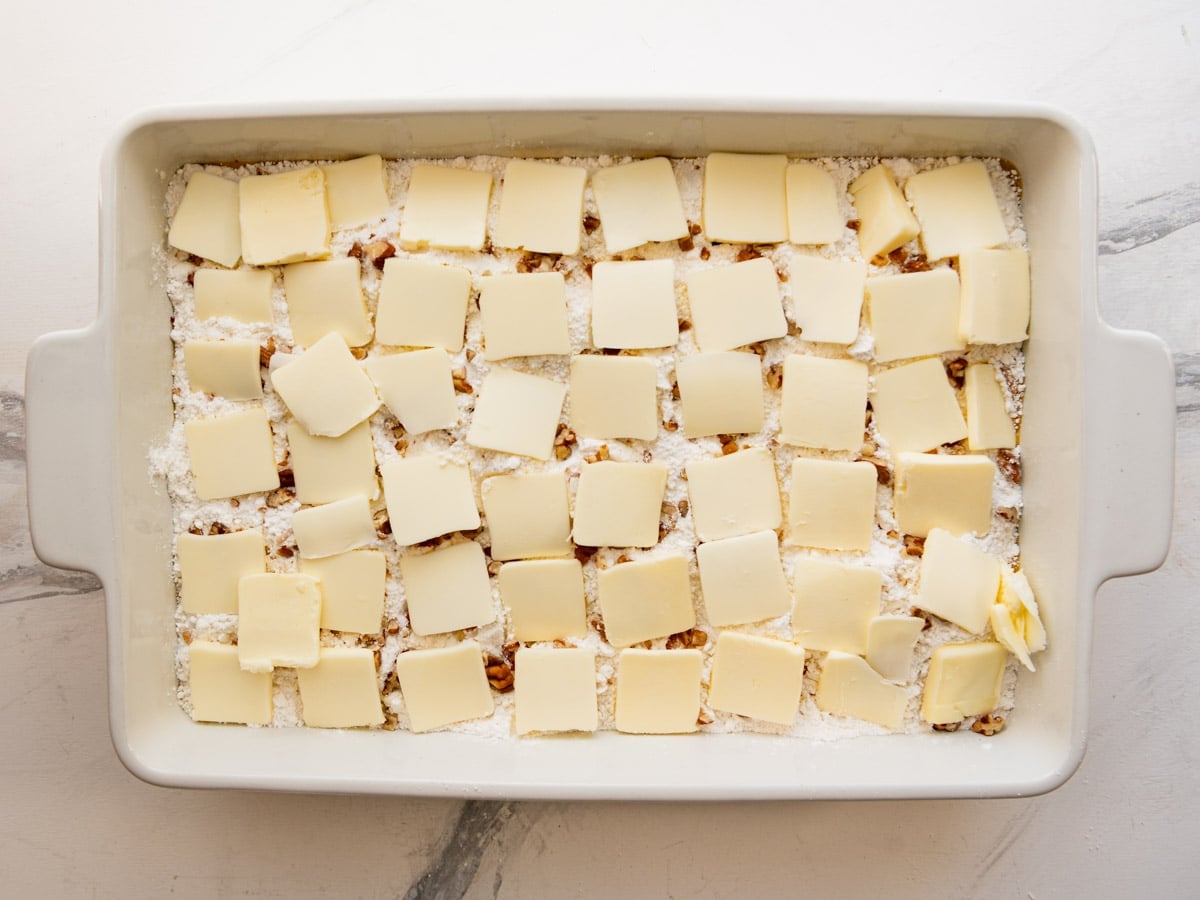
Slice the cold butter as thinly as you can and arrange the slices over the surface, covering as much of the dry mix as possible. As the cake bakes, the butter melts down into the mix and turns it into a golden, crisp topping.
Optional: If you want more crunch on top, scatter a few tablespoons of brown sugar over the cake mix before the butter goes on.
⇢ Thin slices beat melted butter here: Drizzling melted butter tends to pool in low spots and leave dry patches. Sliced butter spreads out as it melts and covers more evenly.
Step 5: Bake Until Set
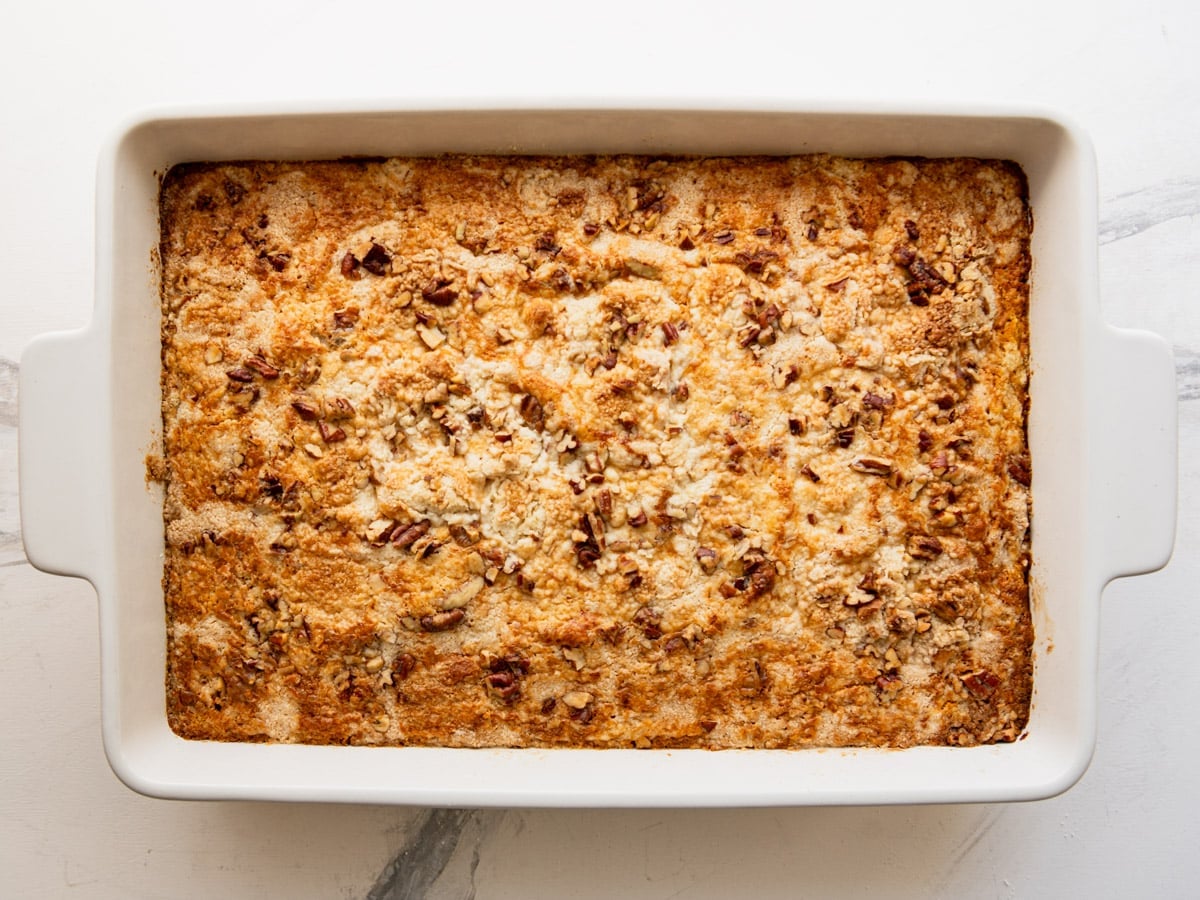
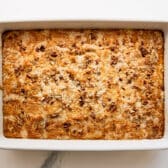
Bake for 60 to 65 minutes. You’re looking for a golden brown top and a pumpkin layer that’s set around the edges with just a slight jiggle in the center. It will firm up as it cools.
If the pecans start browning faster than the rest of the top, tent the dish loosely with foil and keep baking.
Step 6: Let It Cool
Let the cake rest for at least 30 minutes before serving. The pumpkin layer keeps setting the whole time it cools.
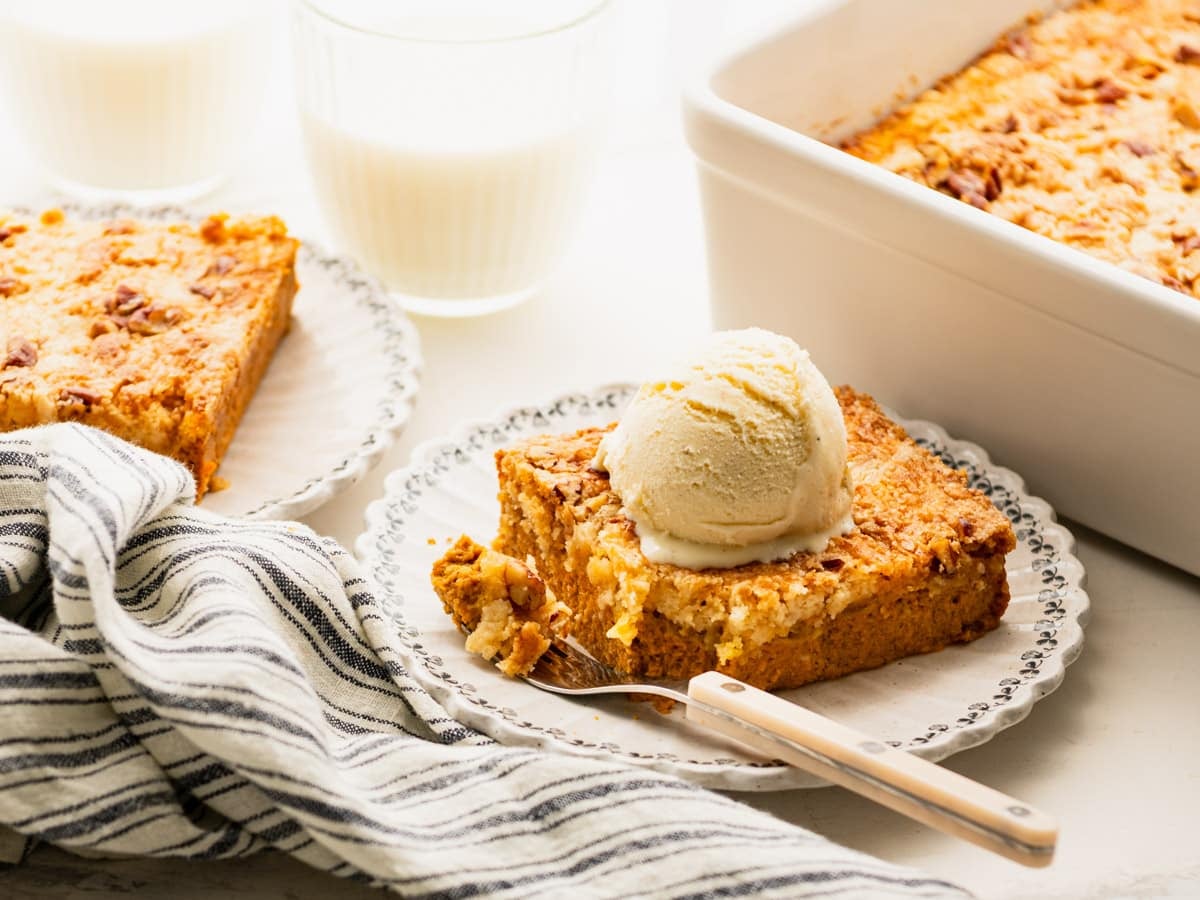
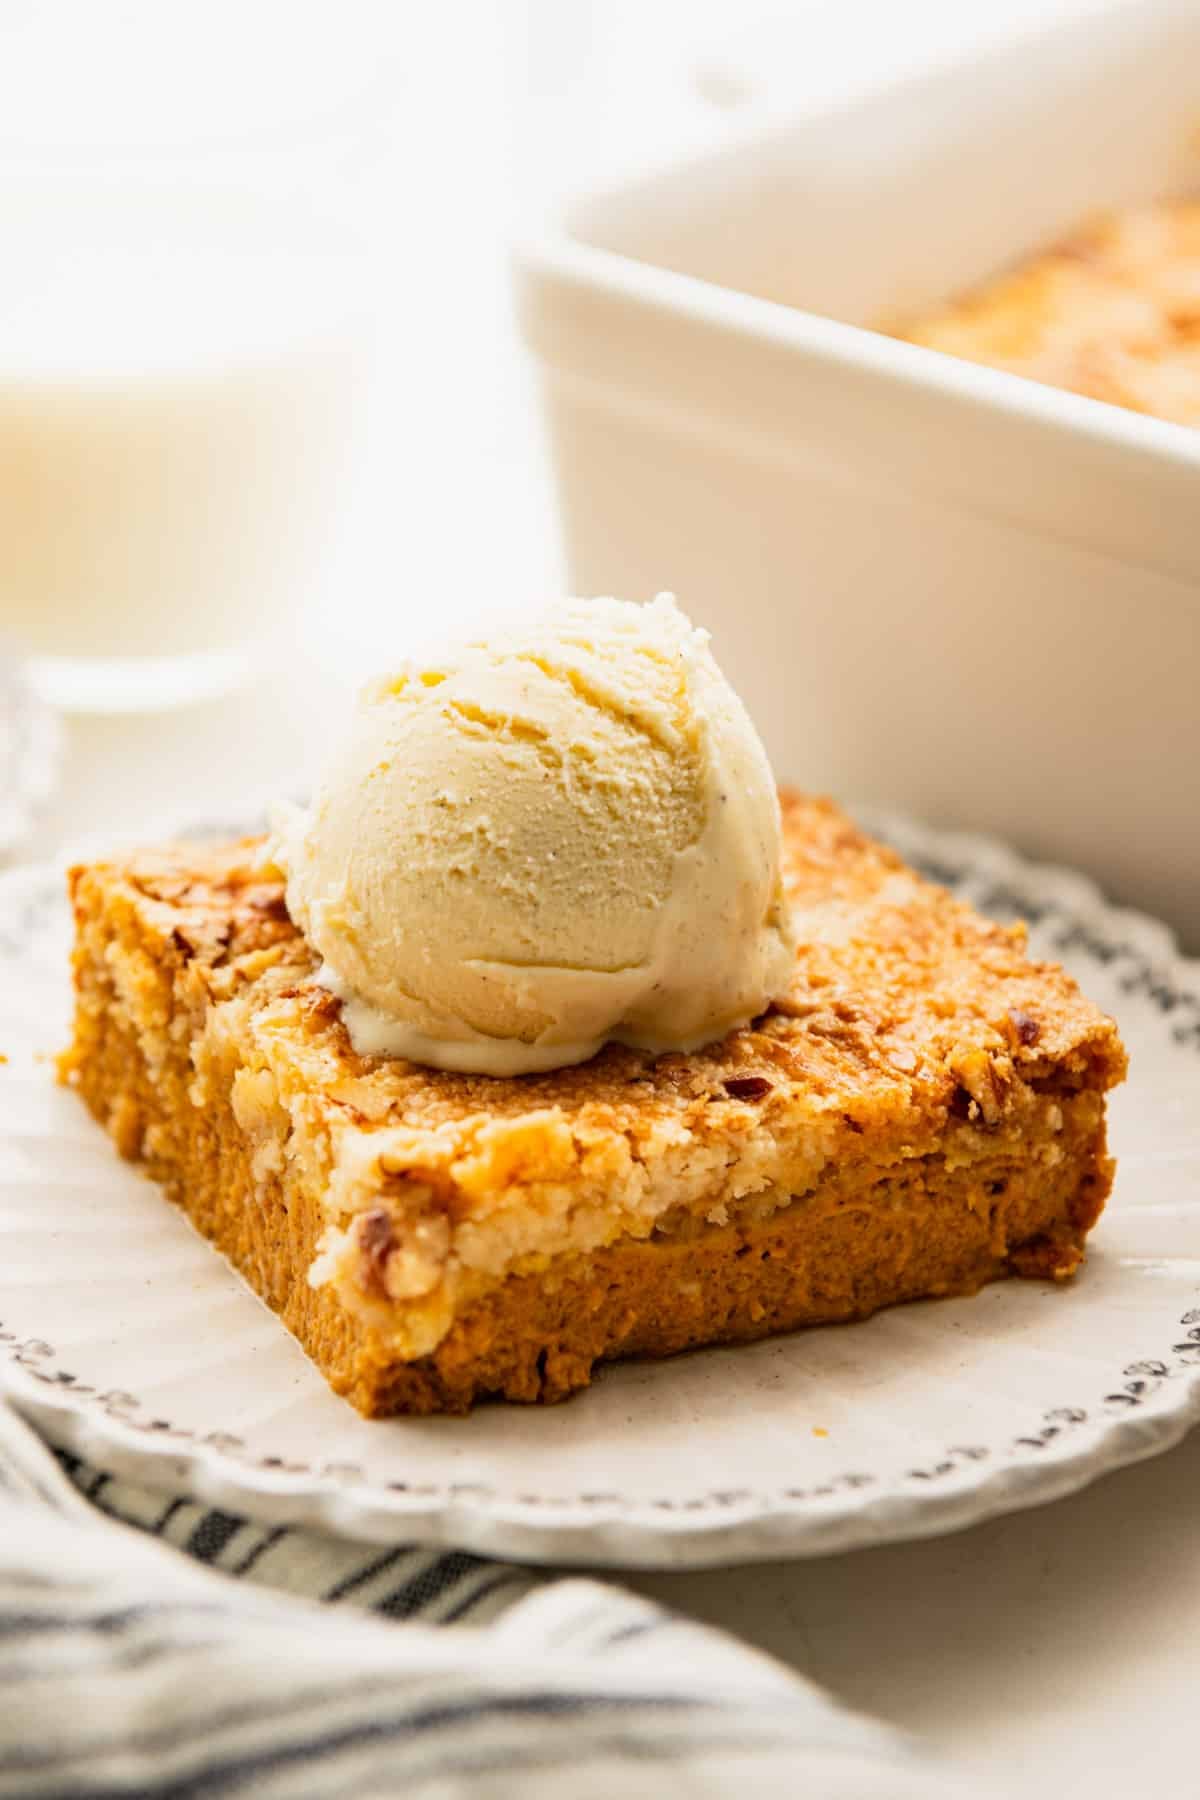
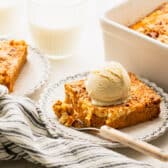
Serve it warm with ice cream, at room temperature, or cold straight from the fridge with a spoonful of whipped cream.
Warm and cold give you two pretty different desserts: Warm, it’s soft and spoonable like a cobbler. Chilled, the filling firms up and it slices closer to pumpkin pie.
Once you’ve made it this way, the same three-step method works with just about any fruit.
More dump cakes worth making:
Storage, Freezing, and Make-Ahead
This cake has eggs and evaporated milk in it, so treat it like pumpkin pie rather than a regular sheet cake.
Refrigerate it: Once it’s cooled, cover the dish tightly and refrigerate. It keeps for up to 4 days. Don’t leave it out on the counter overnight, even covered. The pumpkin layer is a custard.
Make it ahead: This is a great make-ahead dessert! Bake it a day early, cool it completely, and refrigerate overnight. The filling sets up even better and the flavors settle.
Reheat it gently: Warm individual servings in the microwave for 20 to 30 seconds, or reheat the whole pan covered with foil at 325°F for about 20 minutes. The topping softens in the fridge, so a few minutes uncovered at the end brings back some crispness.
Freeze it: Cool completely, then freeze the whole pan wrapped tightly, or freeze individual portions, for up to 2 months. Thaw overnight in the fridge before reheating. The topping won’t be quite as crisp, but the flavor holds up well.
Frequently Asked Questions
Can I use pumpkin pie filling instead of pumpkin purée?
No. Pumpkin pie filling already has sugar and spices added, so the cake ends up overly sweet and the spice balance is off. Look for a can labeled 100% pure pumpkin.
Why is the topping still powdery in spots?
Those are the places the butter didn’t reach. The dry mix needs butter directly over it to bake into a crust. Next time, slice the butter thinner and shingle the slices so they overlap slightly at the edges.
Can I use fresh pumpkin instead of canned?
You can, but you’ll want to drain it well first. Fresh pumpkin purée holds a lot more water than canned, and the extra moisture keeps the filling from setting. Canned is the more reliable choice here.
Can I bake this in a different pan?
A 9×13 is what this recipe is built for. A smaller dish makes the layers too deep to set in the same amount of time. If you halve the recipe for an 8×8, start checking at 40 minutes.
More Cozy Fall Desserts
Watch How to Make It

Pumpkin Dump Cake
Equipment
- 9 x 13-inch baking pan
Ingredients
- 2 (15 ounce) cans pumpkin purée (about 3½ cups total)
- 1 cup packed light brown sugar
- 4 large eggs
- 1 (12 ounce) can evaporated milk
- 2 teaspoons vanilla extract
- 2 teaspoons ground cinnamon
- 1 teaspoon ground ginger
- ½ teaspoon ground nutmeg
- ½ teaspoon ground allspice
- ½ teaspoon kosher salt
- ¼ teaspoon ground cloves
- 1 (15.25 ounce) box yellow cake mix (or substitute spice cake mix)
- ½ cup chopped pecans (optional)
- ¾ cup 1½ sticks salted butter, very thinly sliced
- Optional, for serving: whipped cream or vanilla ice cream
Instructions
- Heat the oven: Preheat to 350°F and grease a 9 x 13-inch baking dish with nonstick cooking spray.
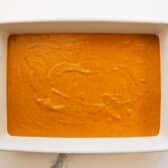
- Make the filling: In a large bowl, whisk together the pumpkin, brown sugar, eggs, evaporated milk, vanilla, cinnamon, ginger, nutmeg, allspice, salt, and cloves until smooth and completely combined. Pour the mixture into the prepared baking dish.

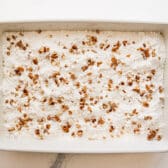
- Add the cake mix: Sprinkle it evenly over the pumpkin filling, breaking up any clumps. Do not stir. Scatter the pecans over the top, if using.
- Layer on the butter: Arrange the very thin butter slices evenly over the surface, covering as much of the dry cake mix as possible.
- Bake: Bake for 60 to 65 minutes, until the topping is golden brown and the filling is set around the edges with just a slight jiggle in the center. If the pecans brown early, tent loosely with foil.
- Let it rest: Cool for at least 30 minutes before serving. The filling keeps setting as it cools. Serve warm, at room temperature, or chilled with your favorite toppings.
Notes
- Pumpkin purée, not pie filling: Look for a can labeled 100% pure pumpkin. Pie filling is already sweetened and spiced.
- Cover the cake mix with butter. Any spot the butter doesn’t reach stays powdery after baking.
- Melted butter works in a pinch: Drizzle ¾ cup melted butter slowly and evenly over the surface. Sliced gives better coverage.
- Don’t stir: Once the cake mix goes on, leave it alone. The layers form on their own as it bakes.
- Tent if the pecans brown early. Lay foil loosely over the dish and keep baking.
- The 30-minute rest isn’t optional. The filling is still setting when it comes out of the oven.
- Storing and making ahead: This cake has eggs and evaporated milk in it, so refrigerate it rather than leaving it out overnight. Covered, it keeps 4 days in the fridge and up to 2 months in the freezer. Baking it a day ahead is a good thing, since the filling sets even better overnight. Reheat covered at 325°F, or 20 to 30 seconds in the microwave for a single serving.













Did you make this recipe?
If you enjoyed this recipe, please leave a comment with a 5-star review at the bottom of the post. Thank you!