This easy peach galette has all of the flavor of a homemade peach pie with a fraction of the work! Made with fresh peaches and a store-bought pie crust, this rustic summer dessert comes together quickly and looks impressive enough for everything from weeknight suppers to backyard gatherings.
More Recipes with Fresh Peaches:

Before You Get Started
A few quick tips will help you make the best peach galette:
- A refrigerated store-bought pie crust keeps this recipe quick and easy. If you prefer a homemade crust, those instructions are included in the recipe card below.
- Fresh peaches work best because frozen and canned peaches release too much liquid.
- Leave the peach skins on. They soften as the fruit bakes and help the slices hold their shape.
What Is a Peach Galette?
A peach galette is a rustic French-style fruit tart that’s much easier than a traditional peach pie. Instead of fitting pastry into a pie plate and fussing with a top crust, you simply pile the fruit onto rolled-out dough, fold up the edges, and bake.
The free-form shape is part of its charm. There’s no need for perfect edges or decorative lattice work, which makes this one of my favorite desserts for showcasing fresh summer peaches!
How to Make a Peach Galette
This easy peach galette comes together quickly, especially when you start with a refrigerated pie crust. Here’s how to do it:
Step 1: Roll Out the Pie Crust
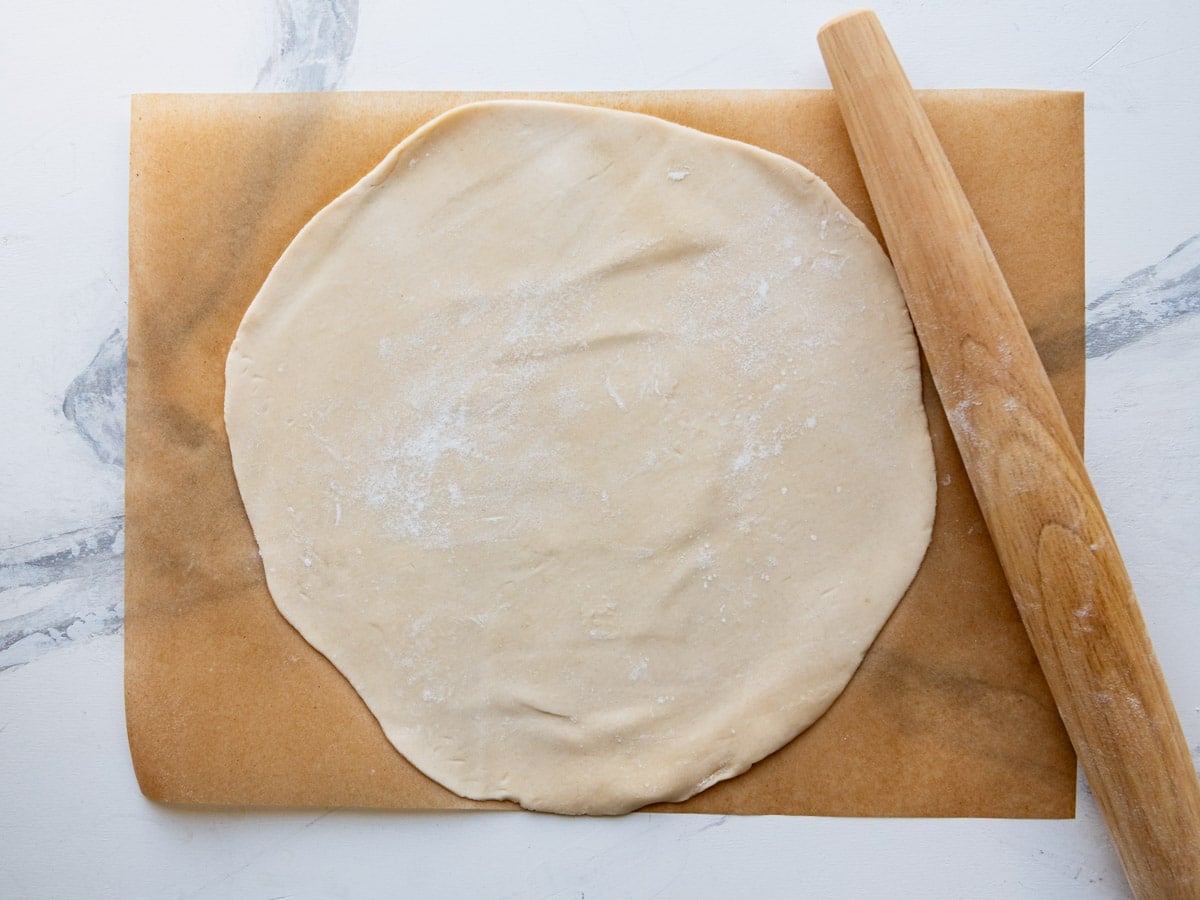
Roll the pie crust into a rough 12-inch circle and transfer it to a parchment-lined baking sheet.
Unlike a pie, a galette doesn’t need to be perfect. In fact, the slightly rustic look is exactly what you’re after.
** Tip: Keep the crust chilled while preparing the filling so it stays nice and flaky in the oven.
Step 2: Prepare the Peach Filling
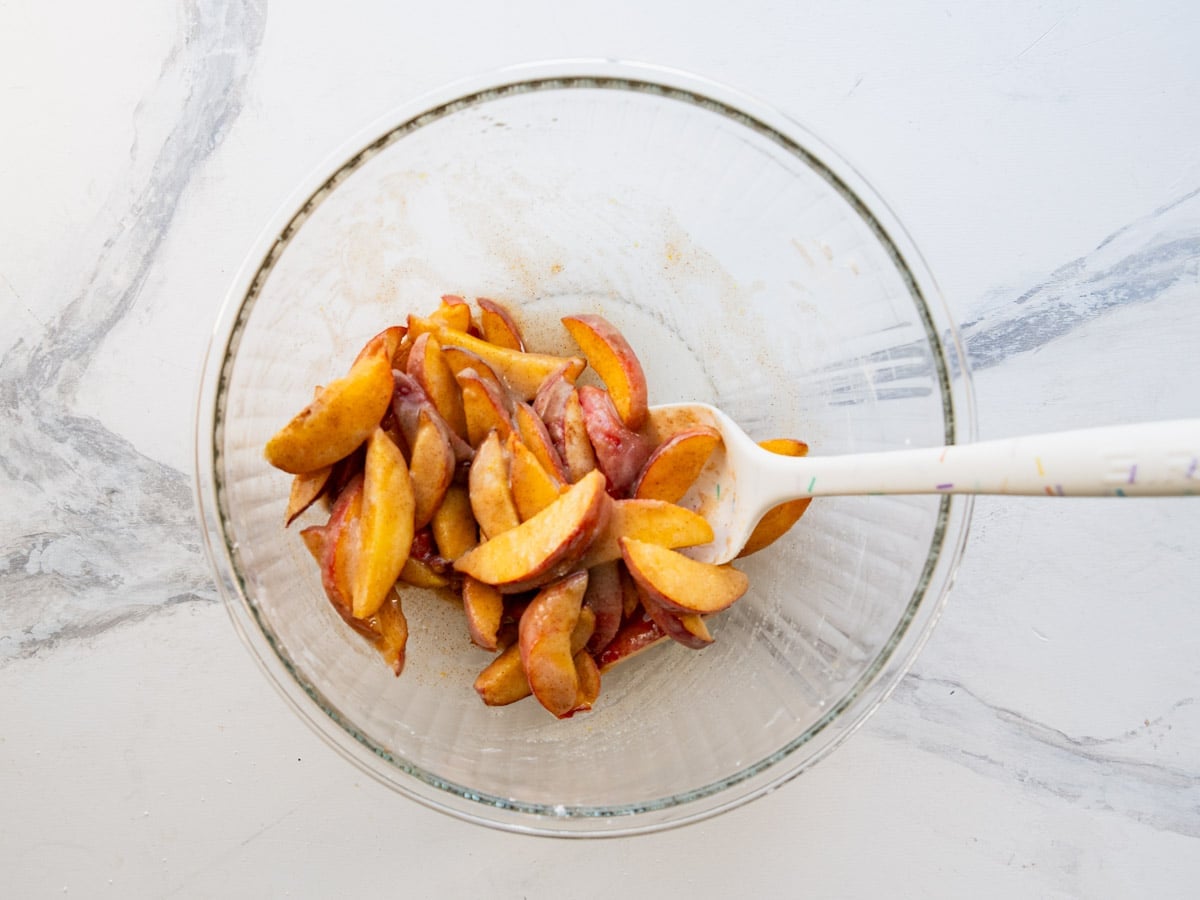
In a large bowl, toss together the peaches, sugar, lemon juice, lemon zest, cornstarch, cinnamon, ginger, and salt.
The lemon brightens the fruit, while the cornstarch thickens the juices as the peaches bake.
** Tip: If your peaches are very ripe and juicy, drain off the excess liquid before assembling the galette. For extra warmth, add a pinch of nutmeg, cardamom, or cloves.
Step 3: Arrange the Filling
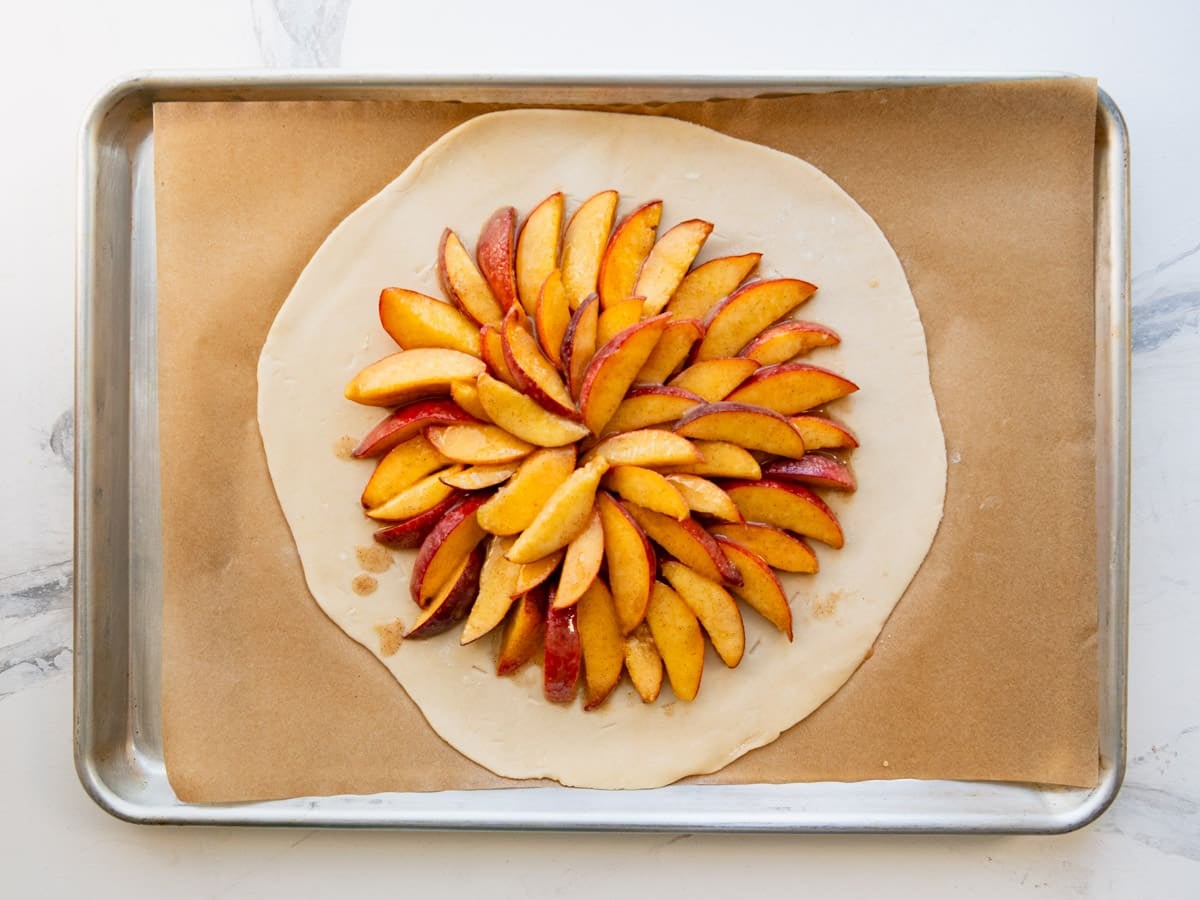
Pile the peaches in the center of the dough, leaving about a 1½-inch border around the edge.
Don’t worry about making the fruit look perfectly arranged. A galette is meant to be relaxed and rustic!
Try it another way
Fresh blueberries, blackberries, or raspberries can replace a portion of the peaches if you’d like a mixed-fruit galette.
Step 4: Fold the Crust
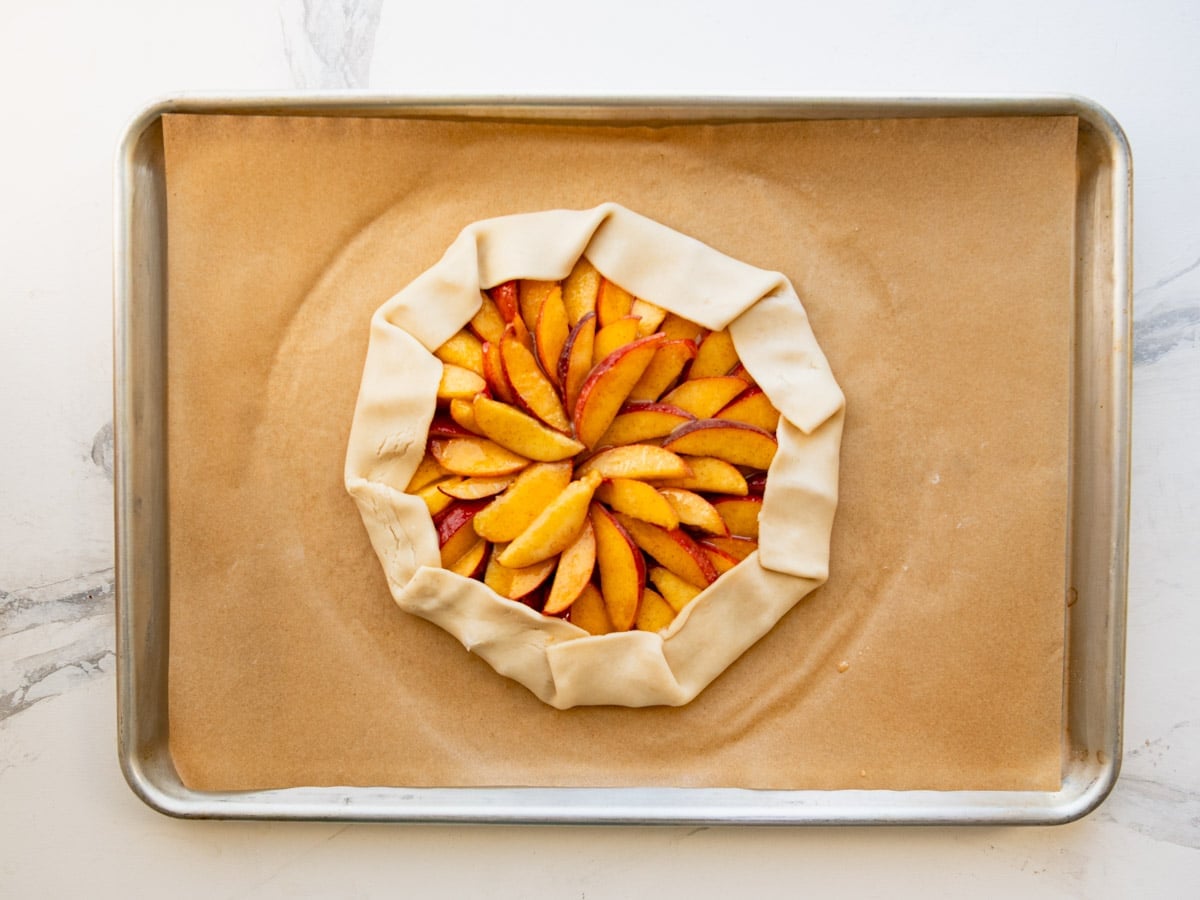
Fold the edges of the pastry over the fruit, pleating as needed to hold everything in place.
Uneven folds and little cracks are completely normal and part of the galette’s homemade charm.
Step 5: Add Egg Wash and Sugar
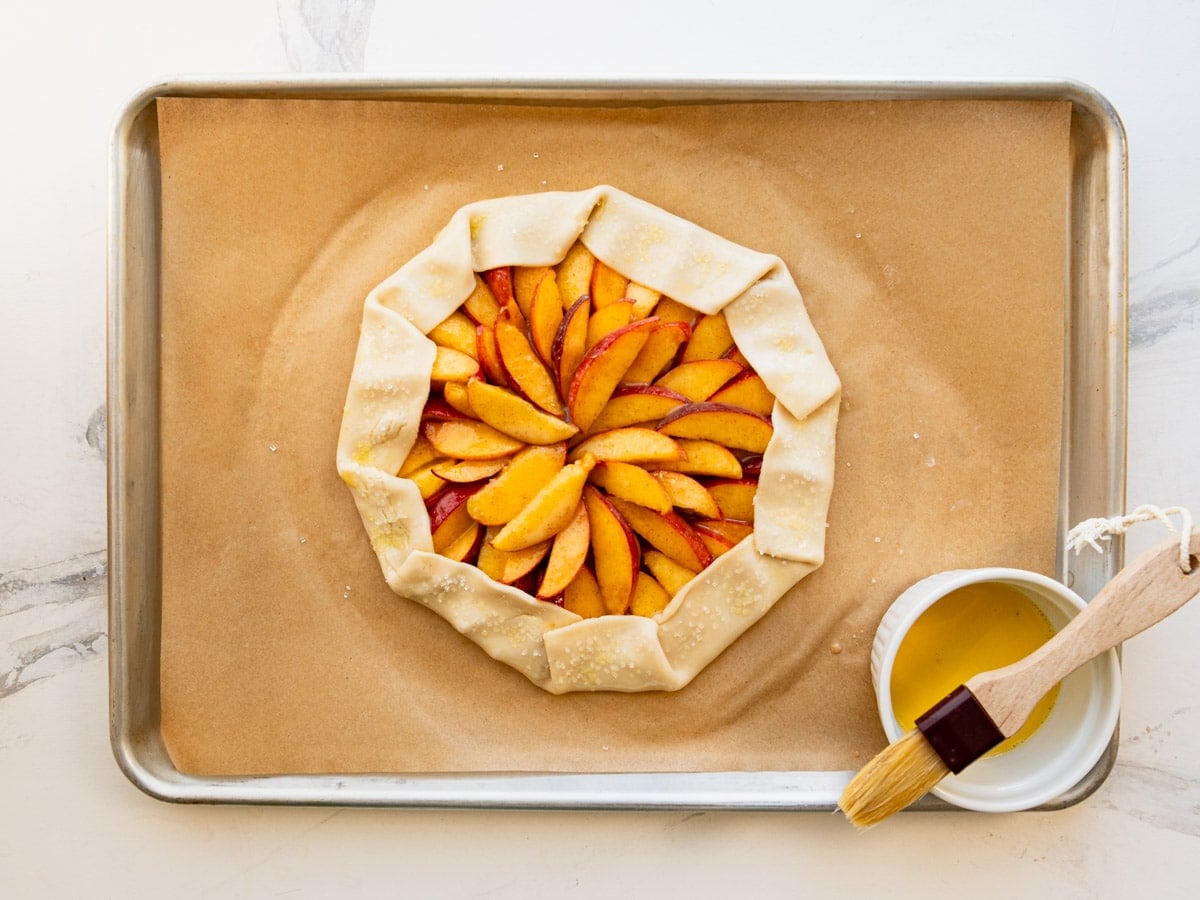
Brush the crust with egg wash and sprinkle with coarse sugar.
This simple step gives the pastry a beautiful golden color and a delicious crunch.
Step 6: Bake Until Golden Brown
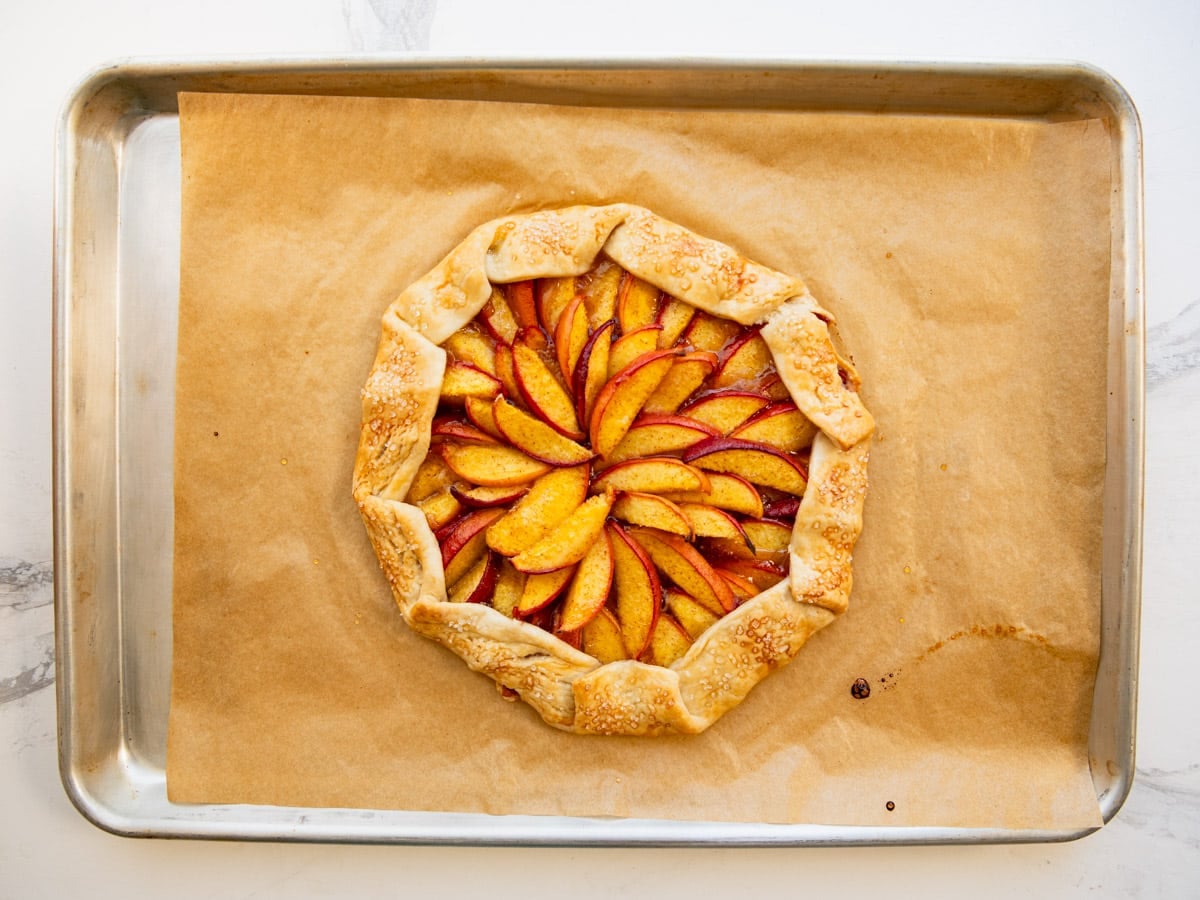
Bake until the crust is golden brown and the filling is bubbling around the edges.
The peaches should be tender and the juices thickened.
** Tip: If the crust begins browning too quickly, loosely tent the galette with foil during the final portion of the baking time.
Step 7: Brush with Jam
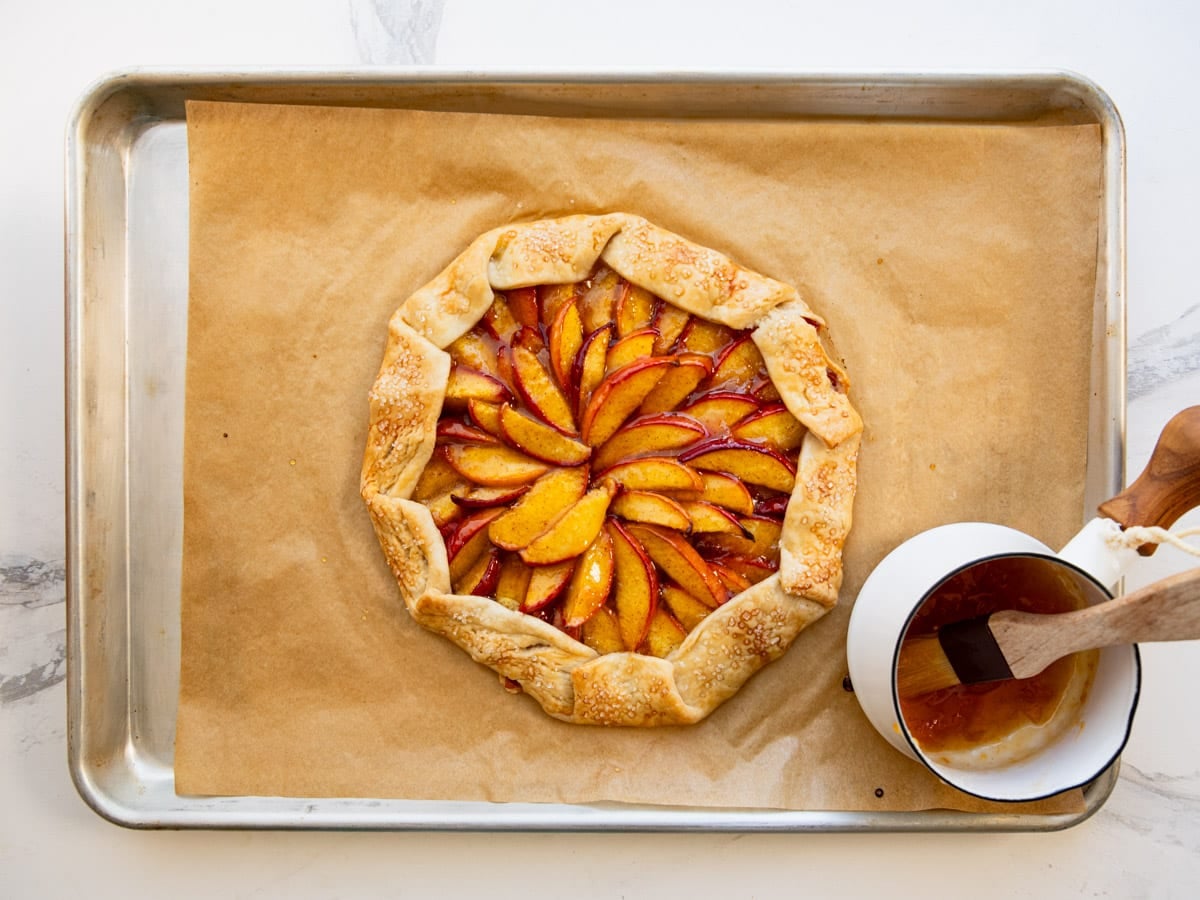
Warm the peach jam or apricot jam and brush it over the fruit while the galette is still warm.
This gives the peaches a glossy finish and makes the dessert look extra special.
** Tip: A small splash of vanilla extract in the filling pairs beautifully with the peaches and warm spices.
One of the best things about a peach galette is that it’s just as delicious warm as it is at room temperature.
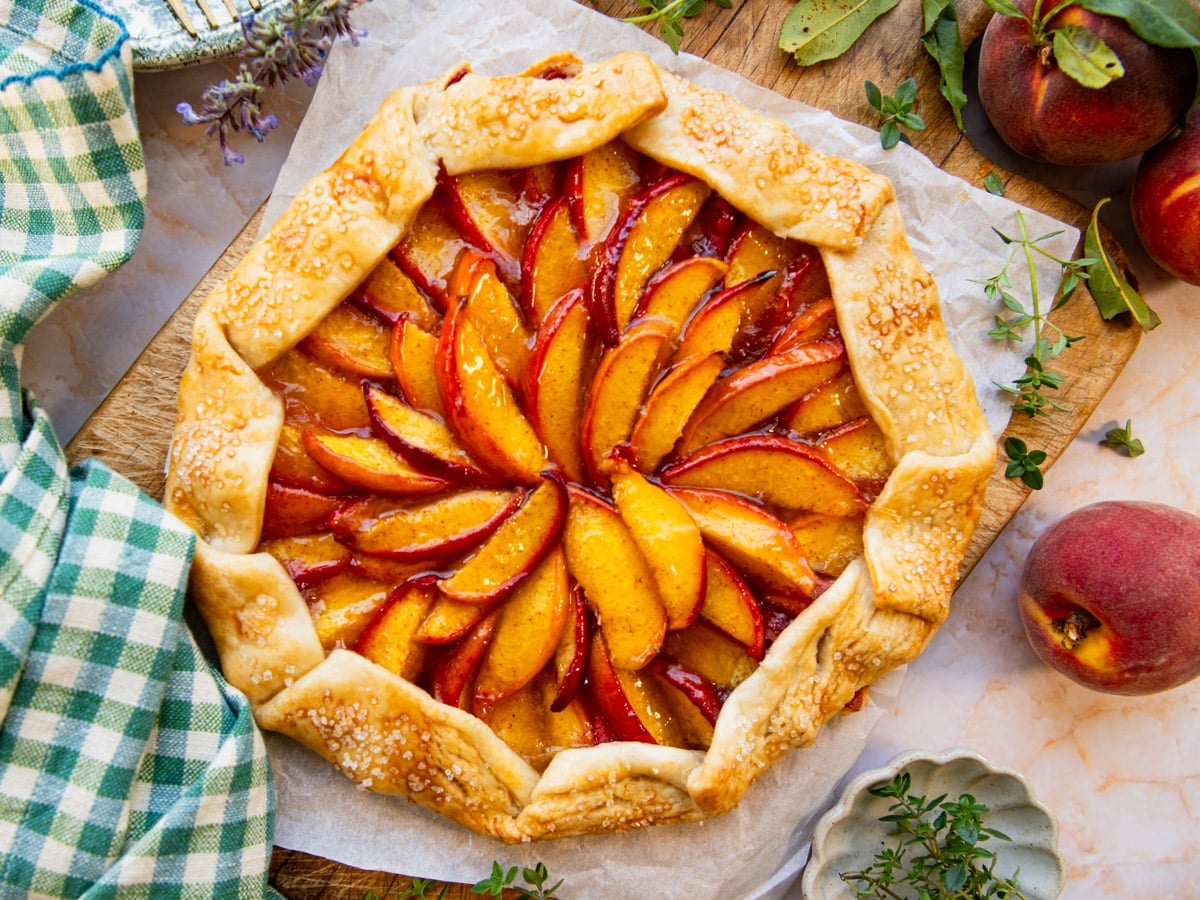
For the cleanest slices, allow the galette to cool for about an hour before serving. If you’re anything like my family, though, somebody will probably sneak a warm slice straight from the pan!
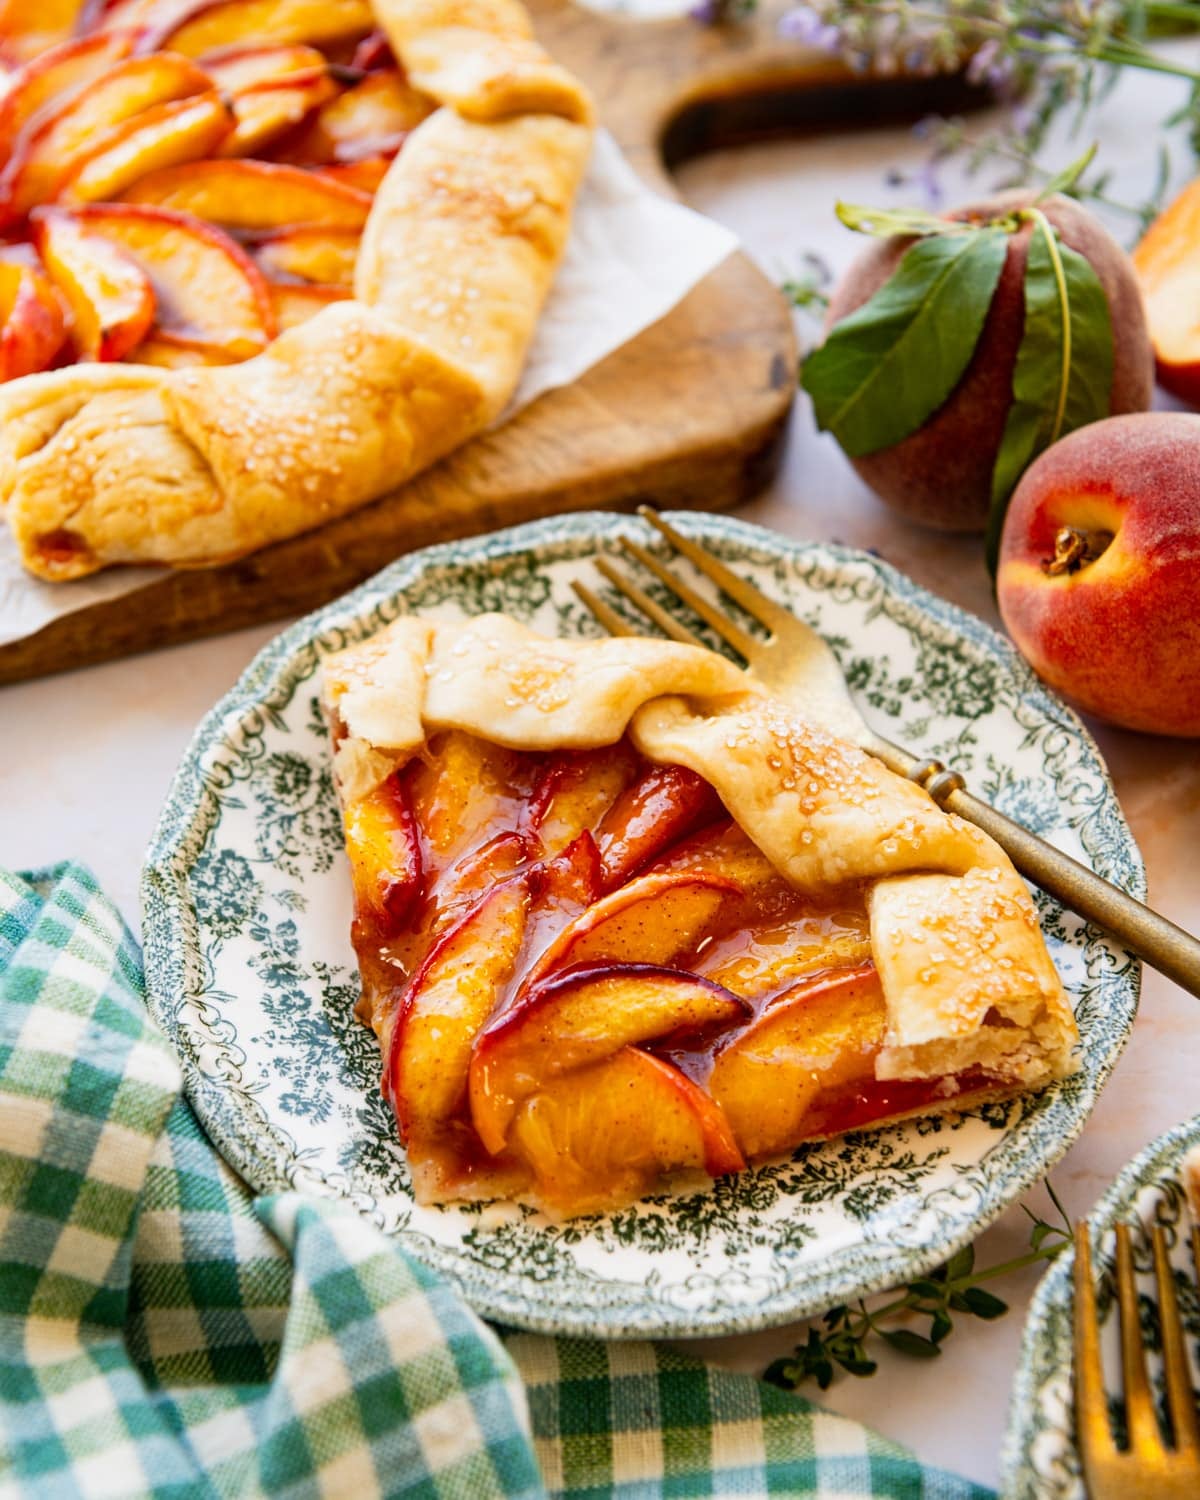
Serving Suggestions: Top slices of peach galette with a scoop of vanilla ice cream, fresh whipped cream, caramel sauce, or toasted pecans.
Make-Ahead and Storage
Make Ahead: Assemble the galette several hours ahead and refrigerate before baking. The galette is at its very best the day it’s baked, when the crust is at its flakiest and crispest.
Storage: Store covered at room temperature on the day it’s baked, or refrigerate for up to 4 days.
Freezing: Freeze baked galette for up to 3 months.
Reheating: Warm in a 375°F oven for about 10 minutes to crisp the crust.
Frequently Asked Questions
What’s the difference between a galette and a pie?
A galette is a free-form pastry baked on a baking sheet, while a pie is baked in a pie plate and typically has a more structured shape.
Do you peel peaches for a galette?
No. The skins soften during baking and help the peach slices maintain their shape.
Why is my peach galette soggy?
Very juicy peaches or too little cornstarch can cause excess liquid in the filling. Using the full amount of cornstarch helps prevent this issue.
Can I make a peach galette ahead of time?
Yes. You can assemble it ahead and refrigerate before baking, or bake it earlier in the day and serve at room temperature.

More Summer Fruit Desserts

Did you make this recipe?
If you enjoyed this recipe, please leave a comment with a 5-star review at the bottom of the post. Thank you!
Watch How to Make It

Peach Galette
Ingredients
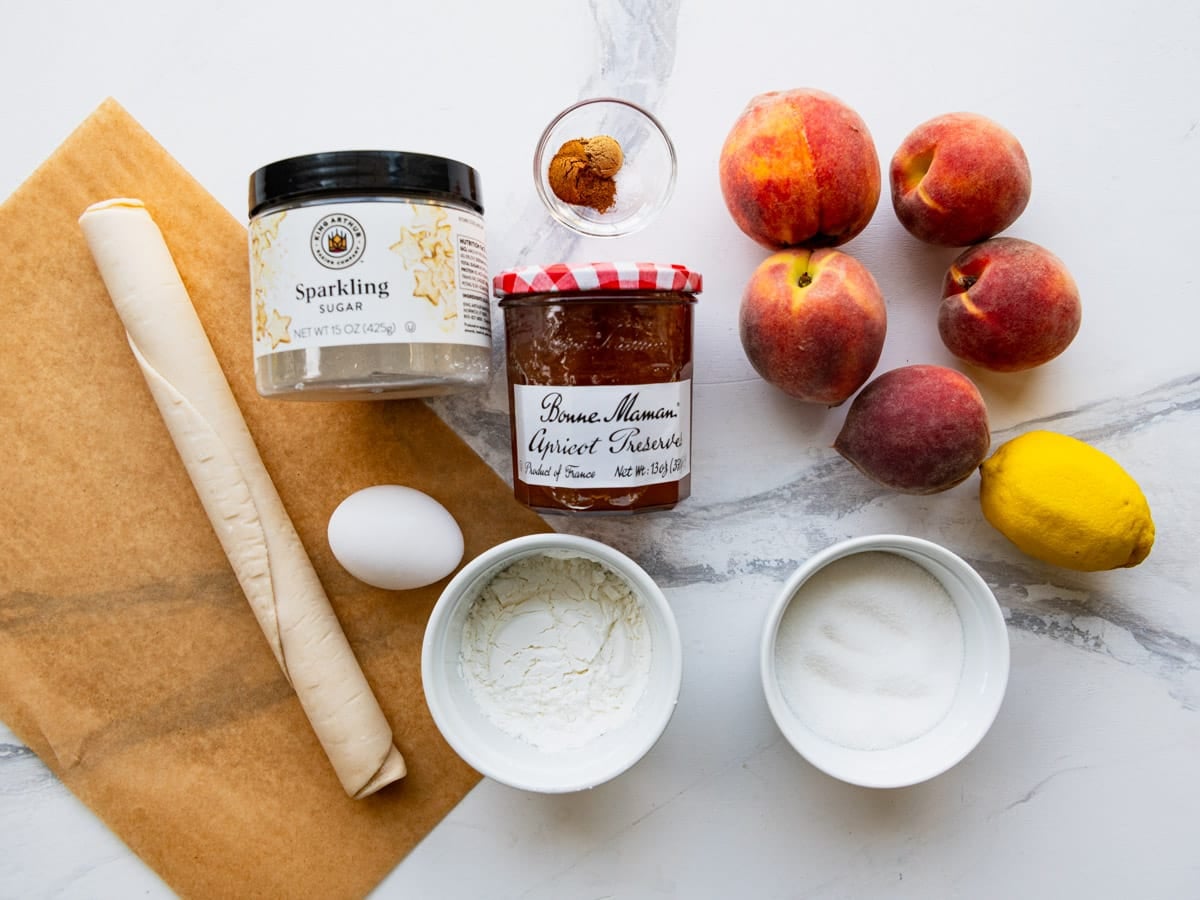
- 1 premade refrigerated pie crust (from a 14.1 ounce package)
- 3 cups sliced fresh peaches (about ¼-inch thick slices)
- ½ cup granulated sugar
- Juice and grated zest of ½ lemon
- ¼ cup cornstarch (or decrease to 3 tablespoons if your peaches aren’t very juicy)
- ½ teaspoon ground cinnamon
- ¼ teaspoon ground ginger
- Pinch of salt
- ¼ cup apricot jam, peach jam, or peach jelly
- Optional, for serving: vanilla ice cream or whipped cream
Instructions
- Roll Out the Crust: If the pie dough is cold and firm, let it rest on the counter for about 10-15 minutes before rolling. On a floured work surface, roll out the disc of chilled dough. Turn the dough about a quarter turn after every few rolls until you have a circle that measures 12 inches in diameter.

- Carefully transfer the dough to a rimmed baking sheet lined with parchment paper. Cover with plastic wrap and place the crust back in the refrigerator to chill while you preheat the oven and make the filling.
- Make the Filling: Preheat the oven to 400°F. In a large bowl, toss together the peaches, sugar, lemon juice, lemon zest, cornstarch, cinnamon, ginger, and salt.
- Assemble the Galette: Arrange the filling in the center of the dough, leaving a 1 ½-inch border.
- Gently fold the pastry over the fruit, pleating to hold it in.
- Brush the crust with egg wash; sprinkle the crust with coarse sugar.
- Bake the Galette: Bake in the 400°F oven for 30-35 minutes, or until the filling bubbles and the crust is golden brown.
- Warm the jam in a small saucepan over low heat until it’s a nice, thin consistency. Brush the peaches with the jam.
- Serve: Cut the galette into 4-6 slices. Top each slice with vanilla ice cream or whipped cream, if desired.








Notes
- Leave the peach skins on for the best texture and easiest prep.
- Frozen and canned peaches are not recommended.
- Add blueberries, blackberries, or raspberries for a mixed-fruit galette.
- A pinch of nutmeg, cardamom, or cloves adds extra warmth.
- Stir a splash of vanilla extract into the filling if desired.
- Turbinado sugar creates a crisp, bakery-style crust.
- Apricot jam or peach jam both work for the glaze.
- The galette slices best after cooling for about 1 hour.
- Store leftovers in the refrigerator for up to 4 days.
- Freeze for up to 3 months.
Nutrition
Originally published in July, 2021, this post was updated in July, 2026.













I LOVE your site Blair… Just added it my Fav tabs. I stumbled across it while looking for recipes I could try for the random items I had in my fridge.
I don’t know which to try next, they all look/sound so amazing.
Thanks for all your great recipes.
Thank you so much, Charlie! We truly appreciate the support and are so glad you’re here!