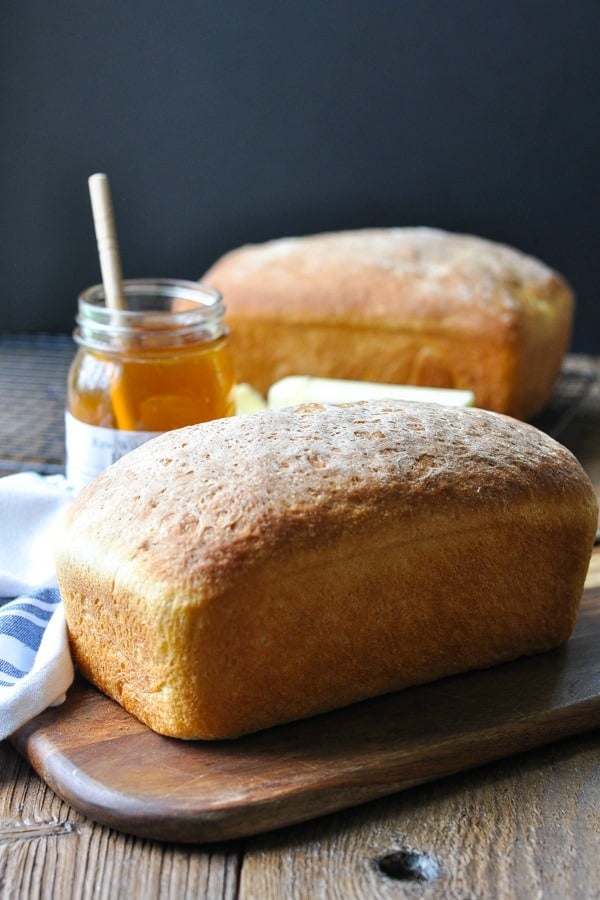
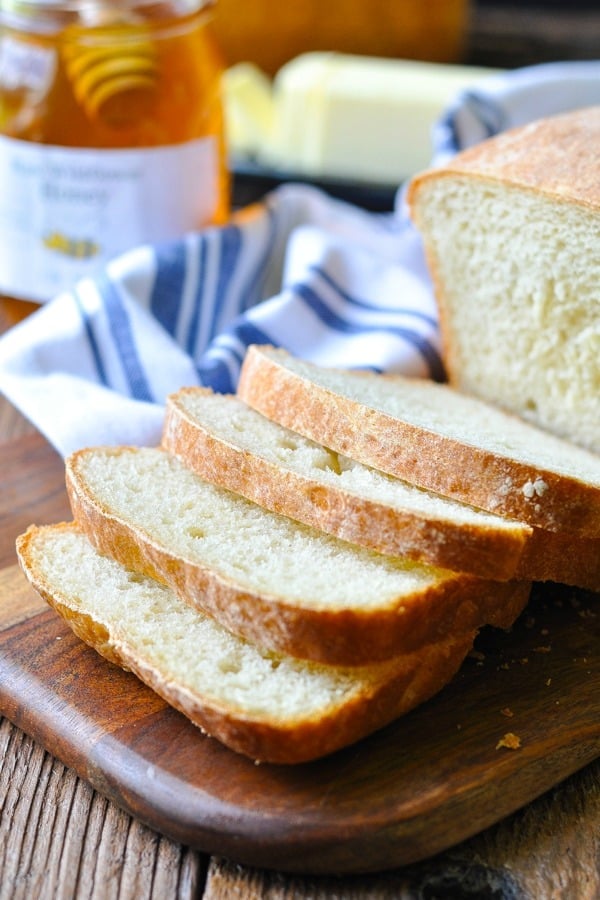
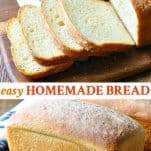
Want to get started with bread baking? This Easy Homemade Bread recipe only requires a few minutes of actual hands-on prep work for two light, fluffy loaves of classic white bread. Use it for sandwiches, toast, or a side dish with dinner — this is truly the best ever homemade bread!
Our family has been obsessed with my No-Knead Bread over the past few months, so I’ve been stirring together about a loaf per day while we’re all at home. But you know what my kids love even more than the no-knead bread? This Easy Homemade Bread!
While the no-knead process yields a delicious artisan bread recipe with a thick, chewy crust (my personal fave), this easy homemade bread recipe is softer, has a thinner crust, and boasts an even fluffier texture. It’s just a really simple, classic white sandwich bread that your family will love!
Easy Homemade Bread
This easy homemade bread recipe is just a slight adaptation of my favorite Taste of Home Basic Homemade Bread. The Taste of Home recipe calls for active dry yeast, which I don’t typically keep on hand. Instead, I like to use instant (or “rapid rise”) yeast, which is a little bit quicker and easier! As a result, I tweaked the white bread recipe to accommodate my preference for instant yeast, which works equally well.
Why This is the Best Ever Homemade Bread
Here are just a few reasons that you need to give this easy recipe a try today:
- The bread rises high!
- The texture is soft and fluffy, with a very subtle, sweet taste.
- The crust is thin — not too tough or chewy (kids love it)!
- It’s super-simple — you don’t need any special equipment, any fancy ingredients, or any special baking skills. Follow the directions and it’s practically impossible to mess up!
- The bread is relatively quick to prepare. Unlike my no-knead bread that needs to rise overnight, you can have this easy homemade bread recipe ready for the table in one morning.
- You get two loaves for one effort, so you can share one with a friend or stash the extra loaf in the freezer for another day.
How to make Easy Homemade Bread:
There’s nothing difficult about this process. Just gather your ingredients and follow the recipe directions carefully. Baking is an exact science, so I do not recommend tweaking the measurements or substituting with different ingredients until you’ve tried it at least once. Let’s get started!
Ingredients for Basic Homemade Bread:
- Bread flour (see my note below about all-purpose flour)
- Granulated sugar
- Salt
- Instant yeast (also called “rapid rise” yeast)
- Warm water
- Canola oil
Step 1: Mix and Knead the Dough
Combine all of the ingredients into a soft dough, then knead for 8-10 minutes until elastic and smooth.
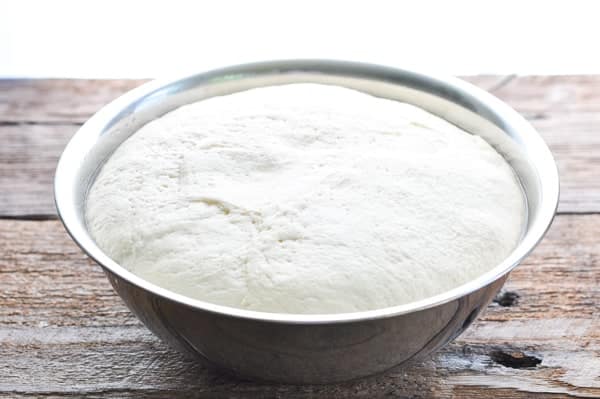
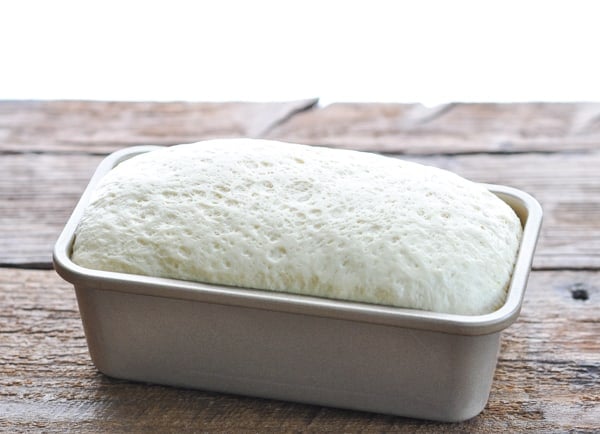
Step 2: Let Dough Rise
Place the dough in a greased bowl, cover and let it sit in a warm place for about 1 1/2 – 2 hours (until it has doubled in size). You can see that the dough rises to almost entirely fill up my largest mixing bowl!
Step 3: Divide Dough Between Two Loaf Pans
Punch it down, transfer the dough to a floured surface, cut it in half, and shape it into two loaves. Place the dough in greased loaf pans.
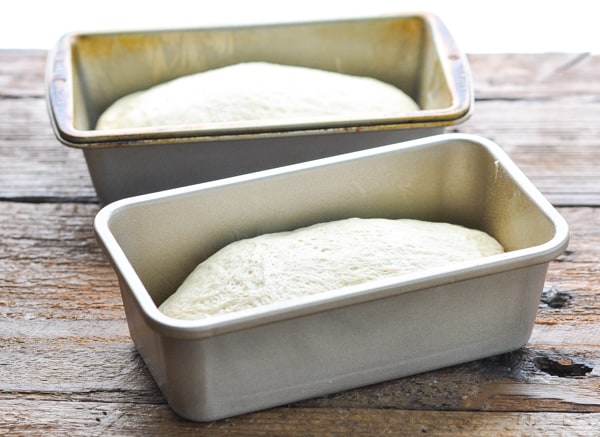
Step 4: Let Dough Rise Again
Cover and let the dough proof for about 1 – 1 1/2 more hours. It should double in size again!
Step 5: Bake
Bake the bread in a 375 degree F oven for about 30 minutes. There’s seriously nothing better than the aroma of bread baking in the kitchen. Enjoy it, friends!
Preparation and Storage Tips
How to Knead Bread:
Kneading the dough makes bread light, airy and chewy by developing the gluten. Strengthening the gluten strands gives your bread structure. Don’t worry — kneading dough is really easy!
To knead the dough by hand, flour the worktop, and then push, pull and stretch the dough. When it’s properly kneaded, the dough should be elastic and smooth.
If you’re fortunate enough to have a stand mixer, simply use the dough hook to knead the bread in the mixer. This is my preference, because it’s hands-off — just let the machine run for about 8-10 minutes.
How to Proof Bread:
Proofing bread is when you give the yeast time to do its work to help the bread rise. To proof bread, place the dough in a greased bowl and let the dough rest in a warm, humid environment until it doubles in size.
If you’re having trouble proofing the bread, check the temperature of your kitchen. If your kitchen is a little too warm (above 75-80 degrees F) or a little too cool (below about 65 degrees F), it might be affecting the proofing stage.
If it’s on the warm side and you ended up with a dense loaf, it’s likely the bread over proofed, the yeast got too active and produced so much gas that the dough effectively popped like a balloon.
If it’s too cold, then the opposite might have happened. The yeast didn’t get a chance to become active enough and create enough gas to lift the dough. You should try letting it sit out a little longer.
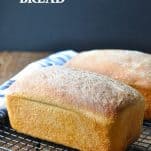
How to Tell When Homemade Bread is Done:
The bread should be a beautiful golden brown color when it comes out of the oven. Tap the top of the loaf lightly — it will sound hollow when it’s done. If you have an instant-read thermometer, the internal temperature of the bread should be about 200 degrees F.
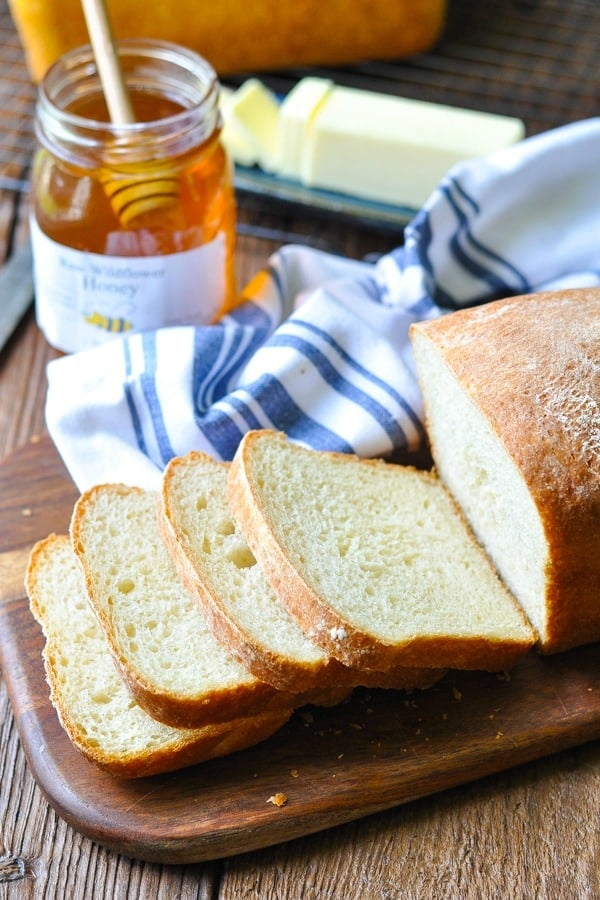
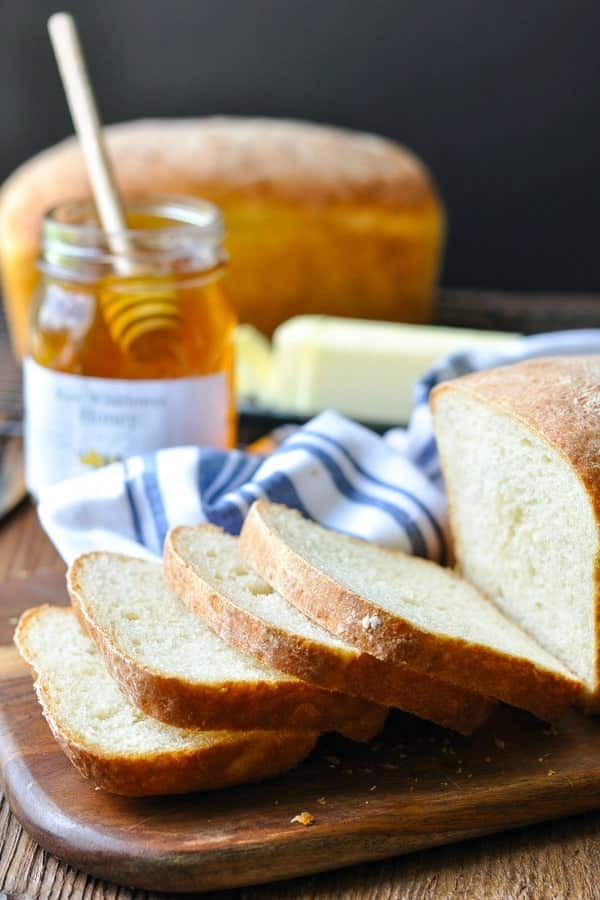
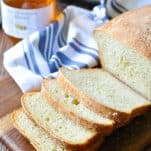
How to Cut Homemade Bread:
Allow the bread to cool for at least 1 hour to complete the cooking process before slicing (otherwise the bread may be dense inside and will rip or tear). Using a long serrated knife, slice in clean back-and-forth motions like a saw with as little downward pressure as possible. Each loaf yields between 14 and 16 slices of bread.
How to Store Easy Homemade Bread:
You can store homemade bread in a plastic bag or a bread box at room temperature. The bread will last for 1-2 days. To help it last longer, wrap the loaf tightly in plastic or in a Ziploc freezer bag and store in the freezer for up to 3 months.
When to Freeze Homemade Bread:
Allow the bread to cool completely on the counter for at least a couple of hours. Then freeze the bread before slicing to preserve the loaf at its peak freshness.
Why homemade bread doesn’t rise:
If your bread does not rise properly, it could be due to any number of reasons. For instance, your yeast may not be fresh. Even with a good expiration date, yeast has a short shelf life once a package is opened (I recommend keeping it in the freezer). It’s also possible that your water was the wrong temperature (see my note above regarding water temp) and therefore did not activate the yeast. I almost always use a thermometer to check the temperature of my water before adding it to the dough (it needs to be around 110 degrees F).
What makes homemade bread dense, heavy or tough:
There are a variety of reason that you might end up with a loaf of dense, heavy bread.
- Not kneading the dough long enough to fully activate the gluten;
- Not baking the bread long enough. When the bread comes out of the oven, it’s still “cooking” and steaming. That’s why it’s important to wait and let the bread sit for at least an hour before slicing into it.
- The flour’s protein content is too low. This is why I recommend bread flour rather than all-purpose flour.
- You didn’t proof it for long enough. Not giving the bread enough time to rise and double in size may yield a dense loaf or proofing for too long can also yield a dense loaf (see my note above about the proofing stage);
Is this easy homemade bread healthier?
In general, homemade bread is healthier than the packaged, store-bought variety because you can control the ingredients that go into each loaf. This easy recipe uses just a handful of very basic ingredients — no preservatives, artificial colors or flavors. Each slice of the homemade bread has about 100 calories, 20 grams of carbohydrates, 1 gram of fat and 1 gram of protein.
Cook’s Tips and Recipe Variations:
- Bread Flour vs. All-Purpose Flour: All-purpose flour has between 8 and 11 percent protein, while bread flour contains between 12 and 14 percent protein. The extra protein in bread flour results in a higher rise. I have not tested the recipe with all-purpose flour, so I cannot guarantee that the recipe will “work” if you make that substitution. My assumption is that the all-purpose flour will still rise, but your loaves will be slightly smaller (with less rise) and more dense.
- Instant Yeast vs. Active Dry Yeast: This recipe calls for instant (or rapid-rise) yeast, which you can add directly to your dough. By contrast, active dry yeast must be dissolved in warm water (“proofed”) before combining with other ingredients. If you prefer to use active dry yeast, I recommend following this recipe instead.
- Make sure that you use warm water when preparing the dough — not too hot and not too cold. You want the water to feel like warm bath water (about 110-115 degrees F). If it’s too hot you will kill the yeast; too cold and the yeast will not be activated. While it’s not necessary, I usually use a thermometer to test the water’s temperature before adding it to my dough (you’d be surprised by how warm 110 degrees actually feels).
More white bread recipes that you might enjoy:
- No-Knead Bread
- No-Knead No-Yeast 3-Ingredient Beer Bread
- Cinnamon Sugar Amish Friendship Bread
- Irish Soda Bread
- English Muffin Bread

Did you make this recipe?
If you enjoyed this recipe, please leave a comment with a 5-star review at the bottom of the post. Thank you!
Easy Homemade Bread
Ingredients
- 6 ¼ – 6 ¾ cups bread flour
- 3 tablespoons granulated sugar
- 1 tablespoon salt
- 1 ¾ teaspoons instant (“rapid rise”) yeast
- 2 ¼ cups warm water (110 degrees F – 115 degrees F)
- 2 tablespoons canola oil plus 2 teaspoons, divided
Instructions
- In a large bowl, whisk together 3 cups of bread flour, sugar, salt and instant yeast. Stir in warm water and 2 tablespoons of oil and beat until smooth. Stir in enough remaining flour, ½ cup at a time, to form a soft dough. It should come together in a ball.
- In a stand mixer fitted with the dough hook or on a floured surface, knead the dough until elastic and smooth, 8-10 minutes.
- Use the remaining 2 teaspoons of oil to grease a large mixing bowl. Place the dough in the greased bowl, turning once to grease the top. Cover and let rise in a warm place until doubled, 1 ½ – 2 hours.
- Punch down dough. Turn onto a lightly floured surface and cut the dough into two equal parts. Shape each piece of dough into a loaf. Place in two greased 9 x 5-inch loaf pans. Cover and let rise until doubled, 1 – 1 ½ hours.
- Bake at 375 degrees F for 30-35 minutes, or until the loaves are golden brown and they sound hollow when tapped. Remove from the pans and cool on a wire rack for at least 1 hour before slicing.


I made this recipe for the last two days. All I have around is all purpose flour. No matter what I change it is too dense. It is really really god but too dense.
Hi, Krystle! It’s hard for me to know exactly why the bread might be turning out too dense, but here are some of the most common reasons:
– properly measure the flour. If you scoop with the measuring cup straight out of the flour container, the flour is packed too tightly. You should always measure flour by gently spooning it into the measuring cup and then leveling with a knife, or by weighing on a scale. Too much flour yields dense, heavy dough.
– use bread flour. Bread flour has a higher protein content than all purpose flour, this protein transforms into gluten when hydrated, and this gluten holds the gas in the rising process that makes the bread more “airy” and light. All purpose flour will have less protein, less gluten, and therefore less gas and a more dense texture.
– knead long enough. If you don’t knead the dough properly, you’ll end up with a dense brick of bread. The density of a bread is a direct result of how long and how thoroughly the dough has been kneaded. To increase the rate of gluten development, you need to knead the dough longer and harder. The electric stand mixer with a dough hook is the way to go so that you don’t have to break a sweat. 🙂
– don’t over-knead the dough. The flip side of not kneading enough is kneading too much. Over kneading the dough will cause the gluten to tear and lose its strength, again resulting in a dense loaf. It’s almost impossible to over-knead the dough by hand, but it can definitely happen when using an electric mixer. To test if bread dough has been kneaded enough, tear a piece off and stretch it out. It should be strong, soft, elastic and smooth. It should not rip at the first instance of stretching. If it is not ready, knead again for another 3 minutes and try again.
– good yeast. Make sure that your yeast is fresh and active, and use warm water (not too hot and not too cool).
– proper rise. Allow enough time for the dough to rise, since this is the process that creates a strong enough texture for gas retention.
I hope that helps and that you can create the perfect loaf! 🙂
I liked what I read with your recipe, but one question, as I was reading further through the recipe, it talked about scoring the loaf after proofing, but the original recipe did not mention it.
Does it need to be done in this recipe, if not will the loaf explode as mentioned in the other area of the recipe? I really like the loaf as pictured.
Hi, Linda! No, I do not score the loaves for this bread recipe. Hope you enjoy!
Loooove this bread recipe! Easy and I love the density. Will be making this again and again for sure! Thanks so much. 🙂
That’s so good to hear, Robyn Grace! Thanks for letting us know. 🙂