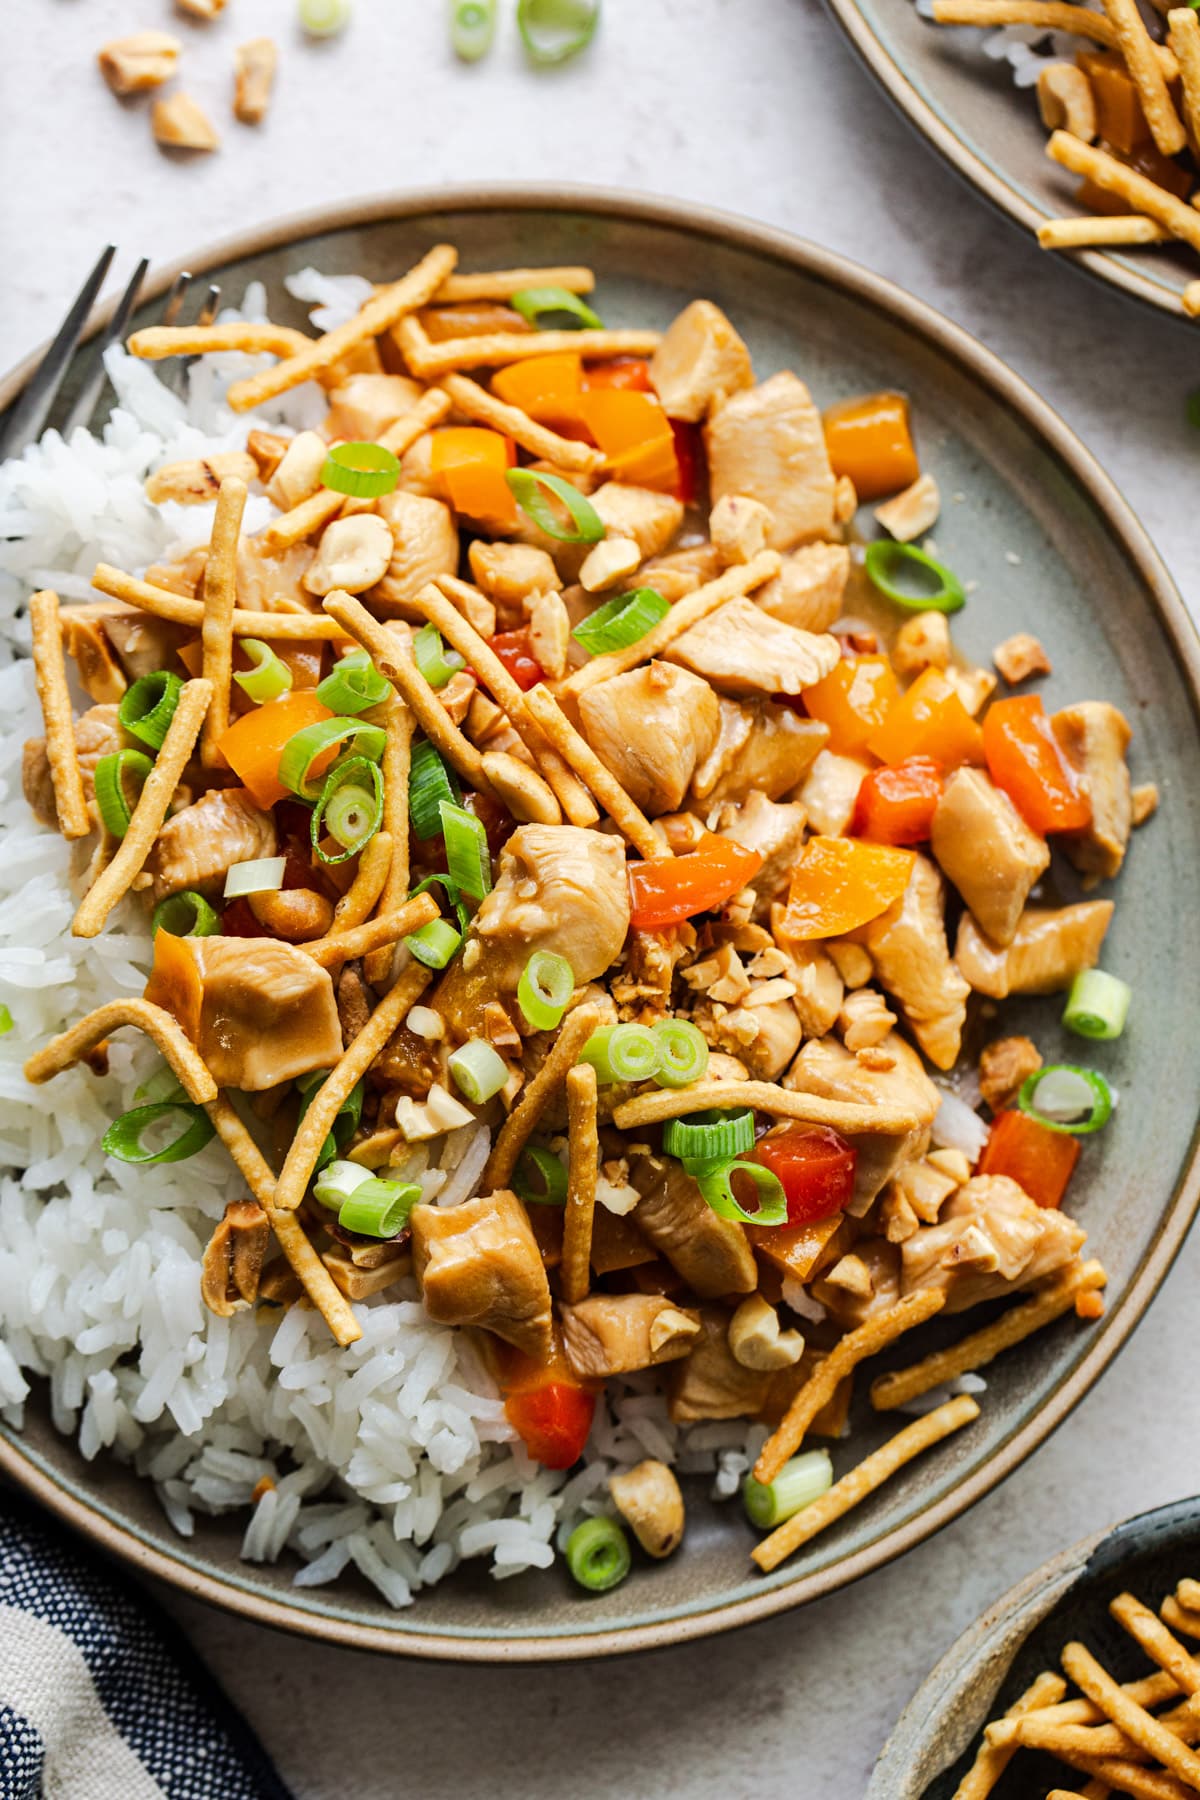
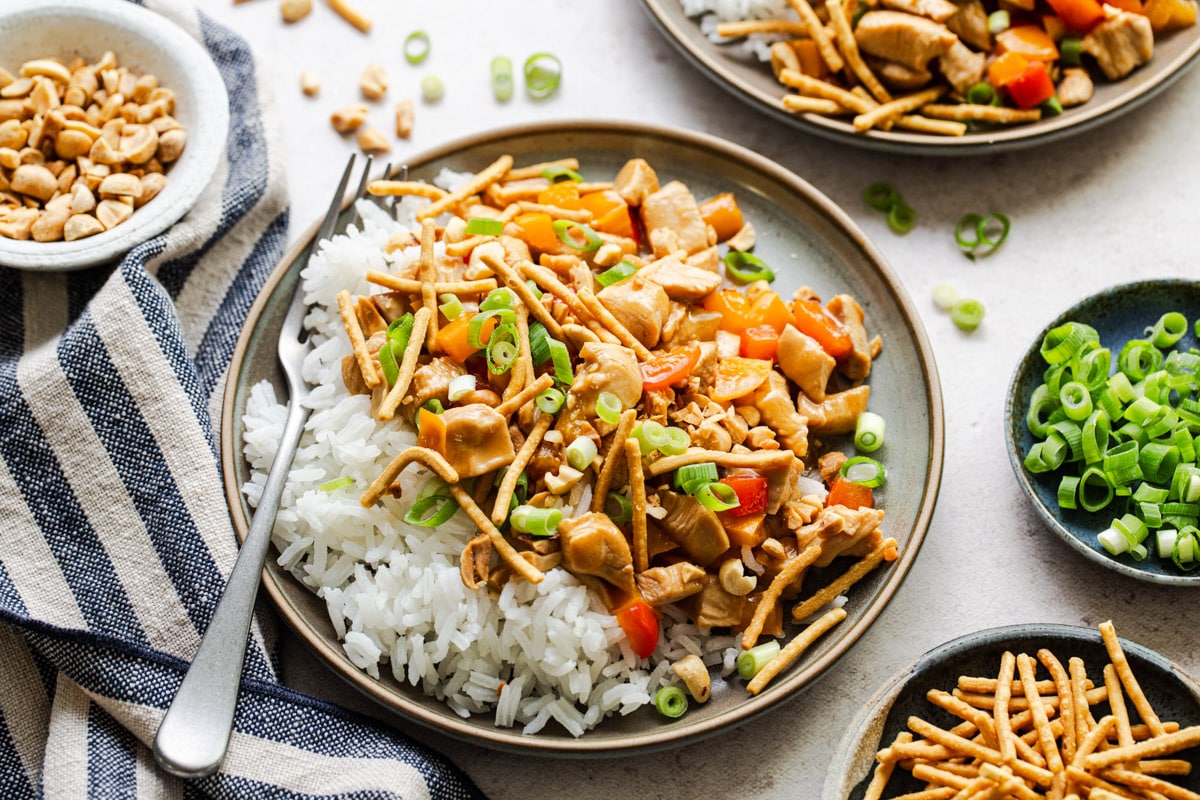
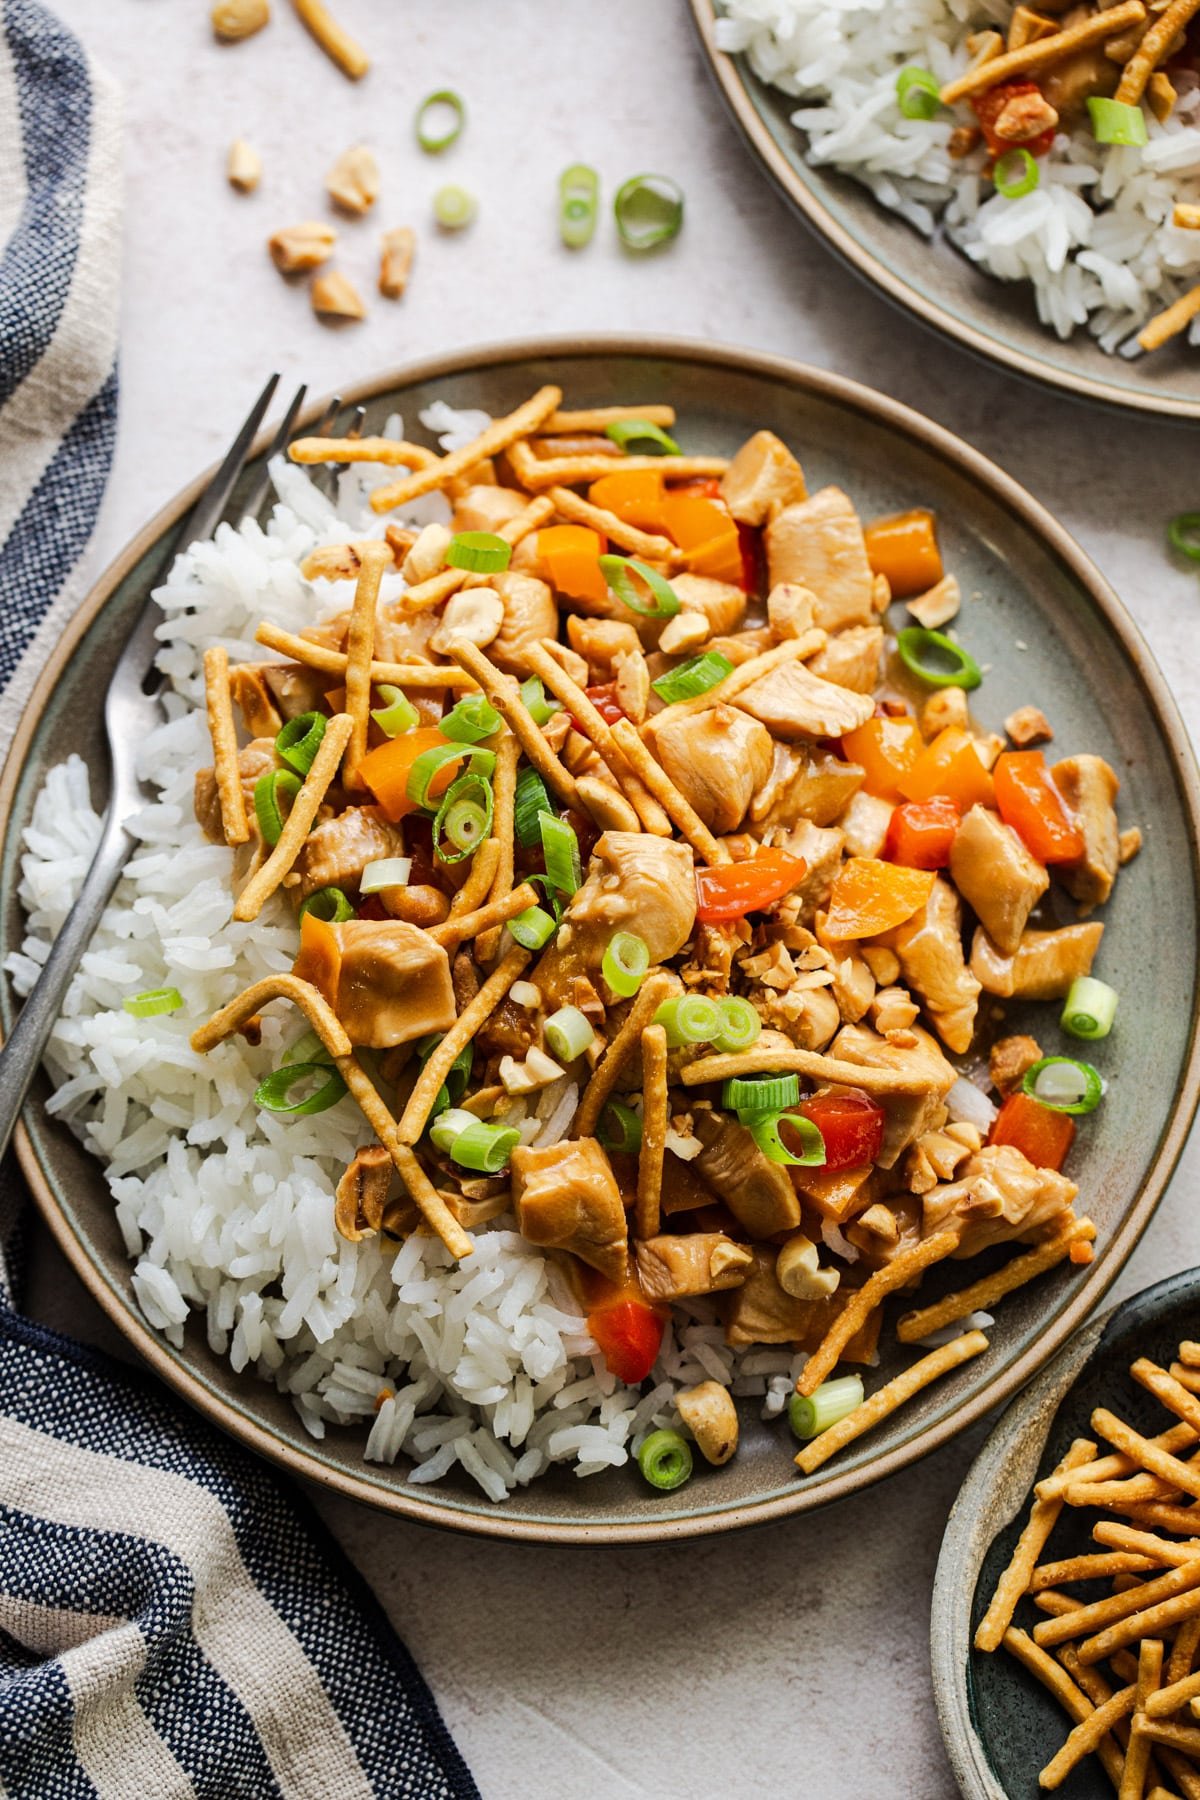
This chicken bell pepper stir fry is a delicious homemade version of your favorite takeout! Cook once and enjoy the meal twice: serve it with rice first, and then use leftovers for chicken pepper sandwiches on soft rolls with cheese for a second quick and tasty weeknight dinner.
If you love quick skillet meals, try my shrimp and vegetable stir fry, chicken and broccoli stir fry, or egg roll in a bowl for more easy dinner ideas.
Before You Get Started
A few quick tips to make sure your stir fry turns out perfectly:
- Use chicken thighs for the juiciest results. You can use chicken breast, but thighs are less likely to dry out and stay tender even if you cook them a minute too long.
- Get your skillet really hot before adding the chicken. High heat is key for a good sear. You want the chicken to cook quickly so it stays juicy, not steam in the pan.
- Don’t overcrowd the skillet. If your pan isn’t big enough to fit the chicken in a single layer, cook it in batches. Crowding leads to steaming instead of that nice golden-brown sear.
How to Make Chicken Bell Pepper Stir Fry
Get your rice cooking first, because this easy chicken bell pepper stir fry is ready from start to finish in less than 30 minutes.
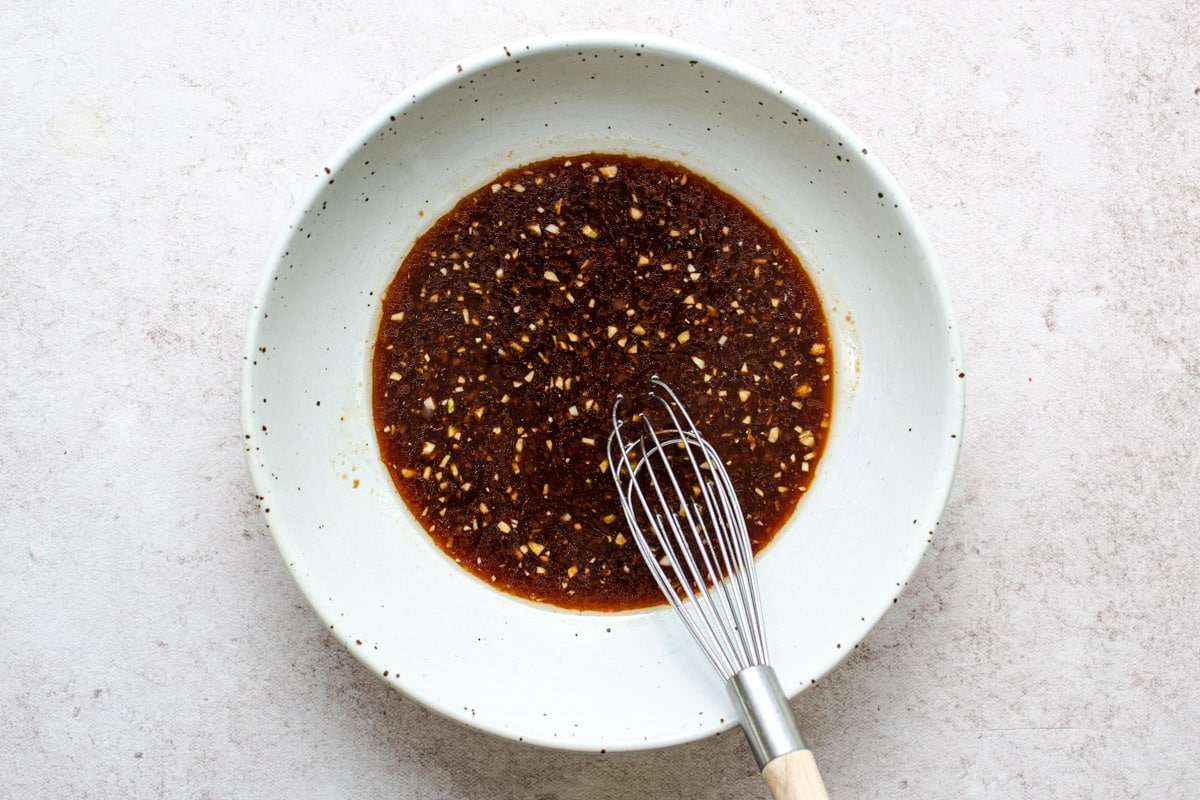
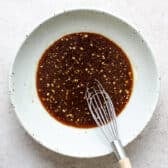
Step 1: Make the Sauce
In a large mason jar or small bowl, shake or whisk together the soy sauce, rice vinegar, brown sugar, sesame oil, ginger, garlic, and cornstarch until the cornstarch is completely dissolved. Set aside.
Ginger Storage Tip: Store fresh ginger root in the freezer so it’s always available when you need it. You can grate it straight from frozen, or substitute with ground ginger in a pinch.
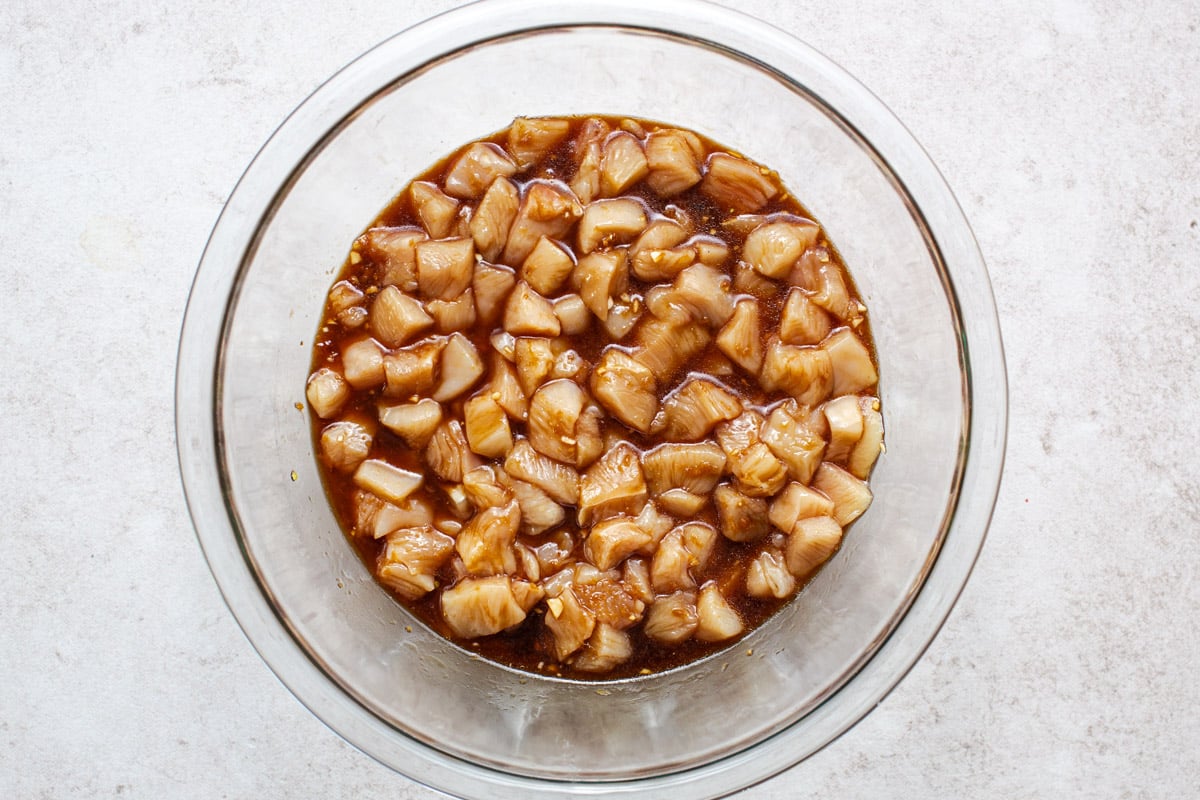
Step 2: Marinate the Chicken
Place the diced chicken in a large bowl. Add about ¼ cup of the sauce mixture and toss to coat. Set aside while you cook the peppers, reserving the remaining sauce for later.
Thanks to the soy sauce, the chicken will likely be salty enough on its own. Hold off on seasoning with additional salt until you’ve had a chance to taste at the end. You can always stir in some black pepper or crushed red pepper flakes if you’d like a little heat.
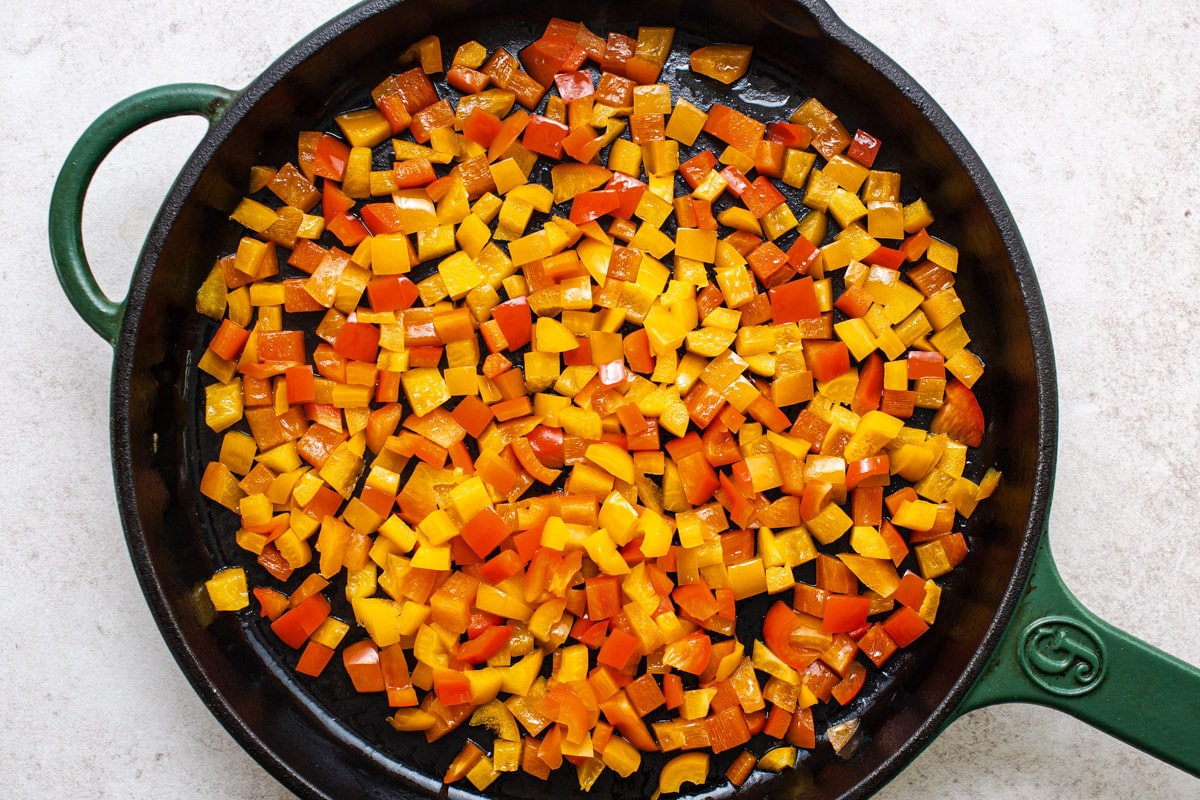
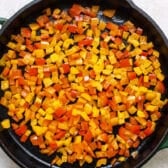
Step 3: Stir-Fry the Peppers
Heat 1 tablespoon of vegetable oil in a large cast iron skillet or wok over medium-high heat. Add the bell peppers and stir-fry until crisp-tender, about 4 minutes. Remove to a plate and set aside.
I like to use red bell peppers because they’re sweeter than green, but any color works well here. Orange and yellow peppers are also great options if you want a colorful mix.
Step 4: Sear the Chicken
Wipe the pan clean, add the remaining 2 tablespoons of oil, and heat over high heat. Once the skillet is very hot, add the chicken, leaving most of the marinade behind in the bowl (discard this used marinade).
Spread the chicken out in the pan and let it sit undisturbed for 1-2 minutes so it can get nice and brown. Flip and continue cooking, tossing occasionally, for about 5-6 minutes until cooked through.
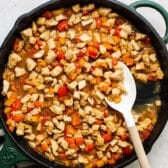
Step 5: Add the Sauce and Finish
Add the water or chicken broth, reserved sauce, and peppers back to the skillet. Bring to a simmer and cook over high heat, stirring, for 30 seconds to 1 minute. Then turn off the heat.
Sauce Consistency: The sauce will continue to thicken as it sits. If it gets too thick, just add a splash of water or broth to thin it out. If you prefer a thicker sauce, let it simmer an extra minute before removing from heat.
Taste and season with salt if necessary.

Serving Suggestions
You can’t beat the classic combination of chicken, peppers, and rice! Garnish each serving with your favorite toppings like sliced green onions, toasted sesame seeds, red pepper flakes, chopped peanuts, or crunchy chow mein noodles.
The chicken and peppers are also delicious served in sandwich rolls with melted cheese, like an Asian-inspired chicken cheesesteak.
To round out the meal with additional sides, try pairing this stir fry with sesame peanut noodles, ramen noodle coleslaw, or sesame ginger snap pea salad. Baked store-bought egg rolls make a great addition, too. And don’t forget fortune cookies for dessert!
Storage Tips
Leftover stir fry will keep in an airtight container in the refrigerator for 3-4 days. Reheat the chicken and peppers with the sauce in a skillet over low heat, or in the microwave until warmed through, about 1-2 minutes. Be careful not to reheat too long or you can dry out the meat.
You can also freeze leftovers in an airtight container for up to 3 months. Keep in mind that the texture of the veggies will be softer after thawing, so freeze at your own risk!
Recipe Variations
- Veggies: swap in broccoli, thinly-sliced carrots, or sliced fresh mushrooms.
- Sweeter sauce: add 1-2 more tablespoons of brown sugar. You can also stir about 1-2 tablespoons of hoisin sauce into the skillet towards the end for a richer, sweeter flavor.
- Different protein: use shrimp or thinly-sliced flank steak.
- Spicy: add crushed red pepper flakes or a splash of sriracha hot sauce.
Frequently Asked Questions
What kind of chicken works best for stir fry?
Chicken thighs are my top choice because they stay juicy and tender, even with high-heat cooking. Chicken breast works too, but it can dry out more easily if overcooked. Either way, cut the chicken into small, even pieces so it cooks quickly and evenly.
Can I use different colors of bell peppers?
Absolutely! Any color bell pepper works in this recipe. Red, orange, and yellow peppers tend to be sweeter than green, so use whatever you prefer or mix them for a more colorful dish.
How do I keep the chicken tender and not dry?
The key is high heat and a hot skillet. You want the chicken to sear quickly rather than steam slowly. Make sure your pan is very hot before adding the chicken, don’t overcrowd the skillet, and avoid overcooking. Letting the chicken marinate in the sauce for a few minutes before cooking also helps keep it flavorful and moist.
More Takeout-Style Favorites

Did you make this recipe?
If you enjoyed this recipe, please leave a comment with a 5-star review at the bottom of the post. Thank you!

Chicken and Bell Pepper Stir Fry
Equipment
- large skillet or wok
Ingredients
- ½ cup less-sodium soy sauce, plus more for serving
- 2 tablespoons rice vinegar
- 2 tablespoons packed brown sugar
- 1 tablespoon sesame oil
- 1 tablespoon minced or grated fresh ginger (or about 1 teaspoon ground ginger)
- 1 garlic clove, minced or grated (about 1 teaspoon)
- 2 tablespoons cornstarch
- 2 sweet bell peppers (any color), seeded and cut into bite-size pieces
- 1 ½ lb. skinless, boneless chicken thighs or chicken breasts, trimmed of fat and cut into ¾-inch pieces
- 3 tablespoons vegetable oil
- ½ cup water or low-sodium chicken broth
- Kosher salt, to taste
- Cooked white rice, for serving
- Optional garnish: additional soy sauce sliced green onion, toasted sesame seeds, chopped peanuts, cashews, chow mein noodles, or crushed red pepper flakes
Instructions
- In a large mason jar or in a small bowl, shake or whisk together the soy sauce, rice vinegar, brown sugar, sesame oil, ginger, garlic, and cornstarch until the cornstarch is completely dissolved. Set aside.

- Place chicken in a large bowl. Add about ¼ cup of the soy sauce mixture to the chicken and toss to coat. Set aside, reserving the remaining sauce to use later.
- Heat 1 tablespoon of vegetable oil in a large cast iron skillet or wok over medium-high heat. Add the bell peppers and stir-fry until crisp-tender, about 4 minutes. Remove to a plate and set aside.
- Wipe the pan clean, add the remaining 2 tablespoons of oil, and heat the oil over high heat. Once the skillet is very hot, add the chicken mixture, leaving most of the marinade in the bowl (discard this marinade). Spread out the chicken in the pan, and then let it sit undisturbed for about 1-2 minutes so that the chicken can get nice and brown. Flip the chicken and cook through, tossing occasionally, for about 5-6 minutes.
- Add water or chicken broth, reserved soy sauce mixture, and peppers to the skillet. Bring to a simmer and cook over high heat, stirring, for 30 seconds to 1 minute, then turn off the heat. The sauce will continue to thicken as it sits. Taste and season with salt if necessary.
- Serve over rice and garnish with optional toppings.


Notes
- Chicken choice: Chicken thighs stay juicier than breasts and are more forgiving with high-heat cooking. If using breasts, watch closely to avoid overcooking.
- Hot skillet is key: Make sure your pan is very hot before adding the chicken. This ensures a good sear and keeps the meat tender.
- Don’t overcrowd: If your skillet isn’t large enough to fit the chicken in a single layer, cook in two batches for the best results.
- Sauce thickness: The sauce will continue to thicken as it cools. If it gets too thick, stir in a splash of water or broth. For a thicker sauce, let it simmer an extra minute.
- Ginger tip: Fresh ginger can be stored in the freezer and grated directly from frozen. Ground ginger works as a substitute in a pinch.
- Serving ideas: Serve over rice, or stuff in hoagie rolls with melted cheese for Asian-inspired chicken cheesesteak sandwiches.
Nutrition
Originally published in April, 2023, this post was updated in January, 2026.


This is really good! It is now a regular on the menu in our house!
Any idea if its ok to make and freeze? I want to try to make some for a freezer meal for my sister in law who is due to have a baby soon
thank you!
Thank you, Lauren! Yes, you can freeze this recipe for up to 3 months. That’s so nice of you to make it for your sister-in-law!
Very good easy to make. I had most of the Ingredients already. Just needed soy sauce. Took about 5 to 10 min prep which is pretty quick. For the left overs I will put some crushed peanuts.
Awesome! Thanks, Kathy. I’m so glad that you liked it!
My Wife made it for me cause she knows I love east asian food.
She served it over rice ramen noodles. And it was delicious.
I don’t have to get take-out now. lol
We’re so glad you enjoyed it!
Easy and delicious!
Thanks, Petra!
Really good. Just added some onion with the peppers. Personal preferably. Definitely making again!
We’re so glad you enjoyed it, Janet! Thank you for trying it out and taking the time to leave feedback.
This was great, thank you! Added broccoli, scallions, roasted cashews and substituted with shrimp and coconut aminos (instead of soy sauce). Will definitely make again!
Thank you, Andrea! We’re so glad you enjoyed it and were able to adjust it to suit your preferences.
Very good easy to make. I had most of the Ingredients already. Just needed soy sauce. Took about 5 to 10 min prep which is pretty quick. For the left overs I will put some crushed peanuts.
Super easy and relatively fast to make. I added rice noodles to make it a really easy one dish meal. I will definitely make this again!!
Thank you, Shireen! We’re so glad you enjoyed it.
Unreadable website. 60% of the page is covered in ads. I know you need to make money but you need to balance this better.
Excellent dish as followed. No tweeking for my taste. . I read your bio. My sister has 3 in for years as well. Happy New Year – and for you a new way of living. Mine and others tastebuds are Glad you made the switch. I look forward to trying other recipes.
Thanks for such kind words, Perry. I’m glad that you enjoyed the meal, too! 🙂
Loved this recipe! The taste was excellent! Was easy to make and able to use up extra veggies I had. Added to my favorites list!
Thank you, Elaine! We’re so glad you enjoyed it. Thank you for trying it out and taking the time to leave a review.
I thought this recipe was delicious. I added another pepper and an onion and there was still more than enough sauce. Next time I will change up the veggies just to see how it is but I’m writing this one down in my recipe book!
Thank you, Marie! We’re so glad you enjoyed it.
Recipe may be good but WAY TOO MANY POP IN UP ADS – interfering with reading the recipe, instructions or video. NOT A GOOD SITE – won’t use or recommend.
Absolutely delicious thank you! My only change to your recipe was adding an onion with the peppers and a few extra garlic cloves. Will definitely make again ☺️
Thank you for the feedback, Jayne! We’re so glad you enjoyed it and were able to make it work for you.
I learned more in five minutes from your post than I did in hours elsewhere. Thank you for being such a great resource. Subscribed immediately!
This dish was a success with our family! It’s always a great feeling when we find a recipe that everyone loves and it becomes a regular part of our meal rotation. Thank you for sharing!
I didn’t have peppers on hand and used broccoli. I didn’t have fresh ginger or fresh garlic. The powder worked very well.
Thank you for the feedback, Lena! We’re so glad you enjoyed it and were able to adjust it to suit your needs.