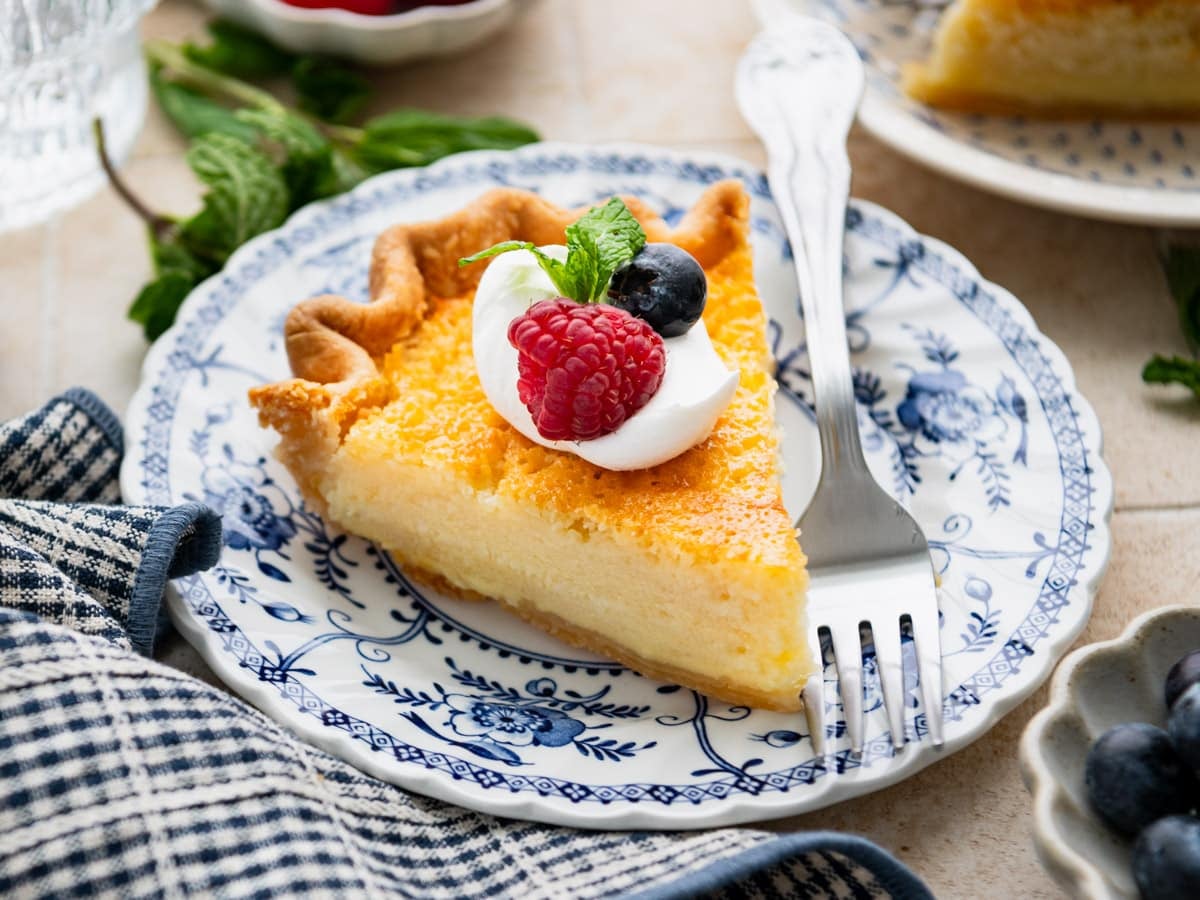
If you’ve never had buttermilk pie, you’re in for a treat. This old-fashioned Southern dessert has a rich, custardy filling that’s sweet, full of vanilla flavor, and absolutely delicious. It comes together with simple pantry ingredients, and the prep takes about 15 minutes. Pour, bake, and let the oven do the rest!
More Classic Southern Pies

Before You Get Started
- Don’t overbake. The pie should still have a slight jiggle in the center when you take it out of the oven. It will continue to set as it cools. Overbaking leads to a dry, cracked filling instead of that smooth, custardy texture.
- Cool the melted butter before adding it. If the butter is too hot when you whisk it into the eggs, you’ll end up with scrambled bits in your filling. Melt it and let it cool for a few minutes so it’s warm but not steaming.
- Keep the crust cold. Whether you’re using store-bought or homemade, keep the crust chilled right up until you pour in the filling. A cold crust holds its shape better, turns out flaky, and helps the bottom cook evenly.
How to Make Buttermilk Pie
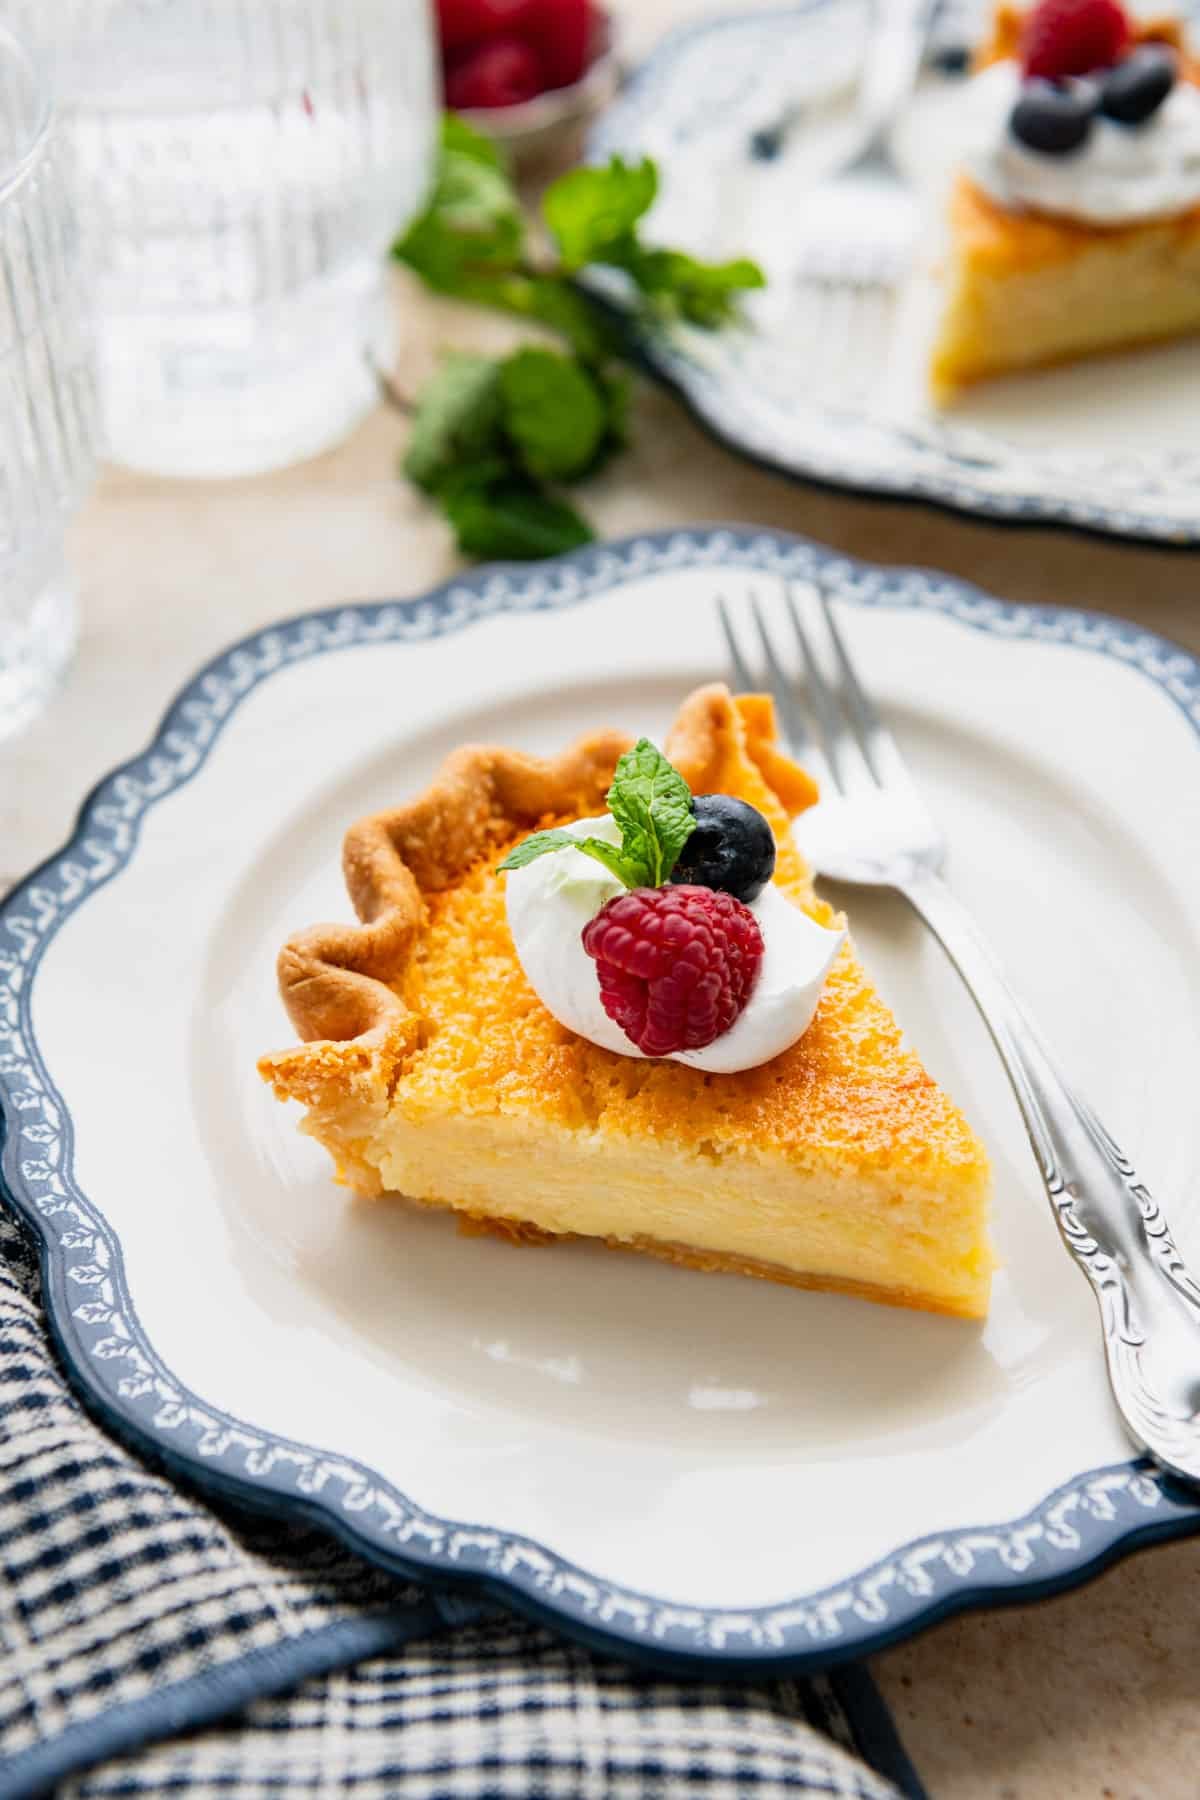
This pie comes together quickly. The filling is a simple whisk-and-pour situation, and the oven handles the rest. With its crisp, golden brown top and creamy vanilla custard filling, my kids think it tastes like crème brûlée — and I would have to agree! Here’s how to walk through it step by step.
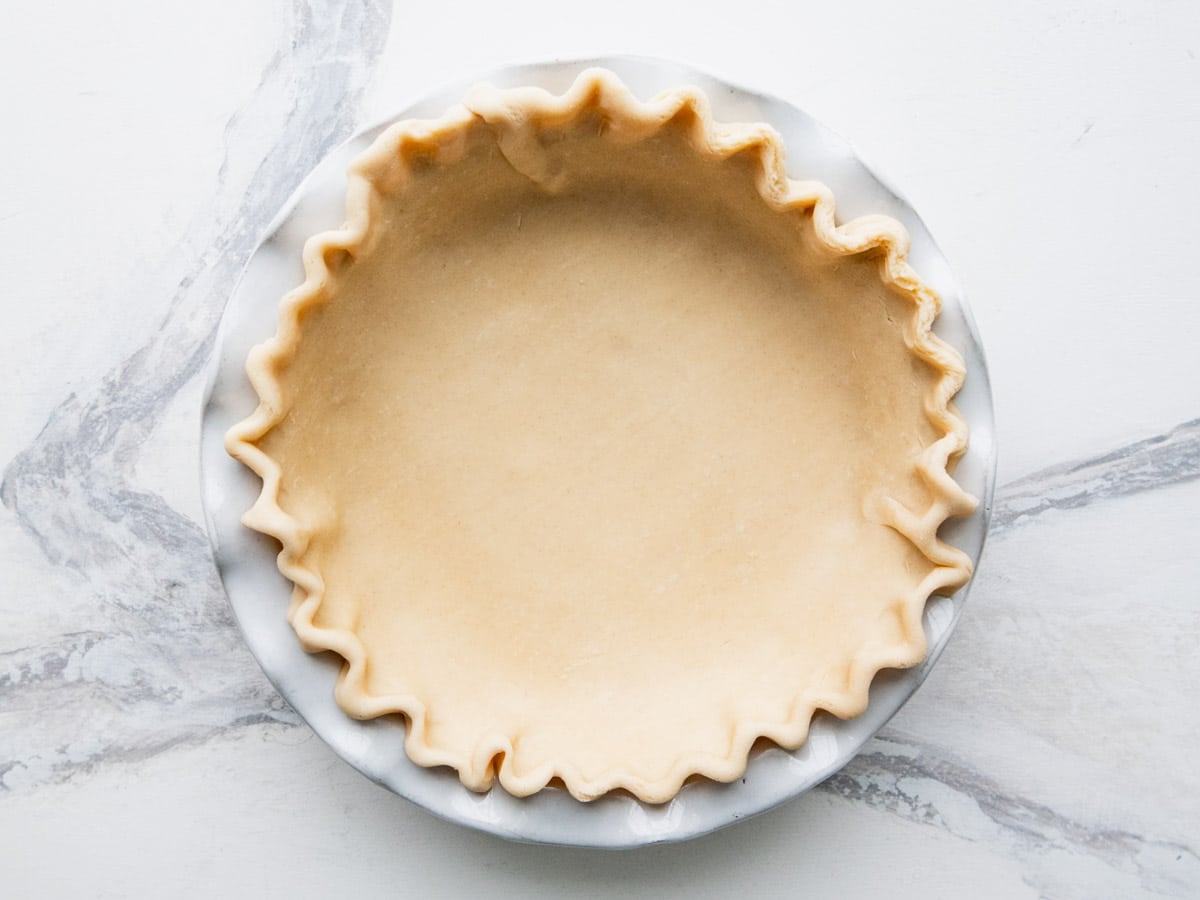
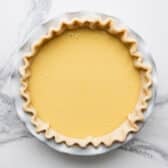
Step 1: Prepare the Crust
Place an unbaked crust in a pie plate. Crimp or flute the edges. Keep the crust refrigerated while you prepare the filling and preheat the oven.
** Note: A store-bought crust (such as the refrigerated crust from Pillsbury) or a homemade crust will both work well here. See the instructions below for our favorite all-butter homemade pie crust.
** Tip: When working with pastry, it’s important to keep the pie crust cold before it goes into the oven. This ensures a flaky crust at the end that holds its shape and cooks evenly.
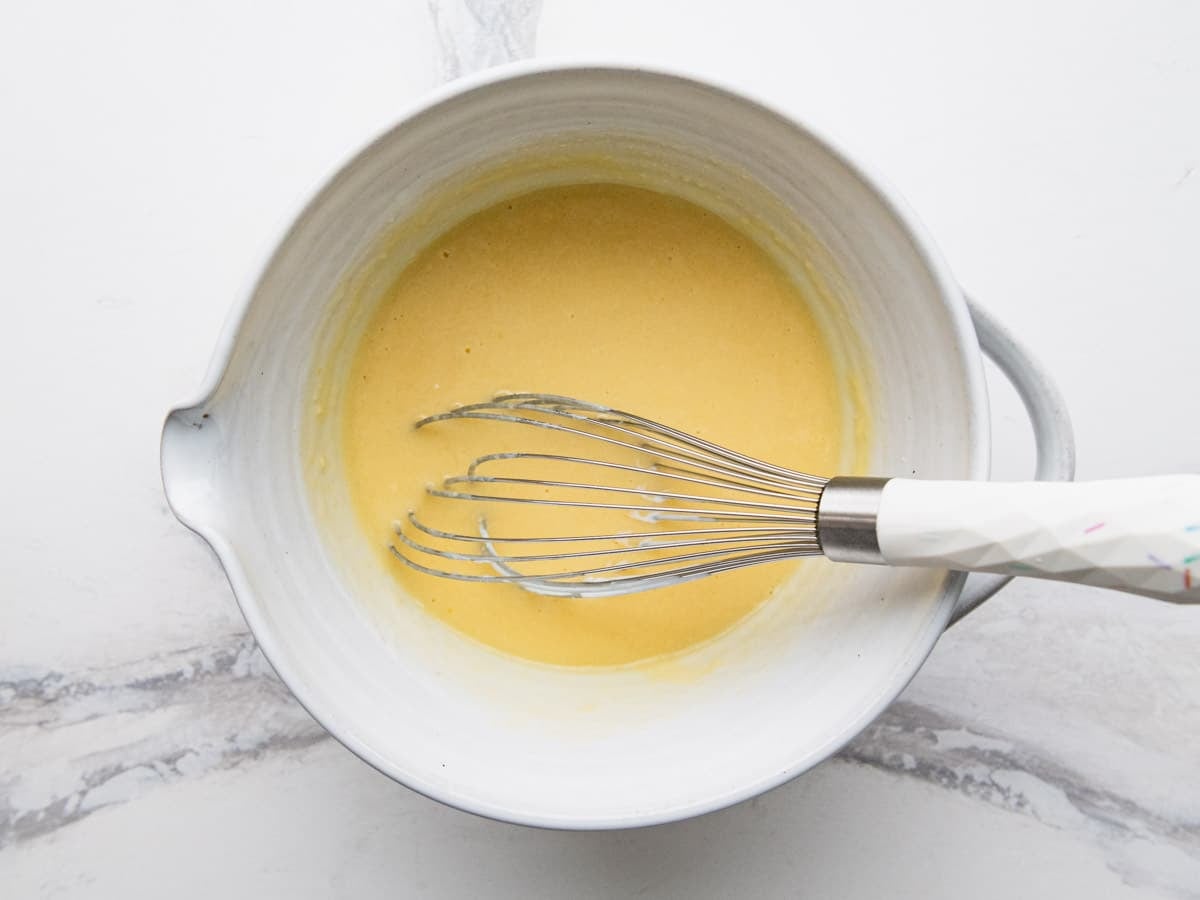
Step 2: Make the Filling
In a large bowl, whisk together the eggs, sugar, and flour until smooth.
Slowly add the melted (and slightly cooled) butter. Then mix in the buttermilk and vanilla, stirring just until combined.
** Tip: Let the butter cool first. If it’s too hot, it can cook the eggs and leave you with lumpy filling. Warm to the touch is what you’re going for.
** Texture cue: the filling should be smooth and pourable, like a thin custard.
** Tip: Don’t over-mix the filling. Gentle whisking keeps the filling smooth and avoids incorporating excess air that can cause cracking.
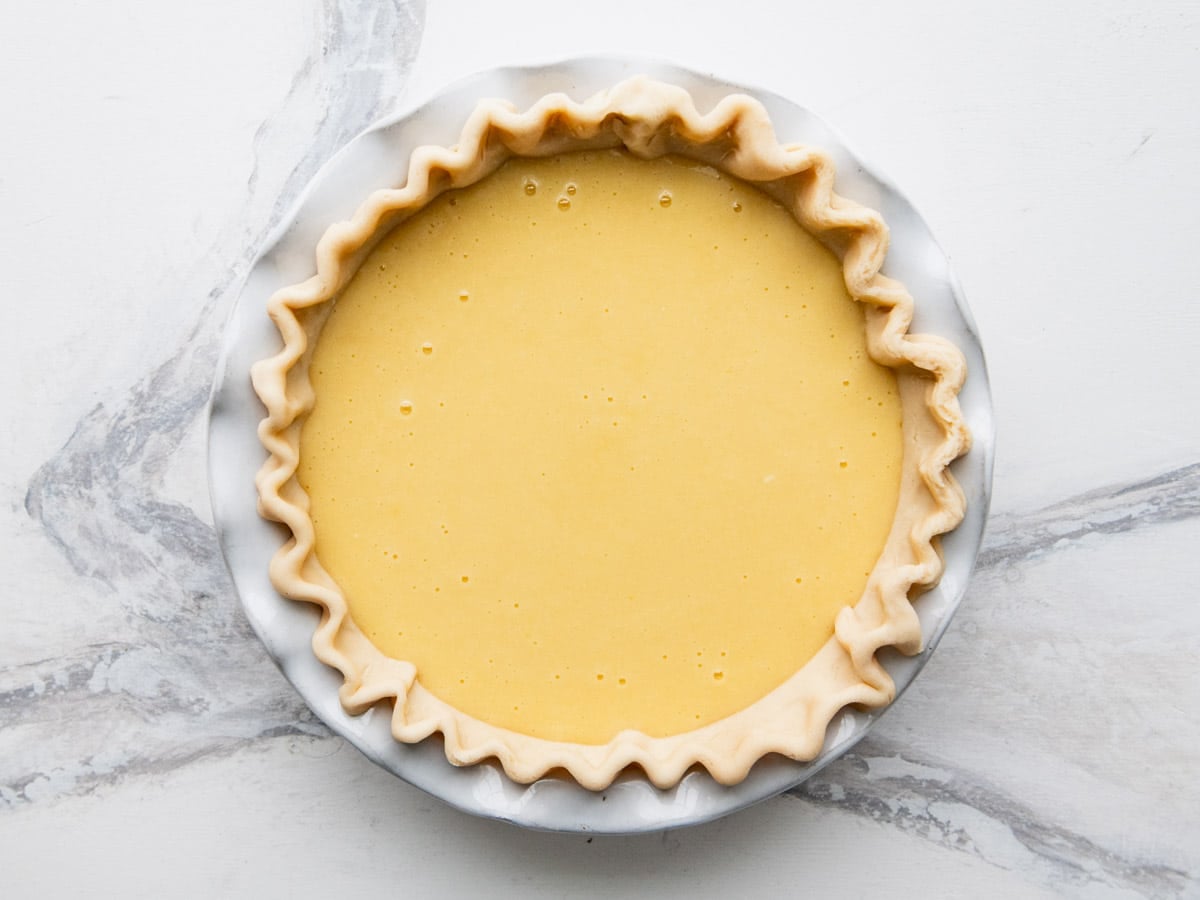
Step 3: Fill and Bake
Pour the filling into the chilled crust.
Bake at 350°F for 50-55 minutes. The top should be puffed and golden, the edges should be set, and the center should still have a slight jiggle when gently shaken. Remember, it will continue to set and firm up as it cools.
** Note: Glass or ceramic pie plates may need an extra 5-10 minutes.
** Test for Doneness: The jiggle test is the most reliable way to check for doneness. The center should wobble like set Jell-O, not slosh like liquid. If it’s still very liquid in the middle, give it another 5 minutes and check again.
⇢ Don’t wait for the center to be completely firm. The pie continues to set as it cools. Baking until the center is solid means you’ve gone too far.
** Tip: If the edges or top are browning too quickly, tent loosely with foil for the remaining bake time.
Step 4: Cool Completely
Cool the pie at room temperature (this is essential, not optional). The pie will deflate slightly as it cools, which is normal. For the cleanest slices, refrigerate for a few hours before cutting.
** Note: Allowing the pie to cool completely before slicing is important because this gives the filling a chance to set up completely. Cutting into a warm buttermilk pie means a runny filling. Patience pays off here!

Step 5: Serve
Serve the pie at room temperature or slightly chilled. It’s great on its own, but a dollop of whipped cream, a few fresh berries, and/or a sprig of fresh mint dress it up nicely for company.
Optional Homemade Pie Crust
Store-bought pie crust works beautifully here, but if you want to make your own, this simple all-butter crust is flaky and tender.
To do so, cut cold butter into flour until it’s about the size of peas. Add ice water gradually until the dough comes together, being careful not to overwork the dough. Chill the disc of dough before rolling it out and proceeding with the recipe. The full instructions are included in the recipe card below.
** Tip: Remember that when working with pastry, it’s important to keep the butter (and dough) cold. Do not overwork the dough.
** Make Ahead: The dough can be refrigerated for up to 2 days or frozen for up to 3 months.
** Tip: If the dough feels too firm after chilling, let it sit on the counter for about 10 minutes before rolling. It should be pliable but still cold.
Serving Suggestions
Serve buttermilk pie with a dollop of whipped cream, a scoop of vanilla ice cream, or a handful of fresh berries for a simple, classic finish. It’s right at home on a holiday dessert table for Easter, Thanksgiving, and Christmas, at a potluck, or after Sunday dinner. Offer it alongside a warm cup of coffee or sweet tea and other Southern favorites like easy pecan pie or sweet potato pie.
Storage, Freezing, and Make-Ahead
Room temperature: Buttermilk pie can sit out for about 2 hours (standard food safety for custard/egg-based pies), but should be refrigerated after that. Don’t leave it out overnight.
Refrigerator storage: Store covered (plastic wrap or airtight container) in the fridge for up to 3-4 days.
Reheating: Serve cold, at room temperature, or warm individual slices in the oven at 300°F for about 10 minutes. Avoid microwaving if possible (this can make the filling rubbery).
Freezing: Freeze whole or in slices, wrapped tightly in plastic wrap and then foil, for up to 2-3 months. Thaw overnight in the refrigerator.
Make-ahead: This pie is a great make-ahead dessert. Bake it a day ahead and store in the fridge. The flavor actually develops a bit overnight. Bring to room temperature for 20-30 minutes before serving if you prefer it not ice-cold.
Frequently Asked Questions
What’s the difference between buttermilk pie and chess pie?
Buttermilk pie and chess pie are very similar Southern custard-style pies made with eggs, butter, and sugar. The main difference is that buttermilk pie uses buttermilk for a slightly tangy flavor, while chess pie usually has a smaller amount of regular milk or cream and often includes cornmeal and a splash of vinegar, making the two close cousins.
Can buttermilk pie be left out at room temperature?
It can sit out for about 2 hours, but since it’s a custard-based pie made with eggs and dairy, it should be refrigerated after that. Don’t leave it out overnight. The pie is best stored in the fridge and can be brought to room temperature before serving.
What if I don’t have buttermilk?
Here’s an easy DIY substitute: place 1 tablespoon of white vinegar or lemon juice in a measuring cup, then fill to the 1-cup line with whole milk. Let it sit for 5-10 minutes until it curdles slightly. Real buttermilk gives the best tangy flavor, but this substitute works well in a pinch.
Can I use unsalted butter instead of salted?
Yes, just add about 1/4 teaspoon of salt to the filling to compensate. The recipe calls for salted butter for convenience and flavor, but either works.
Why did my buttermilk pie crack on top?
This is usually caused by over-baking or too much air whisked into the filling. Pull the pie when the center still jiggles slightly, and whisk the filling gently rather than beating vigorously.
More Classic Pie Recipes
Watch How to Make It

Old-Fashioned Buttermilk Pie
Equipment
- 9 inch pie plate
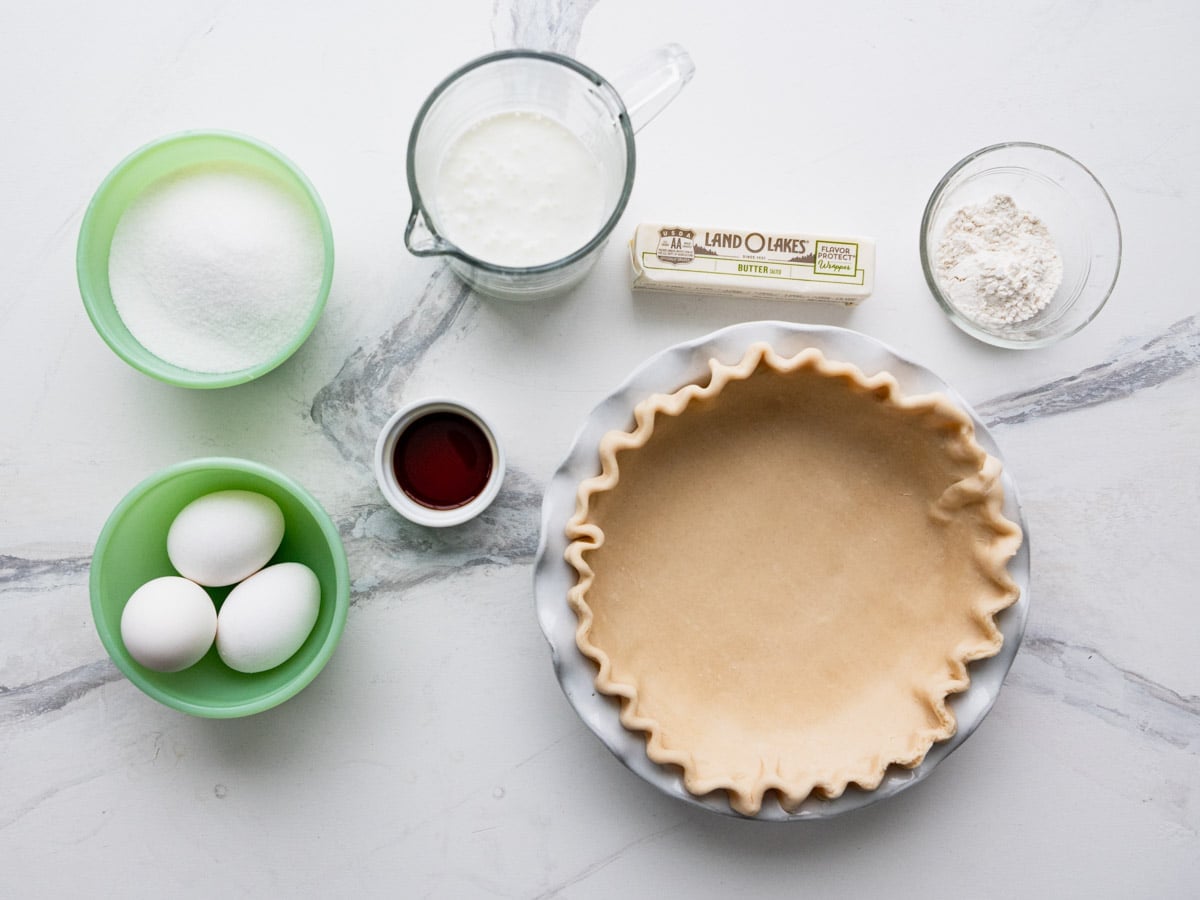
Ingredients
For the Pie Filling:
- 1 unbaked 9-inch pie crust (store-bought or homemade) (recipe below)
- 3 large eggs, lightly beaten
- 1 cup granulated sugar
- 2 tablespoons all-purpose flour
- ½ cup (1 stick) salted butter, melted and slightly cooled
- 1 cup whole buttermilk
- 2 teaspoons vanilla extract
Optional Garnish:
- Whipped cream
- Fresh berries (strawberries, blueberries, or raspberries)
- Fresh mint
For the Optional Homemade Pie Crust:
- 1 ¼ cups (150 grams) all-purpose flour
- ½ cup (1 stick) cold salted butter, cut into ½-inch cubes
- ¼ cup ice water, plus more as needed
Instructions
If making the homemade crust:
- Place the flour in a large bowl. Add the cold, cubed butter and toss to coat. Use your fingers or a pastry cutter to work the butter into the flour until the pieces are about the size of peas.
- Make a well in the center. Add the ice water and toss with your hands or a fork until the dough just comes together. Do not knead. Add more water, 1 tablespoon at a time, if needed (dough should hold together but not be sticky).
- Press the dough into a 1-inch thick disc. Wrap tightly in plastic wrap and refrigerate for at least 1 hour (or up to 2 days).
- On a floured surface, roll out the chilled dough to a 12-inch circle. Transfer to a 9-inch pie plate. Tuck excess dough under the edges and crimp or flute. Cover and refrigerate while you prepare the filling.
For the buttermilk pie:
- Place the unbaked pie crust in a 9-inch pie plate (if using store-bought). Crimp or flute the edges. Keep the crust refrigerated while you prepare the filling.

- Preheat the oven to 350°F.
- In a large bowl, whisk together the eggs, sugar, and flour until smooth.

- Slowly whisk in the melted butter until fully incorporated.

- Add the buttermilk and vanilla extract. Stir gently until just combined.

- Pour the filling into the chilled, unbaked pie crust.
- Bake at 350°F for 50-55 minutes, or until the top is puffed and golden and the center has just a slight jiggle when gently shaken. If using a glass or ceramic pie plate, you may need 5-10 extra minutes.
- Remove from the oven and cool completely at room temperature. The pie will continue to set as it cools. For the cleanest slices, refrigerate for a few hours before serving.

- Slice and serve plain, or top with whipped cream and fresh berries.

Notes
- Don’t over-bake. Pull the pie when the center still jiggles slightly. It sets as it cools. Over-baking causes a dry, cracked filling.
- Cool the butter. Melted butter should be warm, not hot. Too-hot butter can scramble the eggs and create a lumpy filling.
- Keep the crust cold right up until you pour in the filling. A cold crust holds its shape and bakes more evenly.
- Whisk gently. Over-mixing introduces air, which can cause the top to puff up excessively and crack.
- Storage: Cover and refrigerate for up to 3-4 days. Buttermilk pie is custard-based, so don’t leave it at room temperature for more than 2 hours.
- Make-ahead: Bake a day ahead and refrigerate. The flavor actually develops a bit overnight. Bring to room temperature for 20-30 minutes before serving.
- Freezing: Wrap tightly in plastic wrap and foil. Freeze whole or in slices for up to 2-3 months. Thaw overnight in the refrigerator.
- Buttermilk substitute: Add 1 tablespoon of white vinegar or lemon juice to a measuring cup, fill to 1 cup with whole milk, and let sit for 5-10 minutes.
- Lemon variation: Add 1 tablespoon of lemon juice and 1-2 teaspoons of freshly grated lemon zest to the filling for a subtle citrus twist.
- Salted vs. unsalted butter: The recipe uses salted butter. If using unsalted, add 1/4 teaspoon of salt to the filling.
- Homemade crust make-ahead: The dough disc can be refrigerated up to 2 days or frozen up to 3 months. Thaw overnight in the fridge before rolling.
- Cornmeal Swap: Use an equal amount of cornmeal instead of flour for a more rustic texture in the filling.
- Add Nutmeg for Warmth: A pinch of freshly grated nutmeg (about ¼ teaspoon) adds a warm, subtle spice that complements the tangy buttermilk.


Did you make this recipe?
If you enjoyed this recipe, please leave a comment with a 5-star review at the bottom of the post. Thank you!