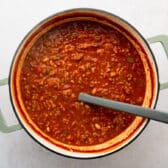
This Southern chili simmers ground beef and pork sausage with tomatoes, peppers, and Creole seasoning. Black eyed peas stand in for the usual kidney beans, which gives it a softer bite and a flavor you won’t get from a standard pot!
Other ways to make chili:

Before You Get Started
A few things make the difference between a good chili and a great one:
- Simmer the chili uncovered for a thicker pot. The broth reduces as it cooks, and that reduction is what thickens the chili. Take off the lid during the second half of simmering, if you like.
- Don’t drain the tomato cans. The liquid from the tomatoes is part of the base. Draining it throws off the ratio and leaves you short on broth.
- Adjust the heat. Keep it mild with “mild” Rotel and mild sausage, or make it spicier with hot sausage and some cayenne, crushed red pepper flakes, or a garnish of hot sauce.
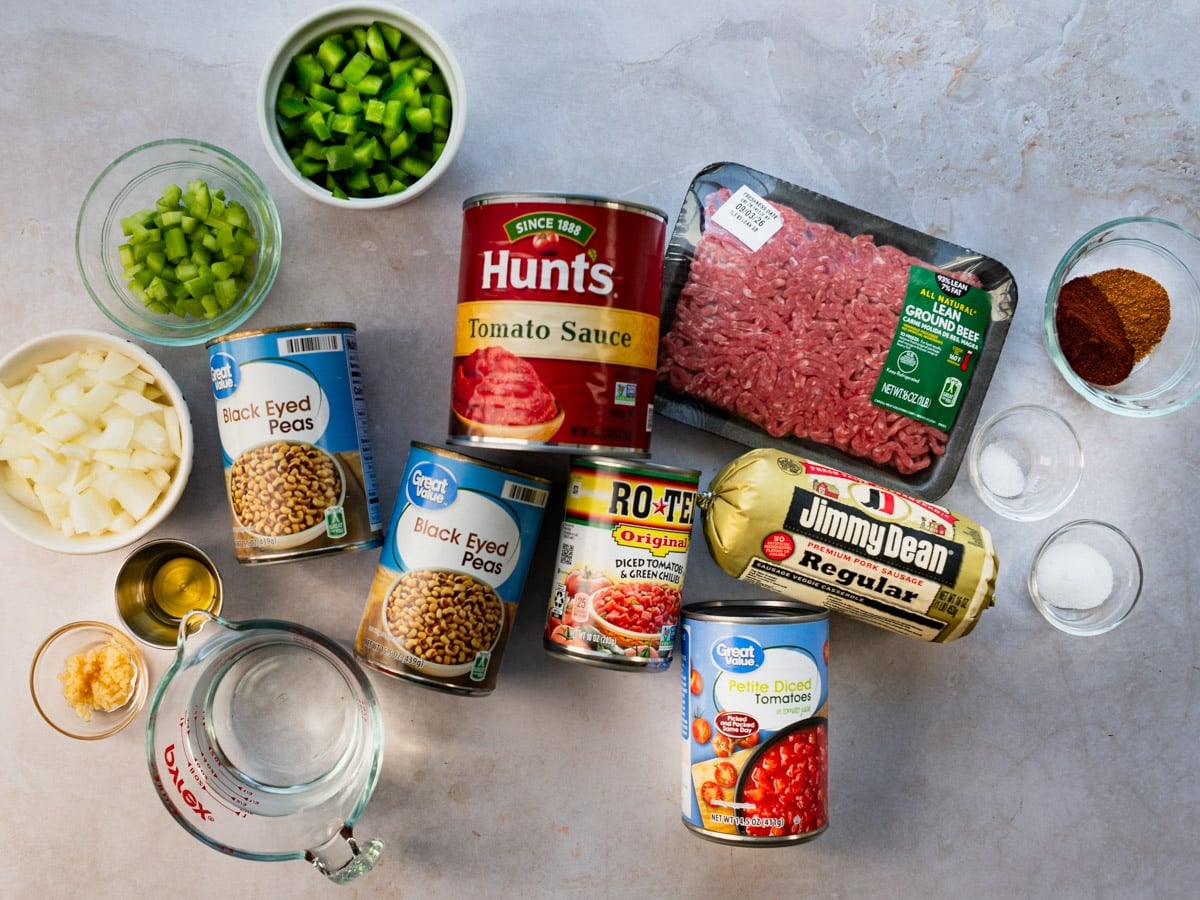
How to Make Southern Chili
This is a one-pot dinner, so all you need is a large Dutch oven or stock pot and about 15 minutes of prep time. Here’s how it comes together:
Step 1: Brown the Meat and Vegetables
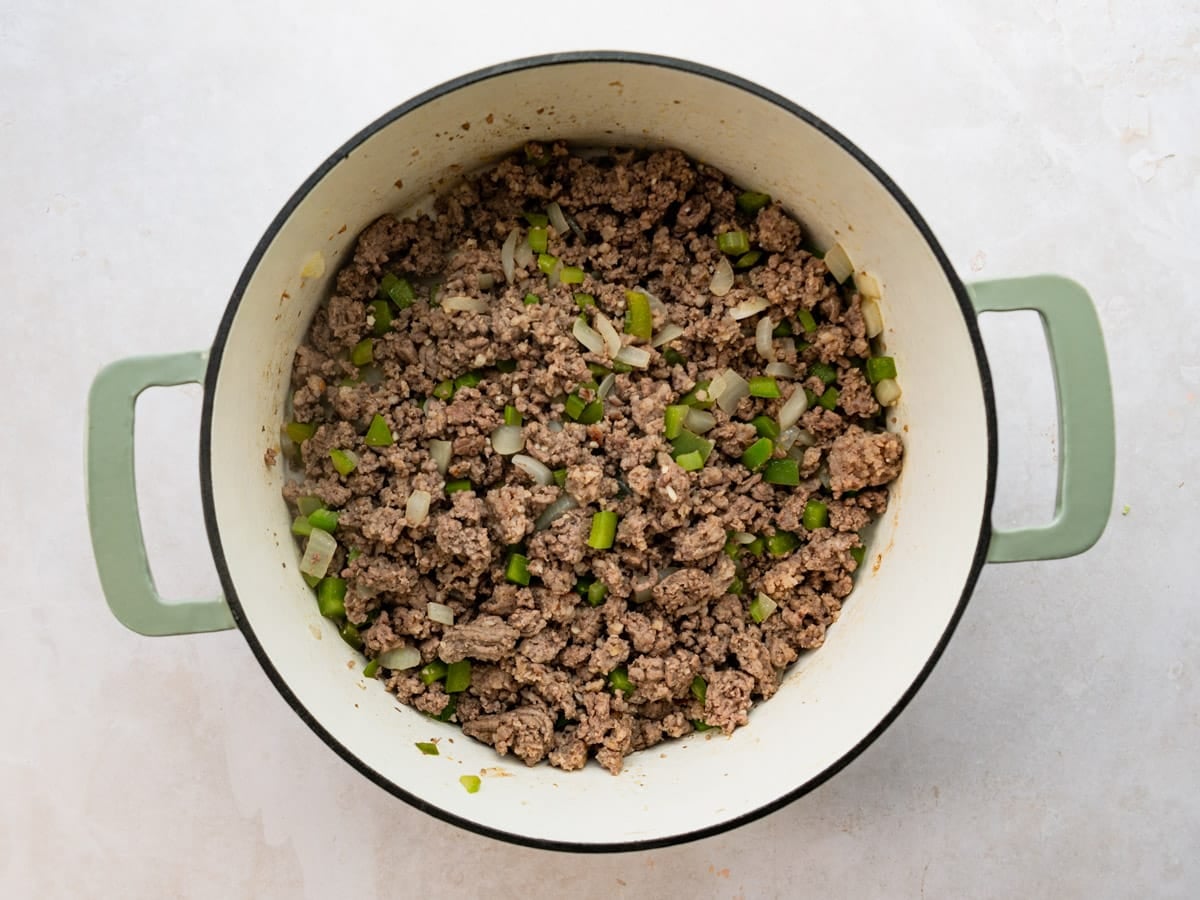
Heat the olive oil in a large pot over medium-high heat. Add the ground beef, sausage, onion, celery, bell pepper, and garlic, breaking the meat apart as it cooks.
Keep cooking until the vegetables have softened and the meat is browned through, roughly seven to ten minutes. The onions should look translucent and the peppers should have lost their raw crunch.
⇢ Drain the fat: While this step is optional (since fat adds flavor), we prefer a less-greasy finished dish and therefore like to strain off the drippings. It’s your call, though!
Step 2: Stir in Everything Else
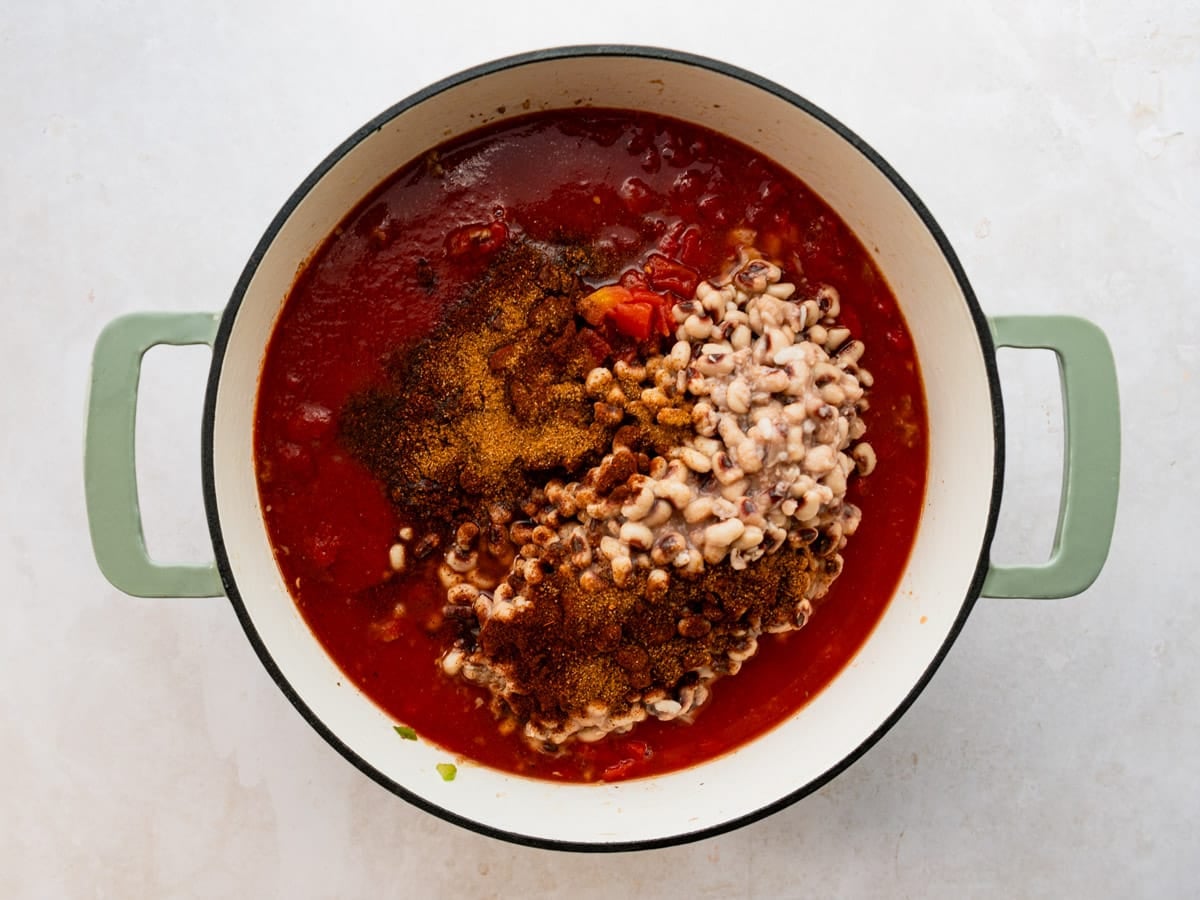
Add the tomato sauce, undrained diced tomatoes, undrained tomatoes with green chilies, water or broth, drained and rinsed black eyed peas, and chili powder, Creole seasoning, sugar, and salt.
The black eyed peas are the swap that makes this chili Southern. They hold their shape like a kidney bean but go creamier at the edges, and they soak up the Creole seasoning better than a firmer bean would. They’re also a New Year’s good luck tradition down here, which makes this a “good luck” chili1
Try it another way
If you want the classic version of that tradition, my Hoppin’ John is the one to make.
Step 3: Simmer Until It Thickens
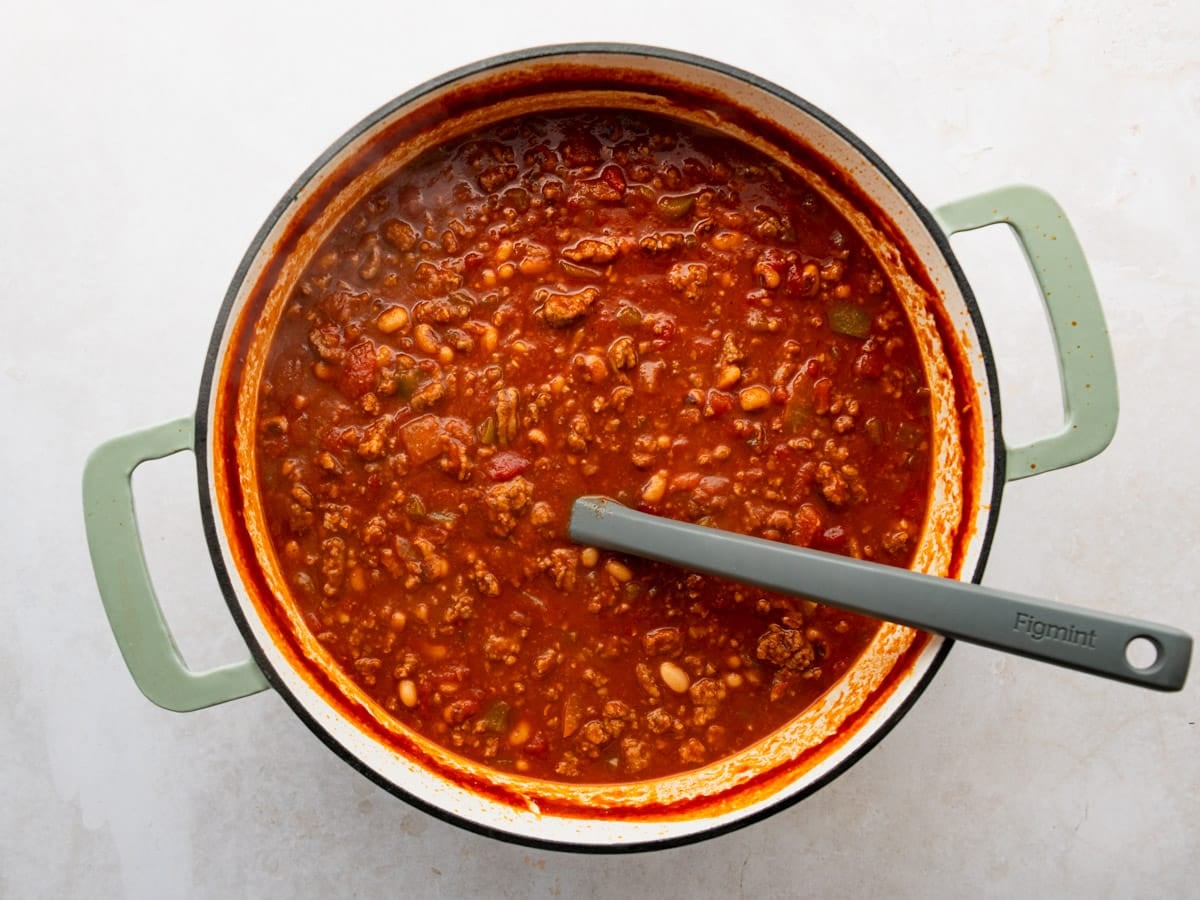
Bring the pot to a boil, then drop the heat to low, cover, and let it simmer for about 45-60 minutes. Stir once or twice along the way.
If it’s thinner than you want at the 30-minute mark, remove the lid and continue simmering uncovered (or partially covered) until it reaches the consistency you like. If it went too far the other way, a splash of broth loosens it right back.
Step 4: Top It and Serve
Ladle the chili into bowls and let everyone build their own.
Classic Toppings: shredded sharp cheddar, sour cream, and sliced green onions are the standard three, and they’re standard for a reason.
More Topping Options: diced red onion, chopped fresh cilantro, diced avocado, or pepper jack instead of cheddar if you want a little heat on top. Don’t forget Fritos or saltines on the side for scooping and a bit of crunch!
Try it another way
Prefer a leaner chili? My Ground Turkey Chili uses the same approach with ground turkey in place of the beef and sausage.

What to Serve with Southern Chili
Cornbread is the answer nine times out of ten, and a skillet of it comes together while the chili simmers. If you’d rather have something to split and butter, biscuits do the same job. A simple green salad rounds things out when you want more than bread on the table.
Here are a few of my favorites:
- Southern Cornbread
- Cast Iron Cornbread
- Cornbread Muffins
- 3-Ingredient Buttermilk Biscuits
- Cornbread Croutons
- Winter Salad with Orange Vinaigrette
This is also an easy pot to set out for a crowd on a game day afternoon. Keep it on low on the stove, put the toppings in small bowls alongside, and let people help themselves.
Serving this on New Year’s Day? Round out the lucky plate with my Southern Collard Greens.
Storage, Freezing, and Reheating
Chili is one of the few dinners that genuinely improves overnight, so this is worth making a day ahead when you can.
To store: Keep leftovers in an airtight container in the refrigerator for 4 to 5 days.
To freeze: Cool the chili completely, then package in airtight containers and freeze for up to 3 months.
To reheat: Thaw overnight in the refrigerator, then warm in a covered saucepan over low heat just until heated through. If it thickened up in the fridge, a splash of broth or water brings it back.
Frequently Asked Questions
Can I use kidney beans instead of black eyed peas?
You can, and the chili will still be good! It just won’t be this chili. Black eyed peas are the whole point of the swap, and they cook up softer and creamier than kidney beans do. If you’re substituting, pinto, pink, or black beans all work well too. Use the same amount, or try a combination of different types of beans.
What kind of sausage should I use?
Bulk pork breakfast sausage is what the recipe is built around, and mild is the default. Hot breakfast sausage adds real heat without changing anything else. Italian sausage takes the flavor in a fennel-and-herb direction that works but is less “Southern.” Whatever you use, buy it in a tube rather than links so it browns and breaks apart with the beef (or remove the casings yourself).
Is this chili spicy?
Not particularly. Creole seasoning brings flavor more than heat, but the Rotel tomatoes do add a hint of kick. If you want it hotter, stir in a pinch of cayenne or red pepper flakes with the seasonings, use hot sausage, or just put a bottle of hot sauce on the table and let everyone decide.
Can I make this in the slow cooker?
Yes. Brown the meat and vegetables on the stovetop first, then transfer everything to the slow cooker and cook on high for 3 to 4 hours or low for 6 to 8. If the broth seems too thin, let it cook partially covered during the final couple of hours to thicken a bit.

More Easy Chili Recipes

Did you make this recipe?
If you enjoyed this recipe, please leave a comment with a 5-star review at the bottom of the post. Thank you!

Southern Chili
Ingredients
- 1 tablespoon olive oil
- 1 lb. ground beef
- 1 lb. pork sausage roll
- 1 medium onion, diced
- 1 rib celery, diced
- 1 small green bell pepper, diced
- 1 tablespoon minced garlic (about 3 large cloves)
- 1 (29 ounce) can tomato sauce
- 1 (14.5 ounce) can petite diced tomatoes with juice
- 1 (10 ounce) can diced tomatoes with green chilies (like Rotel) with juice
- 1 cup water or beef broth
- 2 (15.5 ounce) cans black eyed peas, drained and rinsed
- 1 tablespoon chili powder
- 1 teaspoon Creole (or Cajun) seasoning
- 1 teaspoon sugar
- ¼ teaspoon kosher salt, plus more to taste
- Optional, for serving: sliced green onion, minced red onion, fresh cilantro, sour cream, grated cheddar cheese, corn chips, cornbread
Instructions
- In a large Dutch oven over medium-high heat, heat the olive oil. Add the beef, sausage, onion, celery, bell pepper, and garlic.
- Cook, stirring and breaking up the meat, until the beef and sausage are no longer pink. Drain off the excess grease.

- Stir in the tomato sauce, diced tomatoes, tomatoes with green chilies, water or broth, black eyed peas, chili powder, Creole (or Cajun) seasoning, sugar, and salt. Mix well.
- Bring to a boil, then reduce the heat to low. Cover and simmer for about 45 minutes to 1 hour, stirring occasionally. If you like a thicker pot of chili, simmer uncovered for part of the cooking time. Taste and add extra salt, sugar, a splash of broth, or some cayenne pepper if needed.
- Ladle into bowls, garnish with optional toppings, and serve.



Notes
- Simmer uncovered for a thicker pot of chili. Removing the lid for a portion of the cooking time allows the steam to escape and the broth to reduce.
- Don’t drain the tomatoes. That liquid is part of the base.
- Too thin? Simmer another 10 to 15 minutes. Too thick? Add a splash of broth.
- Sausage swap: hot breakfast sausage adds heat; Italian sausage shifts the flavor toward fennel and herbs.
- Bean swap: pinto, pink, black, kidney beans (or a combination) of these all work in place of the black eyed peas.
- Protein swap: ground turkey works in place of the beef, and chicken broth or water works in place of beef broth.
- For more heat: add cayenne or red pepper flakes with the seasonings, or serve with hot sauce.
- Slow cooker: brown the meat and vegetables first, then cook on high for 3 to 4 hours or low for 6 to 8.
- Storage: refrigerate up to 4 to 5 days, or freeze up to 3 months. Reheat covered over low heat with a splash of broth.
Nutrition
Originally published in December, 2019, this post was updated in October, 2026.













Looks good! I’ll have to put it on my list for the winter. I thought I’d mention that in the last few months my Wal-mart has been stocking more no-salt-added canned tomato products, beans, and vegetables. I find them very useful, especially when I’m cooking with prepared sauces, smoked meats,ect. Helps prevent a salt overload.
That’s a great tip, Marion!