Fresh summer corn is hard to ruin, but the method you choose changes everything about how it turns out. Boiling is fastest, the microwave is easiest, and the oven is what I reach for when I am feeding a crowd. Here is how to cook corn on the cob three different ways, with the exact time for each!
More ways to use fresh summer corn:
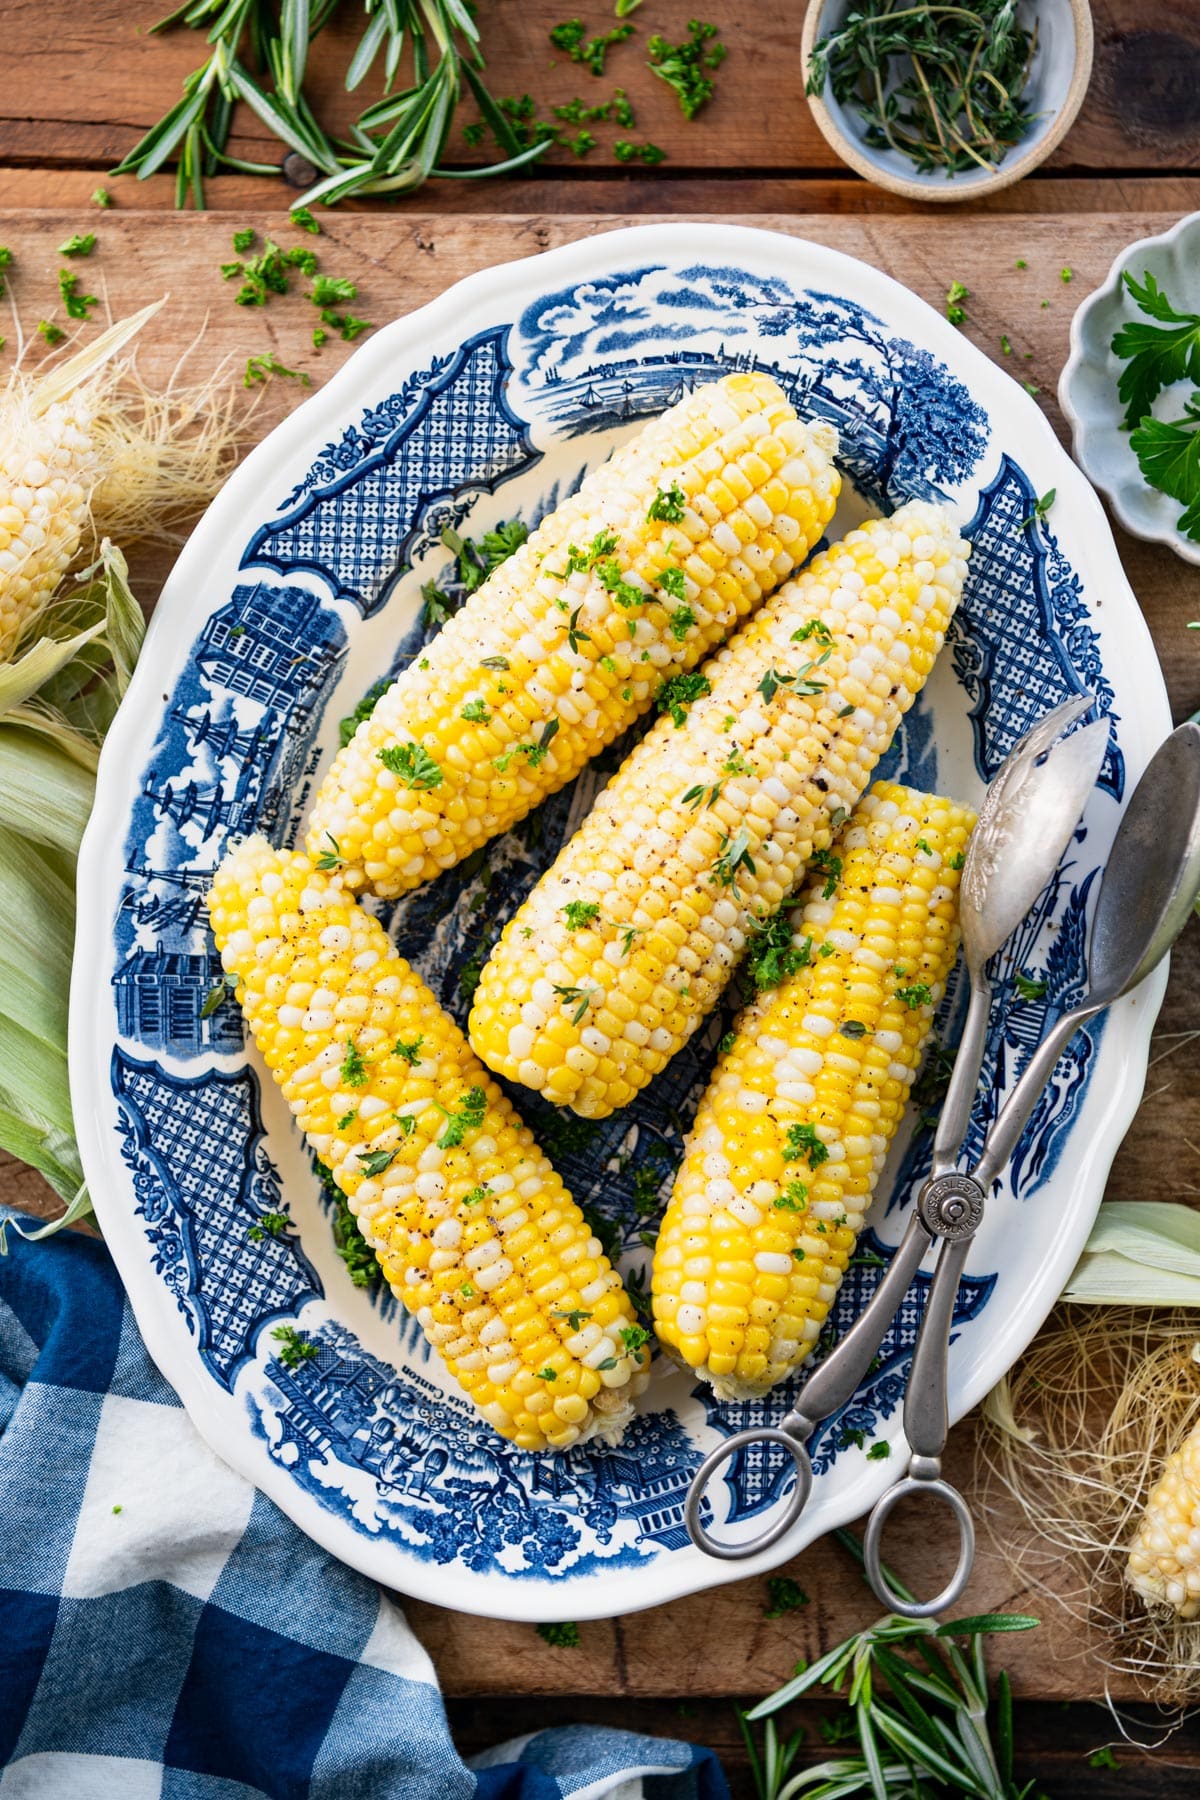
Before You Get Started
Corn is forgiving, but these three things make the difference between good corn and the kind people go back for:
- Buy the freshest corn possible. Sugar starts turning to starch the moment an ear is picked, so day-old farm stand corn beats week-old grocery corn every time.
- Pull it early, not late. Sweet corn is tender in about five minutes of boiling. Go much longer and the kernels turn chewy and starchy.
- Use a jar gripper pad. Rubbing the shucked ear with the rubber pad you use on tight jar lids pulls stubborn silks off in seconds.

Which Method Should You Use?
All of these produce good corn. The right one depends on how much time you have, how many ears you are cooking, and whether your stove is already full.
| Method | Cook Time | Hands-On? | Best For |
| Boiling | 4 to 6 minutes | Some stirring | Weeknights and speed |
| Microwave | 3 to 4 minutes per ear | No | One or two ears, no cleanup |
| Oven | 20 to 25 minutes at 425°F | Mostly hands-off | Feeding a crowd, garlic butter |
| Grill | 10 to 20 minutes | Yes, needs turning | The best flavor of the summer (separate recipe) |
If you only remember one thing: boil it when you are in a hurry, microwave it when you are cooking one or two ears, and bake it when you are feeding a crowd. Grilling is the flavor winner of the bunch, and I have given it its own post further down.
How to Cook Corn on the Cob
Shuck the corn first for every method except the microwave. Pull the husks down and off, snap off the stem, and rub away the silks. Then pick your method below.
Method 1: Boiled Corn on the Cob
Bring a large pot of water to a rolling boil, then add the shucked ears and cook for 4 to 6 minutes. Very fresh corn is often ready at 4. Older corn from the grocery store may want 6 or 7.
Add the corn to water that is already boiling rather than starting it in cold water. Starting cold means the ears sit in slowly heating water with no way to time them, which is the most common route to overcooked corn.
⇢ Skip the salt in the water. It does not season the kernels much through the husk-less surface, and some cooks find it firms them up. Salt and butter after cooking instead.
⇢ No, 20 minutes is not fine. Boiling for 15 or 20 minutes will not make corn more tender. Past about 8 minutes the kernels lose their snap and start tasting starchy.
If your corn is not as sweet as you hoped, add a splash of milk and a pat of butter to the pot. That is the old trick behind the “why do people add milk to the water” question, and it works: the fat clings to the kernels and the milk sugars round out flavor in corn that is a few days past its prime.
Method 2: Corn on the Cob in the Oven
This is my favorite way to cook corn for a crowd, and the garlic butter is what makes it.
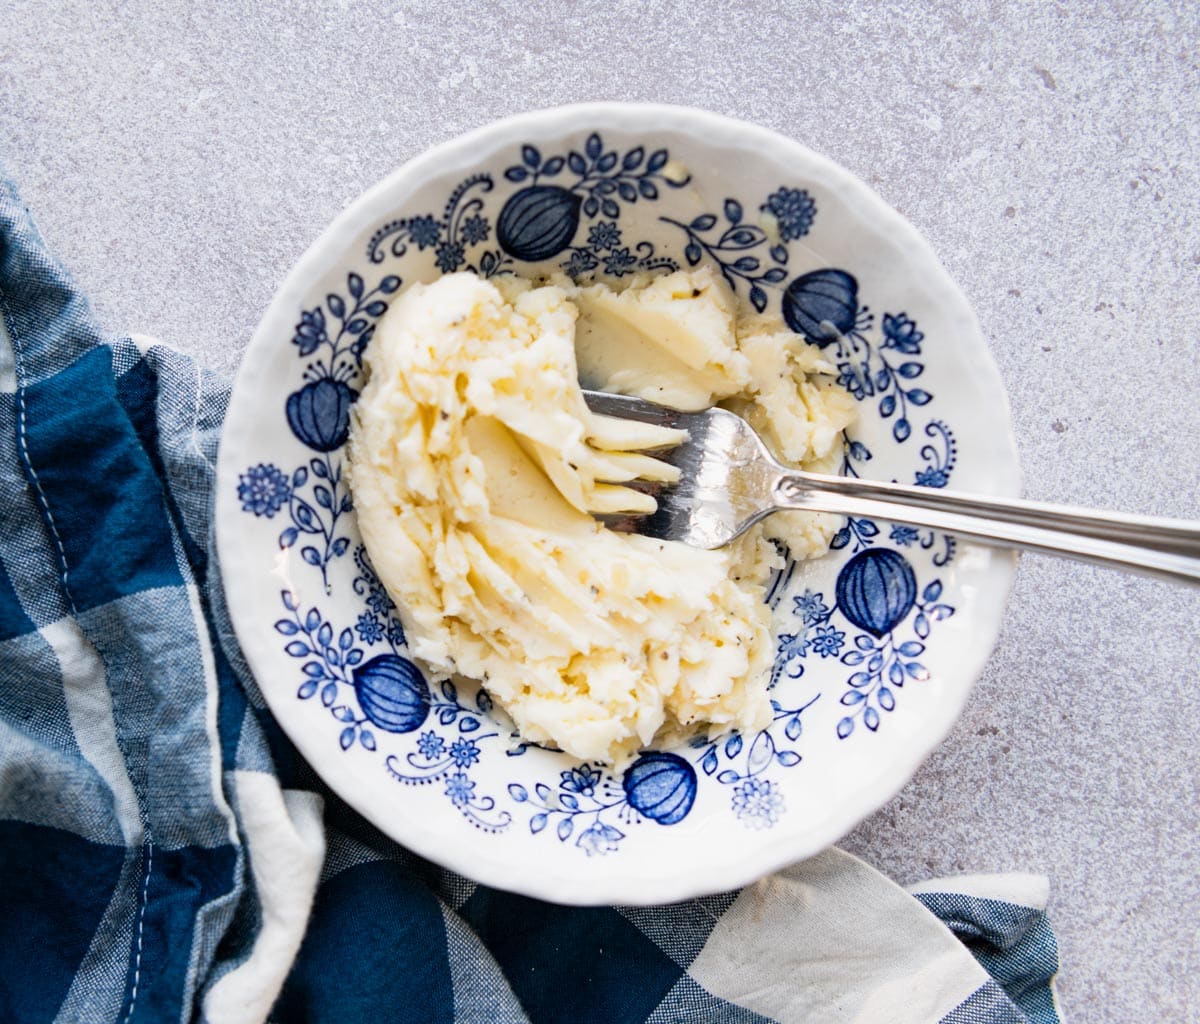
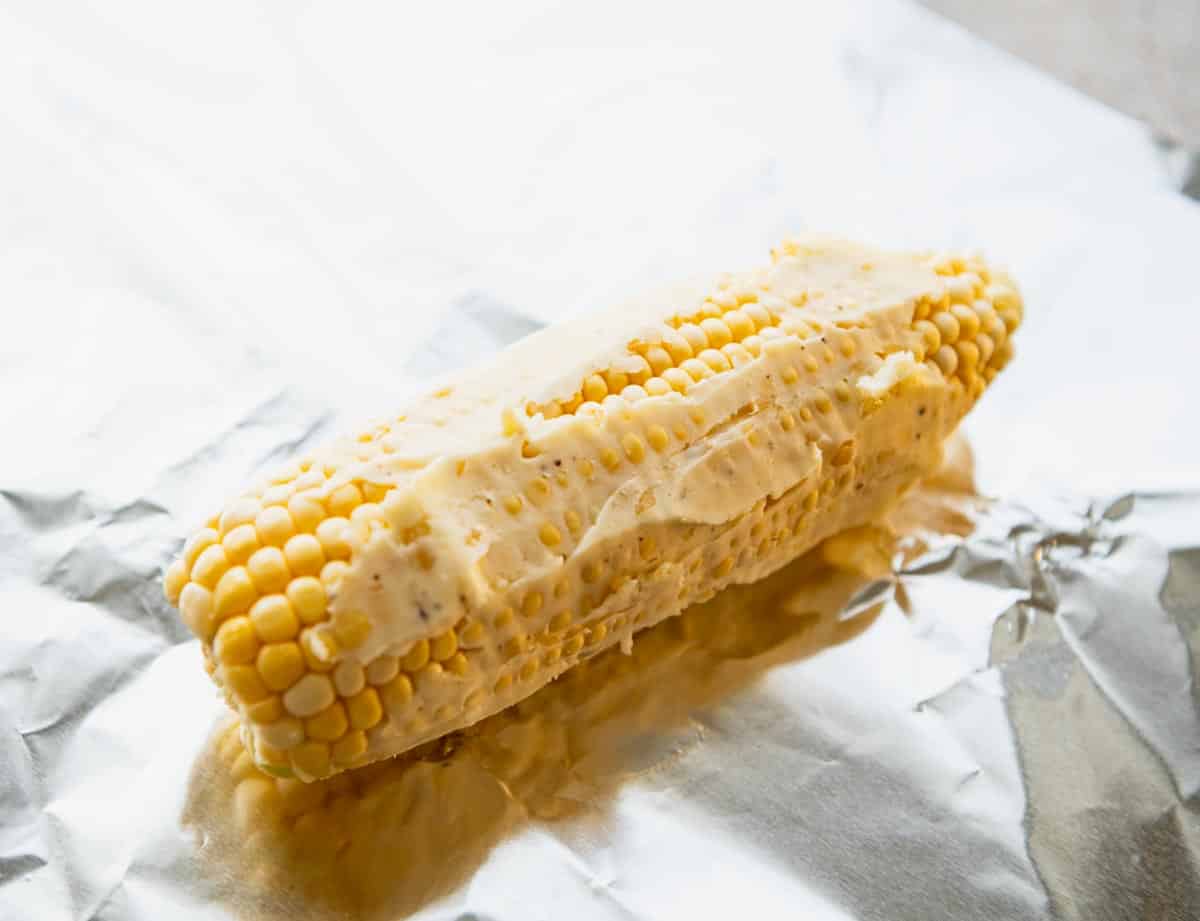
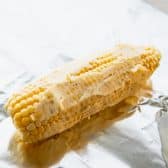
Preheat the oven to 425°F. Stir together softened salted butter, one minced clove of garlic, salt, and pepper, then spread the mixture over each shucked ear and wrap it individually in aluminum foil.
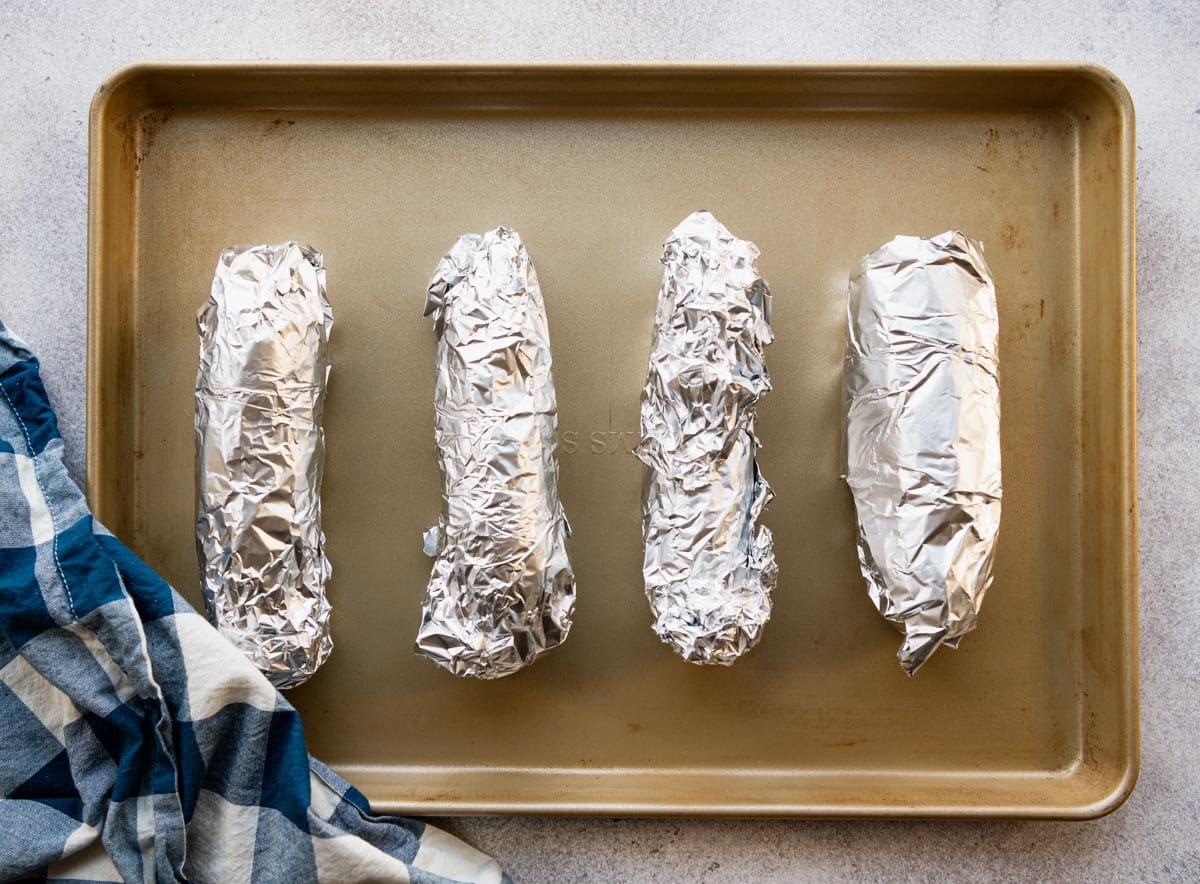
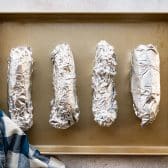
Set the wrapped ears on a rimmed baking sheet and bake for 20 to 25 minutes, flipping halfway through. The rimmed sheet catches any butter that escapes the foil and makes it easy to pull everything out of the oven at once.
⇢ Do not wrap the foil too tightly. A little air circulating inside the packet helps the corn steam. Extra layers of foil just add cooking time.
⇢ Assemble it the night before. Spread the butter, wrap the ears, and keep them in the fridge for up to 24 hours before baking. There is no last-minute work when guests arrive.
To roast the corn in its husk instead, pull the husks down without removing them, take out the silks, spread on the butter, and pull the husks back up. Wrap in foil and bake the same way.
Method 3: Microwave Corn on the Cob
This is the one nobody expects to work as well as it does, and it is the fastest method on the list.
Leave the husks completely on, put the whole ears in the microwave, and cook on high for 3 to 4 minutes for one ear or 5 to 6 minutes for two.
Let the corn rest for 2 minutes before you touch it. The husks will be hot, but they slide right off along with most of the silks, which means the microwave doubles as the easiest way to shuck corn.
If your corn is already shucked, wrap each ear in a damp paper towel and microwave for 3 to 4 minutes.
⇢ Do not crowd the microwave. More than two ears at a time cook unevenly. Work in batches instead of adding time.
Try it another way
Grilling is the fourth option, and the best one for flavor. Direct heat caramelizes the natural sugars in a way none of these three methods can. My Grilled Corn on the Cob covers both the husk-on and husk-off approaches, with grill temperatures and timing for each.
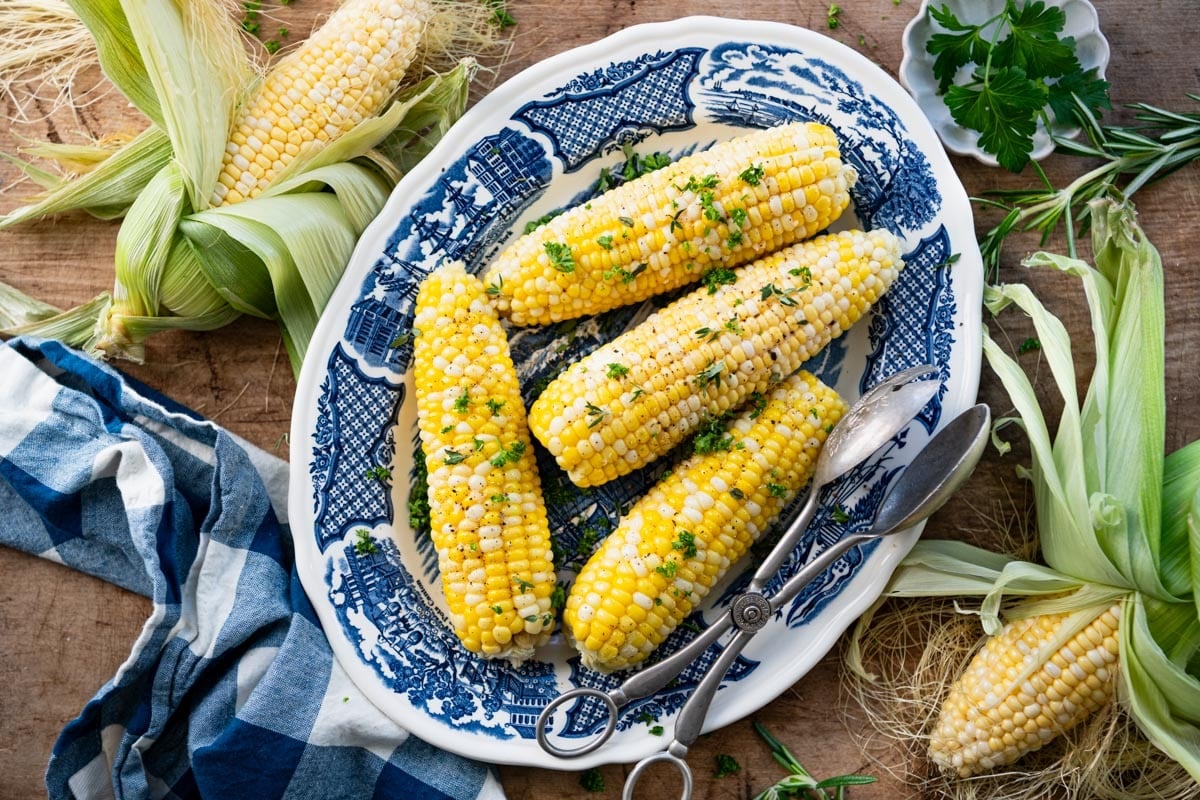
How to Tell When Corn Is Done
Whatever method you use, the cues are the same. The kernels deepen to a glossy yellow and plump up so the rows look tight against each other.
Press one with a fingernail and it should give slightly and release a little milky liquid. If a kernel feels hard and stays pale, it needs another minute or two.
Cooking Corn for a Crowd
Corn on the cob is great cookout food, which means you’re often not just cooking four ears. Plan on 1 to 2 ears per person, and lean toward 2 if corn is one of only a few sides.
A 12-quart stockpot comfortably holds 6 to 8 ears, so boiling for a big group means batching. The oven scales better: a half-sheet pan fits 8 to 10 wrapped ears, and you can hold them wrapped in a warm oven for 20 to 30 minutes without hurting them.
For a real crowd, use a cooler. Put the shucked ears in a clean cooler, pour boiling water over to cover, and close the lid. The corn is ready in about 30 minutes and stays hot for a couple of hours, which frees up your stove entirely.
Great cookout pairings for corn on the cob:
Storage, Freezing and Make-Ahead
Store: Cooked corn keeps best off the cob. Slice the kernels off with a sharp knife and refrigerate them in an airtight container for 3 to 4 days. Whole cooked ears will hold for 3 days wrapped tightly, though the kernels lose some snap.
Freeze: Cut kernels freeze well in an airtight container or freezer bag for up to 3 months. Expect a softer texture once thawed, so use them in cooked dishes rather than salads.
Leftover kernels are excellent in Scalloped Corn or stirred into a batch of 5-Minute Corn Dip.
Reheat: Warm kernels in a skillet with a pat of butter, or microwave in short bursts. To reheat a whole ear, wrap it in a damp paper towel and microwave for 30 to 60 seconds.
Make ahead: For the oven method, spread on the garlic butter and wrap the ears up to 24 hours ahead, then refrigerate until you are ready to bake. For any other method, cook the corn a few hours early and hold it in a warm oven or a cooler rather than reheating it.
Frequently Asked Questions
Why is my corn on the cob tough or chewy?
Almost always one of two things. Either the corn was not fresh, since sugars convert to starch quickly after picking and no cooking method reverses that, or it cooked too long. Overcooking is the more common culprit.
Pull the corn as soon as the kernels turn glossy and plump, and remember that extra time makes corn worse, not more tender.
Do you have to remove the husks before cooking?
It depends on the method. For boiling, yes. For the microwave, leave them on: they steam the corn and then slip off easily afterward. On the grill you can go either way, with husks on for gentler steaming or husks off for char and caramelization. In the oven you can pull the husks down, remove the silks, and fold the husks back up before wrapping in foil.
Can you cook corn on the cob from frozen?
You can. Frozen ears go straight into boiling water with no thawing and need about 8 to 10 minutes, a few minutes longer than fresh. They also work in the oven at 425°F for roughly 30 minutes wrapped in foil.
Frozen corn will never be quite as sweet or crisp as an ear picked yesterday, but it is a good way to get corn on the table in January.
How do you get the silks off without a mess?
Rub the shucked ear firmly with a rubber jar gripper pad. The silks catch on the rubber and pull away in seconds. A clean, slightly damp kitchen towel or a fresh scrubbing sponge works nearly as well. Doing it over the sink or outside saves you sweeping up afterward.
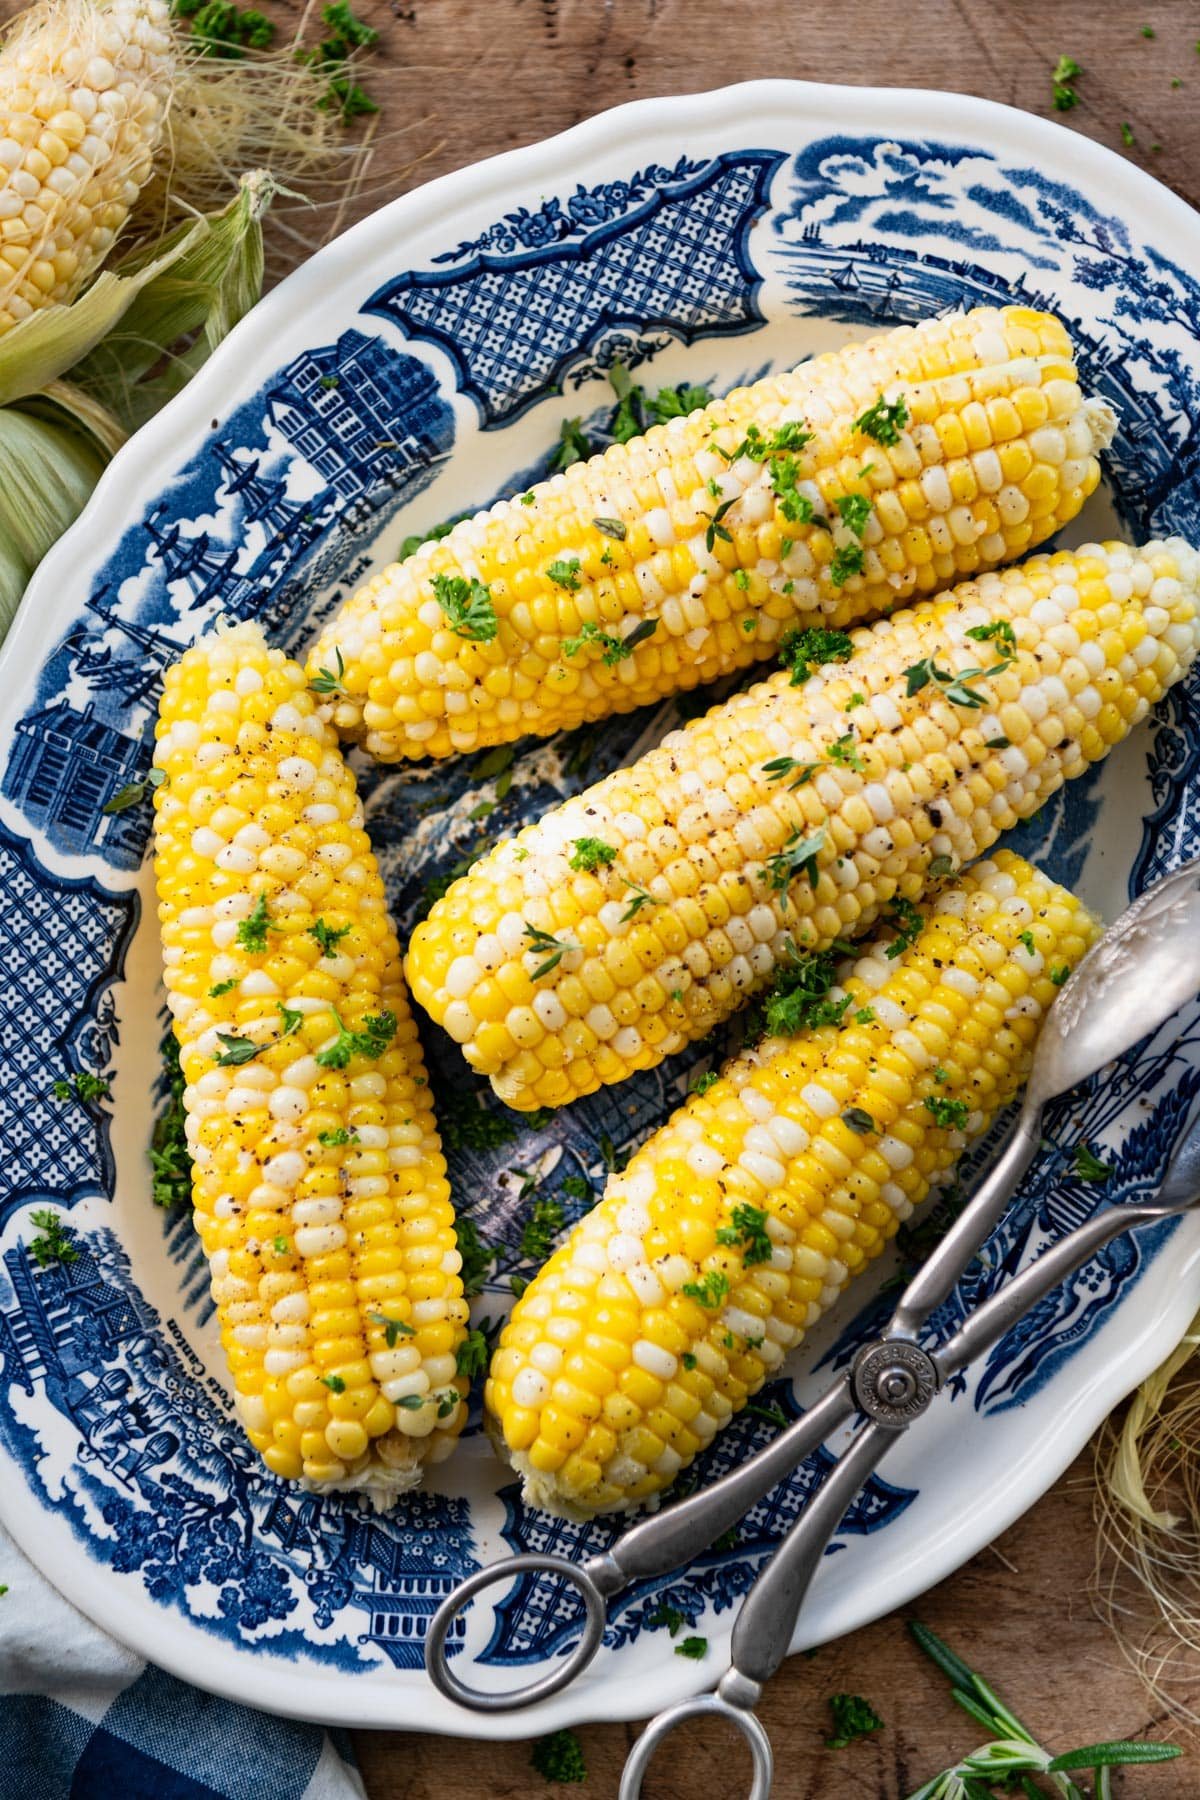
More Fresh Corn and Summer Sides

How to Cook Corn on the Cob
Equipment
- Large pot (boiling method)
- Aluminum foil and rimmed baking sheet (oven method)
Ingredients
For any method:
- 4 to 6 ears fresh corn
- Salted butter, for serving
- Kosher salt and ground black pepper, to taste
For the garlic butter (optional, recommended for the oven method):
- 3 tablespoons salted butter, softened at room temperature
- 1 large clove garlic, minced, grated, or pressed (about 1 teaspoon)
- Optional garnish: chopped fresh herbs such as parsley, chives, thyme, or basil
Instructions
Prep the Corn
- Shuck the corn. Pull the husks down and off, snap off the stem, and rub away the silks with a rubber jar gripper pad or a clean damp towel. Skip this step for the microwave method.


Make the Garlic Butter (optional)
- Stir the butter together. Combine the softened butter, garlic, salt, and pepper in a small bowl until evenly mixed.

Method 1: Boiling (4 to 6 minutes)
- Bring water to a rolling boil. Fill a large pot with water and bring it to a full boil before the corn goes in. Do not salt the water.
- Add the corn and cook. Lower in the shucked ears and boil for 4 to 6 minutes, until the kernels are glossy and plump. Very fresh corn is often ready at 4 minutes. If the corn is not especially sweet, add a splash of milk and a pat of butter to the pot.
- Drain and serve. Remove with tongs, then top with butter, salt, and pepper.
Method 2: Oven (20 to 25 minutes at 425°F)
- Preheat and butter. Heat the oven to 425°F. Spread the garlic butter evenly over each shucked ear of corn.
- Wrap in foil. Wrap each ear individually in aluminum foil, leaving a little air inside the packet rather than wrapping it tight.
- Bake and flip. Set the wrapped ears on a rimmed baking sheet and bake for 20 to 25 minutes, flipping halfway through.
- Unwrap and finish. Carefully open the foil, garnish with fresh herbs, and season with additional salt and pepper.

Method 3: Microwave (3 to 6 minutes)
- Leave the husks on. Place the whole unshucked ears in the microwave and cook on high for 3 to 4 minutes for one ear or 5 to 6 minutes for two. Do not cook more than two at a time.
- Rest, then shuck. Let the corn sit for 2 minutes. The hot husks and most of the silks will slide off easily. For already-shucked corn, wrap each ear in a damp paper towel and microwave for 3 to 4 minutes.
Notes
- Freshness matters more than method: Corn’s sugar converts to starch within hours of picking, so the freshest ears you can find will taste better cooked any of these ways.
- Watch for doneness, not the clock. Kernels should look glossy and plump, and a fingernail press should release a little milky liquid. Hard, pale kernels need another minute.
- Longer does not mean more tender. Boiling past about 8 minutes makes corn chewy and starchy. This is the most common mistake with corn on the cob.
- Grilling has its own recipe. For husk-on and husk-off grilling with temperatures and timing, see my Grilled Corn on the Cob.
- Skip the salt in the boiling water. It does not season the kernels much and can firm them up. Salt after cooking instead.
- Add milk for less-than-perfect corn. A splash of milk and a pat of butter in the boiling water helps round out corn that is a few days past its prime.
- Use a jar gripper for silks. Rubbing the shucked ear with a rubber gripper pad pulls the stubborn silks off in seconds.
- Do not wrap the foil tightly. A little air inside the packet helps the corn steam. Extra layers just add cooking time.
- Bake on a rimmed sheet pan. It catches any butter that leaks from the foil and makes it easy to pull all the corn out at once.
- Assemble the oven version ahead. Spread the butter, wrap the ears, and refrigerate for up to 24 hours before baking.
- Flavor the butter however you like. Old Bay, lemon or lime zest, brown sugar, smoked paprika, chili powder, cayenne, onion powder, grated Parmesan, or fresh herbs all work well.
- Cooking for a crowd? Plan 1 to 2 ears per person. A cooler filled with boiling water cooks a large batch in about 30 minutes and keeps it hot for hours.
- Store and reheat. Cut the kernels off the cob and refrigerate for 3 to 4 days or freeze for up to 3 months. Reheat in a skillet with butter.













Did you make this recipe?
If you enjoyed this recipe, please leave a comment with a 5-star review at the bottom of the post. Thank you!