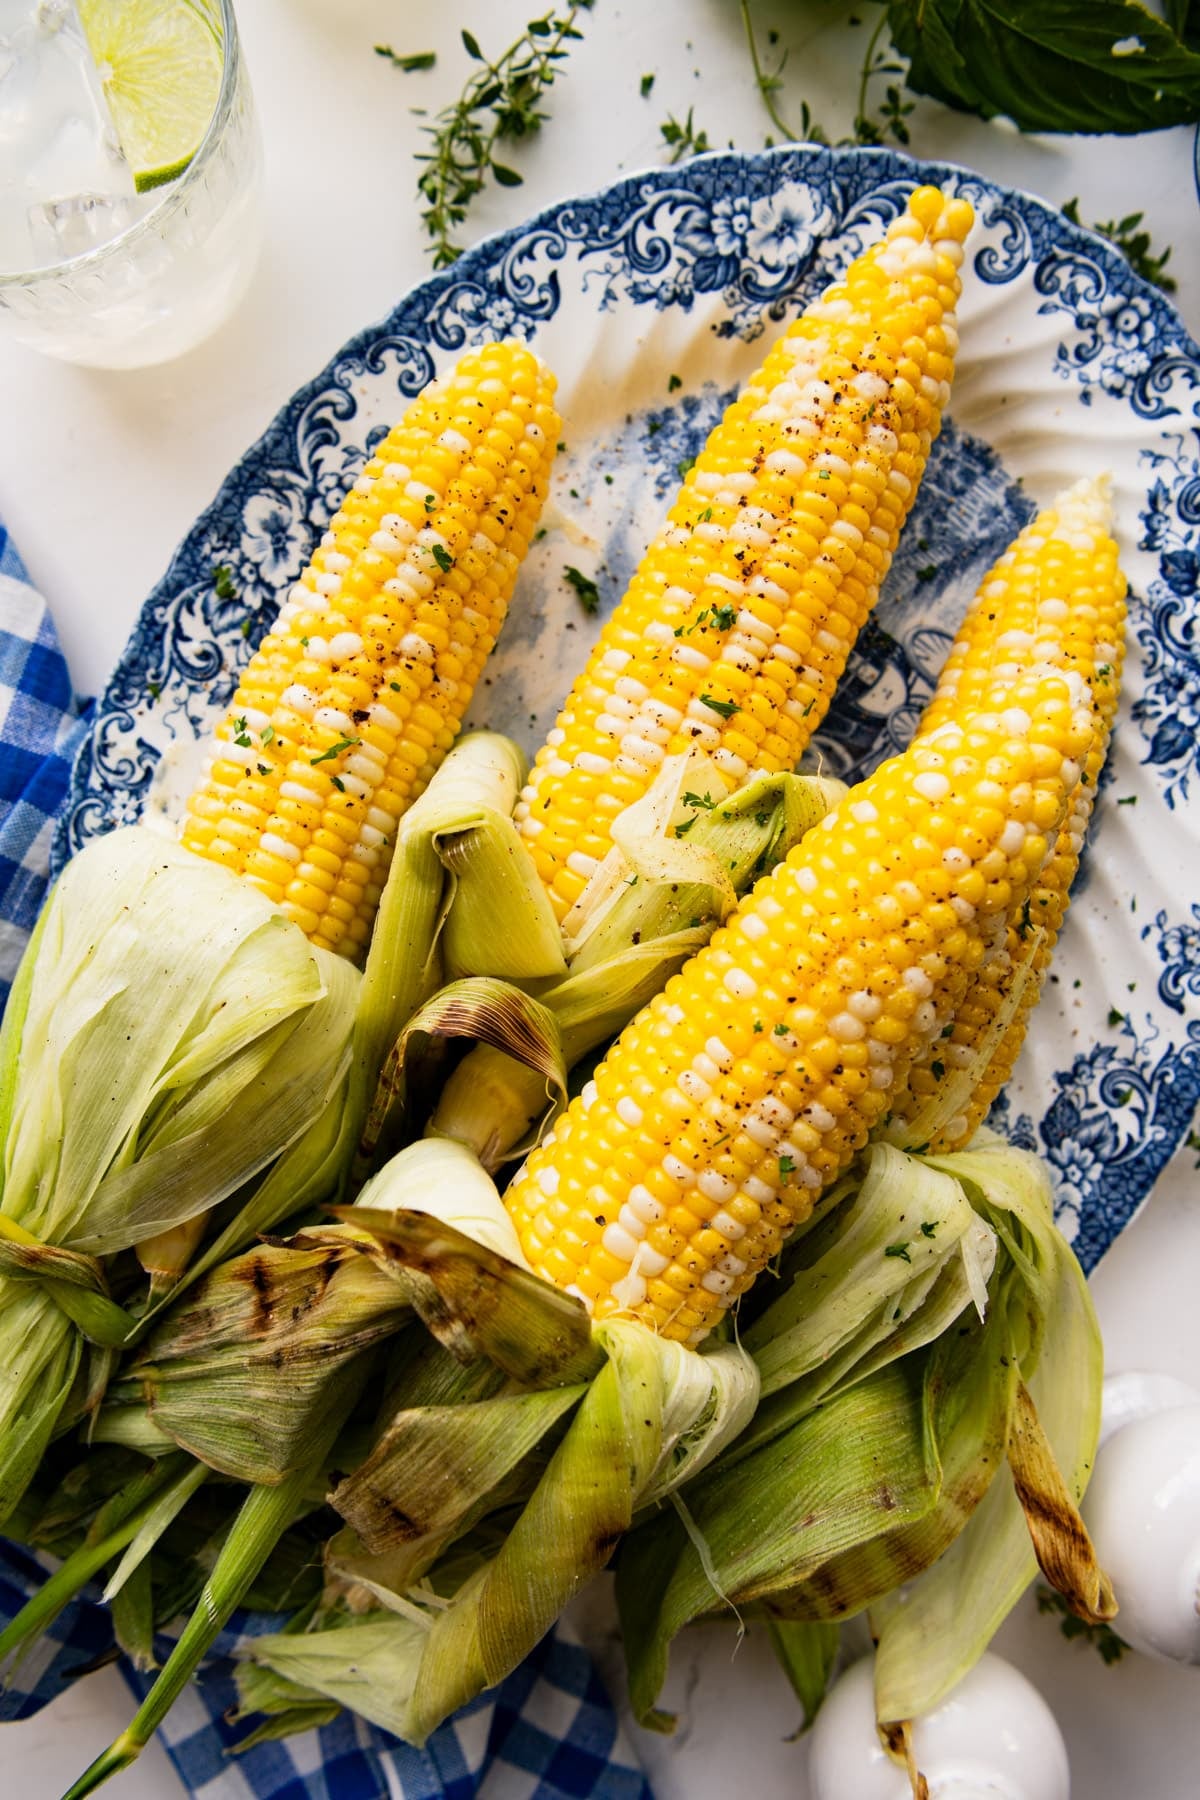
Grilled corn on the cob is the easiest summer side there is, and it only gets better with a little char! I’ll walk you through three ways to grill it: in the husk for juicy, tender kernels, straight on the grates for smoky flavor, or wrapped in foil to lock in butter and seasonings. Pick your method and fire up the grill!
More Easy Summer Sides:
Before You Get Started
Keep these tips in mind for perfect grilled corn every time:
- Start with fresh, in-season corn. The sweeter and fresher the ears, the better the result. Peak summer corn barely needs anything else.
- Pick your method first. Husk-on stays juicy and tender, bare grates give the most char, and foil locks in butter and seasonings.
- Don’t walk away from the grill. Turn the ears every few minutes so they cook evenly and char without drying out.
How to Make Grilled Corn on the Cob
Here are three easy ways to grill corn. They all start with a grill heated to medium-high (about 400°F), so the only real decision is how you want to handle the husk.
Method 1: Grill Corn in the Husk
If you want the juiciest, most tender corn, grilling it in the husk is hard to beat. The husks help trap steam around the kernels, keeping them moist while protecting them from direct heat.
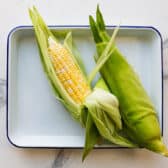
Pull the husks back without removing them completely, then strip away as much of the silk as possible.
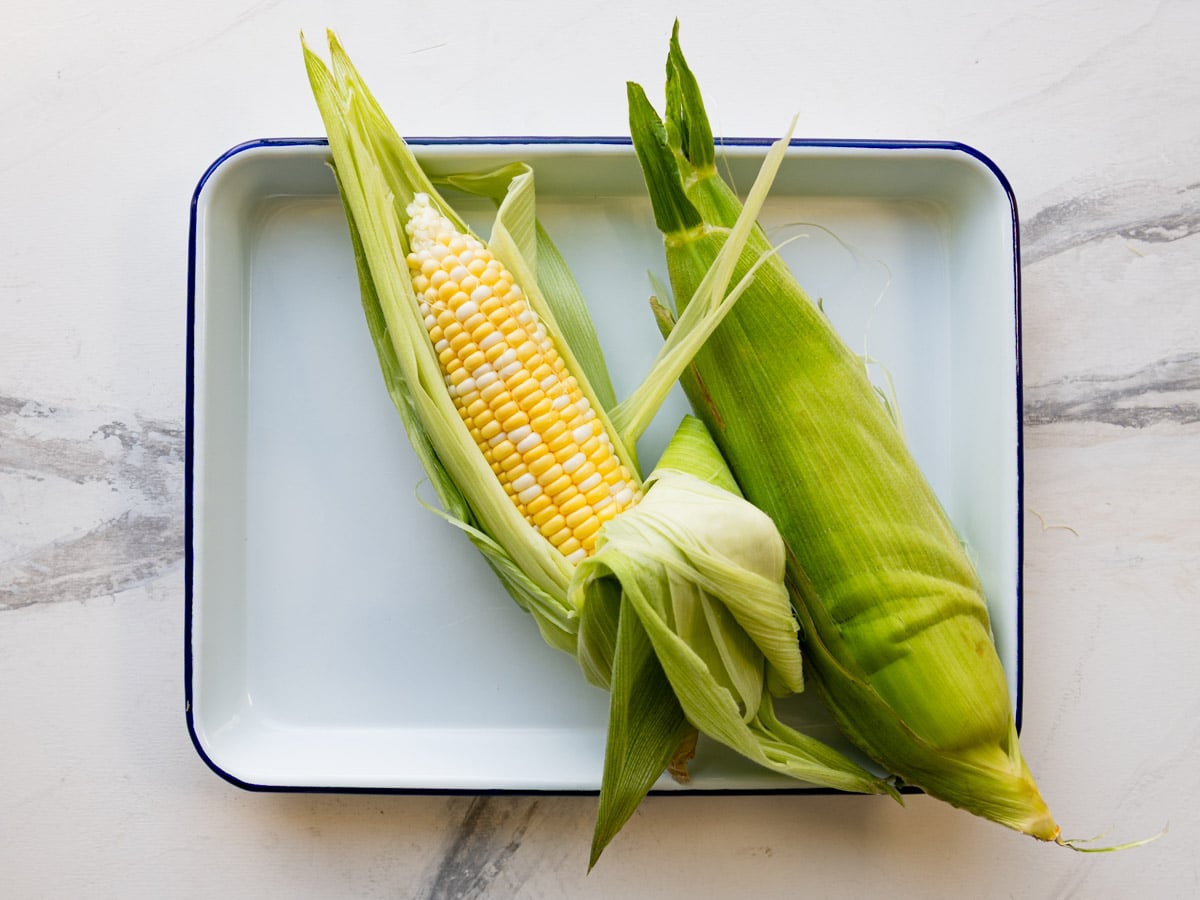
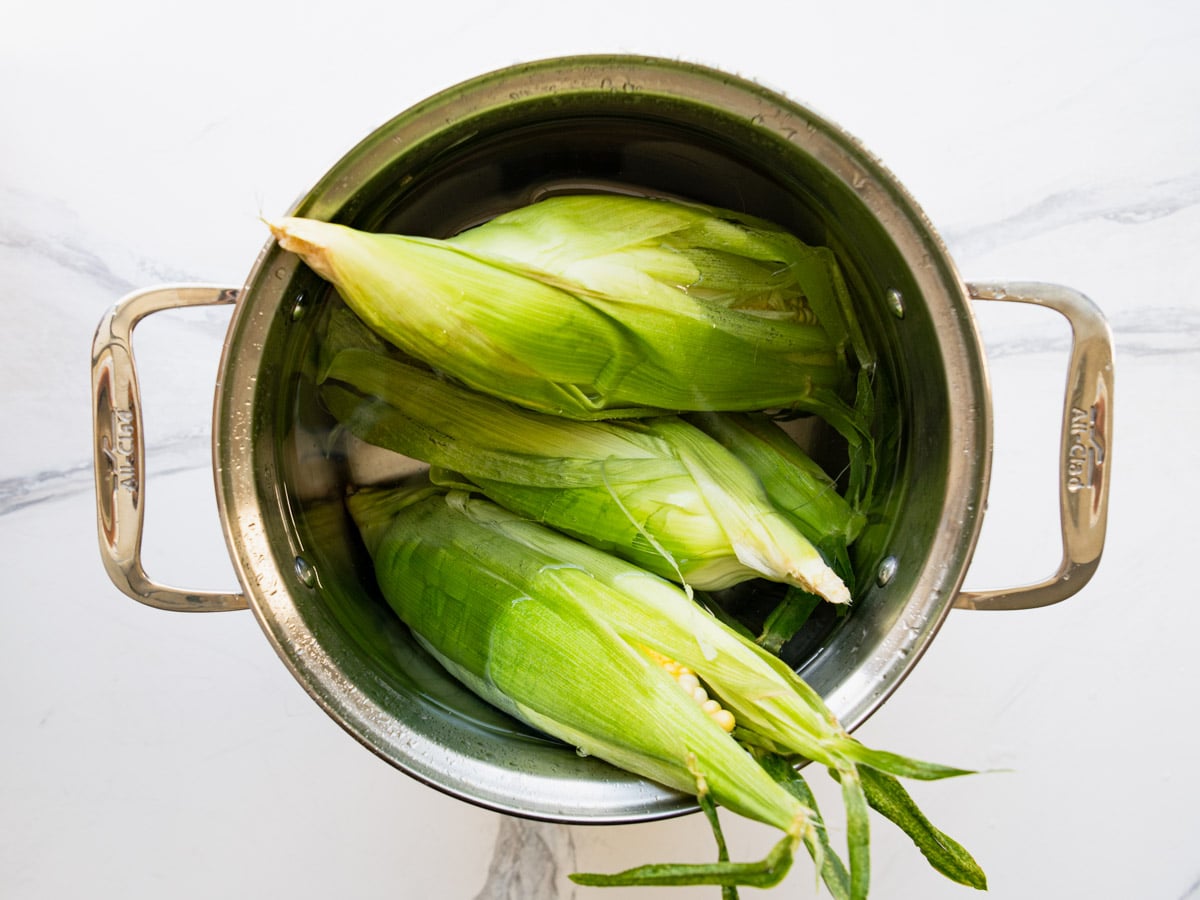
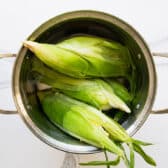
Fold the husks back up around the corn, then soak the ears in a large bowl, sink, pot, or cooler of cold water for 10 to 30 minutes.
→ The soaking step helps prevent the husks from burning too quickly on the grill while creating steam inside that cooks the corn gently.
Place the soaked ears on the grill, cover, and cook for 15 to 20 minutes, turning every 5 minutes so they cook evenly on all sides.
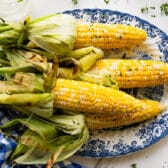
When they’re done, transfer the corn to a platter and let it cool for a couple of minutes before peeling back the hot husks.
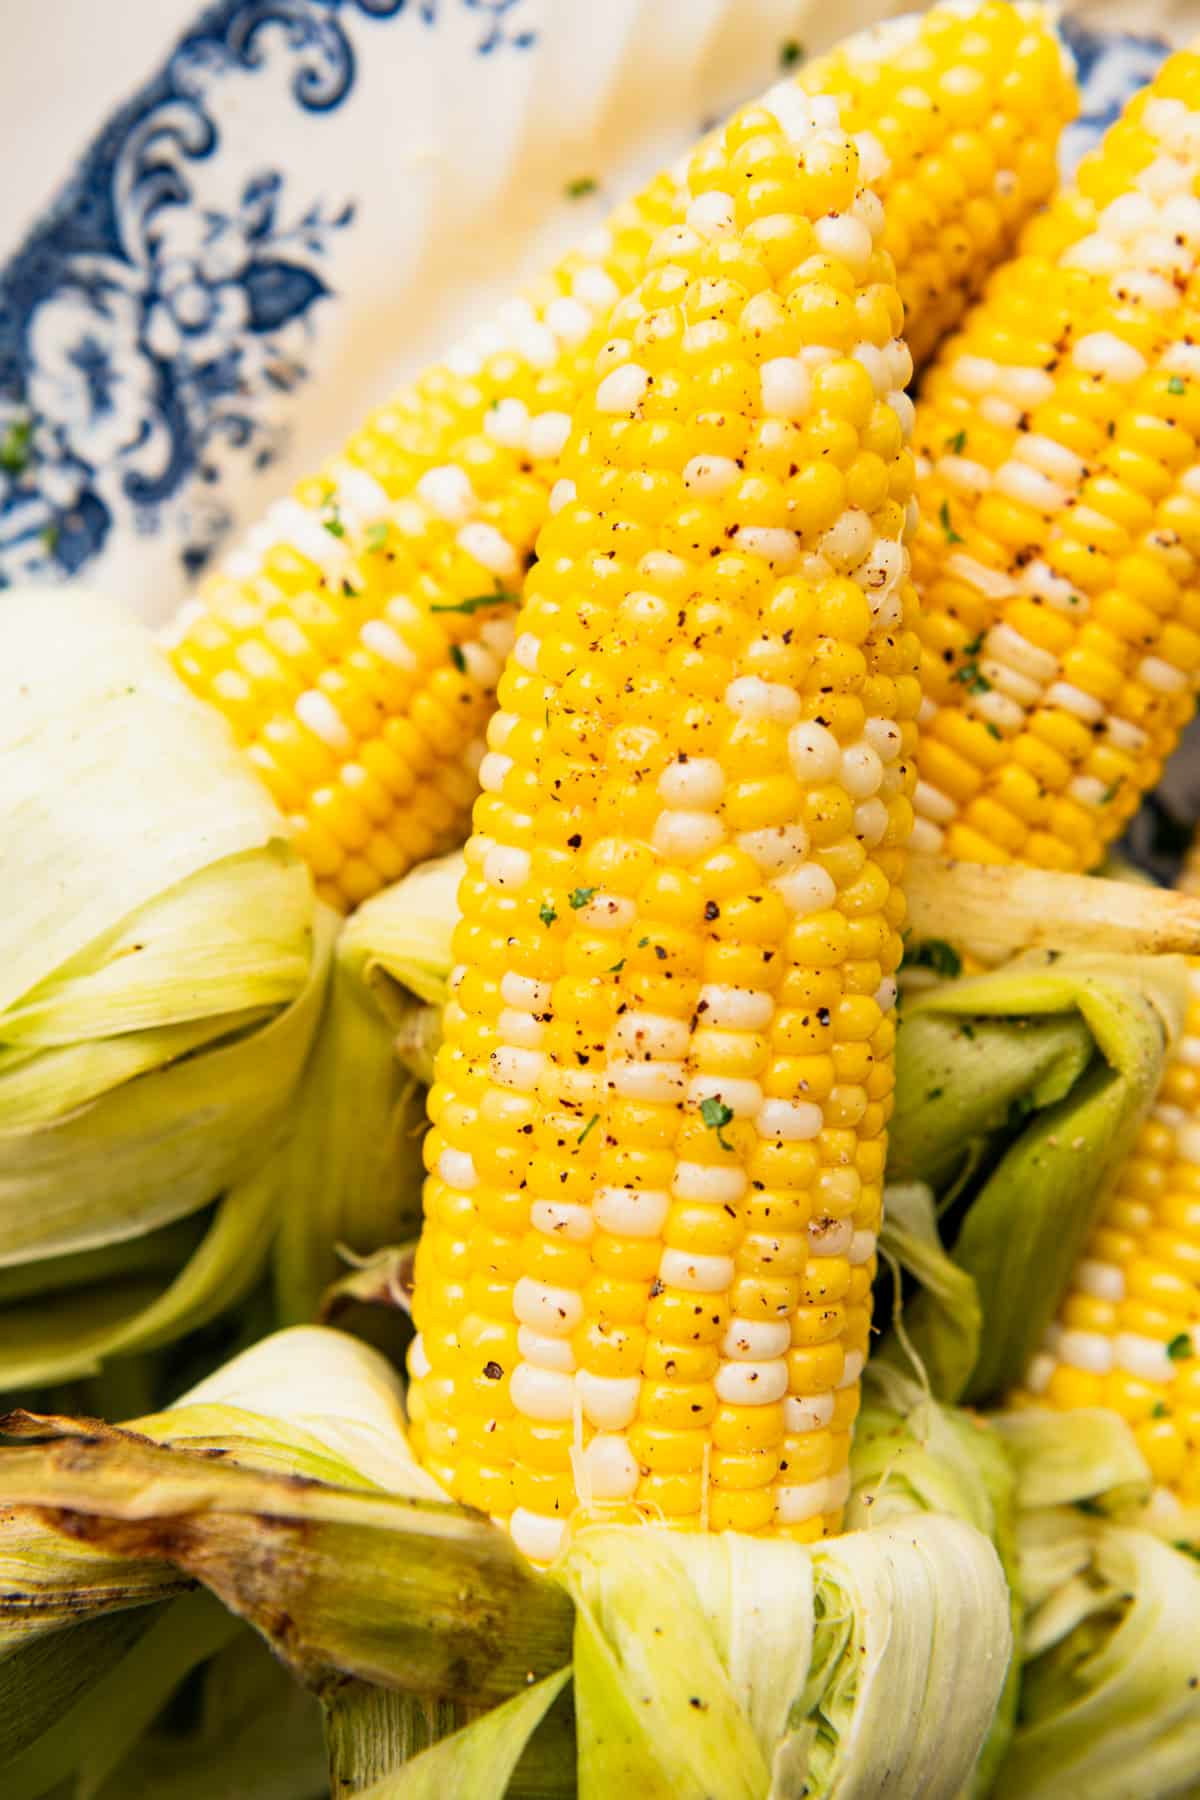
→ Doneness Cue: The kernels should look plump and bright yellow, and they should give slightly when pressed with your fingertip.
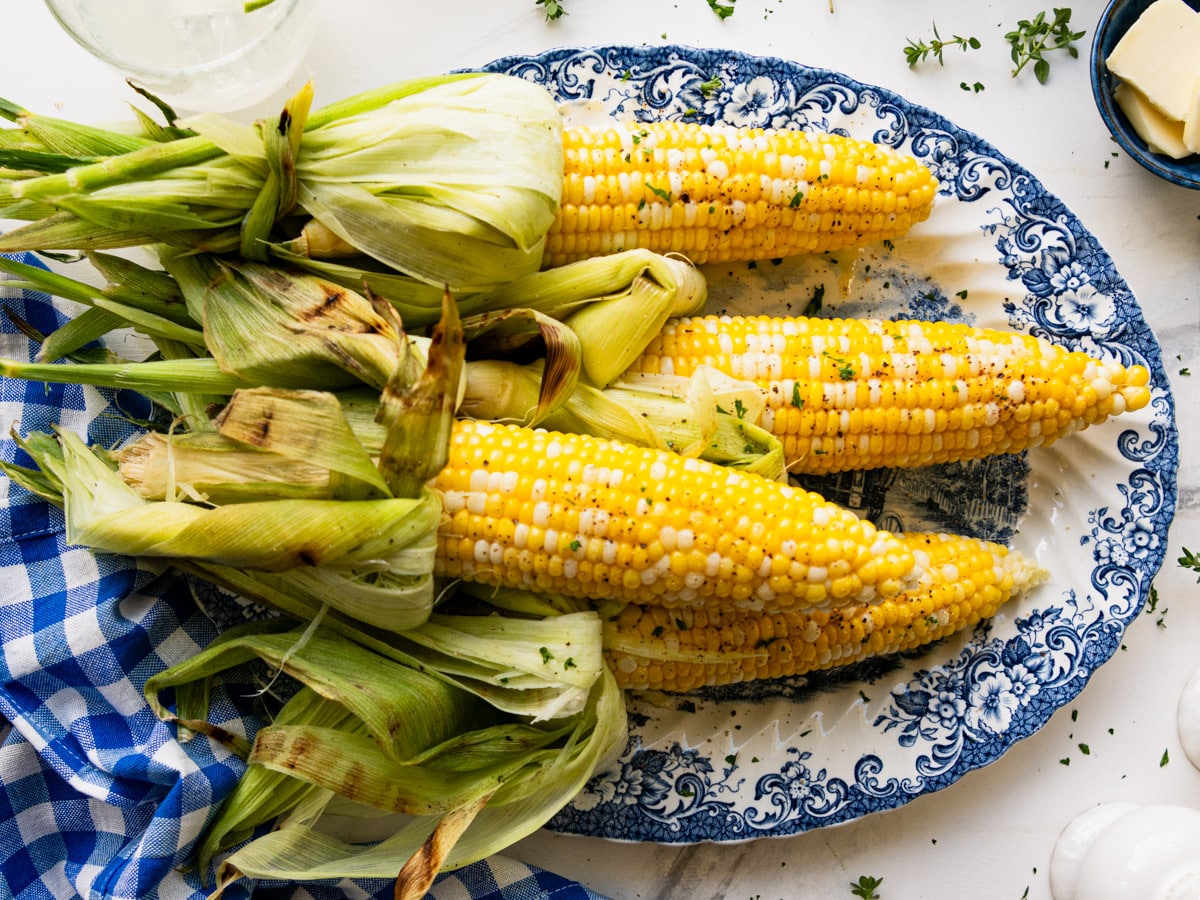
→ Short on time? Skip the silk. Soak the ears whole with the husks and silk still on, grill as directed, then peel the husk and silk away together once the corn is cooked. The silk pulls off easily after grilling.
Method 2: Grill Corn Without the Husk
For the most smoky flavor and those classic grill marks, cook the corn with the husks removed. This method puts the kernels directly over the heat, creating delicious caramelization and light charring.
Remove the husks and silk completely, then brush each ear lightly with vegetable oil or olive oil to help prevent sticking and encourage even browning.
Place the corn directly on the grill grates and cook for 10 to 12 minutes, turning every 2 to 3 minutes until all sides have developed light charred spots.
→ The corn is ready when the kernels are tender throughout and lightly blistered in places.
Finish each ear with butter and season generously with kosher salt and black pepper. If you like a little extra flavor, a sprinkle of Old Bay seasoning is always a good choice.
Method 3: Foil-Wrapped Grilled Corn
Foil-wrapped corn is the perfect choice when you want to build extra flavor right into each ear. Butter, garlic, fresh herbs, Parmesan cheese, or your favorite seasoning all melt into the kernels as they cook.
Remove the husks and silk, then brush each ear generously with softened or melted butter. Sprinkle with salt, pepper, and any additional seasonings you’d like before wrapping each ear tightly in aluminum foil.
Place the foil packets on the grill and cook for 15 to 20 minutes, turning occasionally so they heat evenly on all sides.
Carefully unwrap the foil, watching for the hot steam that escapes. The kernels should be tender from end to end, with the melted butter and seasonings coating every row for rich, flavorful bites.
Make it a cookout:
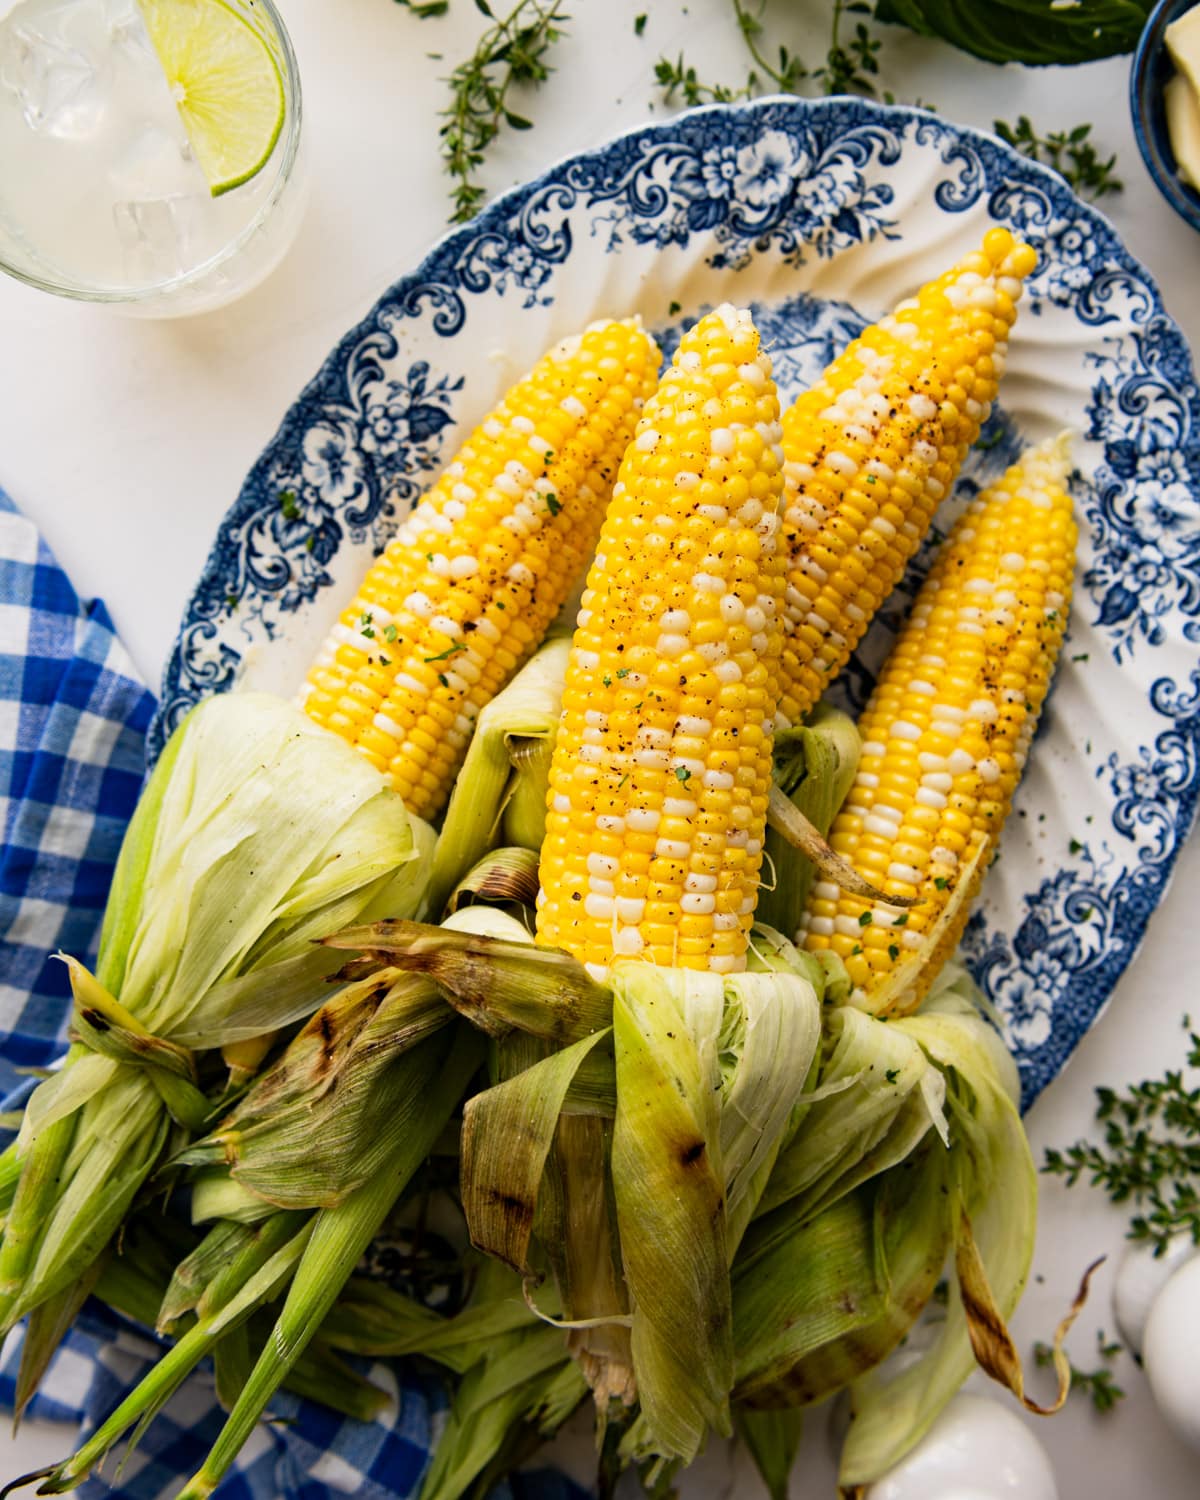
Grilled corn goes with just about anything on the grates. Try it with my Grilled Hamburgers, BBQ Chicken Breast, or Grilled BBQ Pork Chops.
Storage, Freezing, and Leftovers
To store: Keep leftover grilled corn in an airtight container in the fridge for up to 4 days.
To reheat: Warm gently so the kernels don’t dry out (a quick turn on the grill, a covered skillet, or the microwave with a damp paper towel all work).
Use up leftovers: Cut the kernels off the cob and add them to salads, salsas, soups, or pasta. They’re also perfect stirred into my Corn Fritters.
Frequently Asked Questions
Do you need to soak corn before grilling?
Only if you’re grilling it in the husk. Soaking the ears for 10 to 30 minutes helps the kernels steam inside the husks and keeps the husks from burning too quickly. If you’re grilling shucked corn directly on the grates or wrapping it in foil, there’s no need to soak it.
Do you butter corn before or after grilling?
It depends on the method. For foil-wrapped corn, butter the ears before wrapping so it melts into the kernels as they cook. For corn grilled directly on the grates, wait until after grilling to add butter to prevent flare-ups and burnt butter.
How do you know when grilled corn is done?
The kernels should be plump, tender, and juicy. Corn grilled without the husk will have light charred spots, while corn cooked in the husk or in foil will stay bright yellow and steamed. It’s better to pull the corn off the grill a minute early than overcook it, since overcooked corn can become dry and chewy.
Can you grill corn that’s already shucked?
Absolutely. Pre-shucked ears are perfect for grilling directly on the grates after brushing them with a little oil, or you can wrap them in foil with butter and seasonings. Since there’s no husk, you can skip the soaking step entirely.
More Cookout Sides
Watch How to Make It
Grilled Corn on the Cob
Ingredients
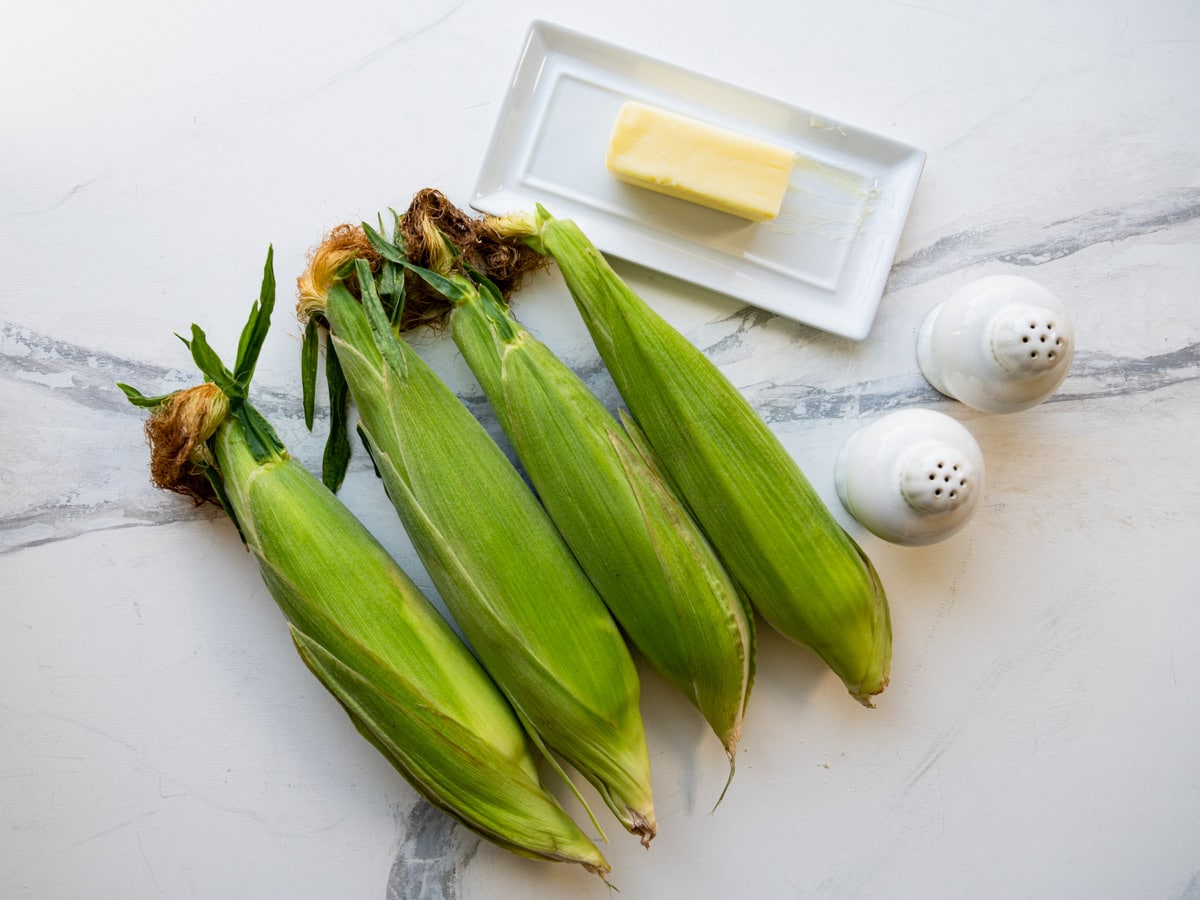
- 4 ears fresh sweet corn
Optional for serving:
- Butter
- Kosher salt
- Freshly ground black pepper
- Old Bay seasoning
Instructions
Method 1: Grilled Corn in the Husk
- Gently pull back the husks without removing them completely. Remove all of the silk, then fold the husks back over the corn.

- Place the corn in a large bowl, sink, cooler, or pot. Cover with cold water and soak for 10-30 minutes.
- Preheat a grill or grill pan to medium-high heat (about 400°F).
- Remove the corn from the water and shake off any excess moisture.
- Place the corn directly on the grill grates. Cover and cook for about 15-20 minutes, turning every 5 minutes, until the kernels are tender.
- Carefully peel back the hot husks and serve with butter, salt, pepper, or Old Bay.
Method 2: Grilled Corn Without the Husk
- Remove the husks and silk completely.
- Brush the shucked ears generously with oil (like olive or canola oil) to prevent sticking.
- Preheat a grill or grill pan to medium-high heat (about 400°F).
- Place the corn directly on the grill grates.
- Cook for 10-12 minutes, turning frequently, until lightly charred and tender on all sides.
- Serve with butter, salt, pepper, or Old Bay.
Method 3: Foil-Wrapped Grilled Corn
- Remove the husks and silk completely.
- Brush each ear of corn with butter and season with salt and pepper, if desired.
- Wrap each ear tightly in aluminum foil.
- Preheat a grill or grill pan to medium-high heat (about 400°F).
- Place the foil packets on the grill grates.
- Cook for 15-20 minutes, turning occasionally, until the corn is tender.
- Carefully unwrap and serve with butter, salt, pepper, or Old Bay.
Notes
- Use fresh corn. In-season sweet corn gives you the best flavor and texture.
- Grill on the grates. Direct contact gives the smokiest, most charred flavor.
- Grill in the husk. The kernels steam inside and stay especially juicy and tender.
- Silk shortcut. Leave the silk in place, soak the whole ears, then peel the husk and silk off together after grilling.
- Reach for foil. The foil method locks in garlic butter, fresh herbs, or Parmesan added before cooking.
- Add extra flavor. Brush cooked corn with melted herb butter or sprinkle on your favorite seasoning blend.
- Mind the butter timing. Butter bare corn after grilling to avoid flare-ups; butter foil-wrapped corn before wrapping so it melts in.
- Store leftovers. Keep in an airtight container in the refrigerator for up to 4 days.
- Use up leftovers. Cut the kernels off the cob and add them to salads, salsas, soups, or pasta.













Did you make this recipe?
If you enjoyed this recipe, please leave a comment with a 5-star review at the bottom of the post. Thank you!