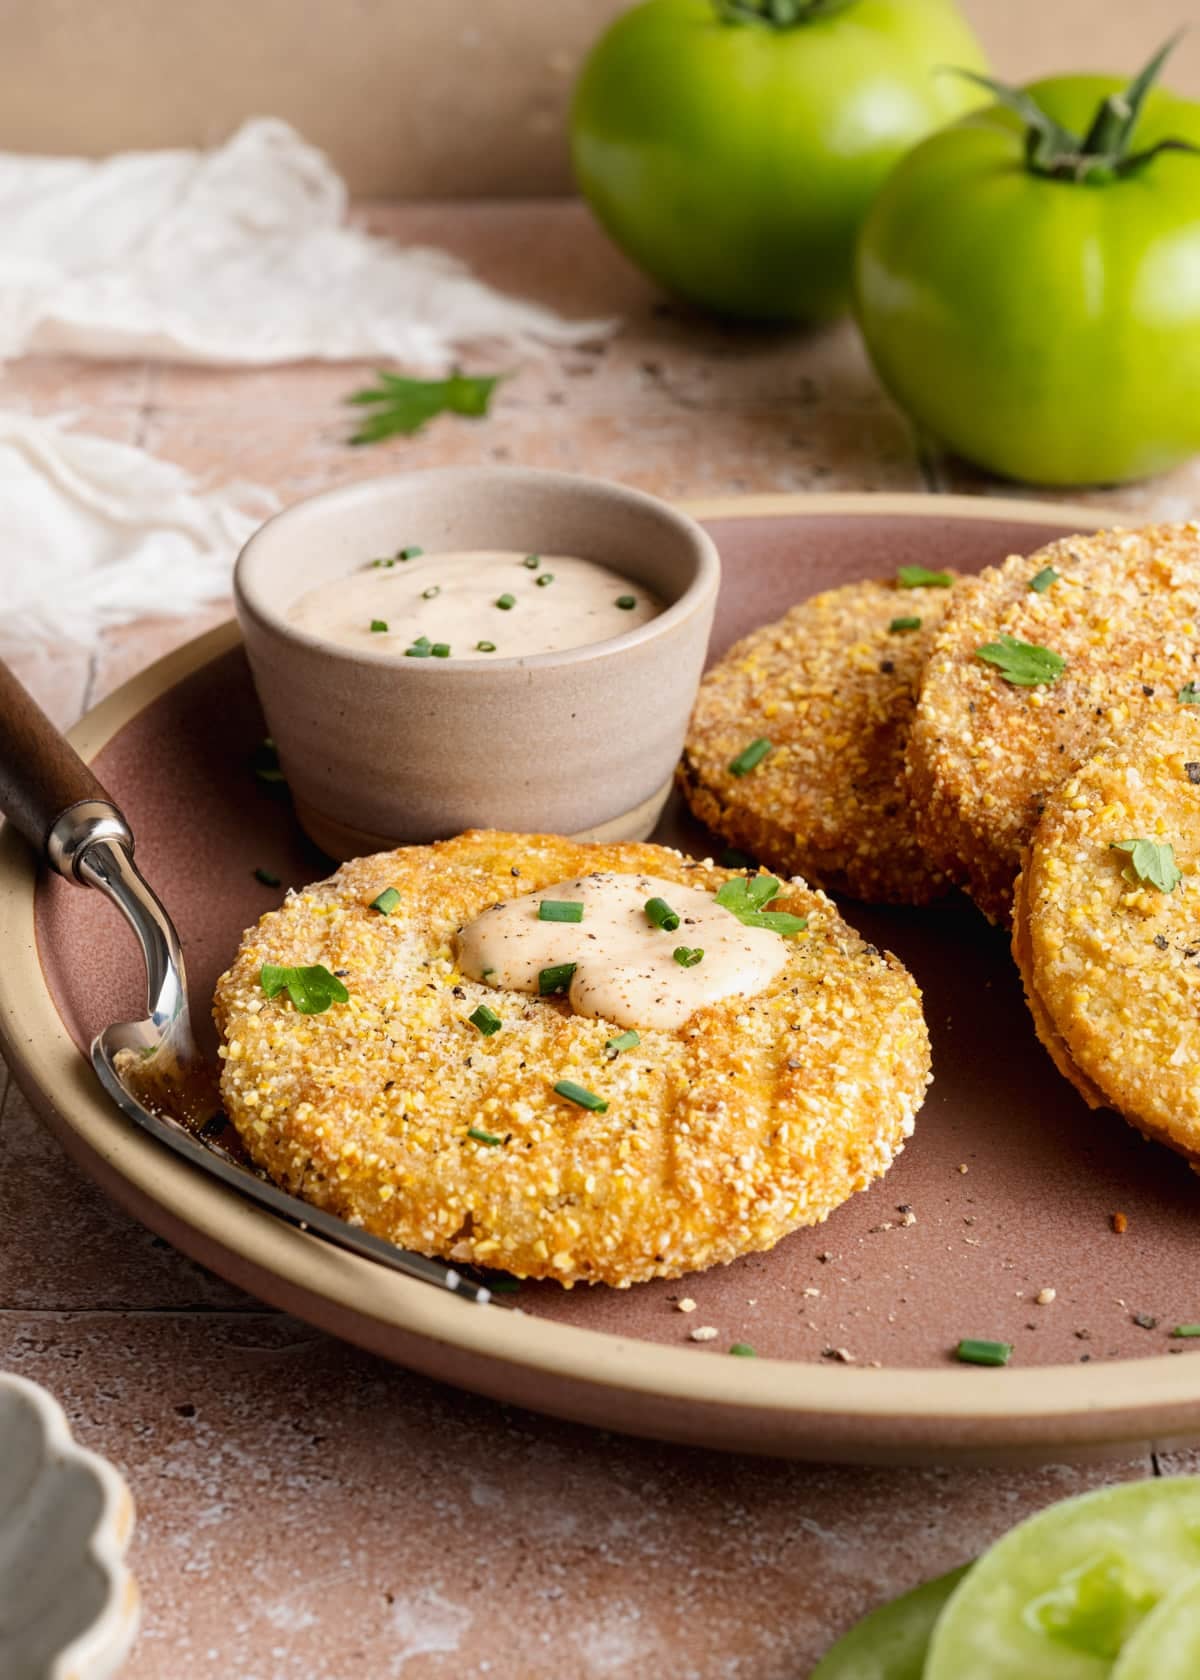
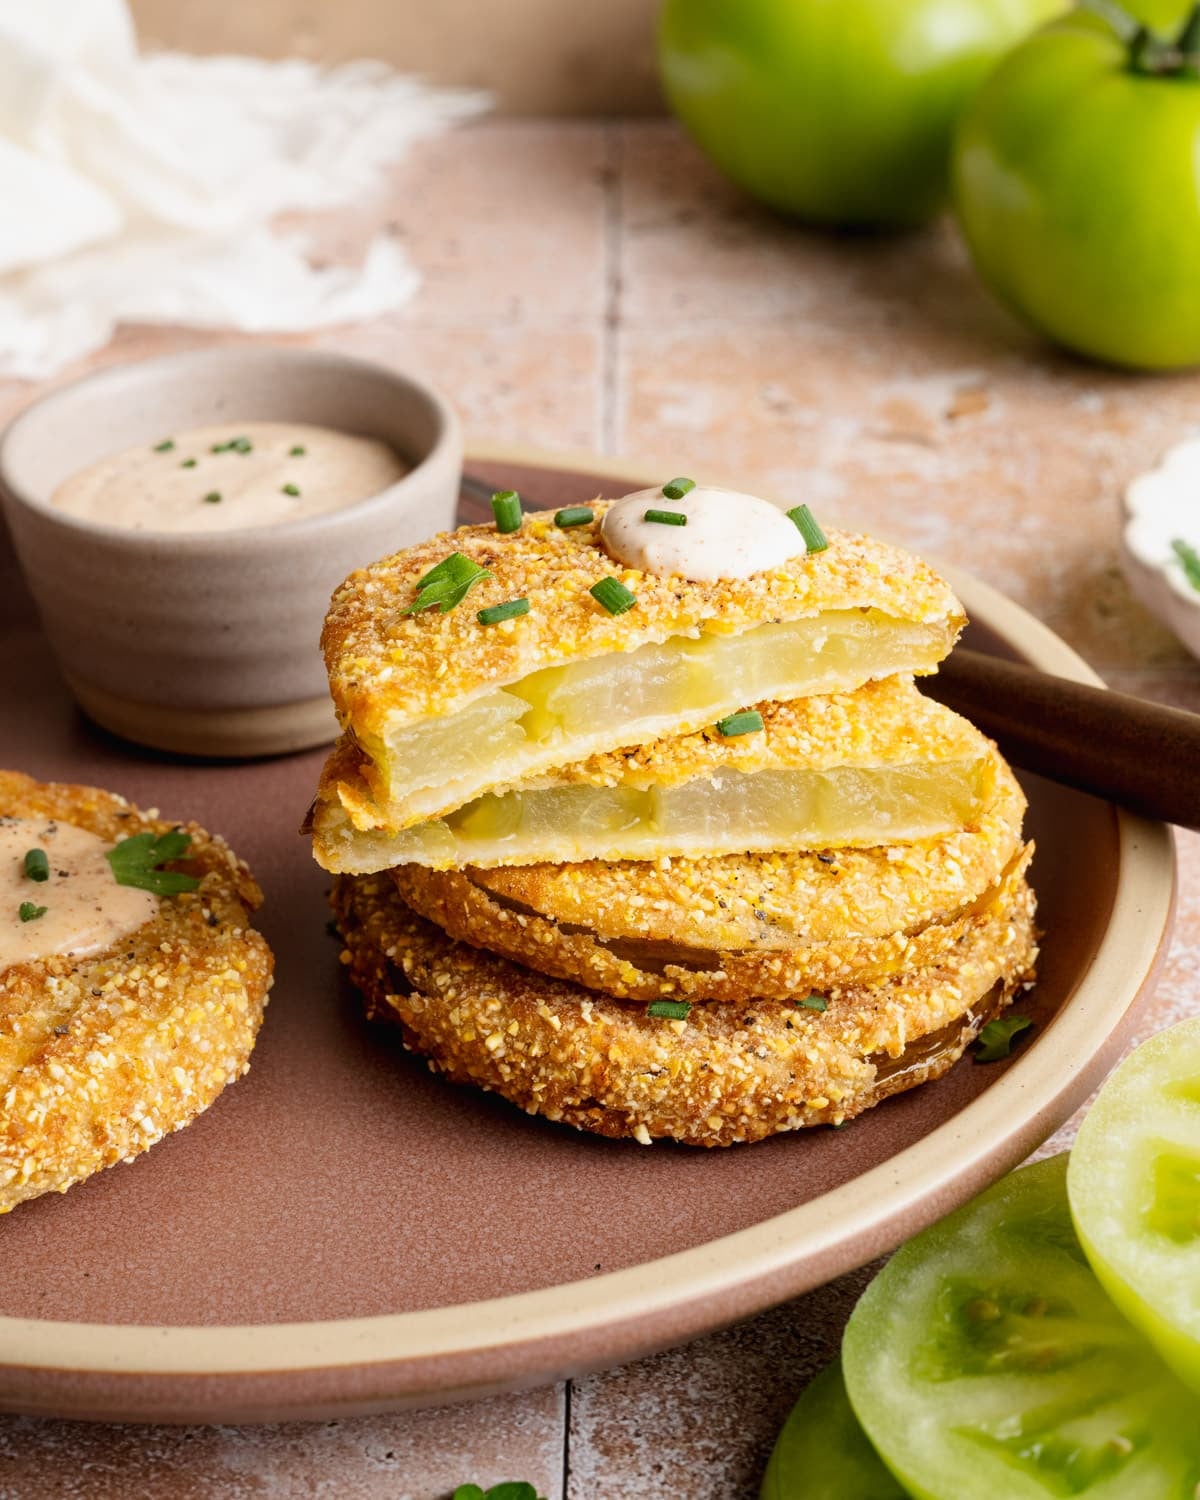
There is nothing like a fried green tomato, crisp and golden outside with a tangy, tender inside. The buttermilk and cornmeal coating fries up crunchy and stays put. These come together in about 30 minutes in a cast iron skillet, and they disappear just as fast!
More Southern Fried Favorites:
Before You Get Started
Keep these tips in mind for the best fried green tomatoes every time:
- Pick firm, unripe tomatoes. They hold their shape and stay tart. Soft or ripening tomatoes turn mushy in the oil.
- Chill the breaded slices before frying. Fifteen minutes in the fridge sets the coating so it grips instead of sliding off.
- Keep the oil hot but steady. Aim for 350°F to 375°F. Too cool and they soak up grease, too hot and the crust scorches before the inside softens.
How to Make Fried Green Tomatoes
Here is how the slices go from raw to golden. The order matters most at the breading stage, so set everything up before the oil goes on.
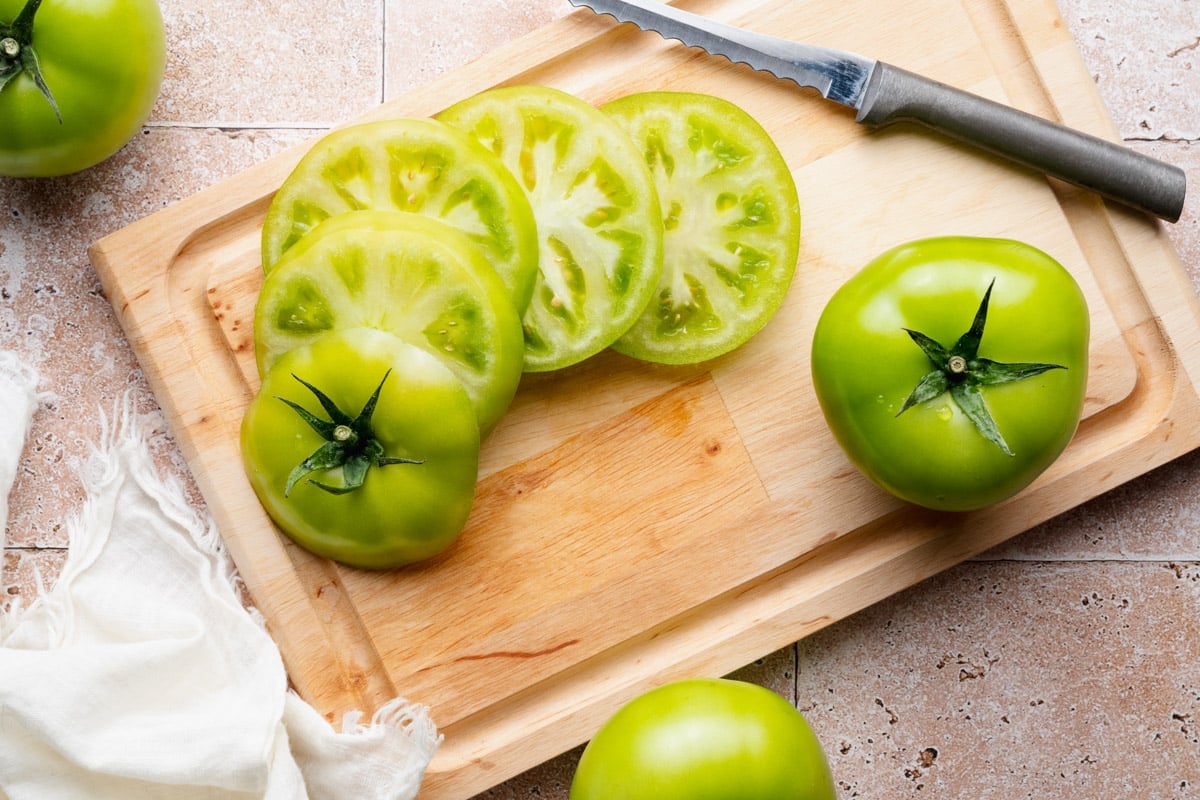
Step 1: Slice the Tomatoes
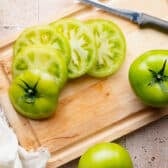
Cut the green tomatoes into ½-inch-thick rounds. This thickness helps the slices hold their shape while still cooking through and becoming tender inside. Be sure to use firm, unripe green tomatoes, since ripe tomatoes are too soft and juicy for frying.
→ If the tomatoes seem especially wet, sprinkle them lightly with salt and let them rest for 5-10 minutes. Pat dry with paper towels before breading to help the coating stick better.
Step 2: Set Up Your Dredge Stations
Arrange three shallow bowls or pie plates on your work surface:
- Bowl 1: Flour seasoned with salt, pepper, and any other spices.
- Bowl 2: Eggs whisked together with buttermilk.
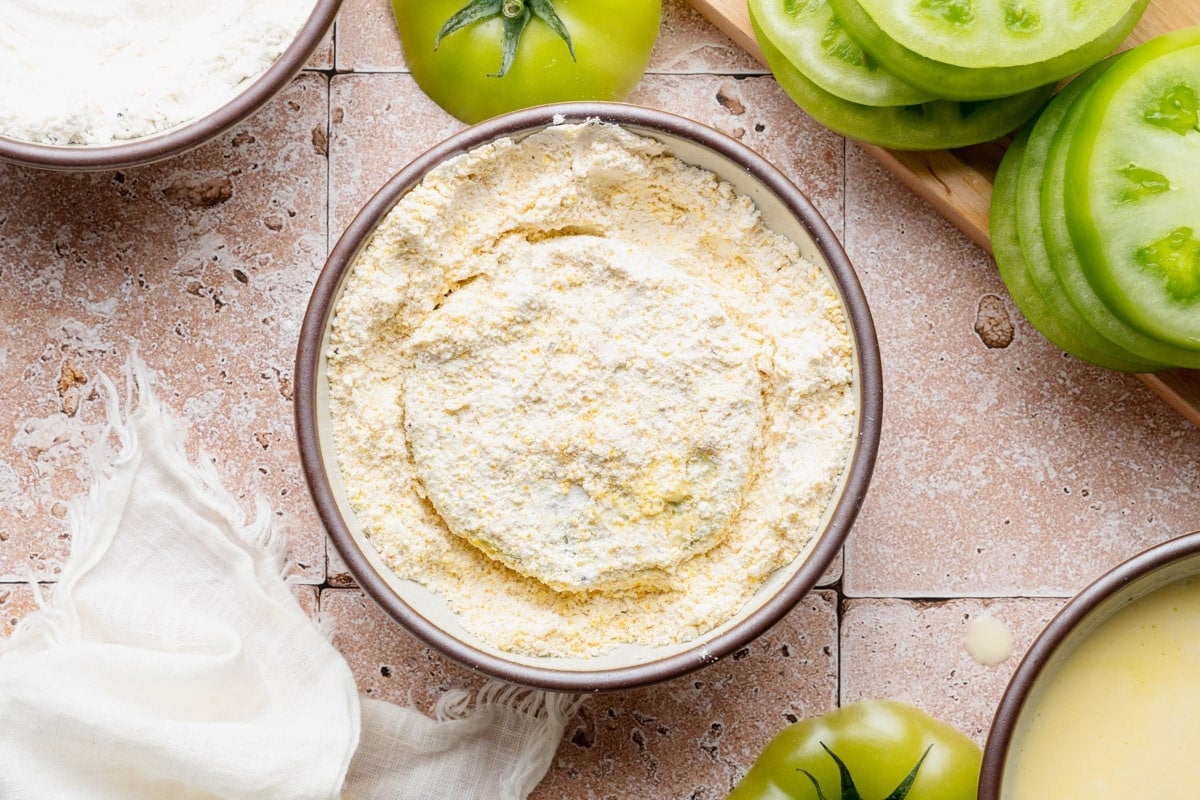
- Bowl 3: Cornmeal mixed with the remaining flour and seasonings.
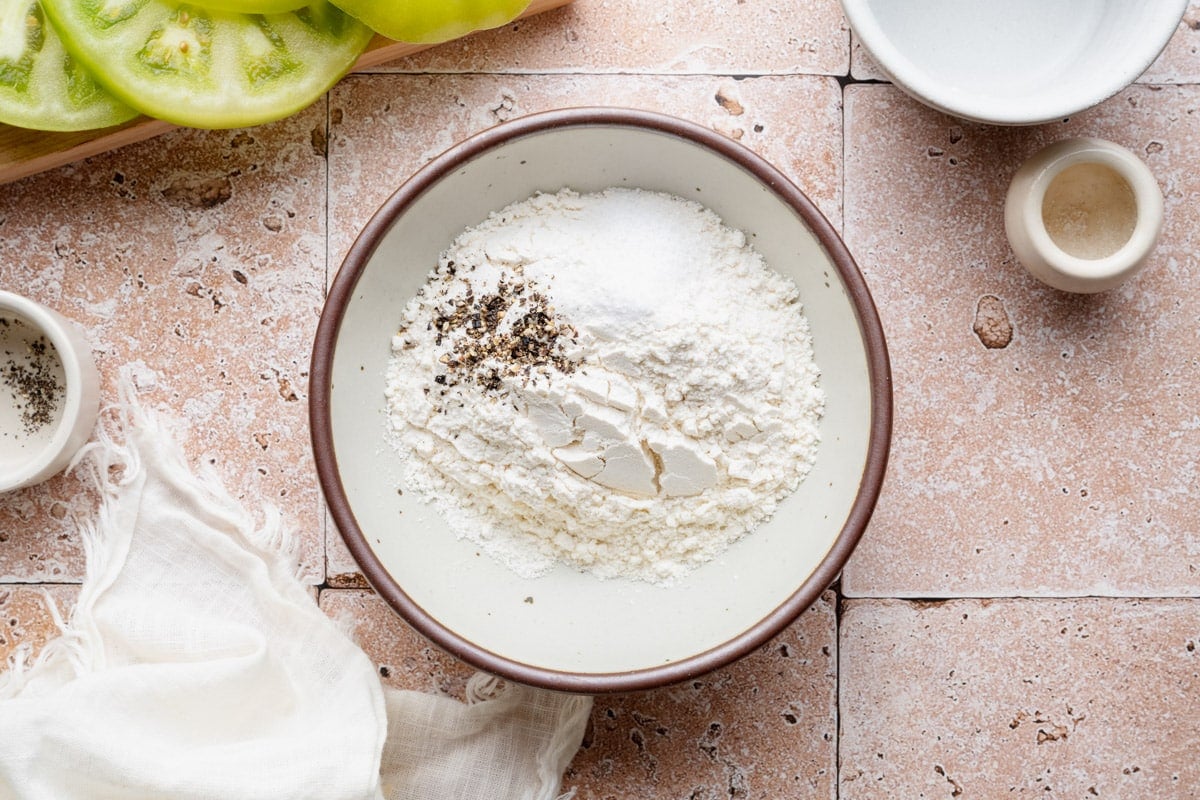
This three-step dredging process is the secret to that classic Southern crust. The flour helps the egg wash cling to the tomatoes, while the cornmeal mixture creates the crispy exterior.
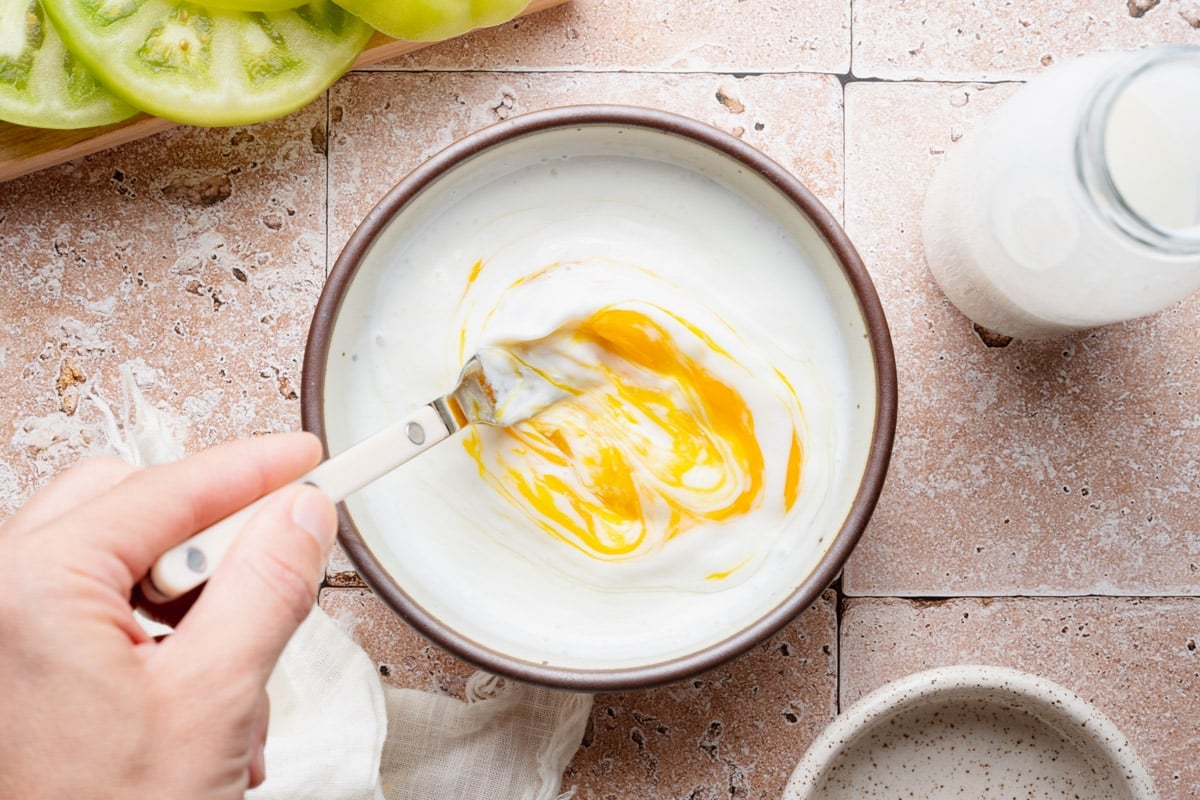
→ Add a pinch of paprika or cayenne pepper to the cornmeal mixture for a little extra color and warmth.
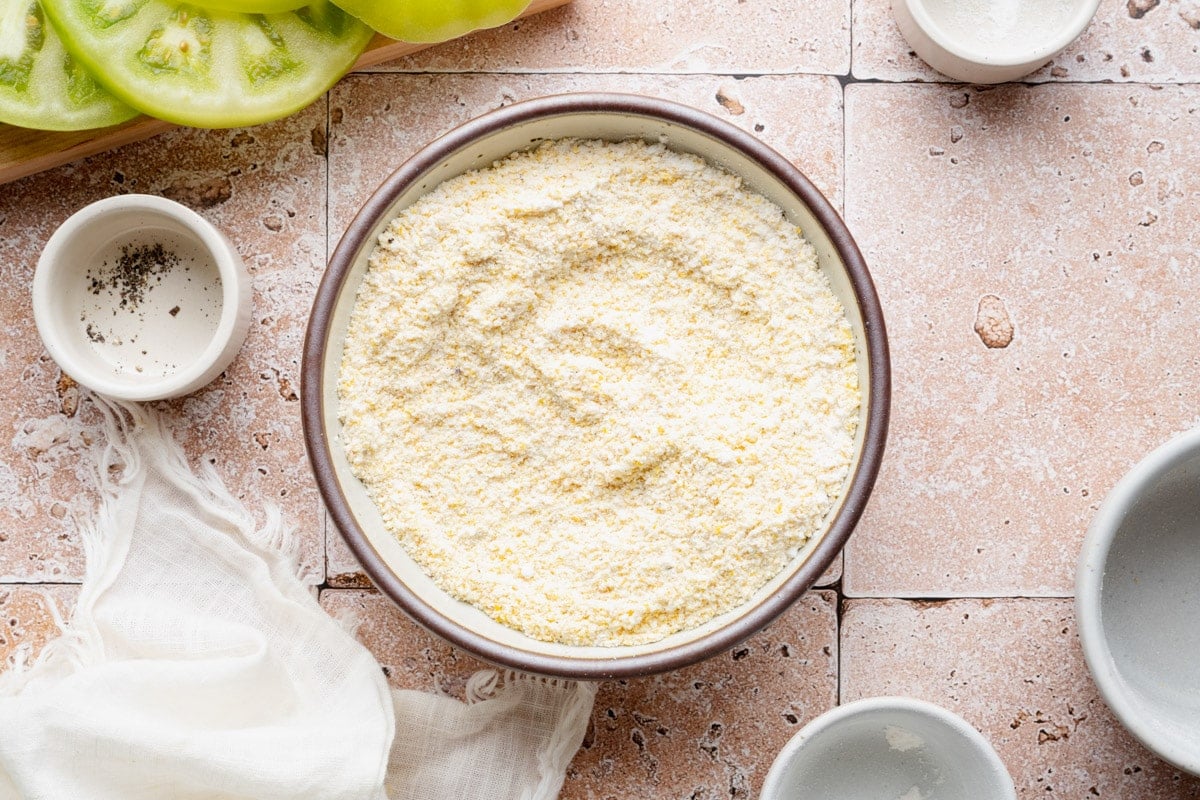
Step 3: Bread and Chill
Working with one tomato slice at a time, dredge it in the seasoned flour, coating both sides.
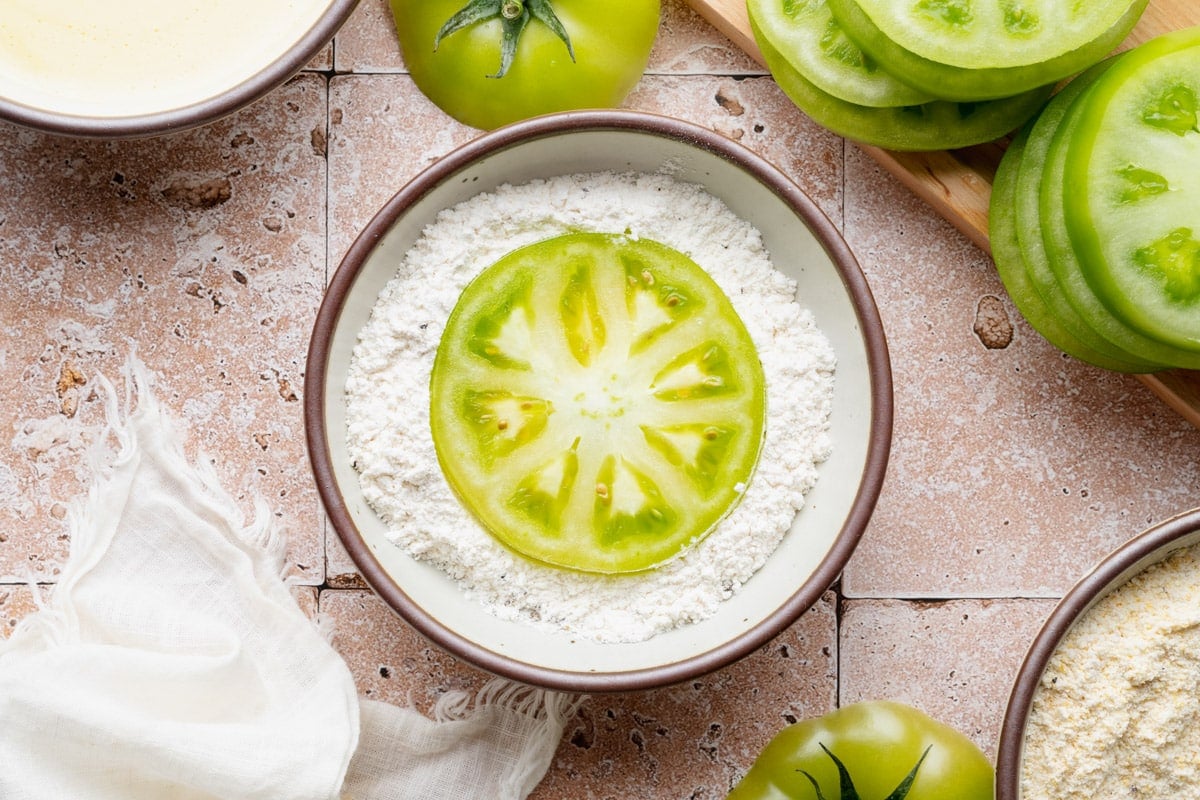
Dip it into the egg mixture, allowing any excess to drip off,
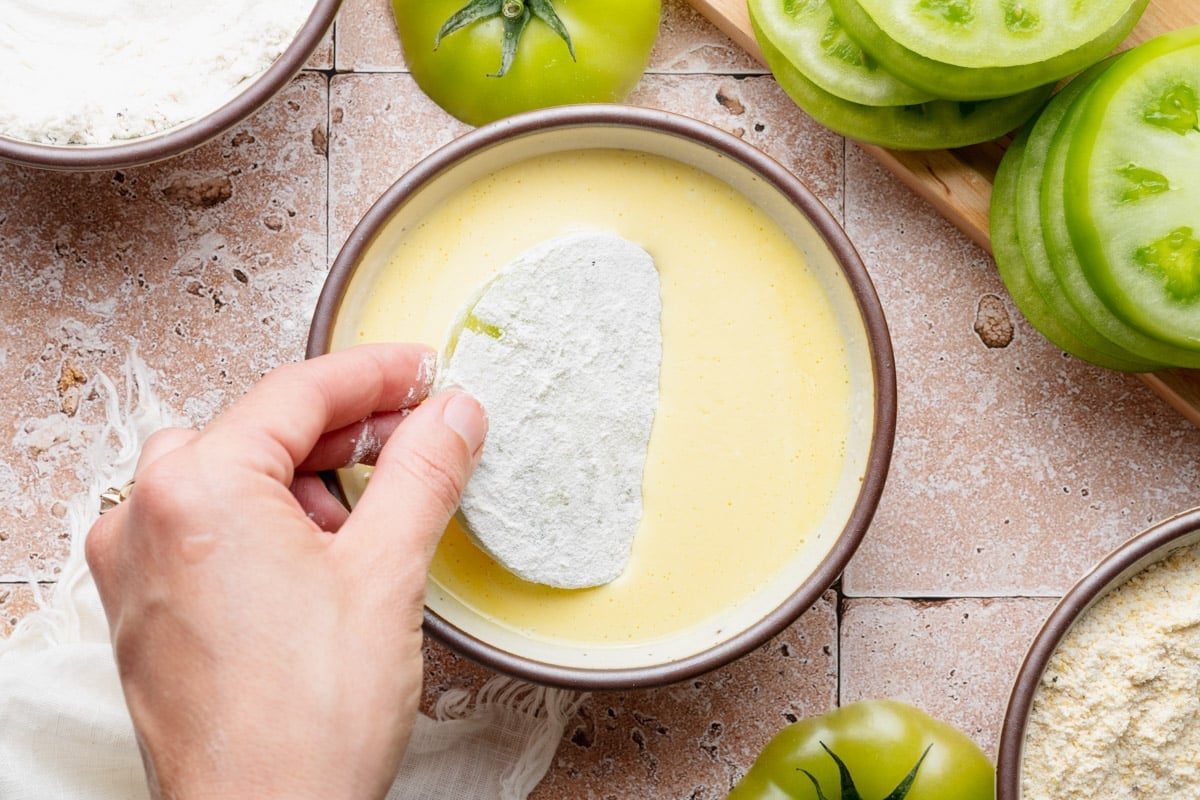
then press it firmly into the cornmeal mixture until evenly coated.
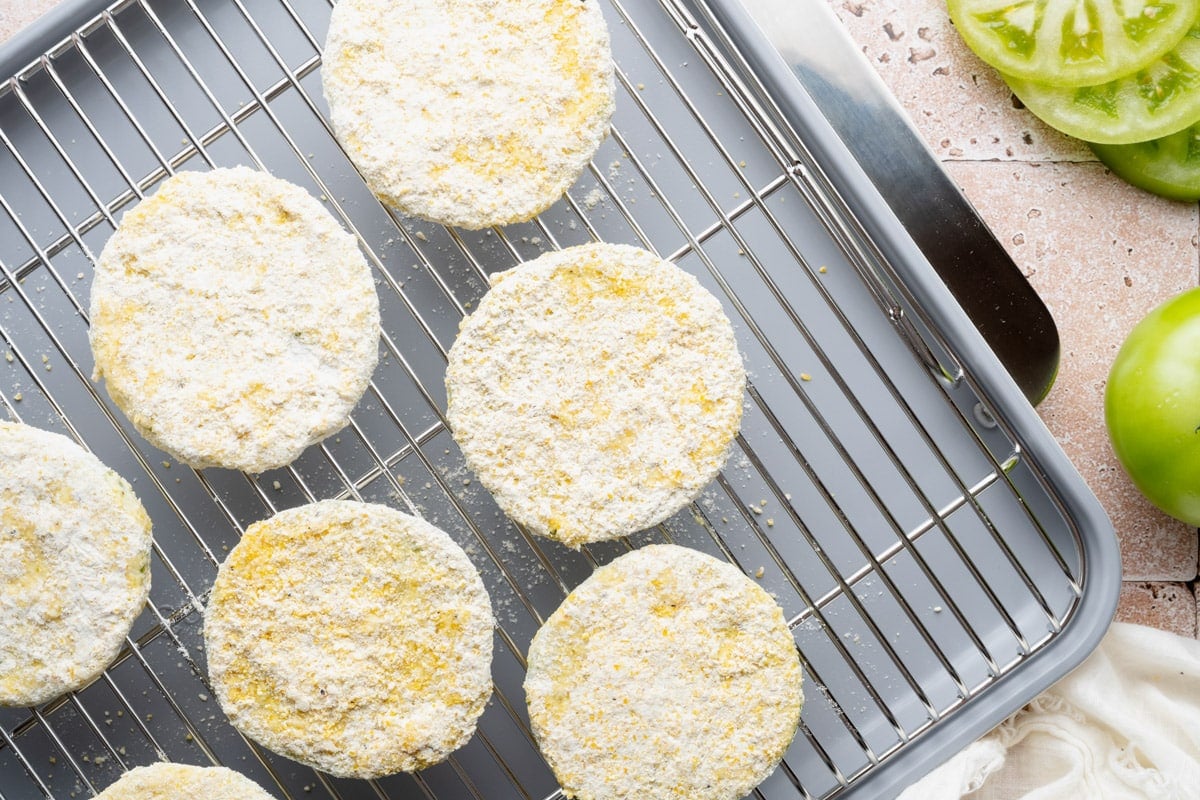
Arrange the breaded slices on a wire rack set over a baking sheet. Once all of the tomatoes are coated, transfer the tray to the refrigerator for 15-30 minutes.
This quick chill helps the breading adhere to the tomatoes so it stays put during frying.
Try it another way
If you love that crispy cornmeal crust, my Pan-Fried Catfish uses the same buttermilk and cornmeal dredge.
Step 4: Heat the Oil
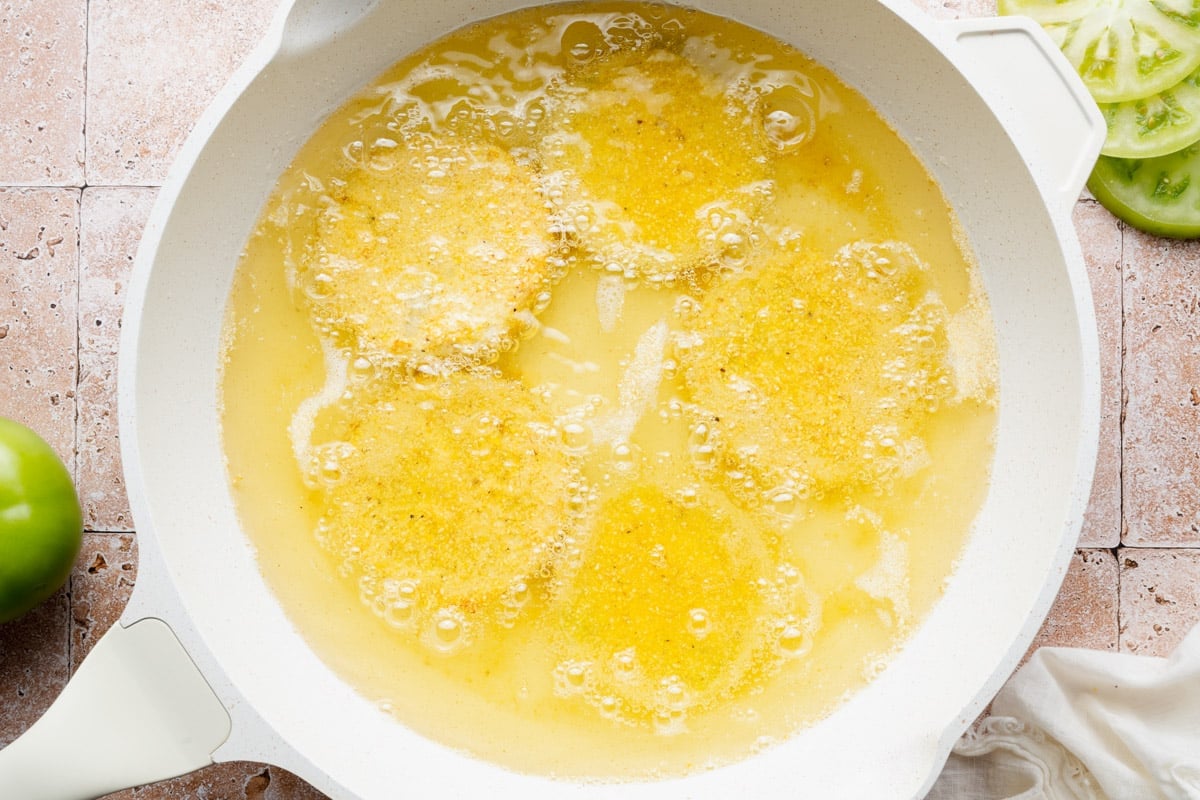
Pour enough oil into a large cast iron skillet or Dutch oven to reach about 1 inch deep. Heat over medium heat until the oil reaches 350°F-375°F.
→ If you don’t have a thermometer, sprinkle a pinch of cornmeal into the oil. If it sizzles immediately, the oil is ready for frying.
Step 5: Fry in Batches
Carefully place a few tomato slices in the hot oil, leaving space between them so they don’t crowd the pan. Fry for about 3 minutes on the first side, until golden brown and crisp. Gently flip and cook the second side for another 2-3 minutes, until equally golden.
Transfer the fried tomatoes to a clean wire rack or paper towel-lined plate while you cook the remaining batches.
→ Keep an eye on the oil temperature between batches. If it gets too hot, the coating can burn before the tomatoes soften. If it cools down too much, the tomatoes will absorb excess oil and lose their crisp texture.
Step 6: Drain and Serve
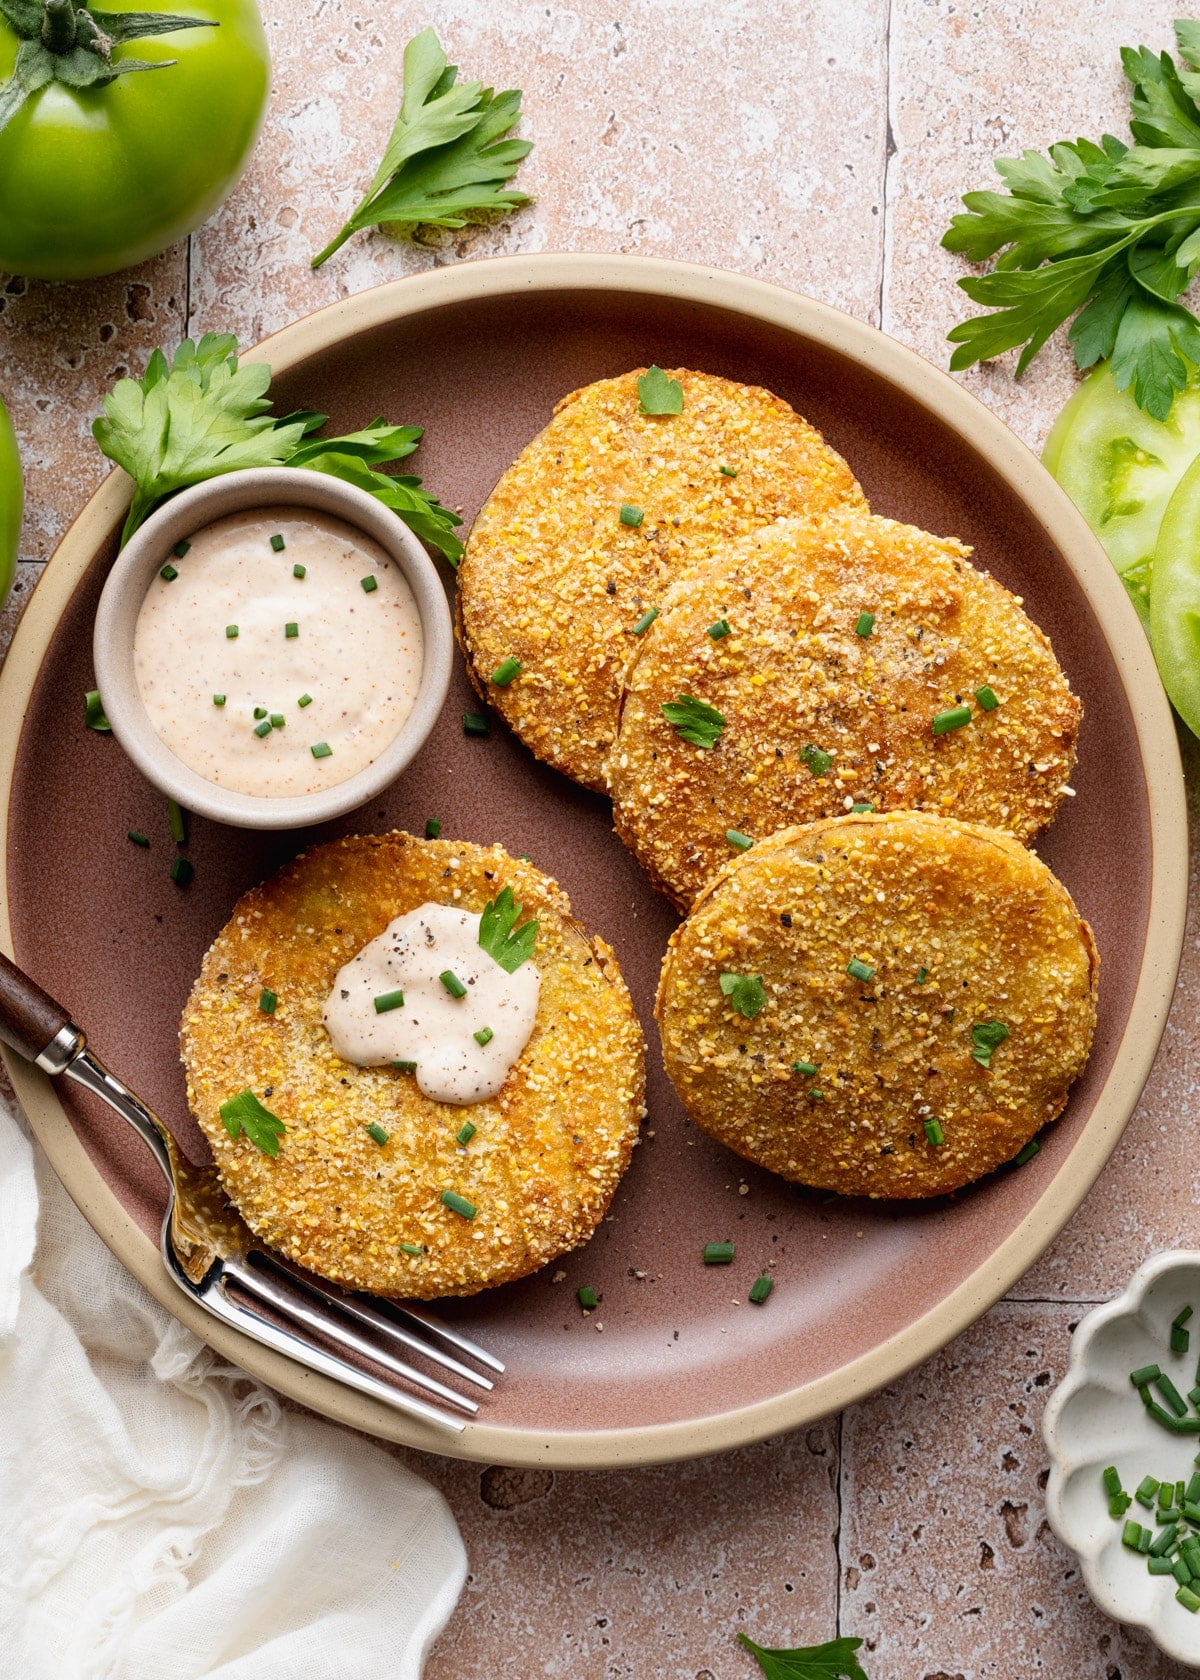
As soon as the fried green tomatoes come out of the oil, sprinkle them with a little extra salt while they’re still hot. Let them drain briefly on a wire rack or paper towel-lined plate, then serve warm.
They’re delicious on their own, but even better with a side of remoulade sauce, ranch dressing, comeback sauce, or a drizzle of hot pepper jelly.
Air Fryer Method
For a lighter version with less oil, the air fryer does a nice job. Bread and chill the slices as written, then mist both sides well with oil. Air fry at 400°F for 8 to 10 minutes, flipping halfway, until golden and crisp. Keep them in a single layer so they crisp evenly.
Dipping Sauces and How to Serve
Fried green tomatoes are best served hot, right out of the skillet while the crust is still crisp. A cool, creamy dip is the classic move, and you have a few good options:
- Ranch. Cool and herby, the easy crowd-pleaser. Whisk up a quick batch with my Homemade Ranch Seasoning.
- Remoulade. The Southern route, tangy with a little kick. Try the one in my Shrimp Po’ Boy.
- Comeback sauce or spicy mayo. A quick stir-together when you want something with heat.
- Hot honey. A sweet-and-spicy drizzle if you are feeling a little different.
Set them out as a starter before a Southern supper, use them to make a fried green tomato BLT, or serve them as a simple side next to almost anything.
Great pairing options for Fried Green Tomatoes:
Storage and Reheating
Fried green tomatoes are best the minute they come out of the oil, but leftovers are still useful.
To store: Let them cool completely, then keep them in an airtight container in the fridge for up to 2 days.
To reheat: Warm them in a 375°F oven or air fryer for a few minutes to crisp the coating back up. Skip the microwave, which leaves the crust soft.
Frequently Asked Questions
Are green tomatoes just unripe tomatoes, and which should I use?
Yes. Green tomatoes are just firm, unripe regular tomatoes (not a special variety or a tomatillo). Firm green tomatoes slice and fry best, and the tartness is the goal.
How do you keep the breading from falling off?
A dry surface, the proper sequence (flour then breading), gently pressing on the coating, and the chilling time in the fridge all contribute to a fried green tomatoes with a crust that’s fully intact!
Can you make fried green tomatoes without breading?
Yes, you can pan-fry seasoned slices in a little oil for a softer, less crisp result. The texture is different and it is not the classic version, but it works.
Can you use a cornbread mix like Jiffy instead of cornmeal and flour?
Yes, a dry cornbread mix can stand in for the cornmeal-and-flour layer. Expect a slightly sweeter, coarser crust, and adjust the salt since mixes vary.
More Southern Favorites

Southern Fried Green Tomatoes
Ingredients
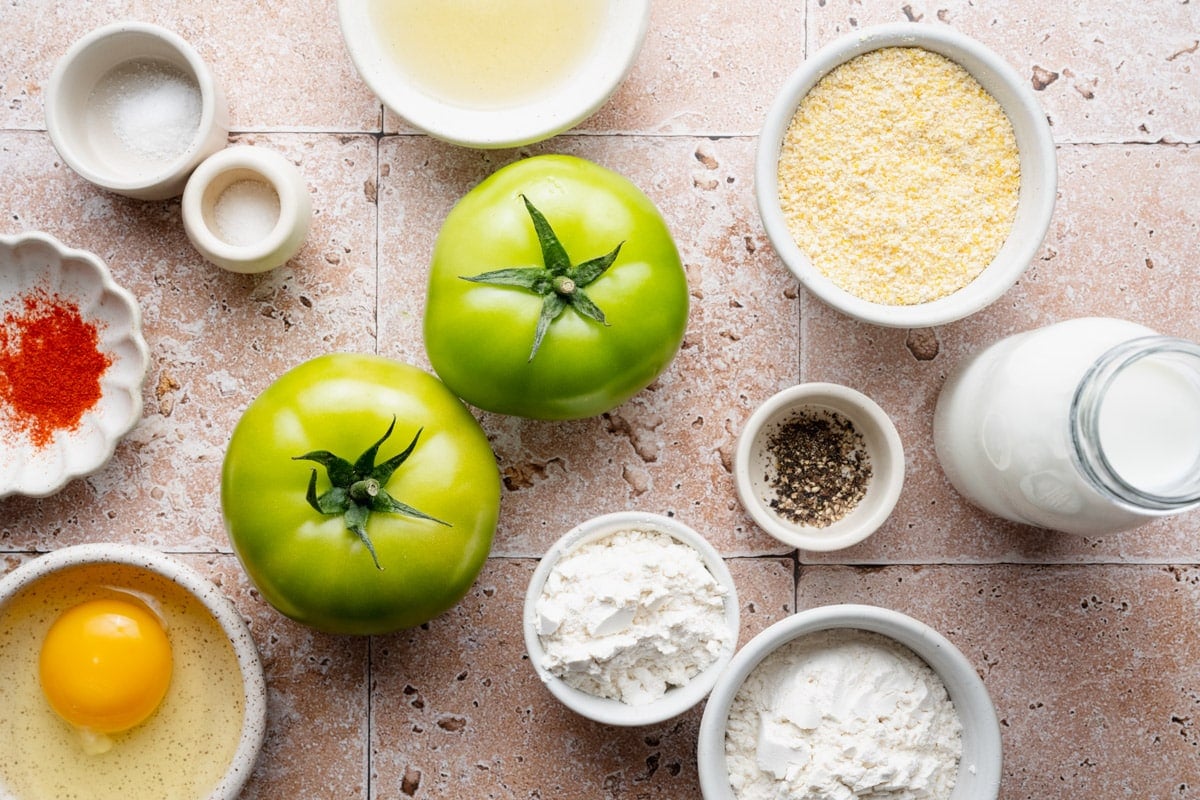
- 2 large firm green tomatoes
- ¾ cup all-purpose flour, divided
- ½ teaspoon kosher salt, divided
- ¼ teaspoon black pepper, divided
- 1 large egg
- ½ cup buttermilk
- ½ cup yellow cornmeal
- Vegetable, canola, or peanut oil, for frying
- Optional: pinch of paprika or cayenne for the coating
- Optional, for serving: ranch dressing or remoulade sauce
Instructions
- Slice the tomatoes into 1/2-inch rounds. Choose firm, unripe green tomatoes so the slices hold their shape.

- Set out three shallow bowls. In the first, whisk 1/2 cup of the flour with 1/4 teaspoon salt and 1/8 teaspoon pepper.
- In the second, whisk the egg and buttermilk.
- In the third, stir together the cornmeal, the remaining 1/4 cup flour, and the remaining salt and pepper.
- Working one slice at a time, dredge in the flour, dip in the egg mixture and let the excess drip off, then coat in the cornmeal mixture.
- Set on a wire rack over a baking sheet and refrigerate 15 to 30 minutes to help the coating stick.
- Pour oil into a large cast iron skillet or Dutch oven to a depth of about 1 inch. Heat over medium to 350°F – 375°F.
- Working in batches and without crowding the pan, fry the slices until golden and crisp on the first side, about 3 minutes, then flip gently and cook until golden on the second side.
- Transfer to a paper-towel-lined plate, season lightly with salt, and serve hot. Add ranch or remoulade for dipping if you like.






Notes
- Pick firm tomatoes. Soft, ripening ones turn mushy in the oil.
- Do not skip the chill. The fridge rest in step 3 is what keeps the coating from sliding off.
- Watch the oil temperature. Keep it between 350°F and 375°F, adjusting the heat between batches as needed.
- Air fryer option. Mist breaded, chilled slices with oil and air fry at 400°F for 8 to 10 minutes, flipping halfway.
- Cornbread mix shortcut. A dry mix can stand in for the cornmeal-and-flour coating for a slightly sweeter crust.
- Serve right away. Reheat leftovers in a 375°F oven or air fryer to bring back the crunch.













Did you make this recipe?
If you enjoyed this recipe, please leave a comment with a 5-star review at the bottom of the post. Thank you!