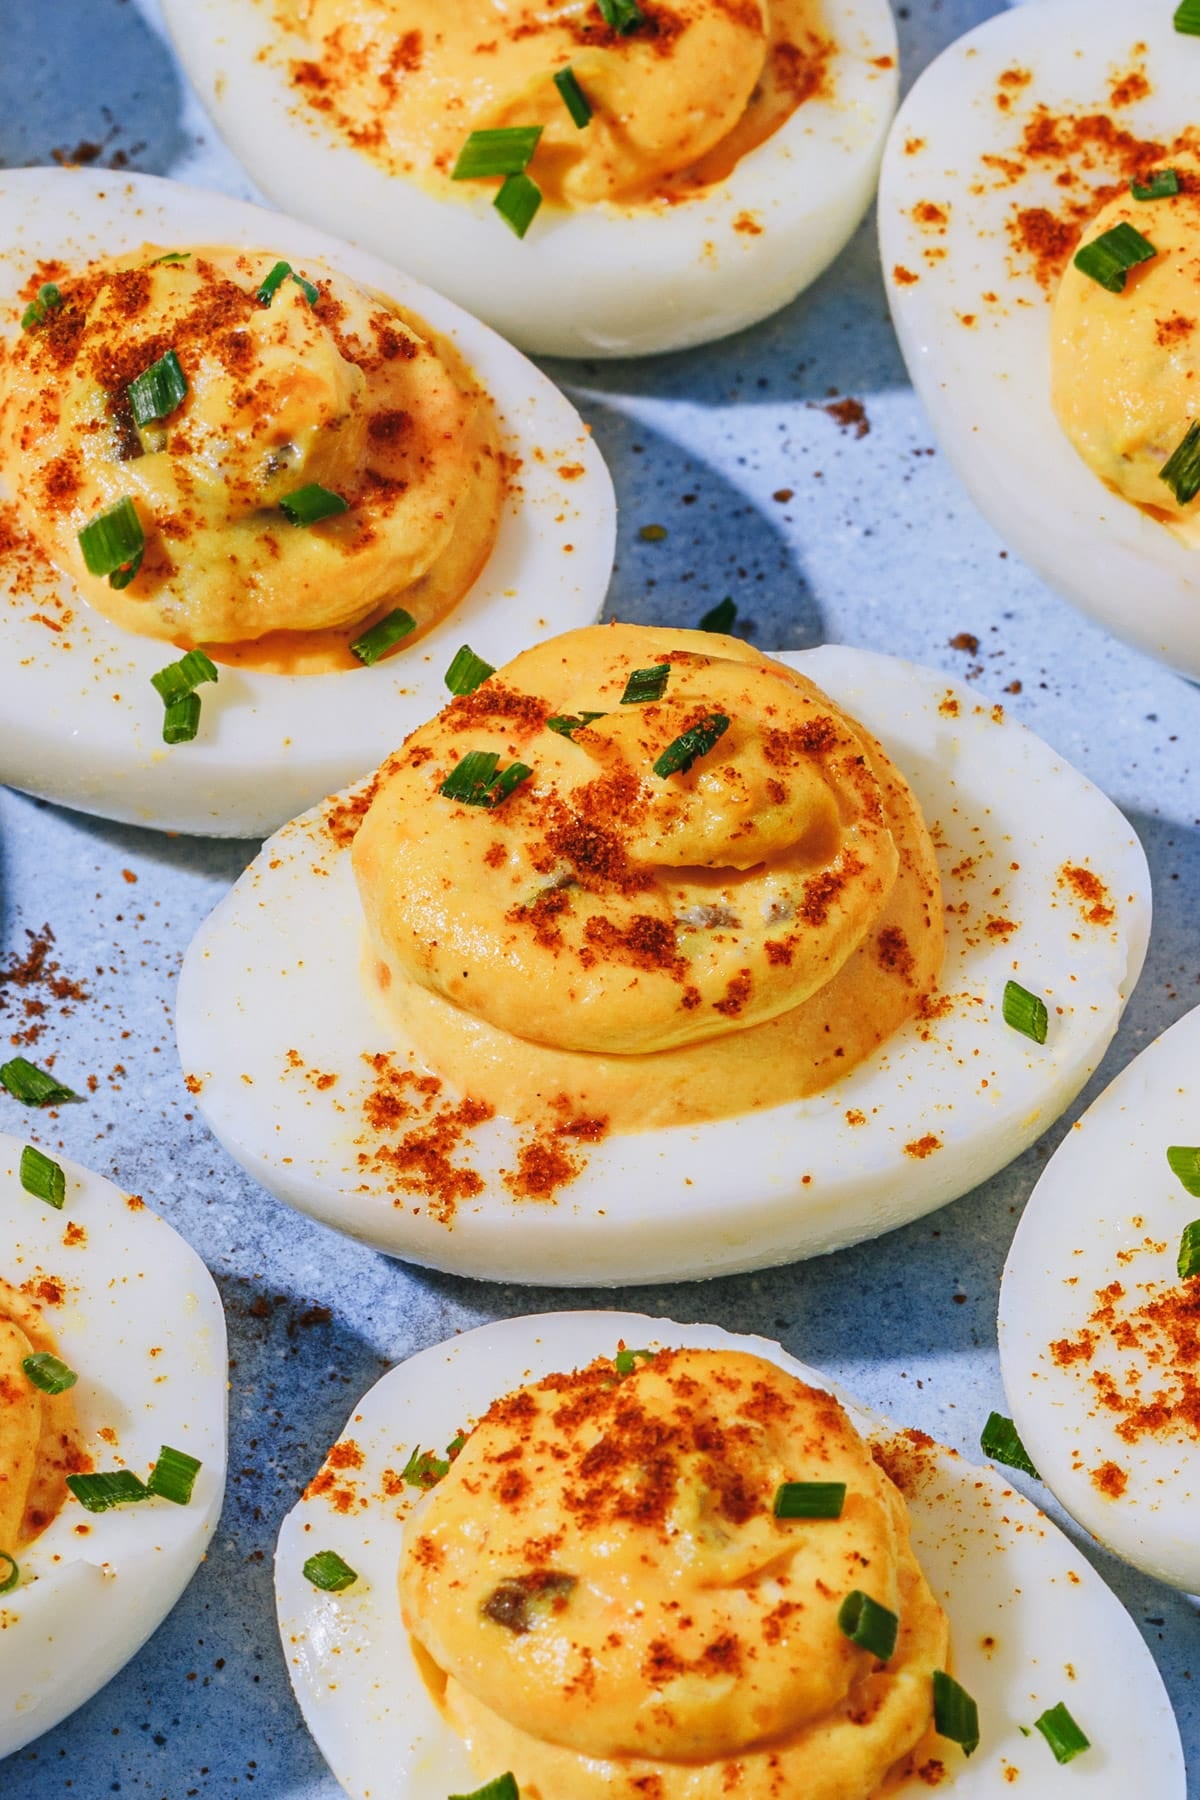
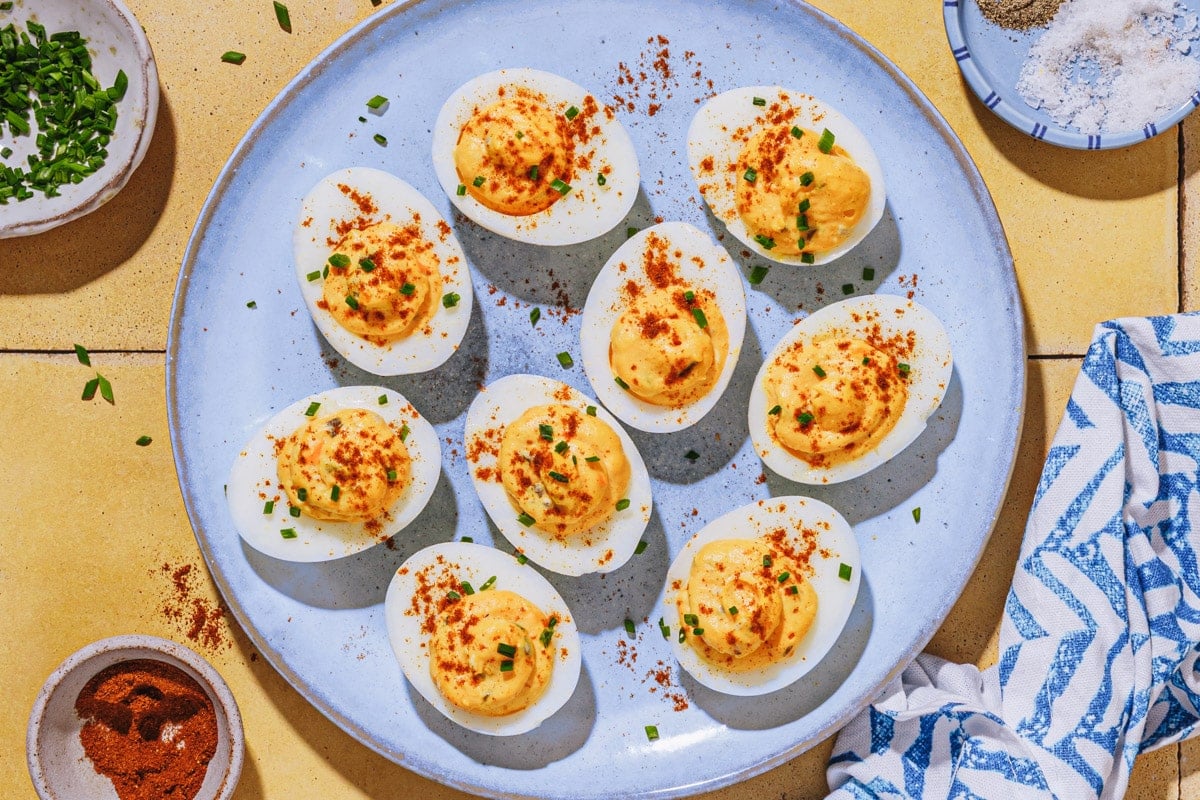
Southern deviled eggs are one of those recipes that should be in every home cook’s back pocket. Creamy, tangy, and just a little bit sweet from the pickle relish, this classic version comes together easily and never lasts long at the table. Whether you’re prepping for Easter dinner, a summer cookout, or a holiday spread, these are always the first thing to disappear!
For more easy classics, try this Egg Salad Sandwich or Pimento Cheese. And if you’re putting together a full spread, check out our Easy Potato Salad for another crowd-pleasing side.
Photography by BEA MORENO.
Before You Get Started
- Use an ice bath after boiling. Transfer the eggs to a bowl of ice water immediately after draining and let them sit for at least 5 minutes. This stops the cooking, prevents the gray-green ring around the yolks, and makes peeling much easier.
- Use eggs that are at least a week old. Very fresh eggs are harder to peel cleanly. If you can, buy your eggs a few days before you plan to make these.
- Mash the yolks thoroughly for a smooth filling. Use a fork to break the yolks down until there are no large lumps. For an even creamier result, press them through a fine mesh sieve before adding the other ingredients.
How to Make Southern Deviled Eggs
Southern deviled eggs come together in three simple stages: boiling and peeling the eggs, making the filling, and piping it back into the whites.
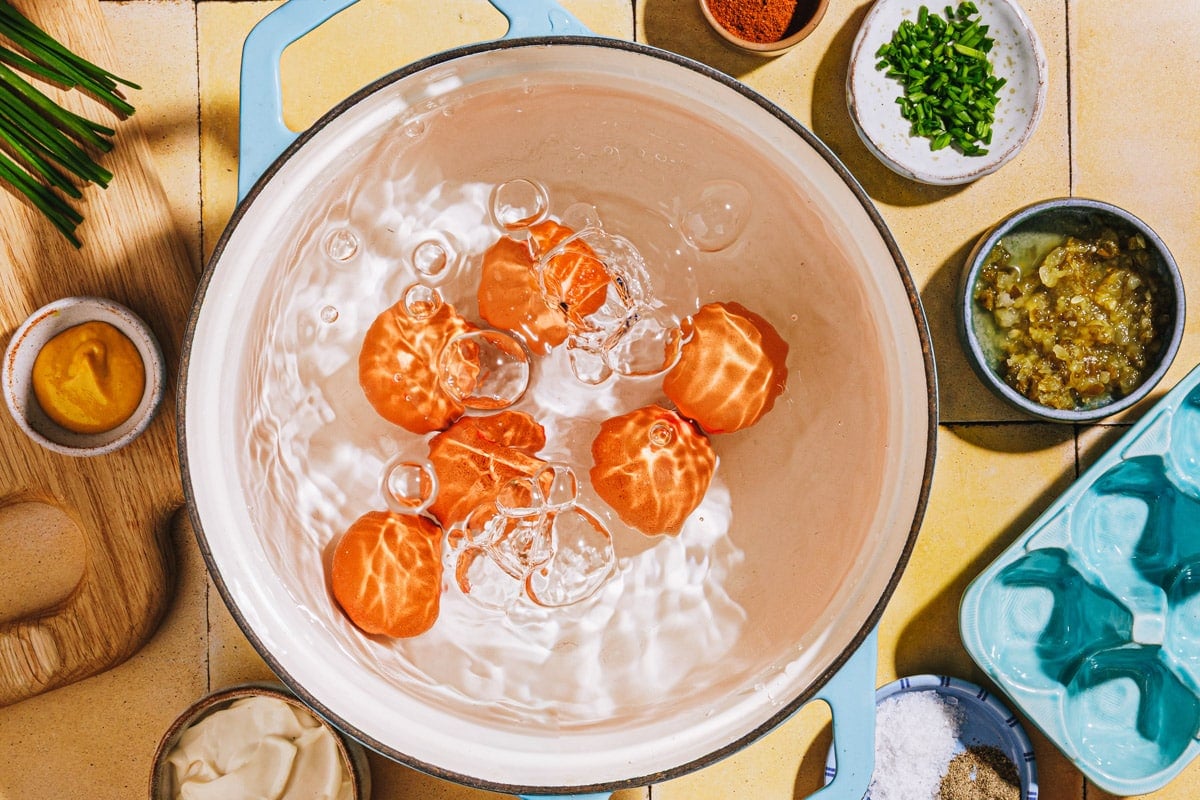
Step 1: Boil and Cool the Eggs
Place the eggs in a single layer in a saucepan and cover with cold water (about 1 inch above the eggs).
Bring the water to a boil, remove the pan from the heat, cover, and let the eggs stand in the hot water for 12 minutes. This exact amount of time gives you a fully set yolk without the gray-green ring.
Transfer the eggs to an ice bath (or rinse under cold water) and let cool for at least 5 minutes.
** Tip: Starting with cold water and bringing the pot to a boil (as opposed to dropping the eggs into a pot of already-boiling water) is important. This ensures more even cooking and fewer cracks.
** Note: If you have a preferred hard-boiled egg method (for instance, in the Instant Pot or steaming, etc.), that works here, too. The key is the final ice bath. For a shortcut, you can even purchase hardboiled eggs from the refrigerated section at the grocery store and skip this step entirely!
** Tip: In order to get the yolk centered in the hardboiled egg, store the boiled eggs in the fridge horizontally for 12-24 hours. Otherwise, gravity pushes the yolk lower!
Step 2: Peel and Halve the Eggs
Crack the egg shells gently and peel the eggs under cool running water (the water helps separate the membrane).
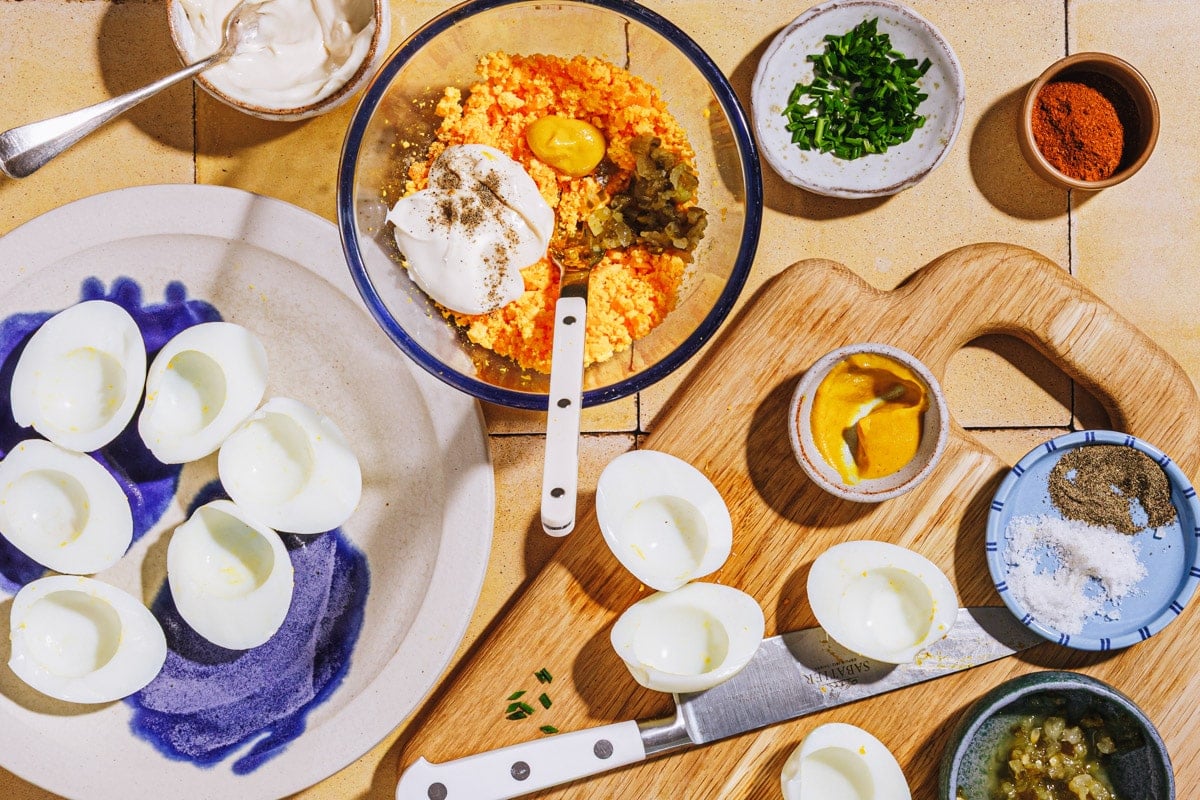
Slice the eggs in half lengthwise, then gently remove the yolks. Place the yolks in a medium bowl and set the whites aside to use later.
** Tip: A gentle hand when removing yolks keeps the whites intact for a cleaner presentation.
Step 3: Make the Filling
Mash the yolks with a fork until smooth (or press them through a fine mesh sieve for extra creaminess). Add the mayo, sweet pickle relish, yellow mustard, salt, and pepper, then mix well until completely combined. Give the filling a taste at this point and adjust the seasoning, as needed.
** Texture Tip: You’re going for a smooth and creamy texture; not lumpy. The sieve method takes an extra minute but makes a noticeable difference. The filling should be smooth enough to pipe easily. If it feels too thick, a small splash of pickle juice or a touch more mayo loosens it up.
Step 4: Fill and Garnish
Transfer the filling to a zip-top bag or piping bag. Cut a small opening at the tip (about ½ inch) and pipe the filling evenly into the egg white halves.
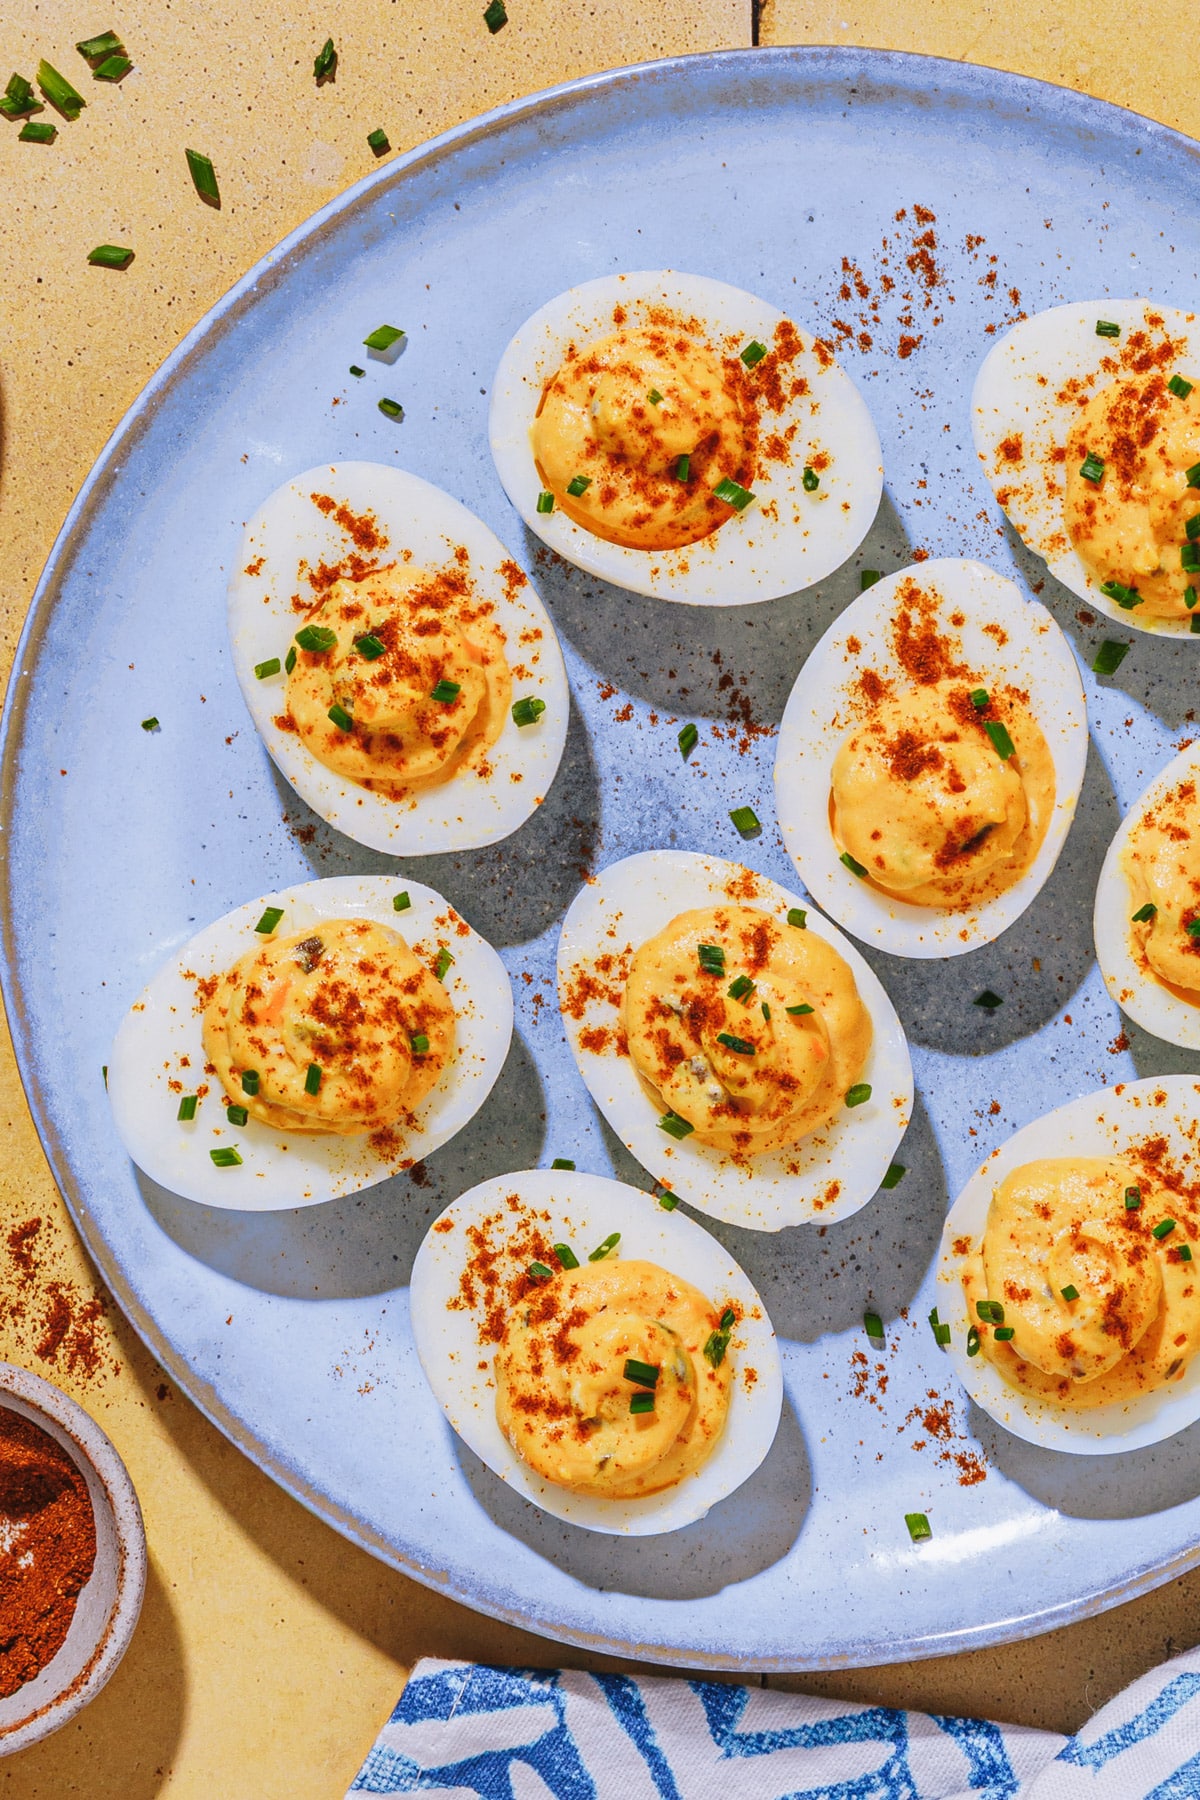
Sprinkle with paprika and garnish with chopped chives or sliced green onions.
** Tip: For a dressier presentation, use a piping bag with a star tip. For a more casual approach, you can also spoon the filling into the whites.
Variations and Customizations
- Vinegar addition: A splash of apple cider vinegar (about ½ teaspoon) in the filling adds brightness and is a common Southern variation. Some cooks swear by it. Try it if you like a little extra tang.
- Mustard options: Yellow mustard is the classic Southern choice, but Dijon works if you prefer a sharper, slightly more complex flavor.
- Garnish variations: Beyond paprika and chives, try a tiny piece of crispy bacon, a sliver of pickled jalapeño, or a sprinkle of everything bagel seasoning for a fun twist.
- Relish swap: My mom always uses a sweet relish, but dill pickle relish works instead if you prefer a tangier, less sweet filling.
- Flavor Variations: For a spicy version add hot sauce or cayenne. For an herby flavor add dill, parsley, and/or chives.
What to Serve with Southern Deviled Eggs
Southern deviled eggs are right at home on any holiday table, from Easter dinner and summer cookouts to potlucks and festive gatherings. They pair beautifully with hearty Southern mains like crispy fried chicken, tender slow cooker pulled pork, or grilled BBQ chicken, along with classic sides such as easy potato salad, Southern macaroni salad, shrimp pasta salad, homemade baked beans, and warm cornbread with cake mix.
For a few extra favorites to round out the spread:
Storage, Make Ahead & Reheating
Storage: Assembled deviled eggs keep in the refrigerator for up to 2 days. Store in a single layer in an airtight container (a deviled egg tray works great if you have one).
Make-ahead strategy: You can prep the filling and boiled egg whites separately for up to 1 day ahead. Store the filling in a sealed bag or container and the whites in an airtight container lined with a damp paper towel. Pipe and garnish right before serving.
Why make-ahead works well: The filling actually develops a bit more flavor as it sits, so prepping ahead doesn’t sacrifice quality.
Freezing: Deviled eggs don’t freeze well. The whites become rubbery and watery after thawing. It’s best to make these fresh or use the make-ahead strategy above.
Transport tip: If you’re bringing deviled eggs to a gathering, transport the filled eggs in a single layer on a sheet pan or in a deviled egg carrier. Add garnishes after you arrive to keep them looking fresh.
** Food Safety Tip: If deviled eggs will be sitting out (especially in warm weather), it’s important to keep them chilled on a tray of ice or in a cooler. The FDA recommends no more than 2 hours at room temperature.
Frequently Asked Questions
What makes Southern deviled eggs different from regular deviled eggs?
Southern deviled eggs start with the same basics of hard-boiled eggs, mayonnaise, and mustard, but they’re flavored with sweet pickle relish and classic yellow mustard instead of dill relish or Dijon. The result is a filling that’s a little sweeter, tangier, and distinctly Southern in its familiar balance of flavors.
Why do some people put vinegar in deviled eggs?
A splash of vinegar, often apple cider vinegar, adds a bit of brightness that balances the richness of the mayonnaise, which is why it shows up in many Southern versions. This recipe keeps the base simple without it, but you can easily stir in a small amount if you prefer a tangier filling.
How far ahead can you make deviled eggs?
You can prepare the filling and egg white halves separately up to a day in advance, then assemble just before serving for the freshest look. Once filled, deviled eggs will keep in the refrigerator for up to 2 days, and the filling often tastes even better after a little time to meld.
What’s the trick to perfect deviled eggs?
The key to perfect deviled eggs is starting with properly cooked, easy-to-peel eggs and making sure the yolk filling is completely smooth, whether you mash it very well or press it through a sieve. Always taste and adjust the seasoning before piping so the final eggs are balanced and flavorful.
Can you use Miracle Whip instead of mayonnaise?
Yes, you can use Miracle Whip instead of mayonnaise, but it will give the filling a noticeably sweeter, tangier flavor. For the most classic Southern taste, real mayonnaise is still the best choice. We prefer Duke’s brand.
More Southern Classics

Southern Deviled Eggs
Equipment
- saucepan
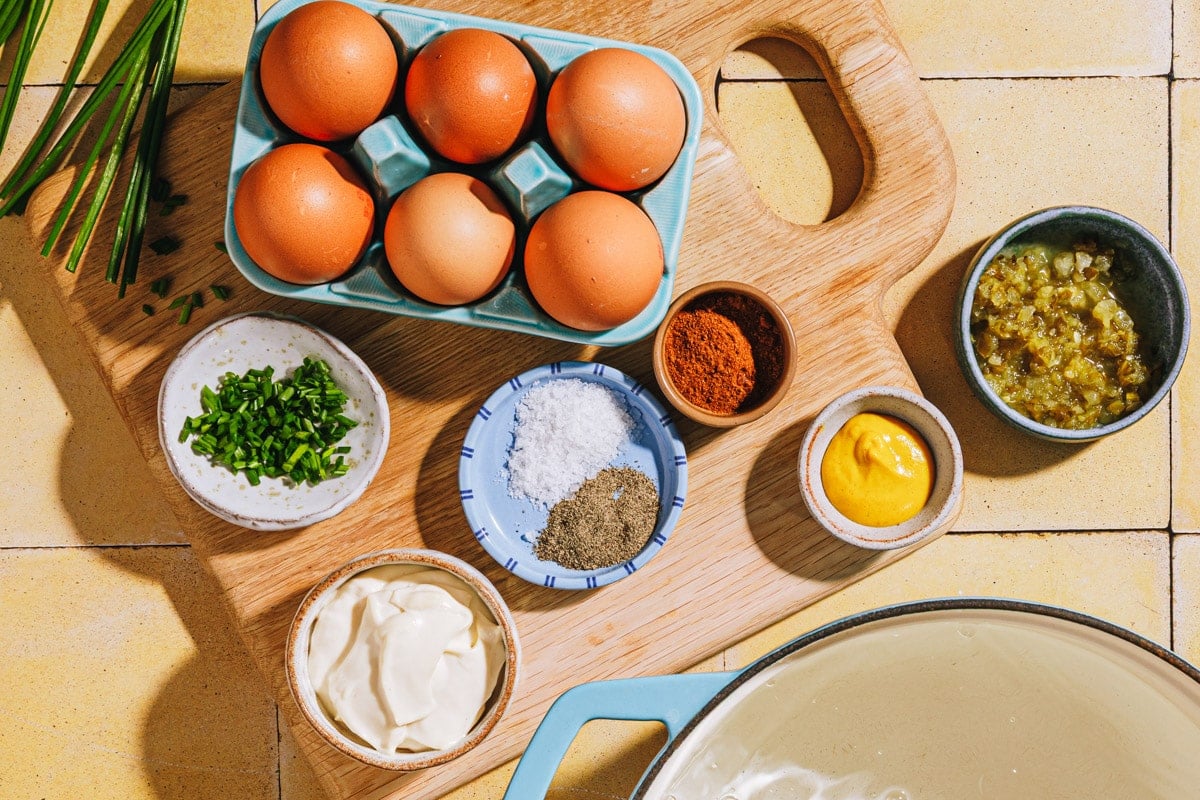
Ingredients
- 6 large eggs
- 3 tablespoons mayonnaise
- 1 tablespoon sweet pickle relish
- 1 teaspoon yellow mustard
- ¼ teaspoon salt, plus more to taste
- Dash of ground black pepper
- Optional garnish: paprika, chopped fresh chives, or sliced green onion
Instructions
- Place eggs in a single layer in a saucepan. Cover with cold water so that there is about 1 inch of water over the eggs.
- Bring to a boil over medium-high heat. Once boiling, remove from heat, cover with a lid, and let stand for 12 minutes.

- Drain the hot water. Transfer eggs to a bowl of ice water and let sit for at least 5 minutes.
- Gently crack the egg shells and peel the eggs under cool running water.
- Slice the eggs in half lengthwise. Carefully remove the yolks and place them in a medium bowl.
- Mash the yolks with a fork until smooth (no large lumps remaining).
- Add mayonnaise, sweet pickle relish, yellow mustard, salt, and pepper. Mix until well combined. Taste and adjust seasoning as needed.
- Transfer the yolk mixture to a zip-top bag or piping bag. Cut about ½ inch off the tip and pipe the filling evenly into the egg white halves.
- Sprinkle with paprika and garnish with chopped chives or sliced green onions, if desired.


Notes
- For easy peeling, use eggs that are at least a week old. Very fresh eggs are harder to peel cleanly.
- The ice bath is key. It stops the cooking (preventing gray-green yolks) and helps the shells release more easily. Don’t skip this step.
- For an extra-smooth filling, press the yolks through a fine mesh sieve before adding the other ingredients. It takes an extra minute but makes a real difference.
- If the filling feels too thick, add a small splash of pickle juice or a touch more mayo to loosen it to piping consistency.
- For a tangier filling, add ½ teaspoon of apple cider vinegar. This is a common Southern addition that brightens the flavor.
- Yellow mustard is the classic Southern choice. Dijon works too but gives a sharper, less traditional flavor.
- Make-ahead option: Prep the filling and boiled egg whites separately up to 1 day in advance. Store them in separate airtight containers in the refrigerator. Pipe and garnish right before serving.
- Storage: Assembled deviled eggs keep in the refrigerator for up to 2 days in an airtight container, stored in a single layer.
- Do not freeze. The egg whites become rubbery and watery after thawing.
- Presentation options: Use a piping bag with a star tip for a dressier look, or simply spoon the filling into the whites for a more casual, homestyle approach.


Did you make this recipe?
If you enjoyed this recipe, please leave a comment with a 5-star review at the bottom of the post. Thank you!