Simmer a pot of easy taco chili on the stovetop or in the Crock Pot for a cozy, satisfying dinner with just 15 minutes of prep! Ground beef, chili beans, and tomatoes come together in a zesty broth that’s flavored with taco and ranch seasonings. Garnish each bowl with your favorite toppings and serve with crunchy tortilla chips for scooping.
If you love bold, zesty flavors, you’ll also enjoy my classic beef chili and crockpot white chicken chili. And for more cozy options, check out my collection of Best Chili Recipes.

Table of Contents
What Makes This Taco Chili Different
The secret to this recipe is the combination of taco seasoning and ranch dressing mix. While taco seasoning brings the warm, cumin-forward flavor you’d expect, the ranch adds a subtle tang and herbiness that gives the chili more depth. It’s a shortcut that delivers big flavor without a long ingredient list.
Since taco seasoning and chili seasoning share many of the same spices, they work interchangeably here. Taco seasoning just leans heavier on cumin, while chili seasoning has more chili powder and paprika. Either way, you’ll end up with a rich, well-seasoned pot of chili.
Before You Get Started
A few tips to set you up for success:
- Use chili beans, not regular canned beans. Chili beans come packed in a thick, seasoned sauce that adds flavor and body to the chili. Regular beans won’t give you the same result.
- Drain the fat after browning the meat. This keeps the chili from being greasy and lets the other flavors shine through.
- Wait to add extra salt until the end. The seasoning packets already contain plenty of salt, so taste first before adjusting.
- Stovetop chili may need extra liquid. If you’re cooking on the stove, add about 1 cup of water to thin the chili as it simmers. Slow cooker versions typically don’t need it.
How to Make Taco Chili
Each hearty bowl of this taco chili tastes like a plate of tacos in scoopable form. I’ve included both stovetop and Crock Pot instructions below, so use whichever method works best for your schedule. The hands-on time is the same either way.
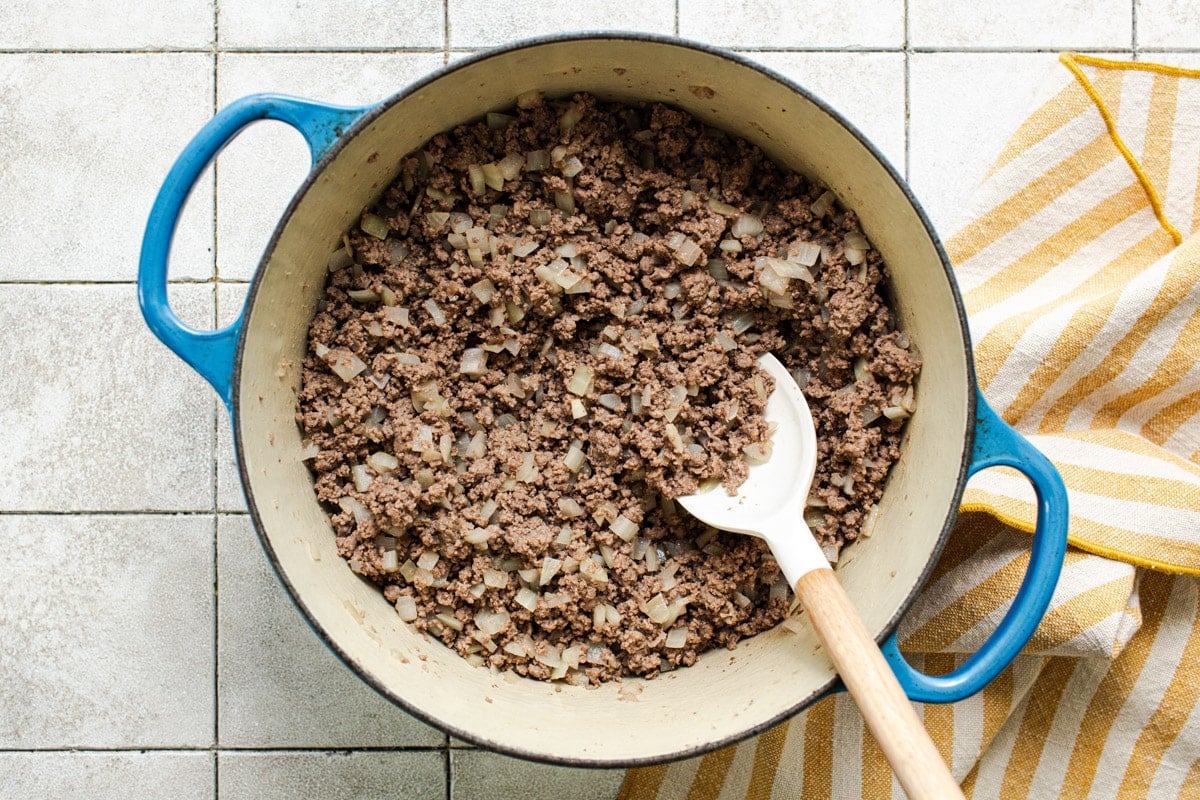
Step 1: Brown the Beef
Start by browning the ground beef and diced onion in a Dutch oven or large skillet over medium-high heat. Break the meat into small pieces as it cooks.
Once the beef is no longer pink, add the garlic and stir for about one minute until fragrant. Drain off the fat before moving to the next step.
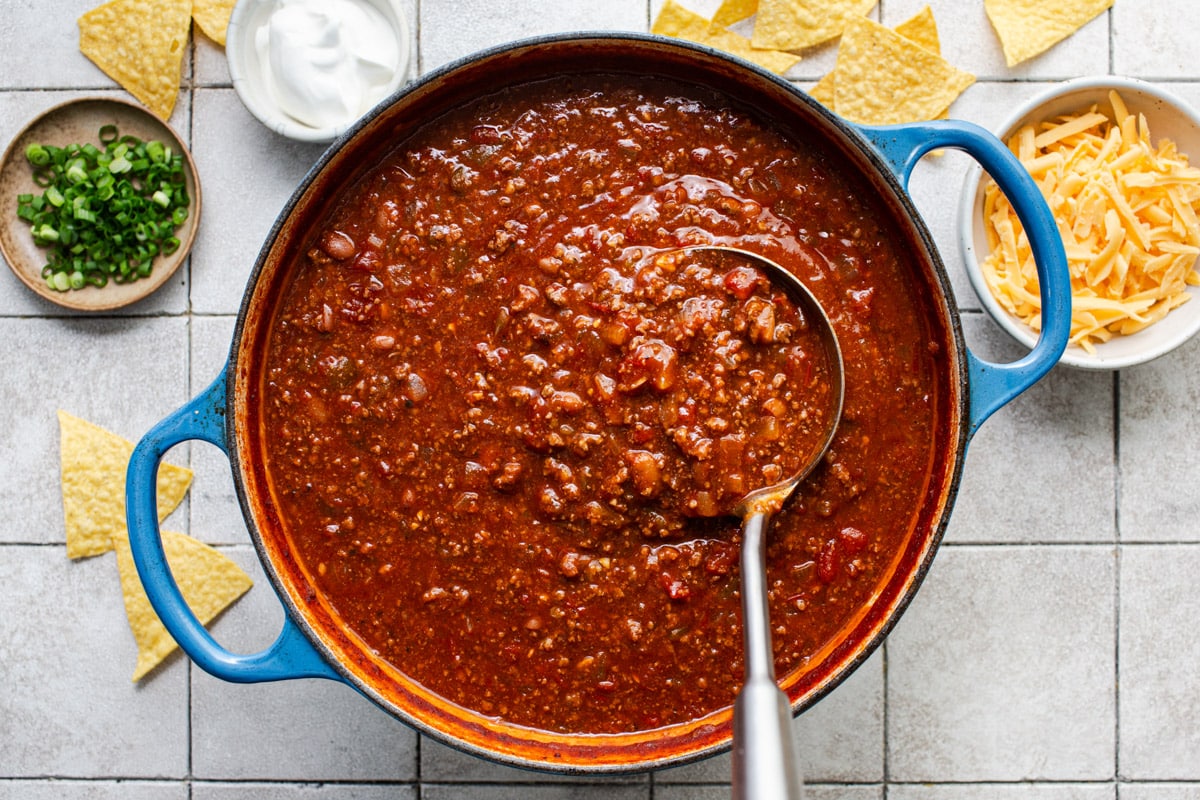
Step 2: Stovetop Method
Add all of the remaining ingredients to the pot along with 1 cup of water. Stir everything together and bring to a boil.
Reduce the heat to low, cover, and let the chili simmer gently for 30 to 45 minutes. Stir occasionally to prevent anything from sticking to the bottom.
** Chili Consistency Tip: If your chili looks too thick as it cooks, add a splash of water or beef broth to loosen it up.

Step 3: Slow Cooker Method
Transfer the browned beef mixture to your slow cooker. Add the remaining ingredients (no extra water needed) and stir to combine.
Cover and cook on LOW for 4 to 6 hours or on HIGH for 2 to 3 hours.
The slow cooker produces plenty of liquid on its own, so you likely won’t need to thin it out. If you prefer a looser consistency, stir in a bit of broth toward the end.
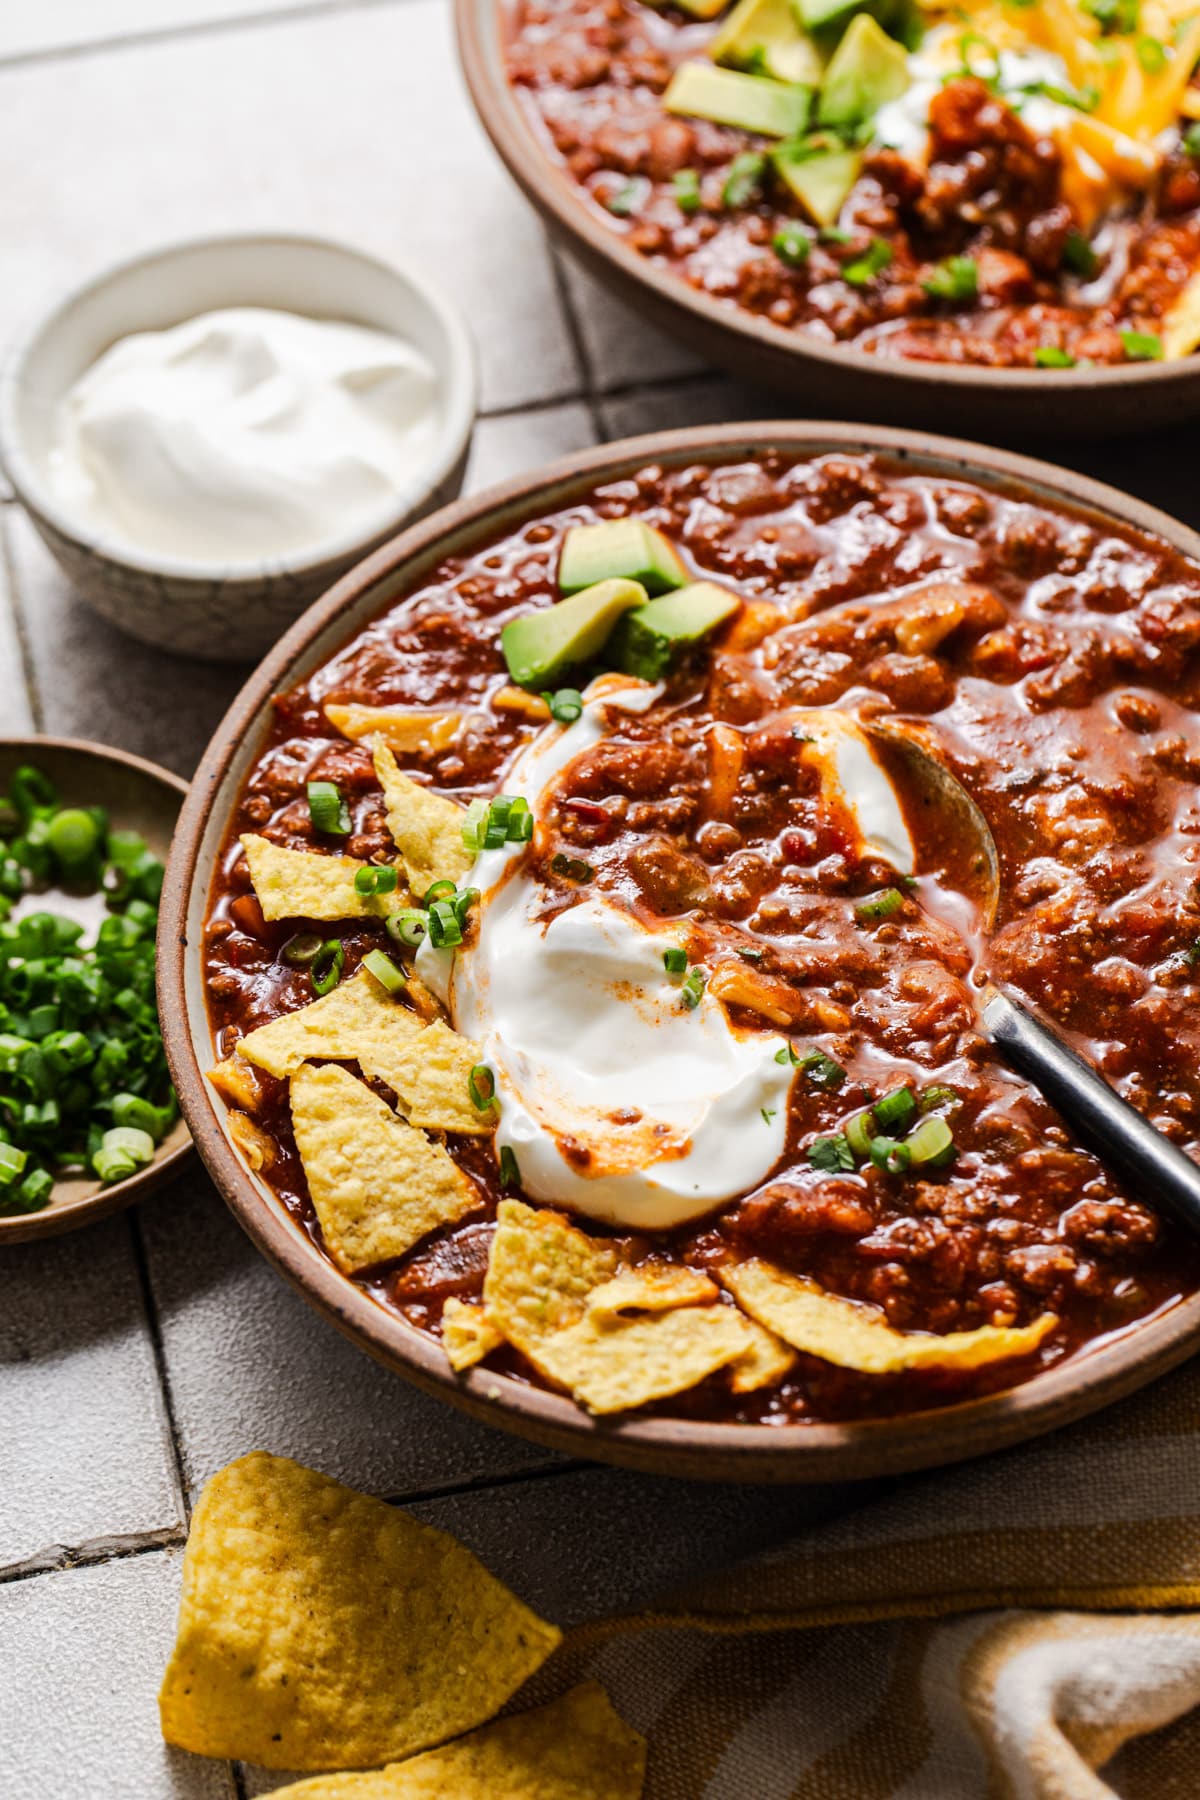
Step 4: Finish and Serve
Taste the chili and season with additional salt and pepper if needed.
Ladle into bowls and top with your favorites: sour cream, shredded cheese, sliced green onions, fresh cilantro, diced avocado, or a handful of Fritos.
For Larger Groups: Setting up a toppings bar is a fun way to let everyone customize their bowl, especially if you’re feeding a crowd.
Recipe Variations
This taco chili is easy to customize based on what you have on hand or your family’s preferences.
- Less Meat, More Beans: Use just one pound of ground beef and add a 16-ounce can of drained and rinsed black beans, pinto beans, or kidney beans.
- No Beans: Swap out the chili beans for a can of sweet corn. You may need to thin the chili with water or broth since you’ll lose the extra sauce from the beans.
- Ground Turkey or Chicken: Substitute either for the ground beef using the same amount.
- Chicken Taco Chili: Skip the ground meat entirely. Sauté the onion and garlic as instructed, then add 4 cups of cooked, shredded or diced chicken along with the rest of the ingredients.
- Homemade Seasoning: Use your own taco seasoning blend and dried herbs in place of the store-bought packets.
Serving Suggestions
If you’re looking for sides to round out the meal, try one of these:
- Tortilla chips or Fritos with salsa, guacamole, or queso
- Jiffy Mexican cornbread or cornbread muffins
- Simple cheese quesadillas
I made this recipe for the vendors at our little local flea market. It was a huge hit. I have made chili before for this crowd and there is always leftover. Not yesterday. I did manage to scrape up half a spoonful. Thanks for a great recipe!
– Leia
Storage and Freezing
Leftover chili will keep in an airtight container in the refrigerator for 3 to 4 days. The flavors just get better as it sits!
To freeze, let the chili cool completely and transfer to a freezer-safe container. It will keep for up to 3 months. Thaw overnight in the refrigerator and reheat gently on the stovetop over low heat until warmed through.
Frequently Asked Questions
Is taco seasoning different from chili seasoning?
They’re similar, but not identical. Both blends typically include 5 to 8 spices, but chili seasoning leans heavier on chili powder and paprika, while taco seasoning has more cumin. You can use taco seasoning for chili without any issues.
Can I use leftover taco meat in this recipe?
Yes! If you have seasoned taco meat on hand, you can skip the browning step. Just add the cooked meat directly to the pot or slow cooker along with the other ingredients.
How do I thicken taco chili if it’s too soupy?
Let it simmer uncovered on the stovetop for 10 to 15 minutes to reduce the liquid. You can also stir in a tablespoon of tomato paste for extra body.
Can I make this chili ahead of time?
Absolutely. Chili reheats beautifully and often tastes even better the next day. Store it in the fridge and reheat on the stovetop or in the microwave.
What toppings go best with taco chili?
Classic taco toppings work great: sour cream, shredded cheddar, sliced green onions, fresh cilantro, diced avocado, black olives, pickled red onions, and tortilla chips or Fritos.

More Easy Chili Recipes

Did you make this recipe?
If you enjoyed this recipe, please leave a comment with a 5-star review at the bottom of the post. Thank you!

Taco Chili
Equipment
Ingredients
- 2 lbs. ground beef
- 1 medium onion, diced
- 3 large cloves garlic, minced (about 1 tablespoon)
- 1 (1 ounce) packet taco seasoning
- 1 (1 ounce) packet Ranch seasoning and salad dressing mix
- 2 tablespoons brown sugar
- 1 (28 ounce) can crushed tomatoes
- 1 (15 ounce) can tomato sauce
- 1 (14.5 ounce) can petite diced tomatoes, not drained
- 1 (4.5 ounce) can chopped green chiles, not drained
- 1 (16 ounce) can chili beans, not drained
- Kosher salt and ground black pepper, to taste
- Optional garnish: sour cream, diced avocado, grated cheddar cheese, sliced green onion, fresh cilantro, Fritos or tortilla chips
Instructions
STOVETOP:
- Brown the ground beef and onion in a large Dutch oven or heavy-bottomed pot over medium-high heat, breaking the meat into small pieces as it cooks. Add the garlic and stir for 1 minute until fragrant. Drain off the fat.

- Add the remaining ingredients to the pot along with 1 cup of water. Stir to combine and bring to a boil.
- Reduce heat to low, cover, and simmer for 30 to 45 minutes, stirring occasionally. Taste and season with salt and pepper if needed.
- Ladle into bowls and garnish with your favorite toppings.


CROCK POT:
- Brown the ground beef and onion in a large skillet or Dutch oven over medium-high heat. Add the garlic and cook for 1 minute. Drain off the fat.
- Transfer the beef mixture to a slow cooker. Add all remaining ingredients (no extra water needed) and stir to combine.
- Cover and cook on LOW for 4 to 6 hours or HIGH for 2 to 3 hours. If you prefer a thinner chili, stir in water or broth as needed.
- Taste and season with salt and pepper if necessary. Ladle into bowls and serve with your favorite taco toppings.
Notes
- Use chili beans, not regular canned beans. The chili beans add a thick, flavorful sauce that gives the chili extra body and kick.
- Stovetop: Add 1 cup of water when cooking on the stove. Slow cooker versions typically don’t need it. Stir occasionally on the stovetop to prevent sticking or scorching on the bottom.
- Drain the fat after browning. This prevents the chili from being greasy.
- Taste before adding salt. The seasoning packets contain plenty of salt, so you may not need any extra.
- Set up a toppings bar with sour cream, shredded cheese, green onions, cilantro, avocado, black olives, pickled red onions, and chips.
- Less meat option: Use 1 lb of beef and add a 16-oz can of drained black beans, pinto beans, or kidney beans.
- No beans option: Replace chili beans with a can of corn. Add extra liquid as needed.
- Protein swaps: Ground turkey, ground chicken, or 4 cups of cooked shredded chicken all work well.
Nutrition
Originally published in October, 2022, this post was updated in January, 2026.


I made this recipe for the vendors at our little local flea market. It was a huge hit. I have made chili before for this crowd and there is always leftover. Not yesterday. I did manage to scrape up half a spoonful. Thanks for a great recipe!
Yay! That’s high praise, Leia! Thank you!
If using bulk taco seasoning and ranch dressing, how much of each?
Hi, Kay! You’ll need about 2 tablespoons of the taco seasoning mix and about 2 tablespoons of the ranch seasoning mix. Hope you enjoy!
Thank you. Can’t wait to try this chili.
This is very good
I followed the recipe. Made to to take to a friends gathering and everyone loved it
Saving this recipe for sure
Thank you so much
Yay! That’s awesome, Melissa. Thanks for letting us know!