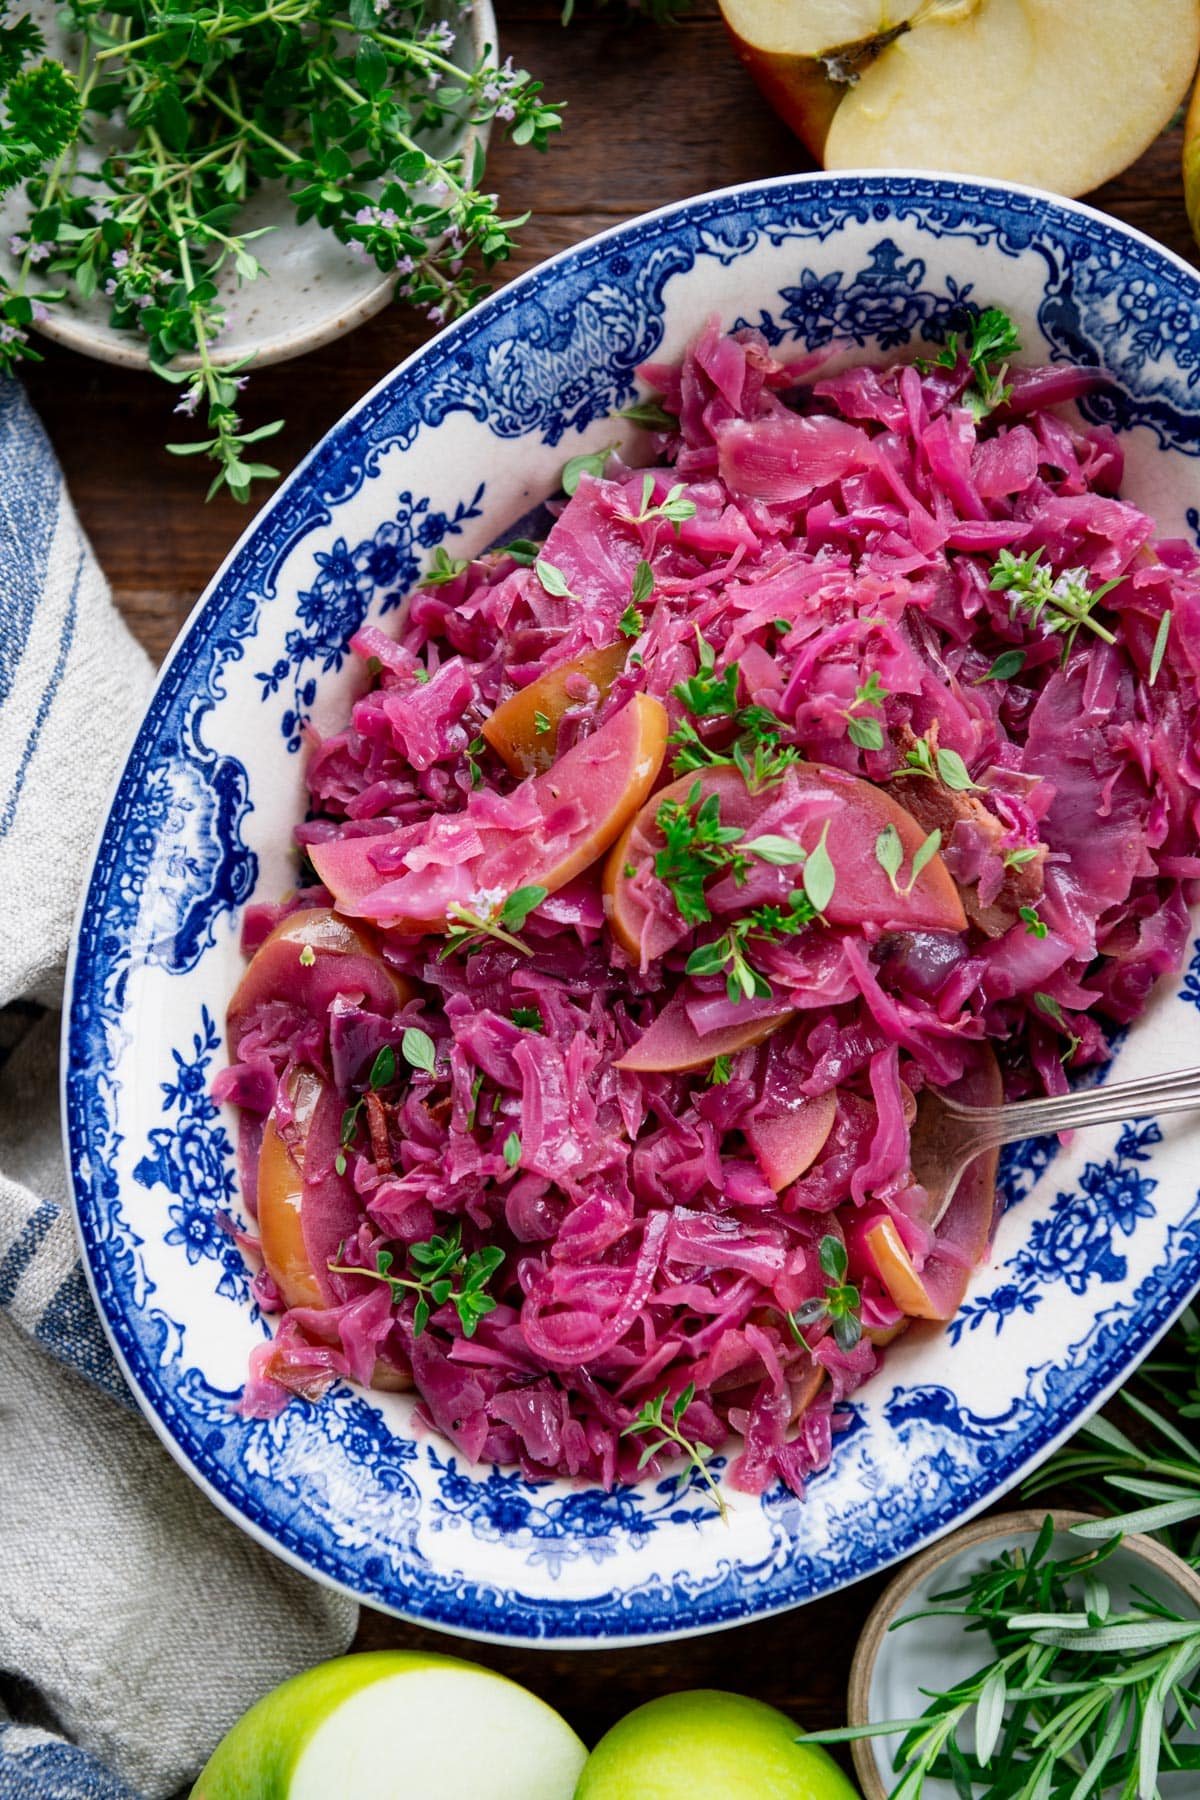
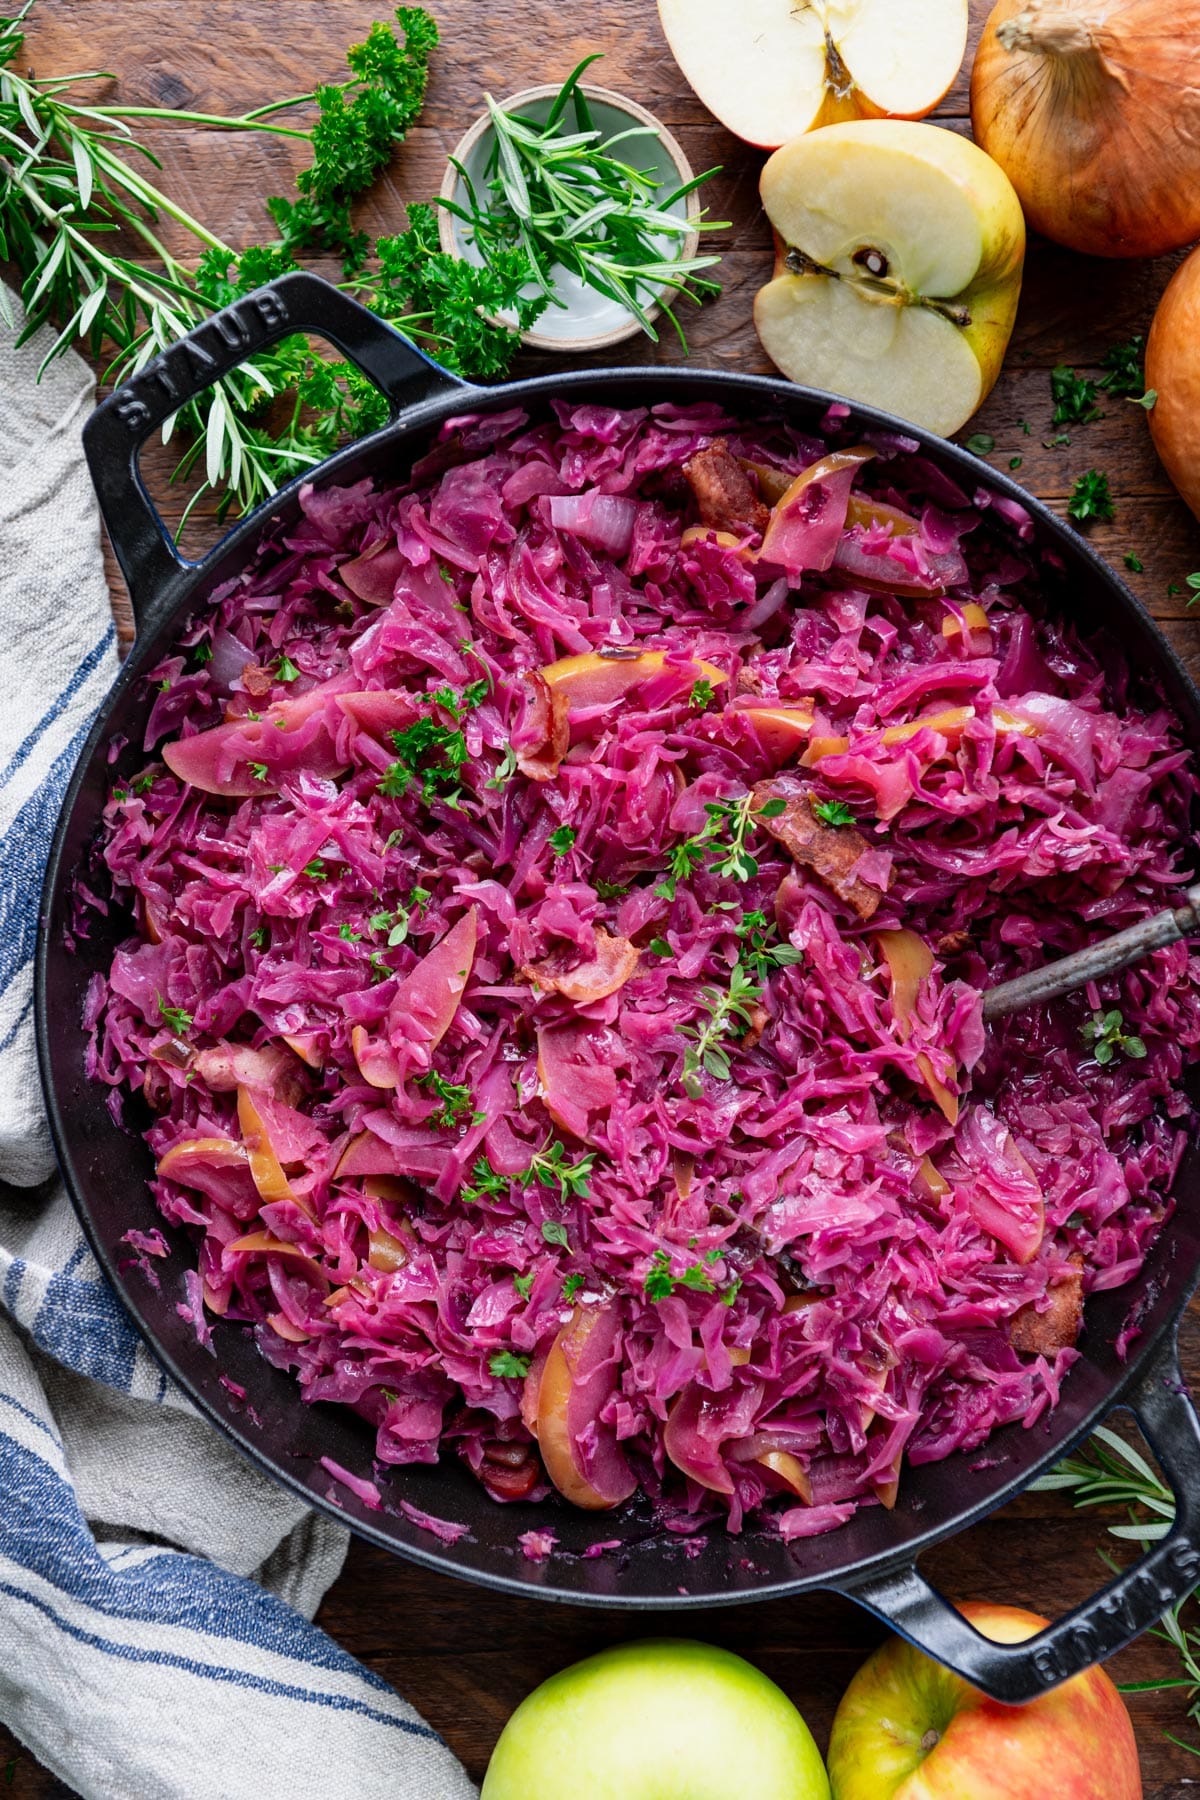
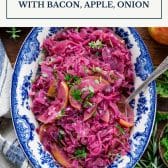
You can’t beat a classic, and this braised red cabbage with bacon, apples, and apple cider vinegar is one of those sides that steals the show. It all comes together in one pot on the stovetop, with the cabbage cooking down slowly into a tender, sweet-and-sour dish that pairs perfectly with pork, chicken, sausage, and so much more.
If you love cabbage, you’ll also want to try this fried cabbage for a quicker skillet version, my grandmother’s stuffed cabbage, and this one-pot sausage and cabbage dinner.
Before You Get Started
A few quick tips to make sure your braised red cabbage turns out perfectly:
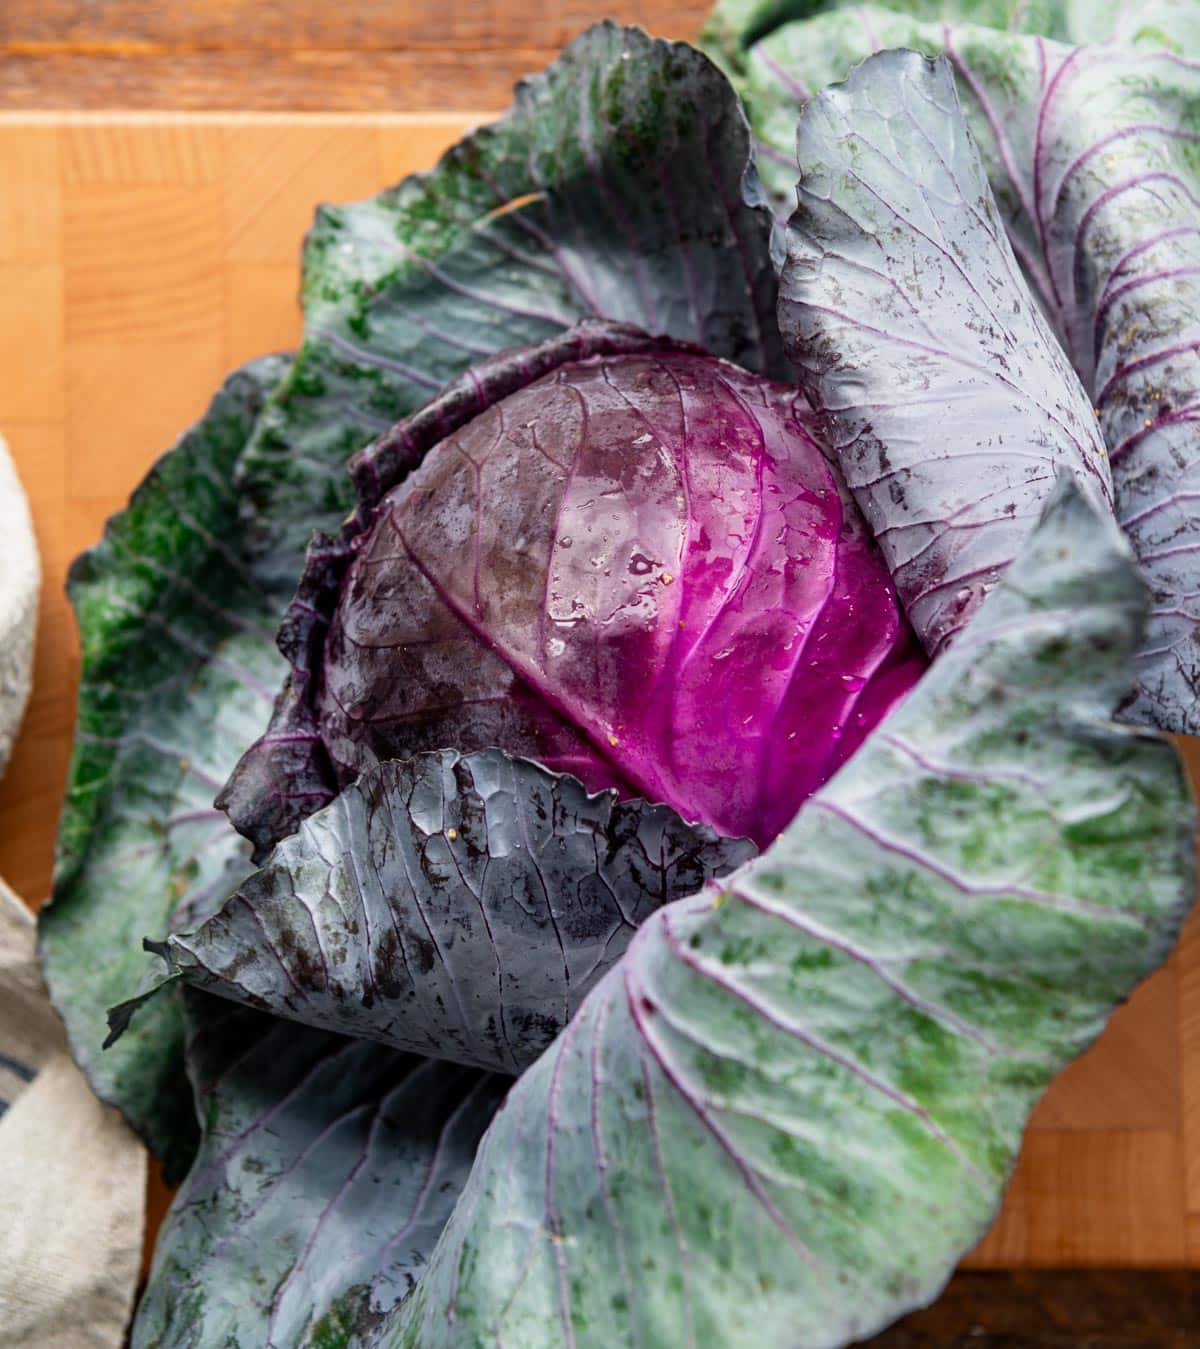
- Slice the cabbage thinly and evenly. Use a food processor with the slicing disc or a sharp knife. Thin, uniform slices braise more evenly and yield the best texture. Remove the tough outer leaves and core first.
- Don’t skip the apple cider vinegar. It’s what preserves the cabbage’s vibrant purple color. Without it, cooked red cabbage turns blue! The vinegar also adds that signature sweet-and-sour flavor and helps everything meld together.
- Expect the cabbage to shrink. A full head of cabbage looks like a lot in the pan, but the volume reduces by about half as it cooks. If your pan is crowded, add the cabbage in batches and let it wilt down before adding more.
How to Make Braised Red Cabbage
This is a simple stovetop side dish that practically cooks itself once everything is in the pot. Here’s how to walk through it step by step:
Step 1: Cook the Bacon
Lay the bacon strips in a cold, large braiser or Dutch oven, then turn the heat to medium. Cook until the bacon is crisp and the fat has rendered, about 7 to 10 minutes.
⇢ The bacon grease is liquid gold here; it’s the base of all the flavor in this dish. You’ll sauté the vegetables directly in the bacon fat and butter for maximum flavor.
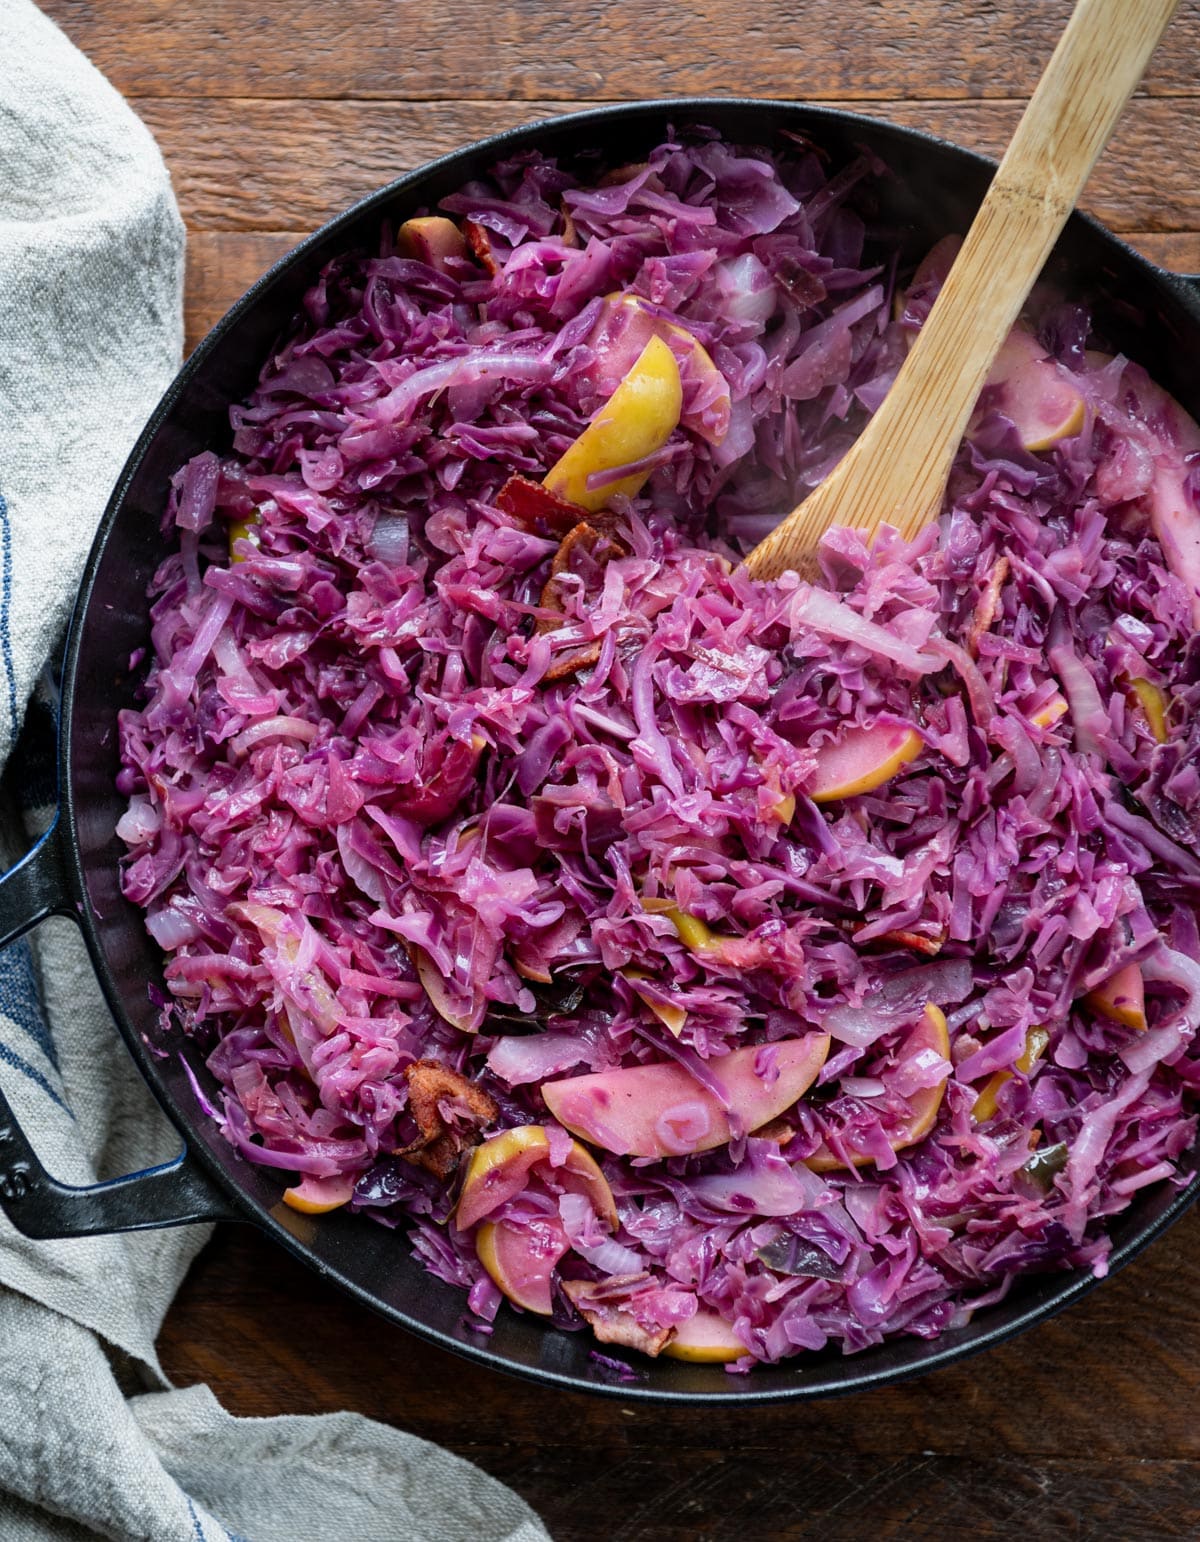
Step 2: Sauté the Cabbage, Apples, and Onion
Add the butter to the hot skillet with the bacon and drippings. Once it melts, stir in the sliced red cabbage, apples, and onion. Cook over medium heat, stirring occasionally, until the cabbage begins to wilt and soften, about 15 to 20 minutes.
The pan will be very full at first, but don’t worry. The cabbage cooks down quickly and makes room as it goes. If you’re working with a smaller pan, add the cabbage in batches.
⇢ Choose firm, tart apples. Granny Smith apples are the best choice here. Their sweet-tart flavor holds up well in the braising process, and they keep some texture instead of turning to mush. Honeycrisp, Pink Lady, or Braeburn apples also work well.
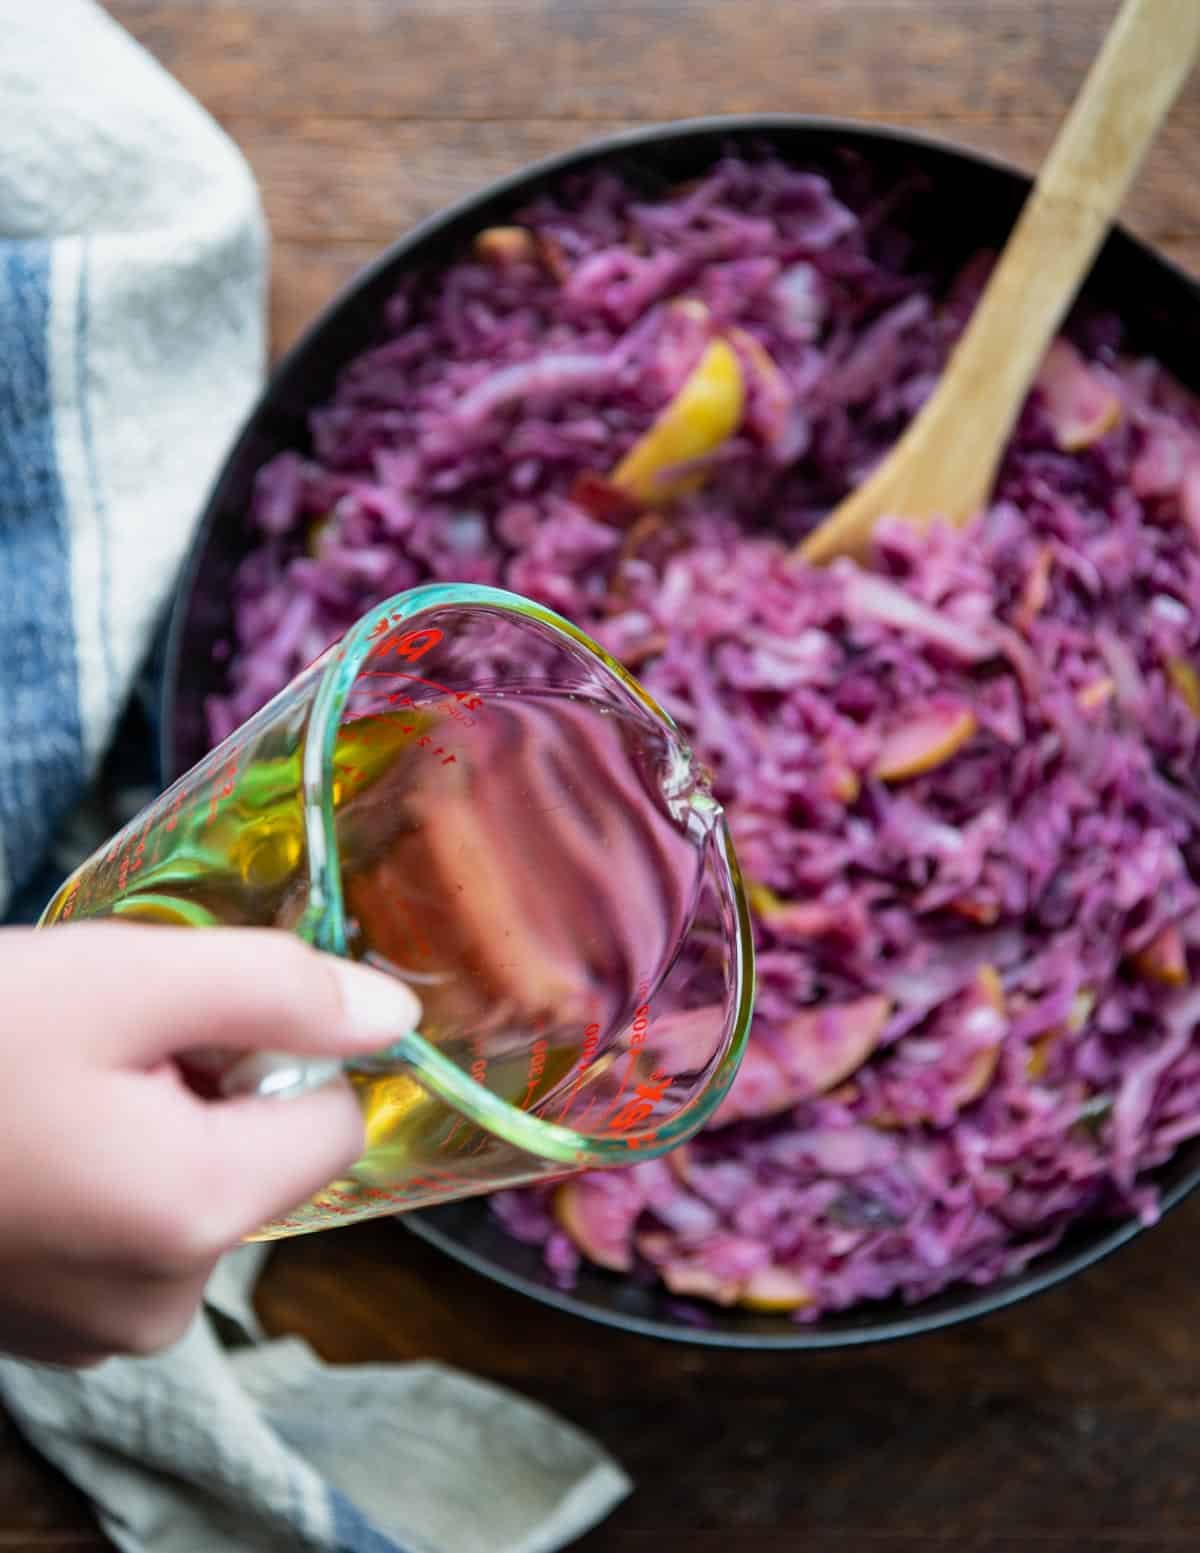
Step 3: Braise Until Tender
Stir in the apple cider vinegar, water, sugar, salt, and pepper. Turn the heat to low, cover the pot, and let the cabbage braise for about 15 to 20 minutes.
You’ll know it’s done when the cabbage is soft and tender, and the liquid has reduced into a flavorful, slightly sweet glaze. Taste and adjust the salt and pepper as needed.
⇢ Control the texture to your preference. For cabbage with a little more bite, pull it off the heat at the 15-minute mark. For a silkier, melt-in-your-mouth result, you can keep braising over low heat for up to 90 minutes. It’s hard to overcook this dish, so taste as you go and stop when you’re happy with the tenderness.
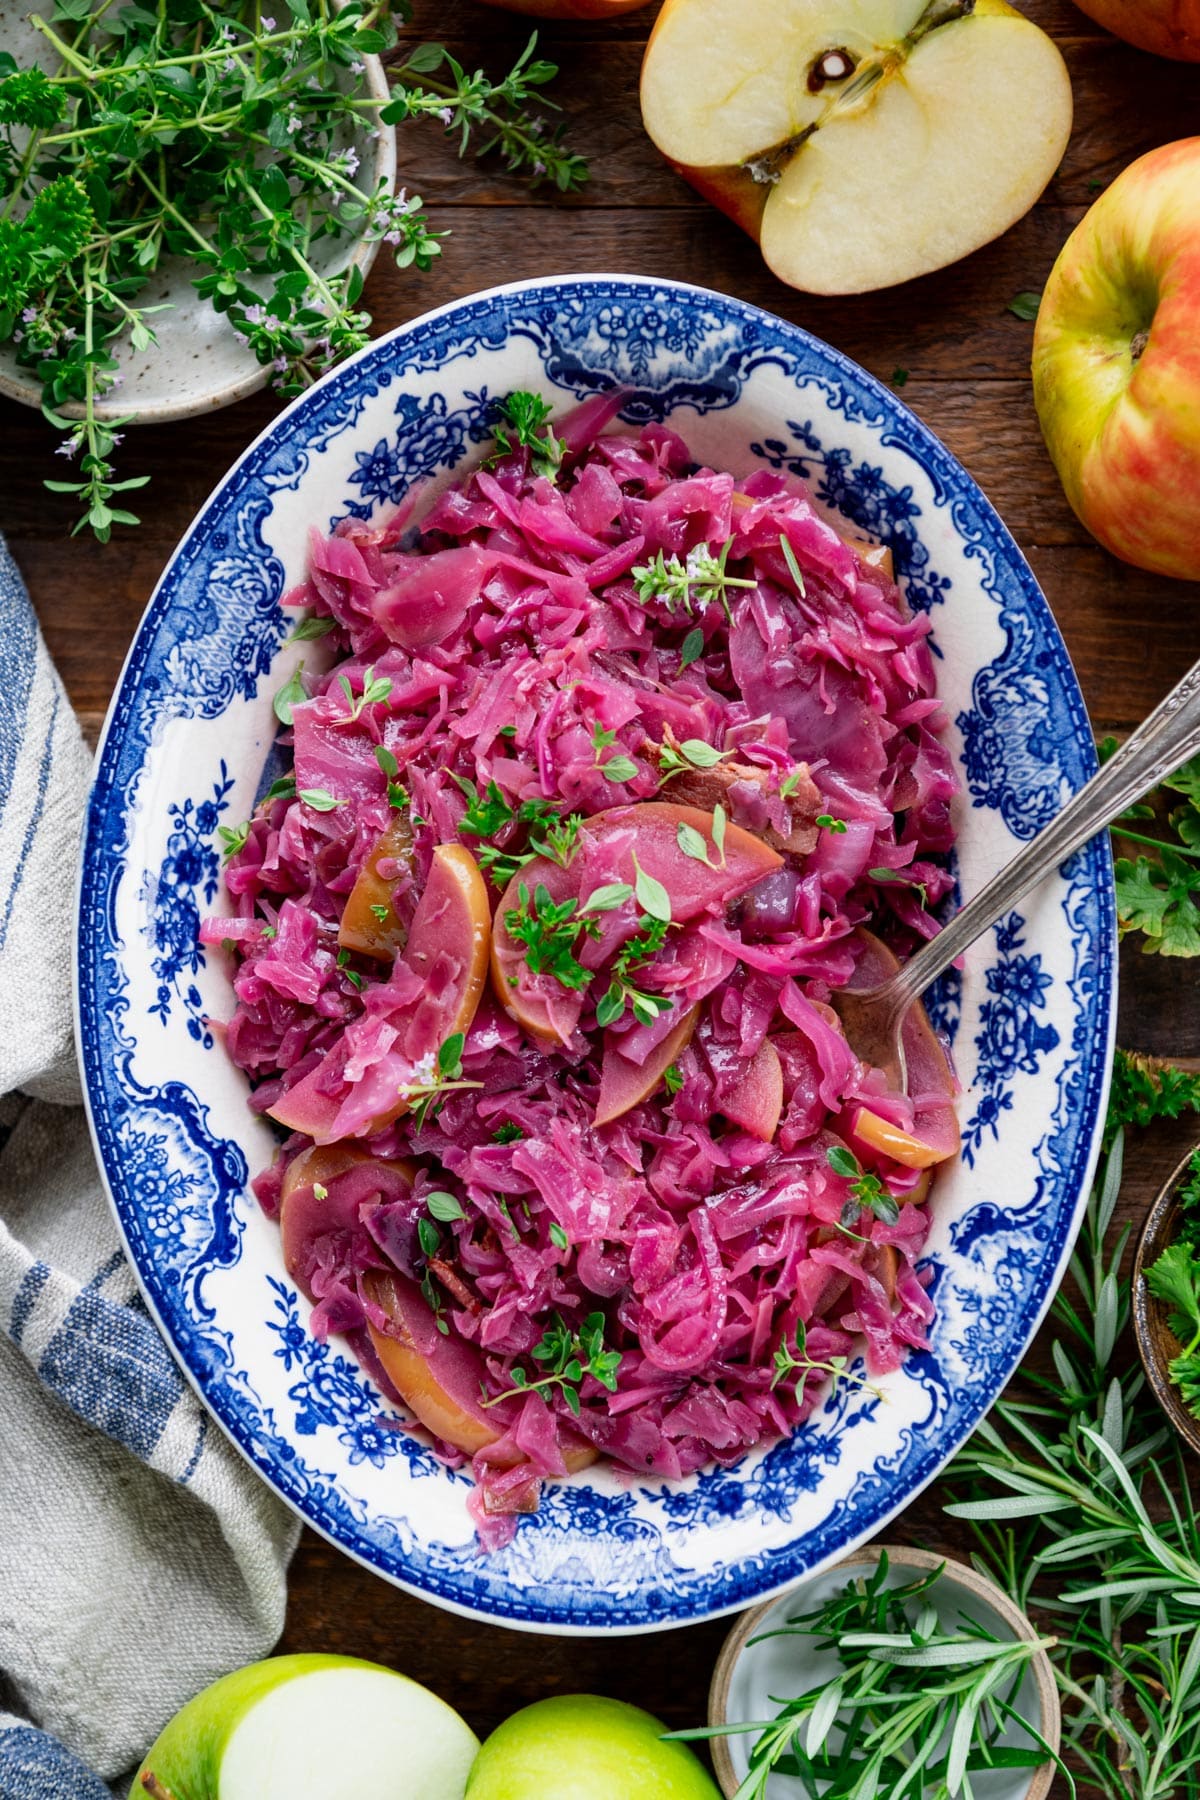
Crumble or chop the reserved bacon and stir it back in (or sprinkle it on top for a crispier texture). Garnish with fresh parsley, thyme, or other herbs if you like.
What to Serve with Braised Red Cabbage
Braised red cabbage is a natural fit alongside German-inspired meals. Pair it with pork schnitzel, bratwurst sandwiches, soft pretzels, and a cold beer for an easy Oktoberfest spread. Or, enjoy it with a dump-and-bake beef stroganoff casserole for a traditional meal.
Pork and Sausage Dinners:
- Pork Tenderloin with Apples
- 4-Ingredient Pork Loin Roast
- Stuffed Pork Chops
- Dump-and-Bake Bratwurst with Potatoes and Sauerkraut
- Dump-and-Bake Sausage, Apples, and Sweet Potatoes
Other Sides That Go Well With It:
It also pairs nicely with roast chicken and vegetables or meatloaf for a nice weeknight dinner.
Storage and Make-Ahead
This braised cabbage is actually a great make-ahead dish, and the flavors improve as it sits overnight. It’s a perfect side to prep a day or two before a holiday meal or dinner party.
To store: Leftovers will keep in an airtight container in the refrigerator for 3 to 4 days.
To freeze: Store in an airtight container in the freezer for up to 3 months. The dish will have more liquid when thawed, so strain off the excess before reheating.
To reheat: Warm the cabbage in a large skillet or Dutch oven over low heat, stirring occasionally, until heated through.
Serving temperature: Serve warm, at room temperature, or even cold straight from the fridge (it’s almost like a tangy slaw when served chilled!).
Frequently Asked Questions
Why add vinegar to red cabbage?
Apple cider vinegar does double duty in this recipe. First, it preserves the cabbage’s vibrant purple color. Without an acid, cooked red cabbage turns a dull blue. Second, it adds the signature sweet-and-sour flavor that makes braised red cabbage so irresistible.
Can you overcook braised red cabbage?
It’s very forgiving! The longer you braise it, the softer and more tender the cabbage becomes. You can cook this recipe for up to 90 minutes and it will still taste great. If you prefer some bite, pull it off the heat after 15 to 20 minutes of braising. For a silkier texture, let it go longer. Taste as you go and stop when the tenderness is right for you.
Can I use green cabbage instead of red?
You can, but the dish will look and taste a bit different. Red cabbage has a slightly sweeter, more robust flavor that pairs especially well with the vinegar and apples. Green cabbage will be milder and won’t have that signature purple color. If you go with green cabbage, try the fried cabbage recipe instead, which is designed for it.
What other vinegars work in braised red cabbage?
Apple cider vinegar is the best choice for flavor and color. Red wine vinegar is a good substitute and pairs nicely with the cabbage. White wine vinegar works in a pinch but has a milder flavor. Avoid plain white vinegar, which can taste too sharp and one-dimensional in this dish.
More Sides You Might Like

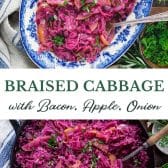
Braised Cabbage with Apples and Bacon
Equipment
Ingredients
- 1 tablespoon butter
- 1 medium head red cabbage, thinly sliced
- 2 Granny Smith apples, sliced (peel on)
- 1 medium onion, thinly sliced
- ½ cup apple cider vinegar
- ½ cup water
- 3 tablespoons granulated sugar
- Kosher salt and ground black pepper, to taste
- Optional garnish: chopped fresh parsley, thyme, or other herbs
Instructions
- In a large braiser or Dutch oven, cook the bacon over medium heat until crisp, about 7 to 10 minutes. Transfer the bacon to a plate and set aside, leaving the drippings in the pan.
- Add the butter to the hot pan with the drippings. Once melted, stir in the cabbage, apples, and onion. Sauté over medium heat, stirring occasionally, until the cabbage wilts and softens, about 15 to 20 minutes. If your pan is crowded, add the cabbage in batches and let it cook down before adding more.

- Stir in the vinegar, water, sugar, and salt and pepper to taste. Reduce the heat to low, cover, and braise until the cabbage is very soft, about 15 to 20 more minutes. For even more tender cabbage, continue braising for up to 90 minutes total.
- Crumble the reserved bacon and stir it back in (or sprinkle on top). Taste and season with additional salt and pepper if needed. Garnish with fresh herbs if desired.


Notes
- Slice the cabbage thinly and evenly. Use a food processor with the slicing disc or a sharp knife. Thin slices braise more evenly. Remove the tough outer leaves and core first.
- The cabbage shrinks as it cooks. A full head looks like a lot, but the volume reduces by about half. Add in batches if needed.
- Don’t skip the apple cider vinegar. It preserves the vibrant purple color (without it, the cabbage turns blue!) and adds the sweet-and-sour flavor.
- Granny Smith apples work best for their sweet-tart flavor and firm texture. Honeycrisp, Pink Lady, or Braeburn are also good options.
- Apple peel is optional. The peel adds texture and holds up well during braising. Peel the apples if you prefer a softer result.
- Control the tenderness. For cabbage with a little bite, braise for 15 to 20 minutes. For silky-soft cabbage, continue over low heat for up to 90 minutes.
- No bacon? Substitute with an extra tablespoon of butter. The dish will still be delicious, just without the smoky flavor.
- Try adding caraway seeds, garlic, or shallots for extra flavor.
- Substitute vinegar: Red wine vinegar works well. Avoid plain white vinegar, which can taste too sharp.
- Make ahead: This dish tastes even better the next day. Store in the fridge and reheat gently on the stovetop.
- Leftovers: Refrigerate in an airtight container for 3 to 4 days, or freeze for up to 3 months. Drain excess liquid after thawing before reheating.
- Serve warm, at room temperature, or cold (chilled braised cabbage is almost like a tangy slaw!).
Nutrition
Originally published in August, 2020, this post was updated in March, 2026.


Did you make this recipe?
If you enjoyed this recipe, please leave a comment with a 5-star review at the bottom of the post. Thank you!