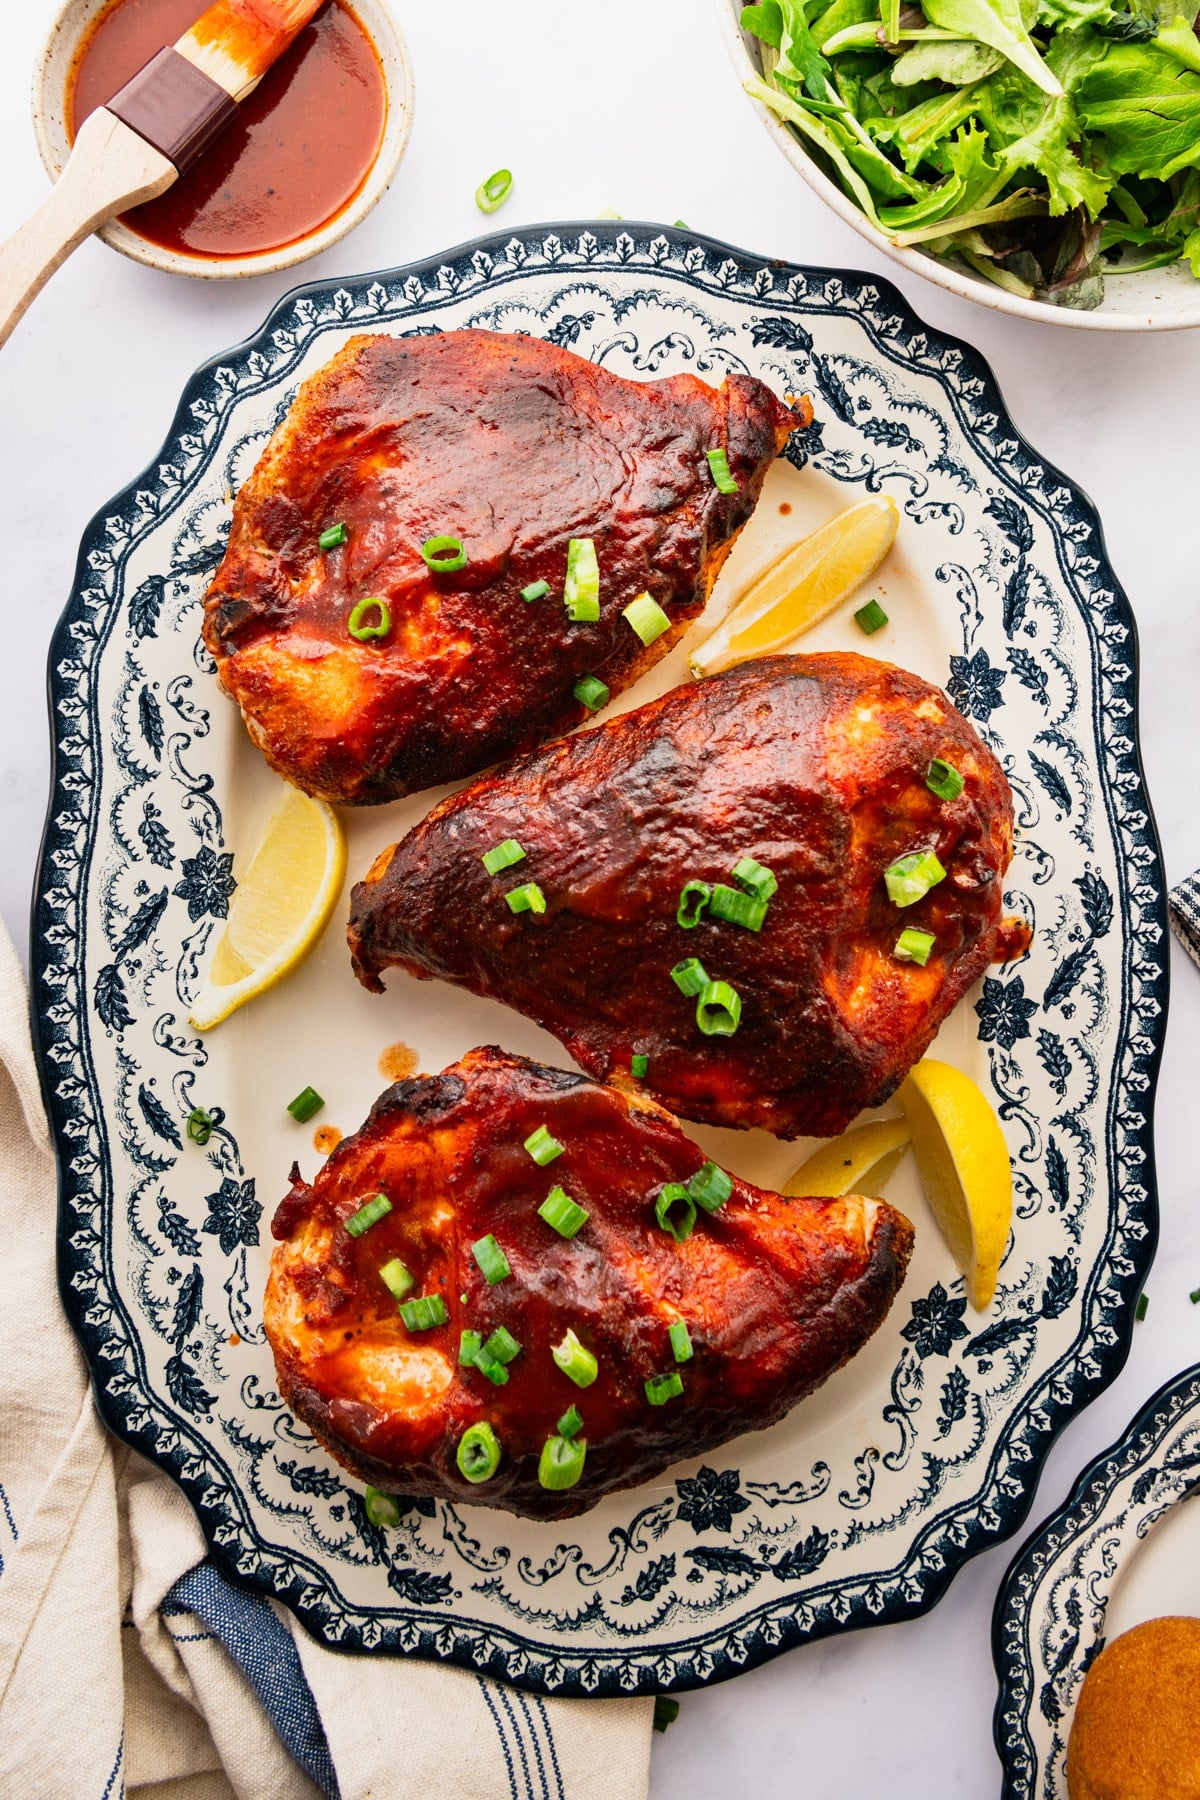
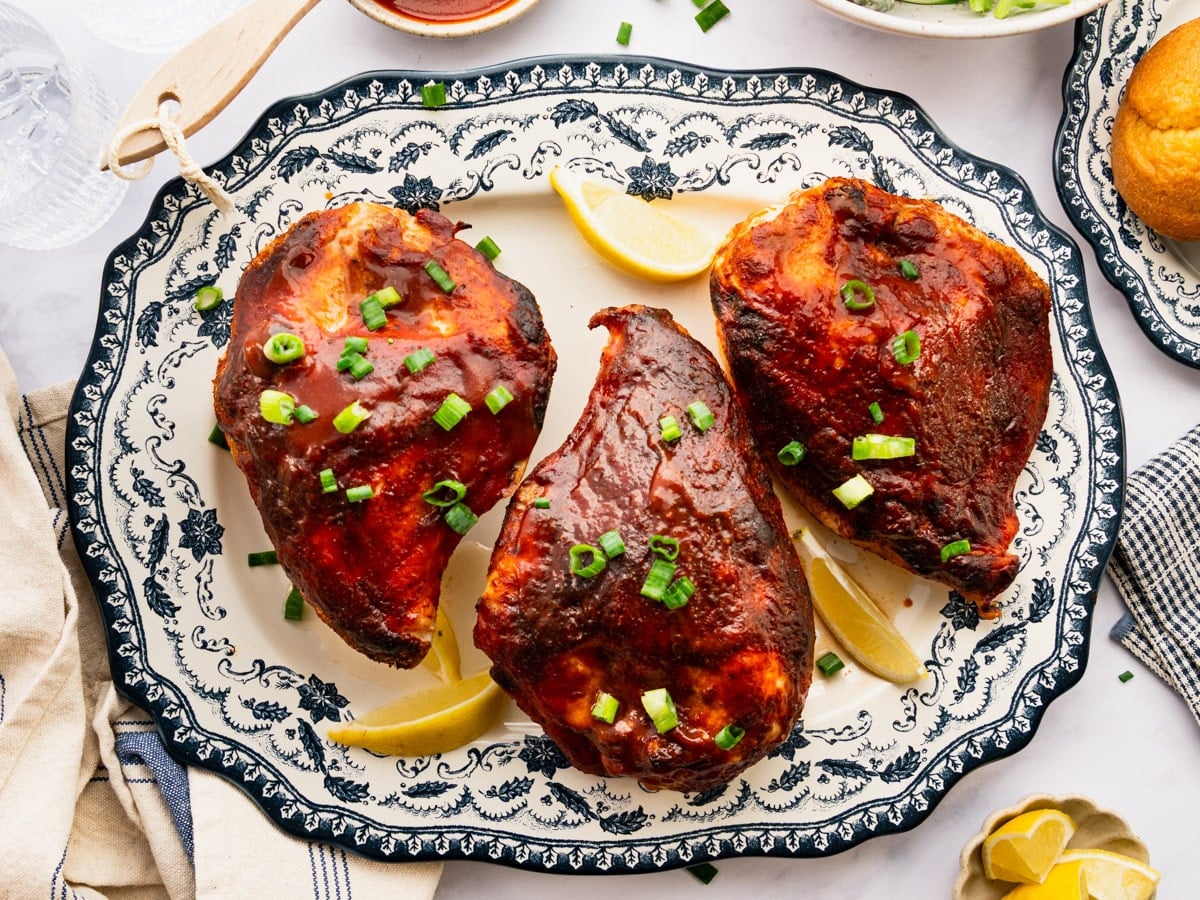
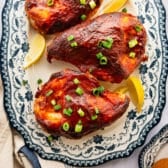
Bone-in, skin-on chicken breasts get a homemade BBQ rub, a glaze of sweet and zesty sauce, and a hot oven. The result is crispy skin and juicy, tender meat, with just 5 minutes of hands-on prep. It’s a family dinner that works just as well on a busy Tuesday as it does at a weekend picnic.
More easy BBQ chicken recipes:
Before You Get Started
A few key things to keep in mind before you start:
- Use bone-in, skin-on chicken breasts. The bones and skin keep the white meat juicy and add real flavor. Boneless skinless will dry out with these instructions. (If boneless skinless is what you have, check out my grilled BBQ chicken breast instead, which also includes alternate oven-baked instructions.)
- Pat the chicken very dry before seasoning. This is the single biggest factor in whether the skin gets crispy. Don’t skip it.
- Wait to baste with BBQ sauce. Add the sauce only during the final 5 to 10 minutes of baking. Sauce applied earlier will burn from the sugar content.
How to Make Oven BBQ Chicken Breast
Dinner is in the oven in about 5 minutes. Here’s the walk-through:
Step 1: Prep the Chicken and Oven
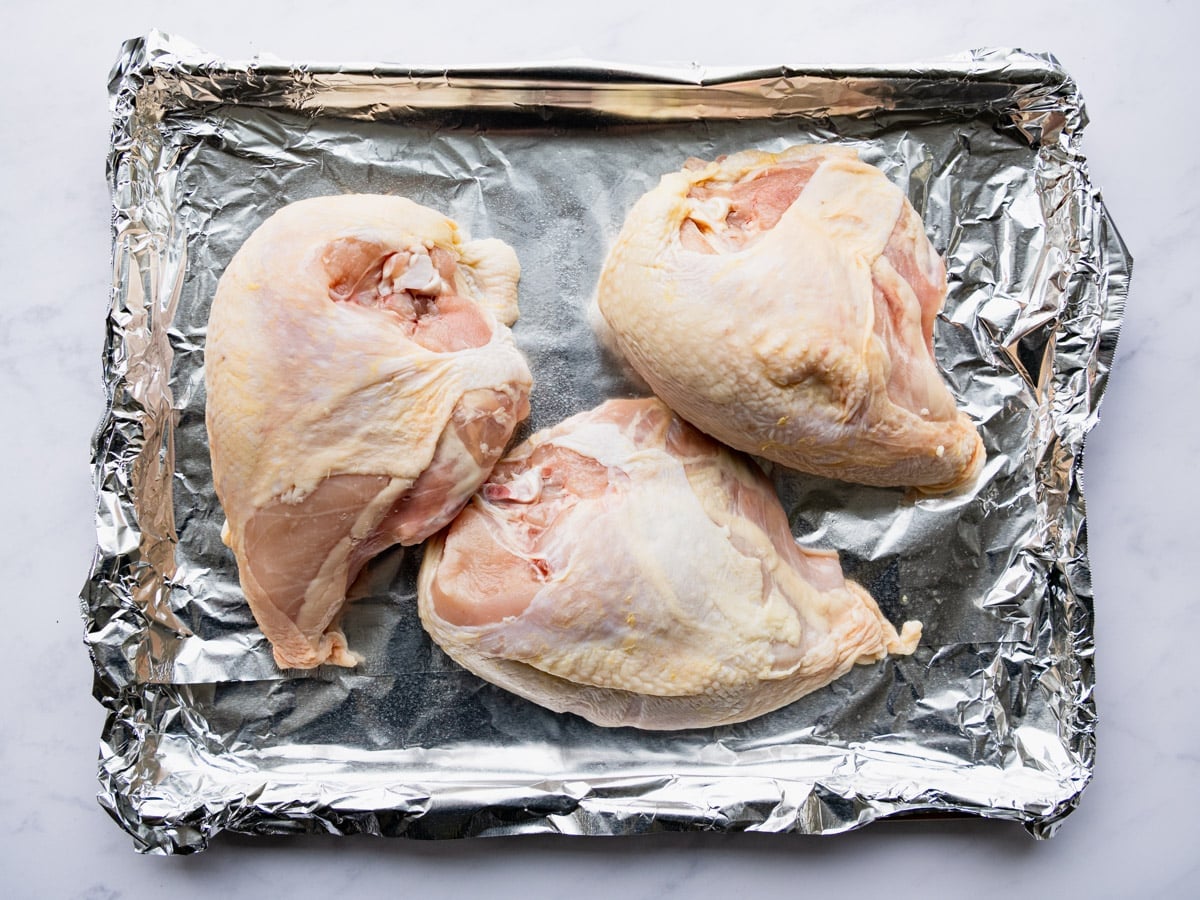
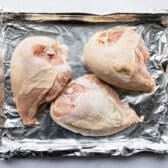
Let the chicken sit on the counter for about 30 minutes to come to room temperature. Preheat the oven to 400°F and line a rimmed baking sheet or roasting pan with foil for easy cleanup.
Pat the chicken very dry with paper towels.
⇢ Why 400°F? Hot enough to render the fat under the skin and crisp it up, gentle enough that the meat stays juicy. Lower temperatures leave the skin flabby; higher temperatures dry the meat out before the skin gets going.
Step 2: Mix and Apply the Dry Rub
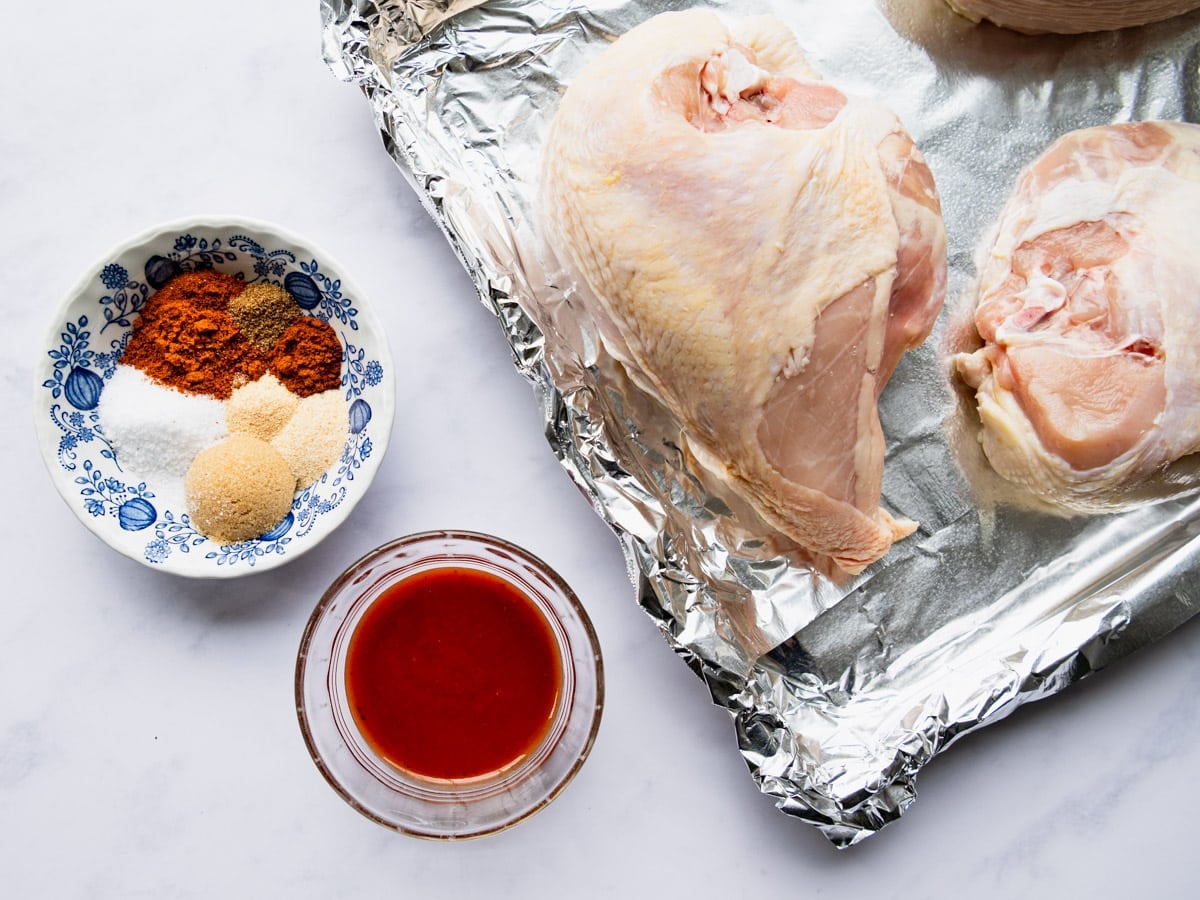
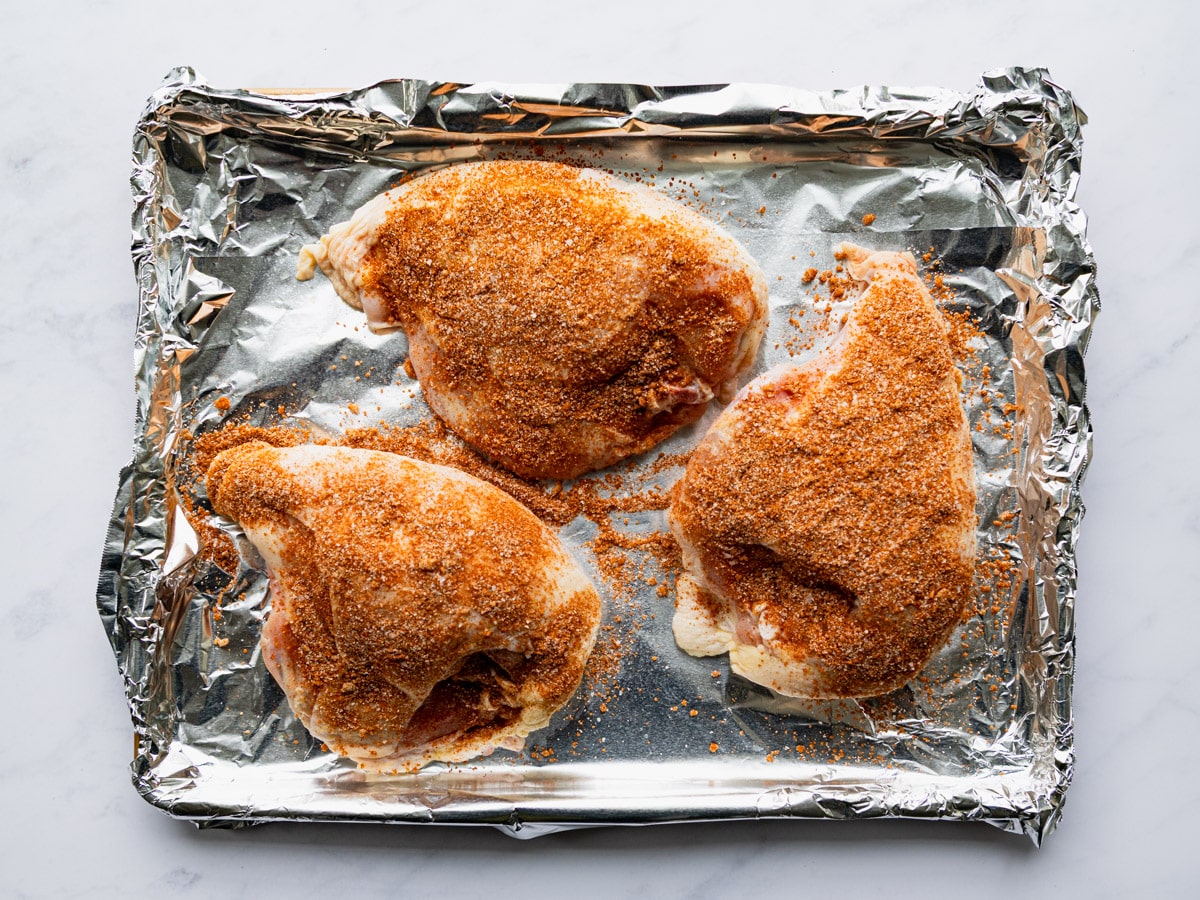
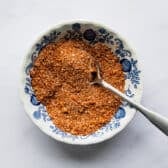
In a small bowl, stir together brown sugar, chili powder, kosher salt, smoked paprika, garlic powder, cumin, and onion powder.

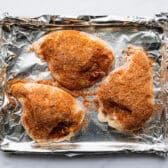
Rub the seasoning all over the chicken, then arrange the pieces skin-side up on the prepared pan.
⇢ A Note on the BBQ Rub: This is the same blend as my BBQ rub, so feel free to make a big batch and keep it in your pantry (a store-bought rub also works). You can also apply the rub up to 24 hours in advance and let the chicken sit uncovered in the fridge for extra-crispy skin.
For a little kick, add a pinch of cayenne or black pepper.
Step 3: Bake Uncovered
Bake the chicken uncovered for 45 to 55 minutes.
There’s no need to flip it. Very large breasts (closer to 1 ½ pounds each) may need up to an hour.
Don’t cover: Covering traps steam, which softens the skin and turns the texture rubbery. Leave the pan uncovered the whole time.
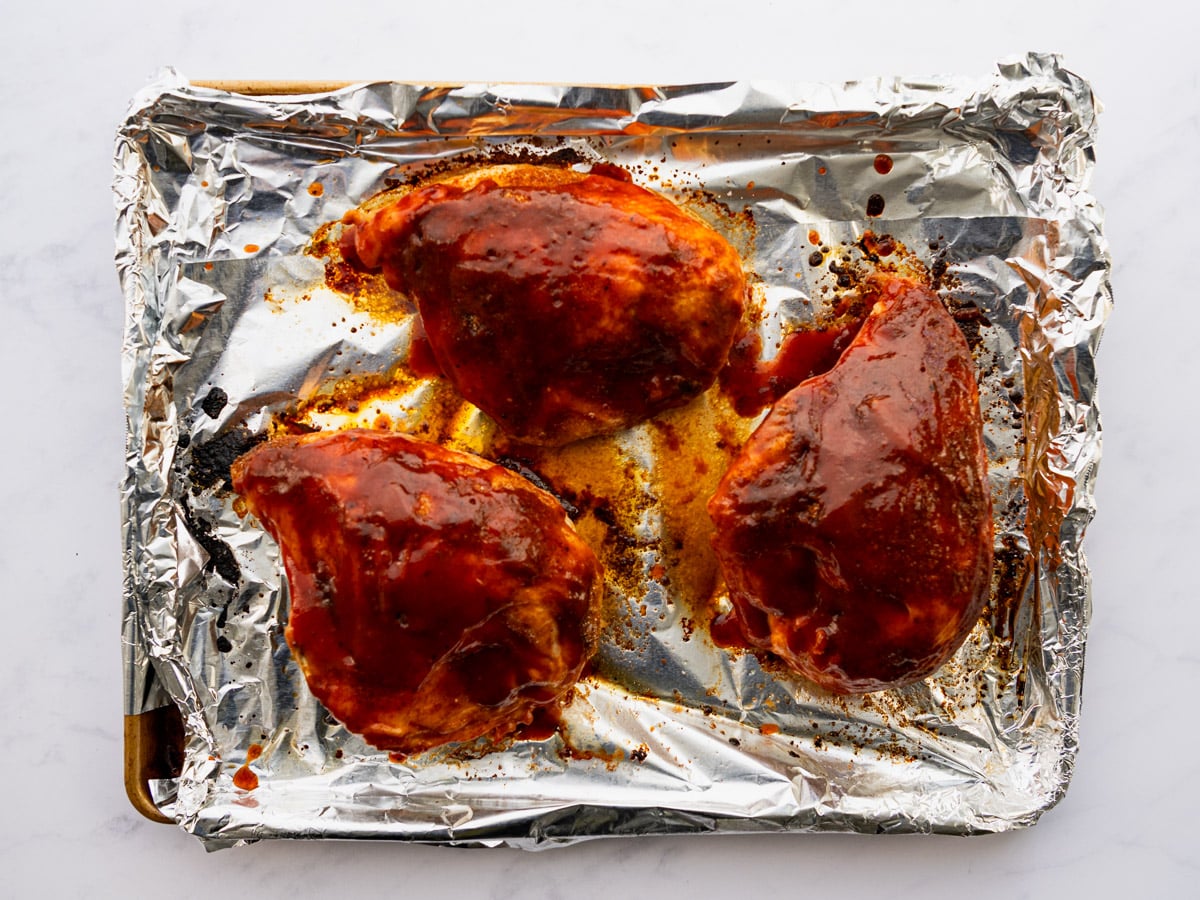
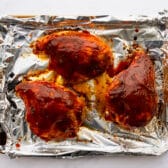
Step 4: Baste with BBQ sauce
During the final 5 to 10 minutes of baking, brush the chicken with BBQ sauce.
We love Stubbs for a tangier finish, but use your favorite store-bought or homemade brand. For a fall-leaning twist, my Apple Butter BBQ Sauce is another good option.
⇢ How to tell it’s done. The chicken is ready when the skin is deep golden and crisp, the sauce is glossy and bubbling at the edges, and an instant-read thermometer registers 165°F in the thickest part of the breast. If you don’t have a thermometer, the juices should run clear when the thickest part is pierced.
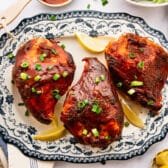
Step 5: Rest Before Serving
Let the chicken rest for 5 to 10 minutes before serving. This gives the juices time to redistribute, so the meat stays tender when you cut into it.
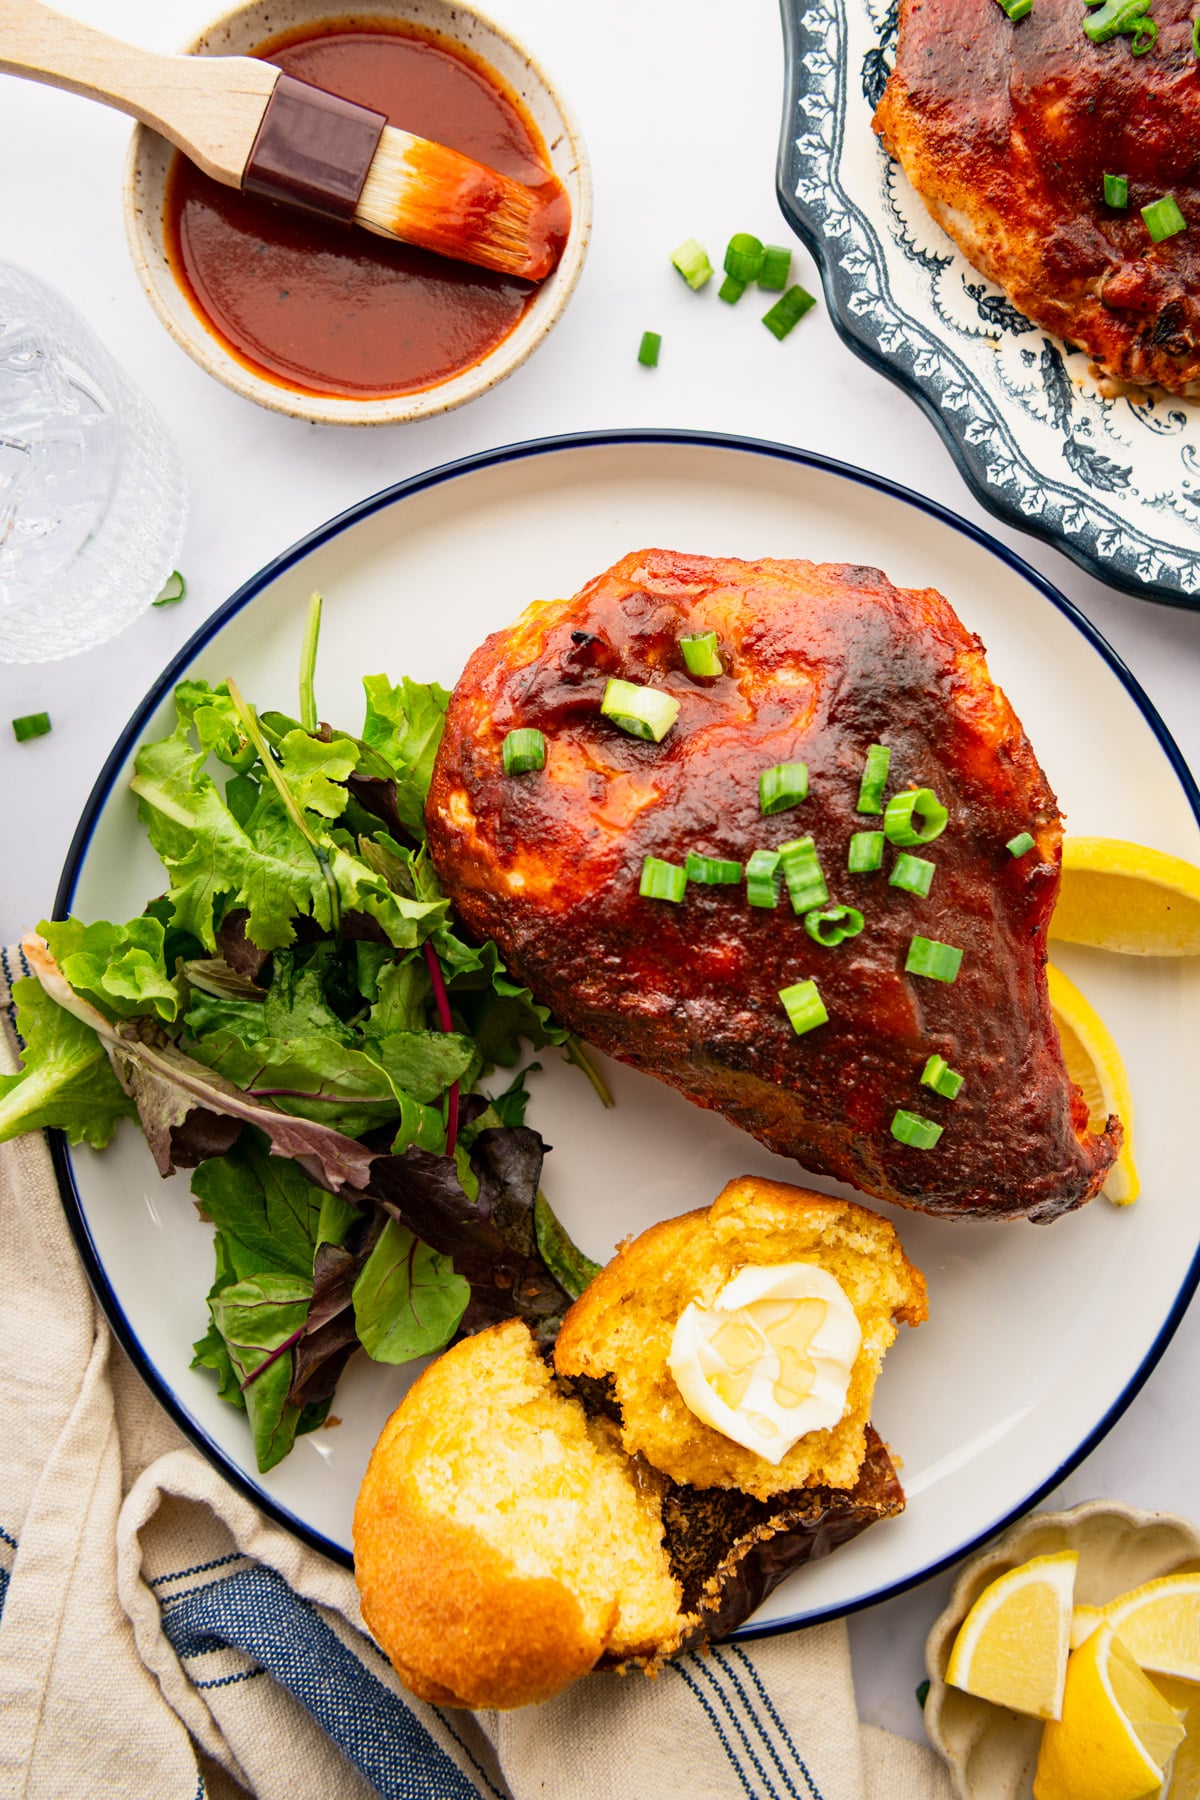
Serve with extra BBQ sauce on the side.
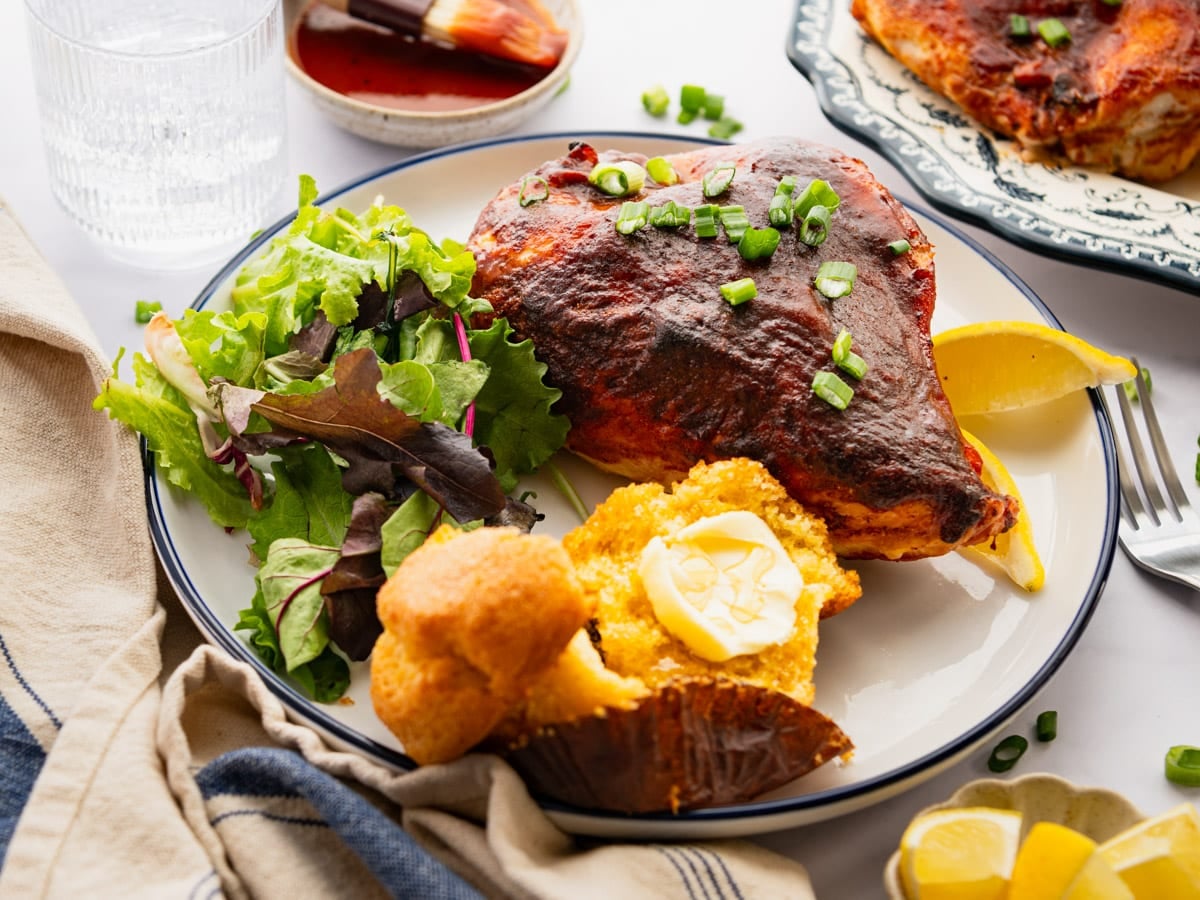
Serving Suggestions
This chicken pairs with all the classic BBQ sides. Here are our go-to favorites:
- Homemade coleslaw for that creamy, tangy contrast
- Cowboy baked beans loaded with bacon and ground beef
- Easy potato salad, southern potato salad, or broccoli salad for picnic and cookout vibes
- Creamy baked mac and cheese when you want something hearty
- Jiffy cornbread with creamed corn to round out the plate
- Red wine vinegar salad dressing for greens
Storage and Make-Ahead Tips
Make the rub ahead. Whisk the dry rub together in advance and keep it in an airtight container in the pantry for up to 6 months. We always have a big batch on hand.
Store leftovers in an airtight container or wrapped tightly in the fridge for 3 to 4 days, or in the freezer for up to 3 months.
Reheat in a 325°F oven, covered loosely with foil, just until warmed through. The microwave works too for individual servings (30 to 60 seconds), though the skin won’t stay as crisp.
Use leftovers on sandwiches, in BBQ chicken wraps, or chopped into salads for easy lunches throughout the week.
Thank you so much for this recipe. The chicken turned out great!
– Kim
Frequently Asked Questions
What temperature should I bake BBQ chicken breast at?
400°F is the sweet spot for bone-in, skin-on breasts. It’s hot enough to render the fat under the skin and crisp it up, but gentle enough that the meat stays juicy. Lower temperatures leave the skin soft; higher temperatures can dry the meat out before the skin gets crispy.
Should I cover BBQ chicken breast while it bakes?
No. Bake uncovered the entire time. Covering the pan traps steam, which softens the skin and gives the chicken a rubbery texture. You want all that moisture to escape so the skin can crisp.
Can I use boneless, skinless chicken breasts for this recipe?
This recipe is built around bone-in, skin-on chicken, and boneless skinless will dry out at this temperature and time. If boneless skinless is what you have, try my grilled BBQ chicken breast instead. It uses the same flavor profile but adjusts the method for the leaner cut. I’ve included oven-baked alternate instructions in that post, too.
How do I keep BBQ chicken from drying out in the oven?
Three things make the biggest difference: start with bone-in, skin-on chicken (the bones and skin protect the meat), pat the chicken very dry before seasoning so the skin crisps and seals in moisture, and pull the chicken from the oven the moment it hits 165°F. An instant-read thermometer is your best tool here.
More BBQ Favorites

Did you make this recipe?
If you enjoyed this recipe, please leave a comment with a 5-star review at the bottom of the post. Thank you!
Baked BBQ Chicken Breast
Ingredients
- 4-5 lbs. bone-in, skin-on split chicken breast (about 1 to 1 ½ lbs. each)
- 1 tablespoon brown sugar
- 1 tablespoon chili powder
- 1 tablespoon kosher salt
- ½ teaspoon cumin
- ½ teaspoon smoked paprika
- ½ teaspoon garlic powder
- ½ teaspoon onion powder
- ½ cup bbq sauce, plus extra for serving
Instructions
- Let the chicken sit on the counter for about 30 minutes to come to room temperature. Preheat the oven to 400°F. Line a large rimmed baking sheet or roasting pan with foil or parchment paper for easy cleanup. Pat the chicken very dry with paper towels.

- In a small bowl, stir together the brown sugar, chili powder, kosher salt, cumin, smoked paprika, garlic powder, and onion powder.
- Rub the seasoning mixture all over the chicken. Place the chicken skin-side up on the prepared pan.
- Bake the chicken uncovered for 45 to 55 minutes, basting with the BBQ sauce during the final 5 to 10 minutes. Very large chicken breasts may require up to 1 hour. The chicken is done when the skin is deep golden and crisp, the juices run clear, and an instant-read thermometer registers 165°F in the thickest part of a breast.
- Allow the chicken to rest for 5 to 10 minutes before serving. Serve with additional BBQ sauce, if desired.
Notes
- Use a meat thermometer. Since the size and thickness of chicken breasts can vary greatly, an instant-read thermometer is the most reliable way to know when your chicken is done. Pull the chicken at 165°F in the thickest part.
- Wait to baste. Add the BBQ sauce only during the final 5 to 10 minutes of baking. Sauce applied earlier will burn from the sugar content.
- Don’t cover the pan. Bake uncovered the entire time so the skin can crisp. Covering traps steam and softens the skin.
- Make ahead. Apply the rub up to 24 hours in advance. For extra-crispy skin, leave the chicken uncovered in the fridge so the surface dries out before baking.
- Scale for a crowd. For a family of 5, plan on 3 to 4 large bone-in chicken breasts (about 4 ½ to 6 lbs. total). Double or triple the dry rub and BBQ sauce as needed.
- Try chicken thighs instead. Bone-in, skin-on chicken thighs work with this same method. They cook faster, about 30 to 35 minutes total, so brush with sauce during the final 5 to 10 minutes.
- Storage. Refrigerate leftovers in an airtight container for 3 to 4 days, or freeze for up to 3 months. Reheat in a 325°F oven, covered loosely with foil, until warmed through.
Nutrition
Originally published in April, 2020, this post was updated in May, 2026.


Thank you for this! This was my mother’s type of barbecued chicken but without a rub. I had lost the recipe years ago I’ll include the rub as a refinement! In some of your recipes I think I remember you applying the rub and then letting it set in the refrigerator for a while before cooking. What effect would that have in this recipe? And for how long? A couple hours? Overnight?
Hi, Marion! You can definitely add this rub in advance and let the chicken sit in the fridge if you like. Anywhere from 1 hour to overnight is fine. The rub will just permeate the meat and add more flavor as long as it sits (like a marinade). If you keep it in the fridge, you might want to leave it uncovered so that the skin can dry out. This makes the skin really crispy when it cooks. Definitely not necessary, though! It will be delicious either way. 🙂
Thank you so much for this recipe. The chicken turned out great!
Thank you for trying it out and taking the time to leave a review. We’re so glad you enjoyed it, Kim!
Wow. The recipe was amazing with a whole chicken. My family has added it to the rotation!
We’re so happy to hear this, Kari! Thank you for trying it out.
Delicious! In a sugar restricted household so reduced brown sugar in the rub and did a very thin coat of the bbq sauce when brushing on. This will become a regular use recipe with bone in chicken pieces.
We’re so happy to hear this, Kirsten! Thank you for trying it out and taking the time to leave a review.