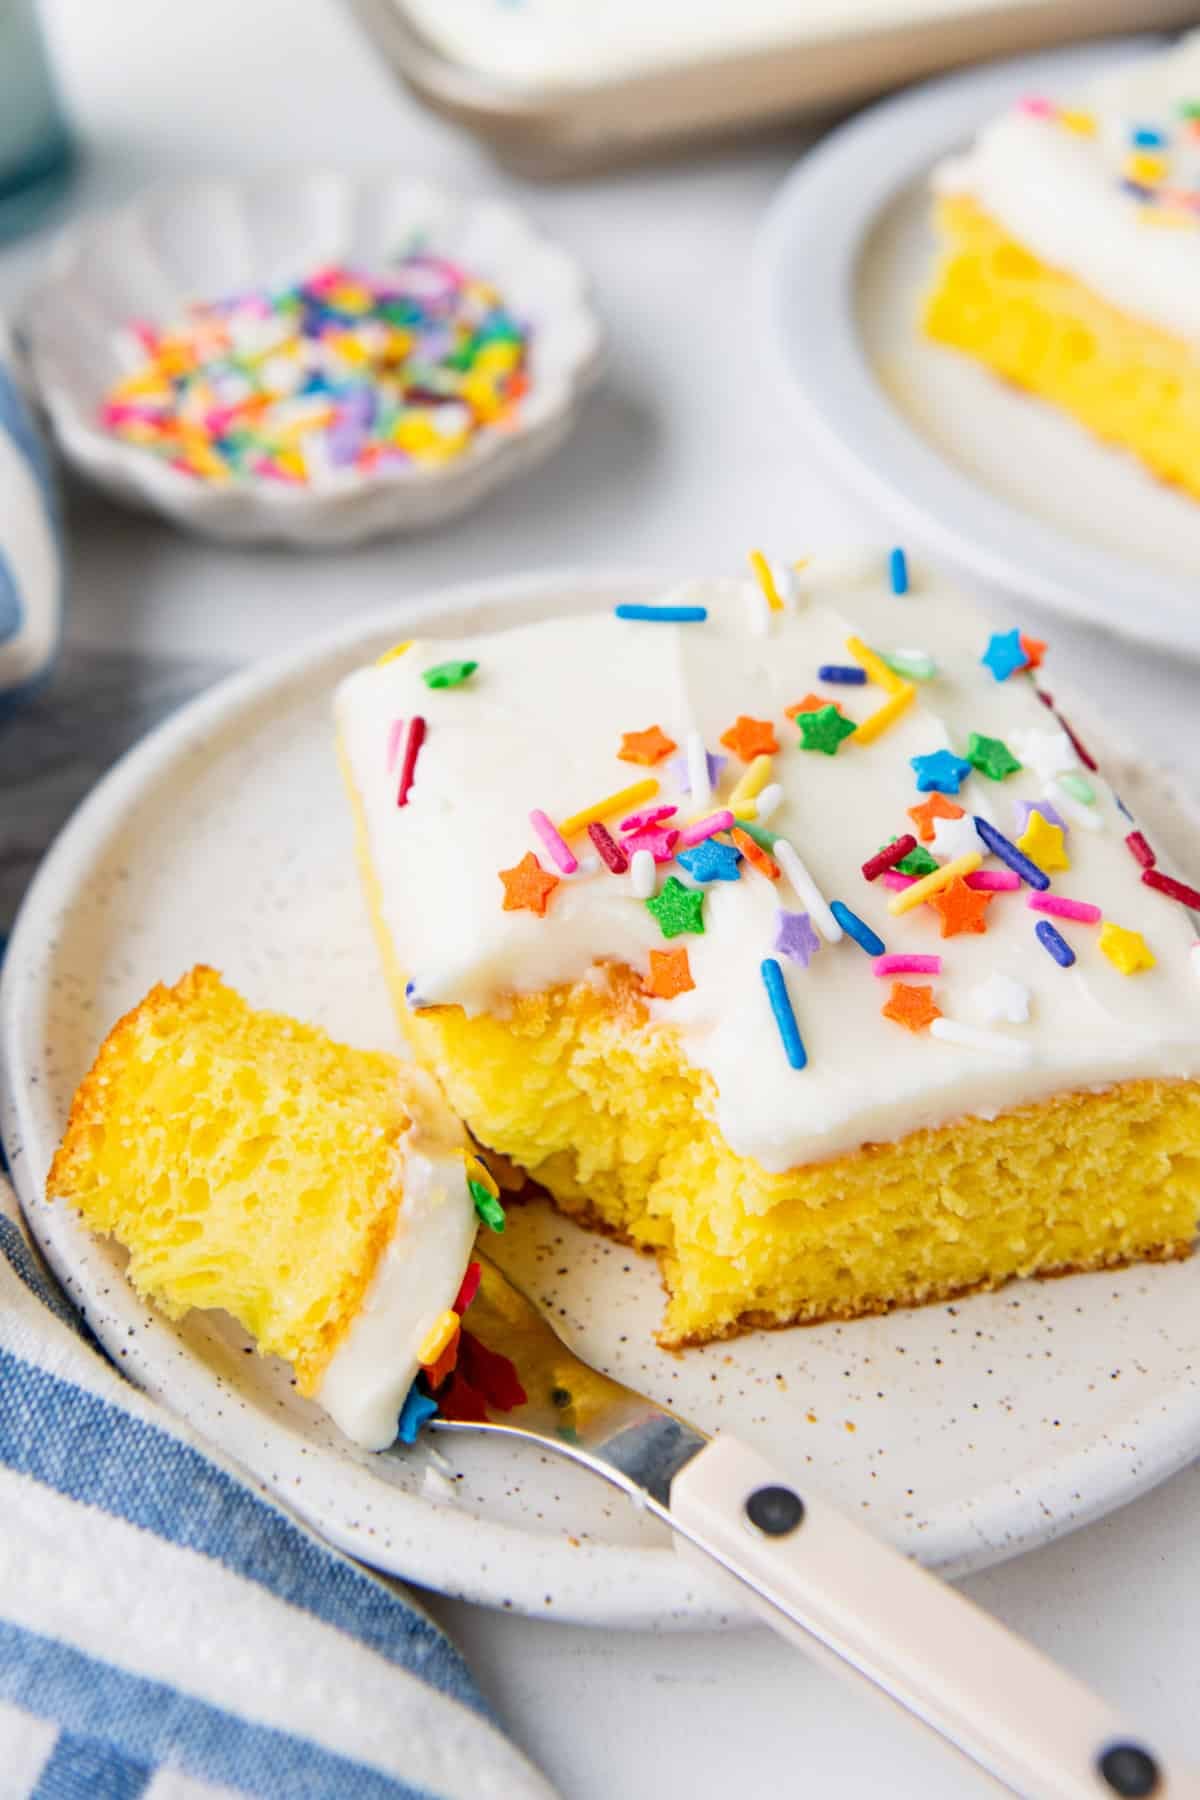
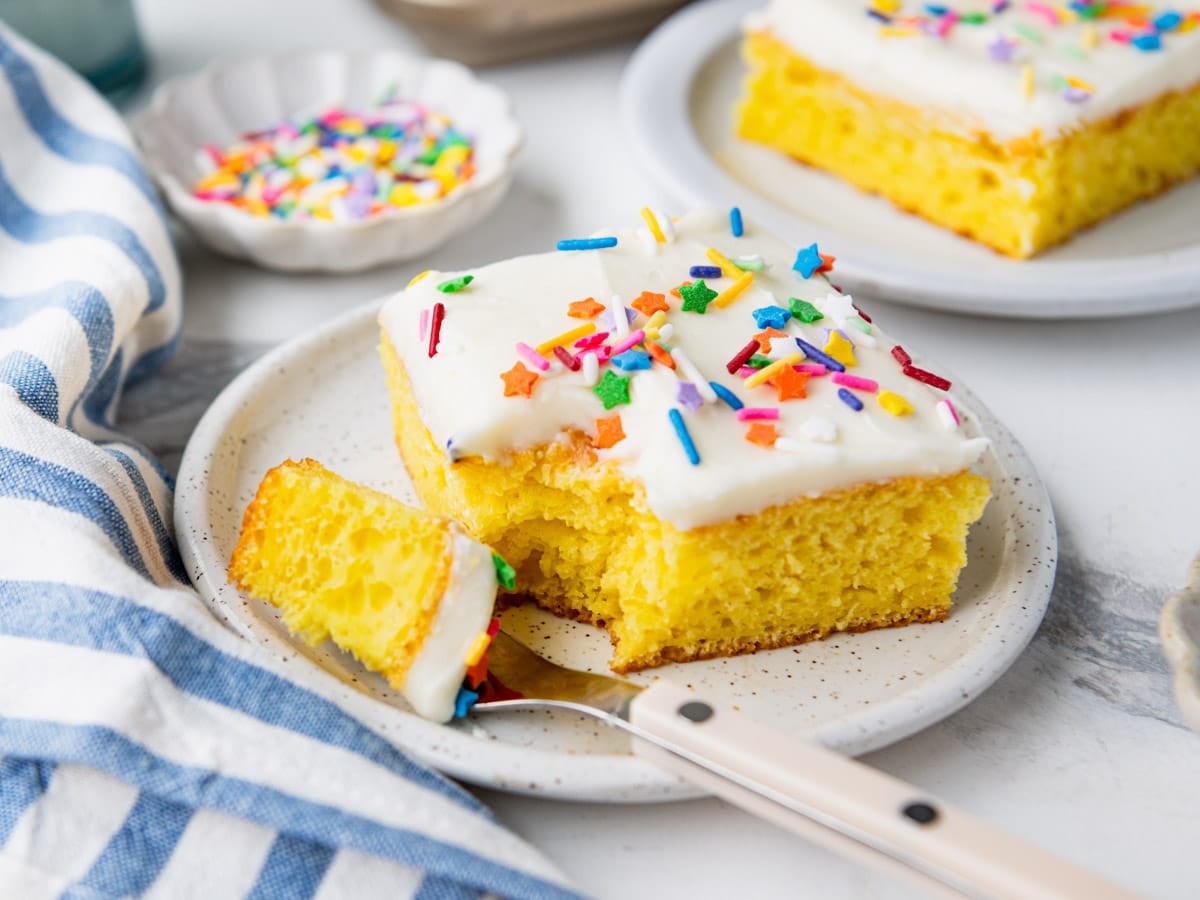
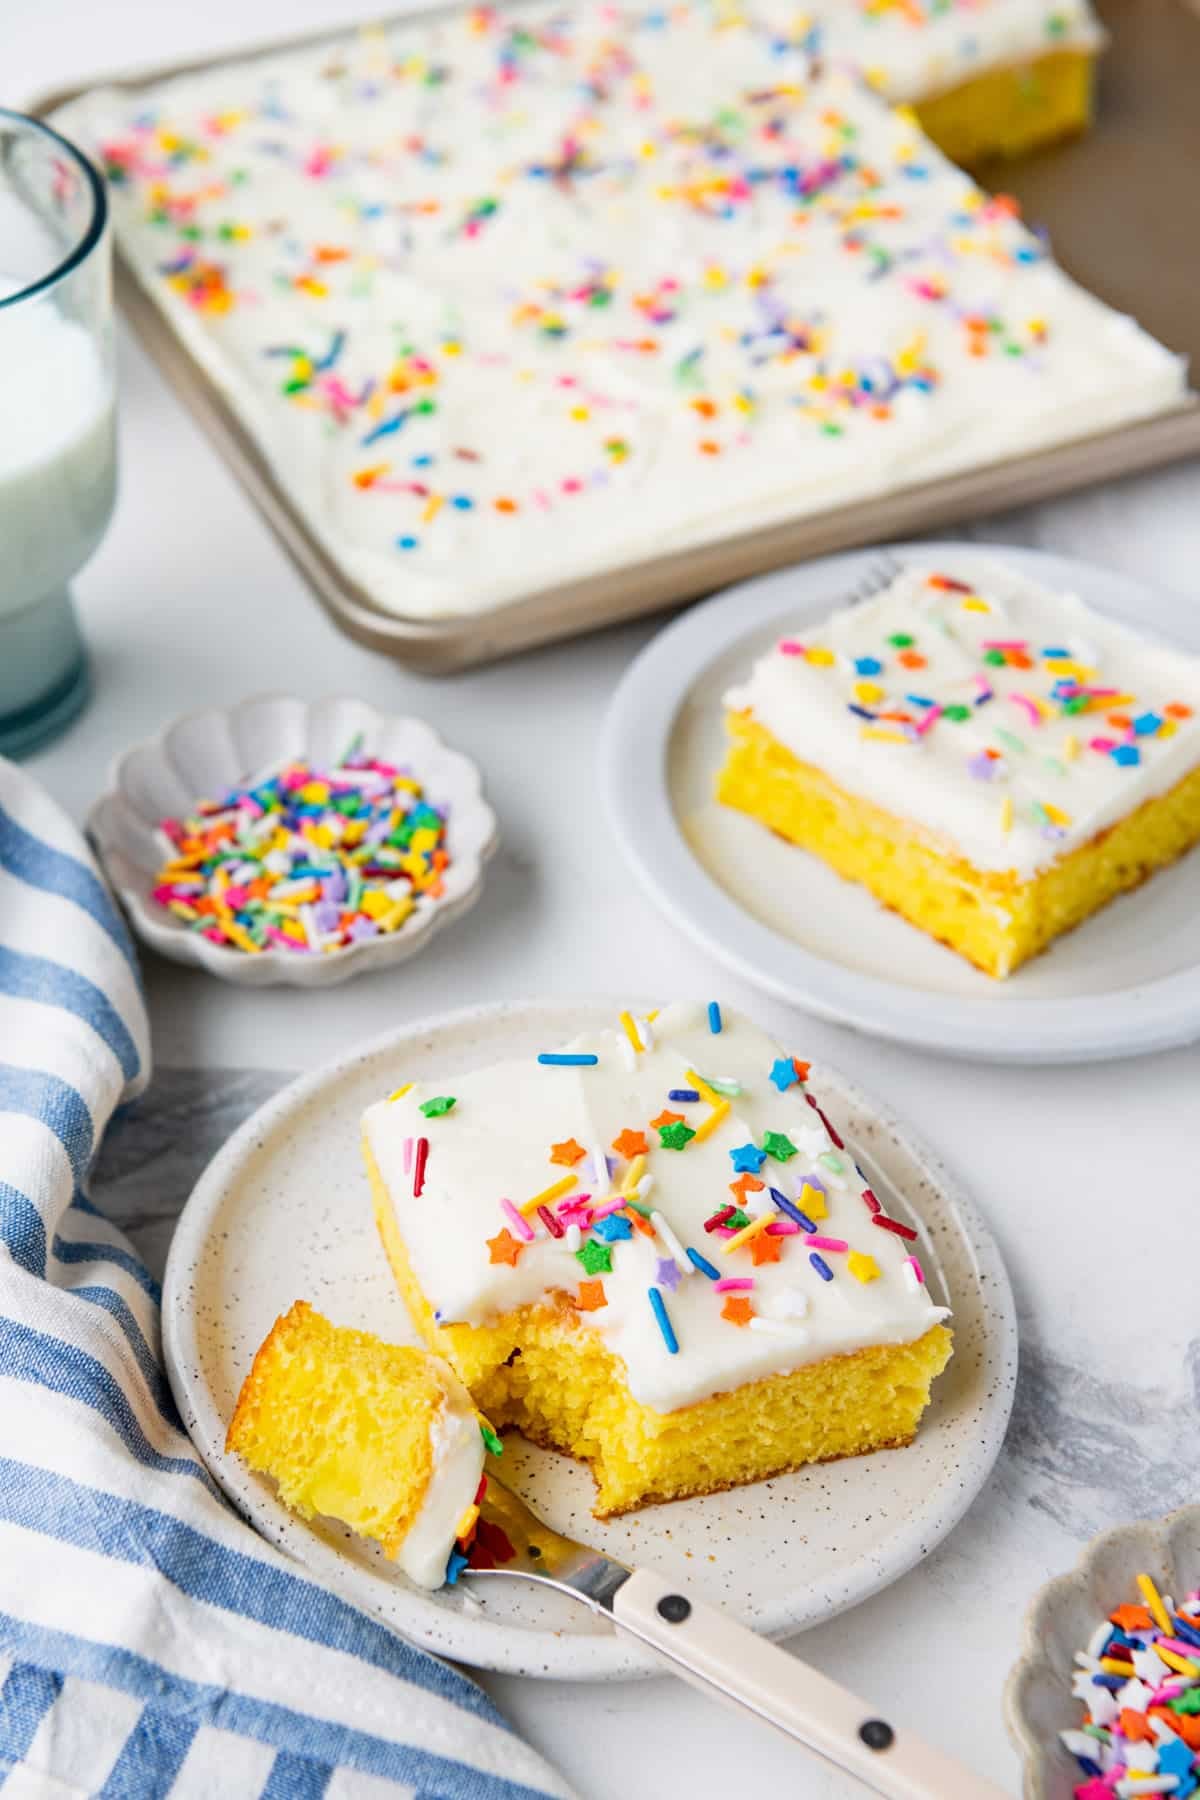
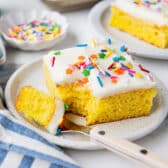
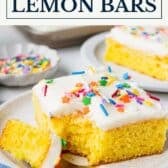
With help from a box of lemon cake mix, these Frosted Lemon Bars are one of the easiest spring desserts you’ll ever make. The bars are dense, moist, and packed with bright lemon flavor, finished with a thick layer of cream cheese frosting for a sweet finishing touch. Perfect for potlucks, Easter, or a Mother’s Day brunch!
More Easy Lemon Desserts
Before You Get Started
A few quick tips before you bake that make the biggest difference:
- Use the right pan. Fannie calls for a 10 x 15-inch jelly roll pan, and that’s the way to go. A 9 x 13-inch pan will work in a pinch, but the bars will come out noticeably thicker and more cake-like. The jelly roll pan gives you that perfect dense-but-not-heavy bar texture.
- Cool the bars completely before frosting. If the bars are even slightly warm when you spread on the frosting, it will melt and slide right off. Plan for at least 2 hours of cooling time on a wire rack before you pick up the spatula.
- Soften your butter and cream cheese ahead of time. Room-temperature ingredients are what give the frosting that smooth, fluffy texture. Cold cream cheese or butter will leave you with a lumpy frosting no matter how long you mix.
How to Make Frosted Lemon Bars
This recipe comes together in just a few simple steps. The batter mixes up in one bowl, and the frosting is ready in minutes once the bars are cool.
Step 1: Prep the Pan and Mix the Batter
Preheat your oven to 350°F and grease a 10 x 15-inch jelly roll pan with nonstick cooking spray. You can also line the pan with parchment paper for extra insurance (it makes lifting and slicing the bars much easier).
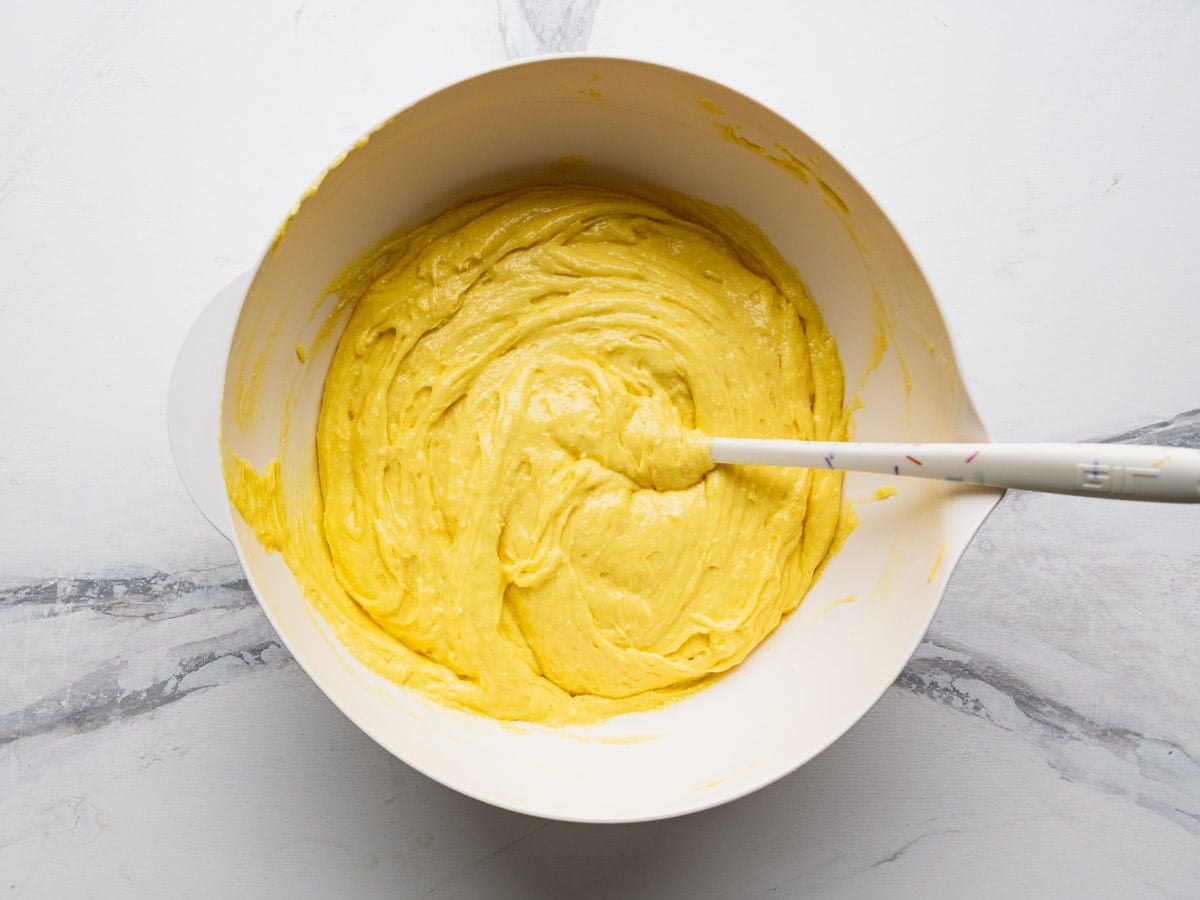
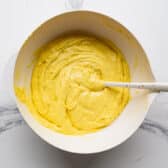
In a large bowl, use an electric mixer to combine the lemon cake mix, lemon pie filling, eggs, and vegetable oil. The batter will be thick but still spreadable. A few lumps are completely fine and won’t affect the finished bars.
Step 2: Spread and Bake
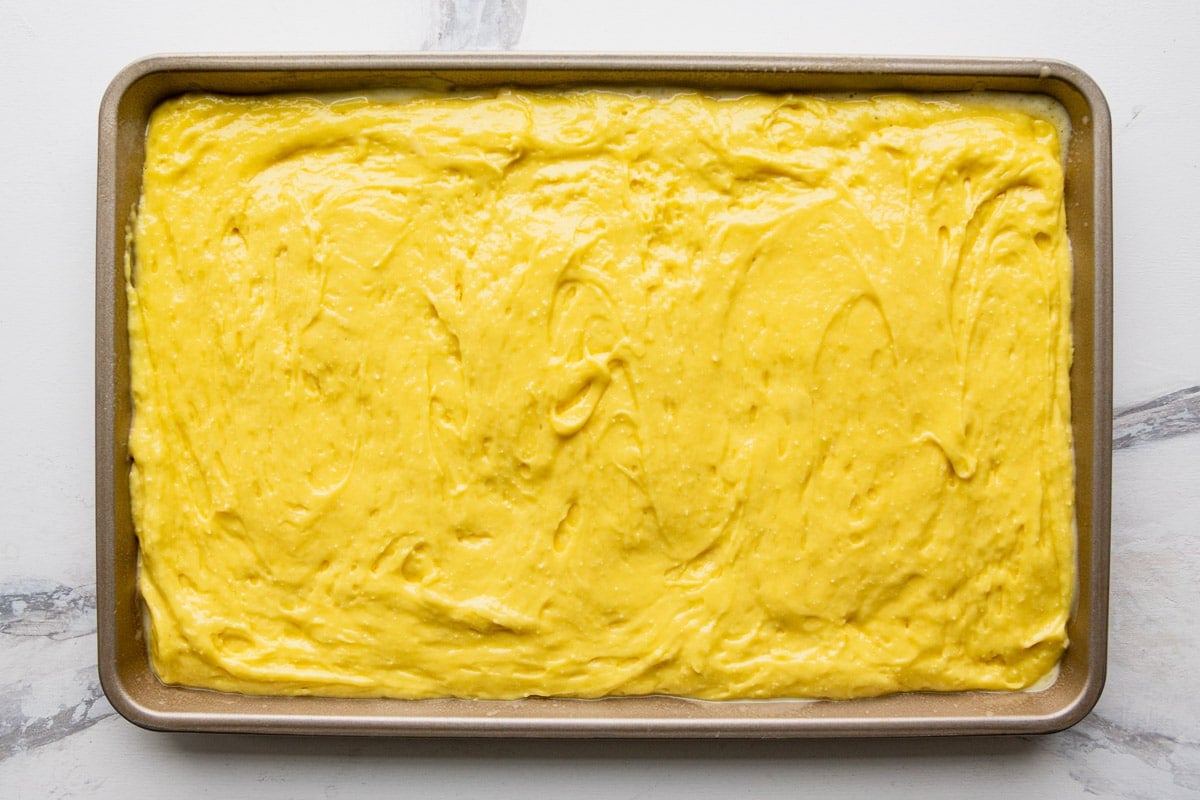
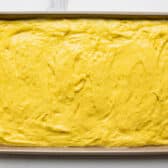
Spread the batter evenly in your prepared pan. Use an offset spatula or the back of a spoon to smooth it all the way to the edges.
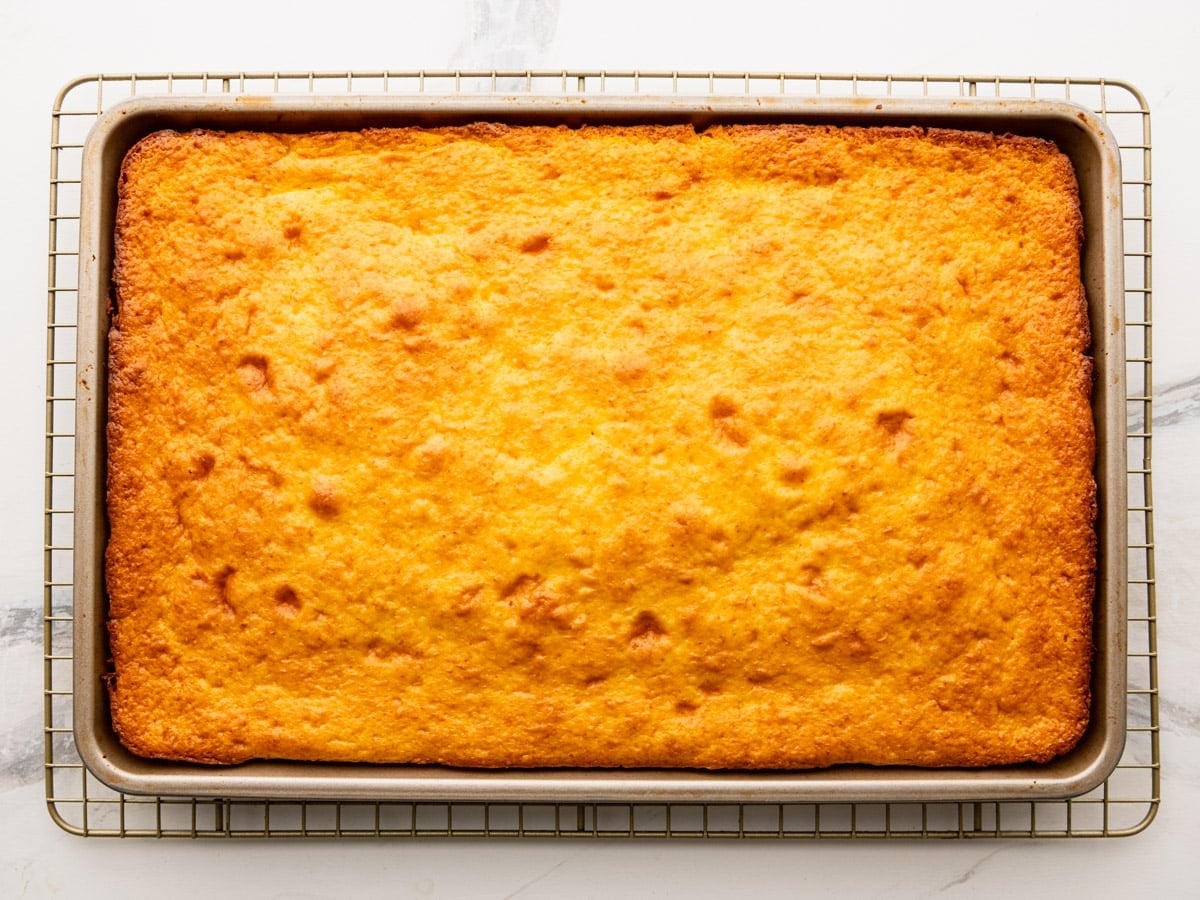
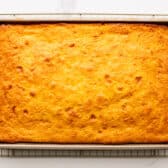
Bake for 30-33 minutes, or until the bars are golden brown on top and a toothpick inserted in the center comes out clean. The edges will just start to pull away from the sides of the pan when they’re done.
⇢ Don’t pull them early. The center can look set but still be underbaked. Give it the full toothpick test before pulling from the oven.
Step 3: Cool Completely
Transfer the pan to a wire rack and let the bars cool completely, about 2 hours.
Don’t rush it. If you frost warm bars, the cream cheese frosting will melt and won’t set up properly.
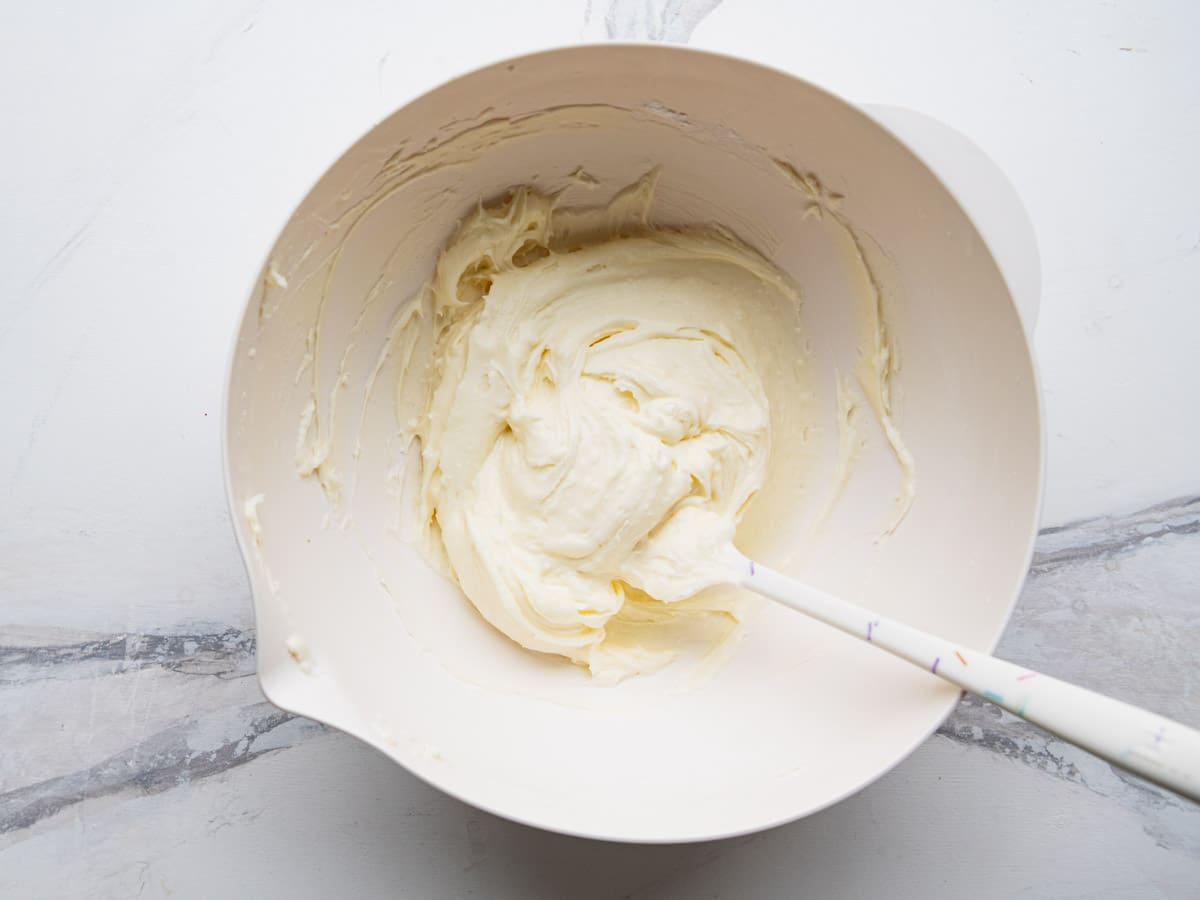
Step 4: Make the Cream Cheese Frosting
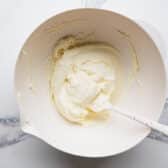
Once the bars are fully cooled, combine the softened cream cheese, confectioners’ sugar, butter, and vanilla extract in a large bowl. Mix with an electric mixer until combined, then add 1 teaspoon of milk and continue mixing until the frosting is completely smooth and fluffy.
It should be thick enough to hold its shape when spread but soft enough to glide across the bars without tearing them.
⇢ Add milk slowly. Start with just 1 teaspoon. If the frosting still feels stiff, add another teaspoon at a time until it reaches a spreadable consistency. Most of the time, 1 teaspoon is all you need.
Step 5: Frost and Slice
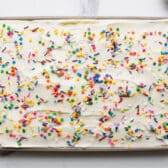
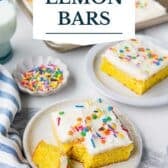
Spread the frosting in an even layer over the completely cooled bars. You can add some festive sprinkles at this point too, if you like.
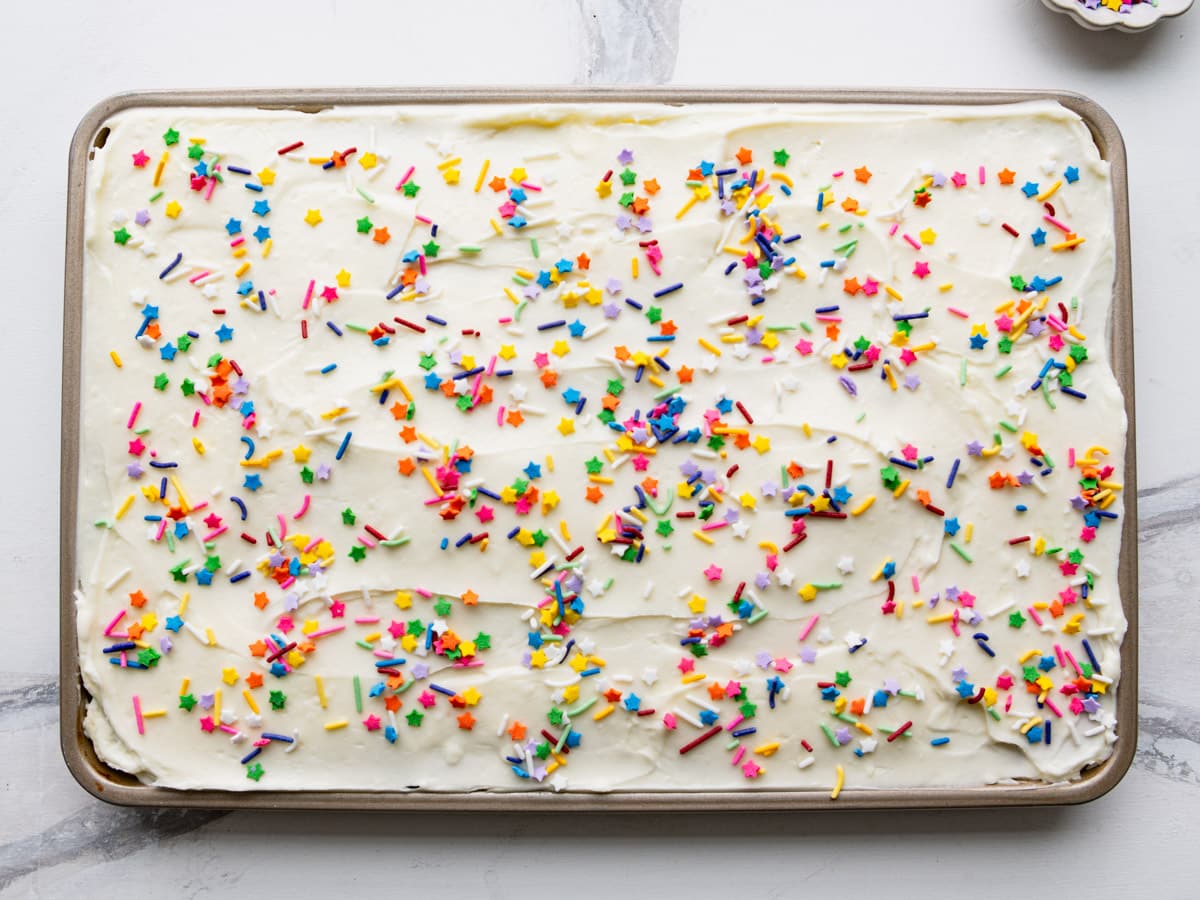
Slice into squares and serve immediately, or cover and refrigerate until ready to serve.
⇢ Fun with sprinkles. These bars are a natural canvas for decorating. Pastel sprinkles for Easter, rainbow confetti for a birthday, or festive colors for any holiday; it all works beautifully.
Storage and Make-Ahead
To store: Keep the frosted bars covered in the refrigerator for up to 3 days. Let them sit at room temperature for about 15-20 minutes before serving for the best texture and flavor.
To make ahead: These bars are a great make-ahead dessert. You can bake the bars 1-2 days in advance, store them unfrosted at room temperature (tightly covered), and frost just before serving. Or frost them fully and refrigerate for up to 2 days before your event.
To freeze: Freeze the bars before frosting. Let them cool completely, wrap the pan tightly with plastic wrap and foil, and freeze for up to 2 months. Thaw overnight in the refrigerator, then frost and serve.
Frequently Asked Questions
What’s the difference between these lemon bars and classic lemon squares?
Classic lemon squares are made from scratch with a buttery shortbread crust and a tangy lemon curd filling, then dusted with powdered sugar. These bars skip both the crust and the curd. A box of lemon cake mix and lemon pie filling come together to create something closer to a dense, moist lemon sheet cake cut into bars, with cream cheese frosting on top. They’re sweeter and richer than traditional lemon squares, and a whole lot faster to make.
Can I use a 9×13-inch pan instead of a jelly roll pan?
Yes, a 9×13-inch pan will work. The bars will be thicker and more cake-like since the batter spreads over a smaller area. They’ll likely need a few extra minutes in the oven, so start checking at 33 minutes and go from there. A toothpick inserted in the center should come out clean.
Can I make these lemon bars ahead of time?
Absolutely, and they hold up really well. Bake the bars 1-2 days ahead and store them unfrosted at room temperature. Frost just before serving for the freshest look. Or frost them fully and refrigerate for up to 2-3 days.
How should I store leftover lemon bars?
Store leftover frosted bars in an airtight container in the refrigerator for up to 3 days. The cream cheese frosting needs to stay chilled.
Can I add lemon juice to the cake mix batter for more lemon flavor?
Yes! Stirring in a tablespoon of fresh lemon juice is an easy way to punch up the lemon flavor. For an even stronger flavor, use about 1 teaspoon of freshly grated lemon zest.
Try These Other Lemon Desserts

Did you make this recipe?
If you enjoyed this recipe, please leave a comment with a 5-star review at the bottom of the post. Thank you!
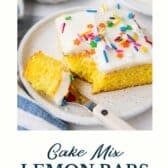
Frosted Lemon Bars {with Cake Mix}
Equipment
- Jelly roll pan (10 x 15-inches)
Ingredients
For the Bars:
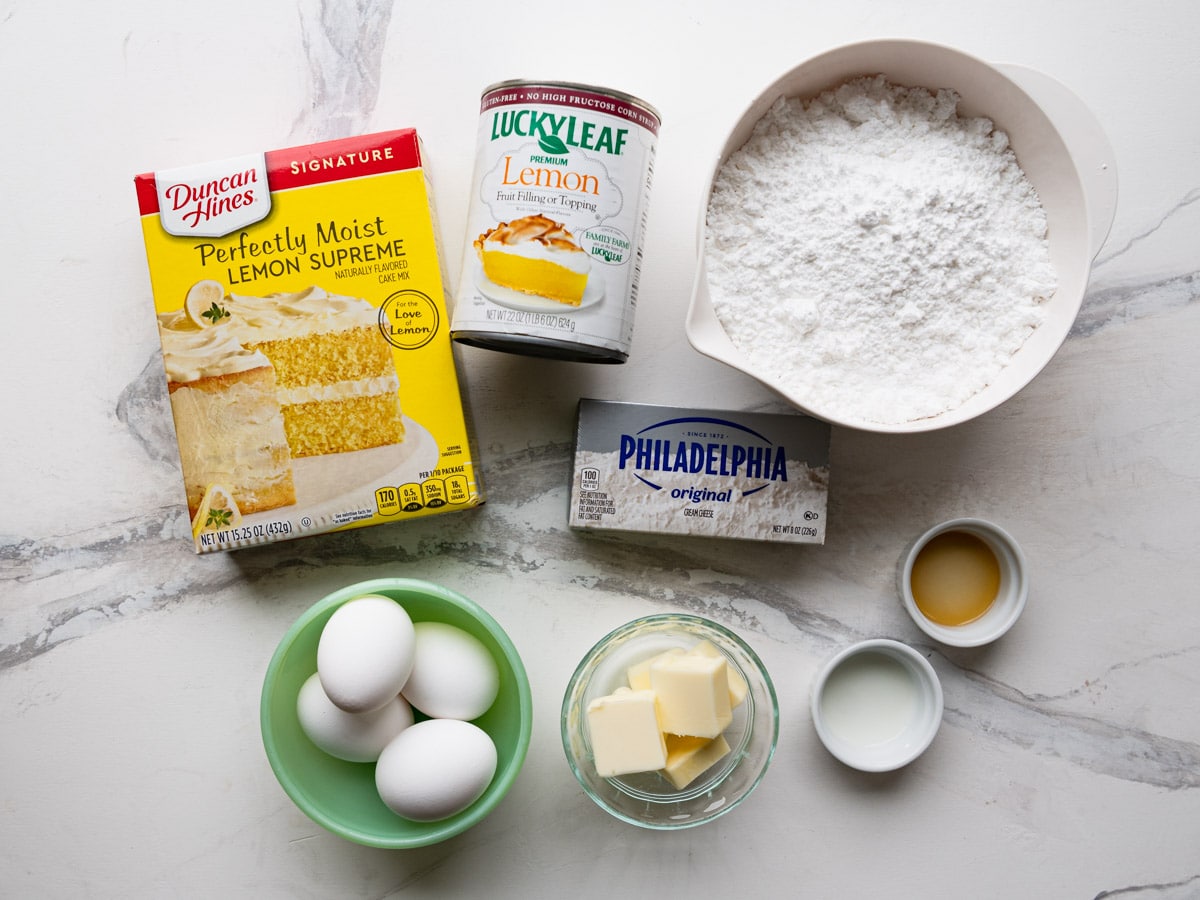
- 1 (15.25 ounce) box lemon cake mix
- 1 (22 ounce) can lemon pie filling
- 4 large eggs
- ¼ cup vegetable oil
For the Frosting:
- 1 (8 ounce) package cream cheese, softened to room temperature
- 3 cups confectioners’ sugar
- 6 tablespoons salted butter, softened to room temperature
- 1 teaspoon vanilla extract
- 1 teaspoon milk, plus more as needed
Instructions
Prepare the Bars:
- Preheat oven to 350°F. Spray a 10 x 15-inch jelly roll pan with nonstick cooking spray, or line with parchment paper.
- In a large bowl, use an electric mixer to combine the cake mix, lemon pie filling, eggs, and oil. The batter will be thick but spreadable. A few lumps are fine.

- Spread the batter evenly into the prepared pan, all the way to the edges.
- Bake for 30-33 minutes, or until golden brown and a toothpick inserted in the center comes out clean. The edges will just begin to pull away from the sides of the pan.
- Cool completely on a wire rack, about 2 hours.
Prepare the Frosting:
- In a large bowl, combine the cream cheese, confectioners’ sugar, butter, and vanilla extract. Mix with an electric mixer until combined. Add 1 teaspoon of milk and continue mixing until smooth and fluffy. If the frosting is too stiff, add milk 1 teaspoon at a time until it reaches a spreadable consistency.
- Spread the frosting evenly over the completely cooled bars.
- Slice into squares and serve, or cover and refrigerate until ready to serve.
Notes
- Pan size matters: A 10×15-inch jelly roll pan gives the best bar texture. A 9×13-inch pan works but produces thicker, more cake-like bars; add a few extra minutes to the bake time.
- Cool completely: Don’t frost warm bars. The cream cheese frosting needs fully cooled bars or it will melt and slide off. Allow at least 2 hours of cooling.
- Room-temperature ingredients: Soften the cream cheese and butter before making the frosting. Cold ingredients will result in a lumpy frosting.
- Frosting consistency: The frosting should be thick and spreadable (not runny). Start with 1 teaspoon of milk and add more only if needed. One teaspoon is usually enough.
- Boost the lemon flavor: Add 1 tablespoon of fresh lemon juice or 1 teaspoon of fresh lemon zest to the batter for a brighter, more intense lemon flavor.
- Make ahead: Bake the bars 1-2 days in advance and store unfrosted at room temperature. Frost just before serving.
- Storage: Refrigerate frosted bars in an airtight container for up to 3 days.
- Freezing: Freeze unfrosted bars (tightly wrapped) for up to 2 months. Thaw overnight in the refrigerator, then frost before serving.
- Fun for any occasion: Top with pastel sprinkles for Easter, confetti sprinkles for birthdays, or any festive colors to match the occasion.
Nutrition
Originally posted in March, 2018, this post was updated in April, 2026.


Ooh, these look so perfect – and so easy!!
Thanks, Kristy!
What an easy recipe, I just love lemon desserts!