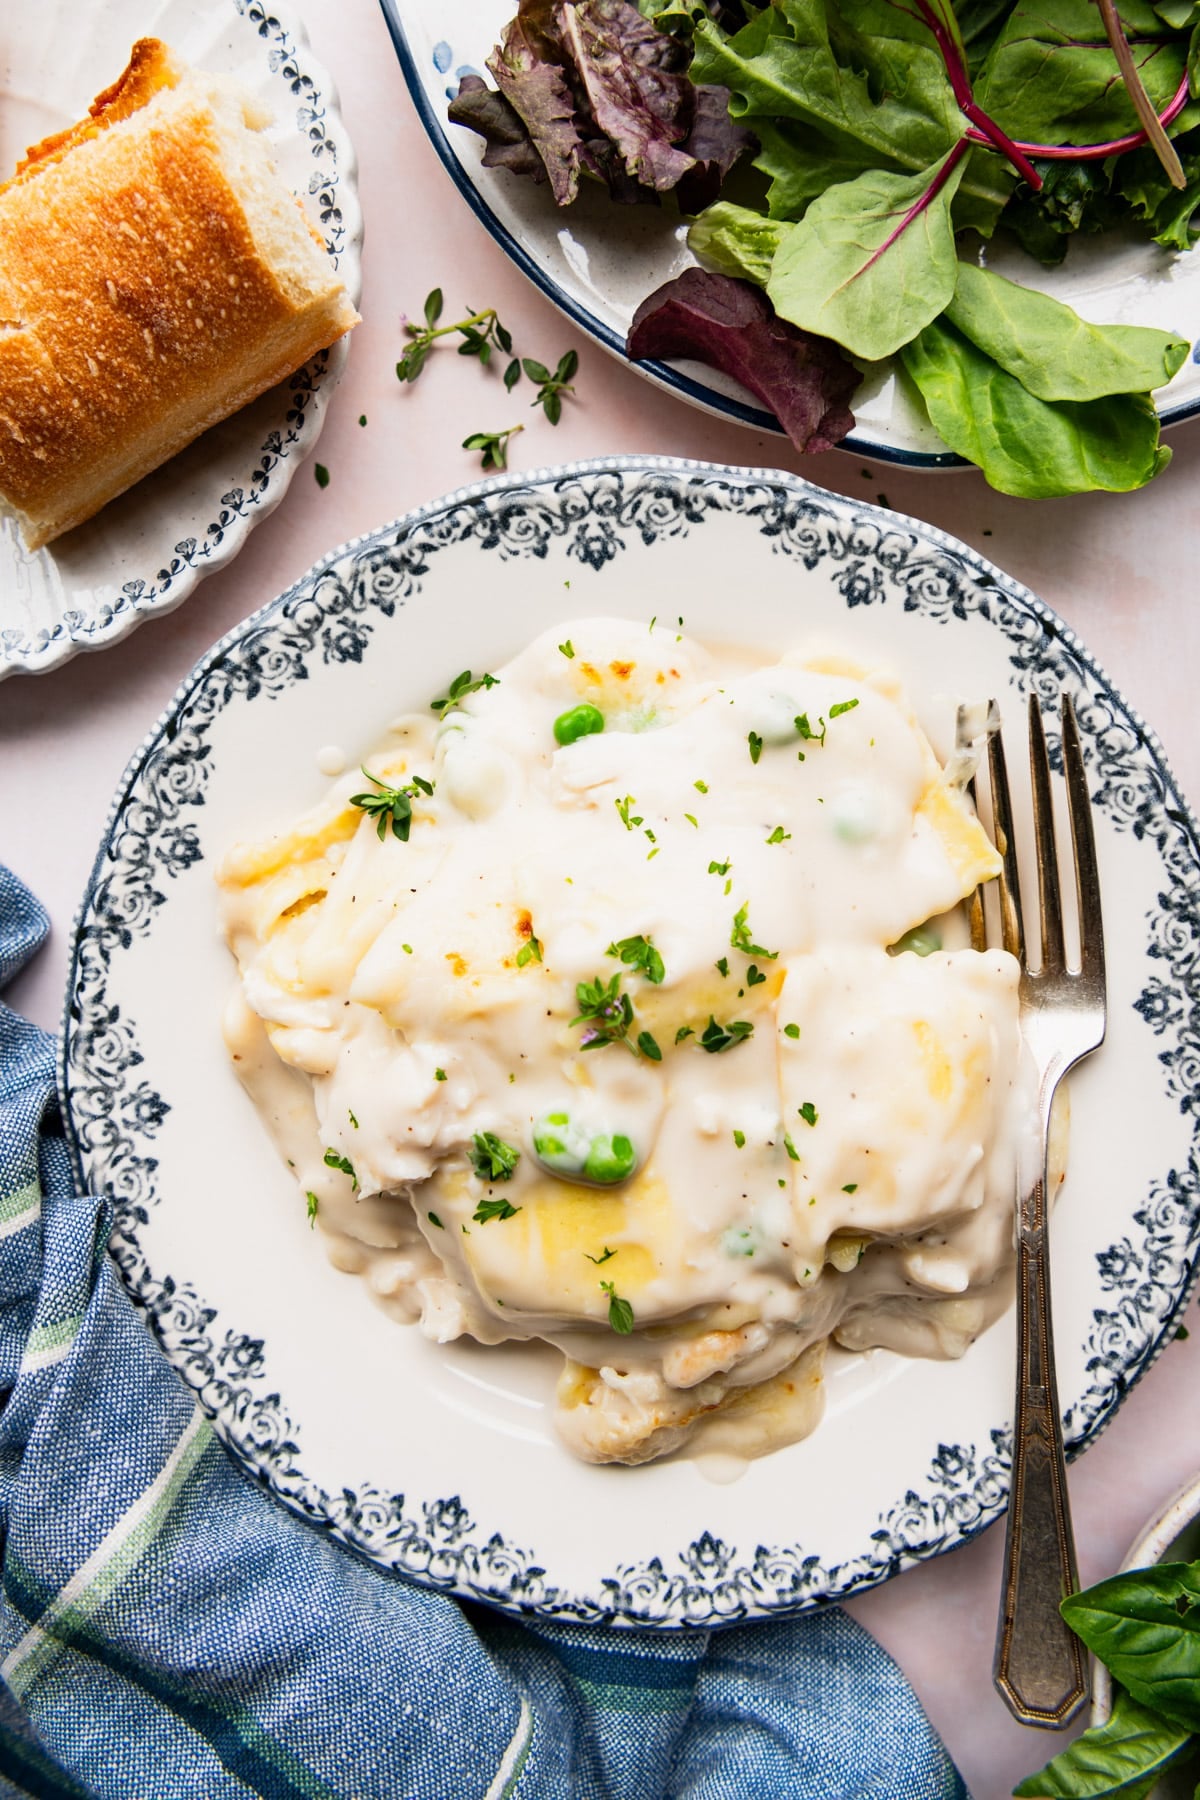
Frozen ravioli, cooked chicken, and a jar of Alfredo sauce layer straight into the baking dish, no boiling and no draining required! Five ingredients and about five minutes of prep get you a creamy, cheesy pasta dinner with the chicken and vegetables already built in. The picky eaters and the grownups can all agree on this one!
More easy dump-and-bake pasta dinners:
Before You Get Started
The frozen ravioli cooks in the sauce rather than in a pot of water, so a few details matter more here than they would in a regular pasta bake:
- Seal the foil tightly. The trapped steam is what cooks the ravioli through. A loose cover lets it escape and leaves the pasta firm.
- Don’t skimp on the sauce. Every ravioli needs to be coated. Any piece left dry will bake up tough instead of tender.
- Add the peas at the very end. Layered in from the start they turn drab and mushy. Scattered on before the final uncovered bake, they stay bright and sweet.
How to Make Chicken Ravioli Alfredo
The whole thing is built like a lasagna, just with ravioli standing in for the noodles. You are layering, not cooking, so this comes together fast!
Step 1: Start with Sauce on the Bottom
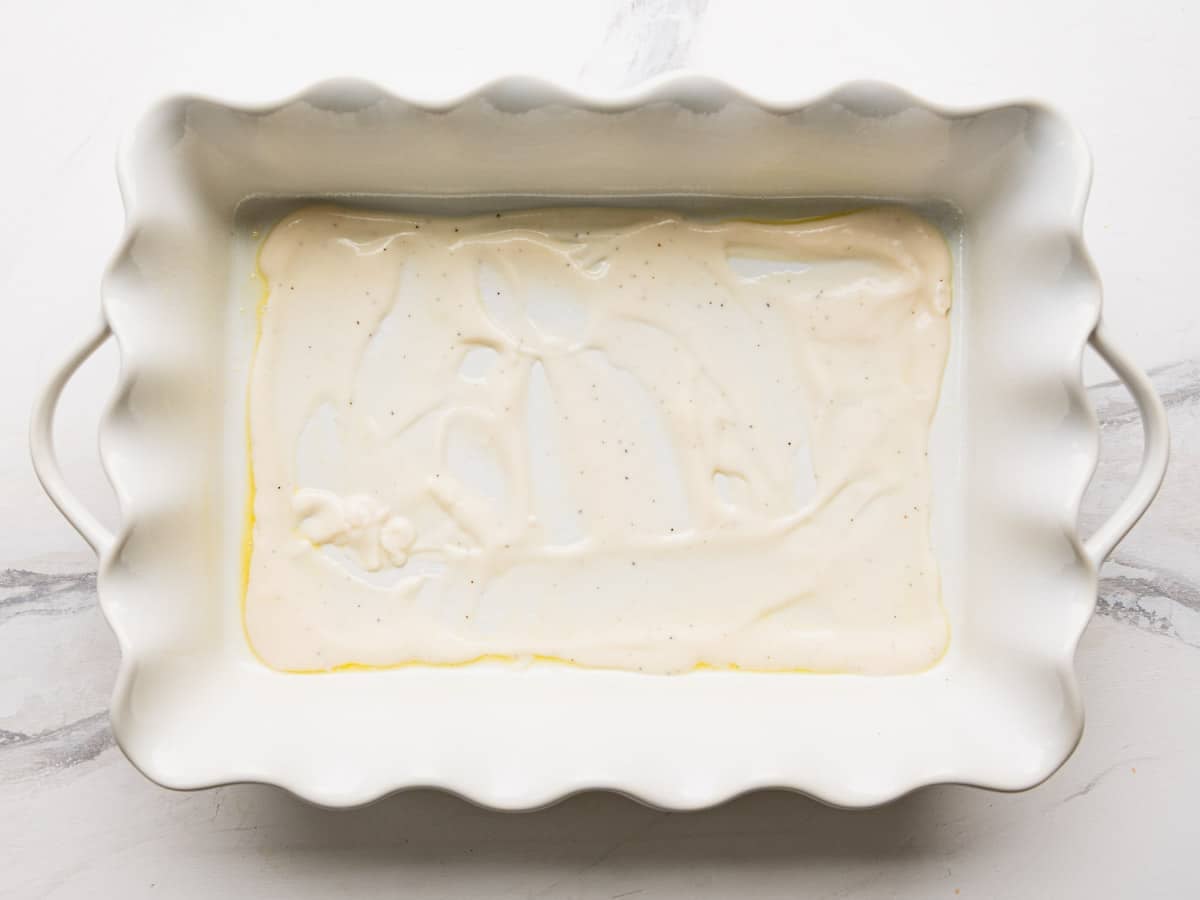
Spread a thin layer of Alfredo sauce across the bottom of a greased 9×13-inch dish, about half a cup. This keeps the first layer of ravioli from sticking and gives it moisture to cook into from below.
Step 2: Layer the Ravioli Flat
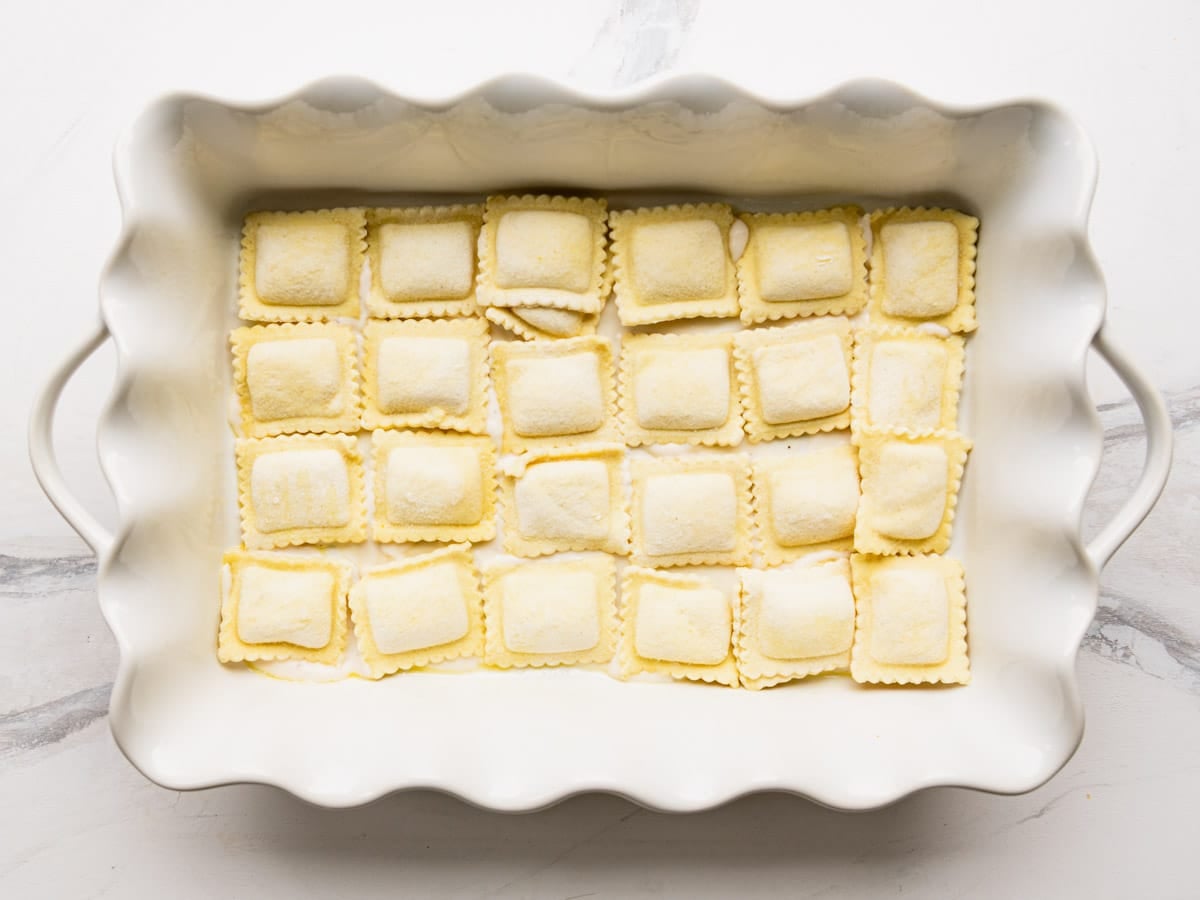
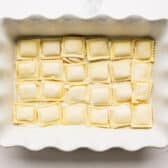
Arrange half the frozen ravioli in a single even layer over the sauce.
Keeping them flat rather than overlapping means they all cook at the same rate. There is no need to thaw them first.
Step 3: Add Chicken, then More Sauce
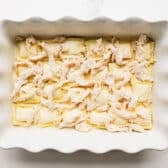
Scatter half the chicken over the ravioli,
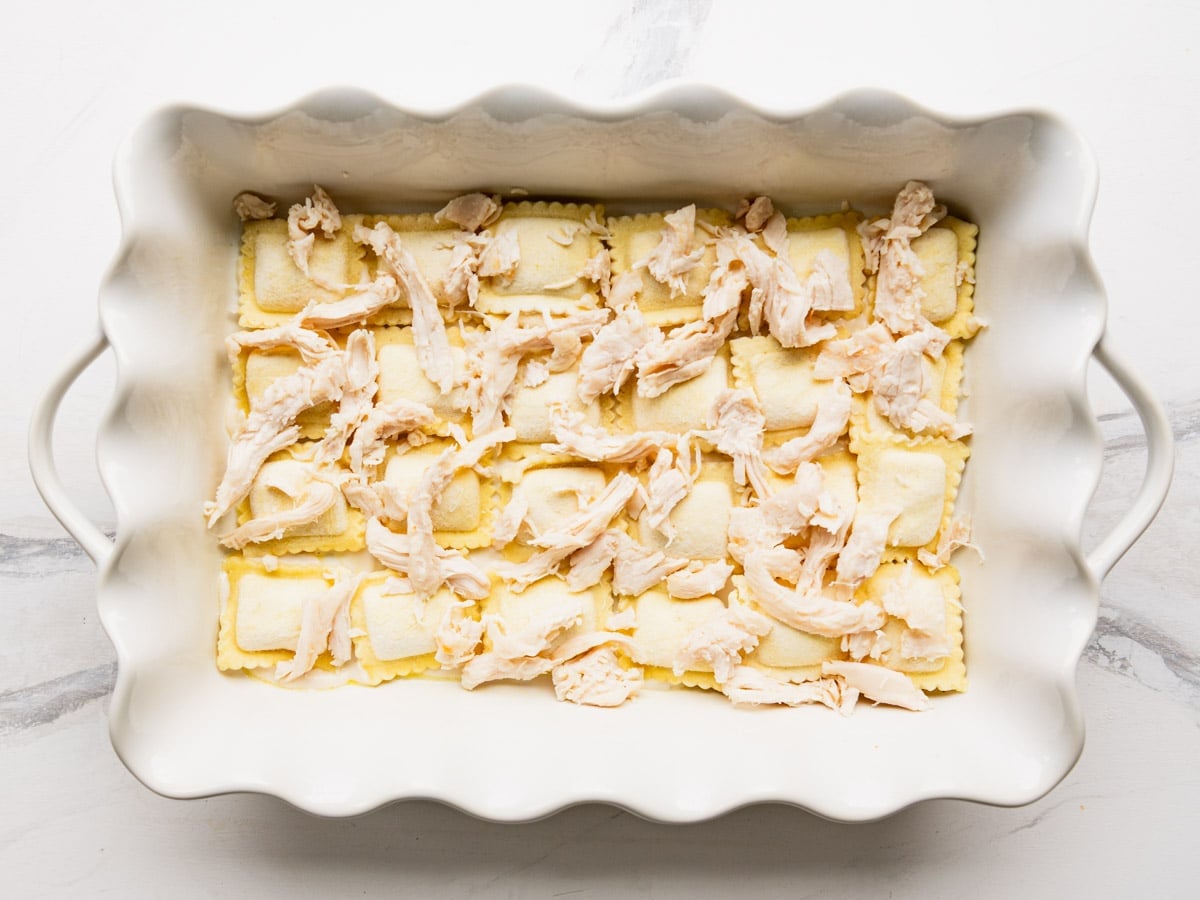
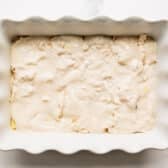
then spread about half of the remaining sauce on top. Repeat the whole sequence once more: ravioli, chicken, sauce.
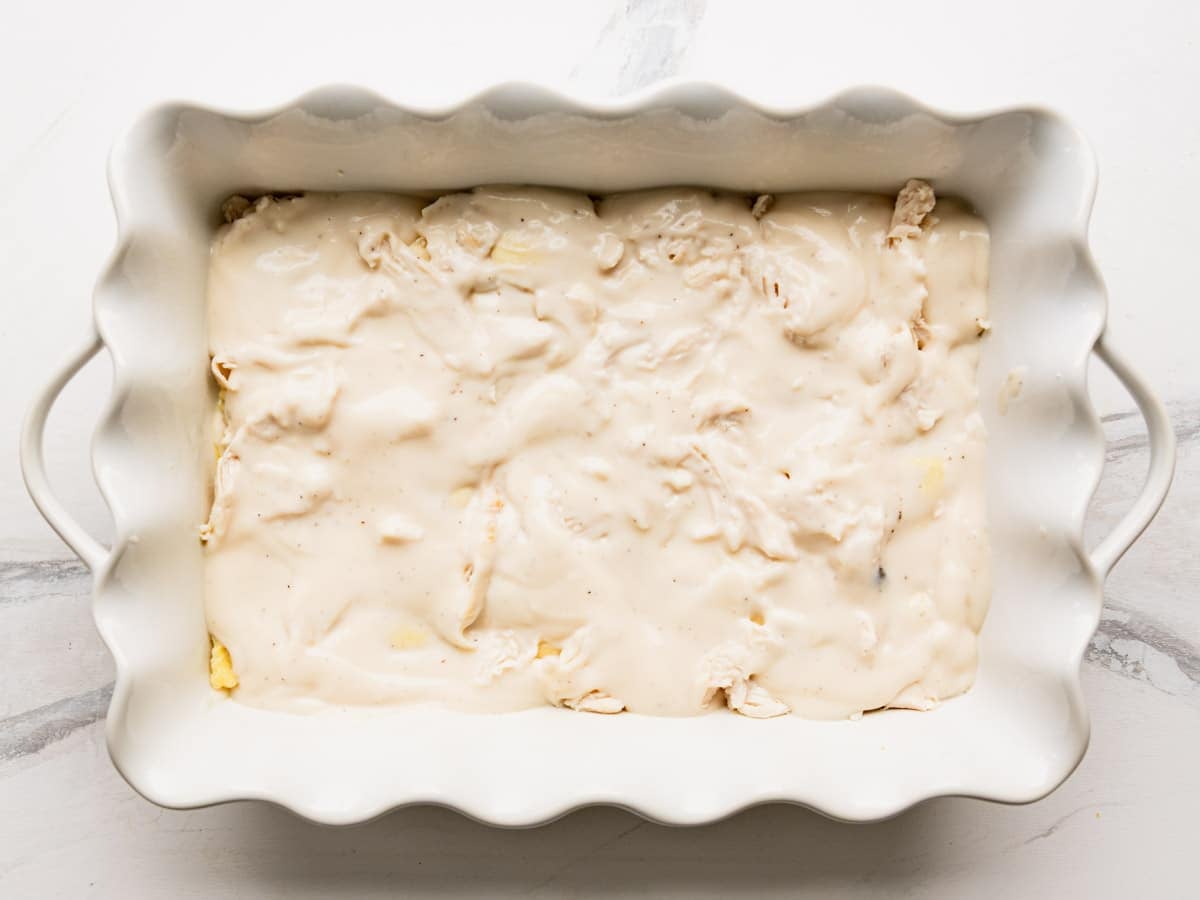
Rotisserie chicken works beautifully here and saves you a cooking step.
⇢ Any ravioli you like will work. Cheese is the classic, but spinach and cheese adds a nice bit of color and beef ravioli is a nice twist.
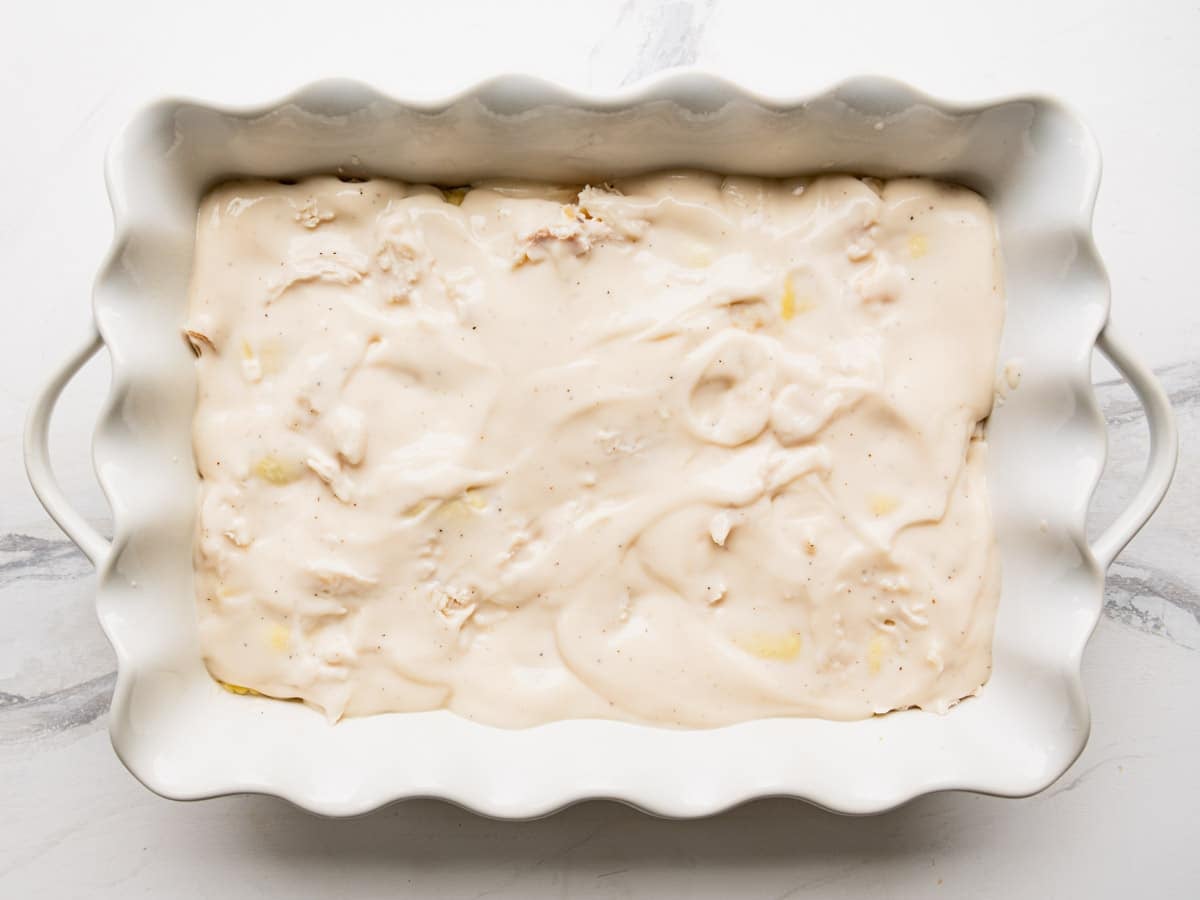
Step 4: Cover Tightly and Bake
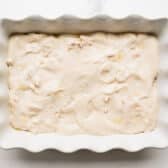
Cover the dish with foil, pressing the edges down to seal, and bake at 400°F for 30 minutes. This is the stretch that does all the real work, so resist the urge to peek.
Step 5: Uncover, Top, and Finish
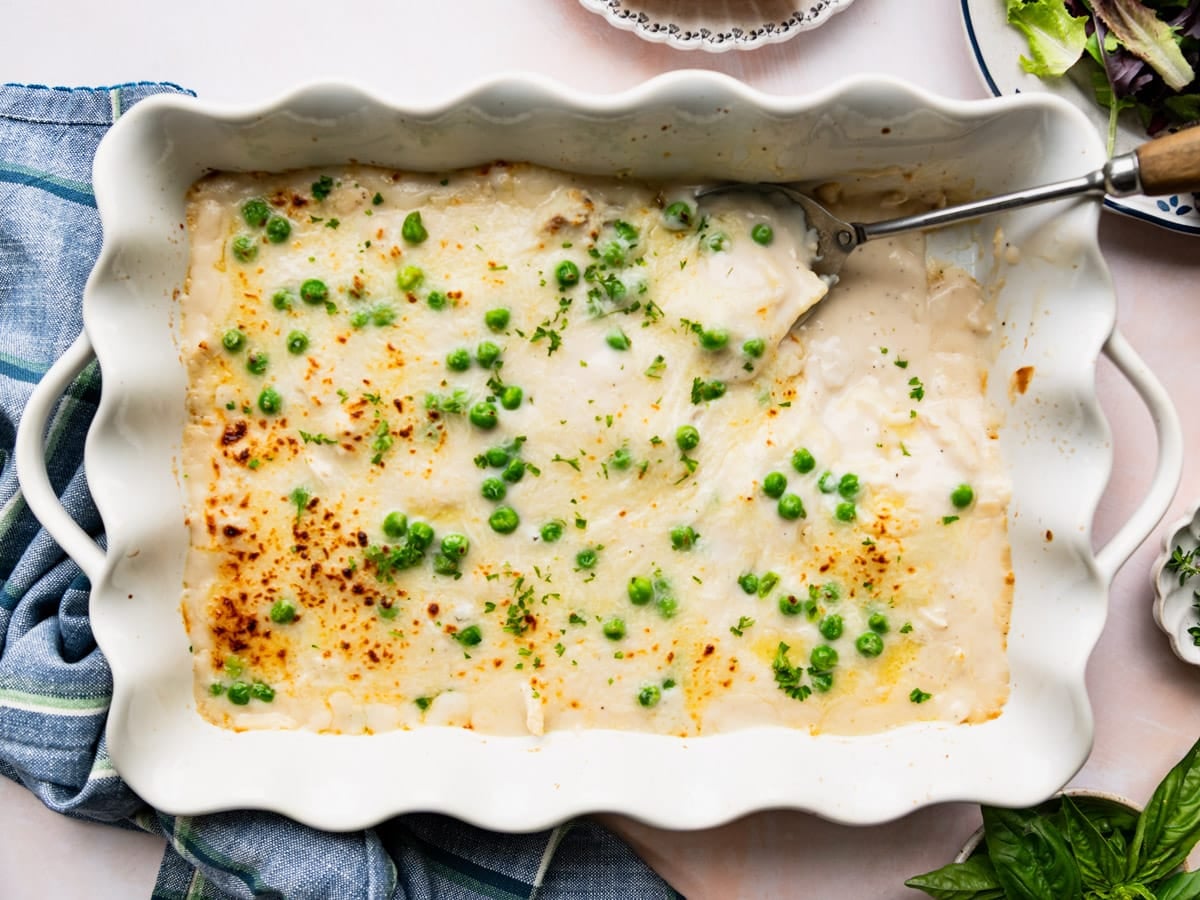
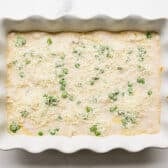
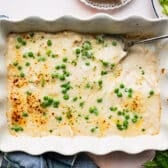
Pull off the foil, scatter the peas over the top, and finish with the shredded cheese.
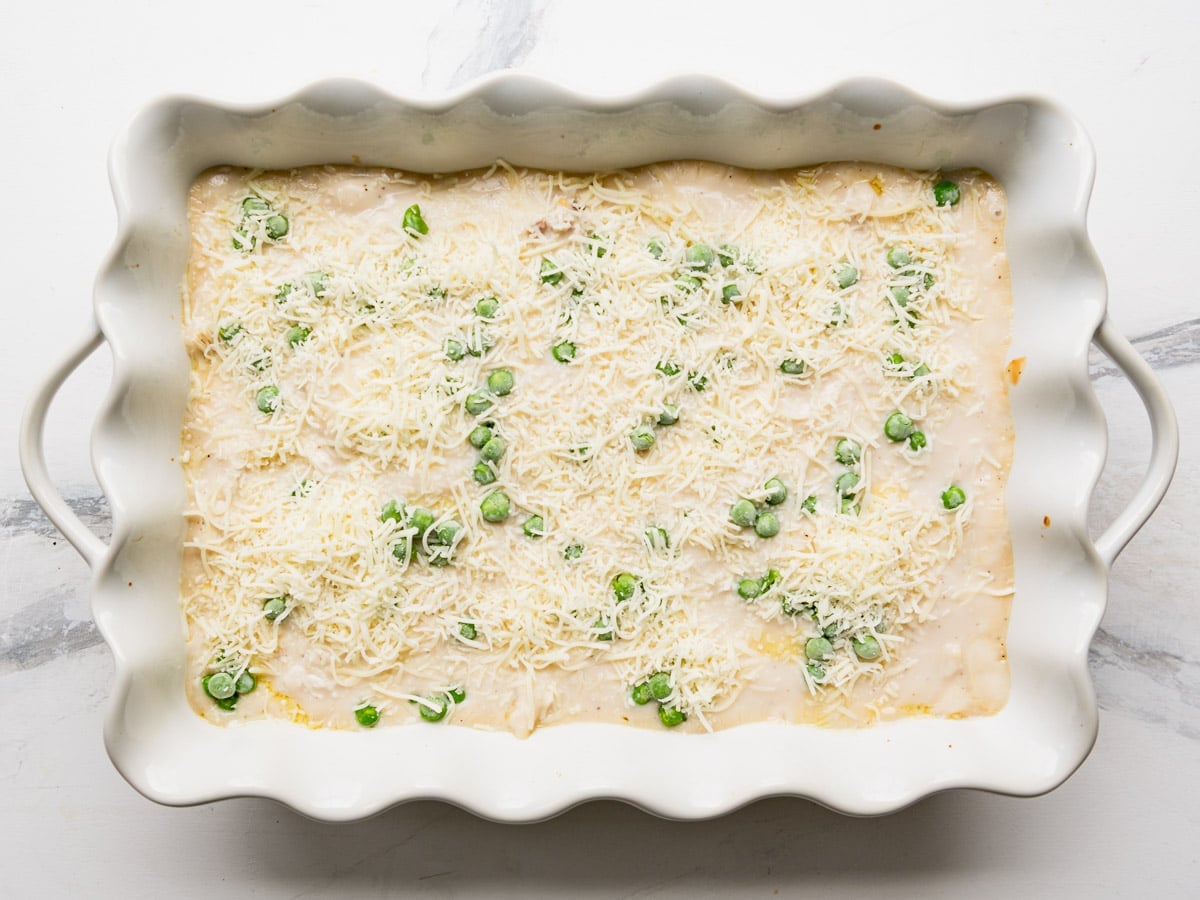
Return it to the oven uncovered for about 10 more minutes, until the cheese is melted and a ravioli pierced with a fork feels tender all the way through.
For browned, bubbly cheese, slide it under the broiler for a minute or two and watch it closely.
Step 6: Let it Rest
Give it 5 to 10 minutes on the counter before serving. The sauce thickens as it sits and the layers are less likely to burn your mouth!
⇢ A squeeze of lemon at the end: One reader adds fresh lemon juice before serving, and it cuts through the richness of the Alfredo beautifully. It is a small thing that makes the whole dish taste brighter.
Try it another way
Want the same flavors with hands-off timing instead of the oven? My Crock Pot Chicken Alfredo gets you there while you are out of the house.
Serving Ideas
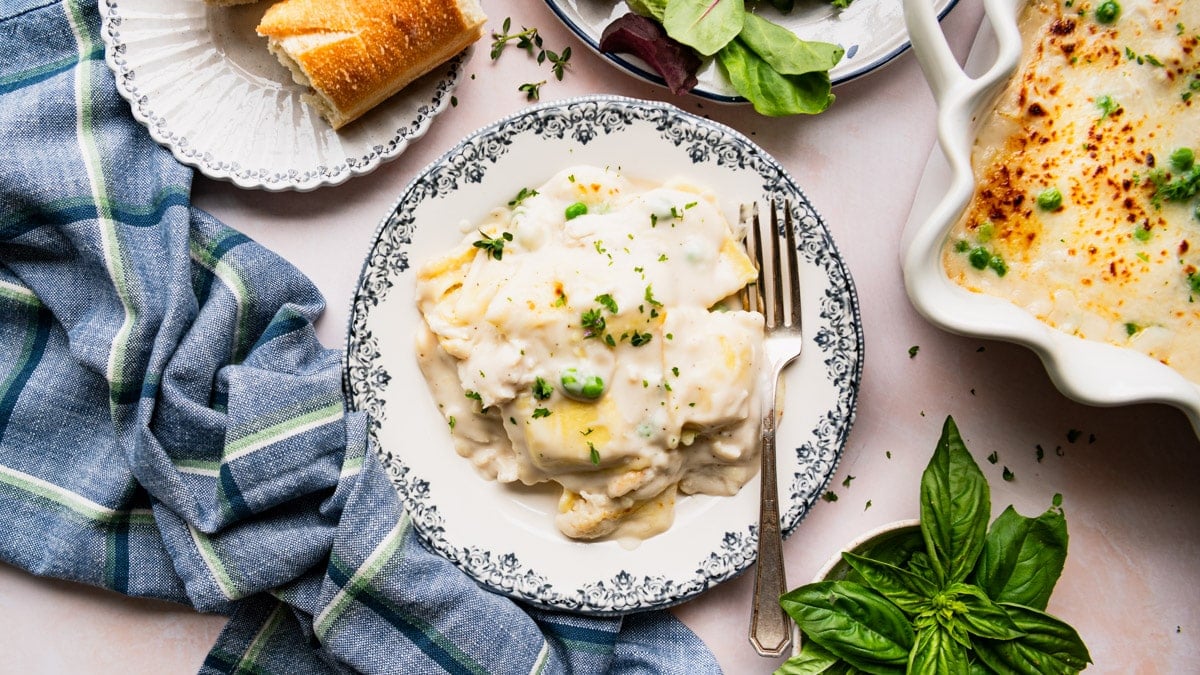
Honestly, this one does not need much. The chicken and peas are already in the dish, so you have protein, pasta, and a vegetable in a single pan. But Alfredo is rich, and a crisp salad or something green alongside gives the plate some balance.
If you are feeding a crowd or stretching the pan further, here are some great options:
Storage, Freezing, and Reheating
To store: Cover leftovers tightly or transfer to an airtight container and refrigerate for up to 3 days.
To make ahead: Assemble the full dish (everything except the peas and the top layer of cheese), cover, and refrigerate for up to 24 hours. Add about 5 to 10 minutes to the covered bake time since it is going in cold.
To freeze: Wrap the assembled, unbaked casserole well and freeze for up to 3 months. Thaw overnight in the refrigerator before baking.
To reheat: Cream sauces tighten up in the fridge, so add a splash of milk or cream before reheating, if necessary. Warm individual portions in the microwave, or cover the dish with foil and reheat at 350°F for about 20 minutes.
Frequently Asked Questions
Do I need to thaw the ravioli first?
No, and you should not. The ravioli goes into the dish frozen and cooks in the sauce as it bakes. Thawed ravioli tends to get soft and is more likely to fall apart during the long covered bake.
Can I use refrigerated ravioli instead of frozen?
You can, but reduce the covered bake time to about 20 minutes since fresh ravioli cooks much faster. Check for tenderness before adding the cheese.
Can I make this without the chicken?
Absolutely. Leave it out and the dish becomes a simple cheese ravioli bake. Sautéed mushrooms or a few big handfuls of fresh spinach layered in are good ways to add back some substance.
My ravioli is still firm after baking. What happened?
This almost always comes down to the foil. If steam escaped during the covered bake, the ravioli did not get enough moisture to cook through. Re-cover the dish tightly and give it another 10 minutes. Not using enough sauce can cause the same problem.
More Creamy Pasta Bakes

Did you make this recipe?
If you enjoyed this recipe, please leave a comment with a 5-star review at the bottom of the post. Thank you!

Chicken Ravioli Alfredo {Dump-and-Bake}
Equipment
- 9 x 13-Inch Baking Dish
Ingredients
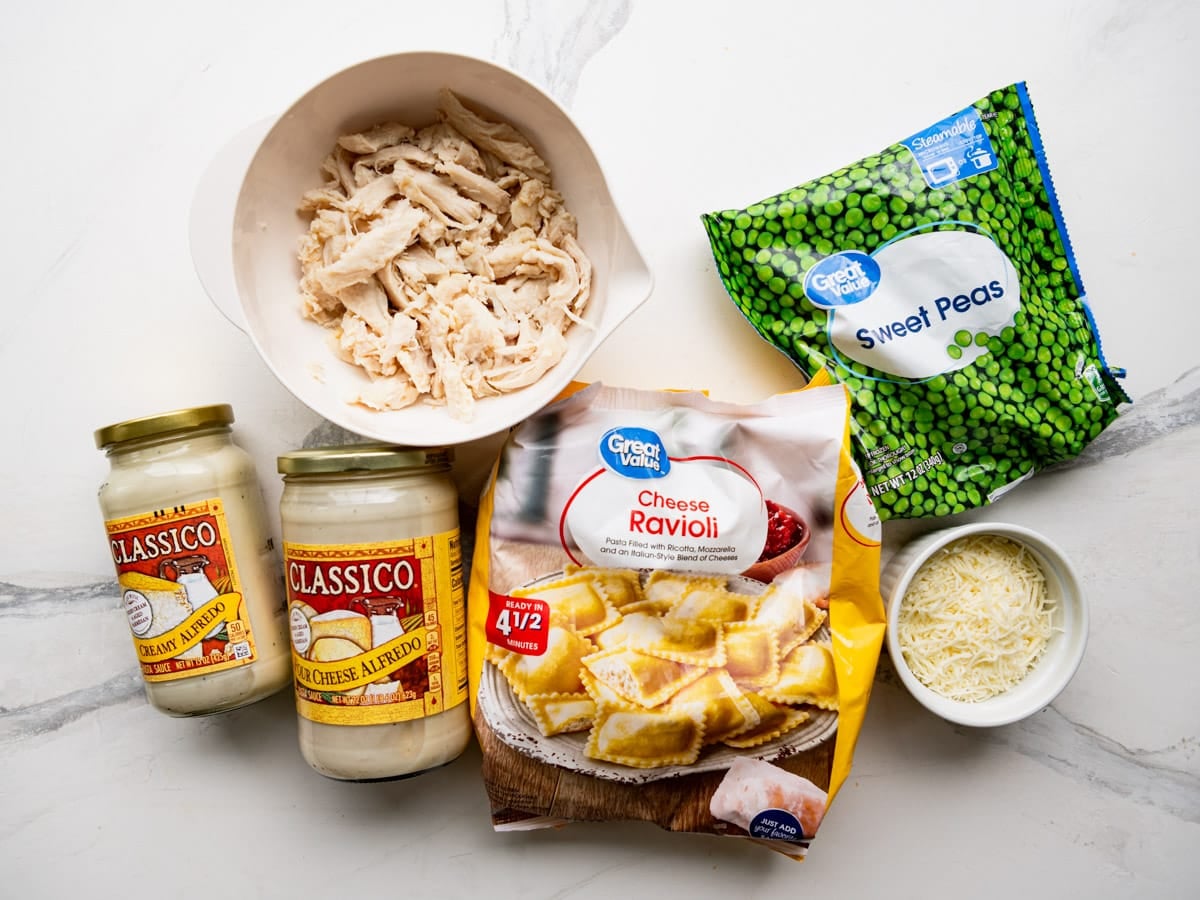
- 24-25 ounces frozen cheese ravioli
- 9 ounces (about 1 ¾ cups) chopped or shredded cooked chicken
- 36 ounces (about 4 ¼ cups) Alfredo sauce
- ½ – 1 cup frozen peas (optional)
- 1 cup shredded mozzarella cheese or Italian cheese blend
- Optional garnish: chopped fresh herbs such as parsley or basil
Instructions
- Preheat oven to 400°F (200°C). Spray a 9×13-inch dish with nonstick cooking spray.
- In the prepared dish, spread a thin layer of Alfredo sauce (about ½ cup).

- Arrange half of the frozen ravioli in a single layer over the sauce. Keep them flat and even so everything cooks at the same rate.
- Add half of the chicken on top of the ravioli.
- Spread about half of the remaining Alfredo sauce on top of the chicken and ravioli.
- Repeat the layers once more using the remaining ravioli, chicken, and sauce, in that order.
- Cover tightly with aluminum foil, pressing the edges to seal. Bake for 30 minutes.
- Remove the foil, sprinkle the peas over top (if using), and finish with the shredded cheese.
- Return the dish to the oven uncovered for 10 more minutes, or until the cheese melts and the ravioli is tender. For browned cheese, place the dish under the broiler for a minute or two, watching closely so it does not burn.
- Let the dish rest for 5 to 10 minutes before serving. Garnish with fresh herbs if desired.

Notes
- Peas go on at the end. You can add them to the layers while assembling, but they tend to get mushy and lose their bright green color.
- Do not thaw the ravioli. It goes in frozen and cooks in the sauce. Thawed ravioli softens too much during the covered bake.
- Seal the foil tightly. The trapped steam is what cooks the pasta. Escaped steam is the most common reason ravioli comes out firm.
- Use all the sauce. Any ravioli left uncoated will bake up tough rather than tender.
- Ravioli swaps. Cheese, spinach and cheese, or beef ravioli all work well.
- Refrigerated ravioli. Reduce the covered bake time to about 20 minutes and check for tenderness before adding the cheese.
- Rotisserie chicken is the fastest option for the cooked chicken.
- A squeeze of fresh lemon before serving cuts the richness of the Alfredo.
- Make ahead. Assemble without the peas and cheese, refrigerate up to 24 hours, and add 5 to 10 minutes to the covered bake.
- Storage. Refrigerate leftovers up to 3 days. Reheat with a splash of milk or cream to loosen the sauce.
Nutrition
Originally published in October, 2016, this post was updated in August, 2026.











This recipe is a keeper! I love the “Dump and Bake” method. When I’m not able to spend much time in the kitchen these dishes are very versatile & ideal. I made this recipe as it is written the first time, which was delicious! The second time I added sliced mushrooms & a squeeze or two of lemon juice. The lemon juice brightens up the dish & pairs well with the chicken. Years ago I had lemon Alfredo Penne & loved it so much that I use it in most of the Alfredo recipes depending on the ingredients used. The third time I ran out of chicken & made it with beef ravioli. Also, the spinach & cheese-filled ravioli was great.
Yum! Thank you for the feedback, Timothy! We’re so glad you enjoyed the recipe. The “dump and bake” method is truly a lifesaver on busy nights!
I love this place.
I love this place.well cooking is my passion for food.
We’re happy to have you here, Mercedes!