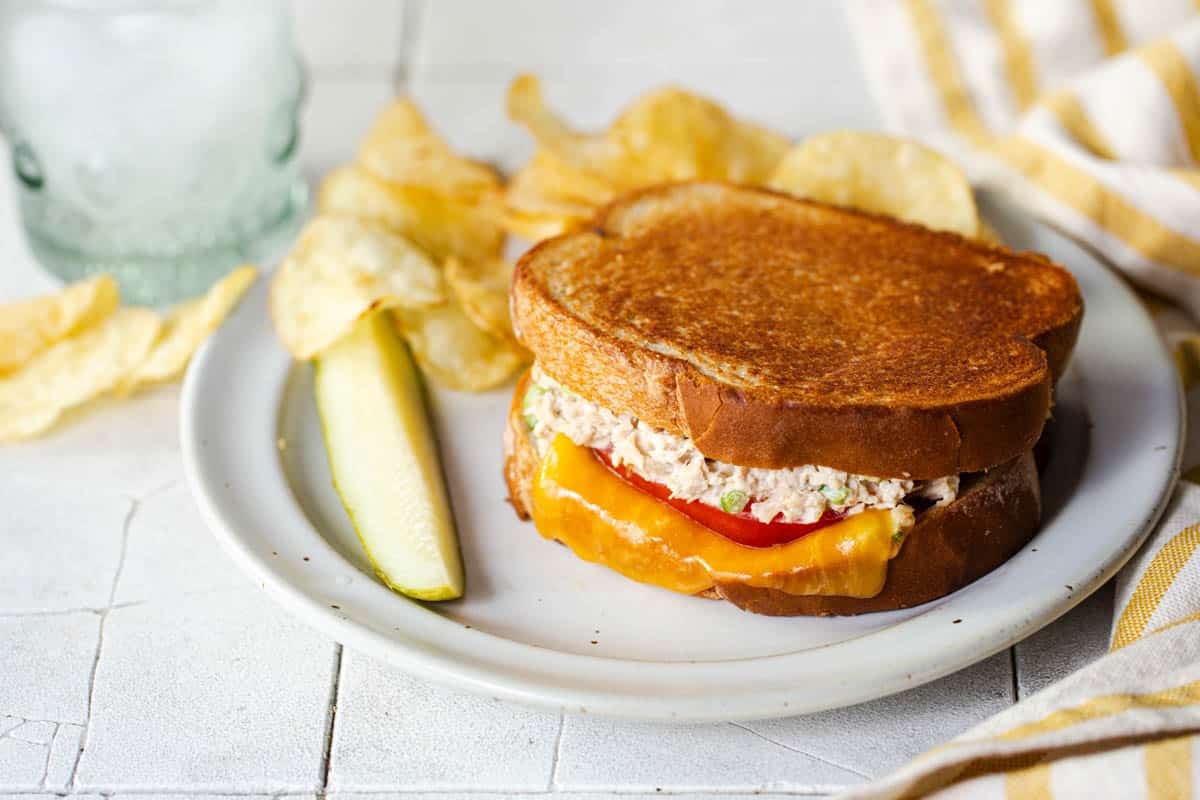
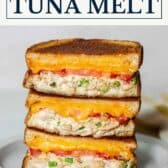
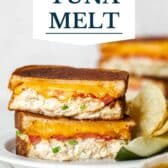
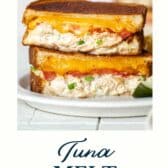
A warm, gooey tuna melt is comfort food at its finest! This easy, griddled version is piled high with creamy tuna salad and melted cheese for a quick, satisfying lunch or light dinner that’s ready in minutes.
If you love tuna, try our tuna noodle casserole, tuna pasta salad, or browse more classic sandwich recipes.
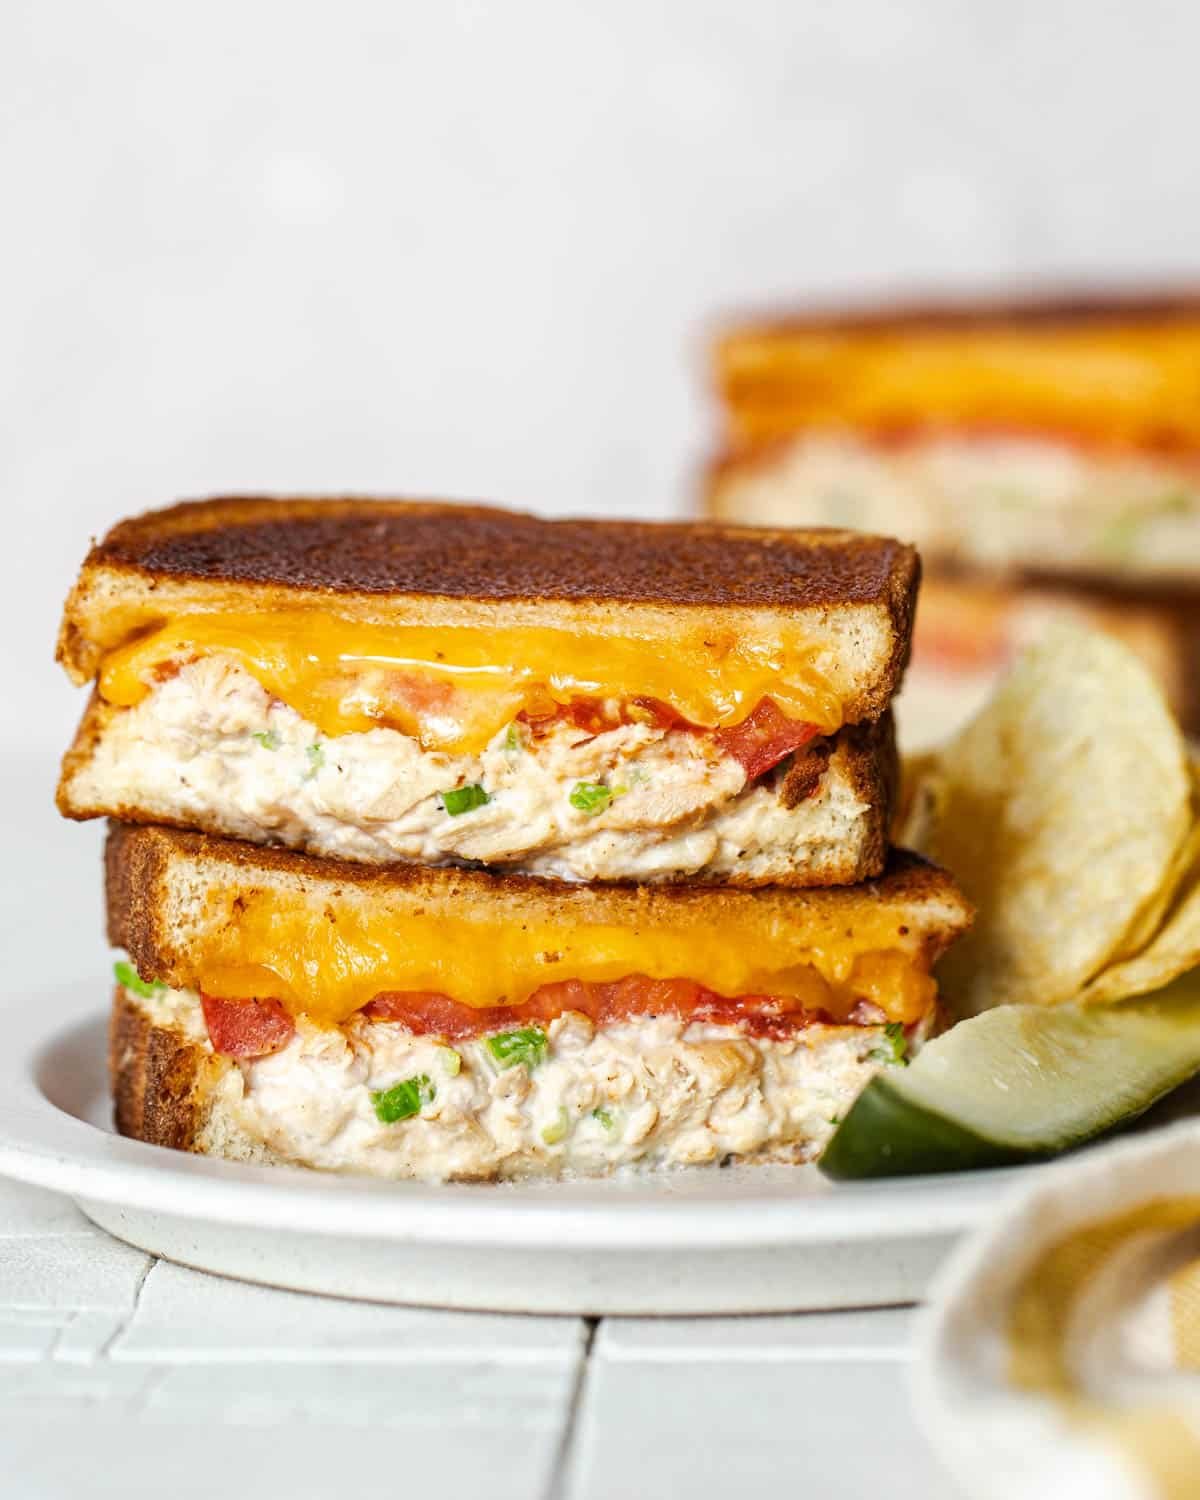
Table of Contents
Before You Get Started
- Drain the tuna thoroughly. It’s the key to avoiding sogginess and keeping the sandwich crisp.
- Pick a sturdy bread. Thick-sliced white, sourdough, or English muffins hold up best under the toppings. Skip thin sandwich bread; it’ll get soft and floppy once the tuna and cheese go on.
- For an open-faced version, don’t skip the pre-toast. Lightly toasting the bread before assembling and broiling helps it stay crunchy and golden underneath.
Open-Faced vs. Closed-Face Tuna Melts
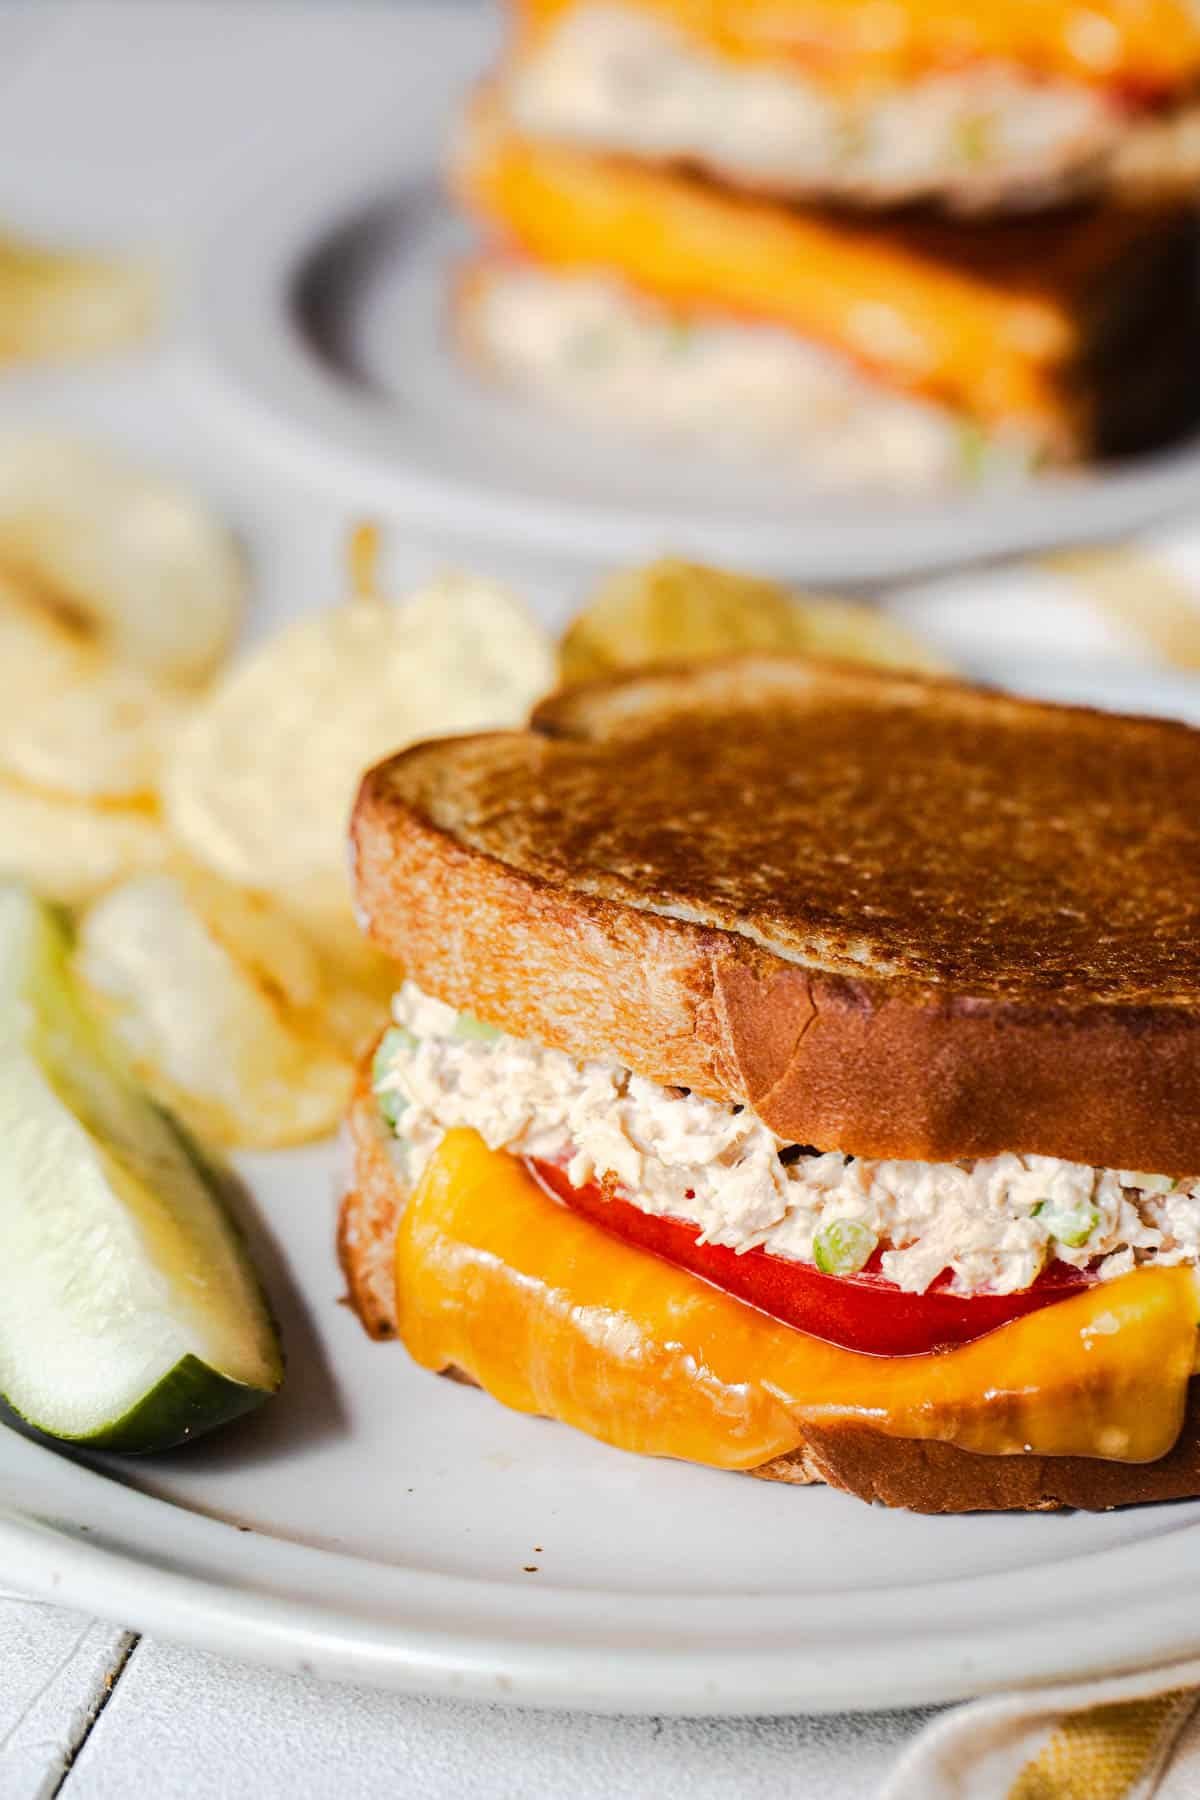
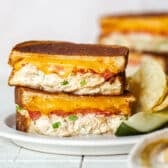
This recipe uses the diner-style closed-face version; it’s classic, gives a rich buttery exterior, and comes together like a grilled cheese.
If you prefer an open-faced melt instead:
- Toast the bread or English muffin before assembling to avoid sogginess.
- Add an optional tomato under the cheese if you like.
- Broil until the cheese is melted and starts browning on top.
Quick Note: Open-faced melts are easier to assemble and a little lighter, while closed melts give you that nostalgic grilled-cheese crunch.
How to Make a Tuna Melt
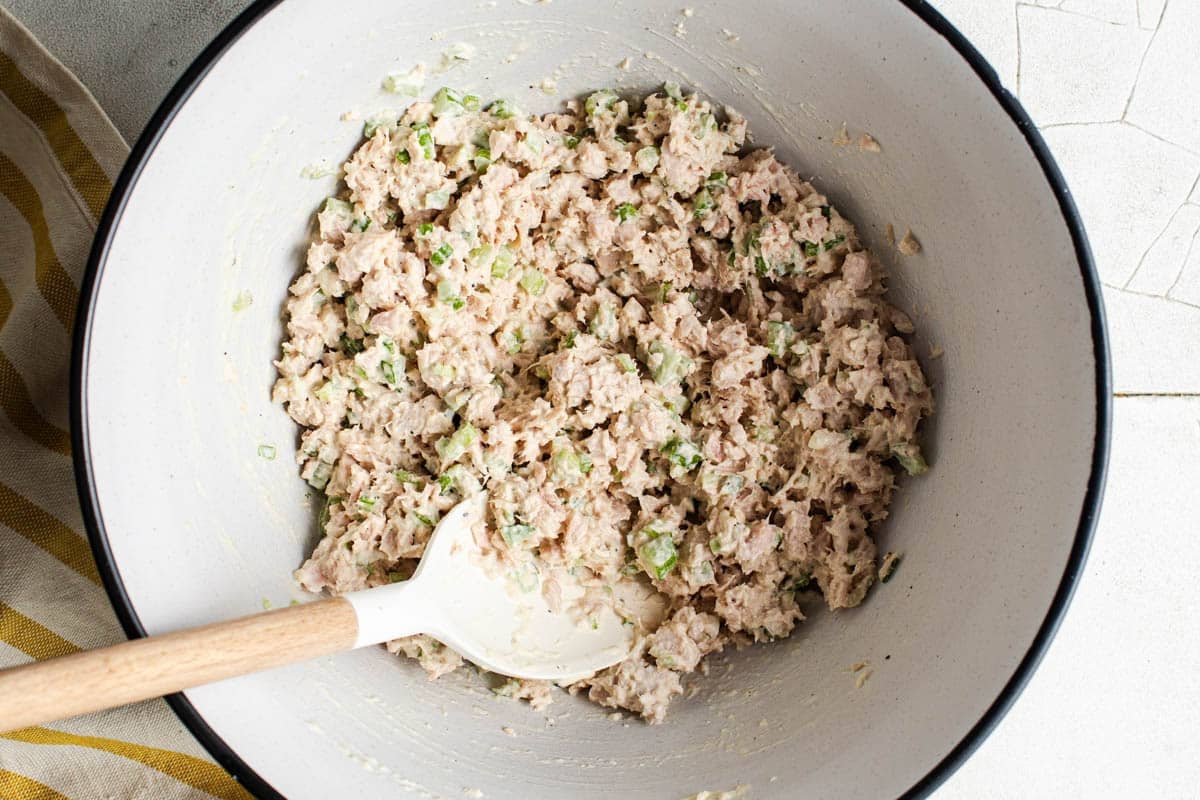
Step 1: Make the Tuna Salad
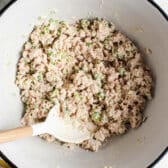
Mix drained tuna, mayo, celery, relish, salt, and pepper. Adjust the mayo for creaminess.
Quick Note: A squeeze of lemon juice or dash of Dijon adds brightness.
Step 2: Butter Bread
Spread softened butter on one side of each slice of bread. This helps it brown and crisp on the griddle.
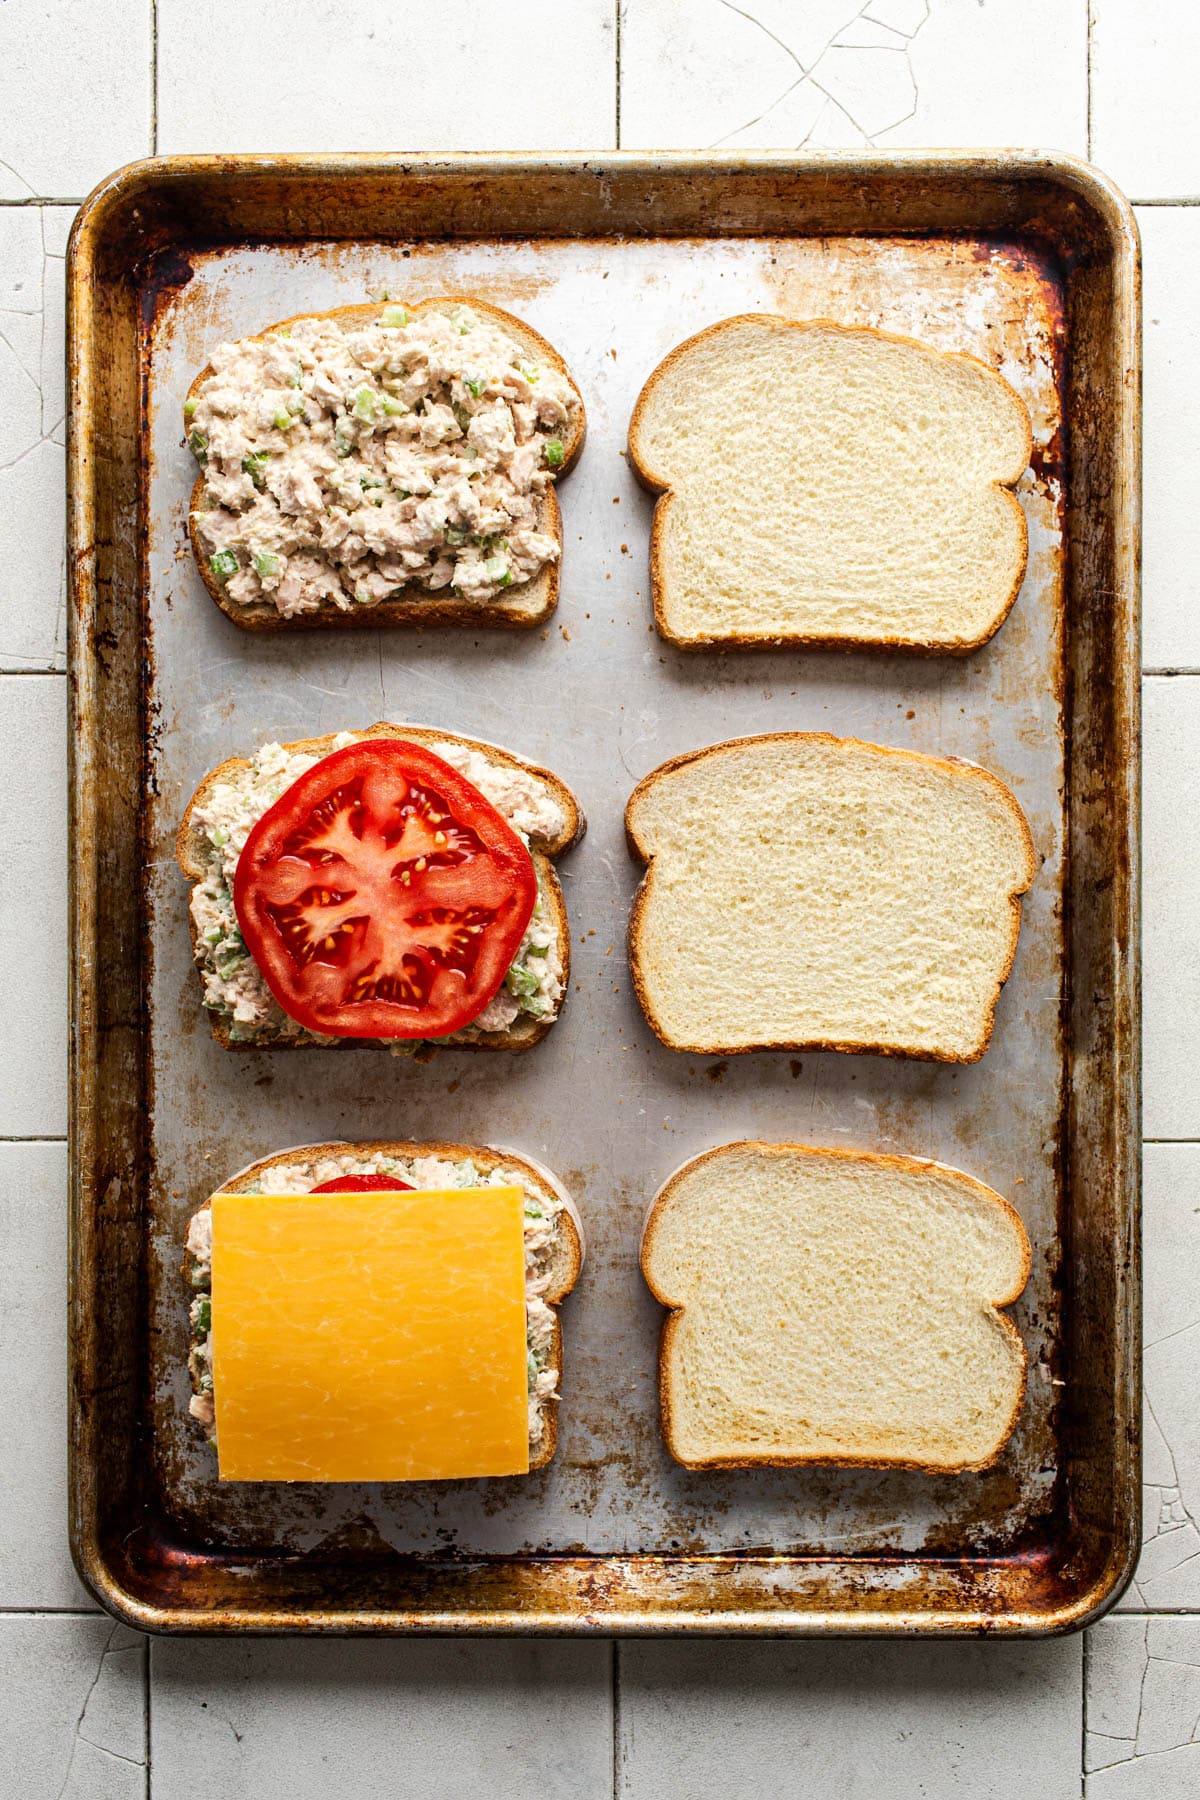
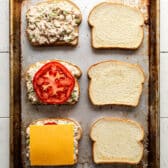
Step 3: Assemble
Top half of the bread slices with tuna salad, sliced tomato (if using), and finish with cheese.
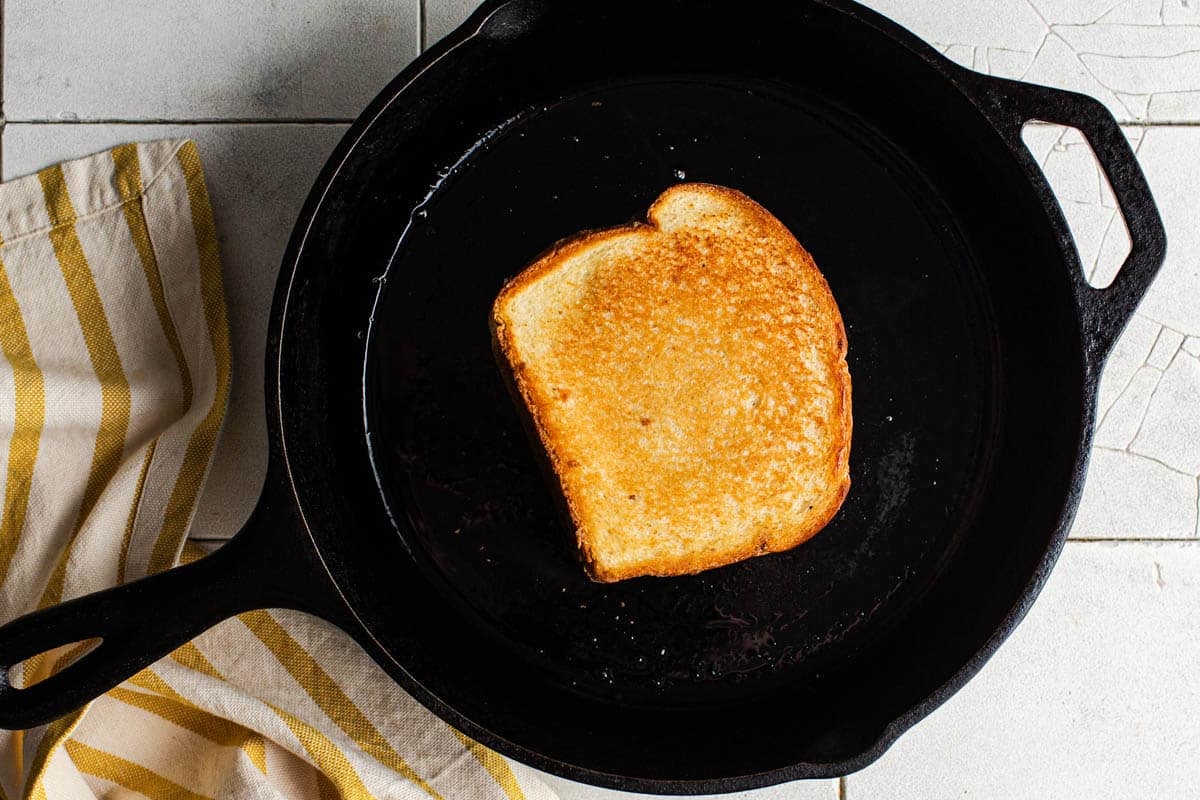
Step 4: Cook
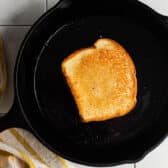
Cook in a preheated skillet or on a griddle over medium-low heat until both sides are golden brown and crisp, about 3-4 minutes per side.
** Pro Tip: If the bread is getting too dark before the cheese melts, turn the heat down to low.
Open-Faced Option:
- Toast the bread first, then top with tuna, tomato (if using), and cheese.
- For a crisp, browned top, broil about 6 inches from the heat until the cheese melts.
- Pros: a bit lighter and easier to assemble than closed-face.
- Cons: misses that classic diner-style buttery, crisp bread.
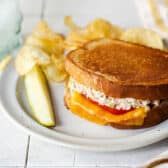
Step 5: Serve Immediately
Slice in half and enjoy right away. If making an open-faced version, grab a fork and knife!
Variations and Serving Ideas
- Bread Options: Sturdy breads work best: think sourdough, French, Italian, or thick-sliced white. English muffins are great for open-faced versions. You can also use a baguette, bagel, or even leftover rolls. Avoid thin sandwich bread, since it’ll get soggy fast.
- Cheese Swaps: Try American, Swiss, provolone, or Havarti.
- Add-Ins: Chopped pickles, mustard, scallions, herbs, or even bacon.
- Serve With: Tomato soup, fries, chips, or green salad for a diner-inspired meal.
Storage, Freezing & Make Ahead
- Make tuna salad up to 1 day ahead; store in the fridge.
- Assembled melts are best enjoyed fresh, but leftovers can be reheated in a 350°F oven for 5-7 minutes.
- Avoid microwaving; it makes the bread soft and soggy.
Frequently Asked Questions
What’s the best cheese for a tuna melt?
Cheddar and American melt beautifully, but any mild, melty cheese works.
Can I make a tuna melt open-faced?
Yes! Toast the bread first, top with tuna salad and cheese, then broil until the cheese melts and browns.
How do I keep my tuna melt from getting soggy?
Drain tuna thoroughly, toast the bread (if making it open-faced), and avoid overloading with mayo or tomato.
Can I make this ahead?
Prep the tuna salad in advance, then assemble and toast when ready to eat.

Related Recipes

Did you make this recipe?
If you enjoyed this recipe, please leave a comment with a 5-star review at the bottom of the post. Thank you!
Tuna Melt
Equipment
- cast iron skillet or griddle
Ingredients
FOR THE TUNA SALAD
- 3 (5 ounce) cans tuna fish in water, drained really well and flaked (we like solid white albacore tuna in water)
- ¾ cup finely diced celery
- ½ cup mayonnaise
- 1 ½ tablespoons sweet pickle relish (or sub with dill pickle relish)
- ¼ teaspoon kosher salt, plus more to taste
- ¼ teaspoon ground black pepper, plus more to taste
FOR THE MELTS
- 8 slices thick-cut white sandwich bread
- Softened butter
- 1 large tomato, sliced (optional)
- 4 slices sharp cheddar cheese
- For serving: potato chips; pickles
Instructions
- Prepare the tuna salad by stirring together tuna, celery, mayonnaise, pickle relish, salt and pepper in a large bowl. Use right away, or cover and refrigerate for up to 1 day.
- Preheat a large skillet or griddle over medium-low heat.
- Butter one side of each slice of bread. Flip over four of the bread slices and top with the tuna mixture. Add tomato slices (if using), top each with a slice of cheese, then cover with the remaining slices of bread, buttered-side up.
- Add the sandwiches to the preheated skillet and cook until the bottom bread is golden brown and toasted. Flip and cook on the other side until the bread is golden brown and the cheese has melted. Turn the heat to low if the outside of the sandwich starts to get too dark before the cheese melts.
- Remove the sandwiches to a cutting board, slice in half, and serve.
Notes
- Use solid white albacore tuna for best flavor and texture.
- Drain tuna well.
- Layer tomato beneath cheese to reduce sogginess.
- For an open-faced option, toast bread or an English muffin first, top with tuna, tomato, and cheese, then broil until the cheese melts.
- Swap in Swiss, provolone, or American cheese.
- Serve warm; don’t refrigerate assembled melts.
- Add herbs or lemon juice for extra flavor.
- Leftovers: Reheat in oven, not microwave.
Nutrition
Originally published in October, 2020, this post was updated in December, 2025.


Who in their right mind ever says it’s ok to use miracle whip? Other than that, good recipe but it is NEVER ok to ingest miracle whip.
Says you! Who are you to say that to anyone else? If you don’t want to use it, don’t.