Disclosure: This post may contain affiliate links. I may earn a small commission for my endorsement, recommendation, testimonial, and/or link to any products or services from this website.
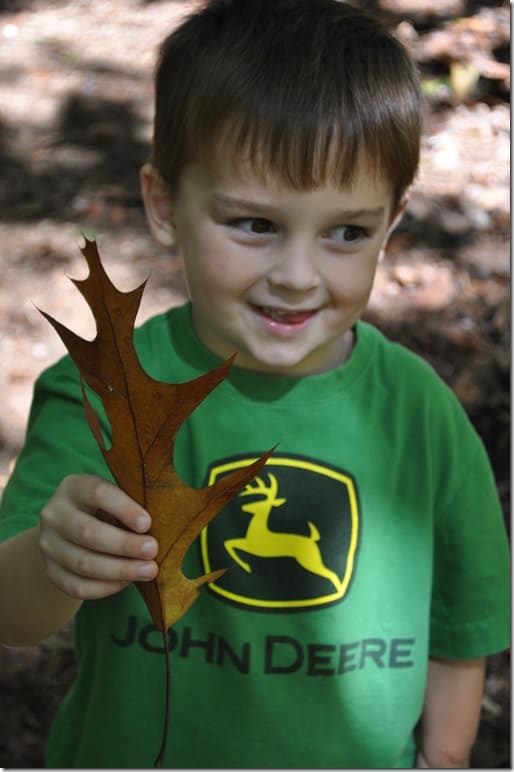
This easy project is the perfect way to enjoy the season’s beautiful weather with your kids. Even though the temperatures have cooled off quite a bit in Central Virginia, it is still just the very beginning of autumn…which means that there aren’t very many colorful leaves on the trees yet. When we went out for a hike last weekend, we really had to hunt for some pretty foliage. That turned out to be the boys’ favorite part!
On Sunday afternoon, we headed a few miles up the road to one of our favorite parks: Hoover Ridge. In addition to a boy scout camp, Hoover Ridge has many different nature trails that are well-groomed and beautiful.
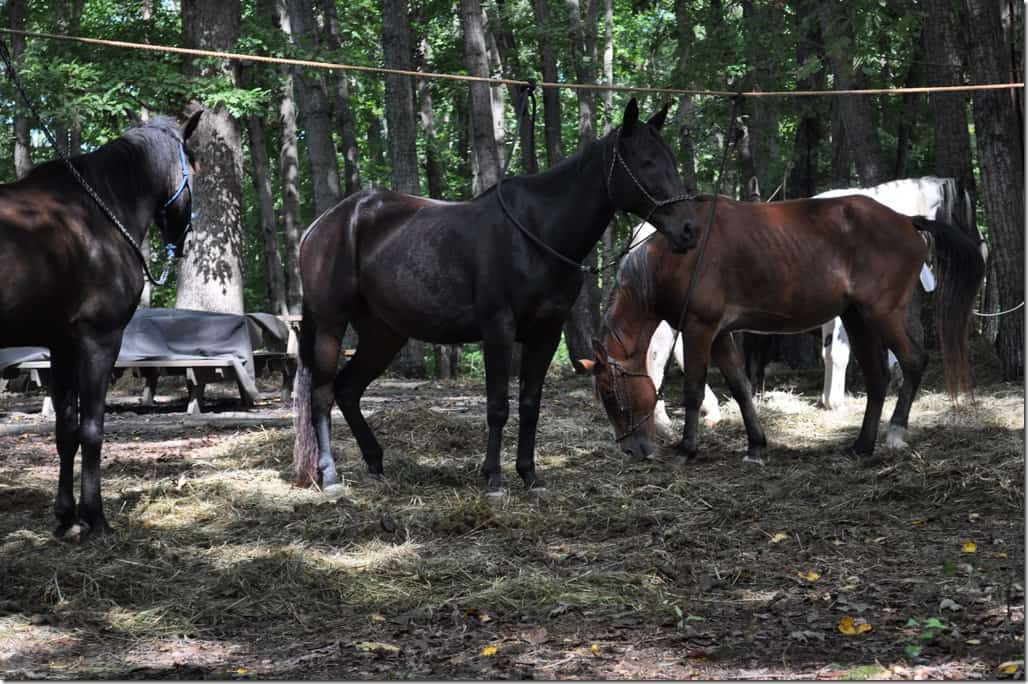
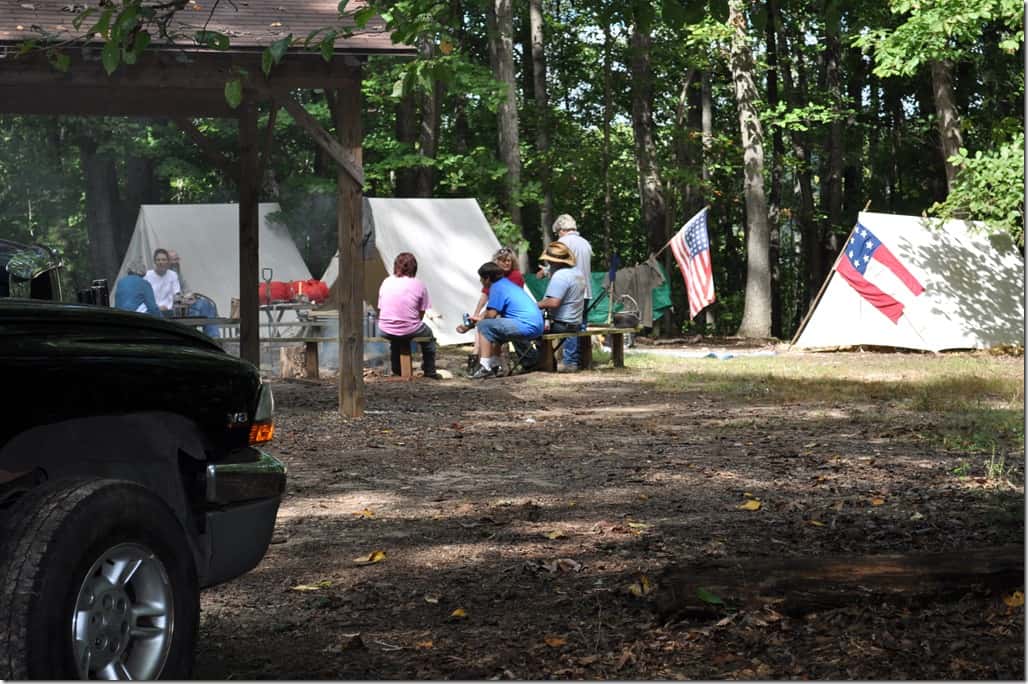
On a normal day, we don’t bump into anyone else on these trails. On this particular day, however, there were some horses (and their owners) camping near the entrance of the park.
You just never know what you’re going to find around here!
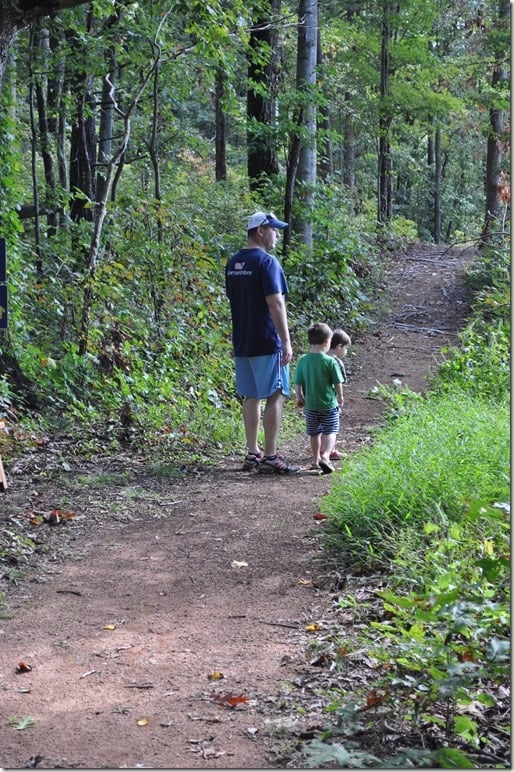
Once we passed the camp site, we had the paths to ourselves. The boys (including Keith!) had fun looking for the brightest, prettiest leaves they could gather.
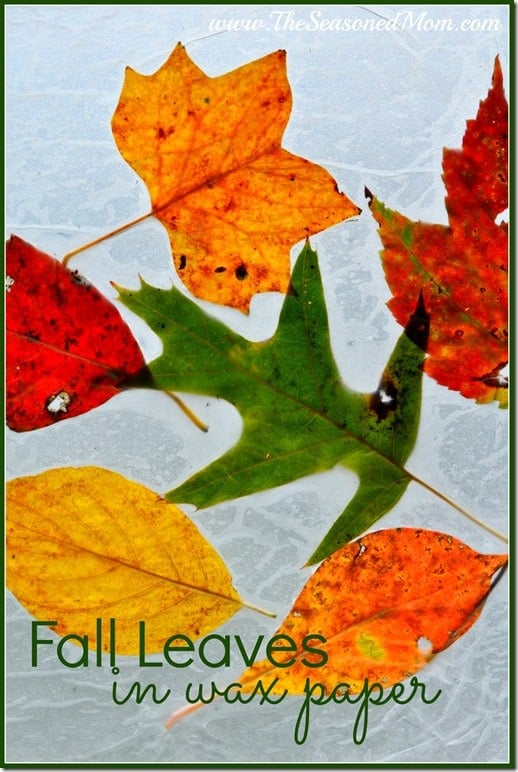
Once we got home, it was time to “preserve” our treasures in wax paper. Here are the supplies that you will need to make Fall Leaves in Wax Paper:
– A towel
– An iron
– Wax paper
– Leaves
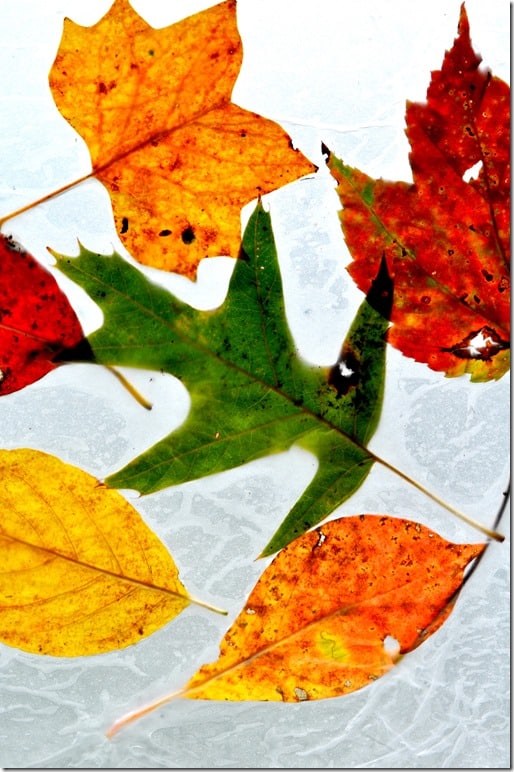
And the rest is simple: just arrange your favorite leaves on a piece of wax paper. Lay another piece of wax paper on top, and cover with a towel on both sides (so that there is no wax paper showing). Using a hot iron, gently iron on top of the towel until the wax paper inside fuses together. Ta-da! You’re done! It took us a total of about 5 minutes to do this step, and the kids were definitely impressed with the final result!
Just a tip: tape your collage to a window for a seasonal decoration. The light shining through will illuminate the leaves!








do you use a bath towel or a paper towel on top? i can’t wait to try this!
Hi, Beth! I’m so glad that you’ll give it a try. We need to do it again this fall…thanks for the reminder! 🙂 I used a dish towel, since it was thinner than a bath towel (making it easier for the heat to go through and melt the wax). Just don’t use paper because those would likely burn — a fire in your house is NOT what you need! 🙂
my grand daughter and I used paper towels worked ok?
Love this! Would parchment paper work?
Hi, Sarah! No, I don’t think so. Parchment paper isn’t transparent enough to show the leaves through, and it doesn’t have that waxy texture that will melt the sheets together to help them stick.
What type of waxed paper do you use? I’m using a store brand and it will just not stick. I have read that some have more wax than others…. will try Reynold’s and hope that works!
Hey, Natalie! I used Reynolds and I didn’t have any trouble getting it to fuse together with the iron. Hope that works! 🙂
I followed directions and I am using Reynolds brand. It is not sticking. I’m so sad.
Problem is all wax paper now is microwaveable and has no wax on it!!! Can’t seem to find any of the old style.
Oh! I didn’t even think about that! It’s been years since I did this (my kids are older now), so it didn’t even occur to me that the wax paper is different now. That’s so frustrating!
One side of the wax paper is waxy and the other side is not.
I did this as a child and just tried it this week with my granddaughter. So disappointed as the wax paper didn’t fuse together or stick at all. I used a “store brand” wax paper (Safeway). Perhaps I’ll buy a “name brand” like Reynolds and try again.
Hi, Gena! That’s such a bummer. I’m not sure why it wouldn’t work or what the difference might be with the store-brand version. 🙁
Hey!
I was wondering how long this “preserves” the colors of the leaves?
I did this as a kid but the memory is fuzzy and I want to know what to expect!
Hi, Anna! The leaves should stay preserved for several months — but not forever. 🙂
Hi! Charlotte from Lynchburg, VA here. I used the Reynolds brand because that’s what I happened to have at home. However, the leaves did not fully adhere. I checked the box afterwards and it says “microwave safe,” so based on other user comments, I’m guessing that’s why it didn’t work quite the same way. I wonder if there is a non-microwave -safe brand of wax paper out there? I don’t buy it very often! 🙂
Hi, Charlotte! We’re pretty close to Lynchburg! 🙂 I don’t buy wax paper too often either, and I haven’t had an opportunity to look at the other brands, so I’m useless when it comes to the different options on the market. Sorry that I can’t be more helpful in that regard. 🙁
Just made these with my grandkids. They came out great. I used Reynolds Cut-Rite Wax Paper.
I think it helped to use thin towels, not fluffy terry cloth and don’t be afraid to turn the heat up a bit. If you’re concerned about burning, just keep checking every 20 or 30 seconds. Worked great!
Oh, that’s so good to hear. Thank you for the tips, Donna! I’m glad that they worked!
A lot of us have tried with this wax paper and its just not fusing together. How did you get it to work?!?!?!?
When we did this in grade school ( sometime in mid to late 60’s) we also used pencil sharpener to have shavings of was crayons sprinkled over leaves before topping with second, or top piece of was paper. We used a few layers of newspaper for top and bottom to protect iron and ironing surface. When cooled, cut strips of construction p af per to fold around edges and made a framed “stained wondow) it was either hung with string like a mobile, if not too large of “windows” made, or carefully taped to bedroom or other east window to allow early morning sun to shine thru, like a window in older Victorian building or a church. I think the wax crayons with what wax may or may not be in between layers is the “glue” .cool down is most important to allow was crayons to set.
That’s a great tip, Jody. I bet they were beautiful!
I used to make them with my kids back in the 60’s,70’s & 80’s. We would pull out a long piece of wax paper then fold it in half and make a crease. After the kids placed their chosen leaves,they would add crayon shavings like Jody suggested and pull up the top of the sheet before pressing them with a hot iron.We pressed them on an ironing board and I think we used a dish towel on top. After the crayons melted into a design,we let them cool completely. Next I had them take a piece of construction paper the width of the wax paper and about 9-10″ long.The kids then folded the cut paper in half and wrote in big letters Autumn Leaves. We glued these to the wax paper (side that was open before being pressed closed). You can also use scotch tape or staples. After that they would look for a piece of wood ( stick)to use as a dowel. Today you can go to a craft store and buy a dowel. Then I would get my yarn in either red,green,yellow and after putting the stick into the construction paper we would tie each side and they would hang them up wherever they could find a place to hook it such as a doorknob or we would hang them on wall without the stick&yarn. Sorry if this was to long! Hope it helps someone.
Thank you, Sue!
Last year I collected and wax-papered a bunch of autumn leaves. They’ve been hanging in the laundry room since then. I thought the intervening year would provide an application for wax-papered leaves, but other than displaying the leaves within their wax paper, I guess there isn’t one! I was hoping I’d learn some new thing to do with them, but I guess that doesn’t exist. Of course, picking up the beautiful leaves is a pleasure able activity in itself, and I’ll continue to do it every year as long as I’m alive, along with acorns and lichen and nice pieces of bark, esp birch bark. Thanks for listening!
I put lights in my driveway for most holidays now, as a memorial to 5 family members I lost to Covid. I think I will do this with clear contact paper. Cut them out and hang them on the light strings, like ornaments, for pretties in the daytime.
I love that idea!!
Try placing small leaves in vertical linear formations to make bookmarks. Cut the strips with pinking shears.
I have been doing this leaf-wax paper project with my children for years. This year I came up with an improvement on it. Lay the leaves on a piece of waxed paper, then brush mod podge over and under the leaves and wax paper. Let it dry. The colors are brighter and the leaves are held in place better. It looks very pretty hanging in a window.
Great tip, Cherie. Thank you!
We collected some leaves but they seem quite dry and are curling up on the edges within in a couple days of bringing them in the house. Now, we want to preserve them in wax paper, but not sure how to make the leaves lay flat again – without the leaves cracking as we flatten them out. Do you know how to make the leaves go flat at this point? Thanks!
Depending on how dry they are, you could try pressing them. Or, we have heard that rubbing vaseline on them can help!
I use to do this with my brownie troop.
My daughter, her daughter and I went for a hike today in Taquits Canyon, Palm Springs Ca. I encouraged everyone to Collect leaves. We’re doing the project later, Briella can’t wait!
This sounds like such a great day!