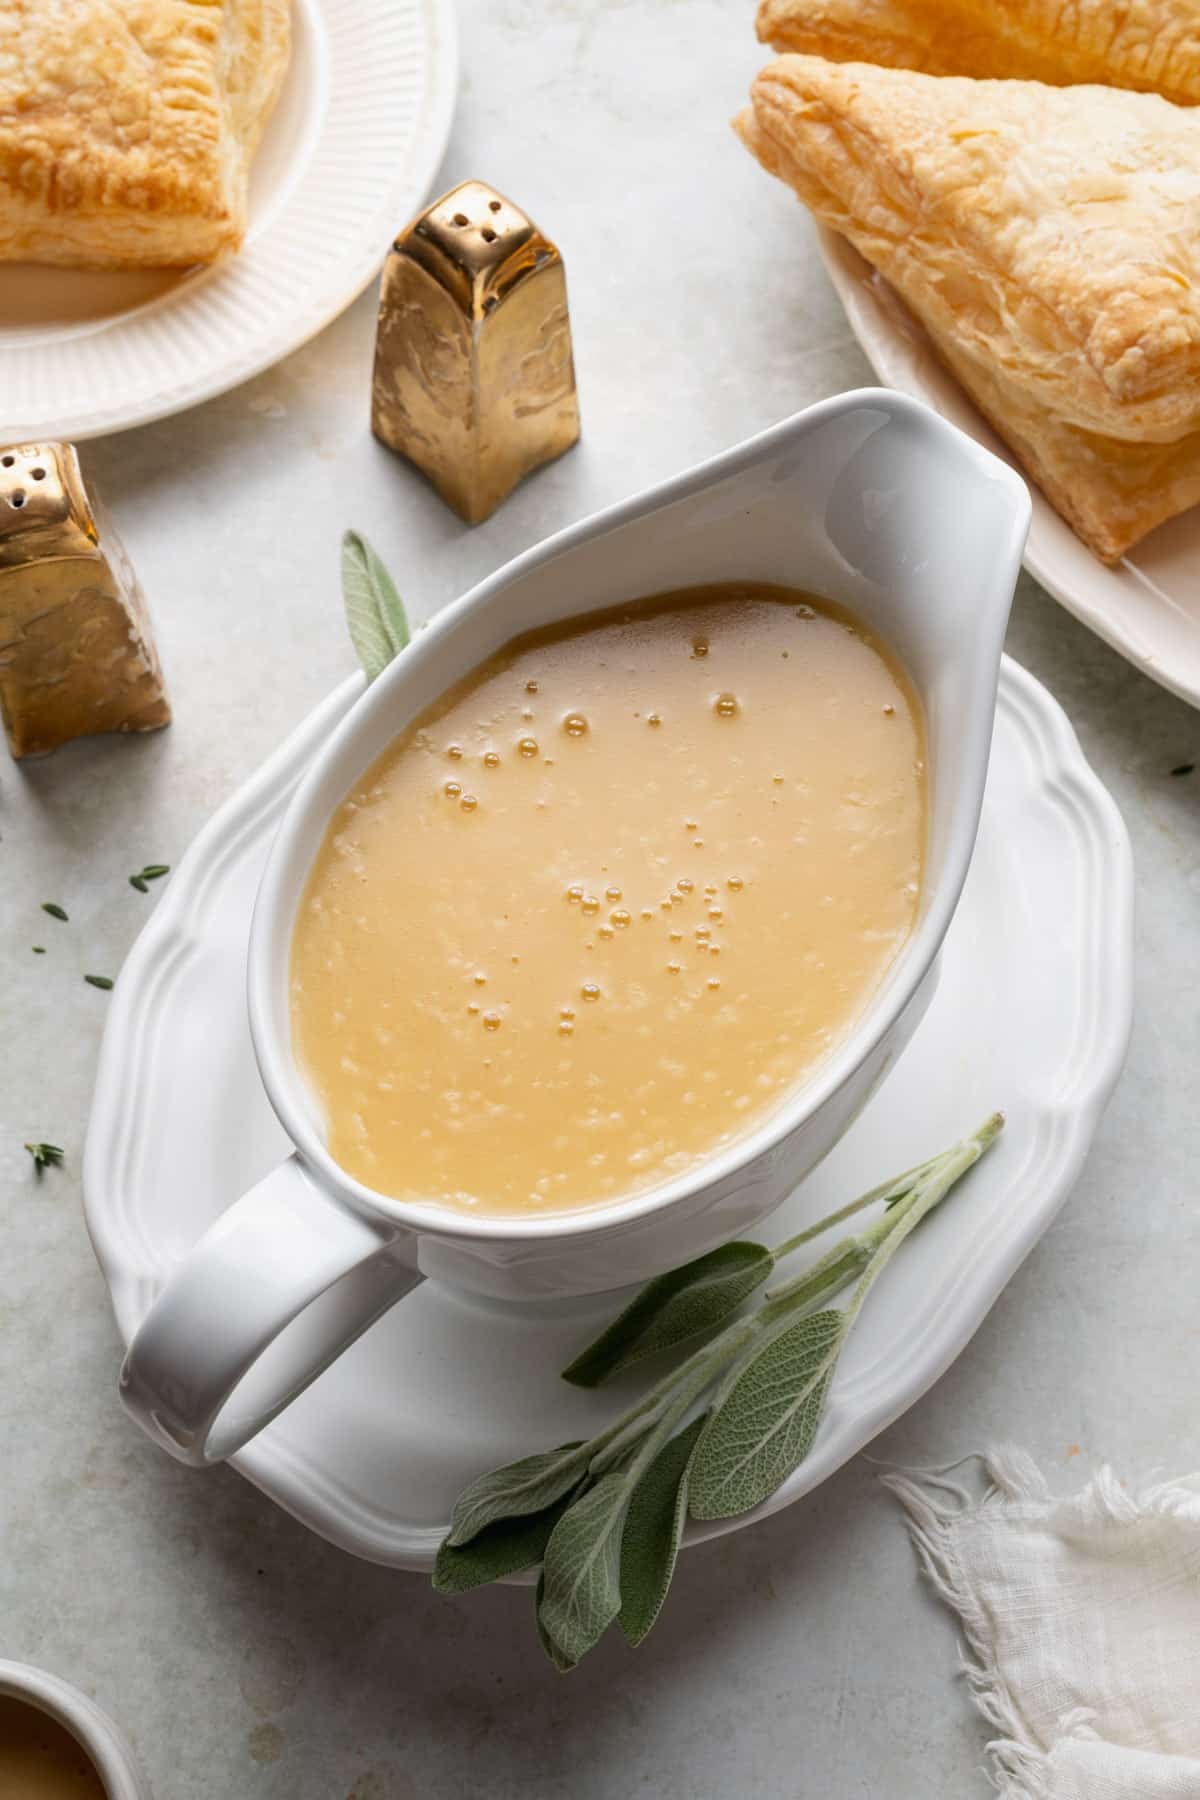
This rich, homemade turkey gravy starts with roasted turkey wings or legs, so you don’t need a single drop of pan drippings. Make it a few days (or even months) ahead, and Thanksgiving Day gets a whole lot calmer! Need gravy tonight? It’s just as good served straight from the pot.
When hosting a big holiday, I’ve learned that prep-ahead dishes save the day! This gravy is my favorite way to eliminate the last-minute stress of whisking a pot over the stove while everyone is hungry and waiting for the main meal.
More Make-Ahead Thanksgiving Recipes:
Before You Get Started
Homemade gravy isn’t hard to make, but these three things make the biggest difference:
- Roast until deeply browned. The browned turkey and vegetables give the gravy its color and flavor. Pale wings make pale, bland gravy, so don’t pull them early.
- Use a metal roasting pan. You’ll pour wine into the hot pan, which could crack a glass dish. A sturdy ceramic baking dish also works!
- Keep it slightly thin. Gravy thickens as it sits, on the table or in the fridge. Aim for gravy that just coats a spoon.
How to Make Turkey Gravy Without Drippings
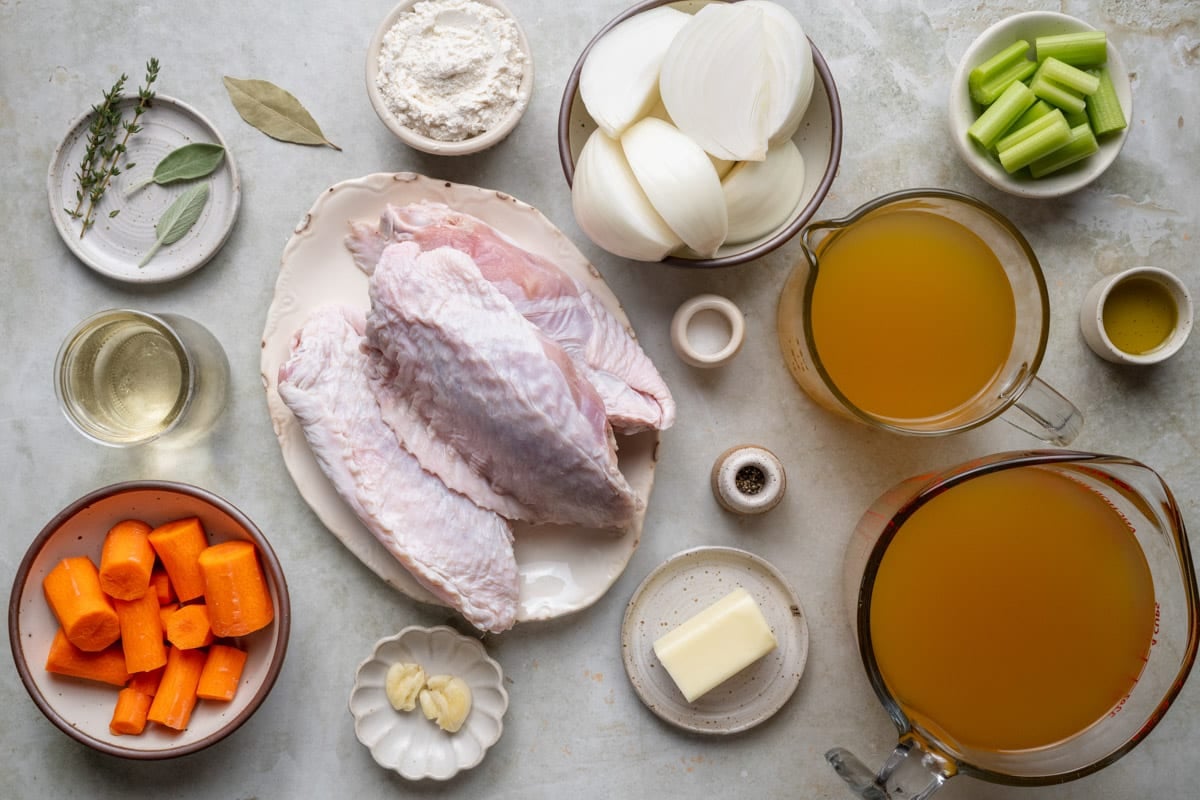
Most of the time here is hands-off while the turkey roasts and the stock simmers. Turkey wings and drumsticks can be hard to find the week of Thanksgiving, so grab them early and keep them in the freezer until you’re ready.
Step 1: Roast the Turkey and Vegetables
Toss the turkey pieces, onion, carrots, celery, and garlic with olive oil, salt, and pepper right in the roasting pan.
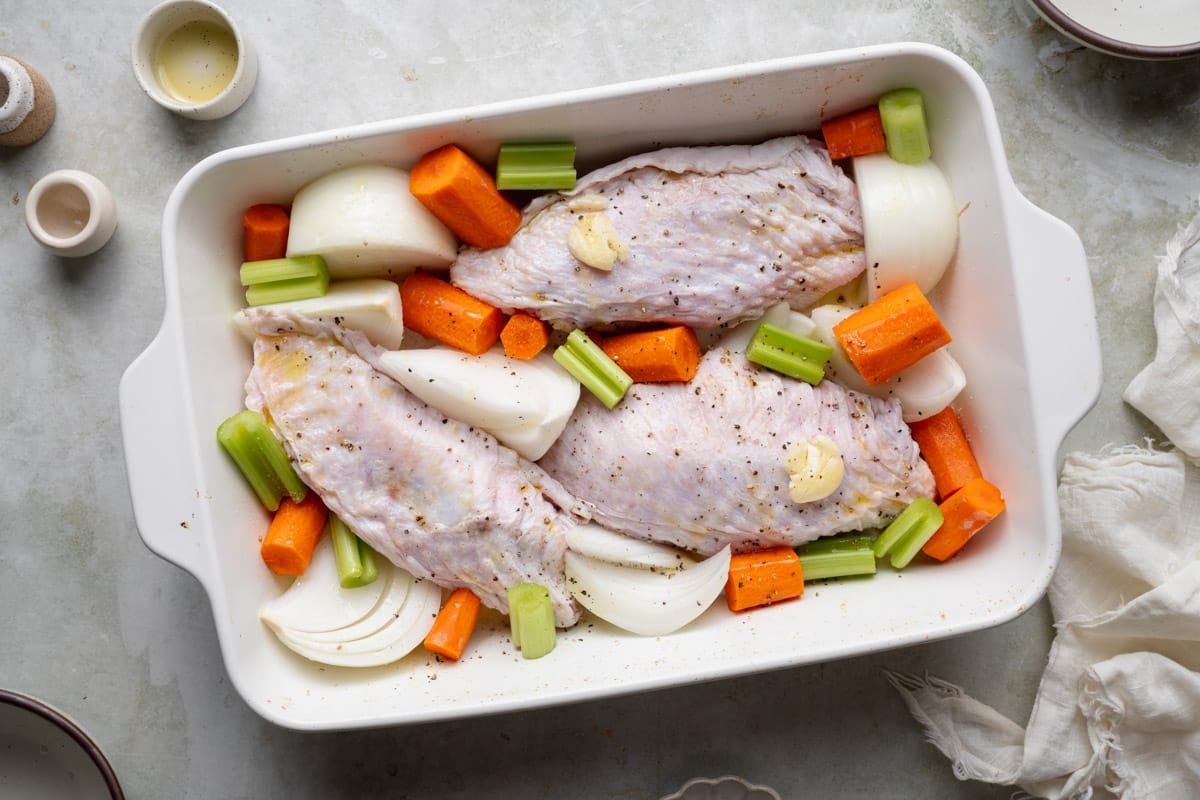
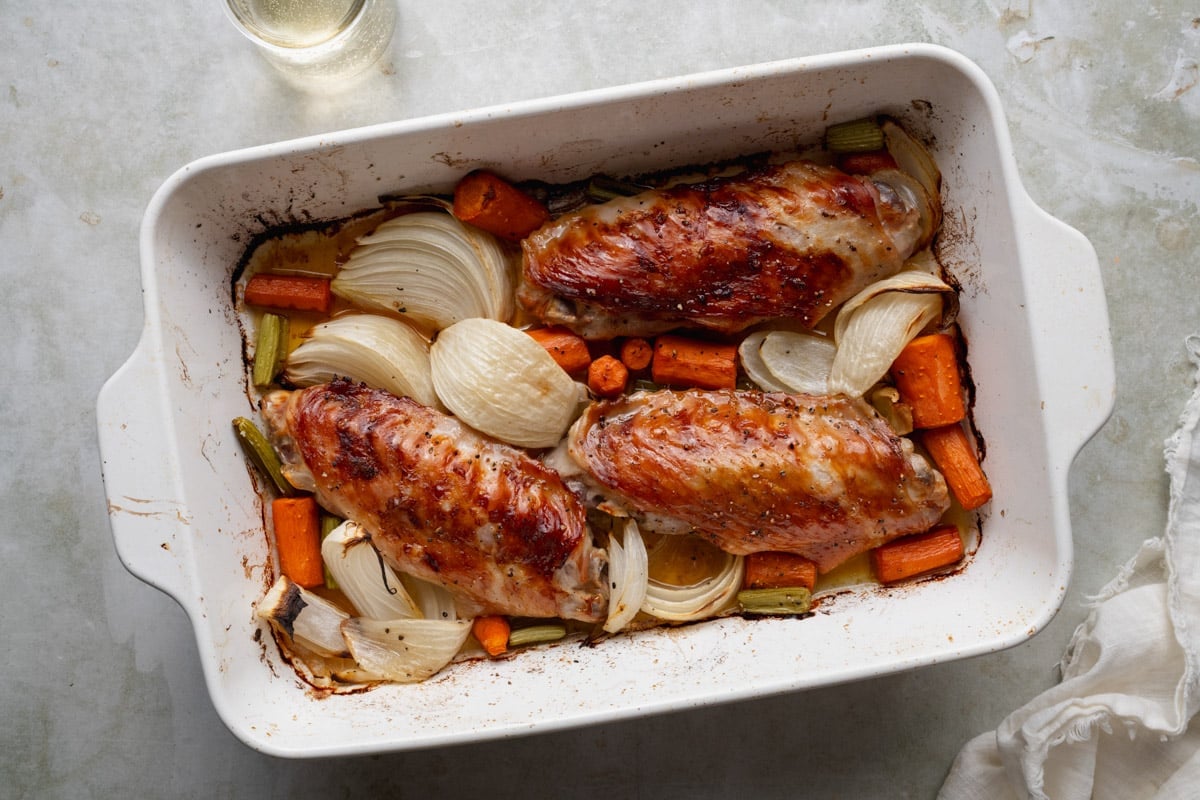
Roast at 425°F for about an hour, turning the turkey and stirring the vegetables halfway through.
You’re looking for deep golden-brown skin and vegetables with dark, caramelized edges. That color goes straight into your gravy.
Step 2: Deglaze the Pan
Move the turkey and vegetables to a Dutch oven.
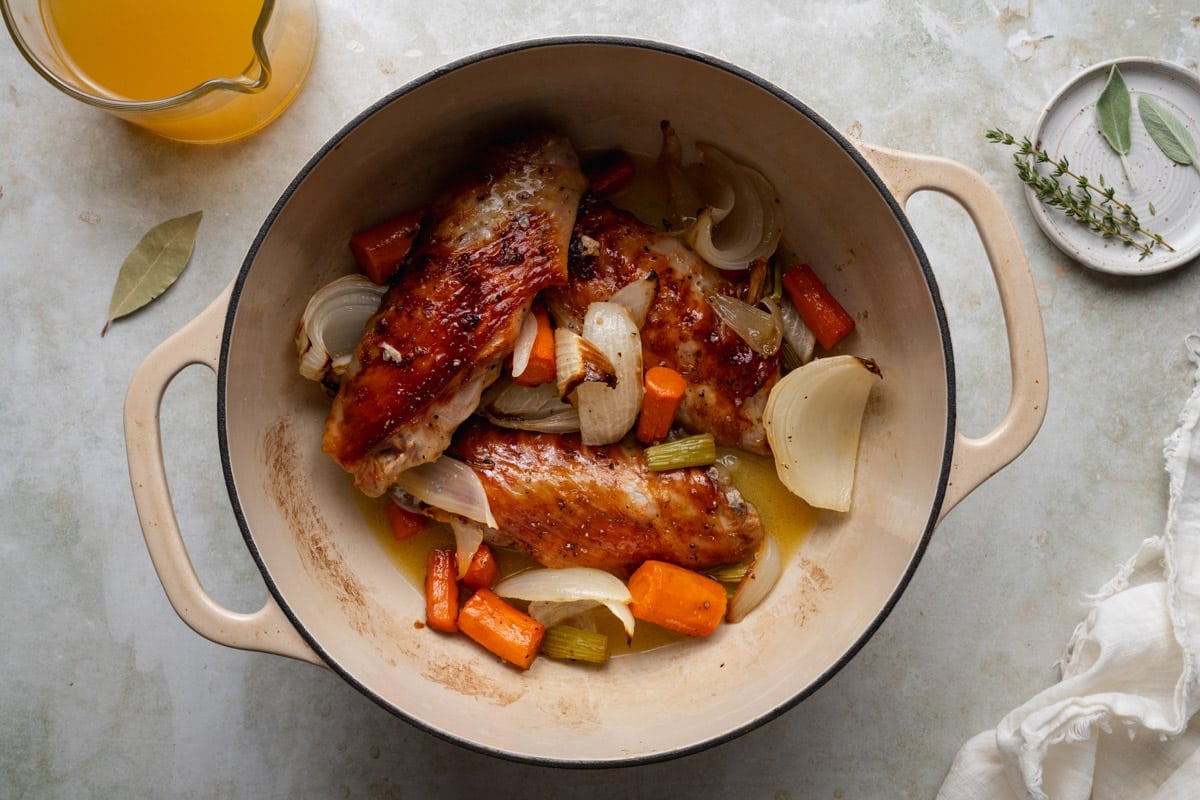
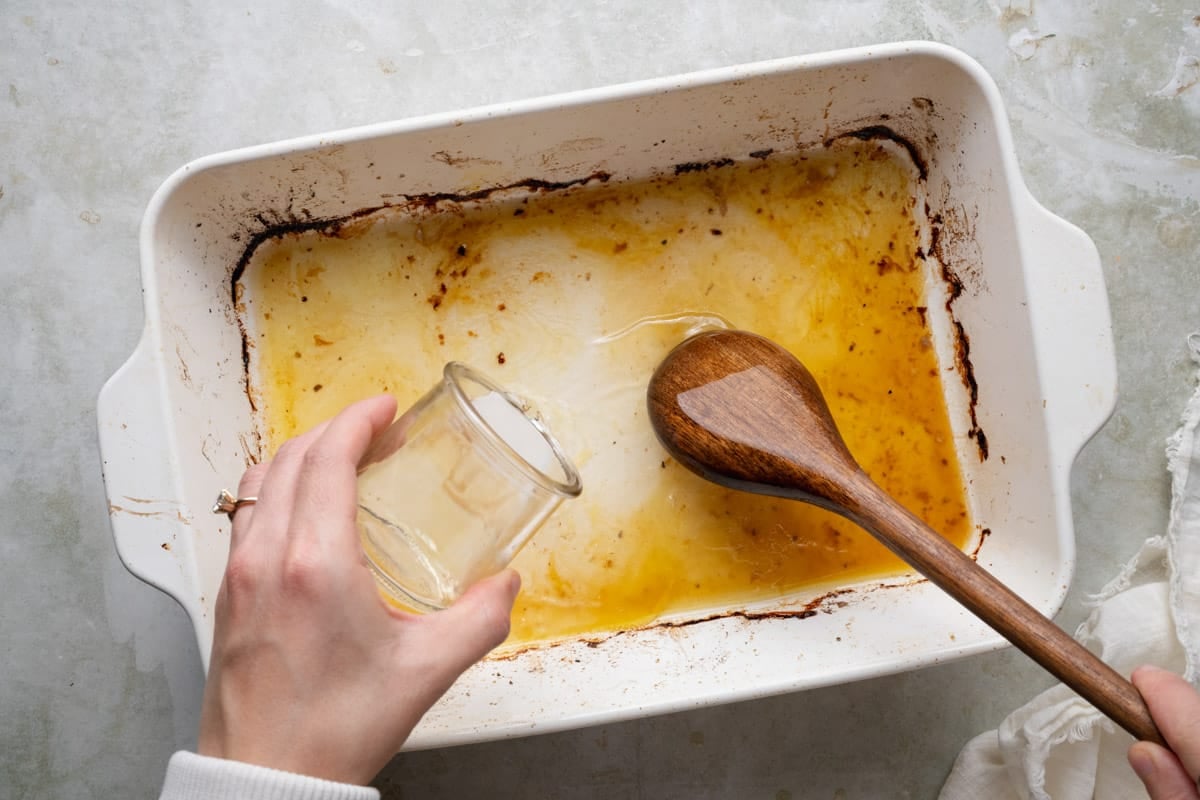
While the pan is still warm, pour in the white wine and scrape up all the browned bits stuck to the bottom. That’s where so much of the flavor is, so get every bit you can!
Pour the wine and everything in it into the Dutch oven.
No wine? Use ½ cup of broth instead.
Step 3: Simmer the Stock
Add 5 cups of the broth, along with the thyme, sage, and bay leaf.
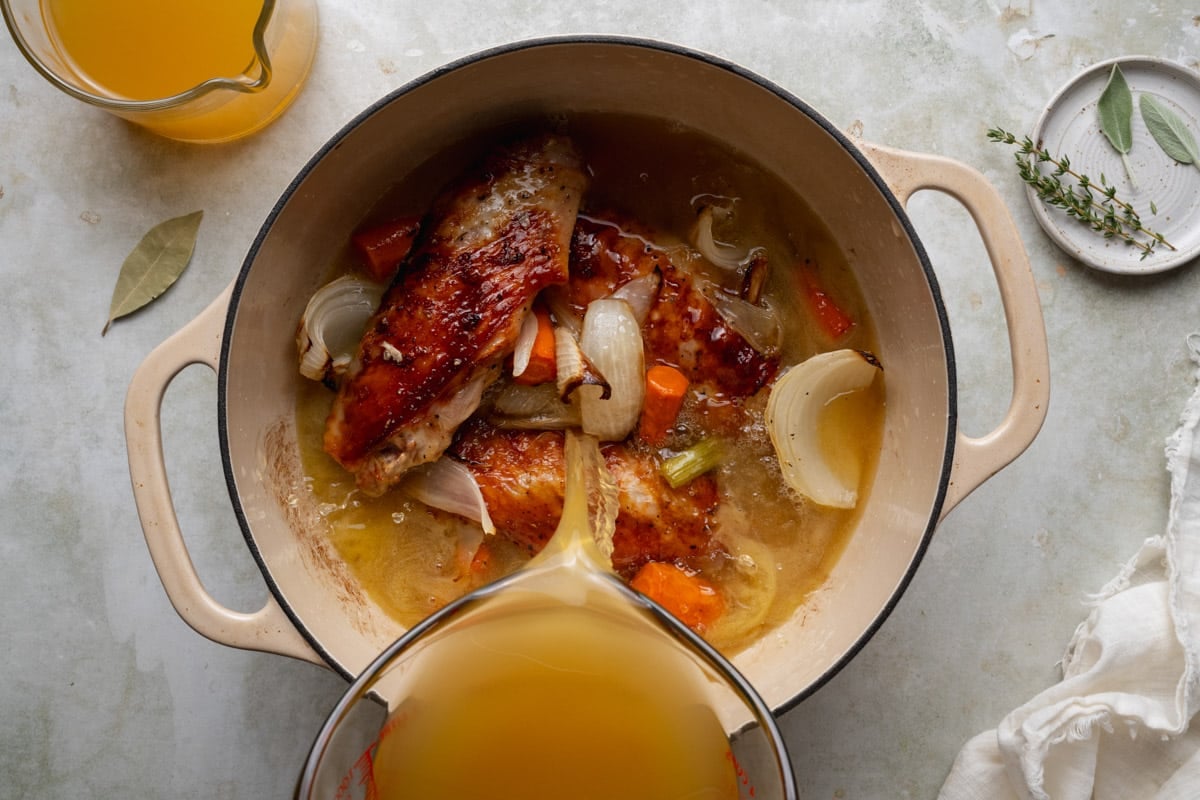
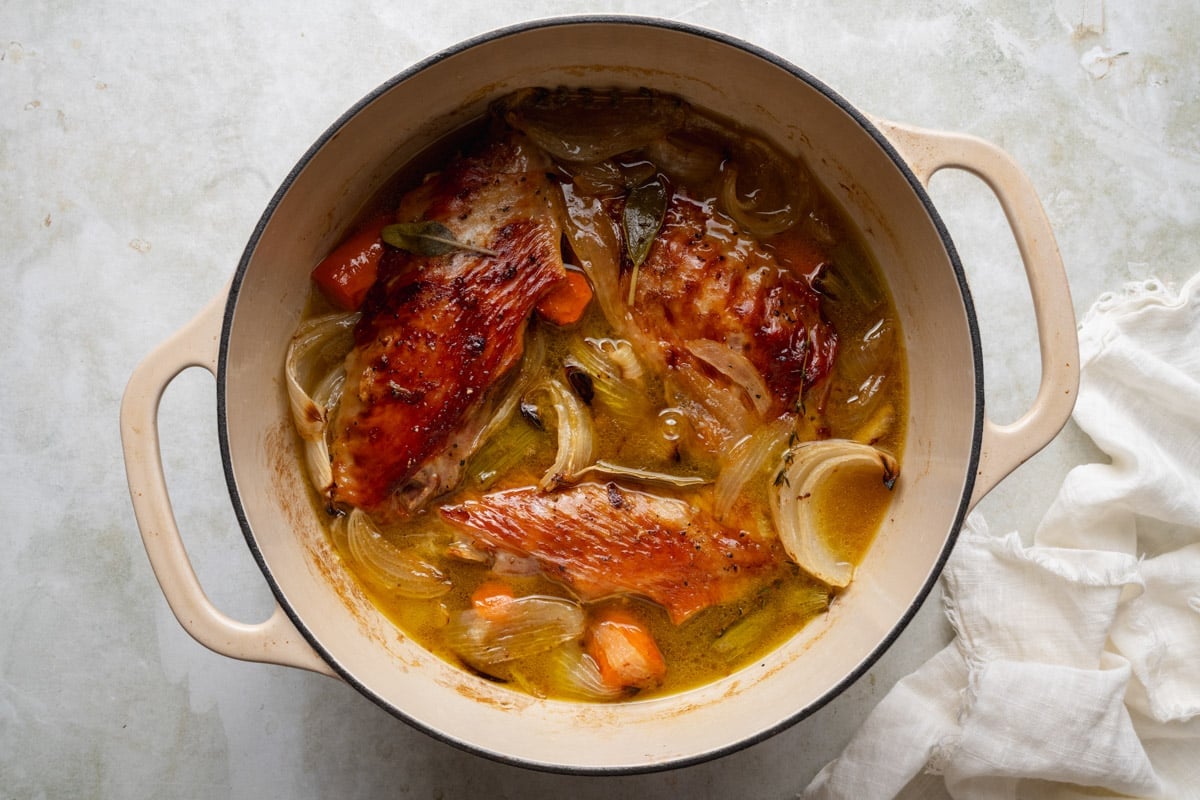
Bring it to a boil, then lower the heat and simmer gently, uncovered, for 45 to 60 minutes. The liquid cooks down a bit and turns a deeper golden brown.
Use reduced-sodium broth, since the flavor gets stronger as it simmers. Store-bought is perfectly fine, or use Homemade Chicken Broth if you’d like.
Step 4: Strain and Skim
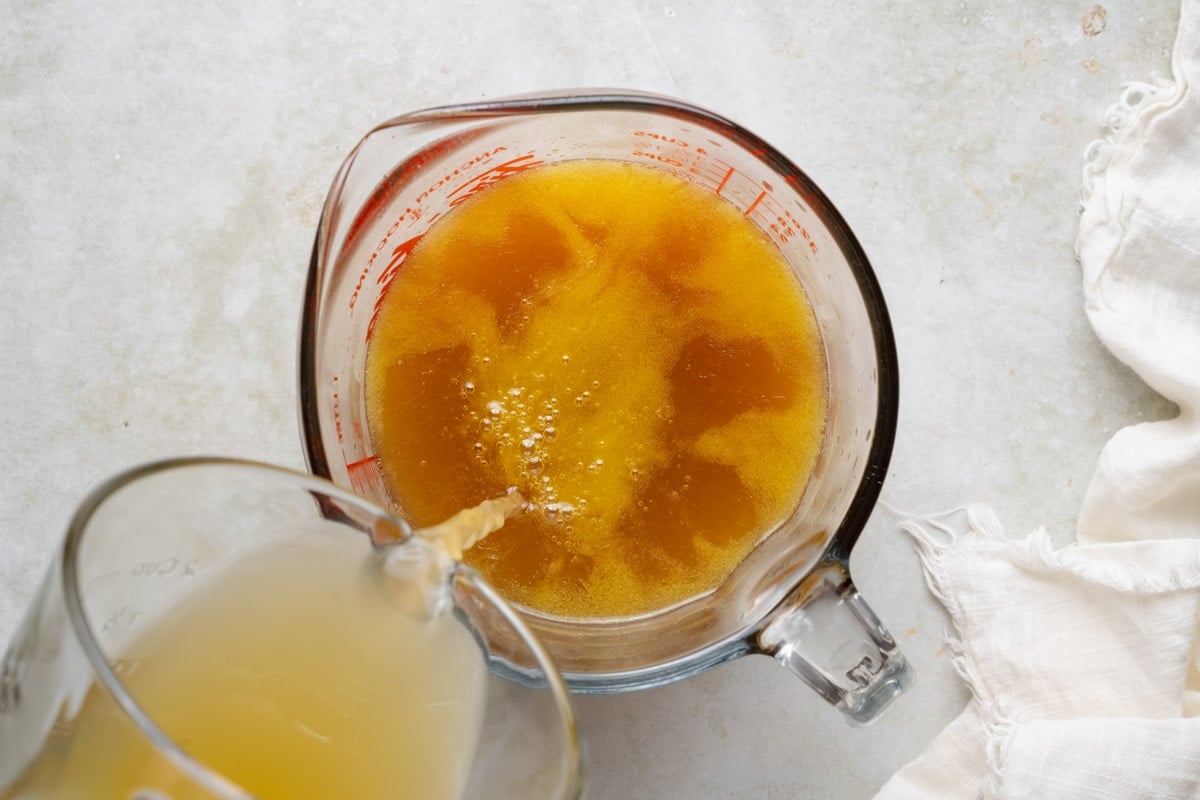
Pour the stock through a fine-mesh sieve into a large bowl or measuring cup. Press gently on the solids to get all the liquid out, then toss them. Skim the fat off the top with a spoon or a fat separator.
Measure the stock, then add enough of the remaining 1 cup of broth to bring it to 4 cups total.
Step 5: Make the Roux
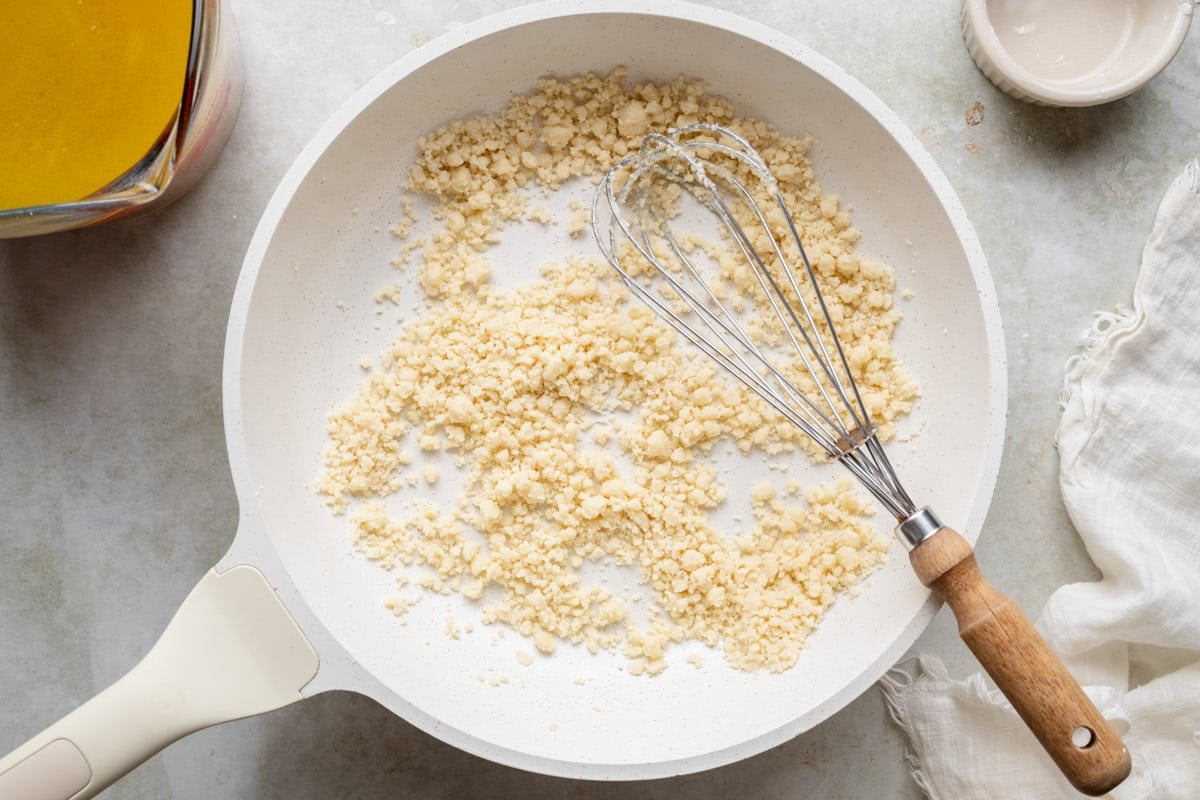
Melt 3 tablespoons of the butter in a large saucepan over medium heat. Add the flour and cook for 2 minutes, whisking constantly.
It will be thick and pasty and should turn lightly golden, but not brown. Cooking it for a couple of minutes gets rid of the raw flour taste.
Step 6: Whisk In the Stock
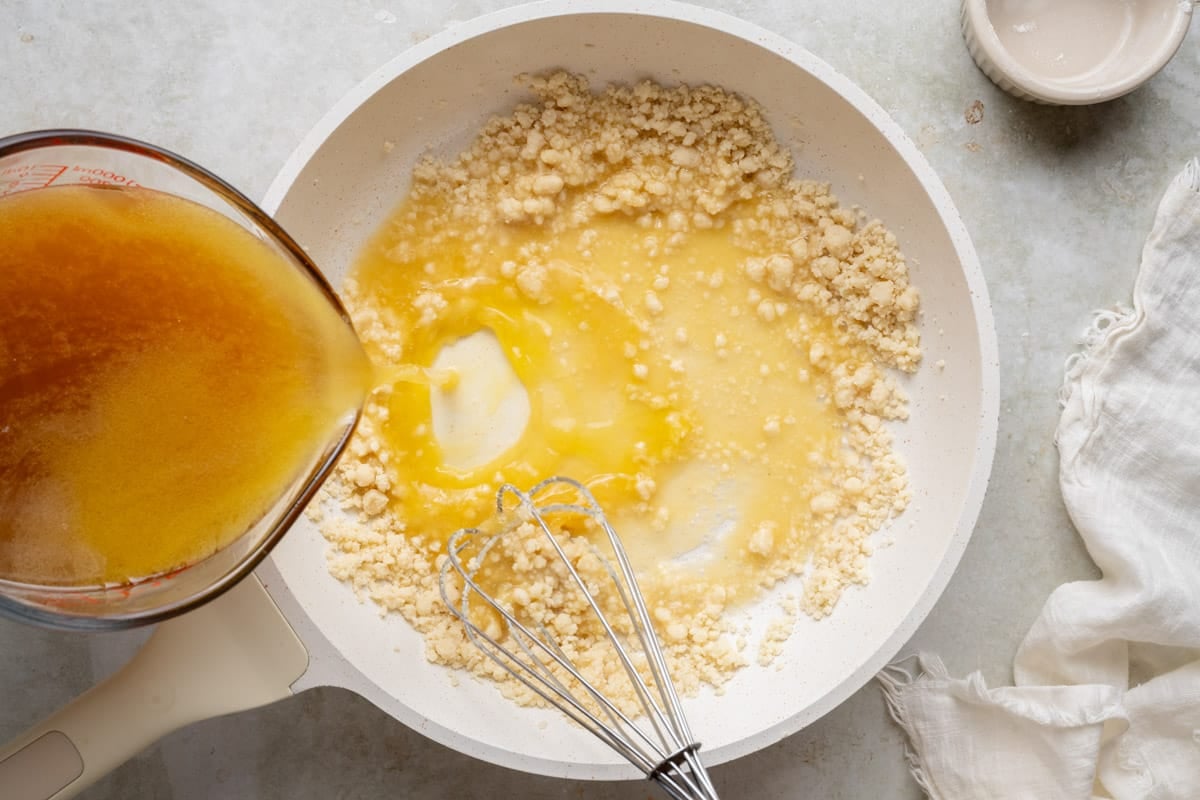
Add the turkey stock a little at a time, whisking the whole time. It will look lumpy at first. Keep whisking, and it’ll smooth out as more stock goes in.
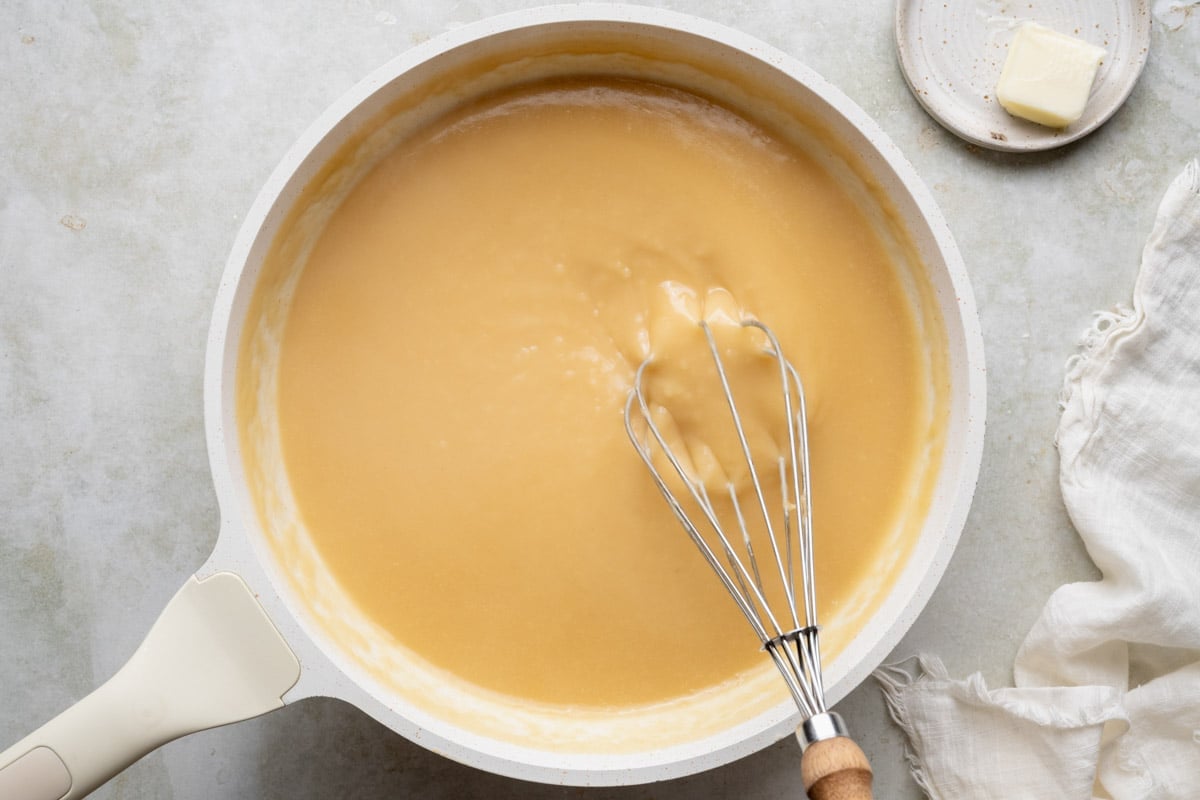
Bring the gravy to a gentle boil, whisking often. Then lower the heat and simmer for 5 to 8 minutes, until it’s smooth and thick enough to coat the back of a spoon.
Step 7: Finish and Season
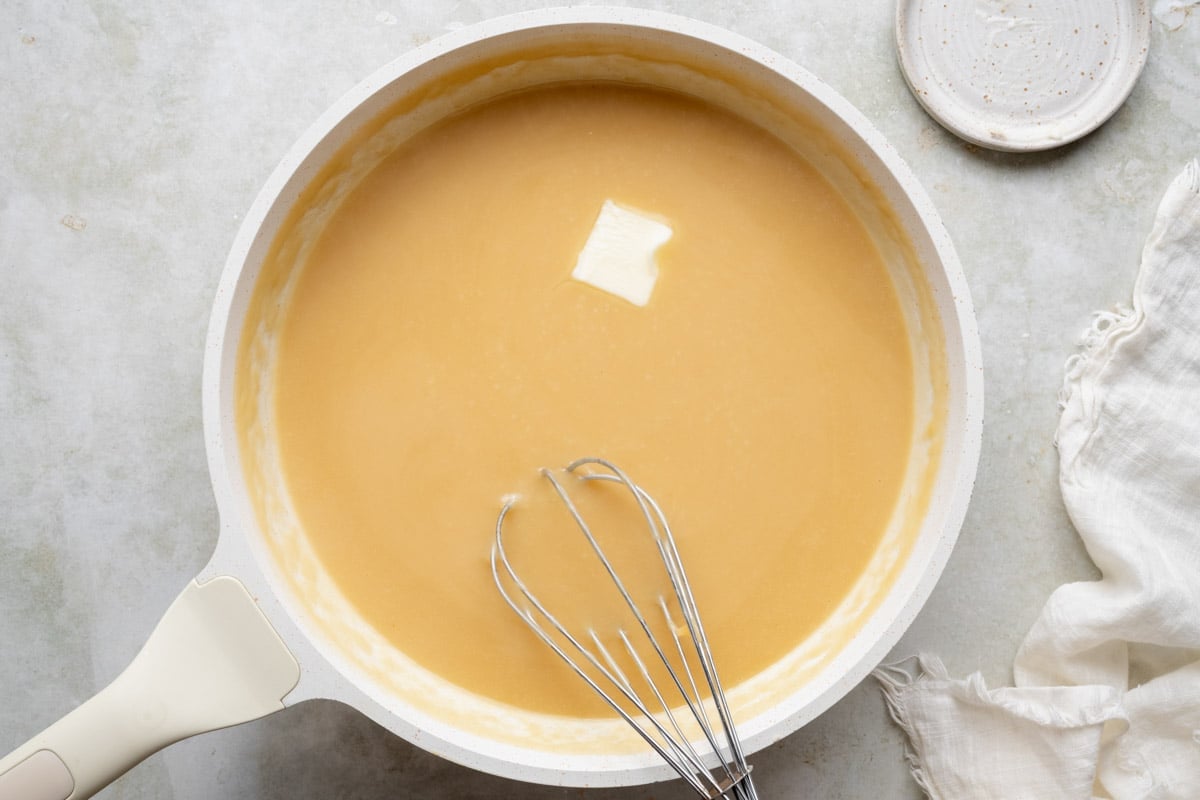
Take the pan off the heat and whisk in the last tablespoon of butter. It gives the gravy a silky finish. If you see any small lumps, pour it through the sieve one more time.
Taste and add more salt and pepper if it needs it.
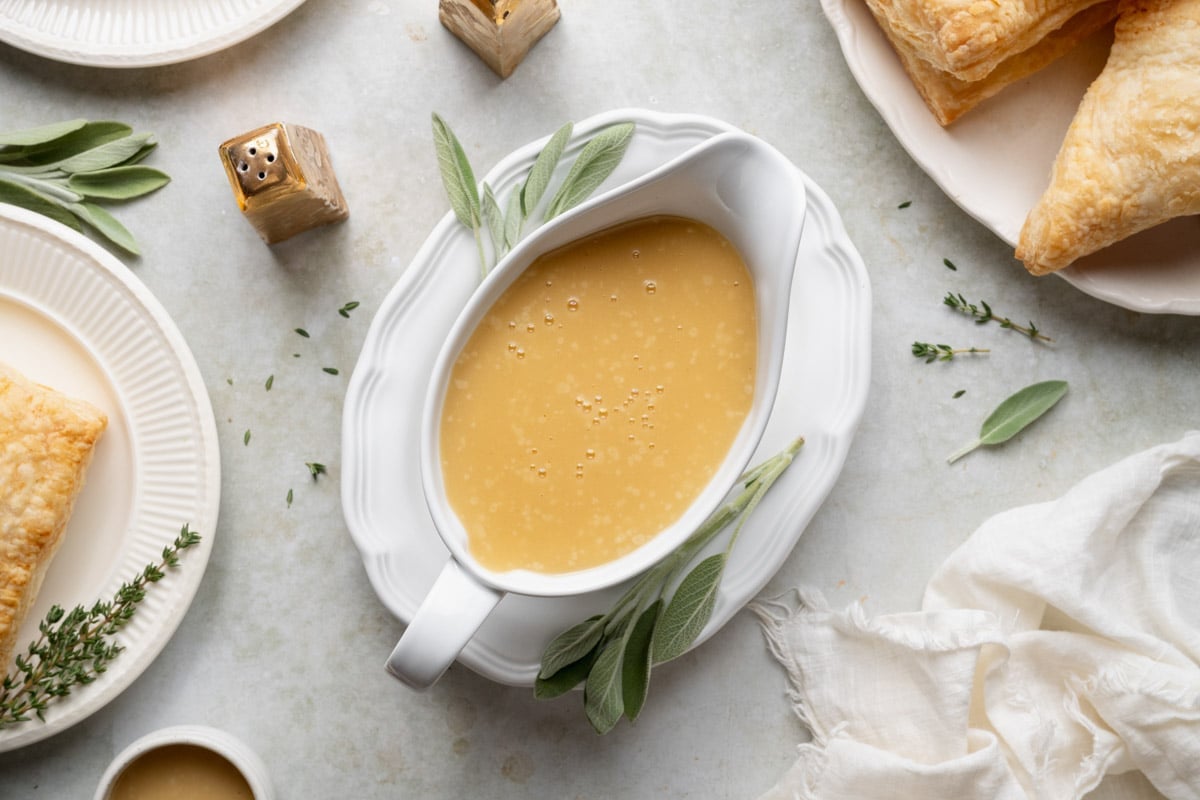
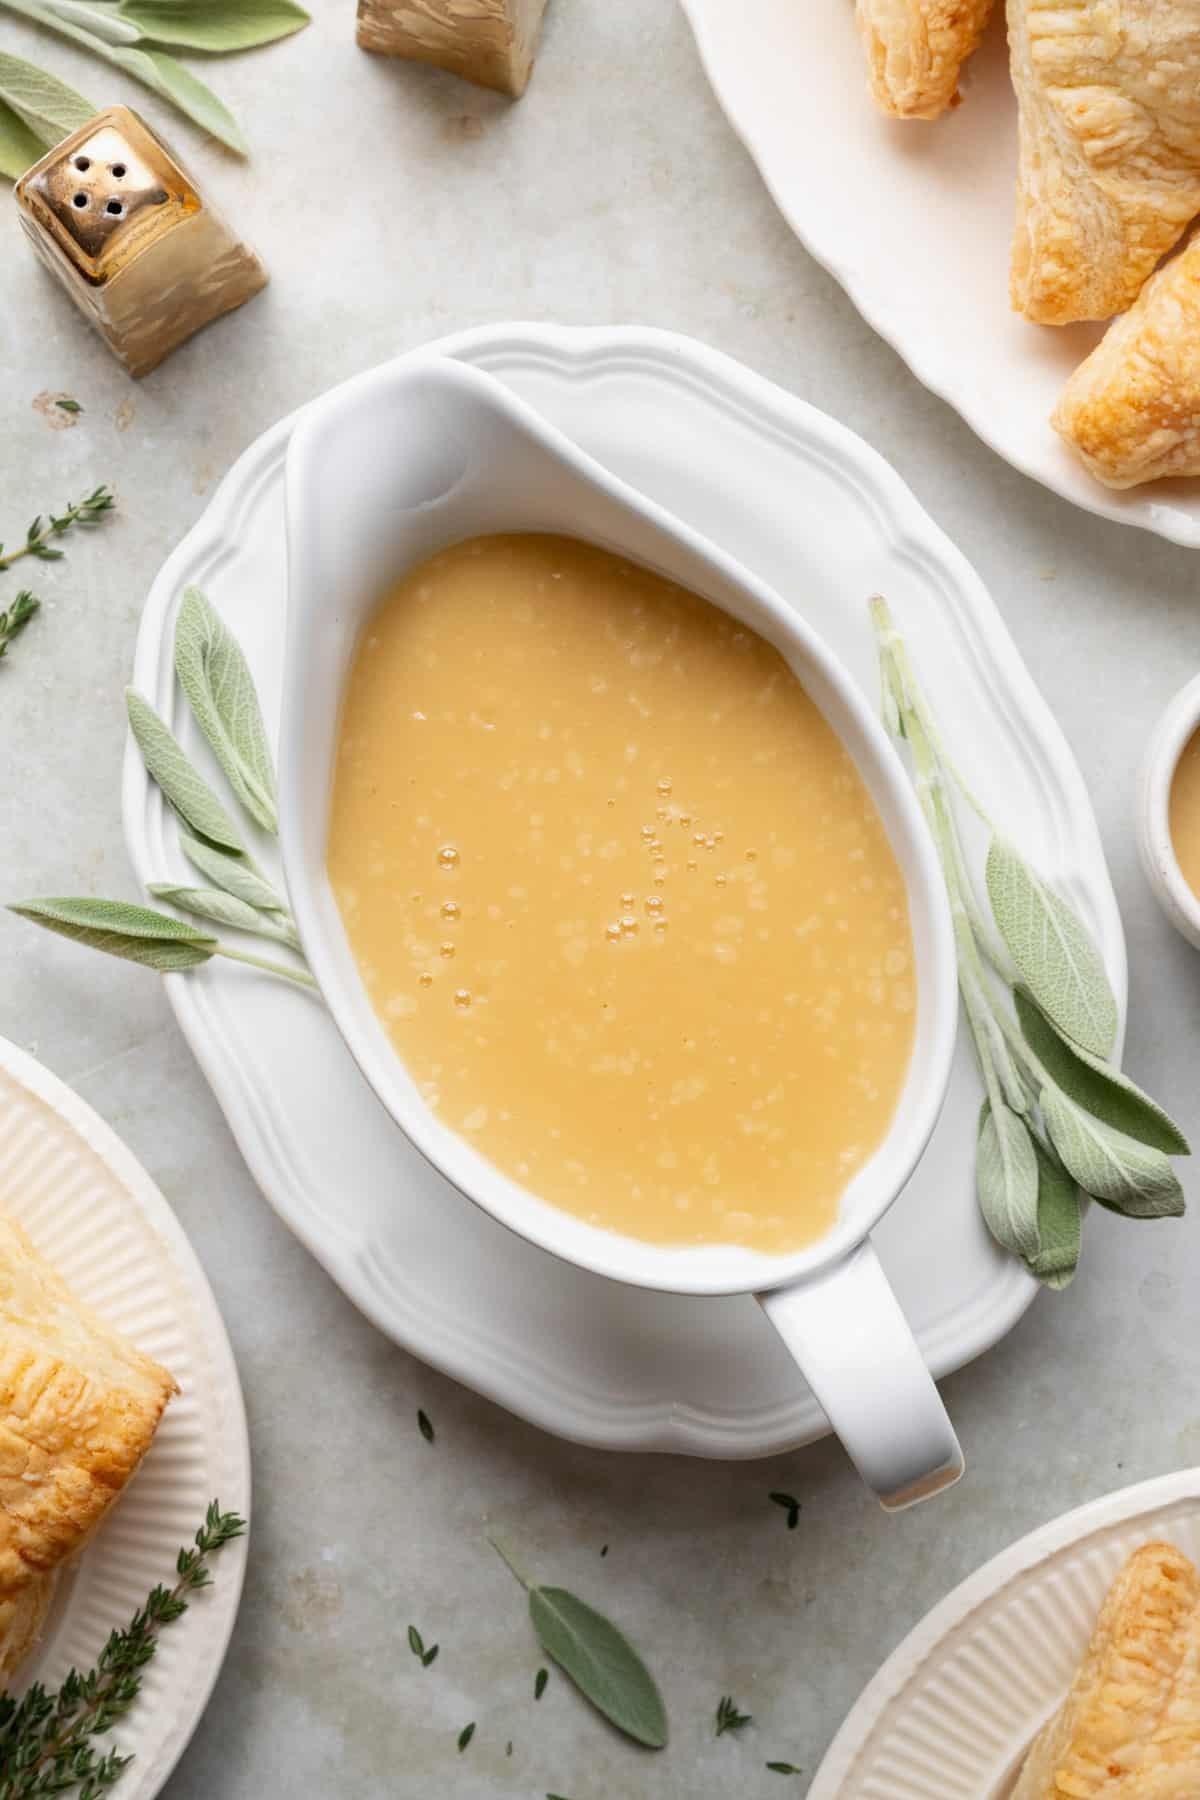
→ Serving tonight? Pour it into a warm gravy boat, and dinner’s ready!
→ Making it ahead? Let it cool, then store it using the steps below.
Adding Turkey Drippings (Optional)
If you’re roasting a turkey on the big day, the pan drippings make this gravy even richer. Strain the drippings and skim off the fat, then stir them into the warm gravy a little at a time.
Drippings can be salty, so taste as you go. If the gravy gets too thin, let it simmer uncovered for a few minutes.
Making It Ahead, Storing, and Reheating
This gravy keeps really well, so you can make it whenever it fits your schedule.
Make-ahead timeline:
- Up to 3 months ahead: Make the gravy, cool it, and freeze it.
- Up to 3 days ahead: Make it and refrigerate it, or move frozen gravy to the fridge to thaw overnight.
- Thanksgiving Day: Reheat it on the stove and stir in drippings if you have them.
Since this gravy (and my cranberry sauce) keep well in the fridge for a few days, they’re some of the first holiday dishes that I prep in advance (about 3 days ahead). I also like to bake my easy pumpkin muffins or pumpkin bread ahead of time and stash them in the freezer until the big day.
Storing: Let the gravy cool, then move it to an airtight container and refrigerate for up to 3 days. It will thicken quite a bit as it chills.
Freezing: Freeze the gravy in airtight containers or zip-top freezer bags laid flat for up to 3 months. Leave a little room at the top, since it expands as it freezes. Thaw it overnight in the fridge. It may look a little separated after thawing, but whisking it while it reheats brings it right back together.
Reheating: Warm the gravy in a saucepan over medium-low heat, whisking often, until it’s steaming hot and gently bubbling. If it’s too thick, whisk in more broth a splash at a time. For a small amount, the microwave works too. Heat it in 30-second bursts and stir between each one.
What to Spoon It Over
Mashed potatoes and turkey are the obvious place to start, but don’t stop there! This gravy is great over dressing, warm biscuits, and leftover turkey sandwiches the next day.
About 4 cups serves 12 to 16 people, with roughly ¼ cup each. If your family loves gravy, plan on a little more per person. Spoon It Over:
Easy Ways to Change It Up
- Swap the wine: Use apple cider for a hint of sweetness, or extra broth for a simpler flavor.
- Change the herbs: Fresh rosemary works well in place of the sage.
- Make it creamy: Whisk in a splash of heavy cream with the last tablespoon of butter.
- Deepen the color: A teaspoon of Worcestershire sauce adds richer color and a little savory depth.
Frequently Asked Questions
Can I use cornstarch instead of flour?
Yes. Skip the roux and bring the 4 cups of stock to a simmer. Stir together ¼ cup cornstarch and ¼ cup cold water, whisk it into the stock, and simmer for 1 to 2 minutes until thick.
Cornstarch gravy is a little glossier and lighter, and it can thin out after freezing, so flour is the better choice if you’re making it ahead.
How do I fix gravy that’s too thin or too thick?
If it’s too thick, whisk in broth a few tablespoons at a time until it loosens up. If it’s too thin, let it simmer uncovered for a few more minutes. For a quicker fix, whisk 1 tablespoon cornstarch into 1 tablespoon cold water, stir it into the simmering gravy, and cook for a minute. Remember that gravy keeps thickening as it sits, so stop just short of where you want it.
Why did my gravy turn to jelly in the fridge?
That’s actually a good sign! Turkey wings and drumsticks have a lot of collagen, which turns into gelatin as the stock simmers. Once it chills, the gravy sets up firm. It melts right back down as it warms on the stove, and that gelatin is what gives the gravy its rich, silky texture.
Can I use other turkey parts?
Yes. Wings and drumsticks have a great mix of meat, skin, and bone for flavor, but bone-in, skin-on turkey thighs work too. They just leave a little more fat to skim. Turkey necks are often cheaper and have lots of flavor, but they’re bonier, so use the full 2 pounds.
Watch How to Make It

Make-Ahead Turkey Gravy
Ingredients
- 1 ½ to 2 pounds turkey wings or turkey drumsticks
- 1 large yellow onion, cut into wedges
- 2 medium carrots, cut into 2-inch pieces
- 2 celery ribs, cut into 2-inch pieces
- 2 garlic cloves, smashed and peeled
- 1 tablespoon olive oil
- ½ teaspoon kosher salt
- ¼ teaspoon ground black pepper
- ½ cup dry white wine (such as Sauvignon Blanc or Pinot Grigio)
- 6 cups reduced-sodium chicken broth or turkey broth, divided
- 3 sprigs fresh thyme
- 2 sprigs fresh sage
- 1 bay leaf
- ½ cup all-purpose flour
- 4 tablespoons salted butter, divided
Instructions
- Prep the pan: Preheat the oven to 425°F. Arrange the turkey pieces, onion, carrots, celery, and garlic in a large metal roasting pan or in a 9 x 13-inch pan. Drizzle with olive oil, season with salt and pepper, and toss to coat.

- Roast: Roast, uncovered, for about 1 hour, turning the turkey and stirring the vegetables halfway through. The turkey should be well browned, and the vegetables should have caramelized edges.
- Transfer: Move the turkey and vegetables to a Dutch oven or large pot.
- Deglaze: While the pan is still warm, carefully pour in the white wine. Scrape the bottom of the pan with a wooden spoon to loosen the browned bits. Pour the wine, drippings, and browned bits into the Dutch oven.
- Simmer the stock: Add 5 cups of the broth, the thyme, sage, and bay leaf. Bring to a boil, then reduce the heat to low. Simmer gently, uncovered, for 45 to 60 minutes.
- Strain and skim: Pour the stock through a fine-mesh sieve into a large bowl or measuring cup, pressing gently on the solids. Discard the solids and skim the fat from the surface. Add enough of the remaining broth to measure 4 cups total.
- Make the roux: Melt 3 tablespoons of the butter in a large saucepan over medium heat. Add the flour and cook, whisking constantly, for 2 minutes, until lightly golden but not browned.
- Add the stock: Gradually whisk in the turkey stock. It will look lumpy at first, but keep whisking as you add it. Bring to a gentle boil, whisking frequently, then reduce the heat and simmer for 5 to 8 minutes, until smooth and thickened.
- Finish: Remove from the heat and whisk in the remaining 1 tablespoon of butter. If any small lumps remain, strain the gravy once more through a fine-mesh sieve. Taste and season with more salt and pepper, if needed. Serve right away, or store it using the make-ahead steps below.








Make-Ahead Instructions
- Store: Let the gravy cool, then transfer it to an airtight container. Refrigerate for up to 3 days, or freeze for up to 3 months.
- Reheat: Warm the gravy in a saucepan over medium-low heat, whisking frequently. If it's too thick, gradually whisk in more broth until it reaches the consistency you like.
Adding Turkey Drippings (Optional)
- Stir in drippings: Once your Thanksgiving turkey is roasted, you can stir some of the strained pan drippings into the prepared gravy. Since the drippings maybe salty, add them gradually and taste as you go. If the gravy becomes too thin, simmer it uncovered for a few minutes.
Notes
- Skip the wine: Use an additional ½ cup of chicken or turkey broth instead.
- Choose a dry wine: Pick one you’d enjoy drinking, and avoid sweet cooking wine.
- Brown it well: Browning the turkey and vegetables well is the key to rich color and deep flavor.
- Store it slightly thin: The gravy thickens as it cools, so make it a little thinner than you want before storing it.
- Thaw overnight: Move frozen gravy to the fridge the night before. Whisk it as it reheats if it looks separated.
- Planning amounts: About 4 cups serves 12 to 16 people at roughly ¼ cup each.
- Cornstarch option: Skip the roux and whisk a slurry of ¼ cup cornstarch and ¼ cup cold water into the simmering stock. Flour holds up better for freezing.













Did you make this recipe?
If you enjoyed this recipe, please leave a comment with a 5-star review at the bottom of the post. Thank you!